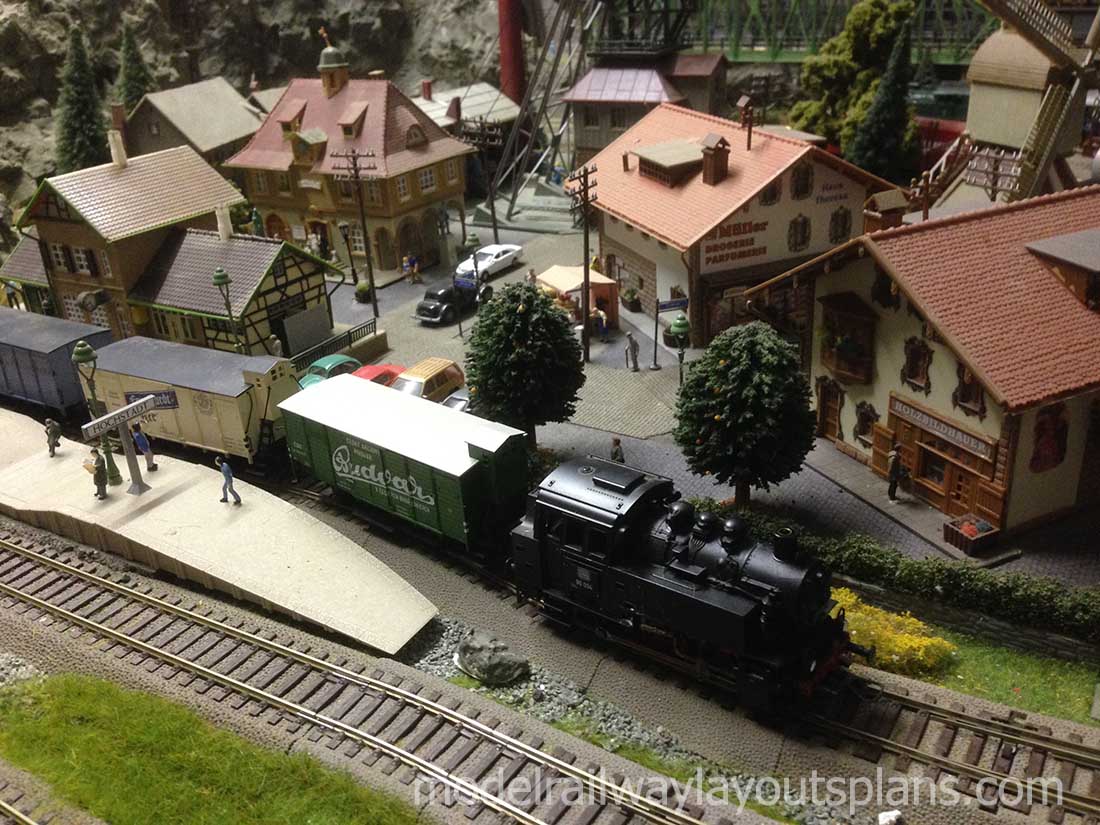
There aren’t many Swiss model train layouts on the blog – but Peter’s really caught my eye.
“Hi Alistair
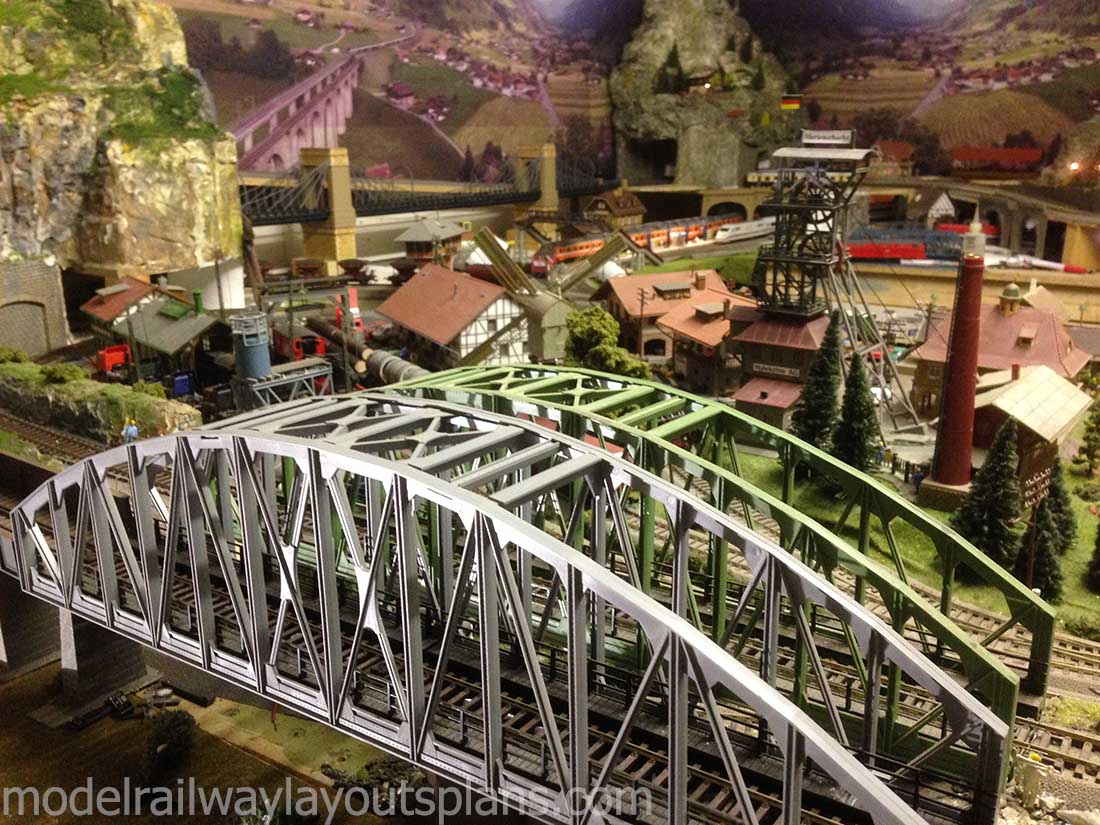
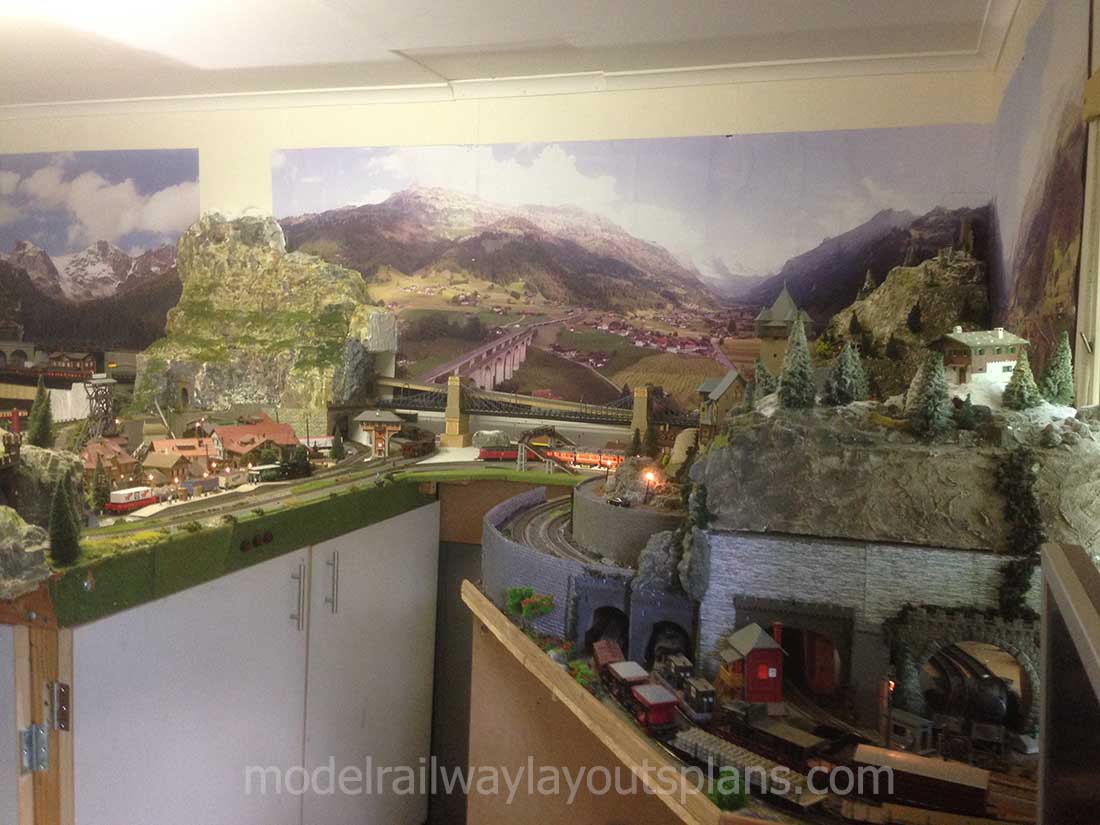
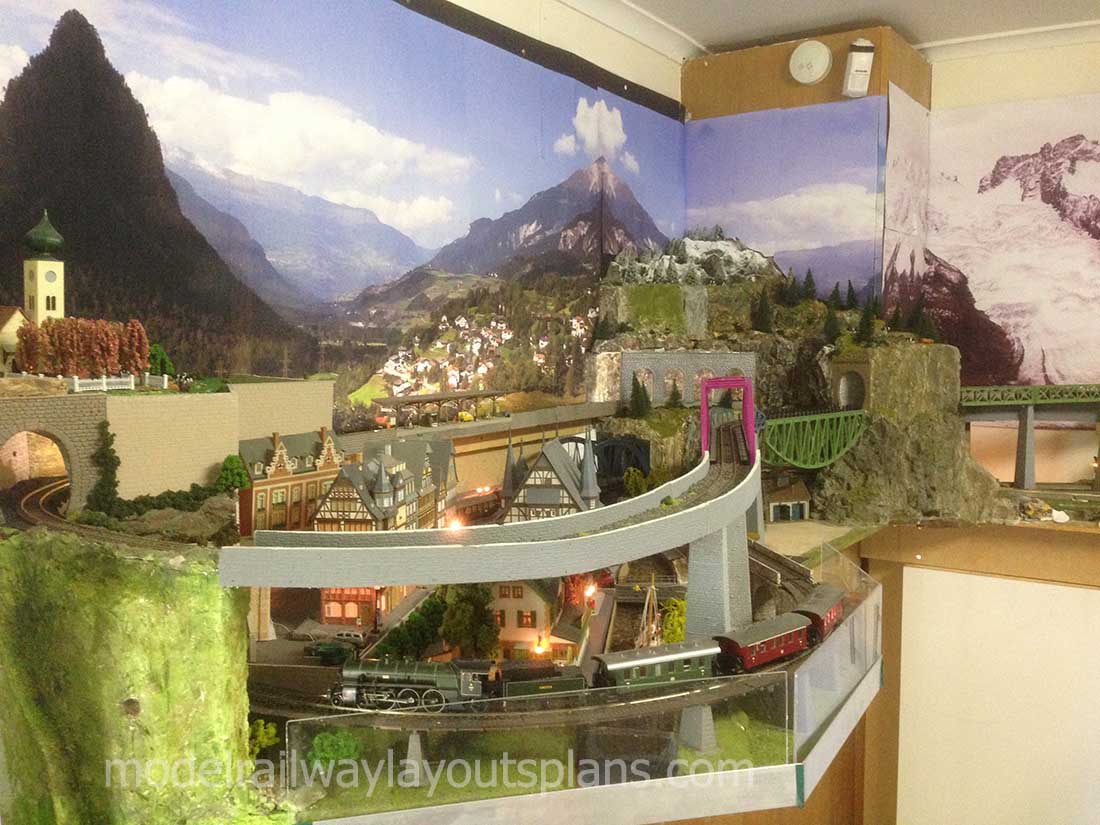
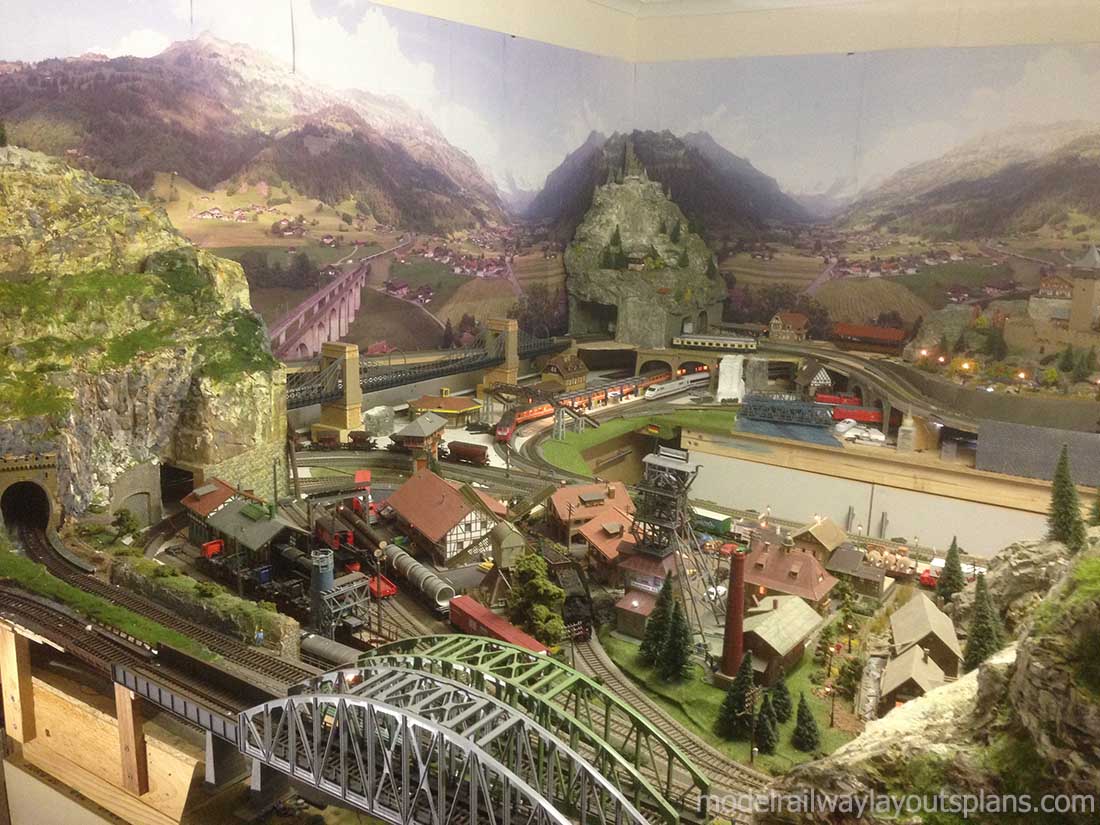
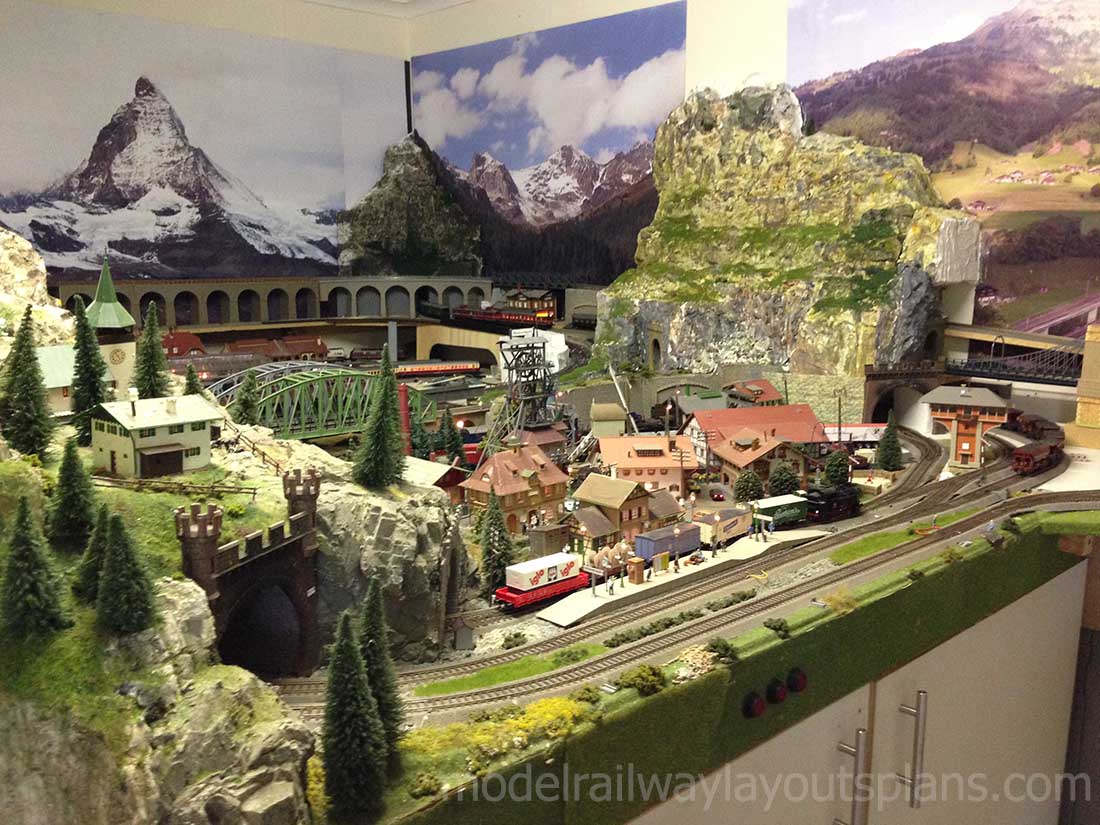
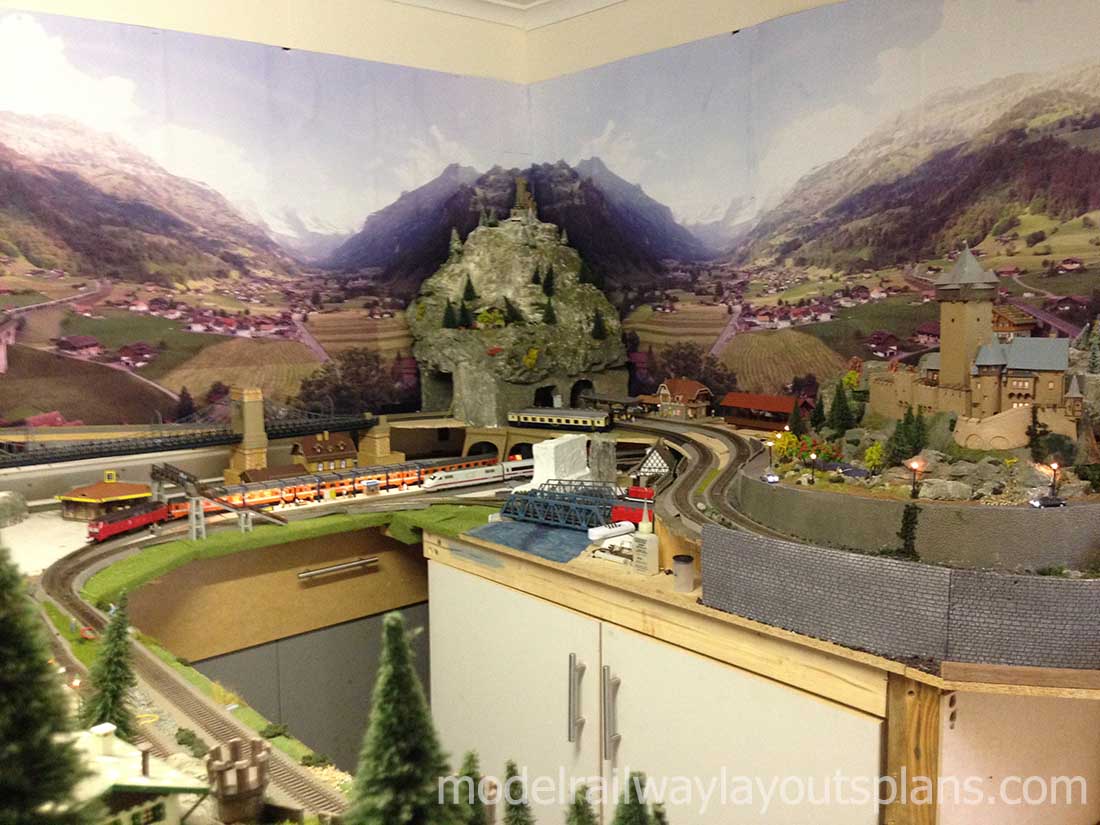
My layout is in a room I made from the back half of a garage. There are 2 main lines and 1 branch line. The 2 main lines wind around the complete room. Being DCC I can run multiple trains but am still learning the way of doing it to prevent accidents!
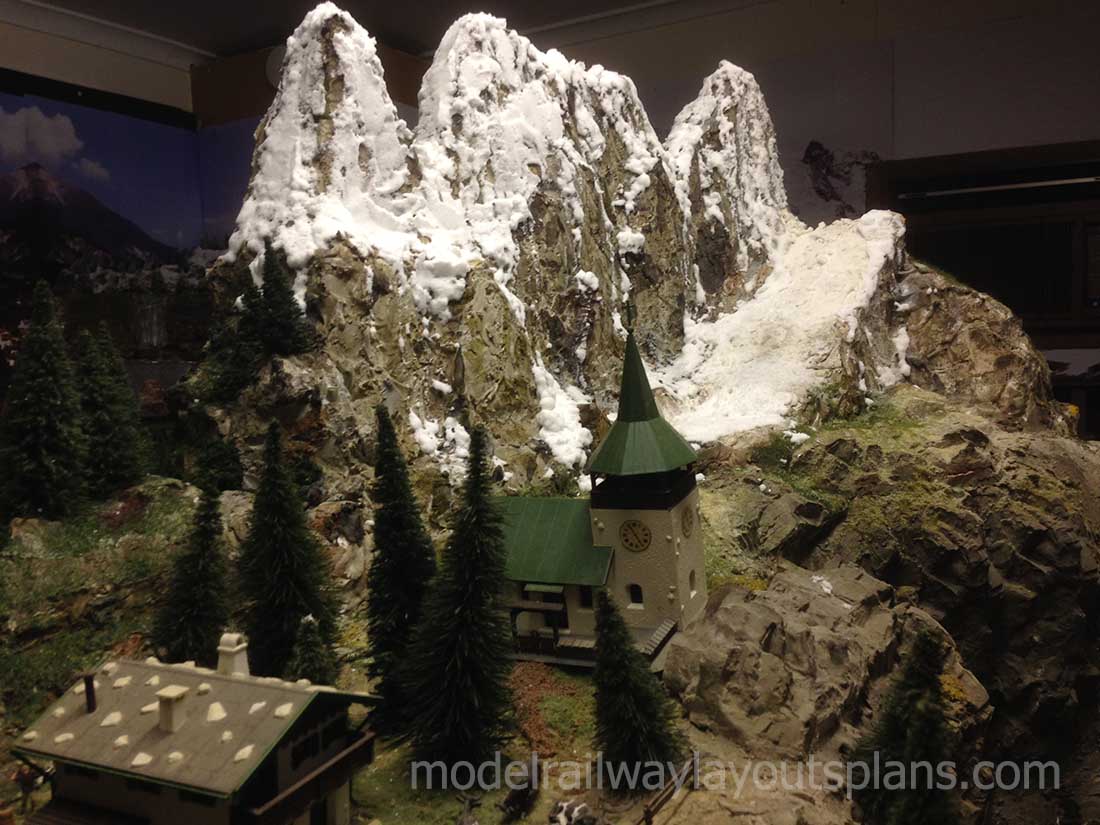
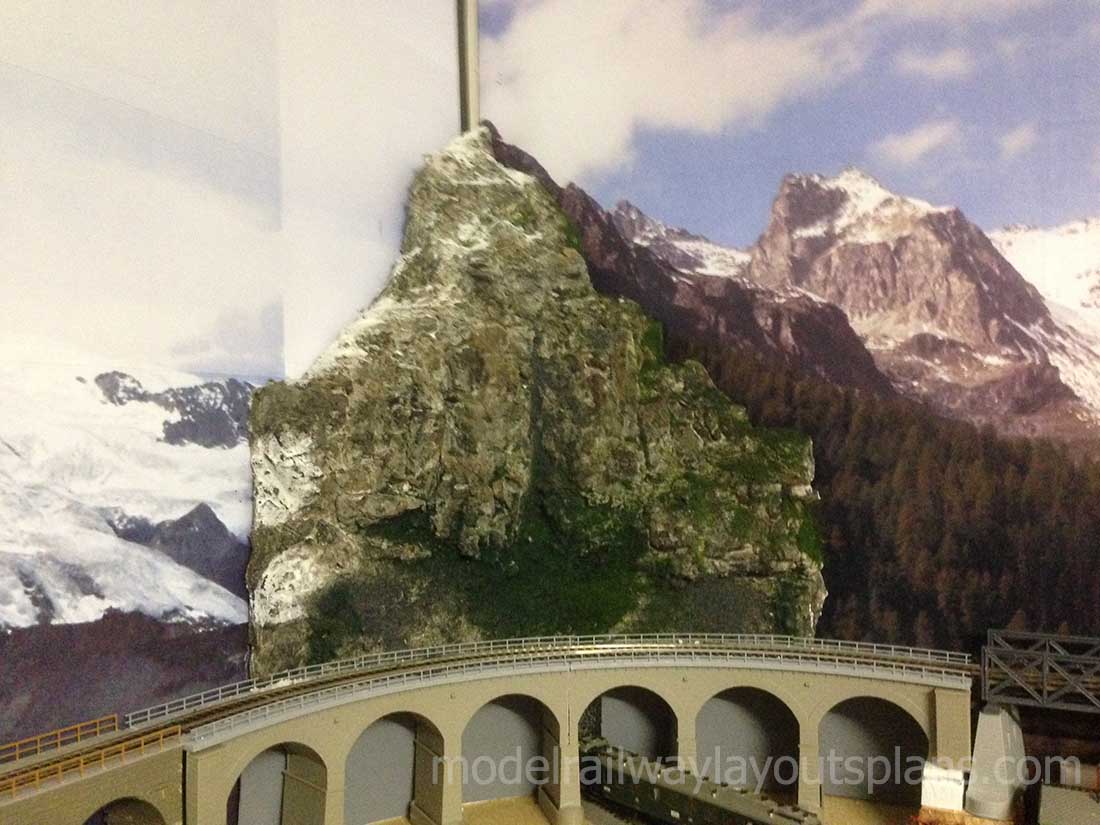
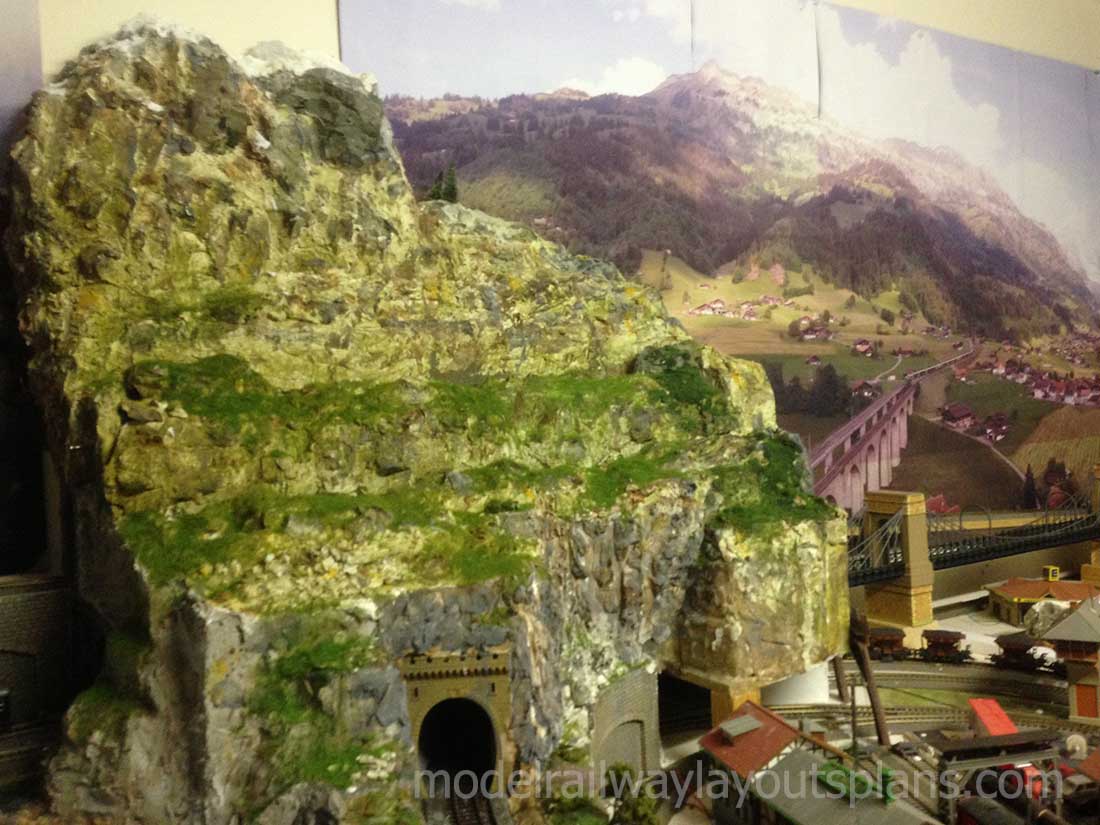
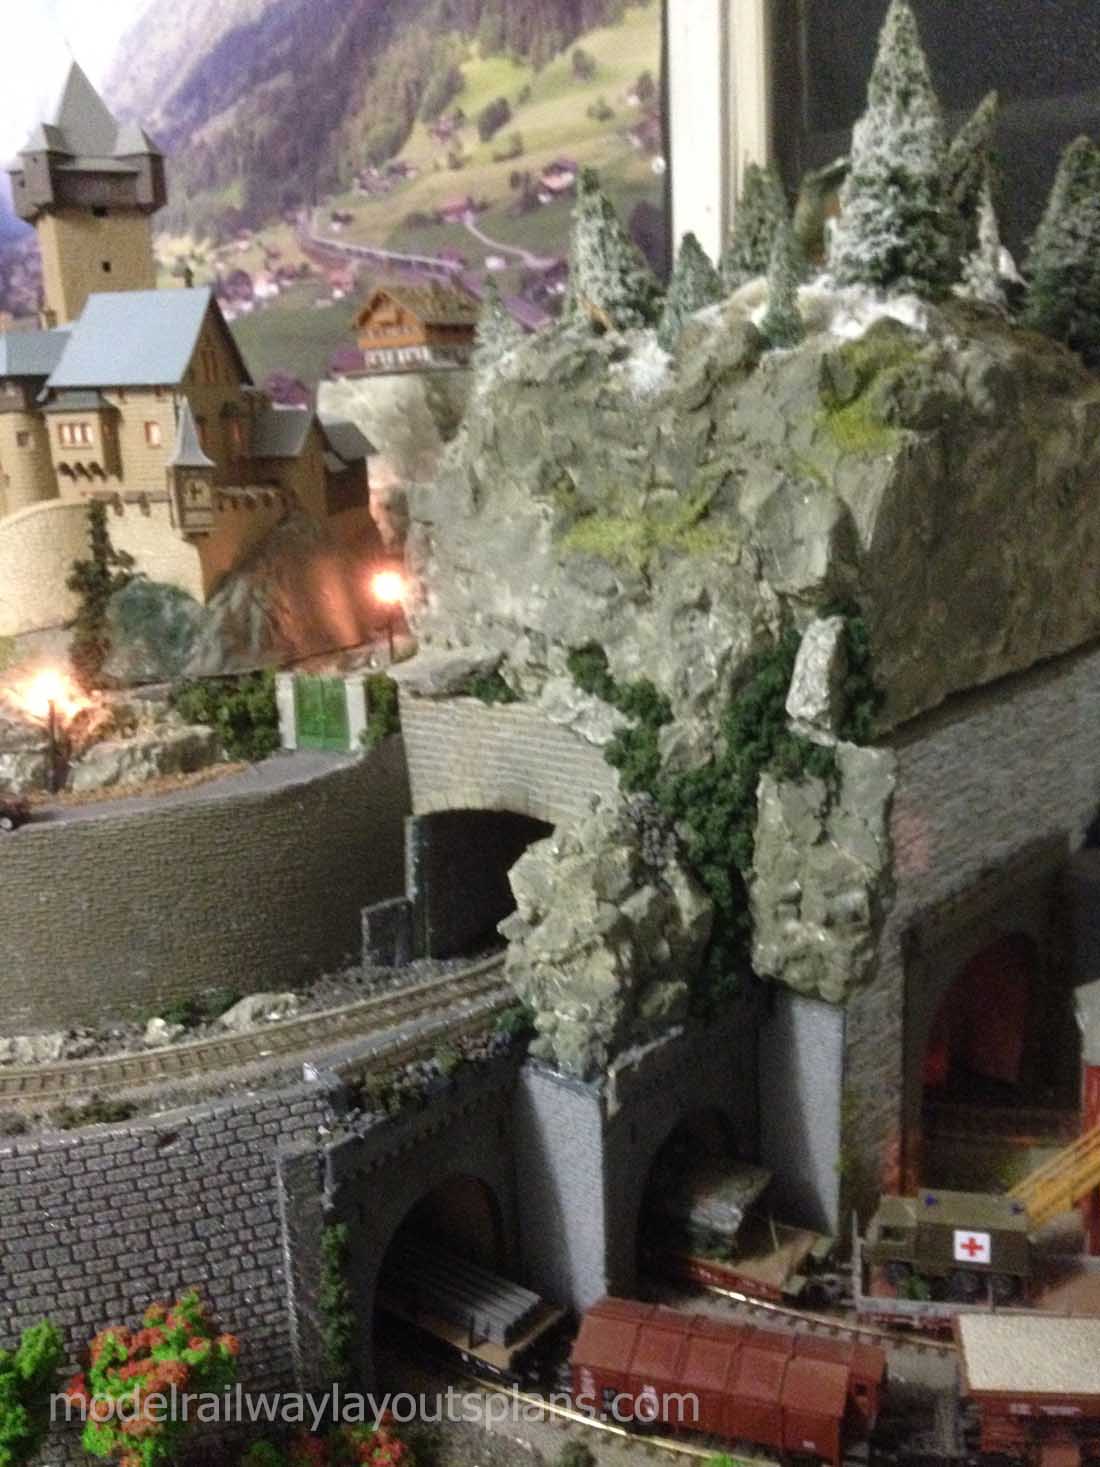
After early experiments on mountain building with paper mache and wire frames I decided polystyrene foam cut and shaped with hot knife/hot wire tools covered with plaster cloth to be the best solution. As others have mentioned we don’t get the pink foam batts in Australia. Using rock moulds and liberal use of Plaster of Paris on top and voila a mountain.
Scree slopes are made from the little extra bits that form on the plaster moulds glued together. The plaster cloth is cheaper if you buy it from medical suppliers rather than using hobby shop supplies.
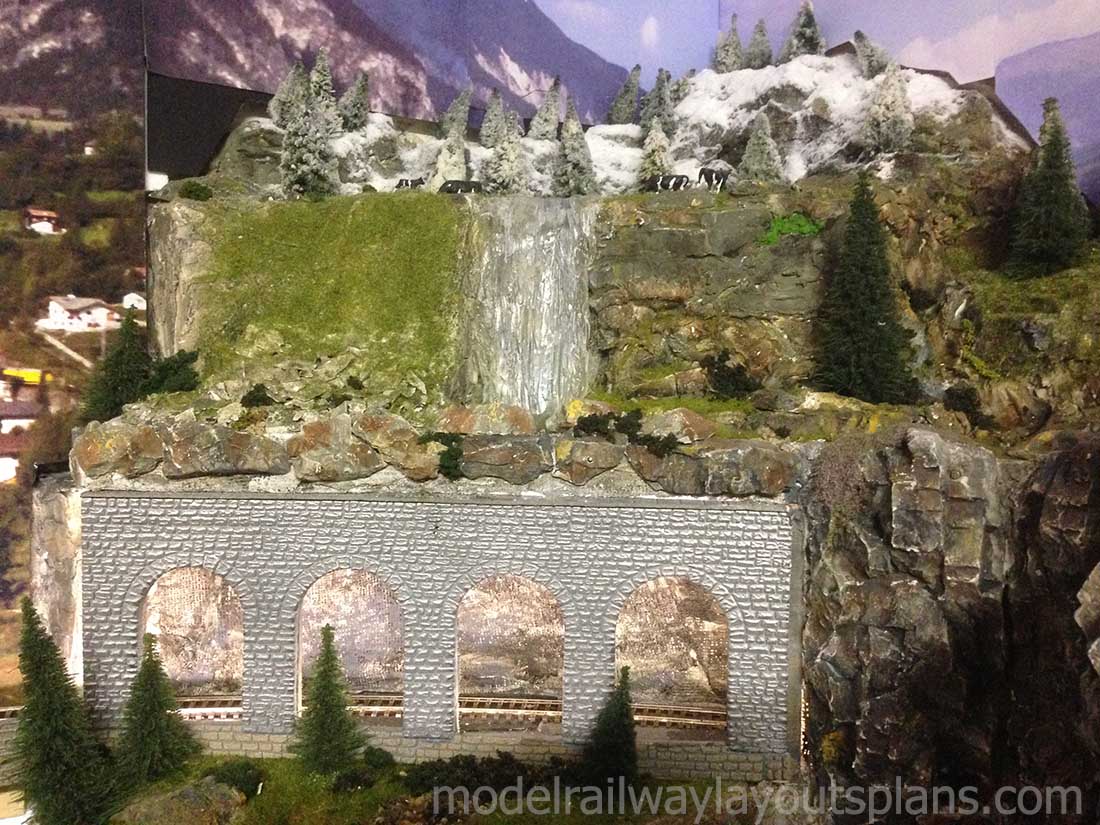
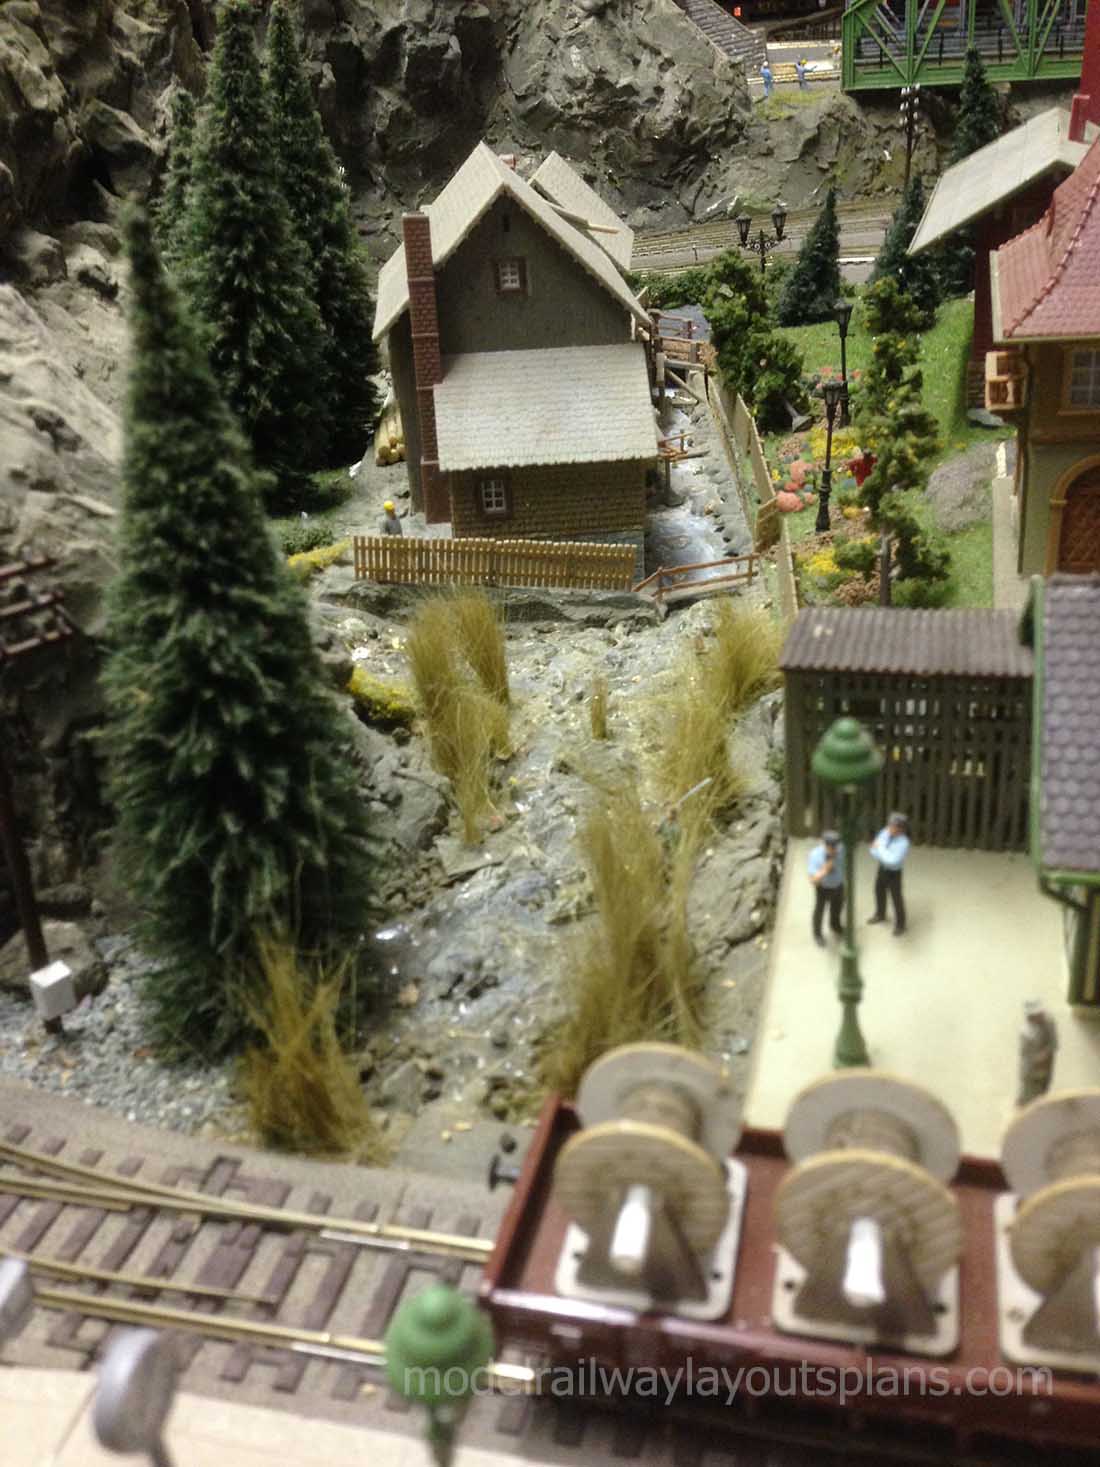
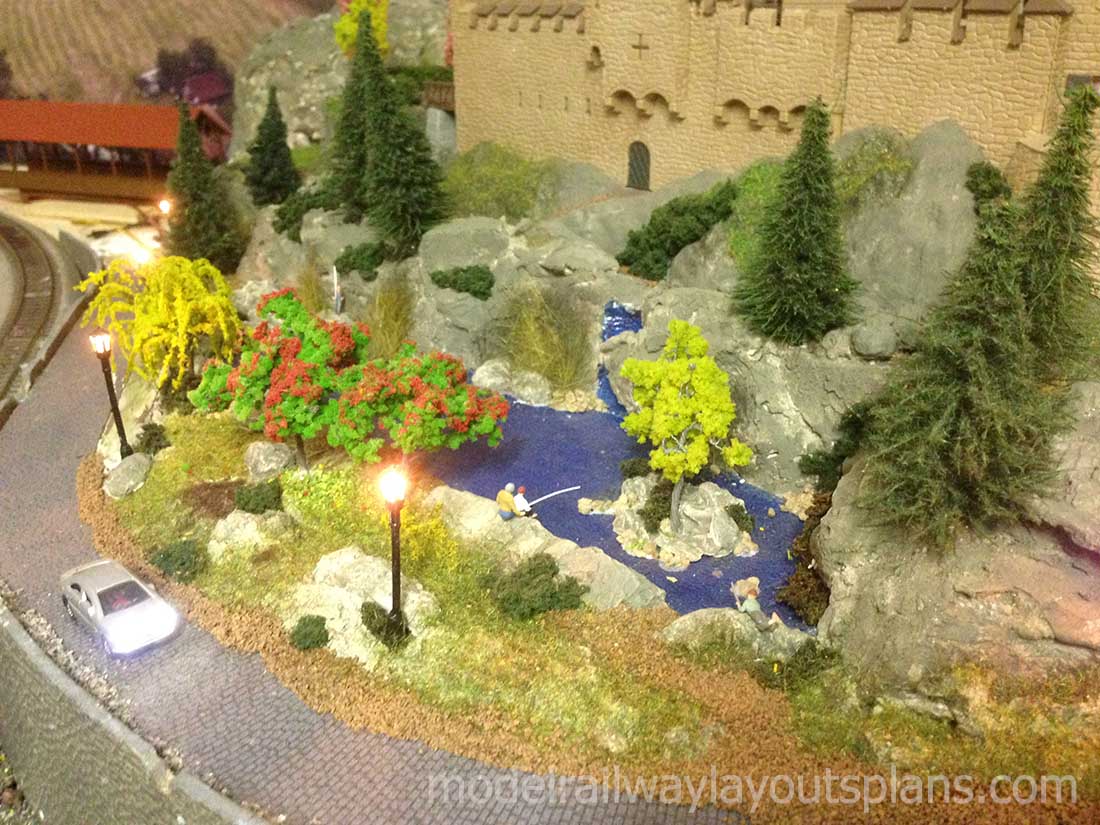
A great method for making waterfalls and stream beds is using silicon sealant, I can provide instructions for this if anyone is interested.
I use a cheaper version of a grasmaster for static grass. Models are either falller/volmer kits, or for more effort and fun, paper and cardboard models printed at home from templates provided by a UK company.
The backdrops are from high res photographs (one from a friend taken on his swiss holiday). There is a Mac App that allows printing of these on an ordinary A4 printer which I back onto large cardboard sheets and attach to the wall.
I have one canal with real water.
That’s all I can think of for now.
Cheers
Peter”
Swiss model train layouts:
A big thanks to Peter for adding to the Swiss model train layouts.
That’s all for this time folks.
Please do keep ’em coming.
And if today is the day you get started on your layout, the Beginner’s Guide is here.
Best
Al
PS More HO scale train layouts here if that’s your thing.
Need buildings for your layout? Have a look at the Silly Discount bundle.

Outstanding…..very impressive ,with good attention to detail
Now thats what I call a superb layout , well done Pete
Peter’s layout is superb. Nicely done and hats off to him!
Fantastic layout Peter great scenery thanks for showing us.
Hi Peter.Wow very nice layout.Im Canadian and used to the snow topped mountain’s.Those are very close to the real thing with the snow and all.Well done Peter.You have a good eye for detail.May I suggest more people and maybe scatter alittle garbage around.Like wrapper’s papers and such.Really make’s a huge difference.As I have never seen a perfectly clean town or village or city.Photo 2 and 6 is screaming for white horn sheep.If you find a photo of the right size and shape sheep.Cut out the picture and follow all the lines of the sheep will work.Since it be at a distance.Add some bear’s deer and other animals be wild.I suppose it depends on what country your from for the animal’s.Again super nice and would love to see more pictures .Thanks
Yes peter your layout is well done. I’m interested to know your method for creating the waterfall, (each person has their preferred way of doing their water, streams, rivers and waterfalls). Please show us how you do yours, (with pictures of video clip). Greatly appreciate you doing so. Toni
Wonderful layout. I would like to see your track plan. How you were able to use so many tunnels with two main lines.
Roland
Really like the layout. Highly detailed with a lot
of thought put into it. If you have time
could you email me the idea you have on
a waterfall with silicon.
great layout Peter….
took a lotta time on your detail I see
and yeh show us how you do the waterfalls with the silicone…
keep it up
Yes, I would surely like to know how you use silicone sealant for water. I am trying to make some waves using Water Effects over dried Realistic Water. Possibly silicone sealant is easier. I know where to buy silicone, but can one buy the silicone sealant at hardware stores as well?
Yes, great layout. Would love to see how you did the waterfall.
nice railway
great layout the detail is amazing.
WELL DONE!
Fantastic work. But again I must ask, what scale??
Makes me want to step right in and visit that mountain town! Nice!
Weathering, it’s what makes it look real.
What a great layout and with such superb details too!!! Very envious. I too would like to see a track layout diagram if possible please.
Great work congratulations Peter!!!!!!
Fantastic !! Totally impressed with the way the backdrop and foreground merge together. photo 11 from the top with the town in the foreground and the valley backdrop is just superb, the perspective is just perfect.
Lost for words, just brilliant.
NEIL
you have done a few 0 gauge 3 rail layouts. all us 0 gauger’s
would love to see a few more. You do such a great job.
Great work and I mean work.I too would like to know how you did the silicone water and the snow on the mountain.I ‘m a beginner
Thanks Joe
Nice and superb layout. All details exposed. Good job.
Hi Peter,
WoW what a great looking layout, I’m impressed how you’ve been able to use the backdrops, by incorperatting them into the layout with such realisem, because at first glance it looks as if the layout goes right back and the track plan gives the same impression as you follow the direction of the trains, so congratulations and thanks for sharring them with us all.
Stemar, (Downunder)
Wonderful layout. I love the way your back drop blends into the diorama.
I would be interested in seeing your silicon water method .
I really do love your layout and concept of Switzerland. Being Swiss myself, I always wanted to build such a layout. I think I have now been inspired even more now by your layout to do so! Excellent detail and work! Bravo!!!
FANTASTIC display
Good display
Hi Joe
Snow on the mountain is a mixture of Woodland Scenics snow and a shiny flake snow from the hobby shop.
To get the lumpy drift effect i mix them together into a slurry with watered down PVC glue until consistency allows it to run slowly. Then slowly pour from top of mountain.
I sprinkle on more snow after layering diluted PVC glue on the mountain to create a wider but shallower effect.
Hi Peter,
What can I say if it were mine I would feel fantastic about my layout. your attention to detail is fantastic. I too would like to know how you did the water fall using silicon water part. please email me with instructions or suggestions.
bob
WOW!!!
Great achievement, well done. How have you made the conifer trees?
I’m interested to know your method for creating the waterfall, streams, rivers and waterfalls. Please show us how you do yours, (with pictures of video clip). Greatly appreciate you doing so. Toni
tell me how you use silicon for water
Beautiful layout Peter. I’d love to see a video of your trains running on it. Thank you for sharing your photos.
Peter, great layout and lots of interesting stuff to see and “travel through.” I have a suggestion for the arches where you have painted flat grey. Art/craft supply stores have plastic mirror which can easily be cut to fit, I have a few on my layout, and the reflection looks like the scene goes on forever. One place I’ve used the mirror trick is where a track goes into a tunnel and then curves. The little mirror gives the impression to anyone looking into the tunnel that the tunnel’s other end is straight ahead, like many real tunnels I’ve seen.
Hello Peter
Well done mate! I concur with all the comments and can only echo there praise. I am very interested in your technique with your water effects. Could you advise and also a layout plan would be interesting as well preferably via my email address?
Cheers
Martin
Really nice. Lots of patience went into that.
I also concur. A beautiful lay out. I also agree with the others that we all would like to see a set of your track plans for such a great layout. Keep up the great work. Thank You for Sharing.
Very impressive, and great detailing. What rolling stock manufacturers do you use? The backdrops are super. As someone who is also modeling Switzerland, I think you got the look and feel of the county perfectly.
Rob, Ann Arbor, Michigan, USA
St. Goar and Murren Scenic Railway
Excellent layout! Love the sprawling all-over-the-place effect instead of the layout being in one area.
That’s kinda what mine is going to look like.
Excellent. The views give you the feeling that you are miles away looking from a mountainside.
Peter, please do provide instructions for your great method for making waterfalls and stream beds using silicon sealant!
That’s one really great layout Peter. Beautifully done. I too am interested in your “silicone sealant” water as well as your track layout and how you laid it all out to begin with.
Fantastic layout. With the hard work you put in to making the layout is impressive.
BRAVO a great layout. You really mastered the waterfalls, the silicone sealant works a treat for the waterfalls.
I too would like to see a track plan.
Very nicely done. I wish people showing their layouts would let us know what scale it is. I agree that it would be very interesting to see the track plan.
really good detail. very nice.
Very good scenery.
Beautiful layout! I really was struck by how you integrated the scenery into the backdrop photos! So well done!
Nice layout.
What is the Mac app you mention for printing the backgrounds?
The new question and answers forum idea is a great one Al. If you haven’t already considered this, how about putting a link to it in every email? It would be very handy and remind us to check it regularly. Thank you, Rob
Swiss trains seem to be missing
Great layout, brought back memories of train rides throughout Switzerland from just a few years ago. Thanks!
Awesome layout Peter, beautiful scenery detail. Thank you for sharing.
Hello Peter, and AL, and Fellow Model RR’ers…
You have a Fantastic Layout. The Mountains with the Snow, and continuous
backdrop give the impression you are really there. Outstanding Waterfall, you can
close your eyes and hear the water cascading over the cliff down to the basin
below. How did you manage that effect? You mentioned, you actually had used
“real water” in a canal. Can you show us how you did that and where that is on
your layout? As well as have a layout diagram and a video showing your trains running on the layout in normal slow speed… Thanks and Happy New Year to ALL and everyone, their famiies on this VLOG. … Mike in N.H. U.S.A.. 1-5-2-24
Great looking scenery, Peter. I especially like the way you reversed your background photo coming together in the corner. It gives great sense of depth and the impression of two small villages in a double valley. Really looks good!
Silicone sealant = 100% Silicone Caulking
It comes clear, white, grey, brown, and possibly other colors.
Hi all
To answer some of the questions:
The scale is HO
The waterfalls i make by putting a generous layer of clear silicon sealant on to baking(waxproof) paper. Then use a spatula to shape it to the size/length i want it. Whilst drying/setting I run a toothpick or similar through it randomly. This creates a white water effect and adds depth. Wait to dry then peel off in one strip and cut to preferred size. I take no credit for this method, I picked it up from someone else’s post.
The app for printing is called posterazor. However I have found a site that prints photos onto a type of plastic or even on cloth. The cloth ones are great because they tend to offer a 3d effect and don’t fade so easily. The difficulty with using photos as backdrop is getting the scale right – lots of mucking about.
The real water canal is created by building a clear perspex three sided “box” joining the parts together with silicon sealant. I can then fill with water. I have a “drain” valve to remove the water the same day as leaving it in causes the water to go stagnant and encourage algae growth. I only fill it with water if someone is coming over to have a look at it.
I will post a track layout plan soon.
You performed some magic here Peter! Extremely well done. One of the best layouts I have seen. The way you blended in the backdrop with the layout beautiful….
Four Star Rating my friend!
Looking at layouts is fine, but how about more trains to be seen besides the layouts.
Beautiful layout. It’s a shame it will be covered in lava and ash before long.
Tom in Mississippi
Very nice. Is that a Penzgauer ambulance I see on a flat car?
I have a canvas covered Pinz.
Extremely well done Peter! I have been advocating for better fascia treatments for some time on this site and your railway is now the poster boy to make my point. Your edges blend right into the scene at the forefront and make it a more satisfying viewing experience in general. Obviously your background is genius and you have received well deserved accolades for that part…but the overall depth and cohesion of the scenery also is greatly enhanced by the edges of your layout. It’s like the bass player in a band. Nobody notices he’s there until he isn’t… So much can be done with the fascia and it receives so little attention. Good for you! You get it!
it looks so beautiful
Peter what make of trains are you running on the layout, great work very impressive.