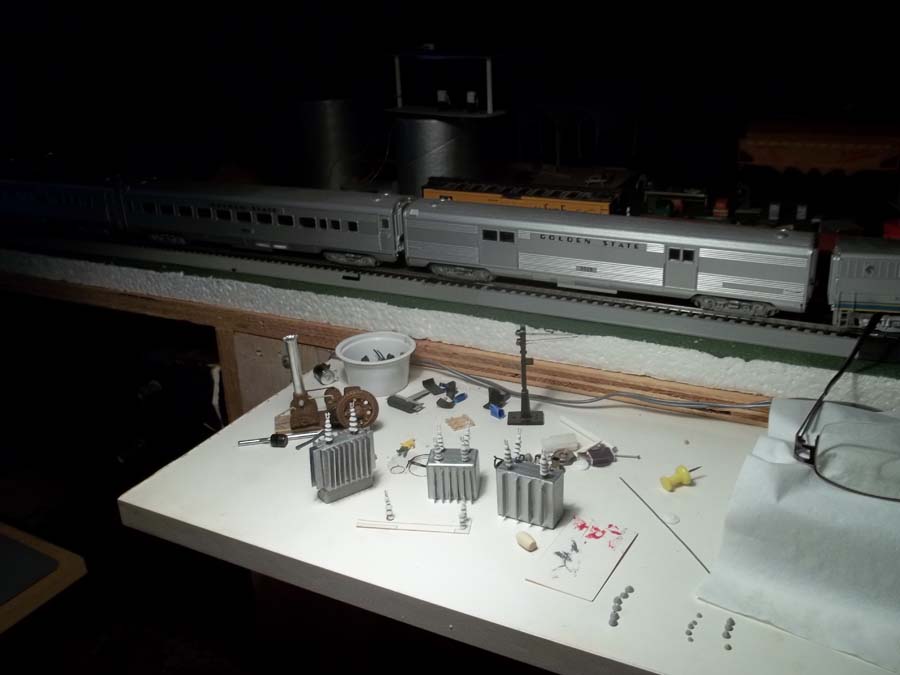
Kim’s been back in touch with his N scale model transformers for sub stations.
A few of you got in touch and asked how Kim made his insulators.
He’s been kind enough to send in this:
“Hi Al. I was asked to show how I made the insulators:
I took the left over plastic from a model. Clean up the pieces so you end up with a plastic stick.
Depends on the model, but you can get a few sizes from the left overs.
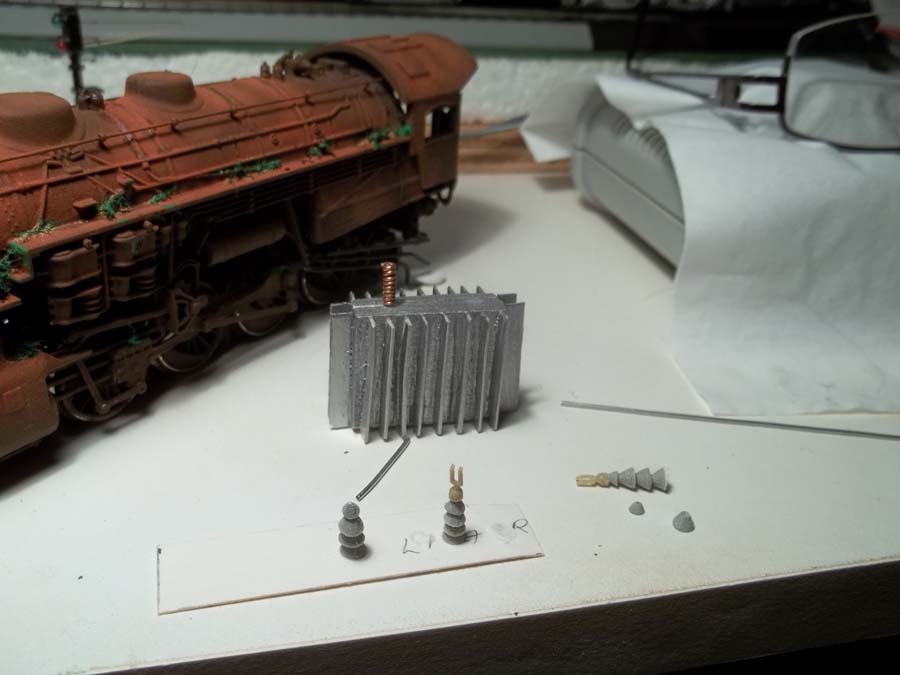
The first pic is a copper insulator. I didn’t like so I changed them out to these.
The second pic is a plastic stick that has been cleaned up.
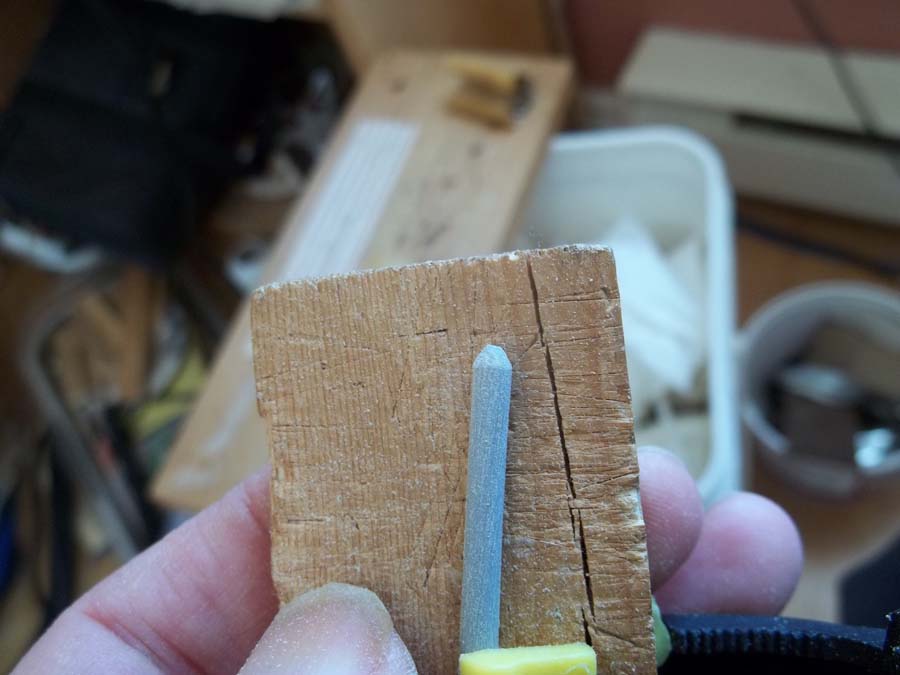
To start, I picked the size of insulator I wanted and sanded down the stick to the size.
Then I snipped the end even and flat.
Then I took a block of wood and a piece of fine sand paper wrapped around it and at an angle sanded it down to what you see in the second picture.
The end maybe a little pointy so I would snip off with a knife like you see.
Then when happy with it, I cut it off slightly below the sand line.
The third picture is a few sizes I did.
I then picked the first size and instant glued it to a piece of paper.
Then I picked the next one and put a tiny, tiny drop of glue – don’t want it running all over the place.
With this tiny tiny drop, stack them up on top of each other.
The paper is so thin it will be easy to remove and your model wont be jammed stuck on a hard surface that you have to pry loose.
Take your time doing them. I rushed too much doing mine and ended up with saggy insulators.
I have 18 pole’s to do and the rest will be better.
Kim”
A huge thank you to Kim for sharing his N scale model transformers for sub stations.
Kim really is not afraid to have a go at scratch building anything.
And I think his insulators look great.
I really must dig out more of his stuff.
Anyhow, if you fancy a go at scratch building or just laying track, don’t forget to have a look-see at this guide. It’ll make sure you side step all the usual pitfalls…
That’s all for today folks.
Please do keep ’em coming.
Best
Al
PS Latest ebay cheat sheet is here.
PPS More HO scale train layouts here if that’s your thing.


Kim Very realistic ….Dave
Thank’s Dave. Glad you like them.May as well use the left over’s for something right.I also have made up wire separator insulators if you like to see and copy.I will send the idea in as well just ask.
second pic you can see my coffee and chalk weathered loco.Yep coffee don’t laugh it works.
Incredibly clever! And I loved the shot of the rusting locomotive!
At first look I assumed that they were various sized beads from the craft store.
Once again I ASSUMED. When will I learn.
Fine job Kim
. Fitz from just about Philly
interesting use of recycling
and what a talented scratch builder
keep em runnin fellas
A copper insulator?
Al has put that coffee loco before lol on here. was my first try at weathering with what I had around the house. Maybe its in the golden key or ask Al and he may put it back on. I have added to it with my own creation of moss along edges as it will be in a swamp scene when ready. Here is a build on that moss.Give it a try you will be surprised. When you blend kitchen green scrubber’s as some of us has. You get the blended stuff but also end up with sort of dust. I took spring green acrylic crafter’s paint. I flopped a bunch of dust on a paper then added a drop of the acrylic to it and mixed. now apply it fast as the stuff will dry quickly. cheap and unlimited amount.
Let me correct myself. It is a twisted wire for a insulator that looked very ugly lol that is the second pic.
I love all information on your site great update.
Kim, great how to. I was thinking that instead of stacking and gluing each insulator, I might try using the small tip of a triangular file and make the stack from one solid piece. Tim
thanks for sharing
Nice idea – thanks a ton for sharing this process – It really well apppreciated
Keep up the excellent work D.I.Y.s
Luved the Loco weathering idea
Hi Tim. I gave that idea a try holly cow was a pain. Give it a try and let me see if I can be done. I believe there is no cant do it. I will give it another go since Tim has gotten me going lol. thanks Tim. when done your test show me please.
Thanks for the info. I am anxious to attempt to duplicate it. It looks very realistic.
Looks pretty Kool.!!!!
Instead of going through all of that work, you can pick up small threaded plastic drywall anchors. They look almost identical to what you made. Just a thought.
good tips