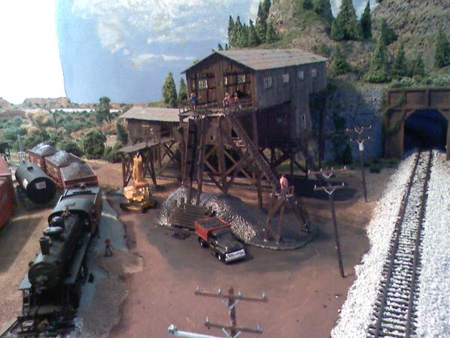
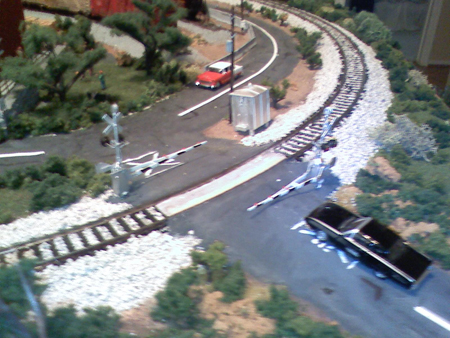
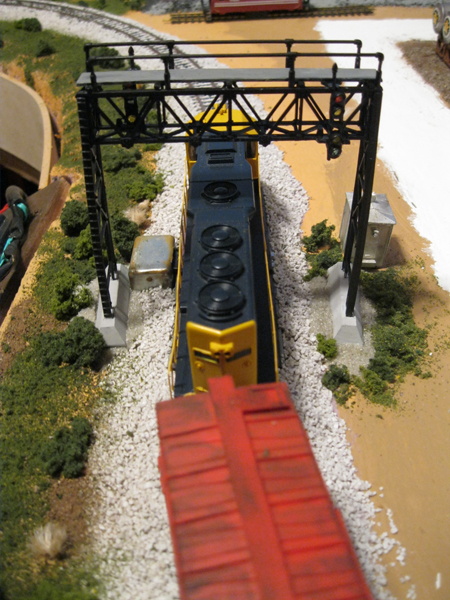
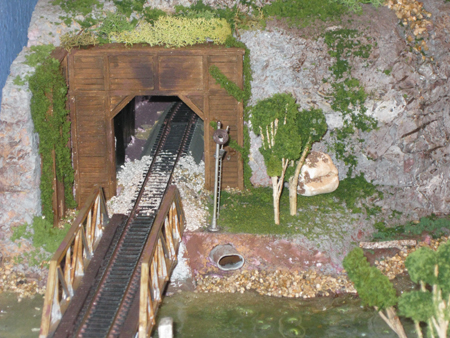
Jim’s a man of few words, no words in fact, but he sent these pics in:
“Howdy Alastair
“I couldn’t begin to pin down one “great” tip except as I said – be patient. The myriad aspects of constructing a “showpiece”model railroad are as vast as the universe and equally as confounding to grasp.
Here’s a tip I discovered by trial and error. Over the years I’ve read many articles in “how to” books and mddel railroad magazines concerning water tank bands. Even some of the great modelers sometimes complain about finding the right material, the difficulty putting them on and trying to keep them even. I’ve seen everything from string to wire to painted-on.
I use Chartpak brand pressure-sensitive graphic tape. It comes in a variety of colors (I use black or brown) and a variety of widths sutible for N thru O scales (perhaps even larger). It is tacky enough that it stays where you put it, doesn’t easily warp out of shape (as does thin strips of masking tape) and it can be painted with almost any type of paint normally used in model railroading.
I measure out X number of strips for as many bands as I need and simply tape them to a piece of clean glass. I paint and weather them, then wrap them around the tank using a cardstock spacer. It’s sticky so it takes very little adjusting. I place a tiny dab of super glue gel on each end where the band fastener is to be placed and voila. Although I’ve never had one come loose, I’ve always applied Testor Dullcoat over the top and slightly above and below the band just to help it “stick” over the years. It works better than anything I’ve ever tried.
Walt”
One “trick” I regularly use to repair smooth surfaces where “damage” has occured i.e. a drop of CA , solder etc. or even to fill in a low spot and smooth out later, without doing more damage.
Firstly cut strips of 4/5 mm wide wet & dry 400 grade Press w/d against raised area with finger tip use other hand to withdraw w/d firmly move finger whiledoing this will smooth out any tendency to dig a hole in the surface , and blend in with surrounding area.
I know its not much , but my idea of a “good ” modeller is one who is a good repairer of his own mistakes , this is pretty close to my skill level..
All the best
Mick”
“Here’s one: Don’t nail down track if possible, and don’t ballast points until you’re 100% sure things are right.
Use glue inside. That way you can remove track if you need to, which you almost certainly will because getting the right track plan first time seems impossible! Flexitrack is fairly cheap so wasting it isn’t a big deal. But points cost a fortune, so you don’t want to buy new ones if you can help it. It’s so easy to put points in the wrong place that you want to be able to remove them without any risk of damaging them.
Cheers, Neale”
“I have a tip that folks my want to use.
I fill my empty plastic pill jars (from the drug store) with quarts, nickels, dimes and pennies. They make excellent weights for holding building walls flat after painting, when they try to warp. They are also good for holding parts together when gluing parts together.
Enjoy!
Jim”
“I take the tabs off bug spray or any other spray, paint them and using them at diving boards for lakes. They are perfect for HO
RB”
“Yes, you can make HO scale “lumber loads” by using wooden kitchen matches.
Cut the heads off, stack and bind the “lumber” using thread or thin jewelery wire.
Helford”
That’s all for this time folks. Thanks to everyone for sharing their tips.
Please do keep ’em coming.
And if today is the day you get started on your layout, the Beginner’s Guide is here.
Best
Al
PS More HO scale train layouts here if that’s your thing.
Need buildings for your layout? Have a look at the store.
They are great fun to make and great value too.

Hi Al, great to be your facebook friend!
I like the old coal mine next to tunnel, great scene, but I might suggest that you die your ballast Black/Coal or replace with to match up with that coal mine scene.
I might also suggest to make your tunnel interior walls deeper into mountain entrance for train light approaches.
Great work Though!
Thomas
Great pics, neat layout
Hi Al, I enjoy your newsletters and the other bits and peices you’ve sent me over the years, so thank you and keep them comming, please! Especially the ones relatting to other modeler’s layout progress as I find these supply good idears for our layout, now and then one jumps off the screen.
this site is amazing it just keeps me wanting to do more to my small first attempt layout i save all the tips so as i need them can read up .one day i might be able to send a tipthanks very much.
A tip that I learned and implemented is to attach the points to your layout with double sided carpet tape and spread ballast over them. Then vacuum the area and only a fine layer of ballast will be stuck to the tape between the sleepers, and you won’t have to worry about glue whatsoever in the points.
Very nice details and layout . Looks good . Thank you for sharing your work .
sweet