Alan’s been very igenious with adding another fiddleyard:
“Hi Al,
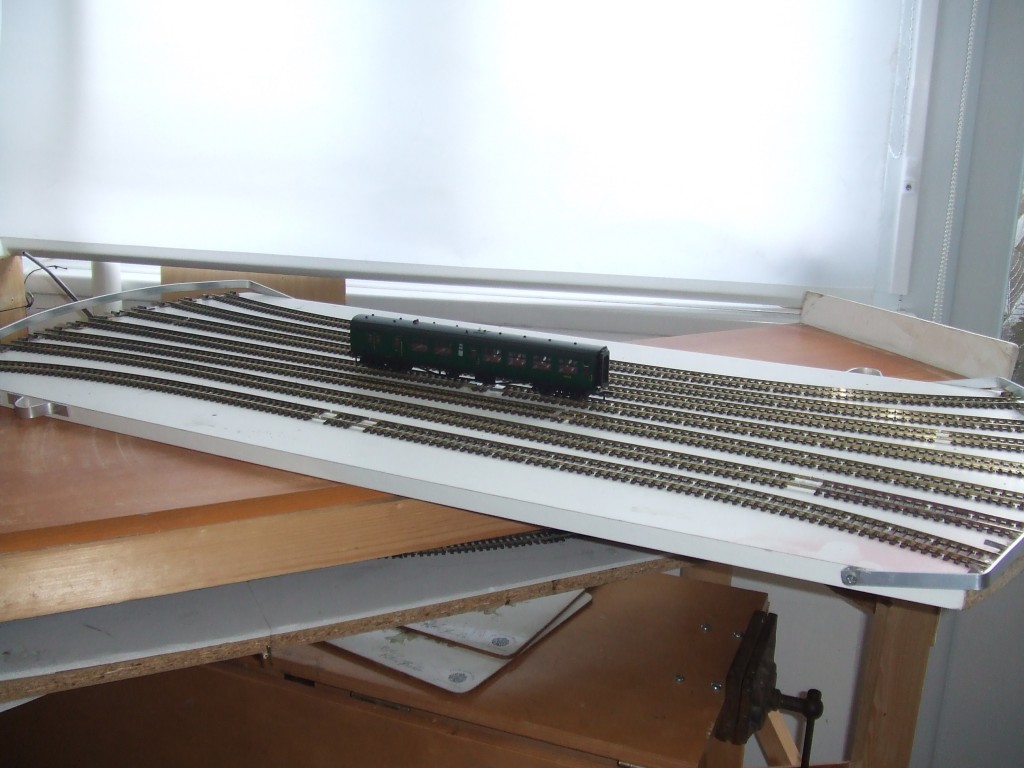
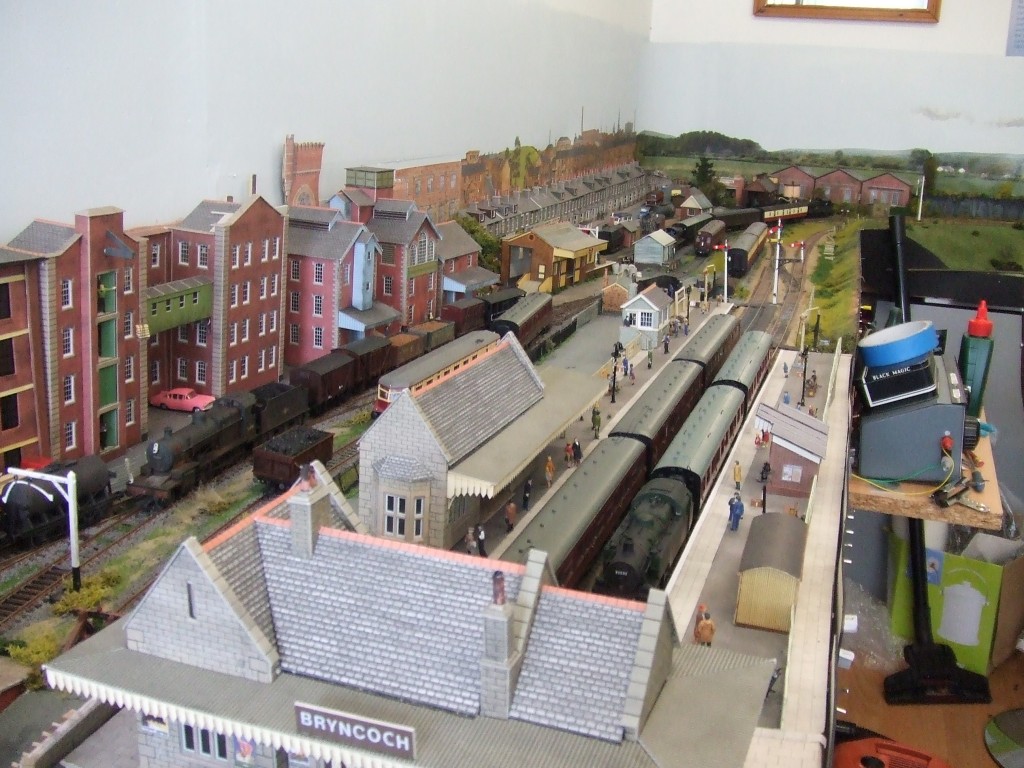
I seem to have too much stock, so my turntable fiddleyard is overflowing. So what to do? Well on the secondary branch of my layout there is a short tunnel which is a dead end.
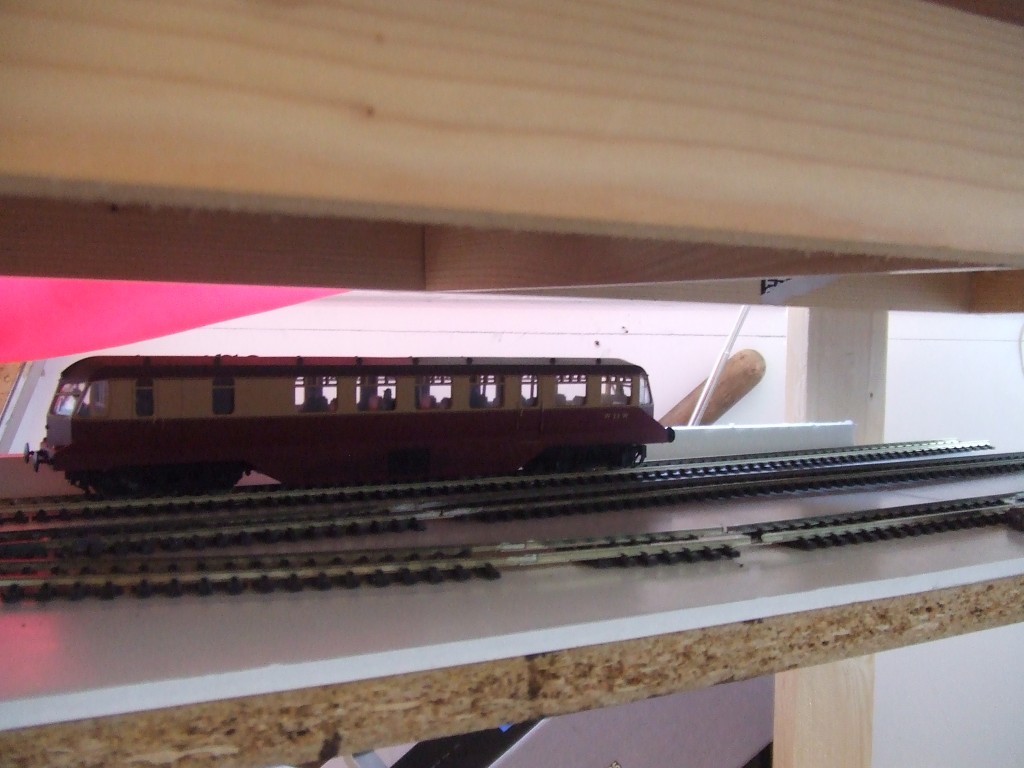
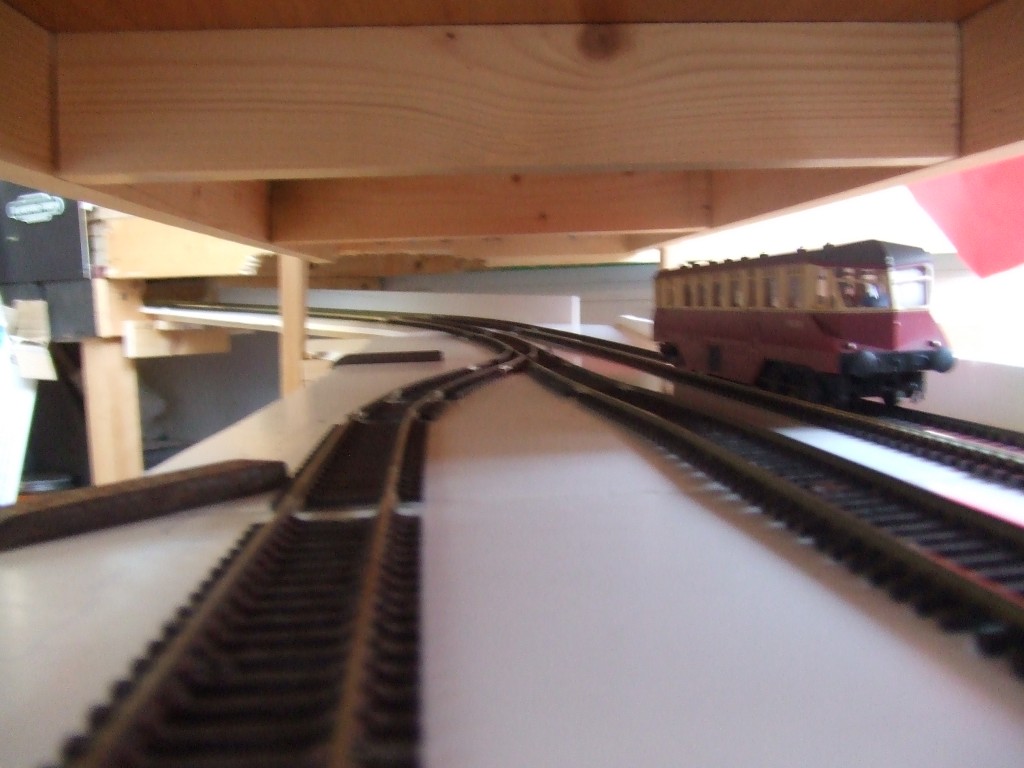
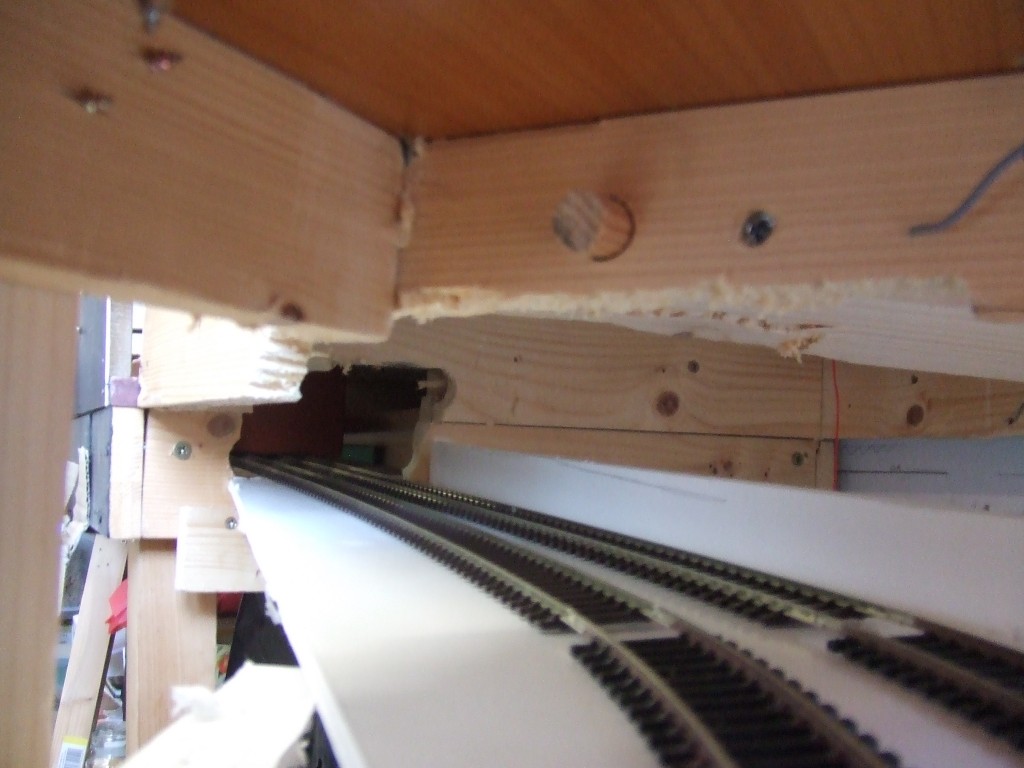
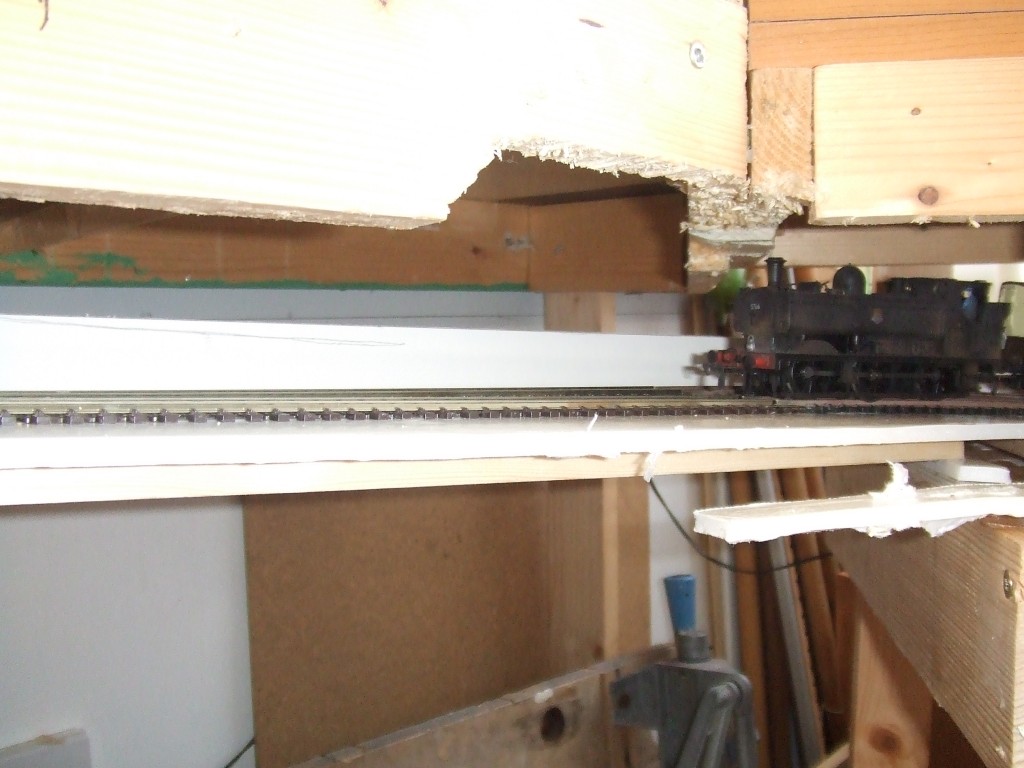
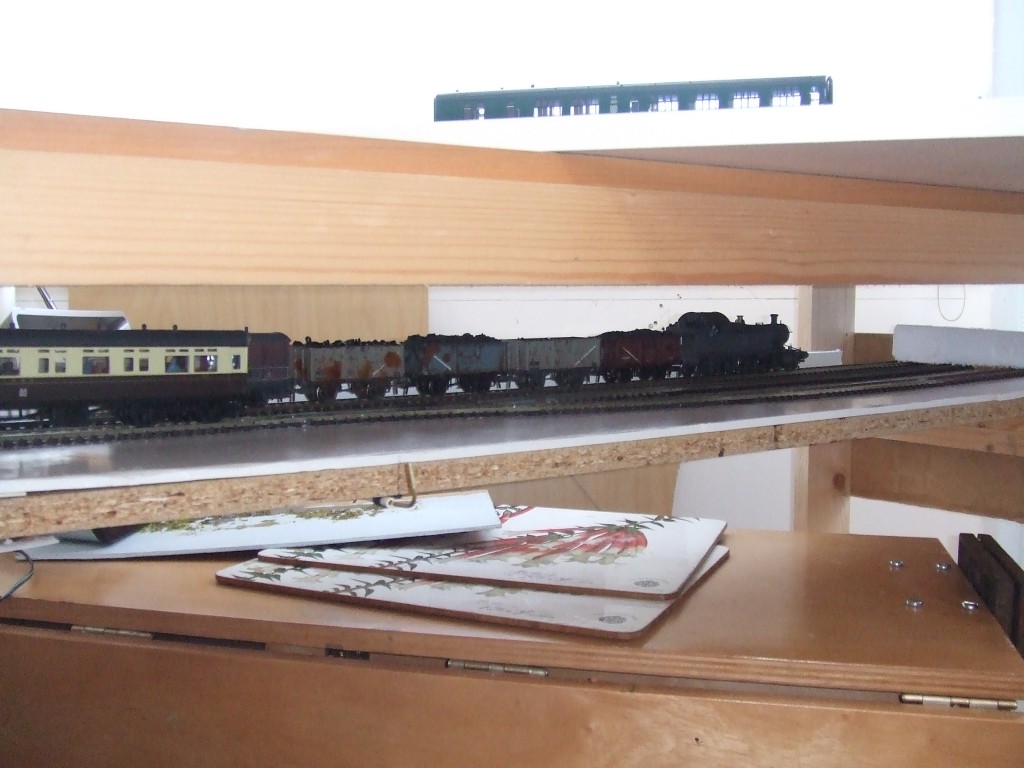
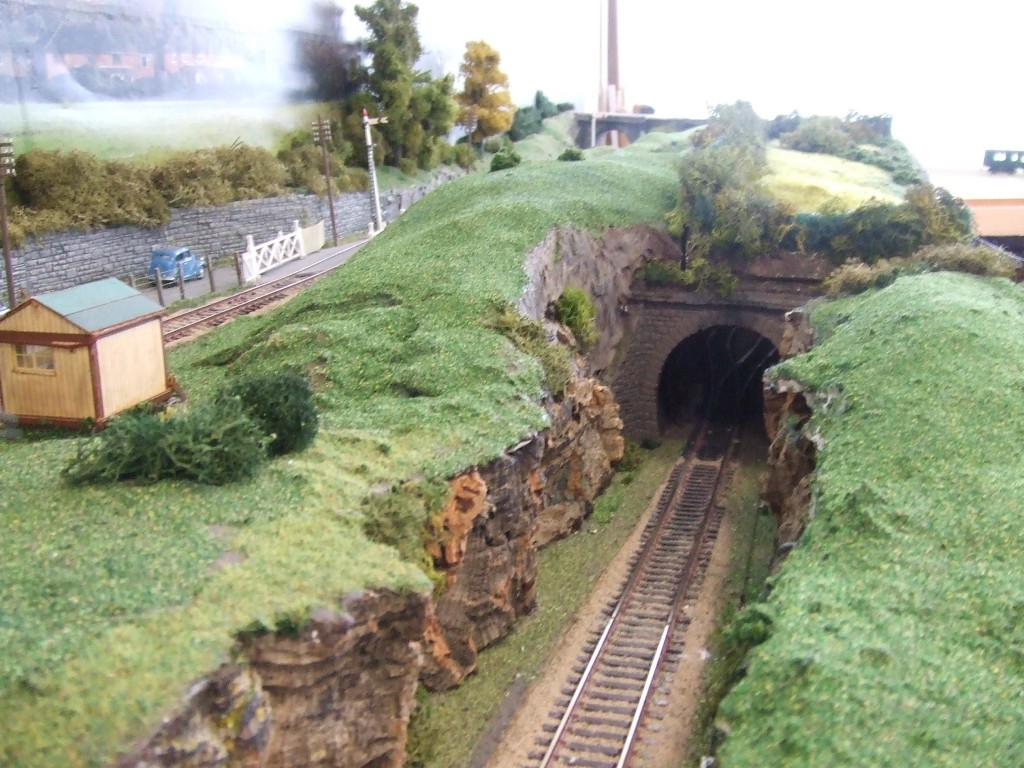
Immediately inside there is a point dividing into two short tracks which can accomodate a diesel railcar and an auto train. So what if I open up the other end of the tunnel and create a second lower level fiddleyard?
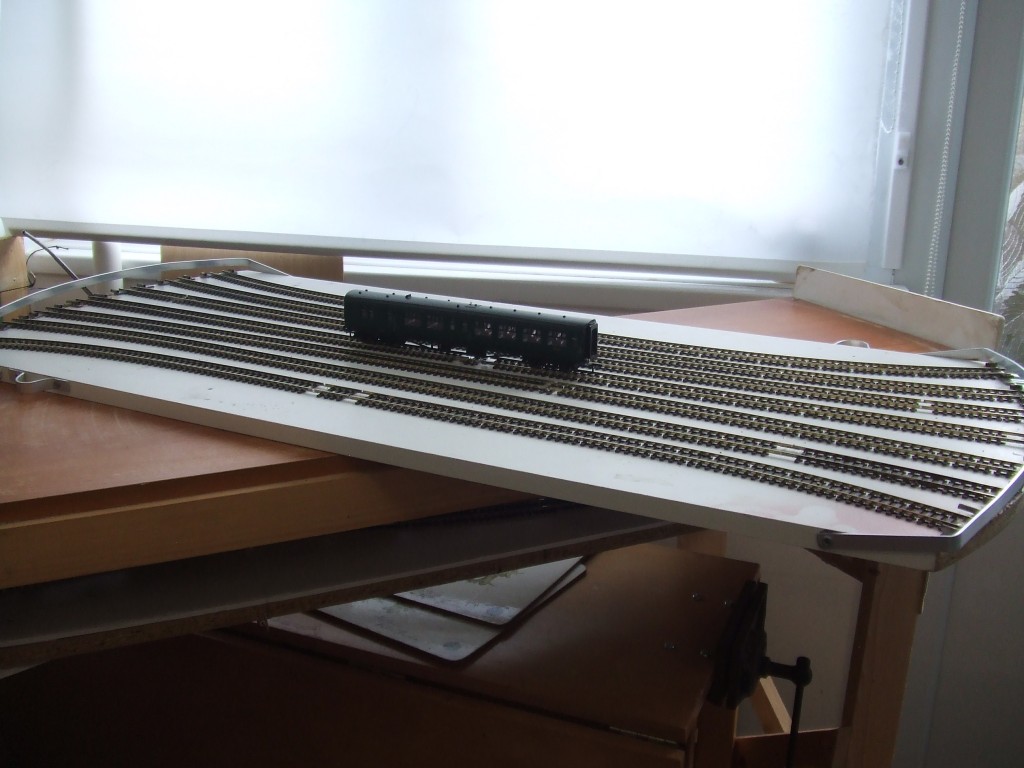
Well that is what I did, and although not completely finished I thought you might find the pictures of interest. I had to move all the stock to the other end of the layout, hence the empty turntable. There is quite a steep incline to the lower yard so only short trains could be used, but there are 3 longer storage roads.
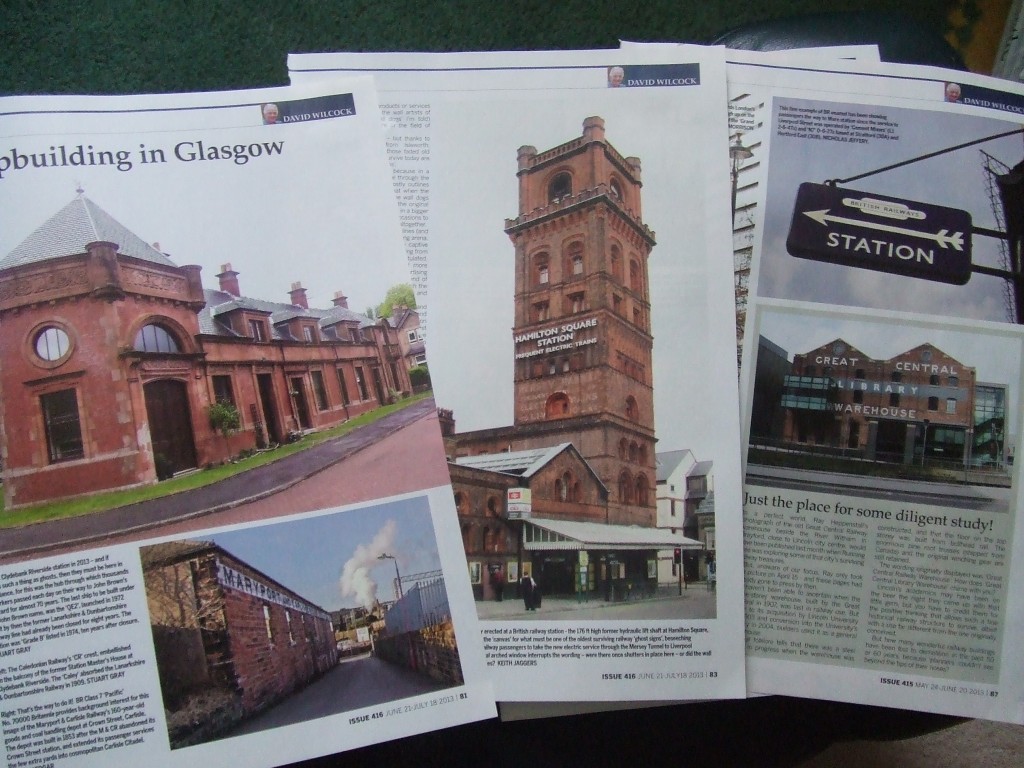
Another thing I would like to mention is that sometimes steam railway magazines feature old railway buildings and some of the pictures would make excellent additions to backscenes, see photo. I have used one myself but I cut out any that may come in useful in the future.
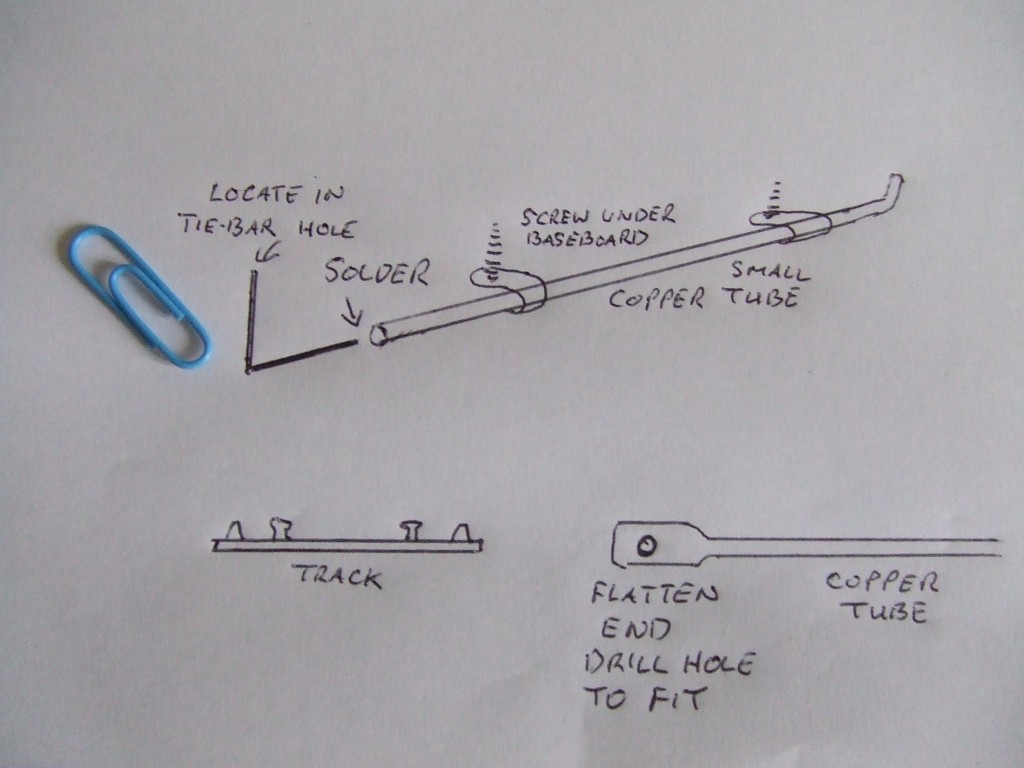
Lastly, I do prefer manually operated points. Electric ones are sometimes necessary and indeed I have several, but if possible I try to operate them manually. If a problem arises, is it the motor, the switch or the wireing? If it’s mechanical, you can see the problem. The last picture shows two methods I use.
The first is if you can use the hole in the tie bar where the motor arm would fit. I sometimes use a straightened out paper clip then bend to an L shape after cutting to length. I solder that into the end of a small copper tube, which is then secured to the underside of the baseboard using P clips or even a chock block (electric junc connector)
The second method is if for some reason you cannot access the tie bar hole. Flatten the end of a copper tube & drill a hole to fit over the lug on the tie bar. If it’s possible to place the tube on the surface (you can disguise it by various means), then it’s easily secured by P clips. But if it has to go underneath it’s a little more involved. It may be necessary to join 2 tubes together. You will have to drill a hole next to the tie bar large enough to allow lateral movement of the operating arm . The tube has to be bent to an S shape and fitted through the hole and then secured to the underside of the baseboard. Again, you can disguise the hole with foliage or something.
I hope the above will be of some use to all your followers.
Happy modelling
Alan”
A big thanks to Alan.
I do love seeing how people solve their layout issues. A very ingenious idea from Alan.
That’s all this time, folks. Your latest ebay cheat sheet is here.
That’s all for today folks.
Please do keep ’em coming.
And if today is the day you get started on your layout, the Beginner’s Guide is here.
Best
Al



Hi Alan.
Thanks for those tips – good point about simple point operation ( pun intended ! ) and the low level storage gives me thoughts for my model. Your layout is looking good; particularly that tunnel entrance – looks very realistic – well done.
Back in my younger days where cashflow didnt permit electric point operations, I solved the problem of points out of reach by using bicycle cables. They were fully enclosed in those times. Was only 10 at the time (now 56) and no rear brakes on my younger brother’s bike was a secondary issue to the train set problem. These days, the boot release cable in a car (wrecked of course) would work well for longer distances.
Can I ask the question? Why not run a wire through the copper/plastic tube? this wire can be fixed to the tie-bar on the point and if the need is to curve the pipe to fit, the wire will still be easy to operate from the side of the layout. Maybe use florist wires which are thin yet firm.?
Wire would not jandle the “push” part of operation the points. Wore would have to be stiff as a clothes hanger in order to function in this capacity. Like the lower storage and great work on the scenery. Tun el entrance is awesome!
Correcting last comment. Wire would not handle the pushing part and the wire would have to be as stiff as a clothes hanger.
Very good job Alan!
I also have always favoured manual points as you do, wire-in-tube with cranks and sometimes pulleys, sometimes micro-switches added on when needed. The only one that has electric motors is the Trix double switch that had the motors included. This means of course that I obviously use Trix. Why? the eledtrical continuity is perfect, there is no need to add feeders. Stabily and the ability to accomodate wheels ranging from RP25 to old Triang stock and Hornby Dublo 2 rail (I replaced the wheels of the front bogey of locomotives). Pre-ballasted, they save time, though I didn’t like the appearance, I weathered the rails and spread a very thin coat of N-gauge ballast over them, then lightly weathered again. It’s faster because the ballast is already there.
I think it’s a great space saver, and also a money saver
Well done there. i am in the process of building a 30′ long by 4′ maximum layout with a shelf under storage more or less the same size and want to make automatic switch-overs so that as one train goes in another goes out. You’ve given me a couple of good ideas thee. Thank you.
Great idea Alan. It keeps an assortment of stock at hand yet out of the way and under cover. Also less chance of getting dusty and getting knocked over
and damaged. You have a fine looking layout.
Thanks, Alan. Great stuff. And I, for one, would sure love to see more pics of that beautiful layout.
Alan,
Wonderful tunnel, wonderful ideas reference switches, wonderful layout, what else is there to say just
WONDERFUL!
PS: Can’t wait to see more pics even maybe a video?
regards,
tom
Great idea and thanks for the viewing, would love to see more of your layout as well
Hi Alan, great tunnel, love to see more of your layout.
Just a point regarding push-pull wires; my local model train supplier has piano wire in a range of thicknesses and strengths. Something about 1mm would plenty stiff enough for this task, especially if supported a tube – not necessarily the full length of the wire.
Keep up the good work!
Confirming what Don says, on a past layout I had a couple of points worked by piano wire from centre-off panel-mount slider switches set into the baseboard so that they were in finger-holes under a removable section of cutting-side. The switches fed the correct polarity to the point frogs and I found I could just drill through the raised “handle” part of the switch to take the end of the wire, bent round at a right angle. So, one push or pull and you had dealt with both moving the blades and electrical feed. To keep the wire from bending, I tapped in panel pins in pairs either side of it, and protected it with a bit of halved straw where it emerged through the ballast from under the scenery, to stop it getting blocked with grit and dirt. The length was no more than six inches, however, and the runs were straight. If you need a curve in the route, you need a more flexible wire in tubing.
YOU ARE DOING NICE WORK.
thanks for the manual tips on points .just about to build ,so money saving tips are a must.thanks
chammers
Hi, what you show is not a turntable, it is a sector plate.
That tunnel scene is exquisite! A great model thankyou for the tips
steve
Thanks for sharing. Great looking layout with some fine landscaping.
Jim AZ
I understand the concept of the lower fiddle yard and it’s good, but can you actually view the yard from the control panel or is it covered up and its a by guess or by golly time of thing where you’re not really sure where the cars are? Also it looks like there’s a low clearance so is it high enough to reach in and put derailed cars etc back on the tracks?
I have also used guitar strings (the wire kind) They are stiff, come in a variety of sizes, and there is an unlimited supply if you know a guitar player (get the ones he replaces) for free.
Beautiful work, Alan. Your tunnel entrance is particularly fine!
I’m having a difficult time on drawing a layout that fits a 13′ x 18′ room.I want 2 levels with a helix any one have any plans?
Very creative, it turned out very very nice looking.
For Ken Roth: Your request sparked my interest at once, and ideas began to form. What about a kind of dog-bone along the walls with a city or town at each end? If you consider scale H0/00, i would like to draw a rough sketch for you next week.
Soren
For my points (turnouts) I have used old model aircraft cable controls BUT for the past 30 years or so I have used piano wire that I have purchased from my local hobby shop…Cannot tell you the exact size that I use BUT I have had it reach over a foot without issues…
I like the bear to the left of the tunnel.
To Martin and Mark, I use Florist wire thru Evergreen 3/32″ tube to control turnouts in my yard. Works like magic.
Ken Roth:
would be useful to know what scale you are wanting to use.
Great use of space, and I agree with your assessment on electronically-operated turnouts (switches). I prefer manual as well.
Al, HI. 😊. I get your e mail daily and really enjoy them.
I live in Illinois and this is home. I never sent a message but I thought I’d do this for the first time.
My thought is on Stevens N scale layout. He gives the size but it’s all in metric numbers.
I have no clue and got to go look up how big is a meter, a cm.
Too bad they can’t give both sizes.
Anyway I started a layout in Jan after getting back into this hobby after 53 years. I love reading info from others for items I need and am working on.
I’ve come a long way since Jan and again I sporrans enjoy reading your e mails daily. Thanks AL.
My Name is Dennis E. From Gurnee IL.
Alan
Really nice job. The tunnel and lower level is very clever. When you cant solve a problem change the problem.
Manual points to me may give me more operating headaches. The added costs for factory motorized points arent worth it, much too flimsy and unreliable. Tortoise motors dont work on elevated lines & cost too much, and so I’ve installed servo motors for points with indicating lights so Goofy here cant make a mistake about what’s going where. To me the servo reliability and indication on the control board makes switching easy and worry free. In the heat of the moment I just have to glance at the lights on the board to know if the switches are right.
Big Al
Cheers! Gracias