“AL,
This tip comes from Michigan the land of salted roads and automobiles. “Bondo auto body filler”. I have built trail layouts in basements and out buildings where moisture is a problem. Conventional mountain building material can mold and mildew. That is why I use Bondo. I take metal window screen and bend, fold, and contour it into the desired shape. I use a staple gun to secure it. I add wood blocks underneath for support where ever needed. Then I spread a thin coat of Bondo over the screen. On the second coat I add more contour and detail to the mountain, cliff, or tunnel I am creating. After the second coat it is ready for painting. You end up with a rock solid detailed landscape that is impervious to moisture. The only drawback is the need for good ventilation when working with it.
David”
“Hello again Al,
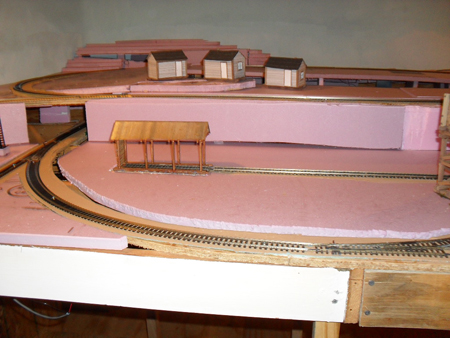
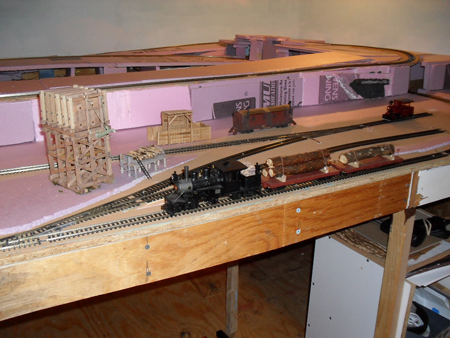
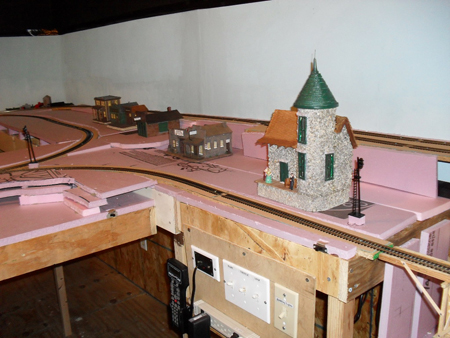
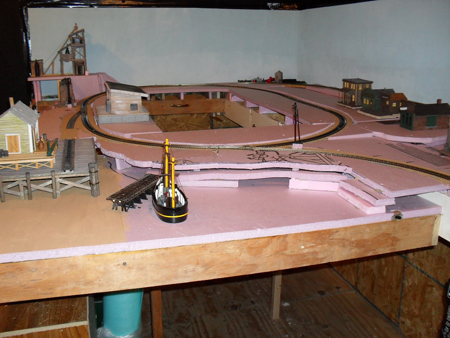
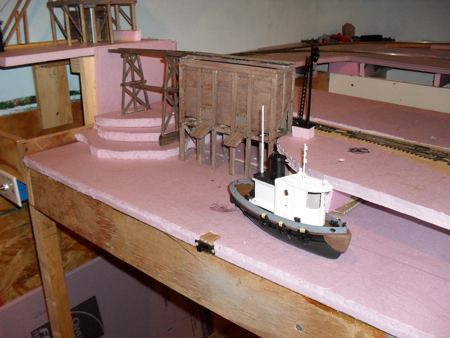
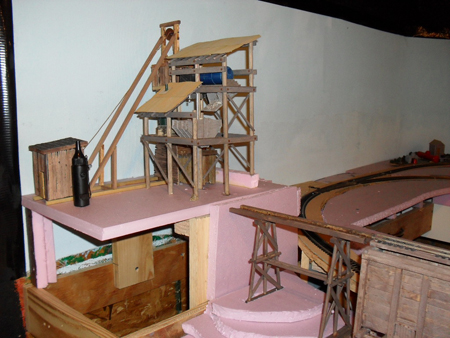
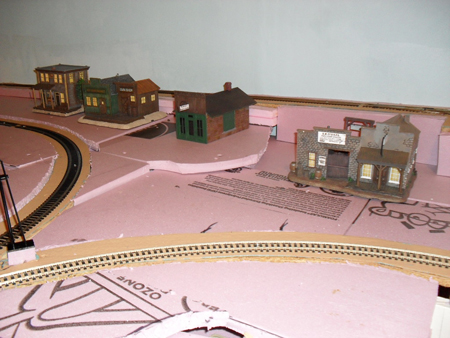
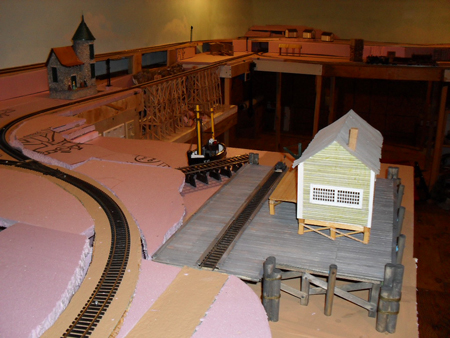
I’ve been busy working on my current layout. I call it My Last Layout because I’m 70 now and I figured it would be my last one. I was wrong! I have been tearing sections of it apart and re-structuring the layout for my newest variation – a radio controlled layout with battery powered locomotives. I sure wish I had known about this part of the hobby before, I could have saved a lot of time and a bunch of money. No wiring, no track or wheel cleaning, just a wireless throttle in my hand and a receiver with battery pack on board (with a DCC decoder if you like) and away you go. More on this at a later date. For now, I am sending you pictures of My Last Layout under construction.
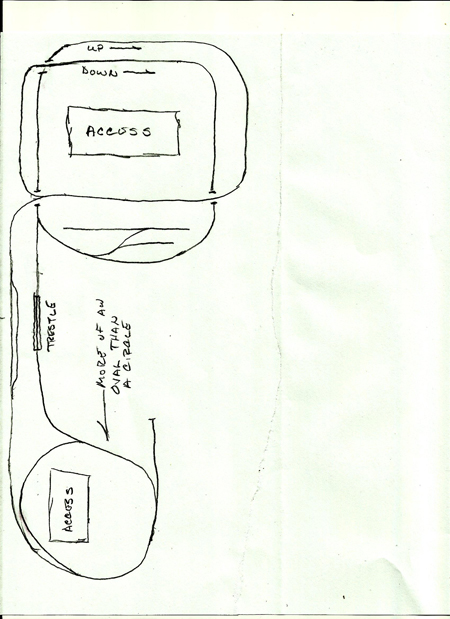
As you may remember from my last posting, I had my Depot enlarged so that I had a new space 12 feet by 24 feet. This would house my new layout and space for me to work as well. I have included a Track Plan (just drew it out on a piece of paper freehand). I lay my track on wood. I used to use plywood but had some problems with expansion so now I switched to MDF, very stable but also very hard. Once I get track down I then begin filling in with foam. I now use foam for most all the layout instead of using screen and/or cardboard covered with plaster cloth because I found it’s much easier for me to put in the scenery on foam (just shove the trees in and done). Also it’s a much easier process if I find I want to add or delete something, just glue more foam on or cut some out.
For those who have been following my progress, you will recognize item’s I salvaged from my previous layout and I found a new way to hold my track in place until I am ready to call things done and start to ballast. I usually ballast last because if I have to move or replace some track during the project it’s much easier if the track is open. I now use small pan head screws to hold my track in place. I use 3 or 4 per each 3 foot section of flex track and none to hold the turnouts. Works like a charm. If you find you have to move or replace track, you just remove a few screws. For those who like to lay track on foam, just cut out a small square section of the foam on the roadbed and glue in a piece of wood. That will give you a place to put the screw in.
This layout will have a wharf area with docks and such. I also had an idea to show my mine operation from above and below ground. Should be interesting. That’s all for now. Next time I’ll get you pictures of the mostly finished layout before I began taking it apart.
Bob”
“I’m but a new re-visitor of the hobby from the 1970’s. My best advise would be to keep the bills from the wife!!
Glenn”
And lastly – another ‘how to’ from Dave. This time, he shows how he uses the static grass applicator.
Best
Al
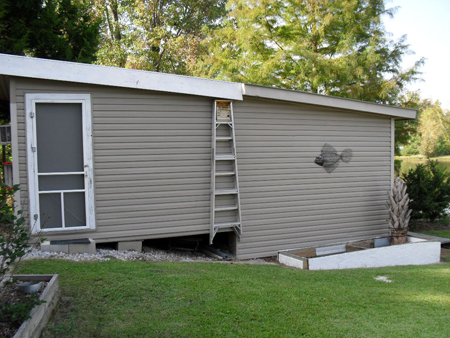
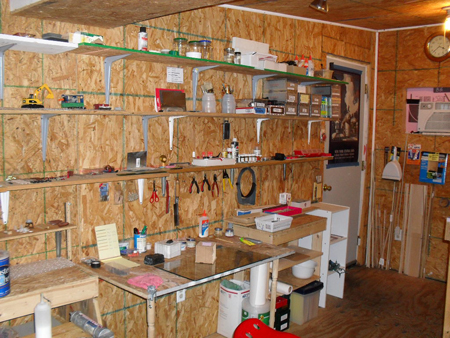
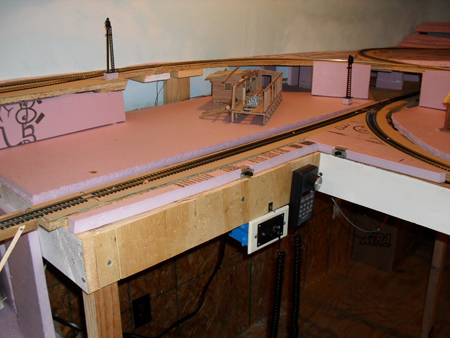



Bob, never too old for new layout designe , I am the same age , and change mine nearly every year …
Realy enjoy your reports keep up the great work
Jim
great pics Glen. I assume its OO or HO but your comment about battery power has me wondering. I didn’t know they battery power for these scales.
i have shown Dave the clip on making Strips and tufts. Watch this space for another clip from him.
Total agreement with you Glenn and the parcels that come through the post,
Nice layout Bob and great space to house it, Mike S
love the advice and so true
Can’t wait to see the finisdhed or landscaped layout!
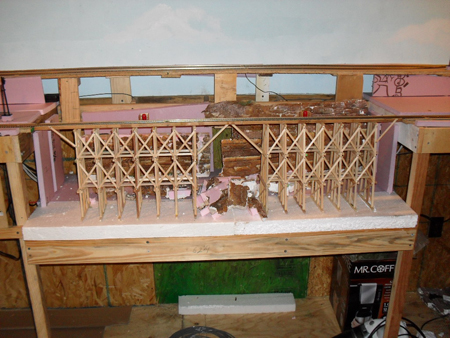
Question Is the train trestle home made or production build ?? And is the retaining walls made of form or paper?
a nice start to a layout.
looks real good so far cant wait to see it finished.
Looks really good, these tips are invaluable to novices. Can’t wait to get started on my layout. Keep them coming.
Like the drop down for the trestle bridge.
Having that extension is a great idea for a den. must consider that myself for my next one; the potential is enormous, and it looks so good to date, keep sending in your stuff please
Grass applicators makes the sceenery look so much more realistic, Thanks Dave
The Trestle is completely home made Eddie. Built it out of 1/4″ stock that I bought at the lumber yard and coffee stir sticks. I did use NBW (nut-bolt-washer) sets that I bought on-line. The wall is made from broken pieces of foam board glued to a cardboard backing. I then coat it with drywall compound (could use plaster) and stain and paint before attaching it to my layout.
YOU ARE DOING VERY GOOD JOB.
Love the send off, “Keep the Bills from the Wife”
Just getting back in the hobby after 50+ yrs. Working on n gage layout now and have found a lot of older rolling stock at auctions and antique stores. Need advice on how to convert the couplers of old rolling stock to the newer knuckler type. Not sure what is compatible and what is not. Can anyone help with selection/brand and tips on how to remove the old and replace with new?