Ned’s been back in touch with an update on his O gauge scenery and track:
“Alastair,
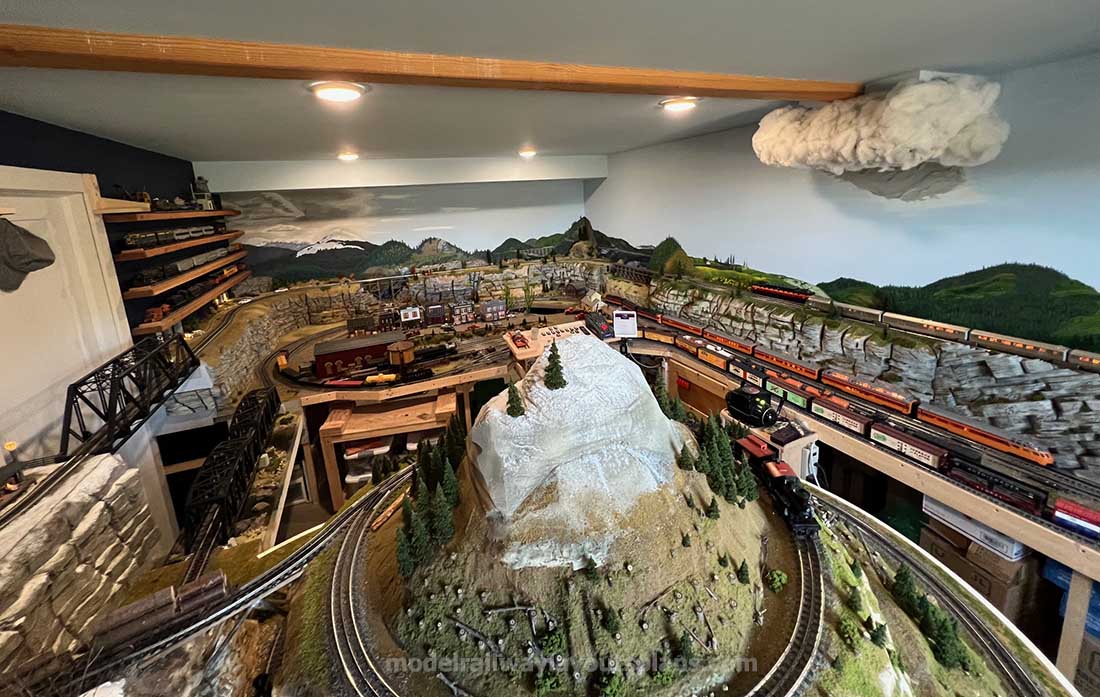
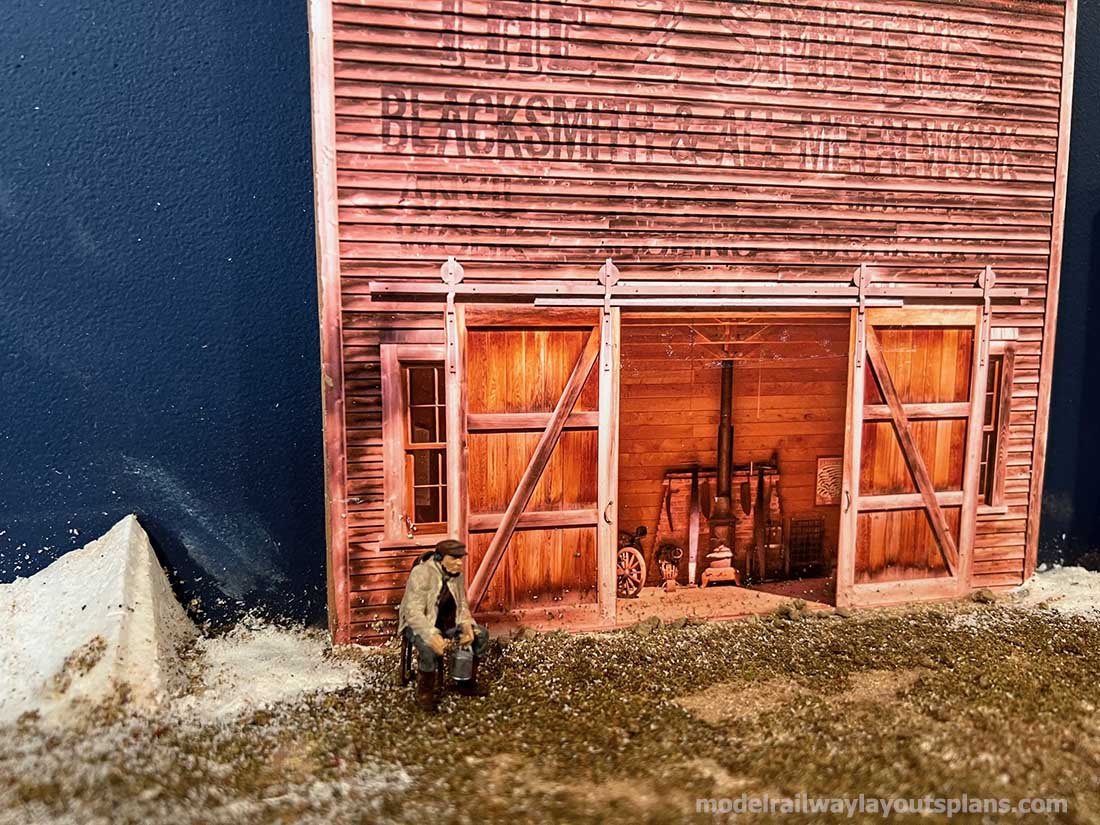
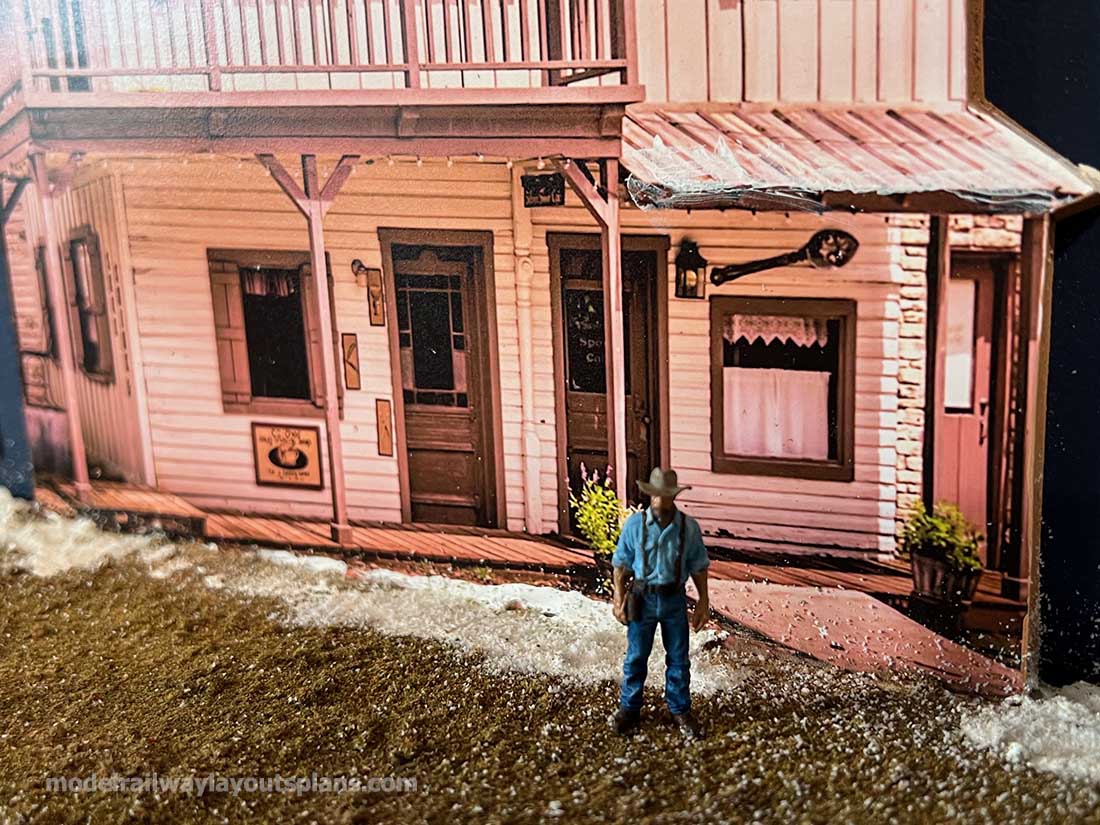
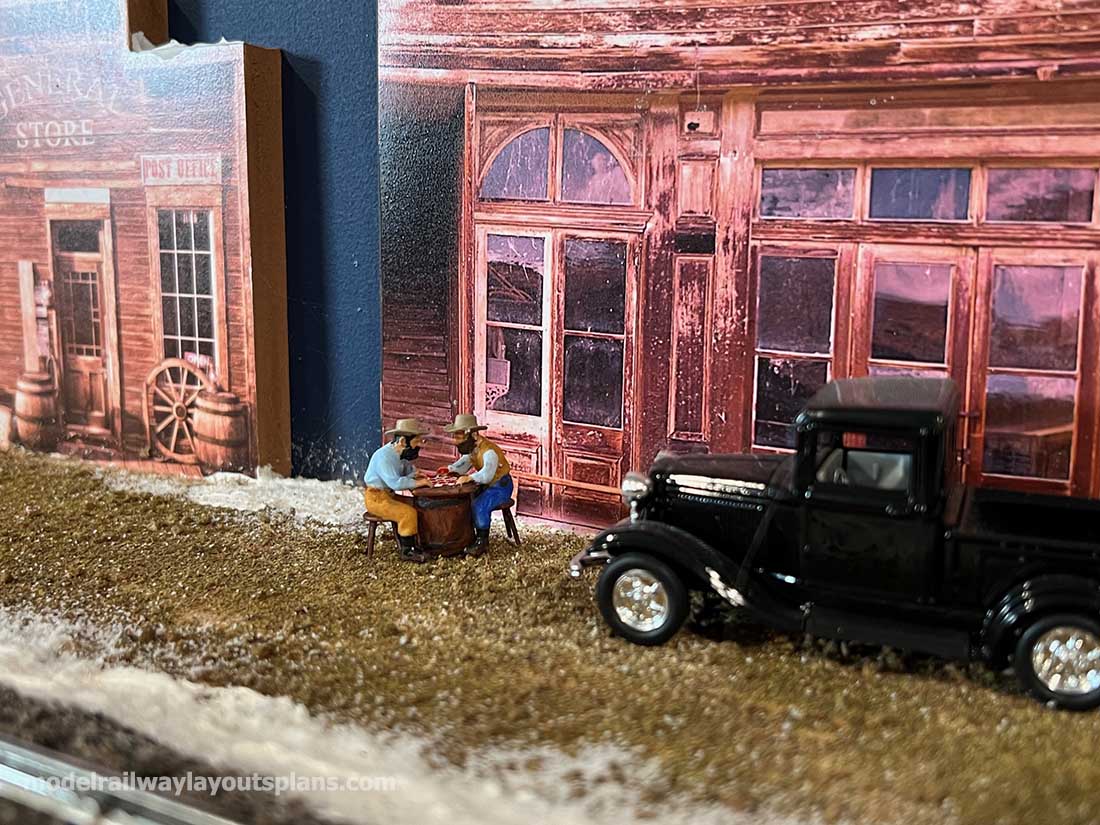
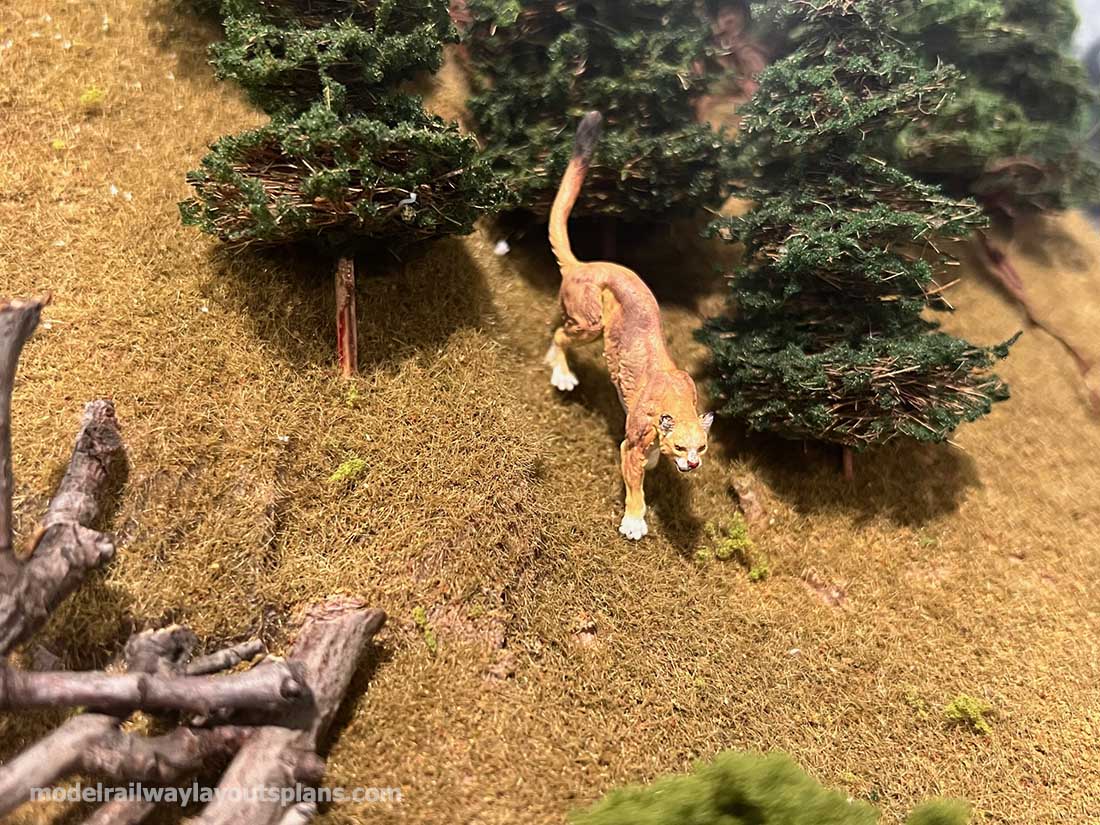
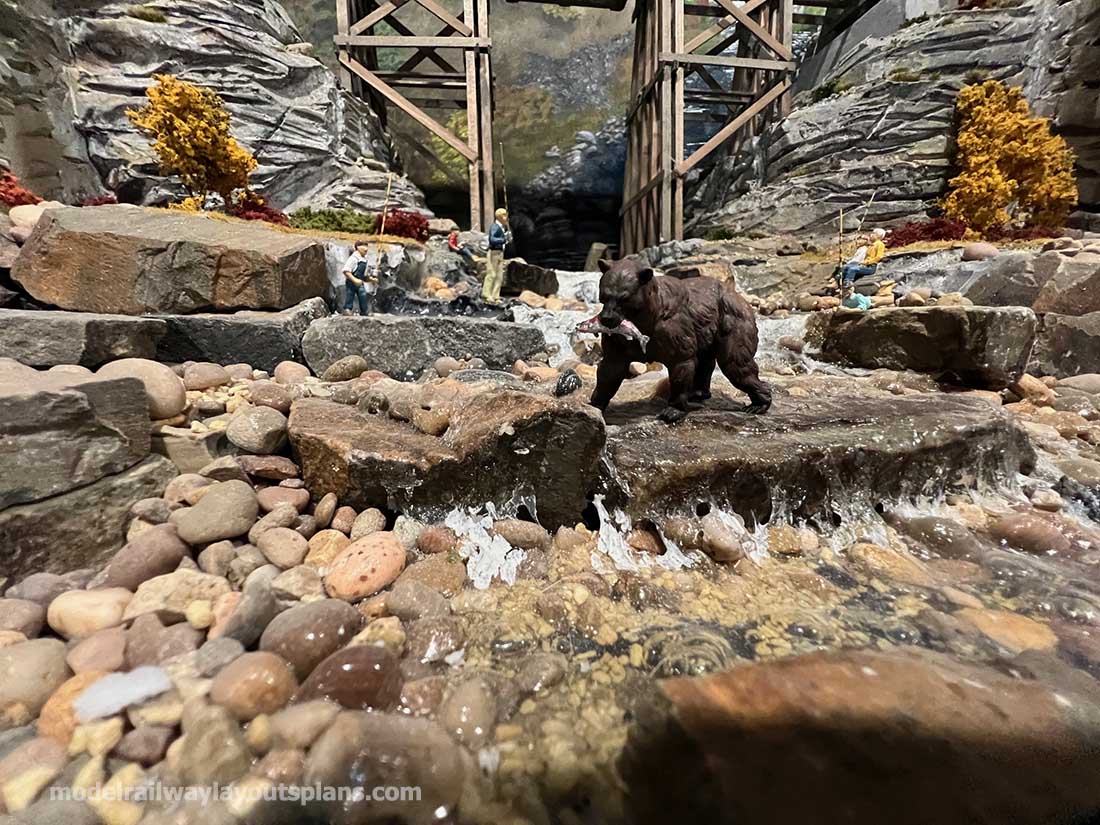
Two years and 3 months ago I started my O-Gauge layout. Most of the major construction is complete.
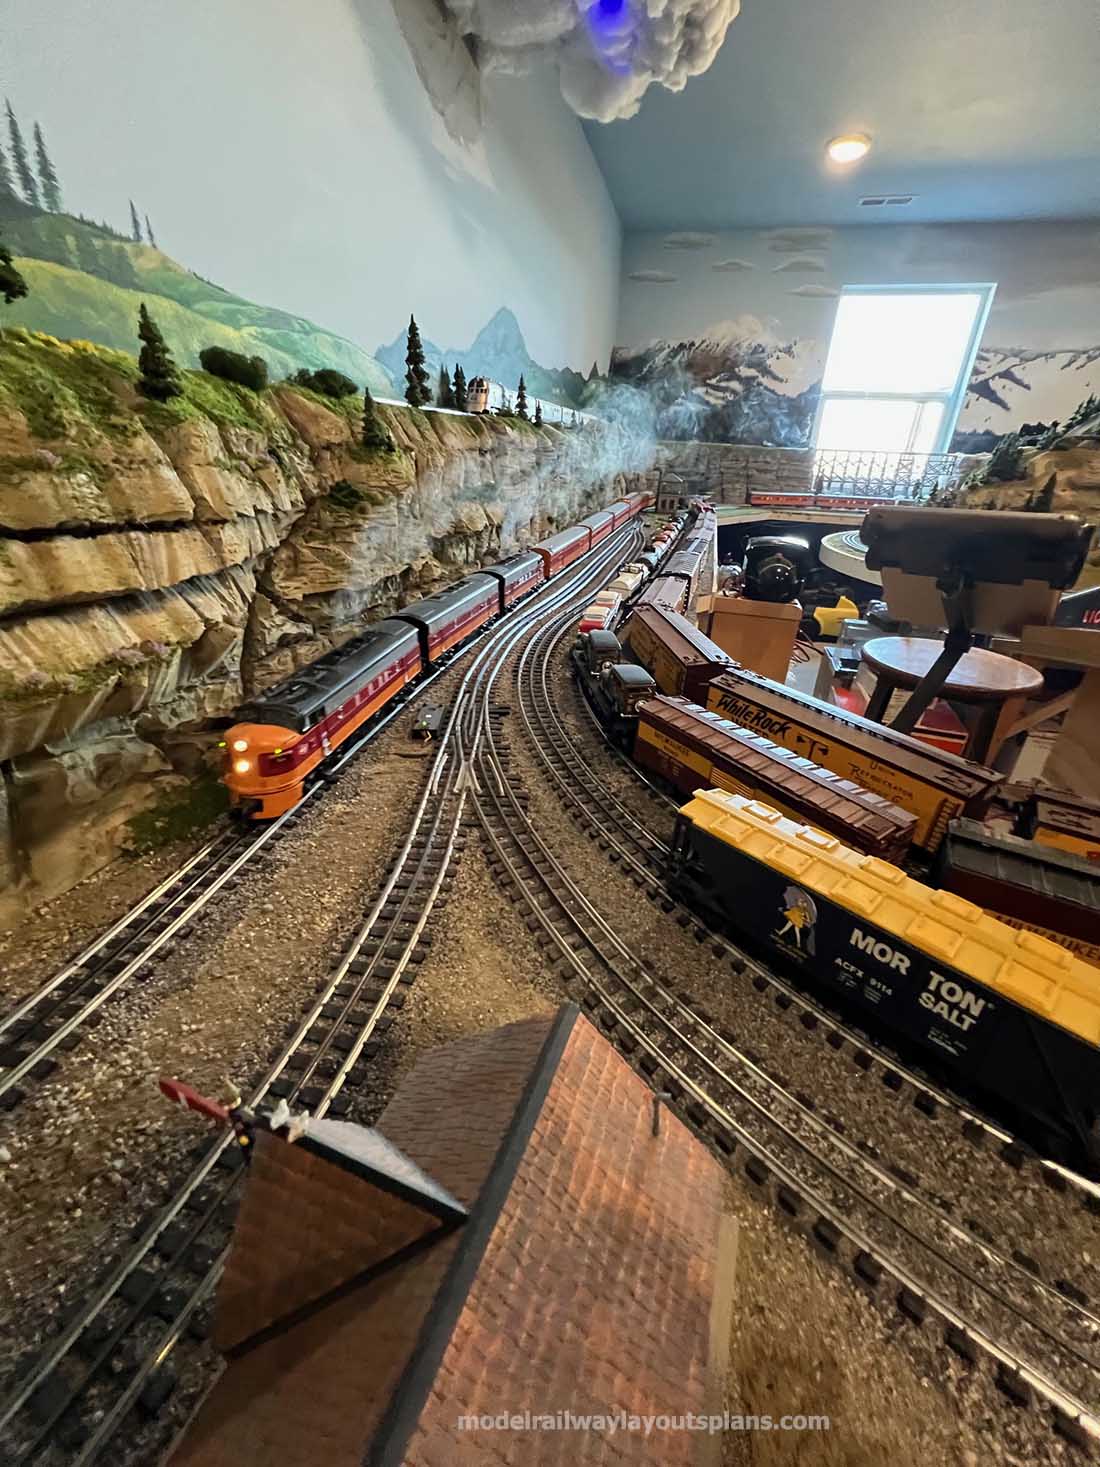
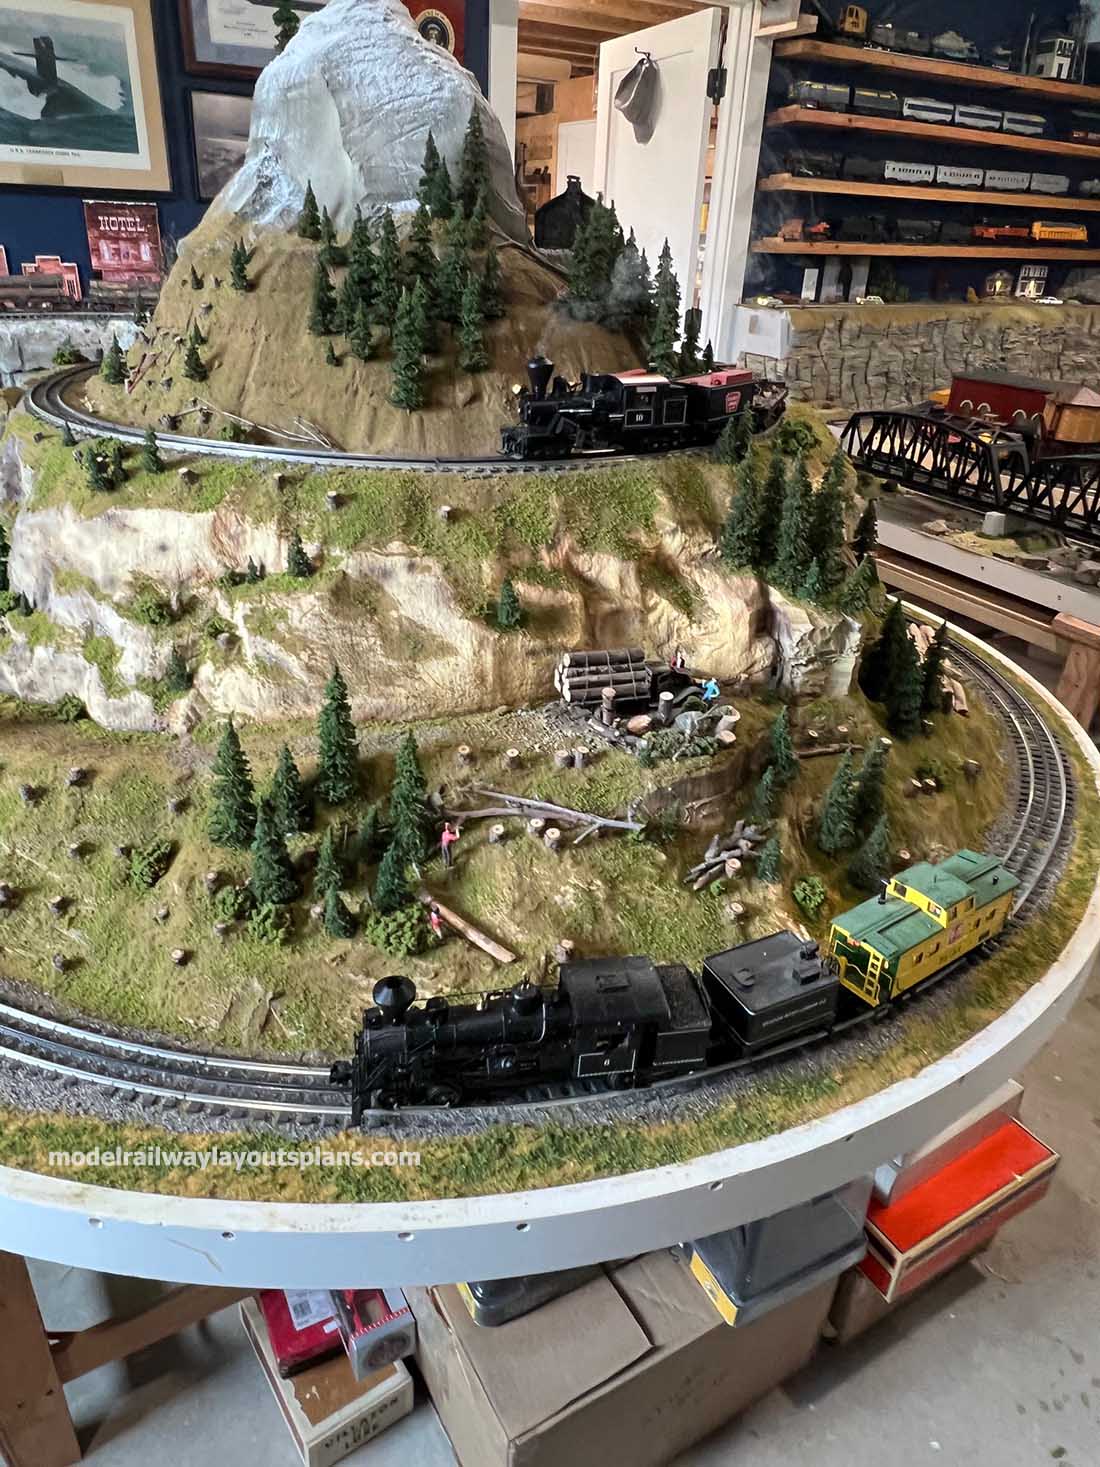
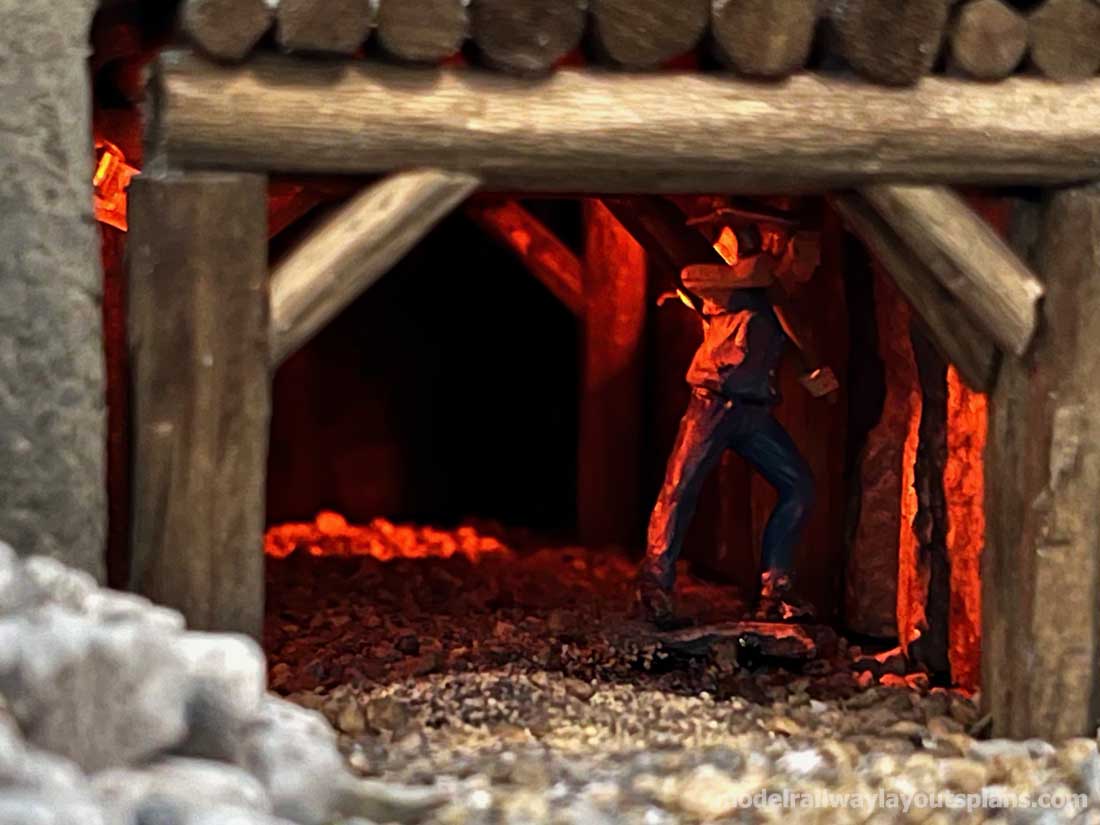
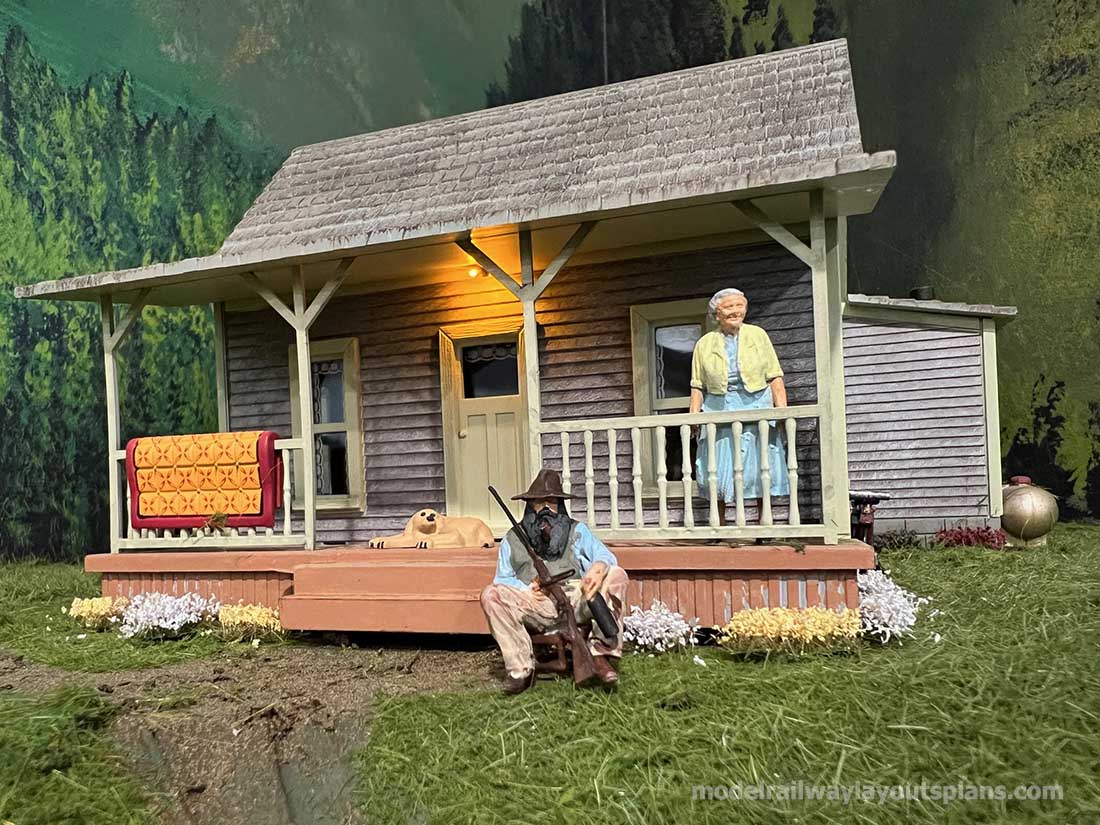
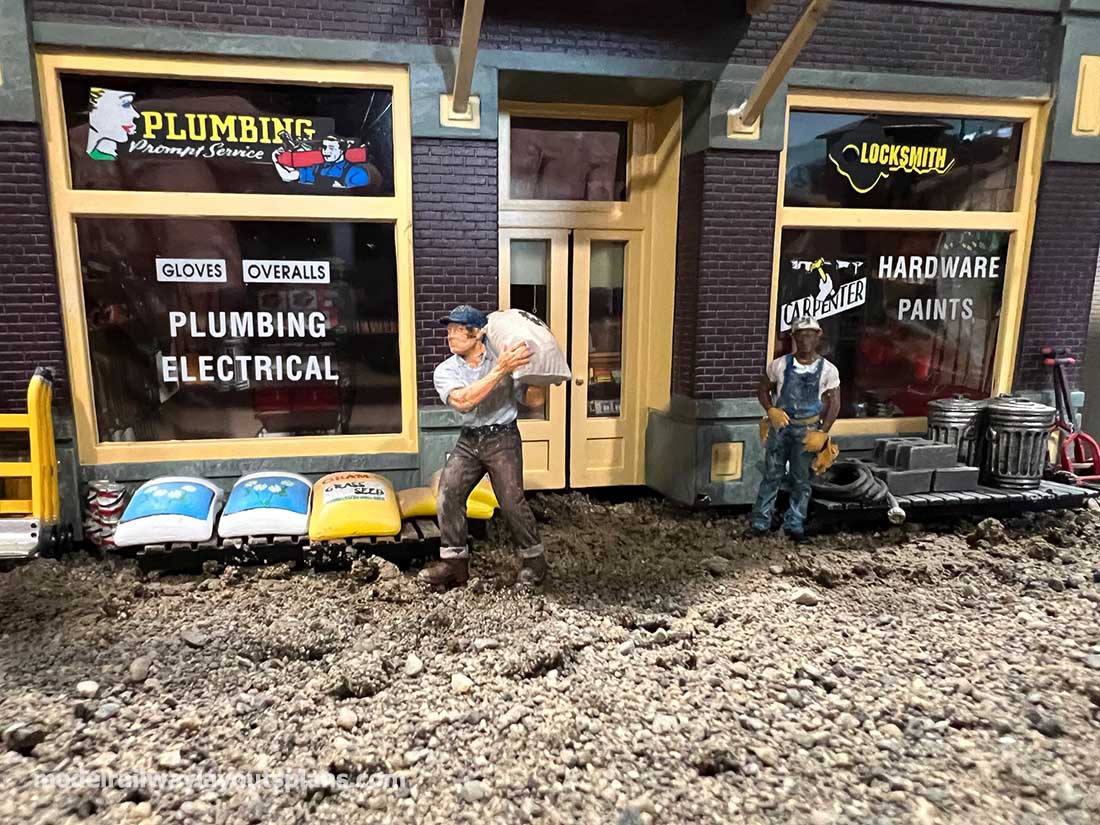
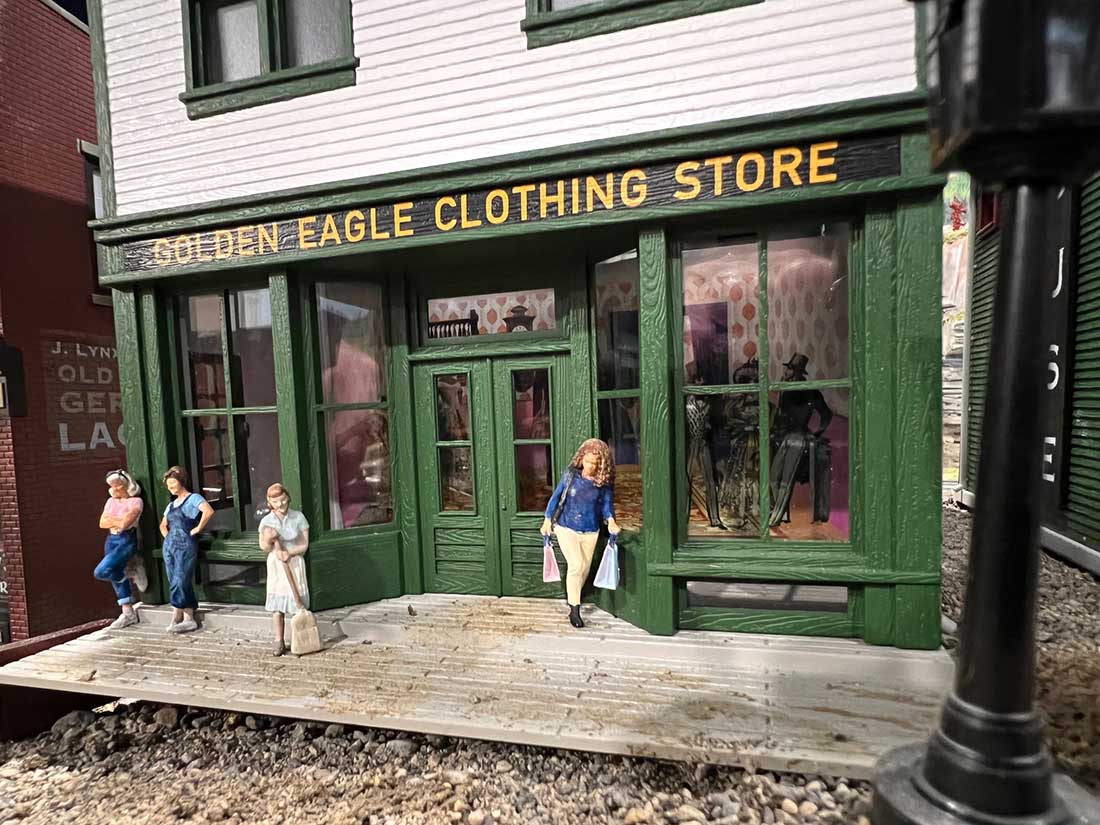
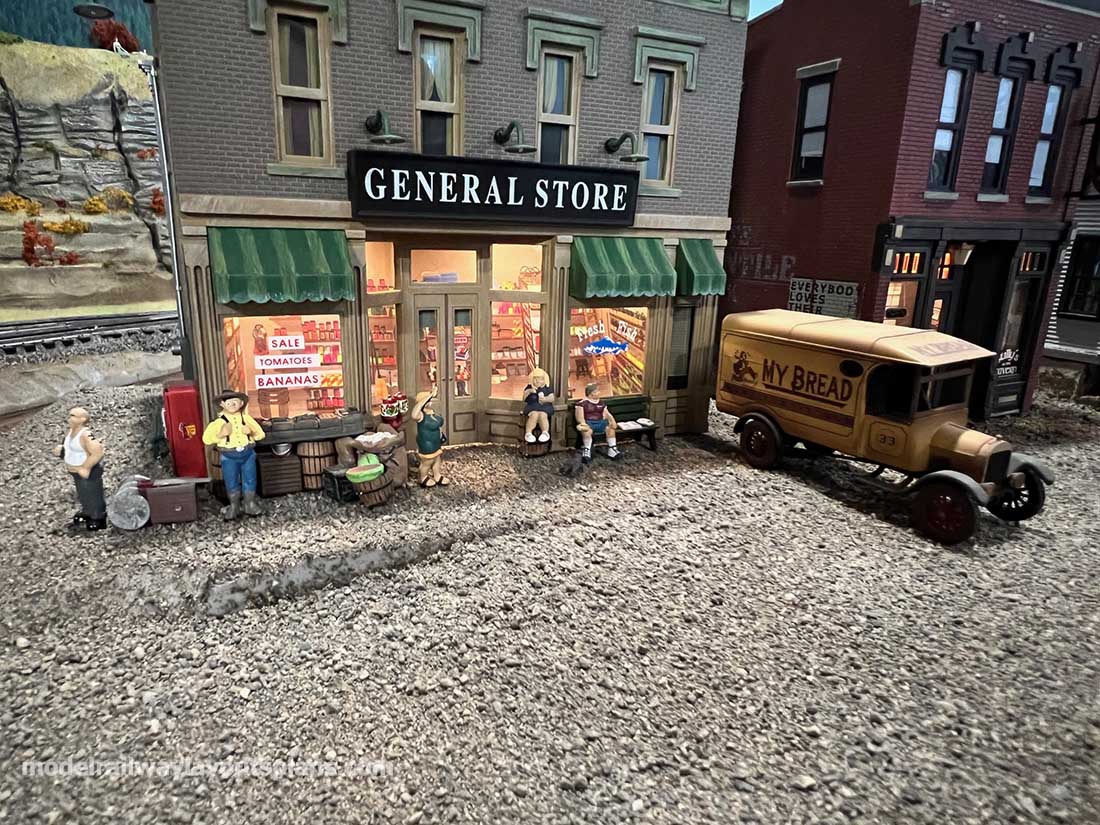
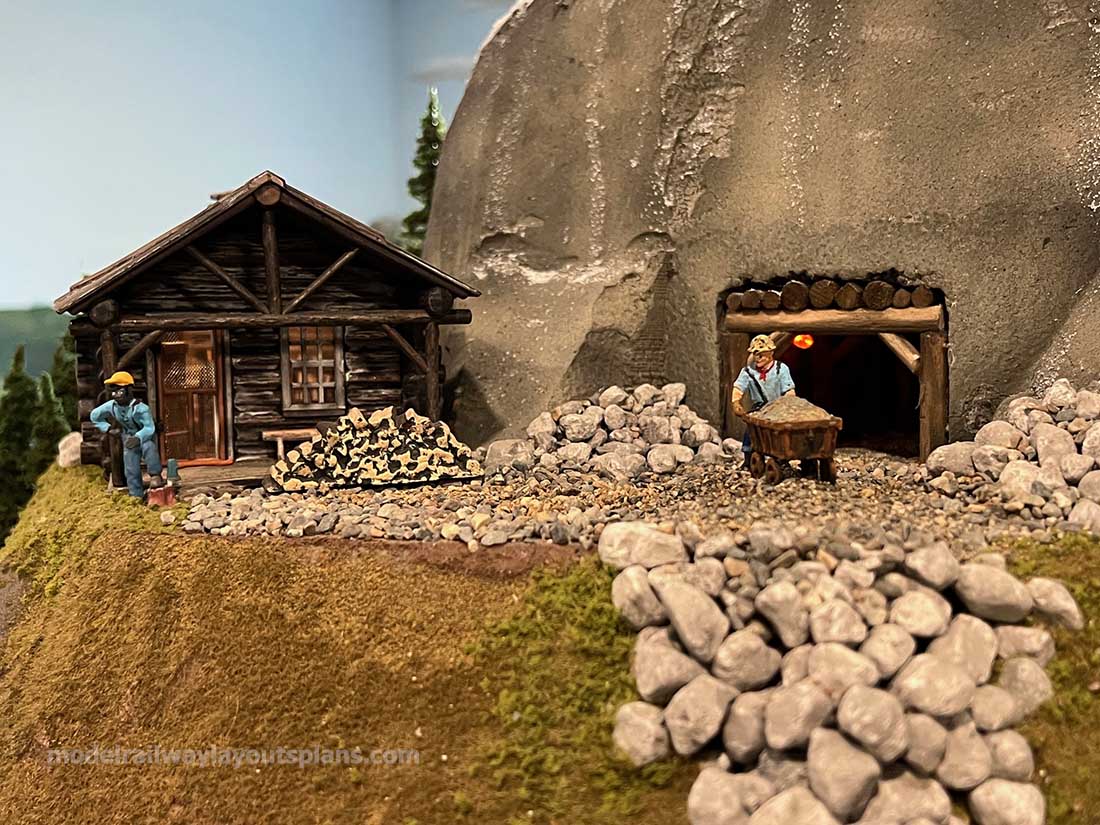
Now it is time to add the details and clutter that enhances realism and tells the story.
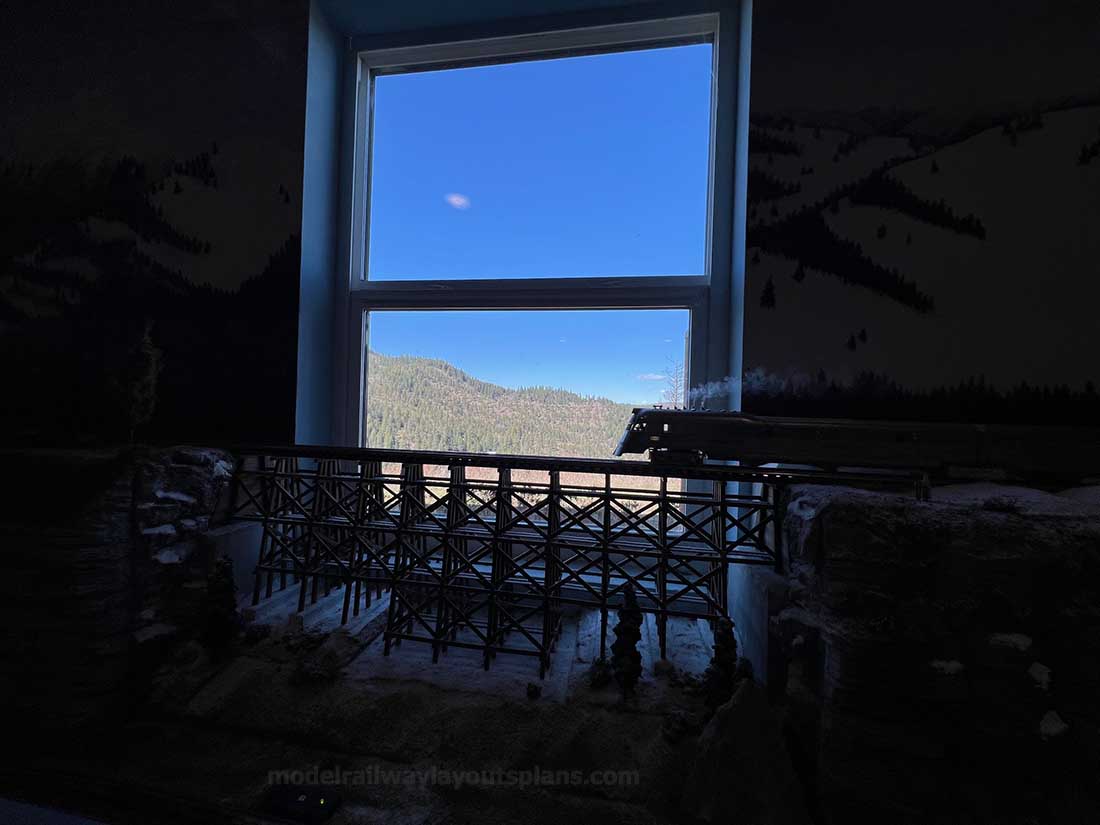
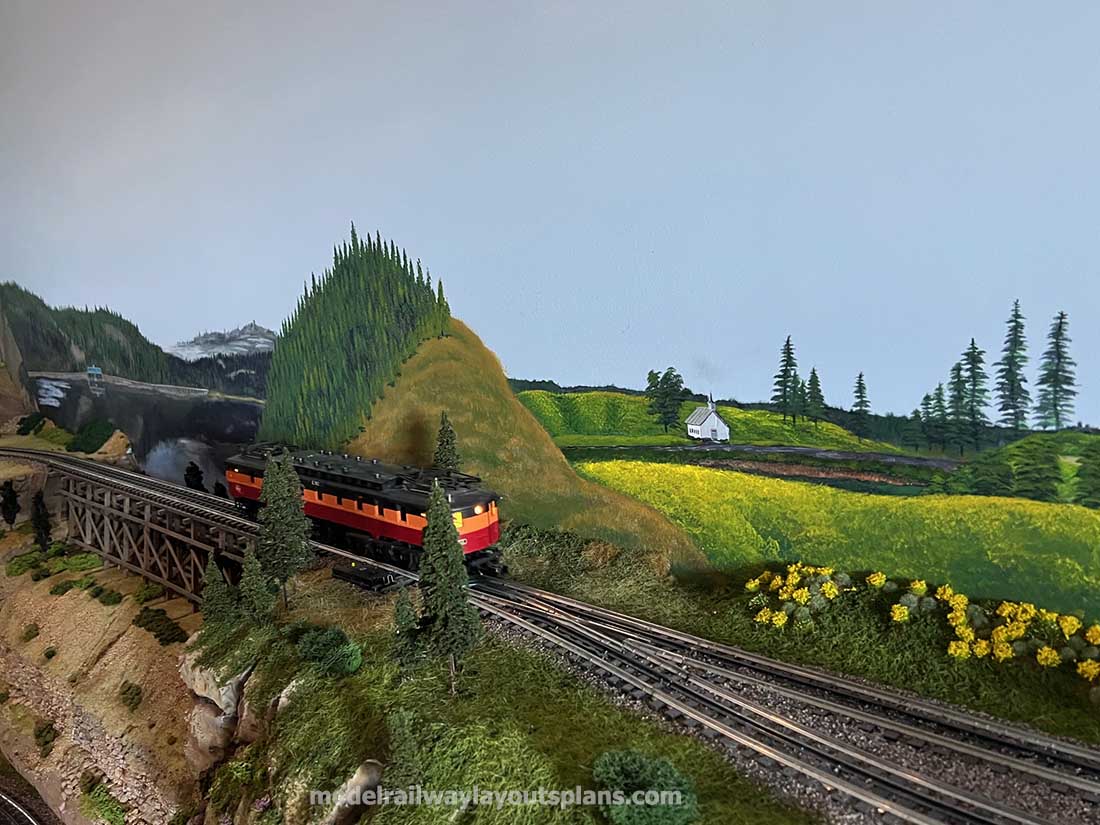
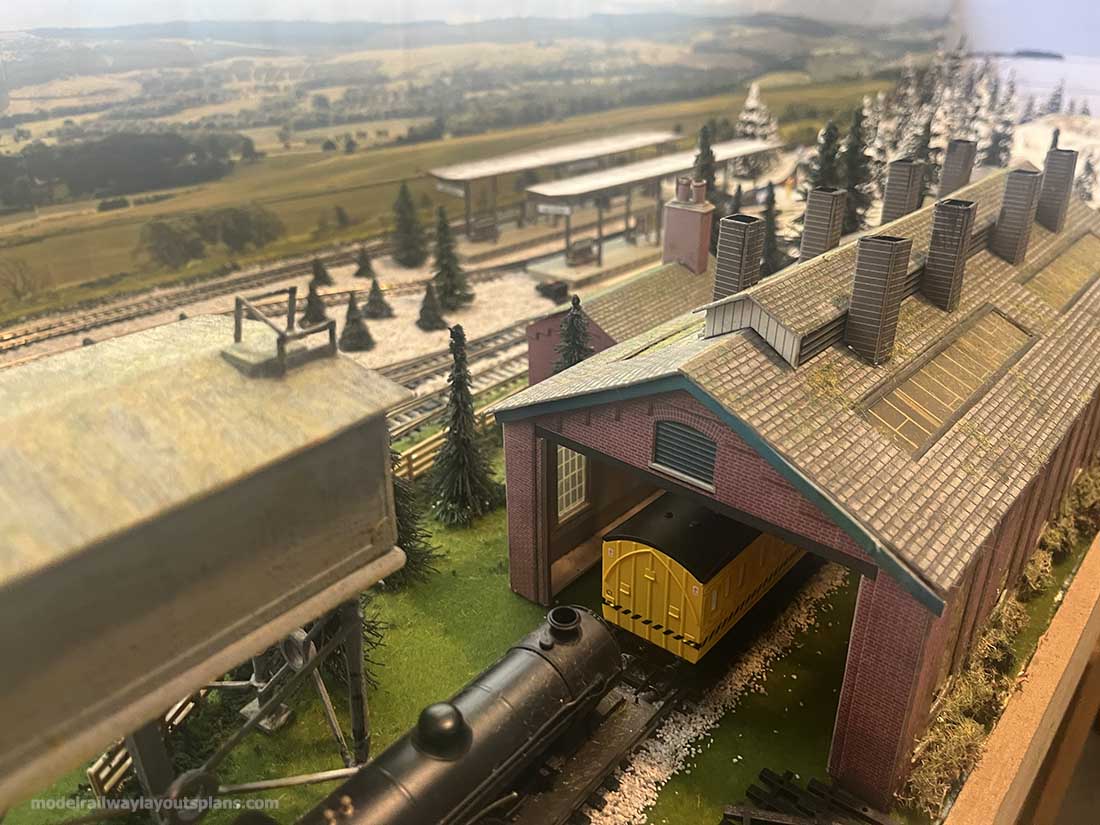
The model is primarily a representation of Milwaukee Road in North Idaho. My original intention was to model the Avery, Idaho Milwaukee Road exchange where they shifted from electric to Steam or Diesel.
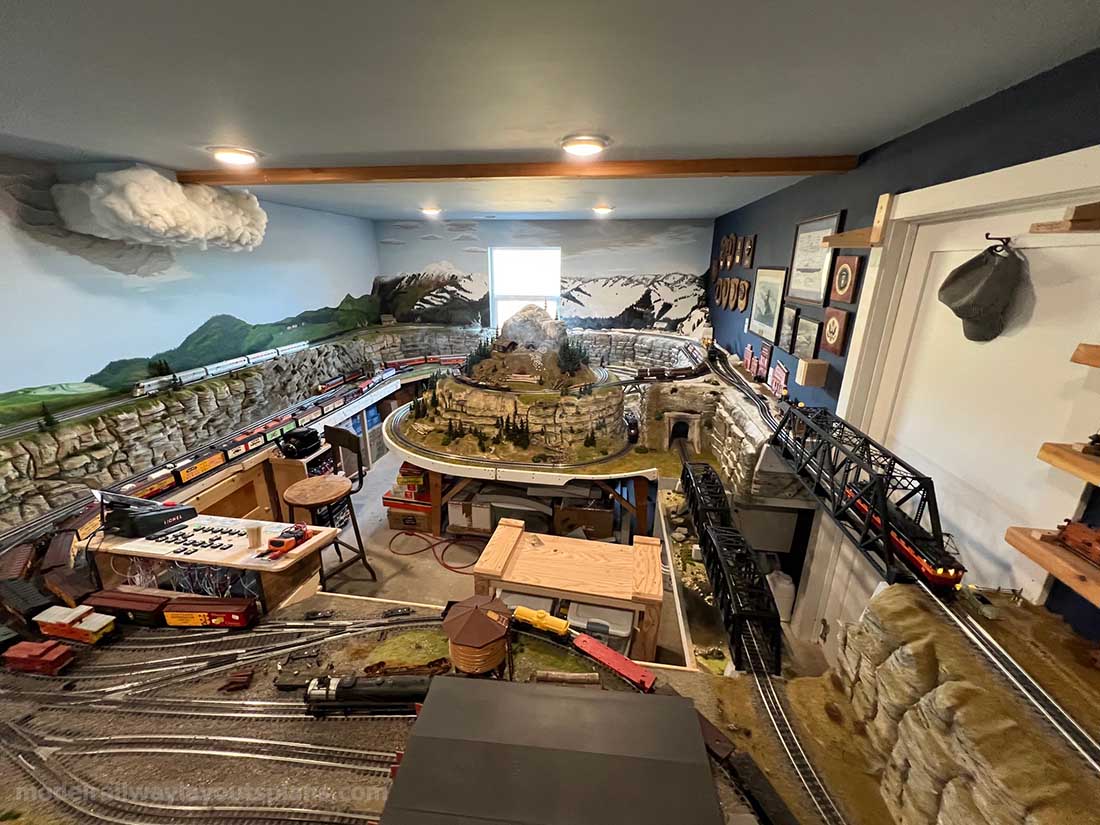
I determined early on that my 24 ft x 14 ft train room was insufficient to accurately model Avery in O-Gauge. I settled for a representation of the North Idaho railways.
As I explained in previous submissions, the time period is 1930 – 1960, the season is all of them – Winter through Fall counterclockwise. The trains are an eclectic mix of road names based on what I found and purchased in the years before I settled on Milwaukee Road.
Although no model is ever complete, it is close. I have a couple of buildings to construct so I can try my hand at putting model kits together.
So far, it has been an enjoyable learning experience for my first attempt at all the modeling techniques.
Enjoy!
Ned”
A huge big thanks to Ned for sharing the latest on his O gauge scenery.
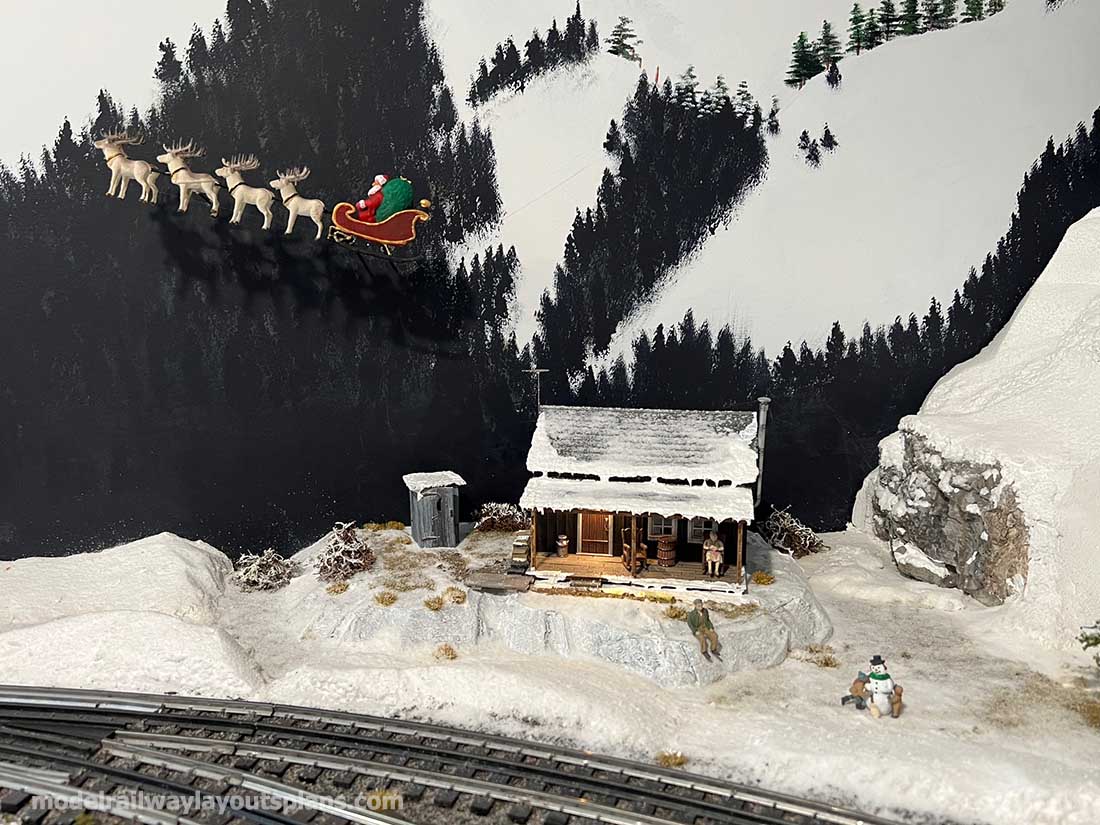
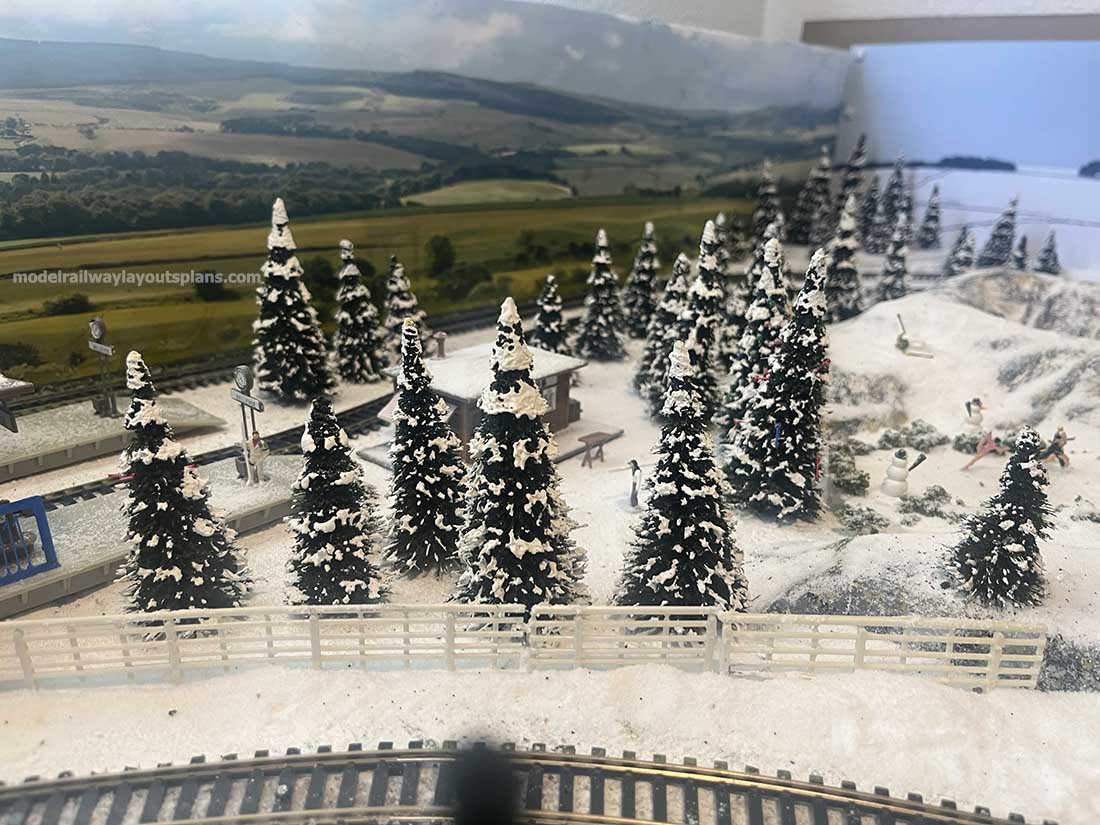
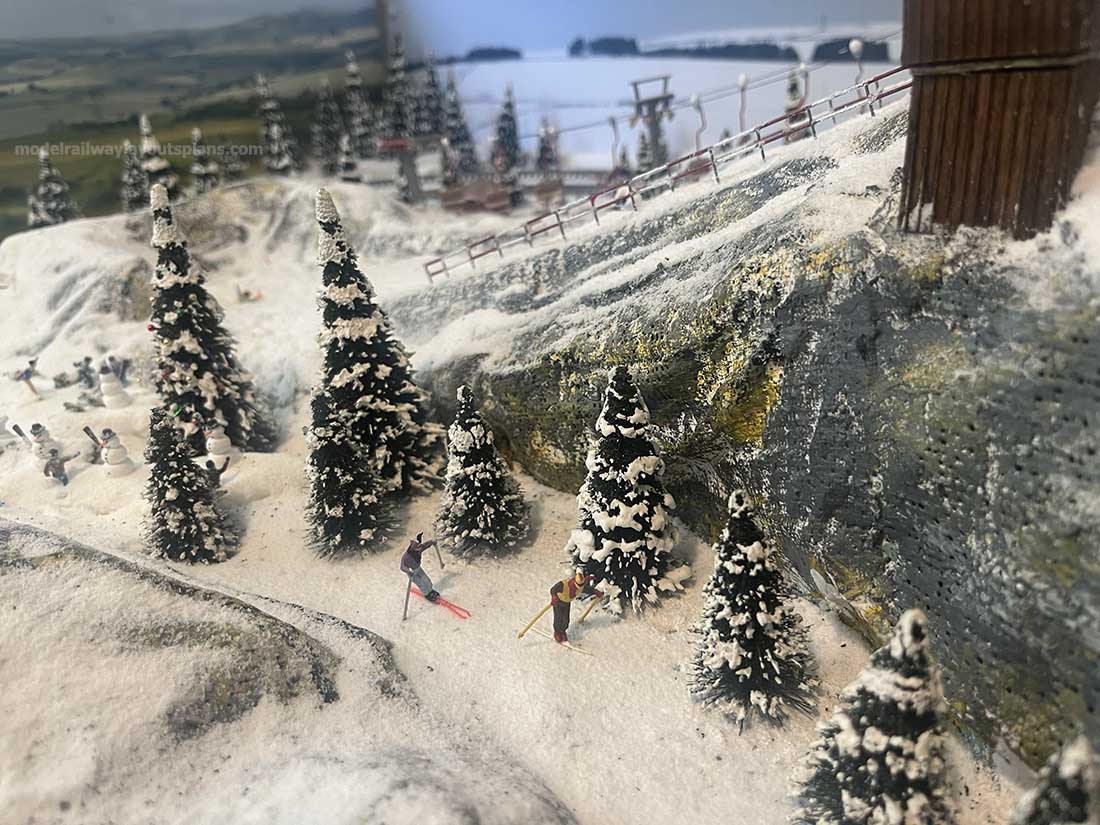
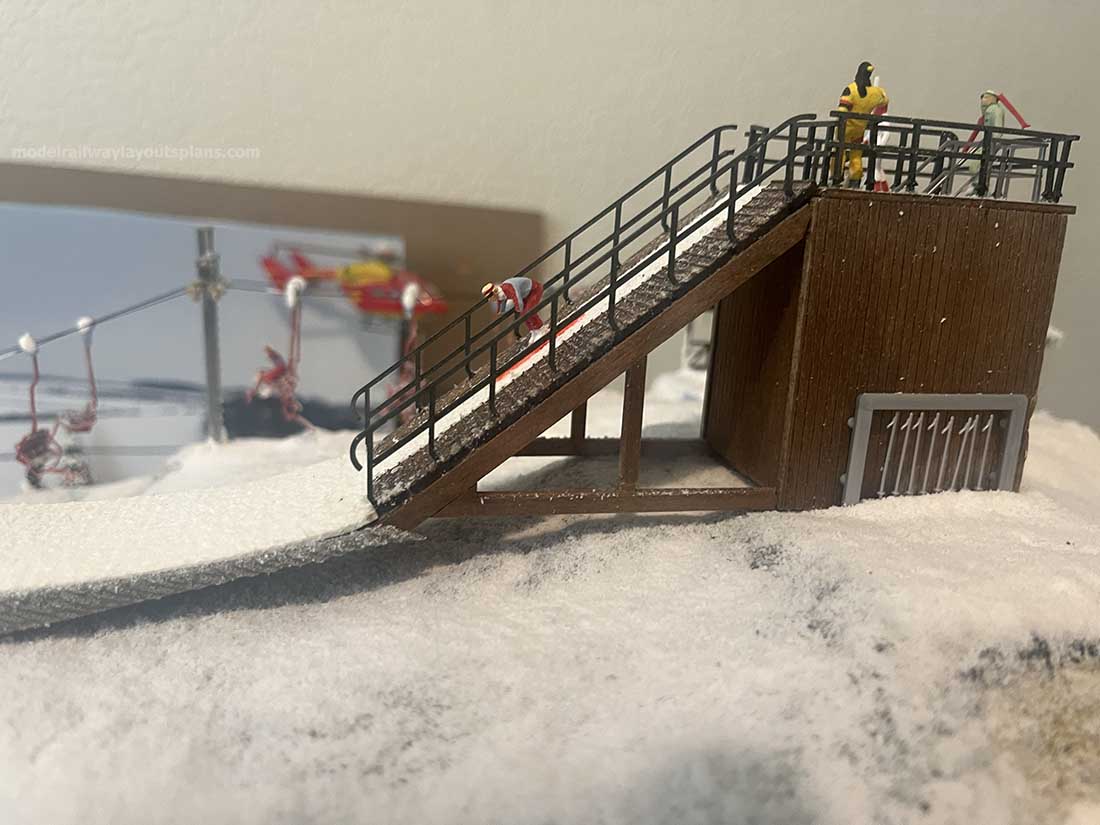
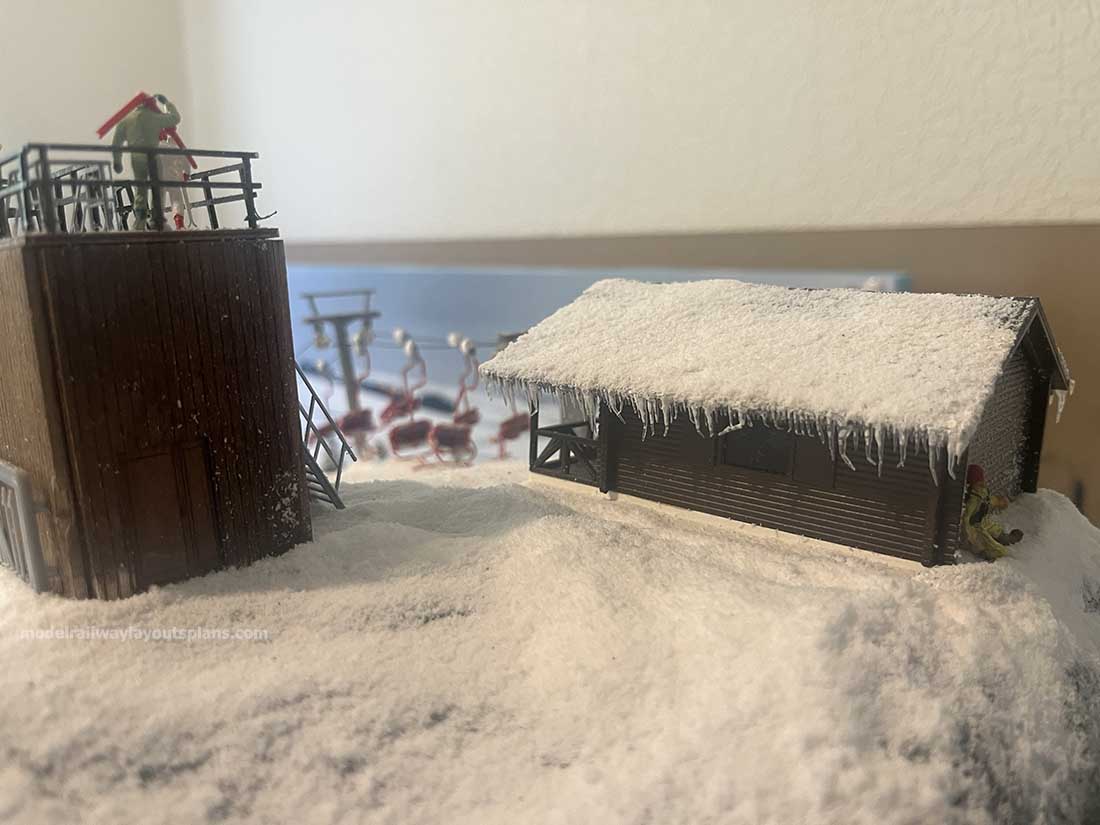
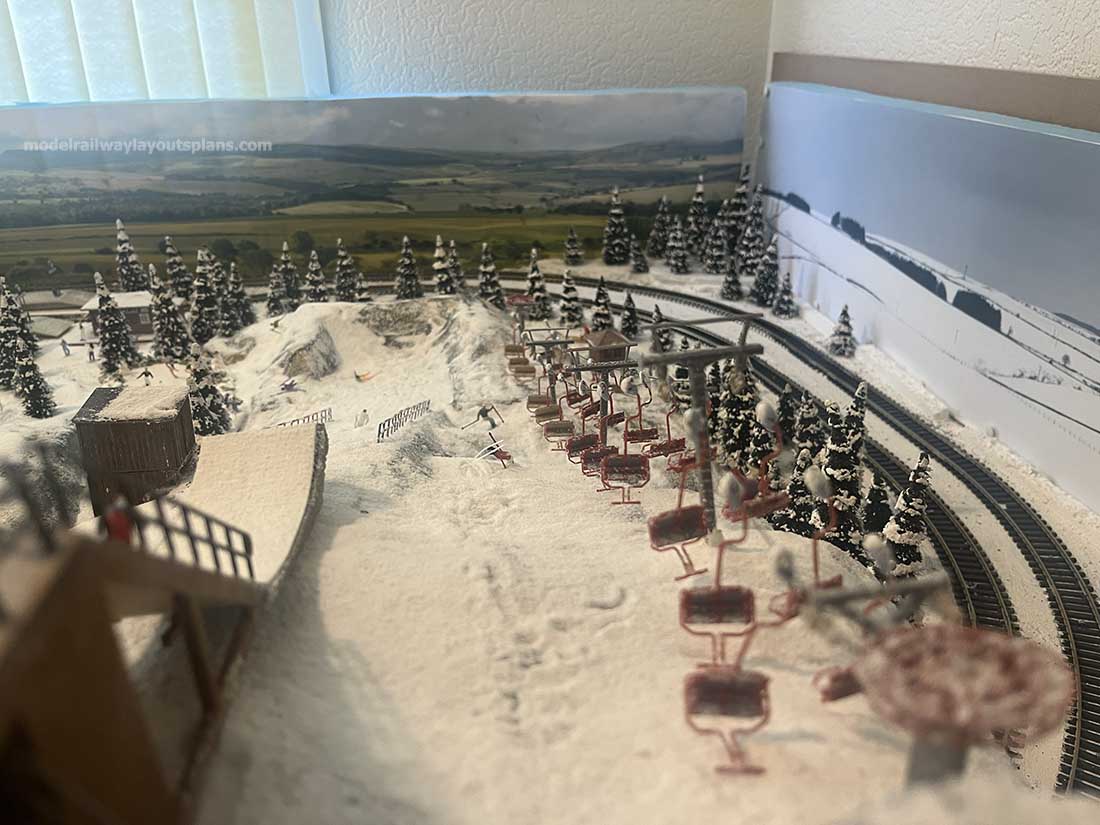
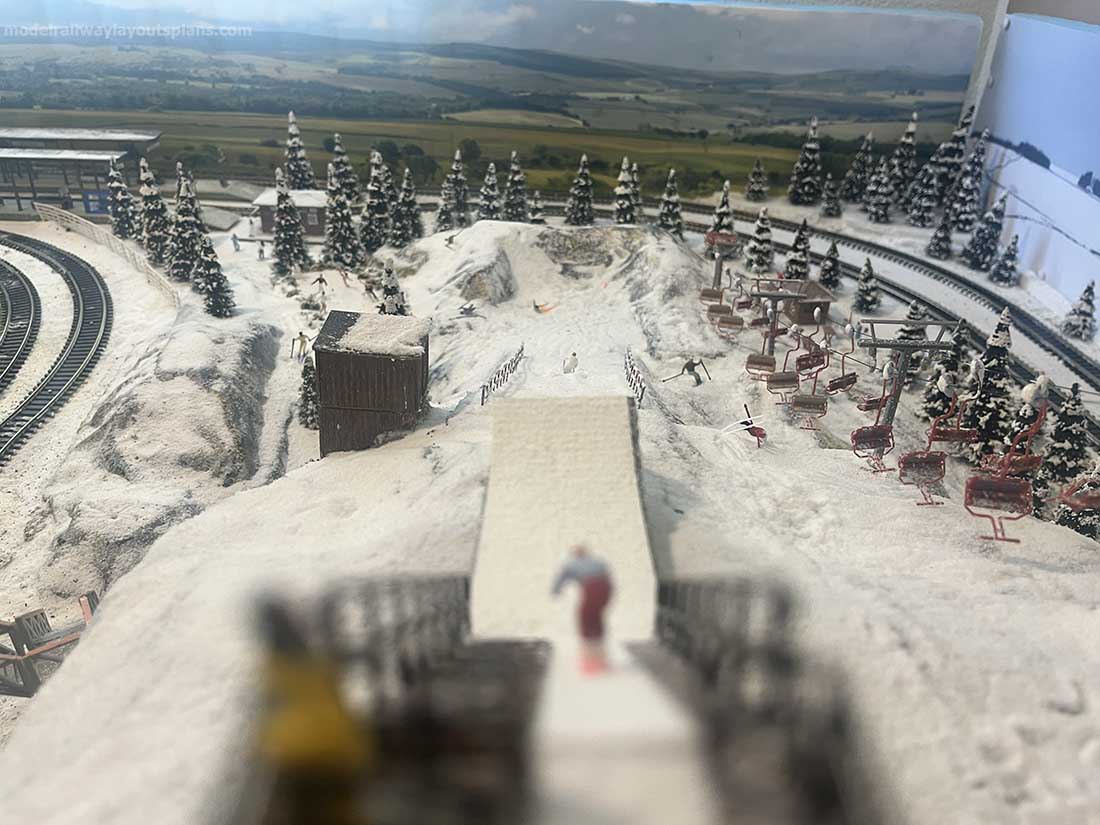
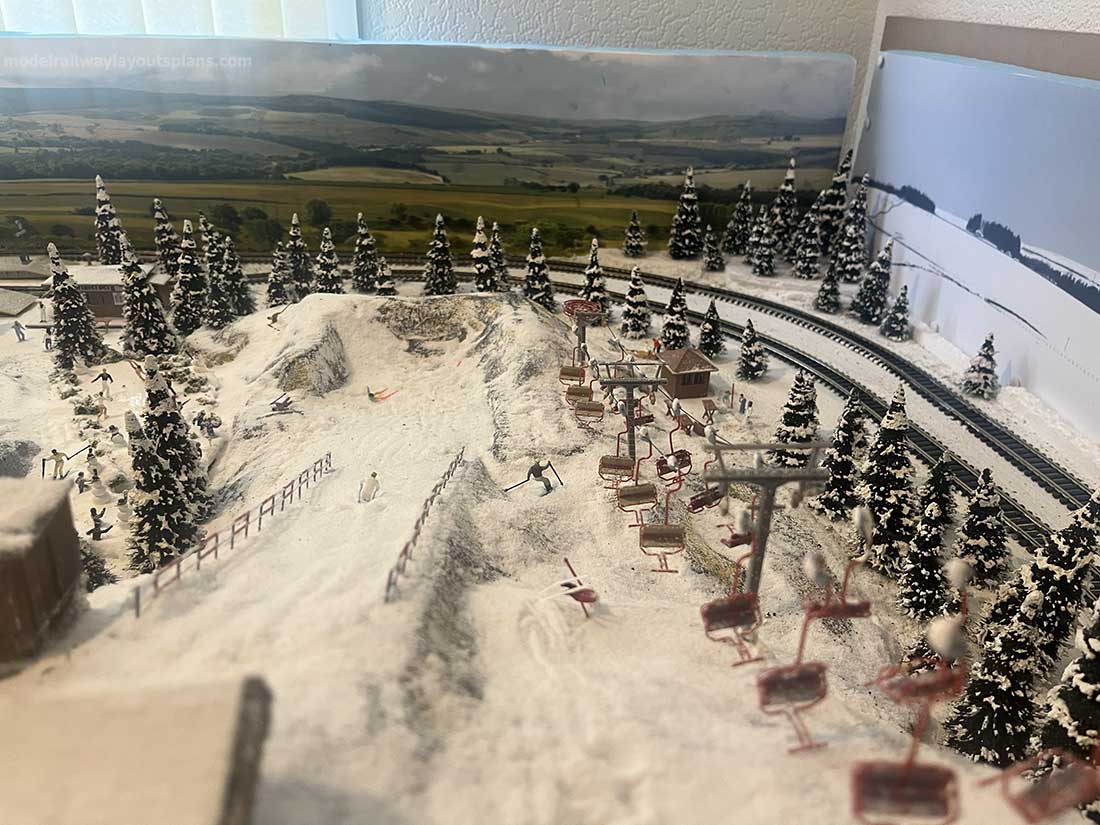
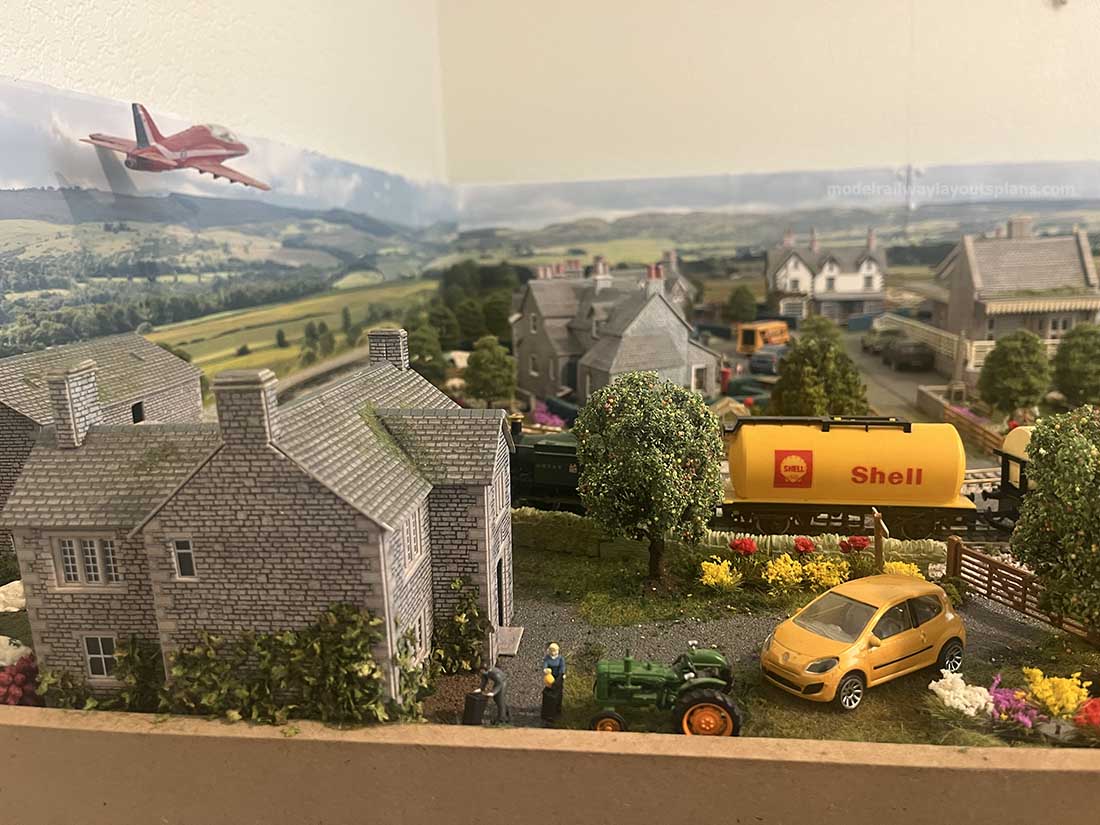
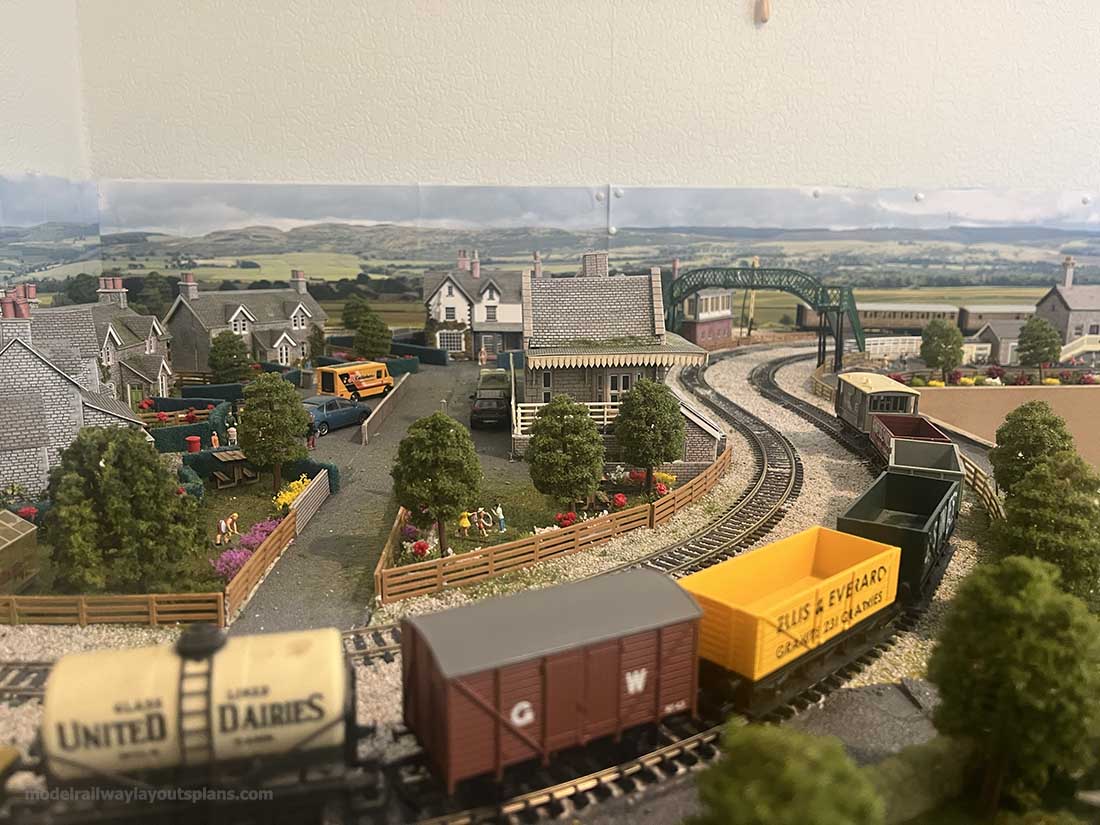
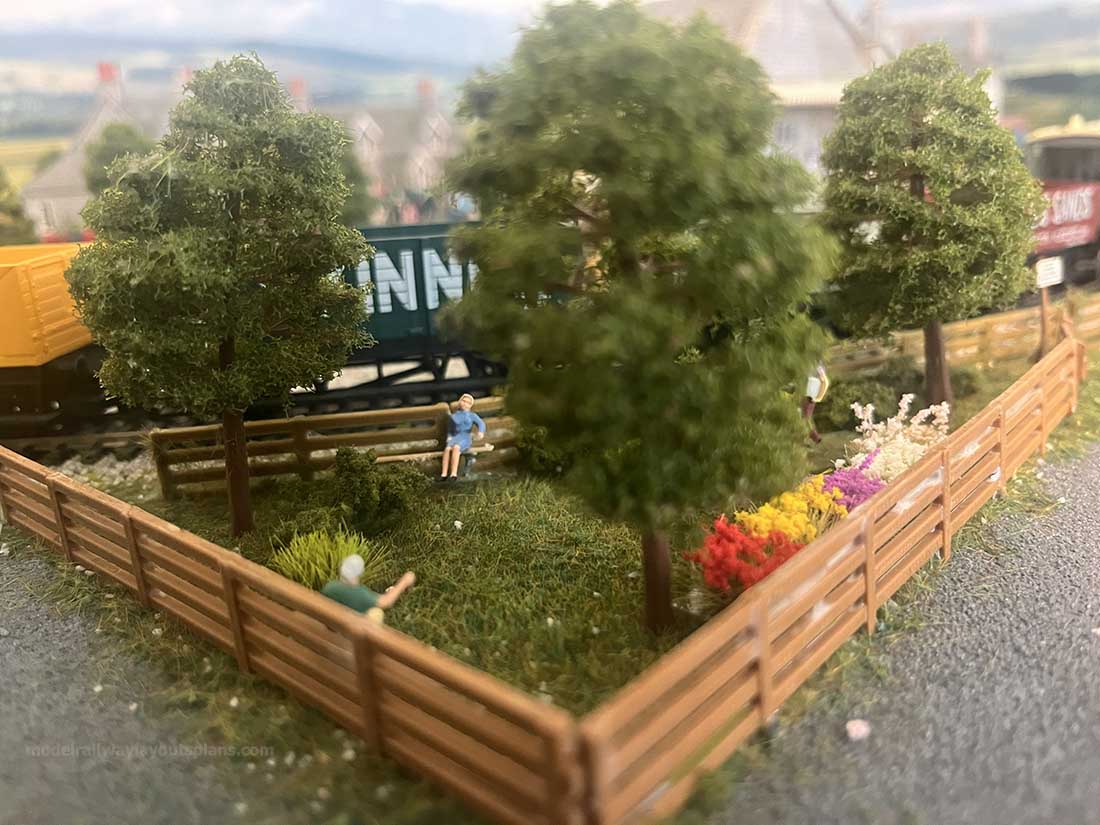
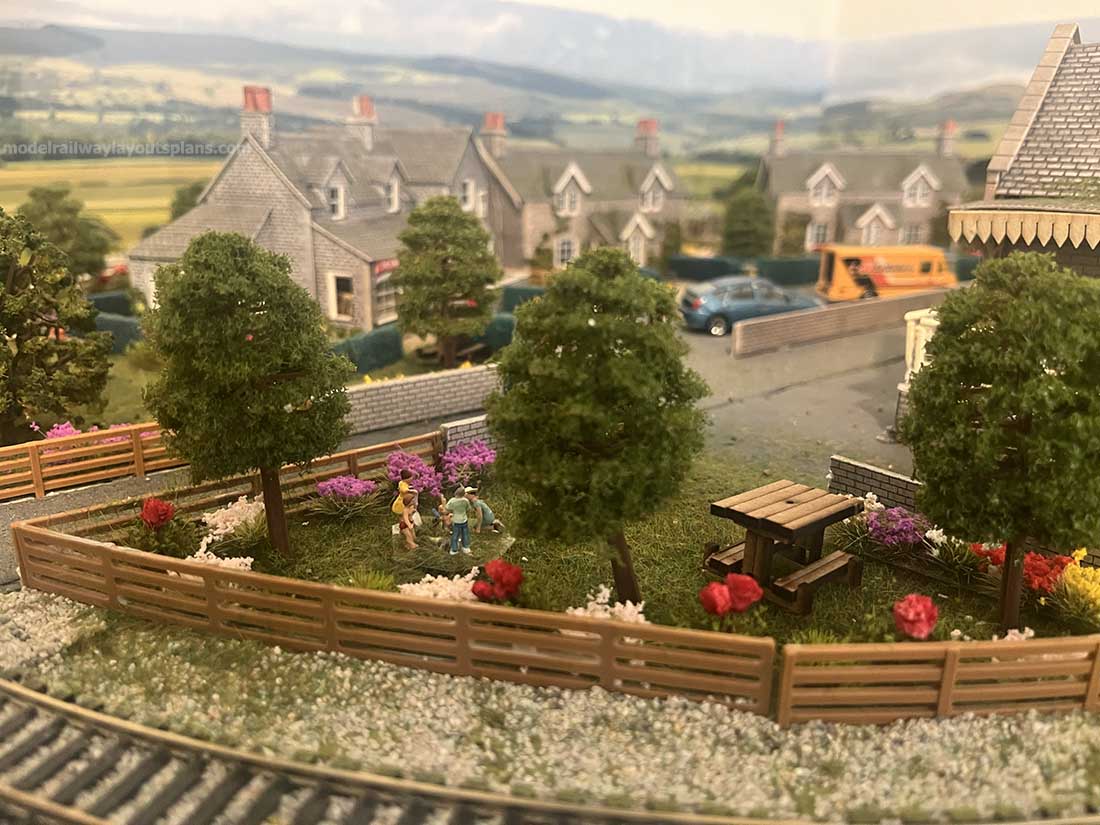
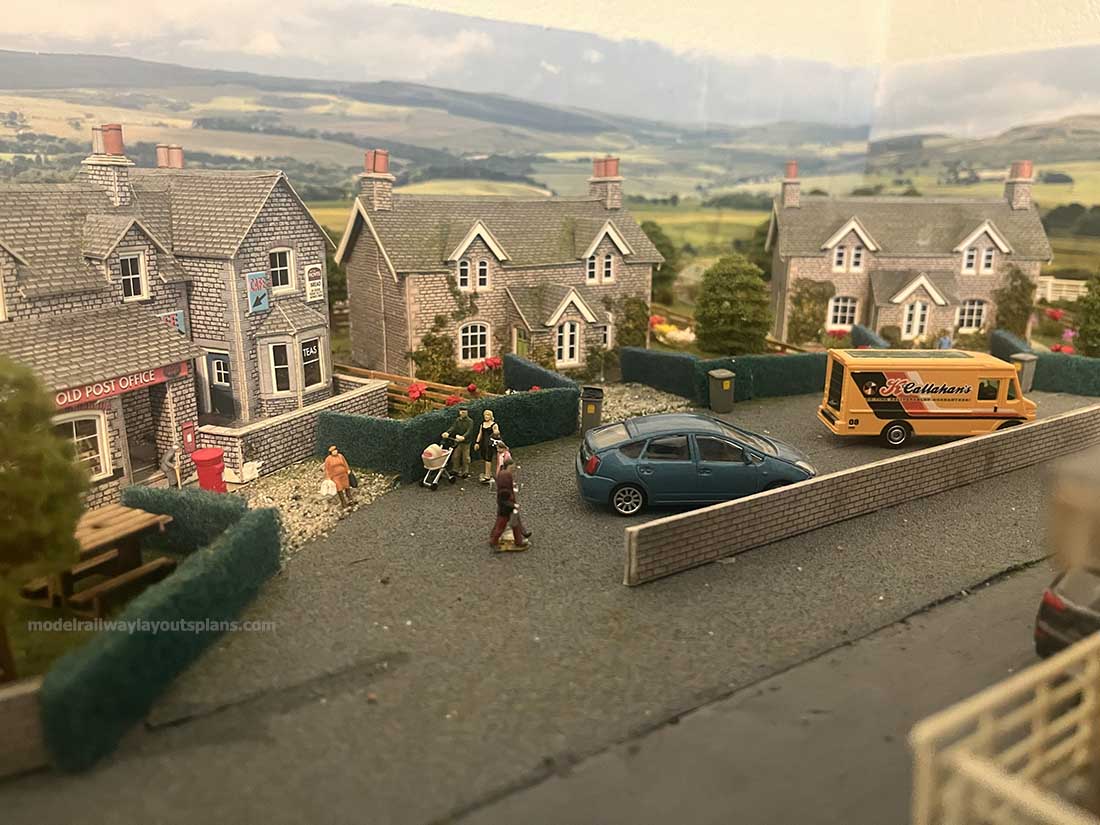
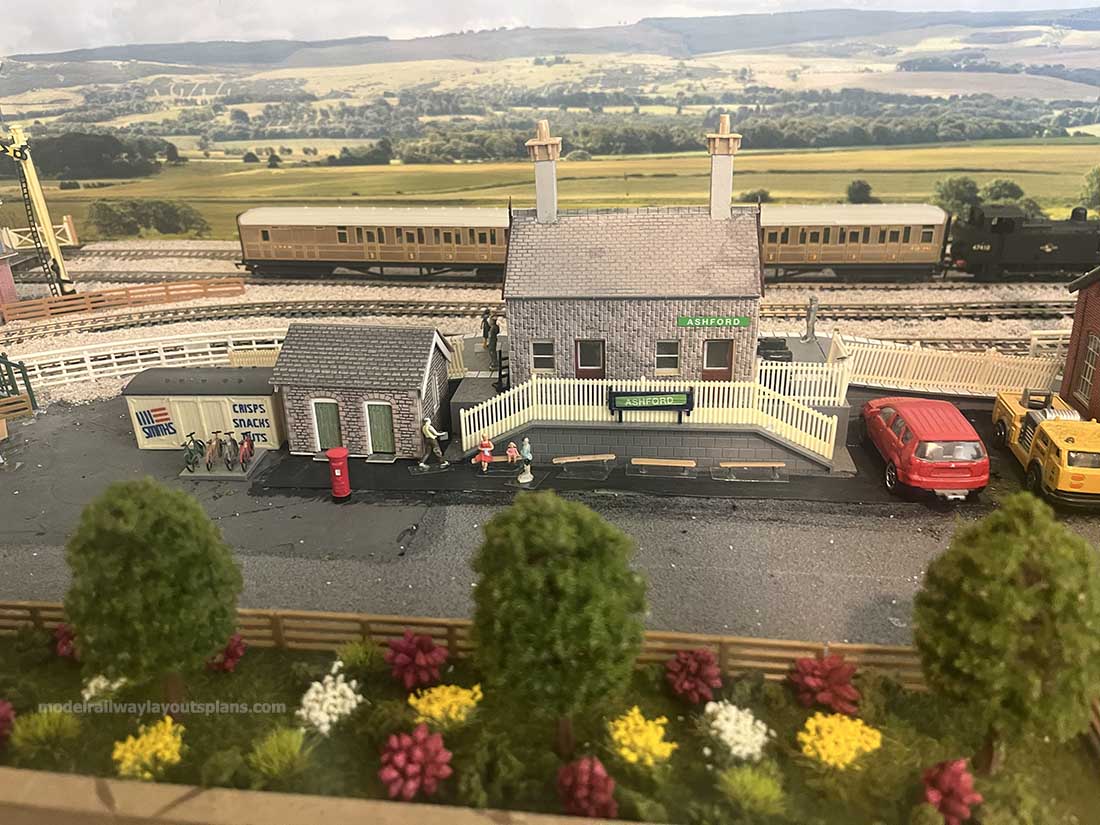
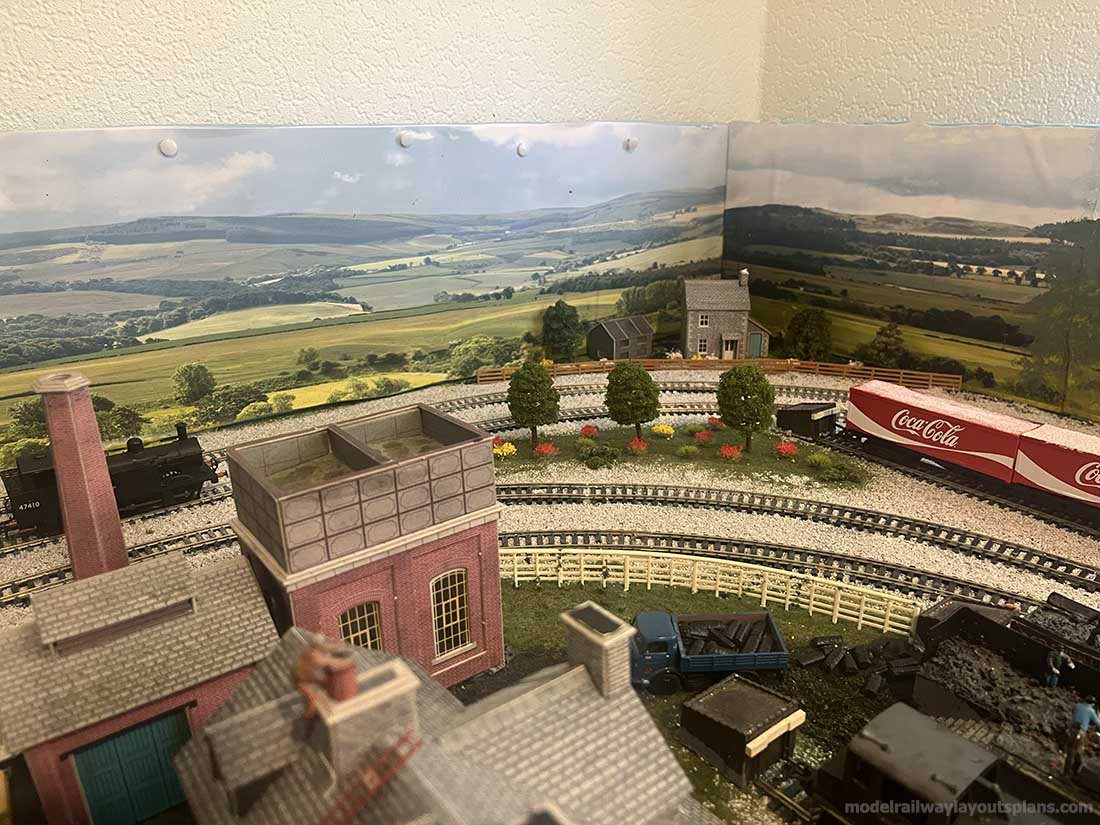
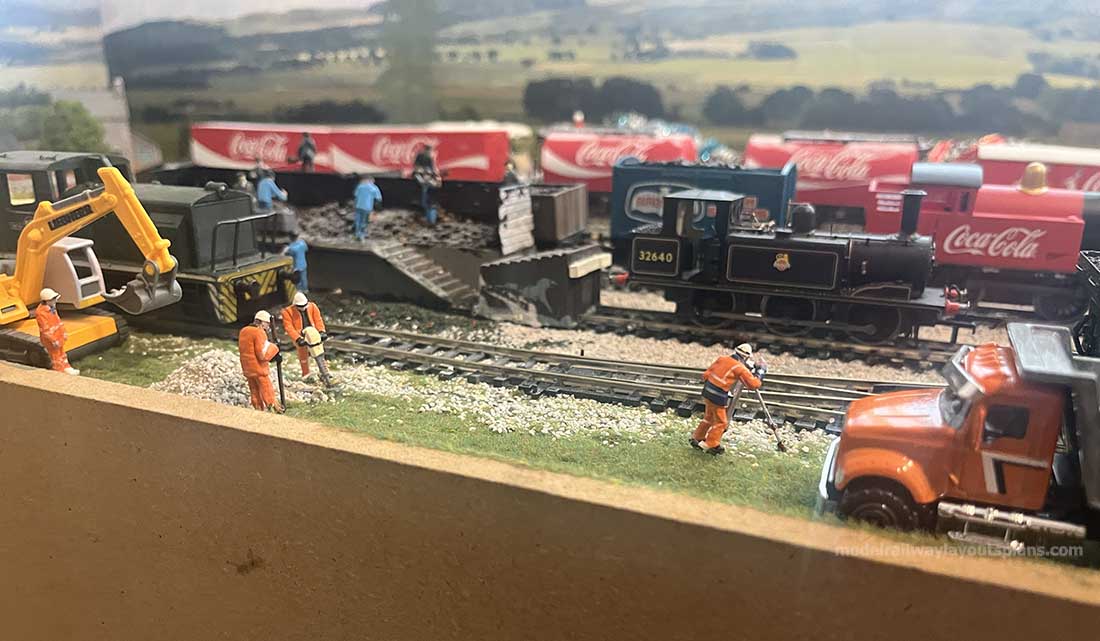
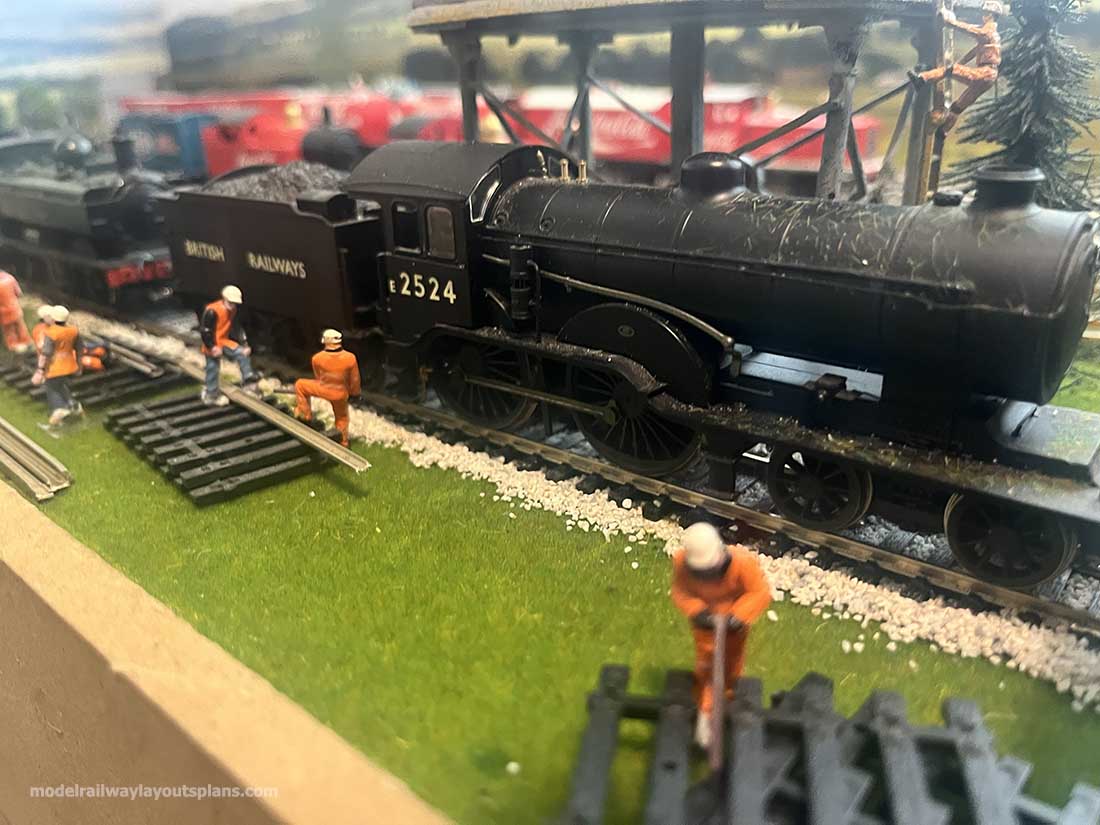
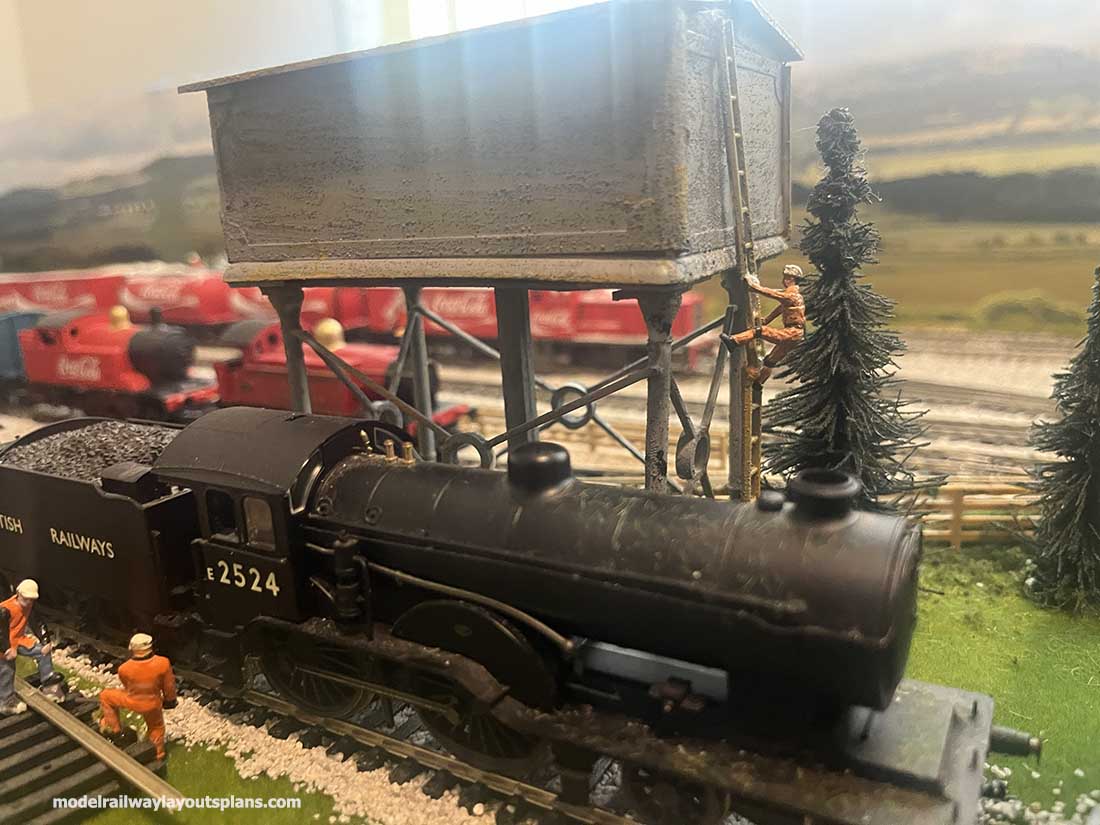
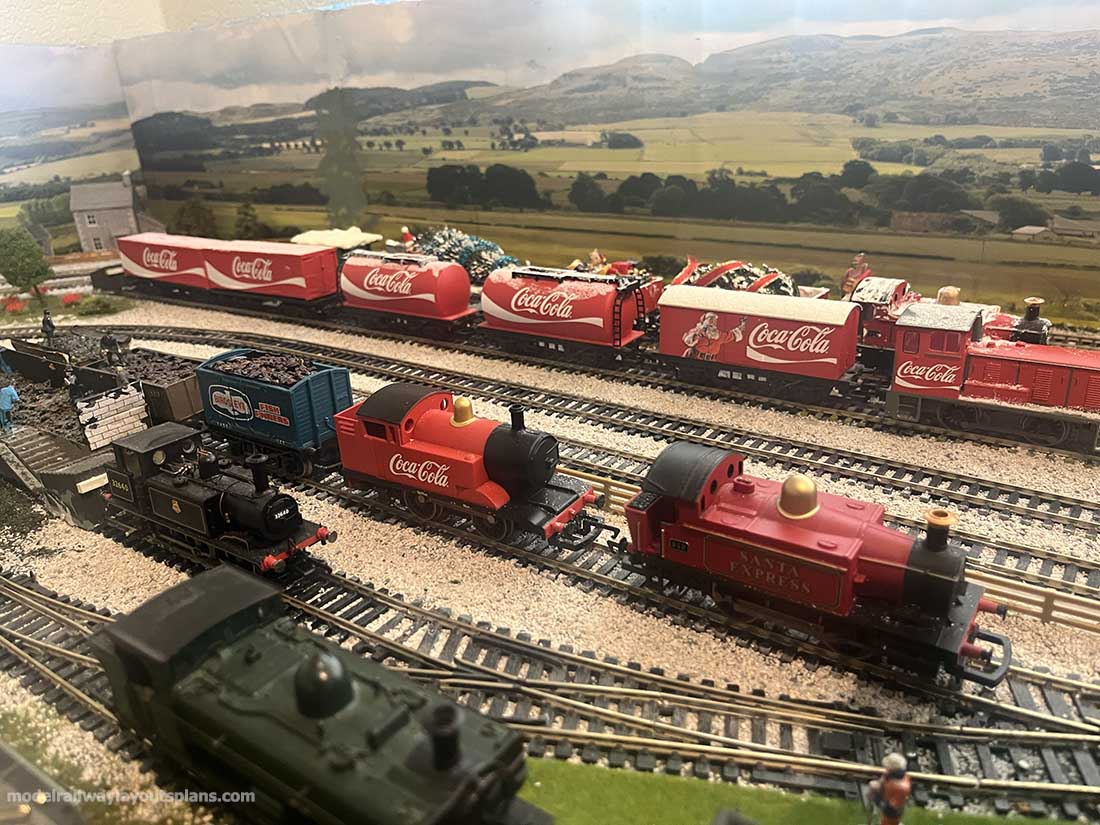
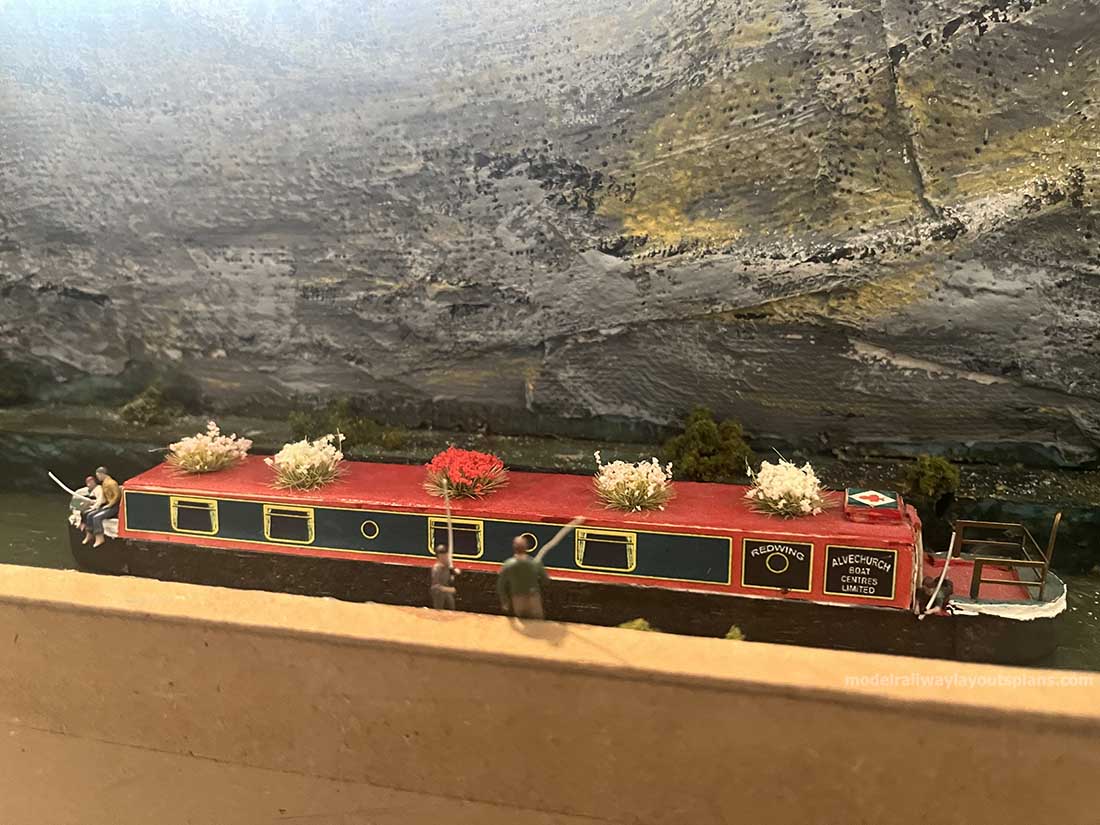
Tony’s been in touch with his latest – a model railway snow themed layout. There’s also a vid too:
“Hi Al
Another winter and another year older, so why not have another go at a bigger layout.
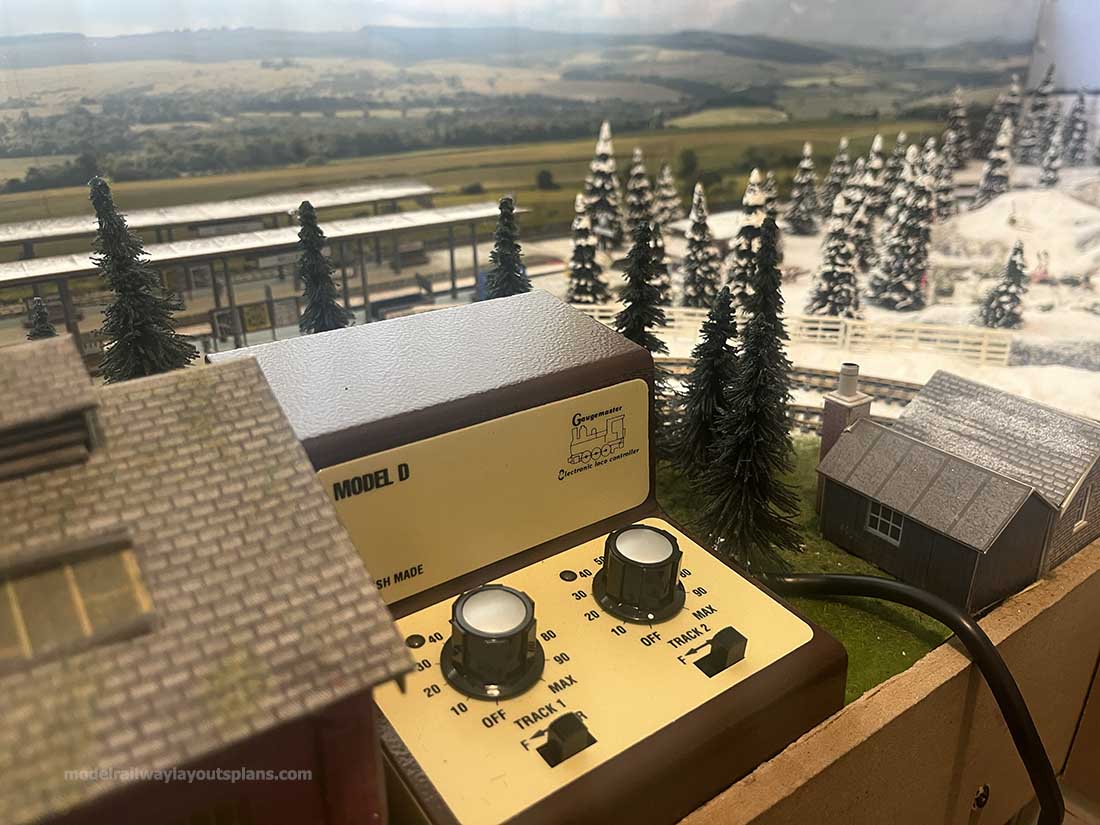
Got my handyman friend in to build the framework, my previous ones involved old door frames fastened to battens around the walls (not ideal living in a mobile park home!) so this time nothing is touching the walls!
Also whilst awaiting hip and knee surgery (I am 75) have decided no more under the layout for wiring.
As I am using DC I found it quite easy to hide wires to the control box and happily run two loops.
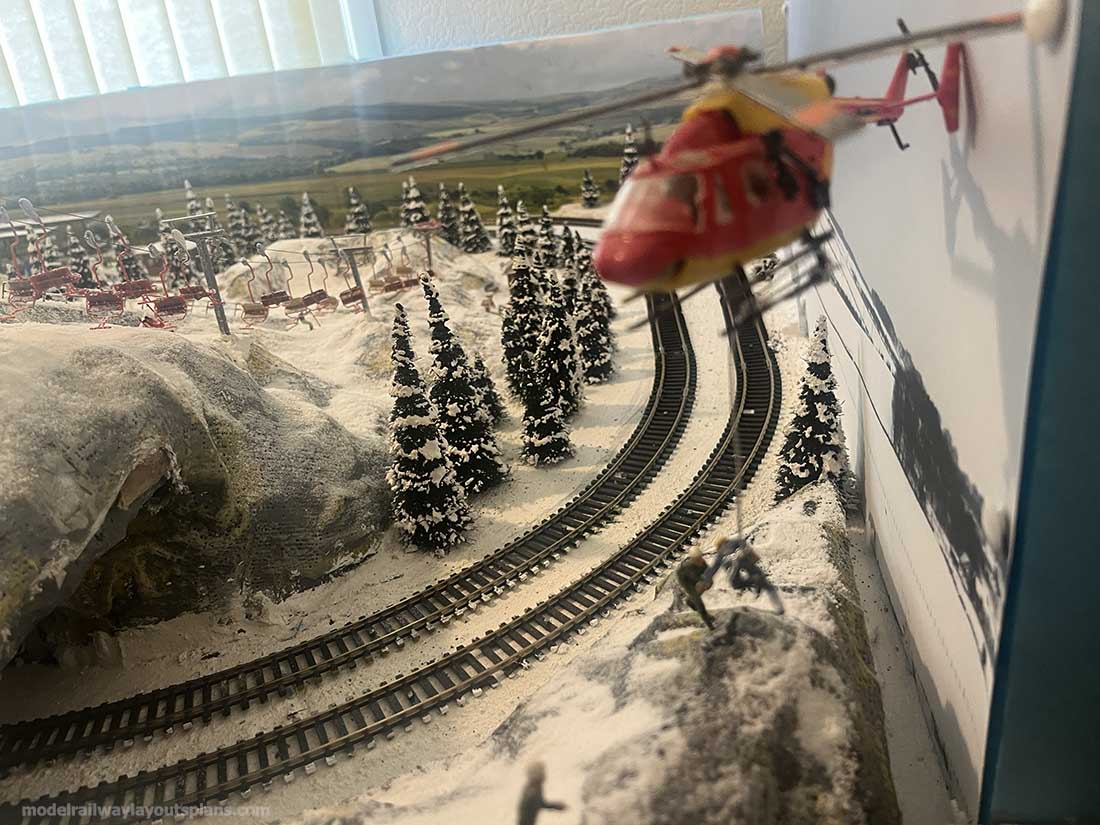
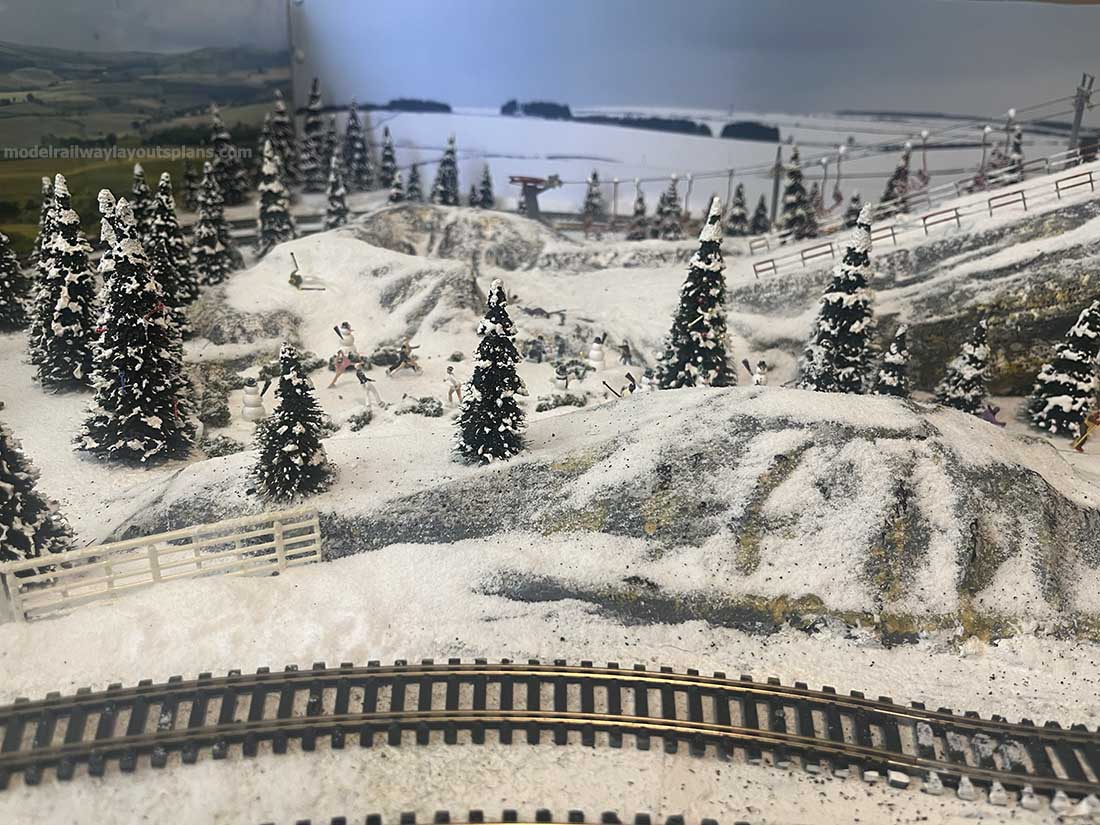
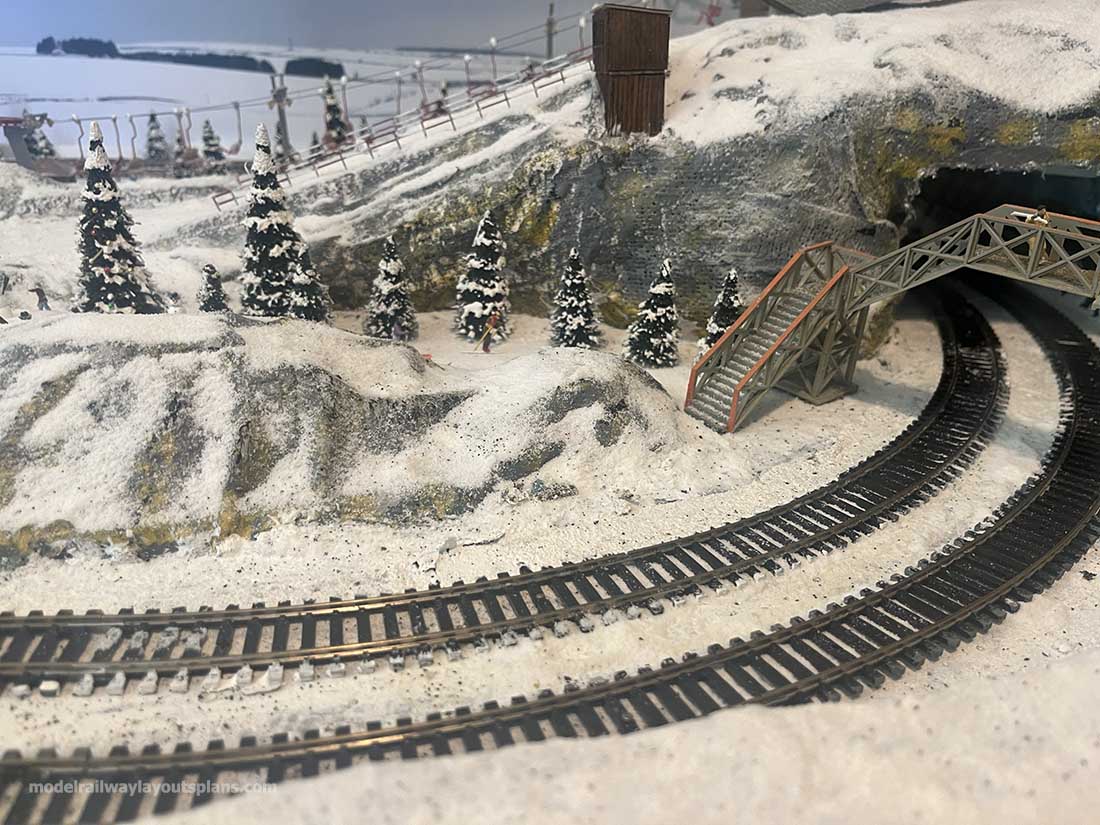
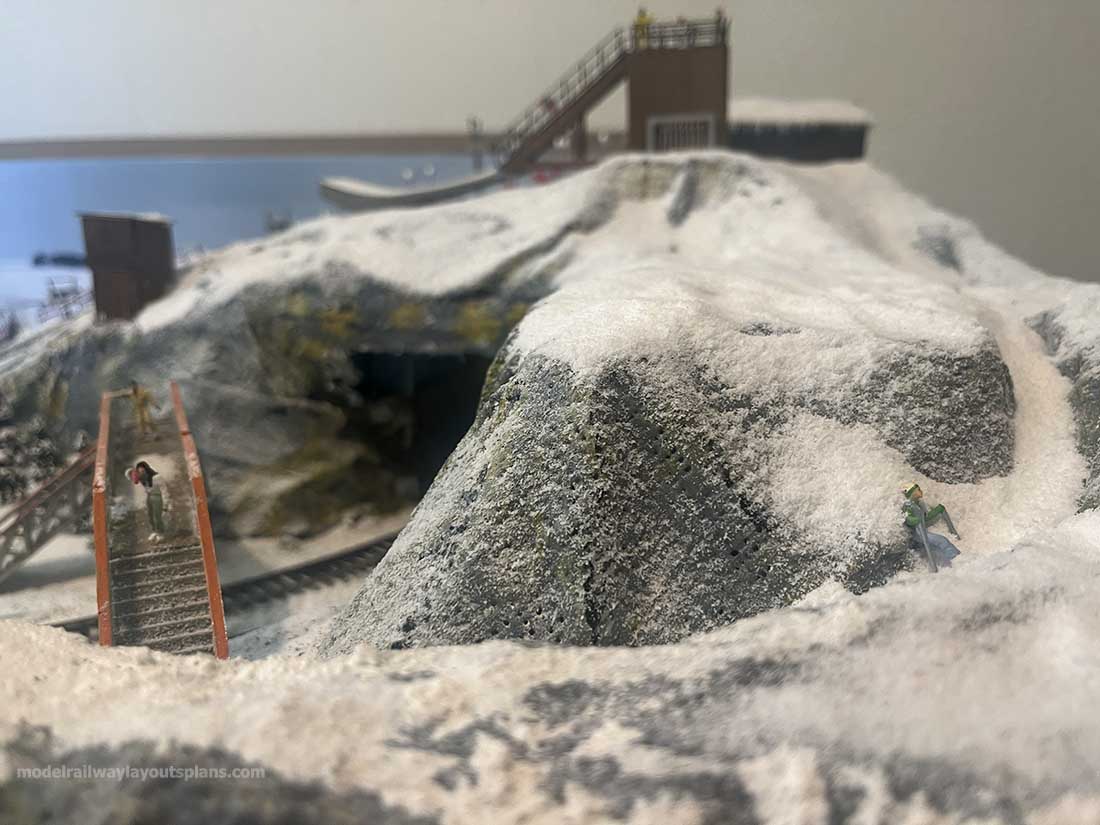
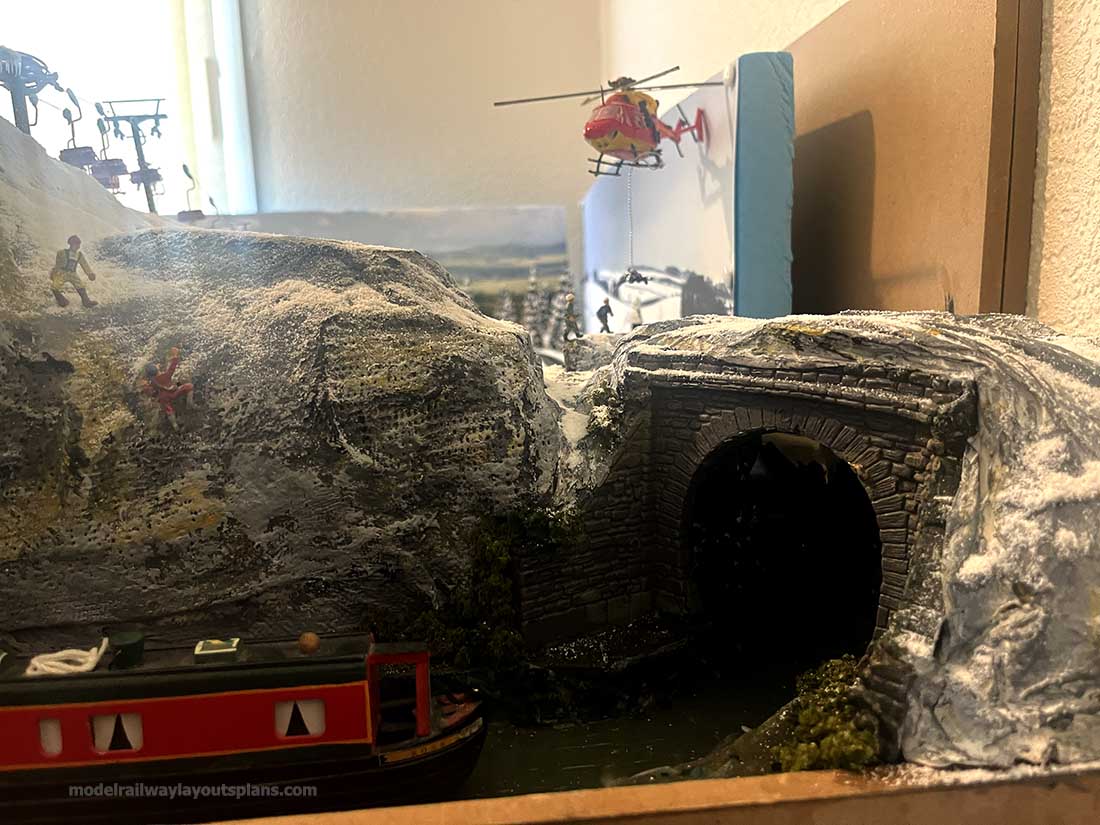
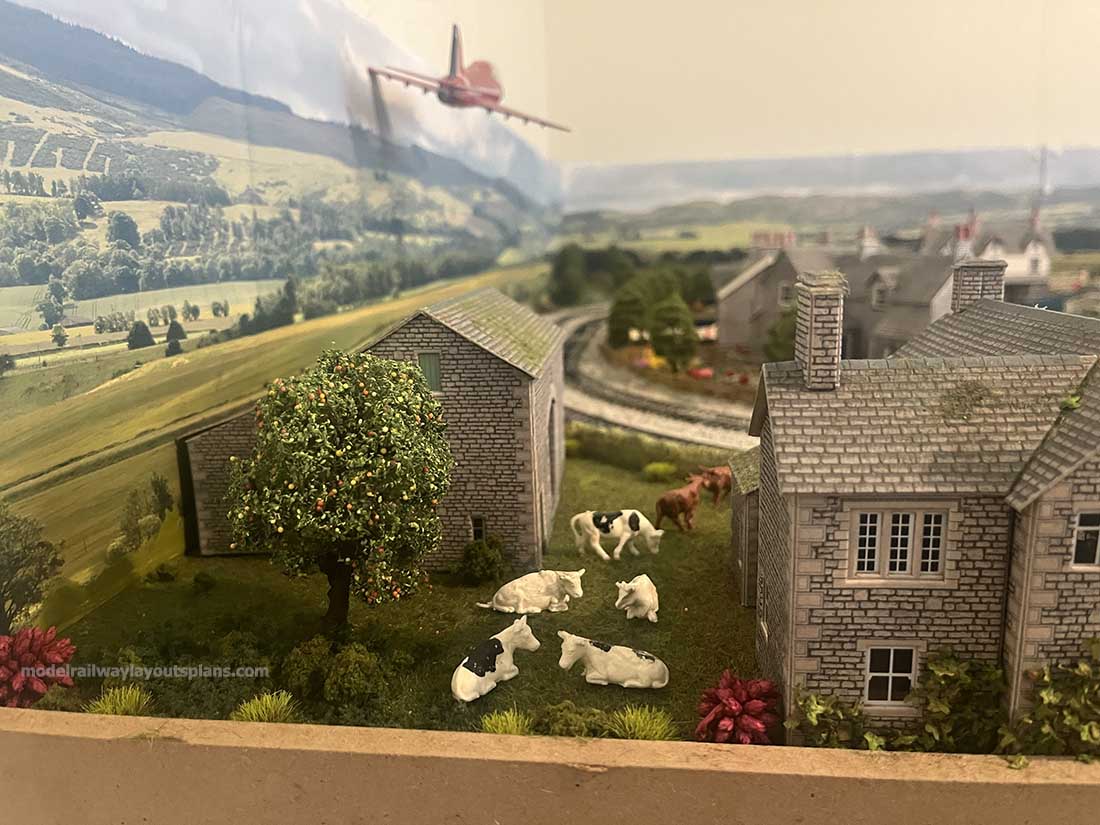
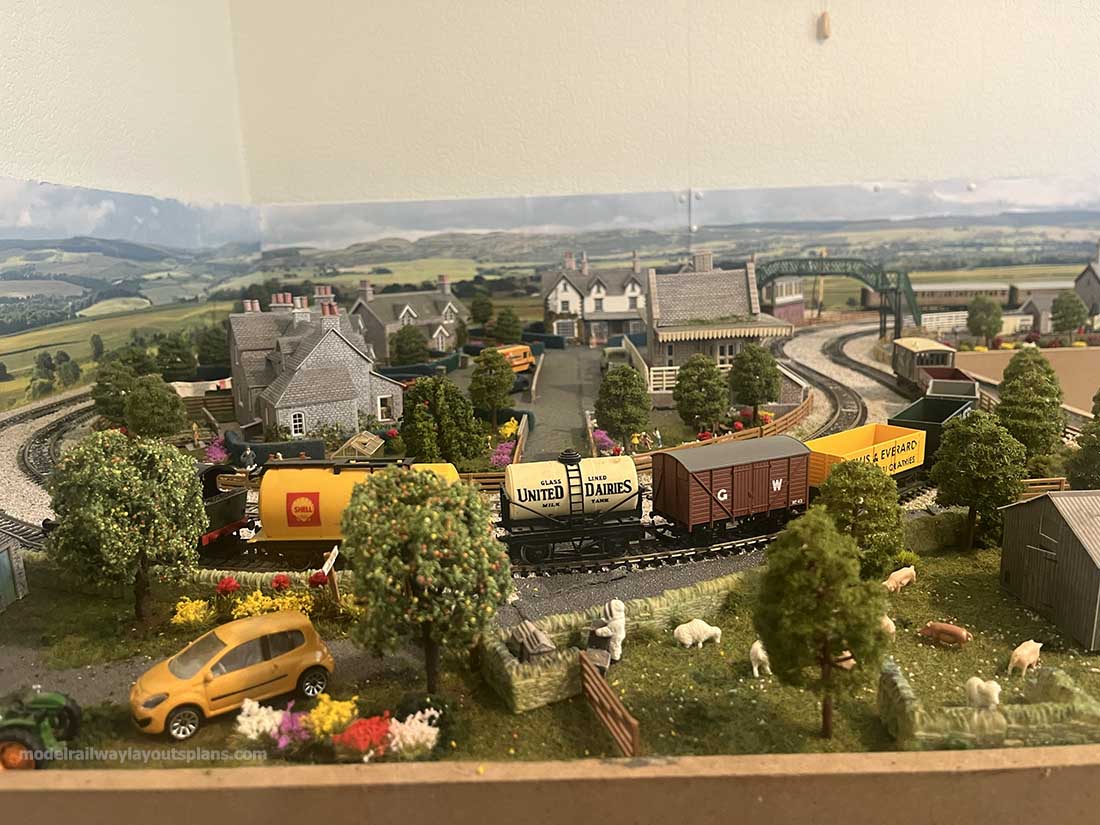
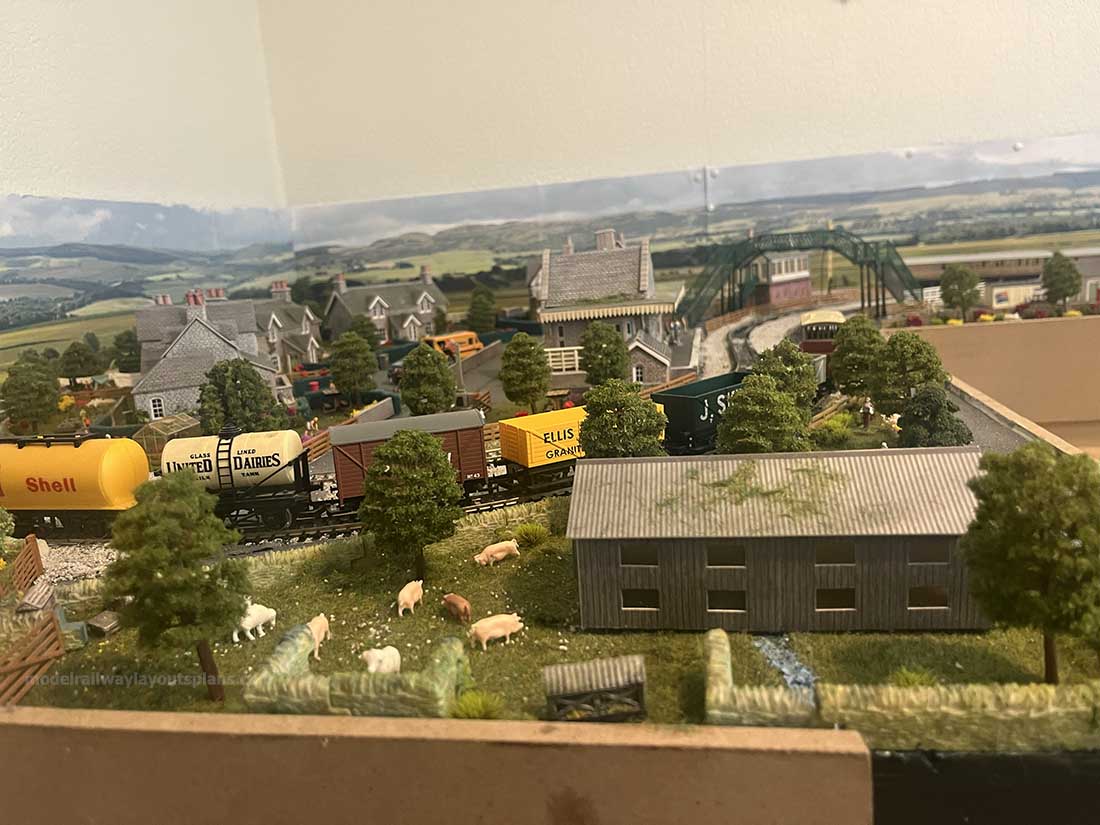
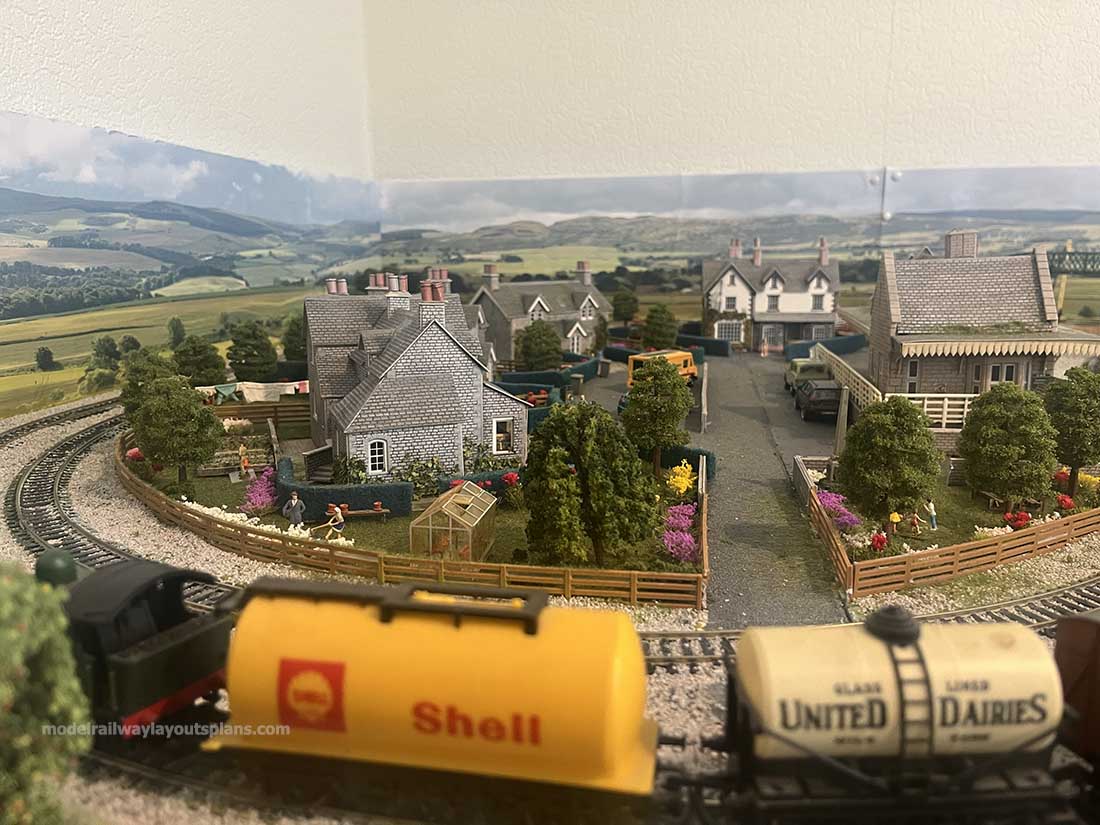
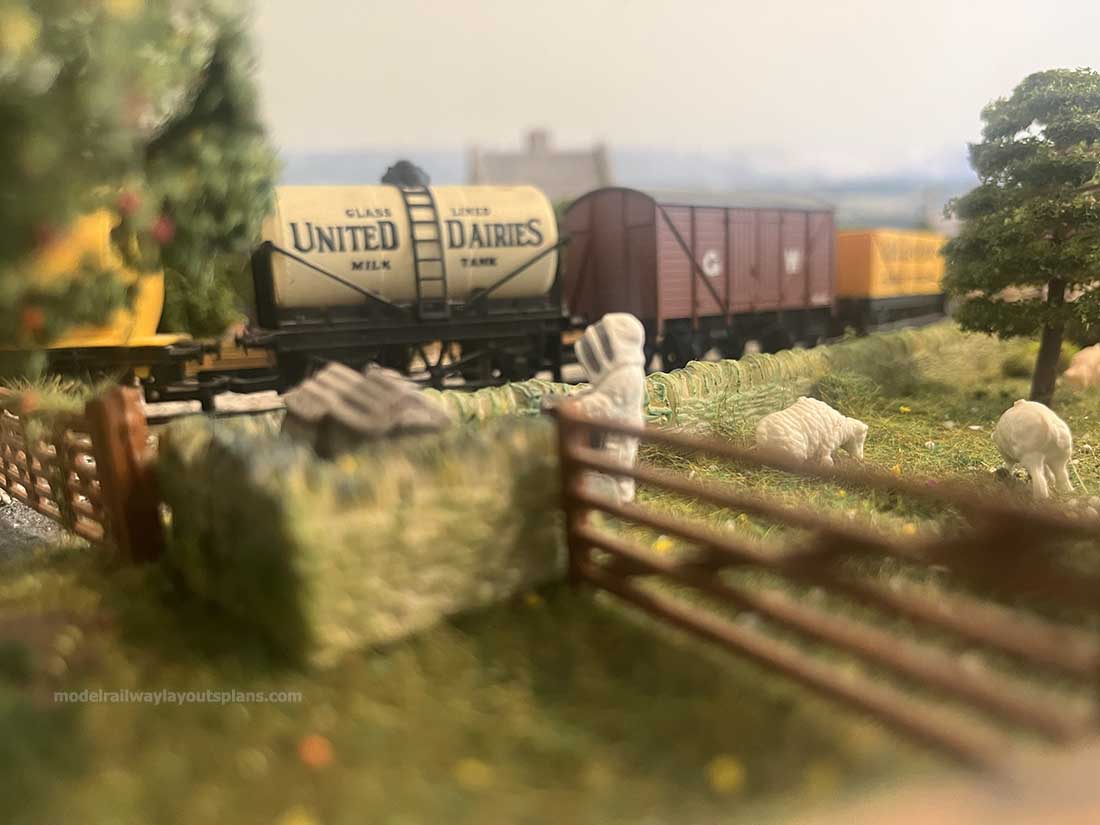
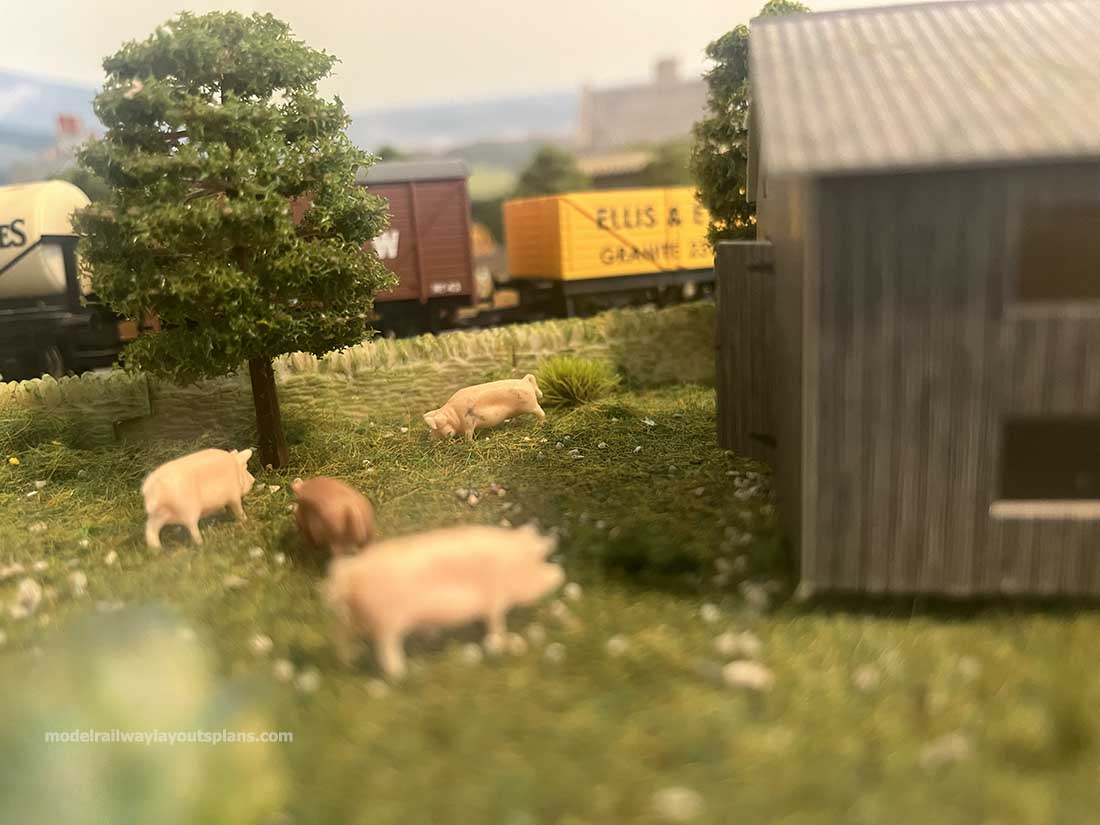
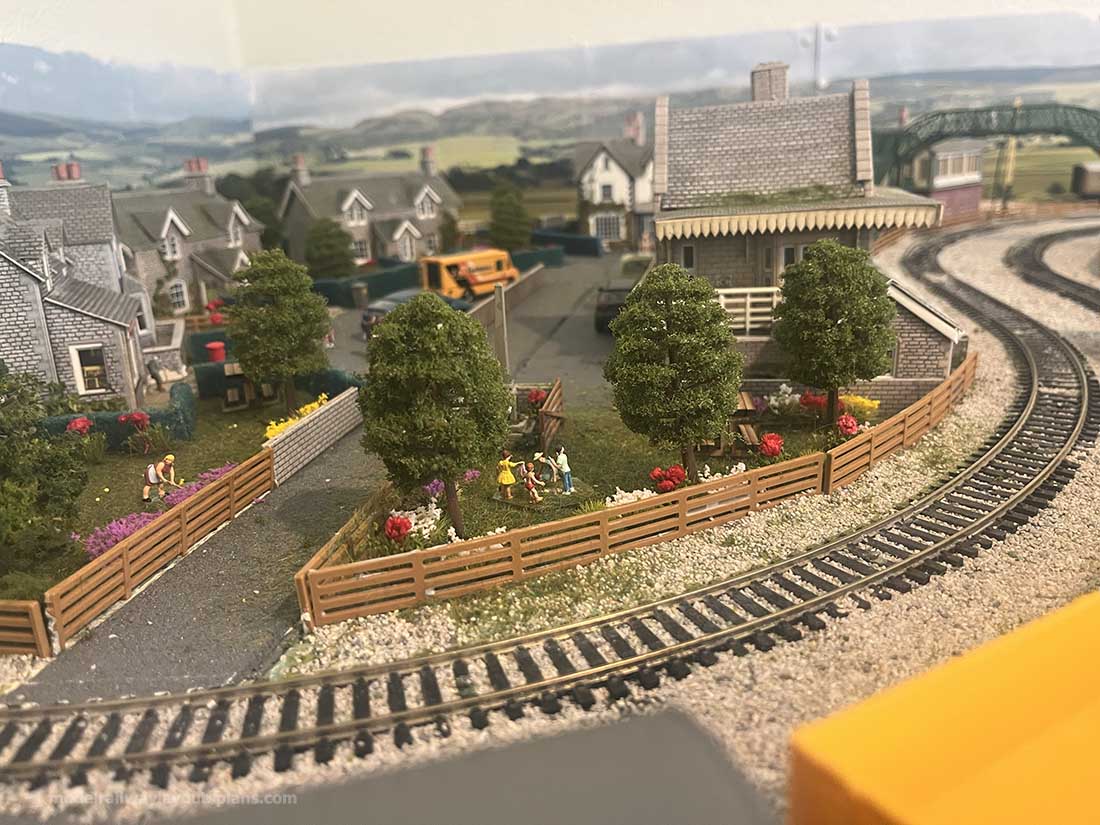
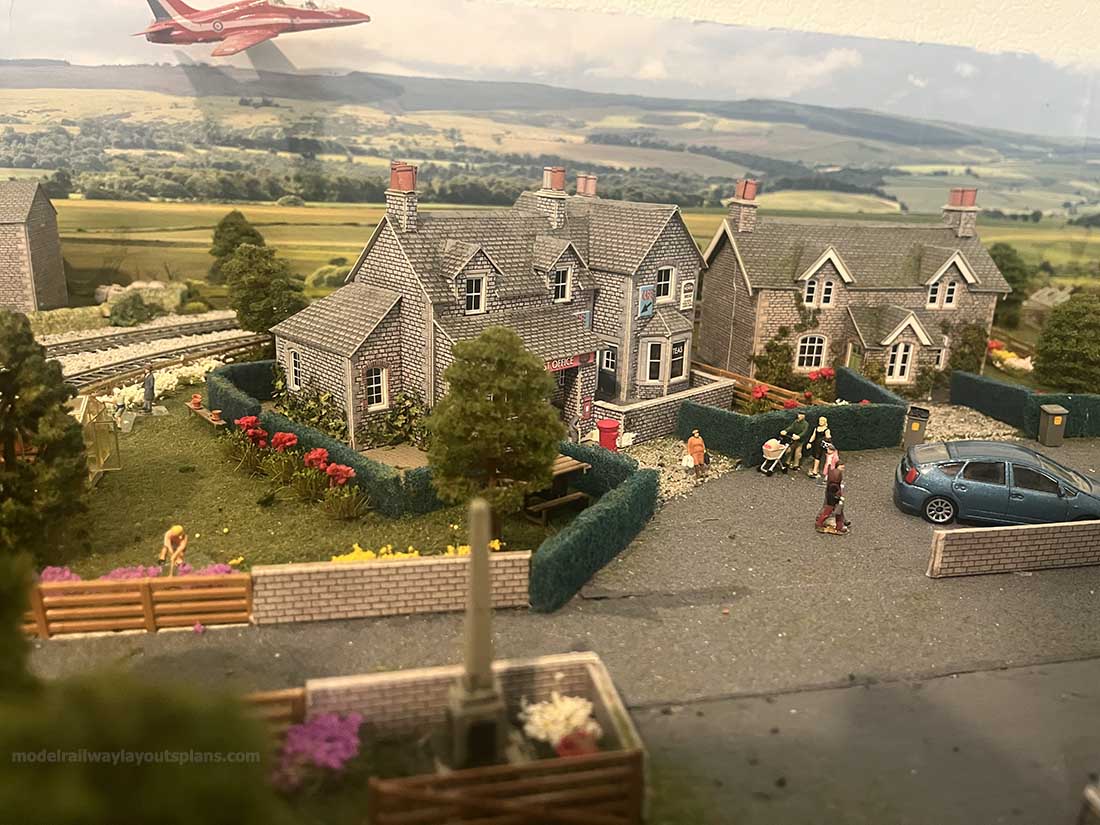
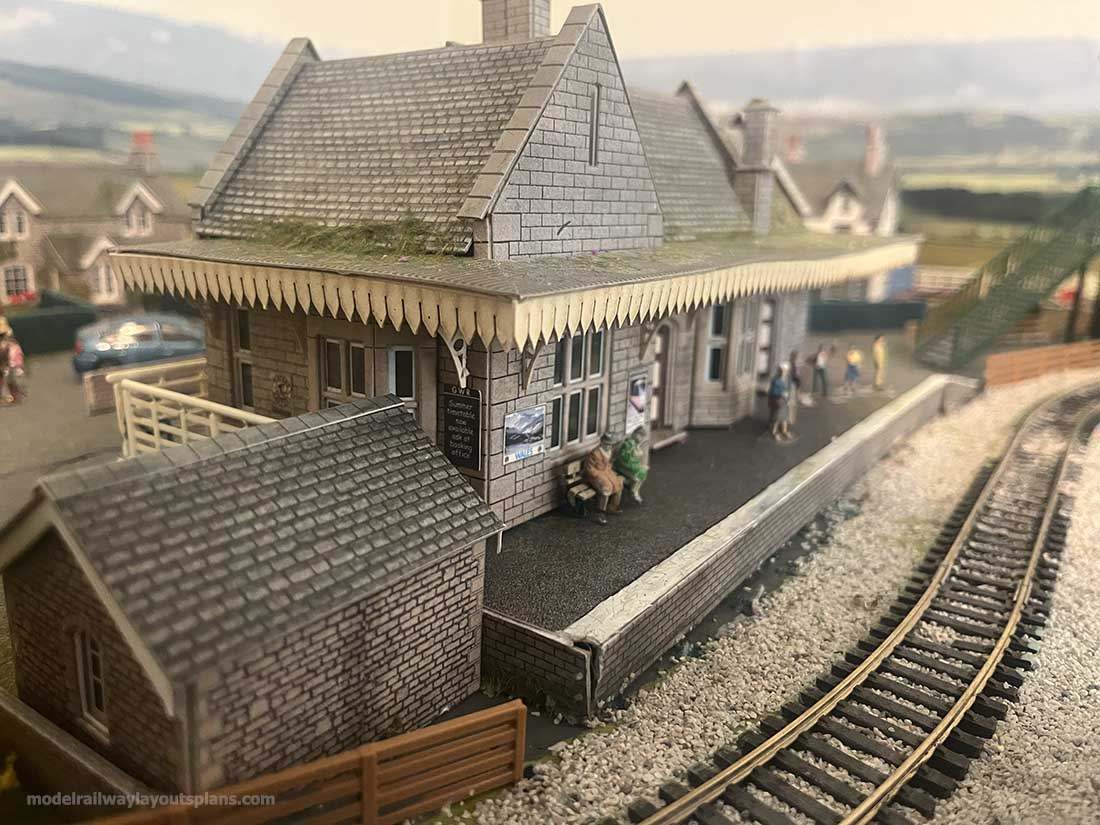
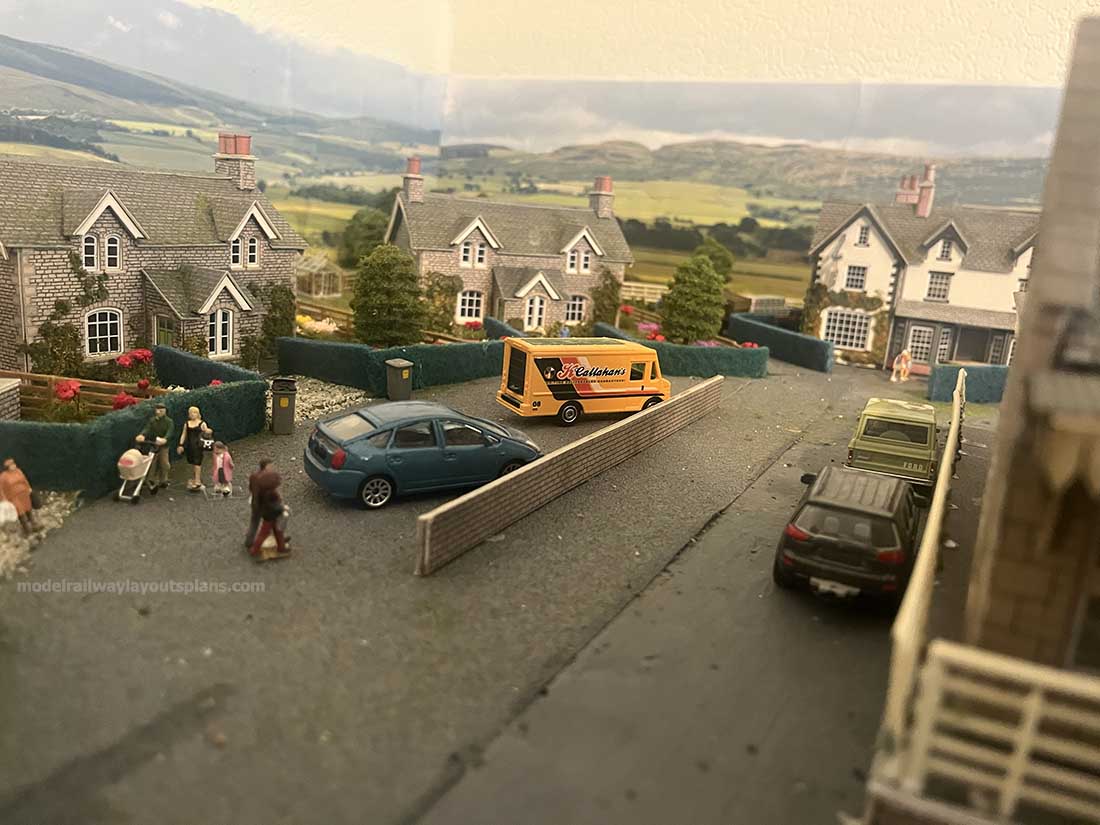
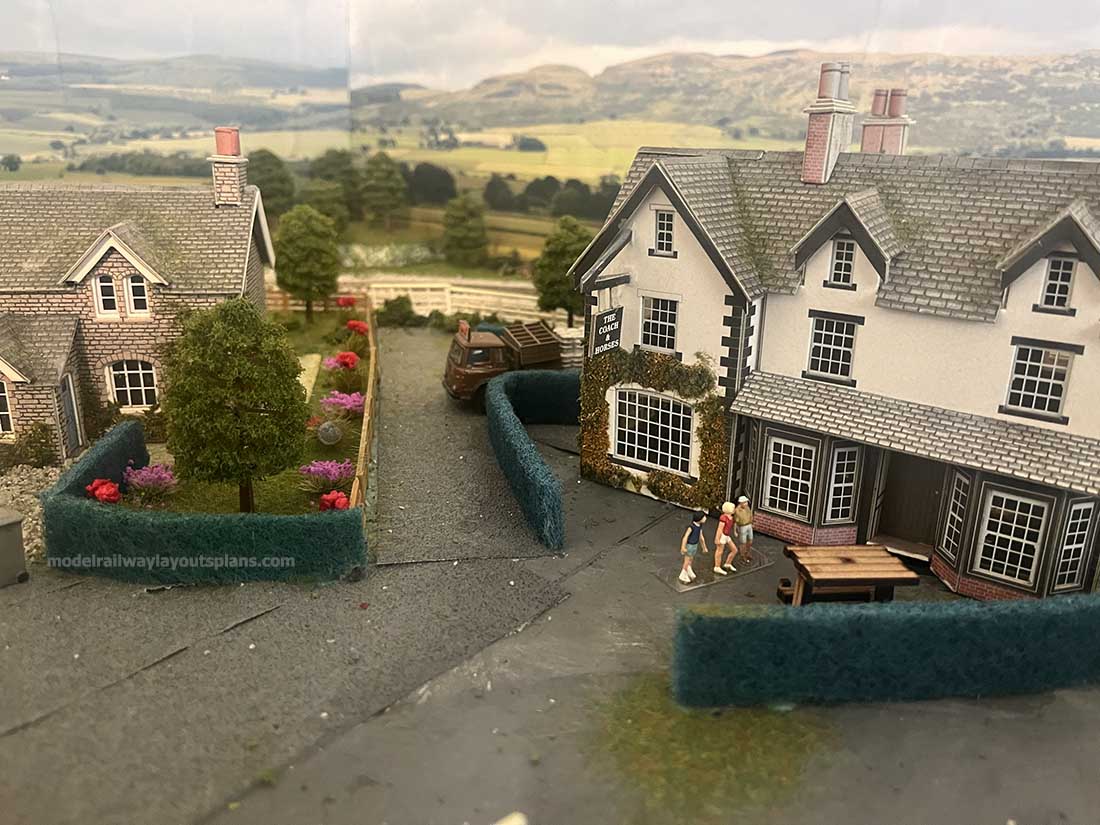
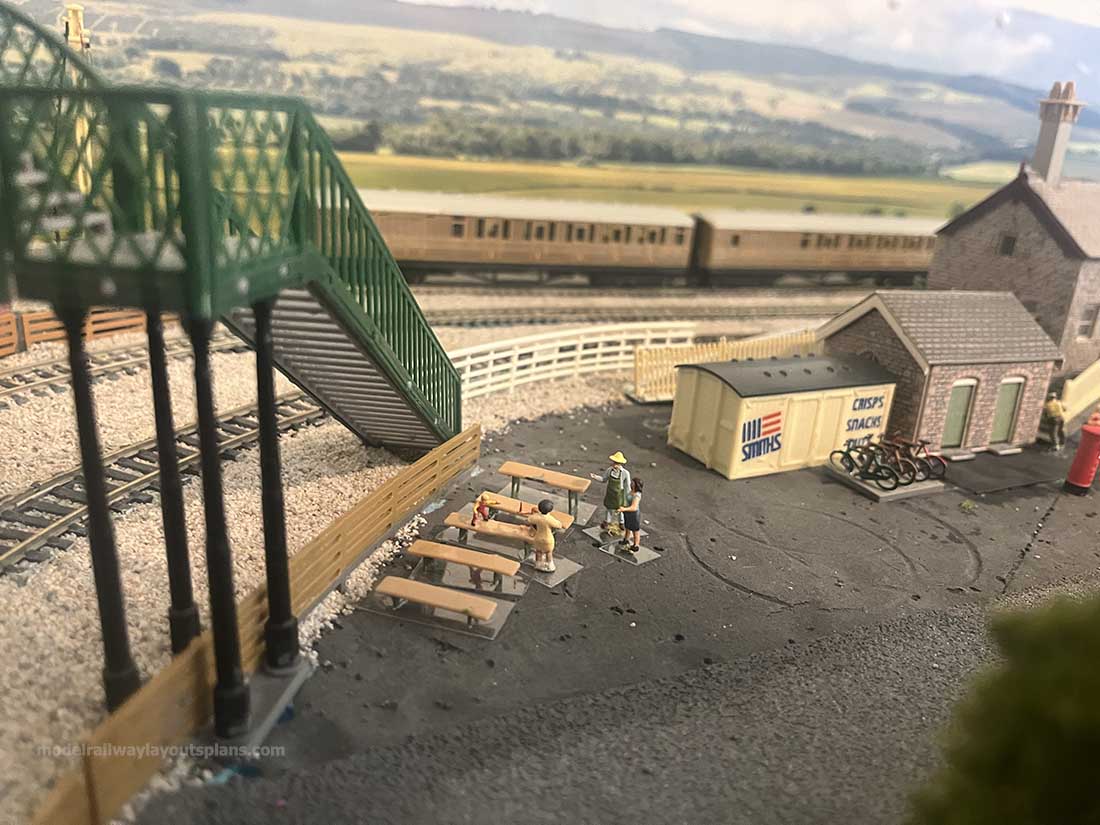
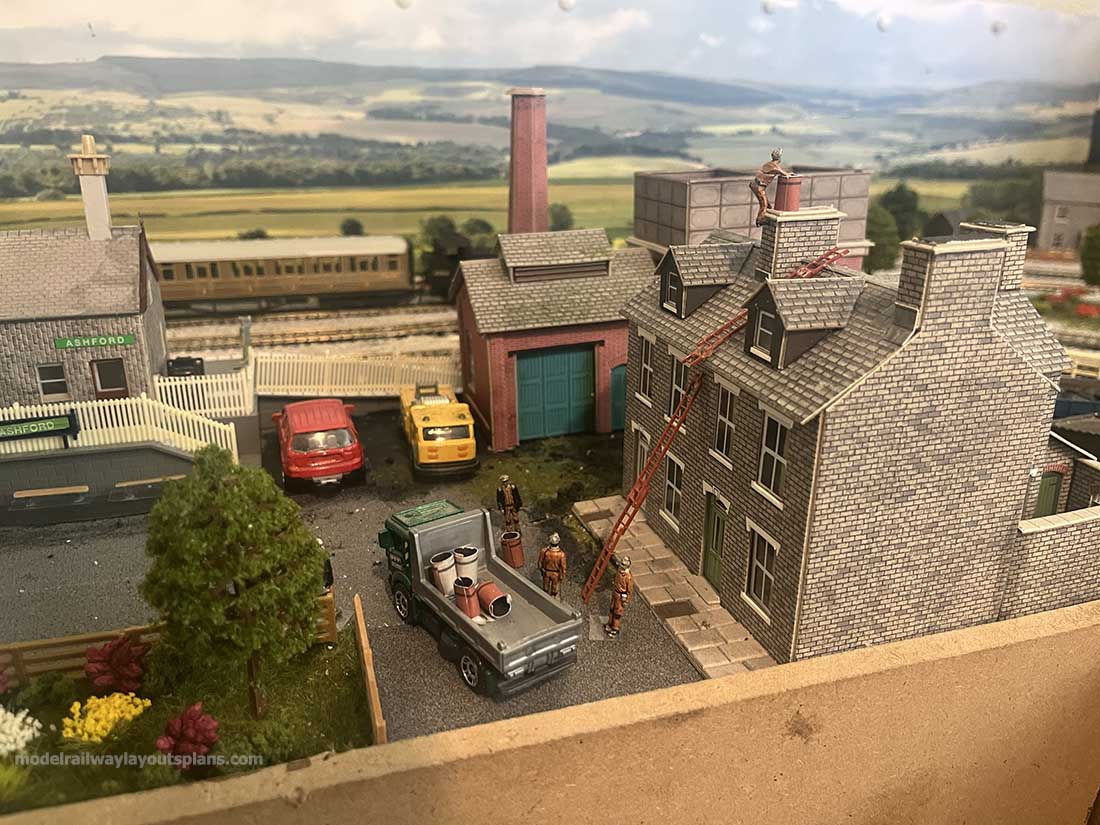
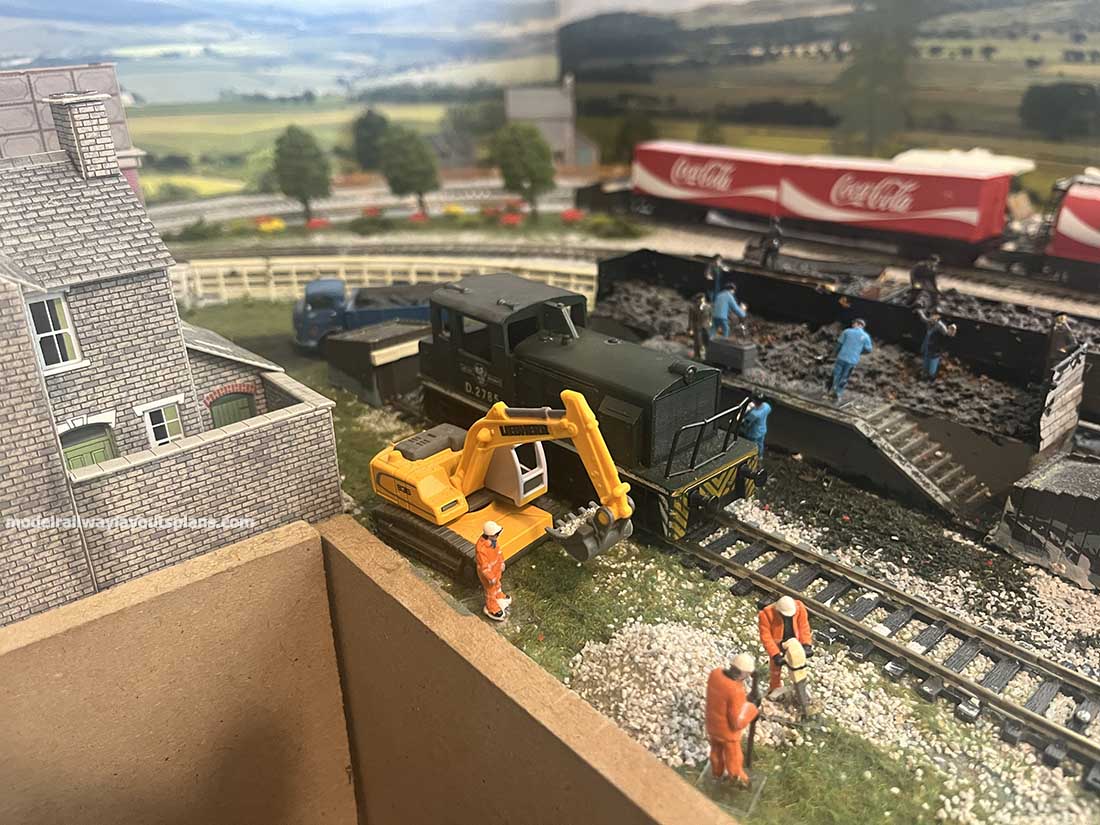
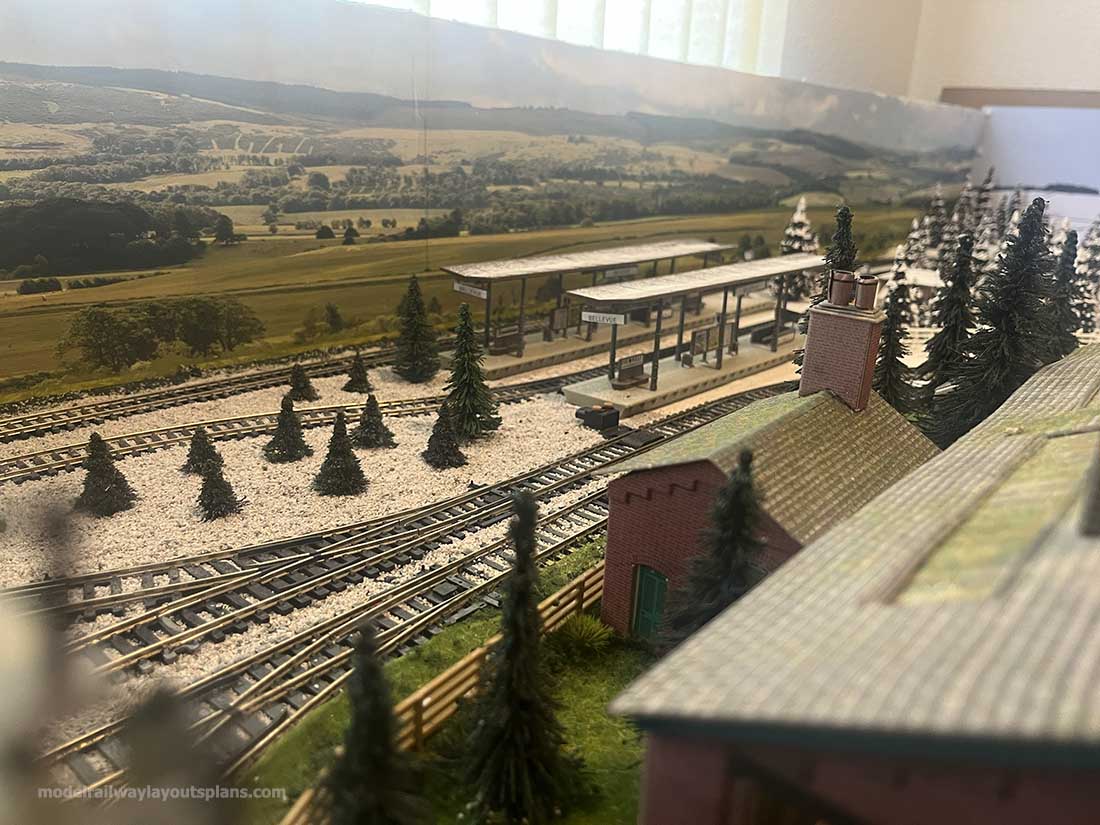
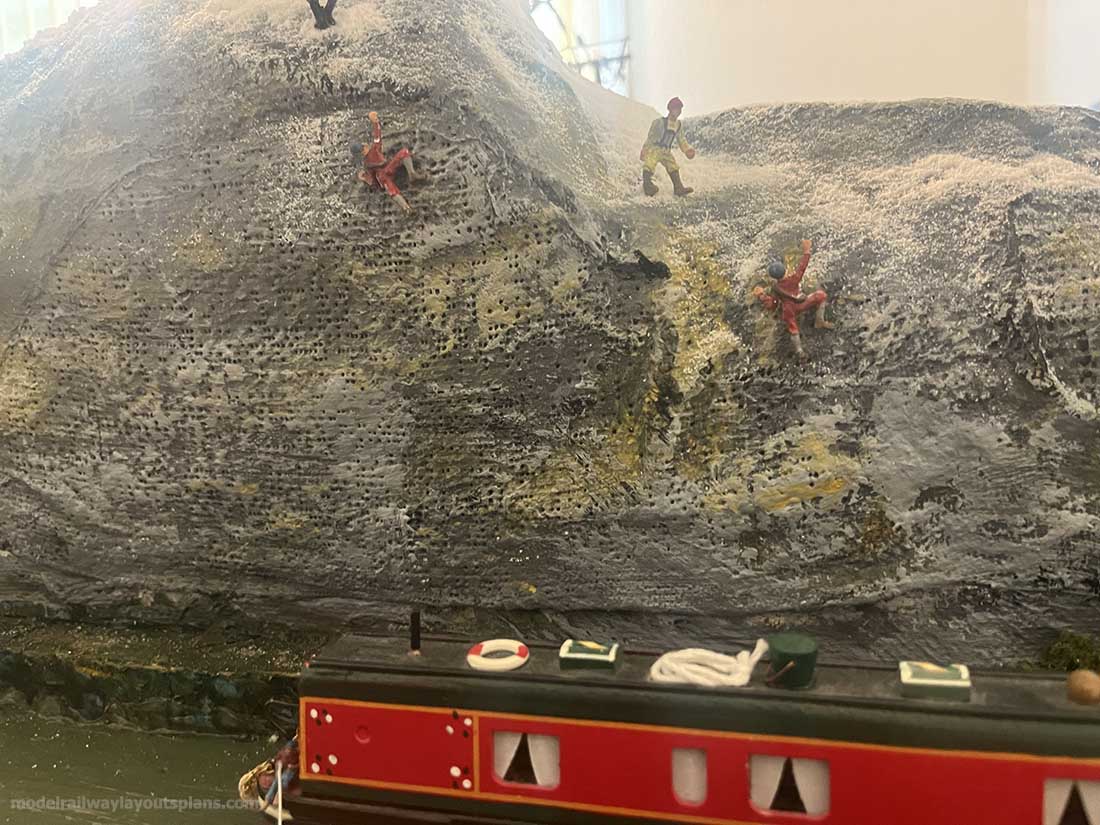
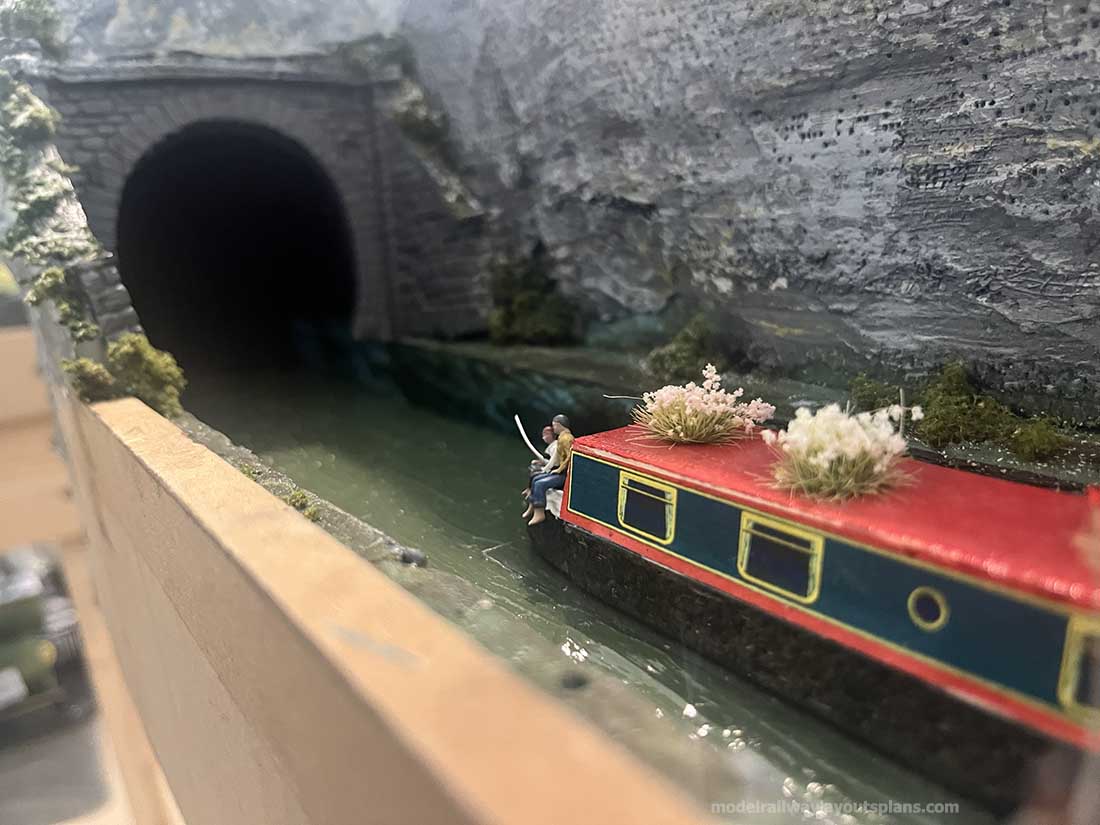
This layout enables me to put more landscaping and activities to enjoy and for photo opportunities, I love little scenes..
I have used expanded foam sheets for the base, I find it easy to affix scenery , trees etc to it.
A pretty basic approach to model railways for me, I have no experience with electrics and despite following copious videos on the subject still cannot get lighting to work for me. Still that’s for another winter.
Soon hope to be pottering around in the greenhouse growing my vegetables! Hope you all enjoy the photos !
Regards
Tony”
A huge big thank you to Tony for sharing his latest model railway snow themed layout.
You all know how much I like a layout with a theme, and you don’t see many snowy ones. Tony’s done a fab job.
You may remember him from his last layout, because Tony is the genius who put a race track through his last layout.
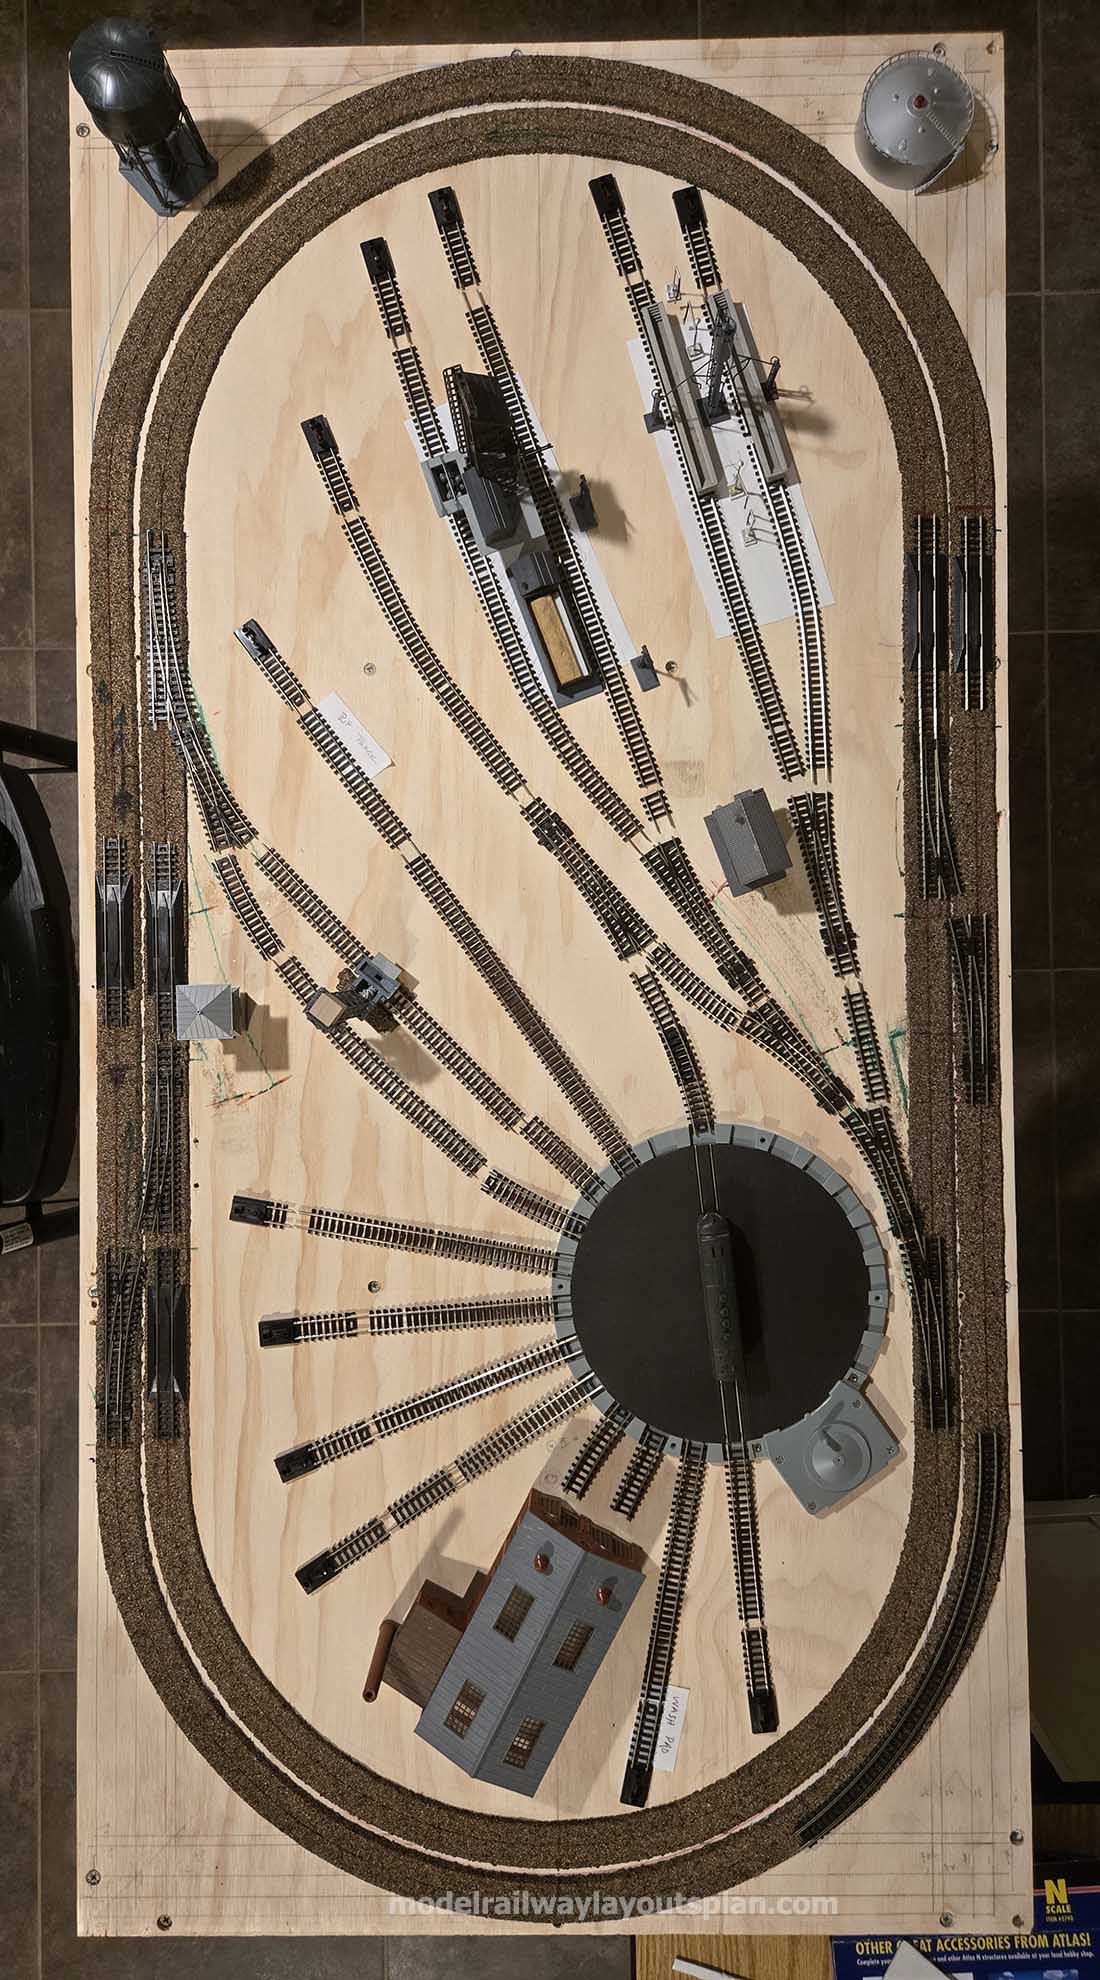
Scott’s been in touch with his N scale train yard track plan.
He has a question – can anyone help?
“Al — I have been an avid reader of your blog/emails for a few years now. I have learned much and been inspired in my own efforts in building my own layout. Thanks for your commitment and diligence in giving us all a place to “gather”!
I have been working at building an N gauge layout for the past 30+ years. Each time I have gotten started and made a huge dent in the project we decided to make a long-distance move. So, the layout was either sold or completely dismantled. At least, each move gave me a bigger basement, so starting over wasn’t too bad of a deal.
It happened again about 5 years ago. In the meantime, as I was planning and constructing yet one more layout I landed in the hospital with open heart surgery. All went well and I have recovered wonderfully (I am 71), but I am still not quite able to wield the power tools to complete the benchwork.
So, I took a small 2’x4′ module from my current project to use for a small engine N scale train yard layout with double run around tracks — transition era — with roundtable, engine house, diesel and coal fueling service pads, wash pad and RIP track. The double tracks will allow me just to run trains when I want to, and play with switching at the same time. I am also contemplating using your printable round house expanded to 3-4 stalls, in place of the small engine house I now have.
Given the smaller space, I have been struggling to set my track plan. I am not a super purist, but I do want something that looks right. I am not good with computer software so I layout everything “manually.” I would be happy for some suggestions. I have worked off of pictures and track plans I have downloaded.
The picture shows my progress. I would be happy for some suggestions from those who know more than I do. I am ready to lay track, but want to be sure my plan is workable and realistic.
Thanks again for all your efforts!
Scott”
Next up is Ed:
“Hello Alistair, my first note to you. I’ve been HO rr since 1985 I guess.
The model railroading products have skyrocketed along with technology and the prices. This brings me to my first question to you. How can you tell what resistor to use and how can tell when and when not to use a certain resistor?
I’ve seen LED lights going at different voltages so do I need to power up is another thing. Do I need to invest in a transformer of some type or several?
I think I have built 3 layouts over the years. I’ve only got a 4 x 8′ piece of plywood down now and I have no clue as to what layout to build. I’ve got 3 model rr layout books.
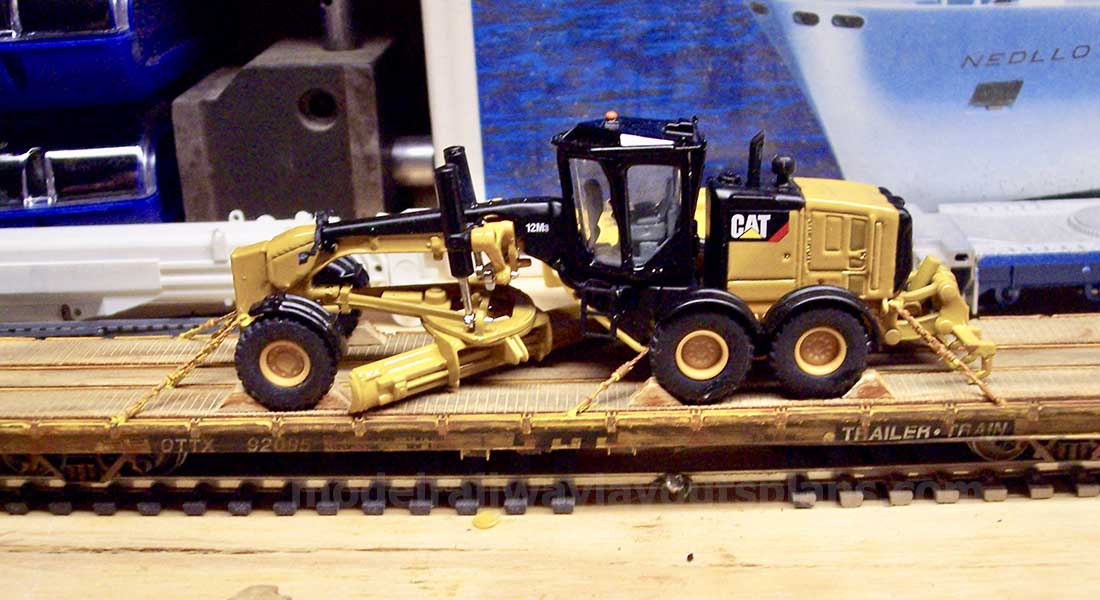
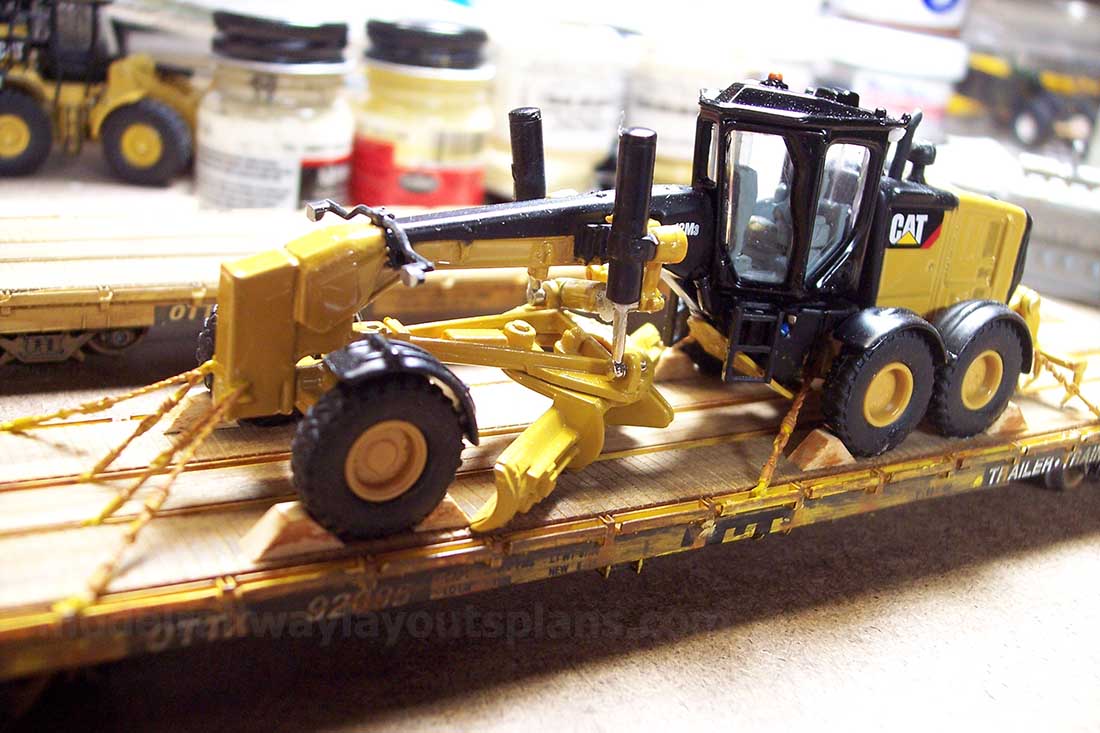
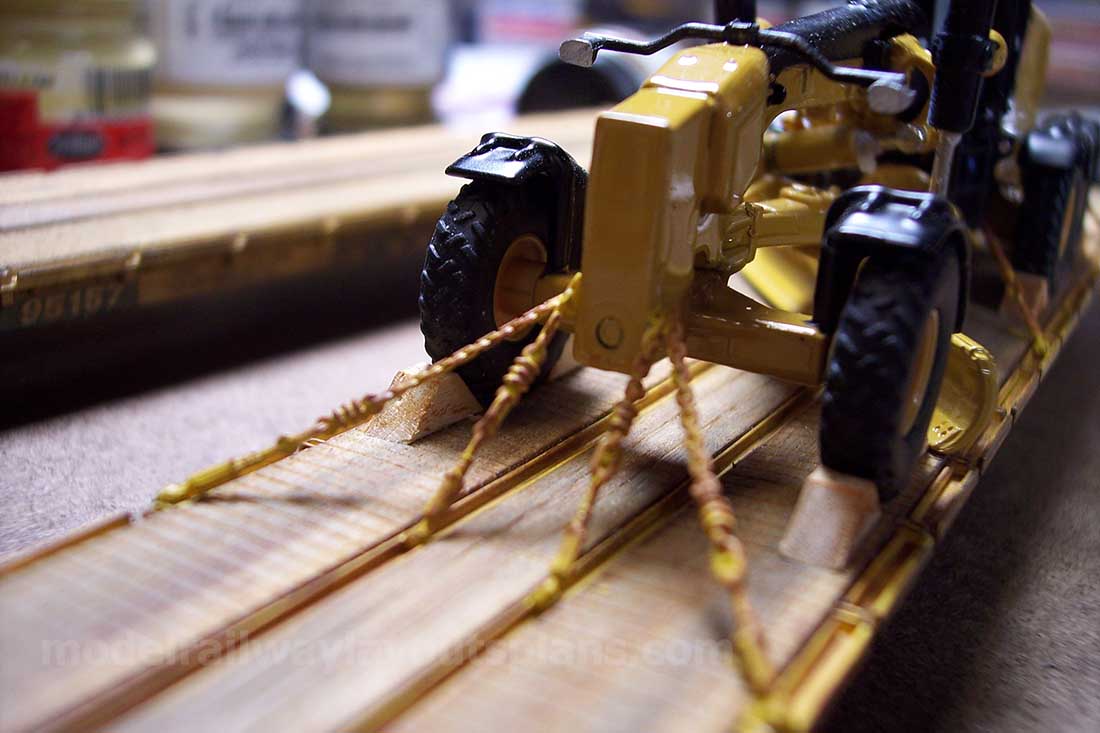
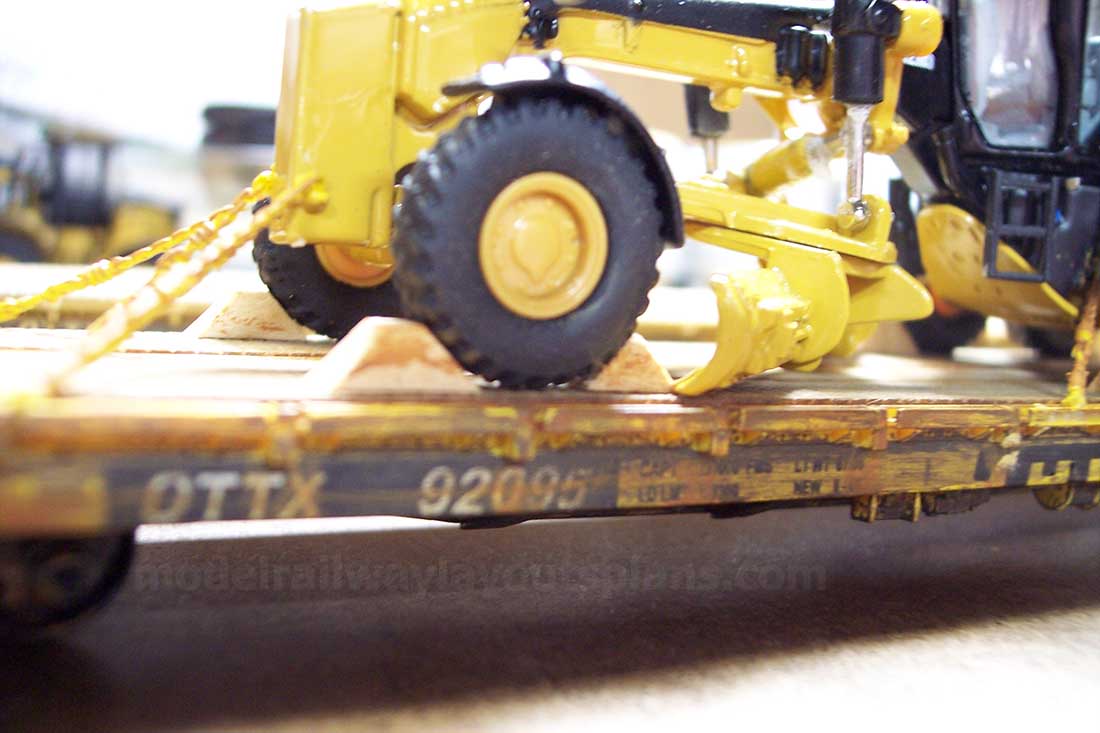
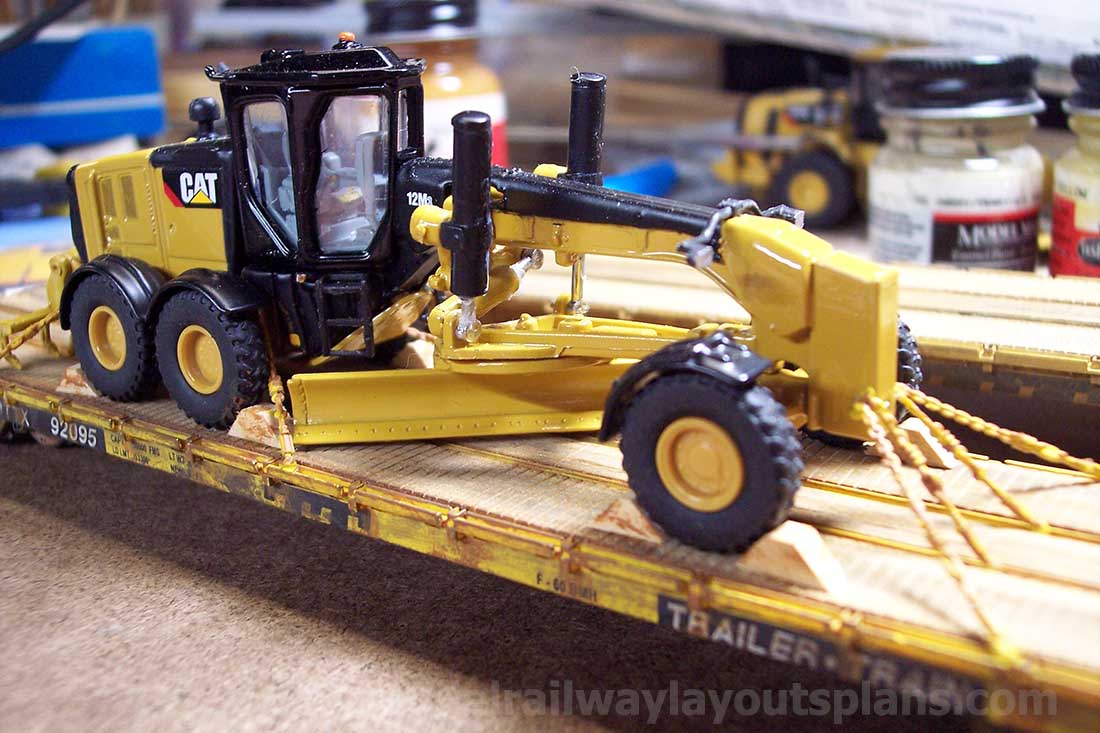
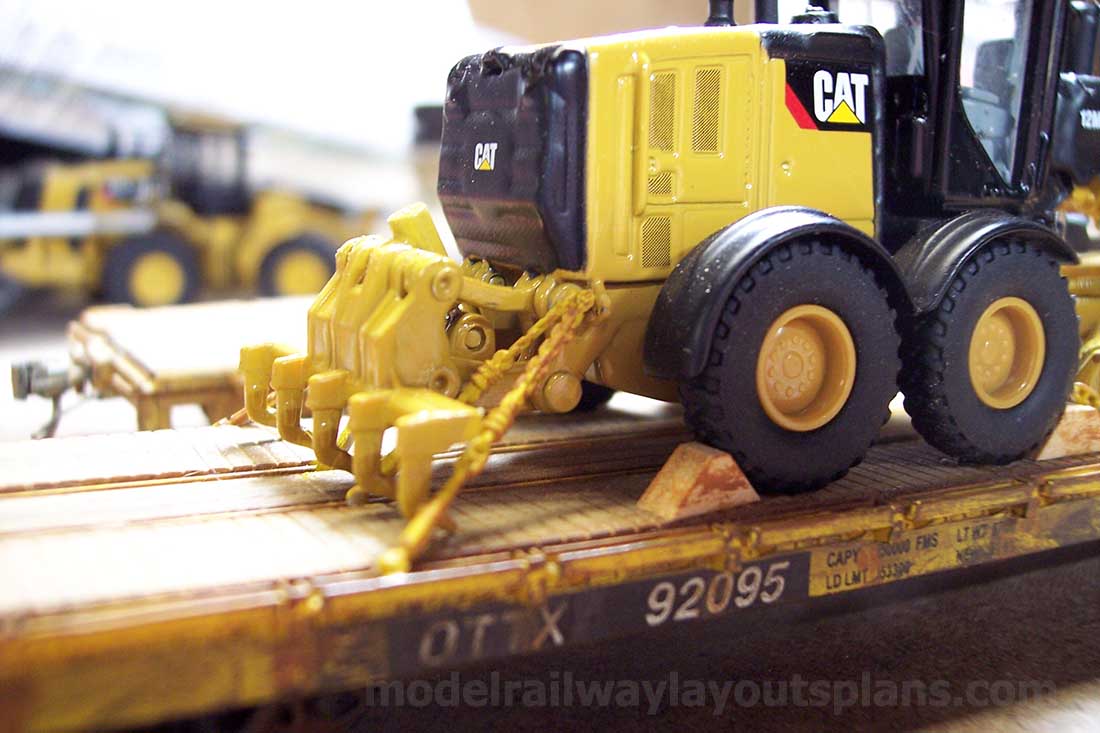
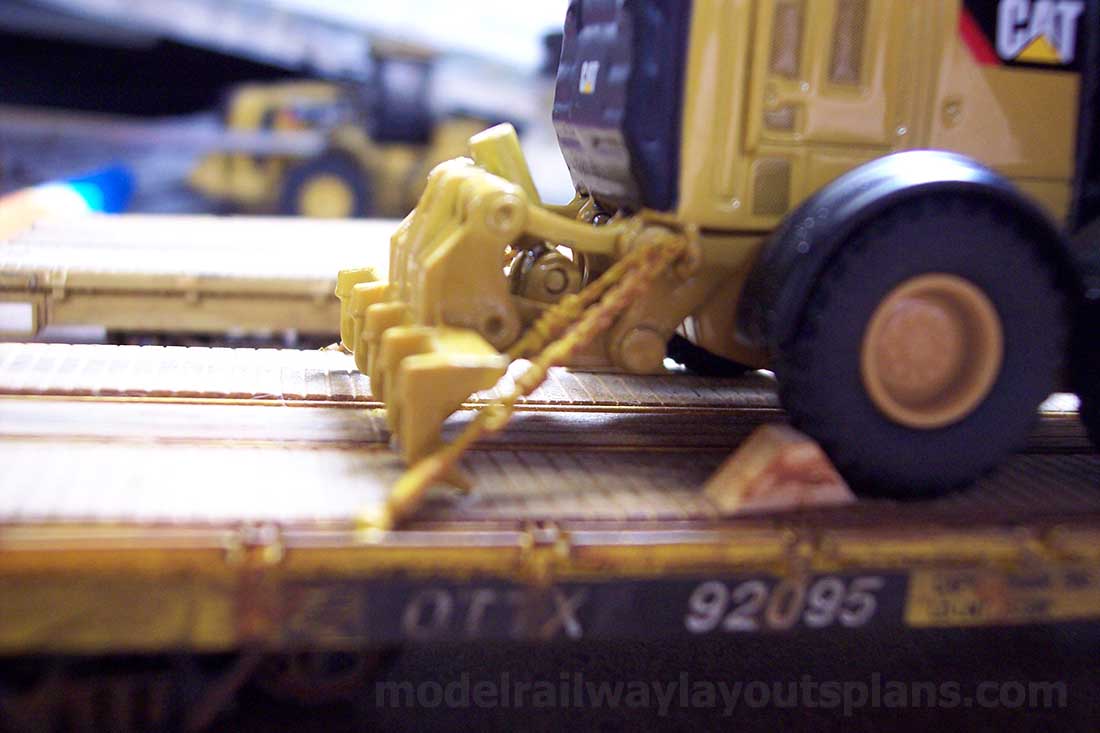
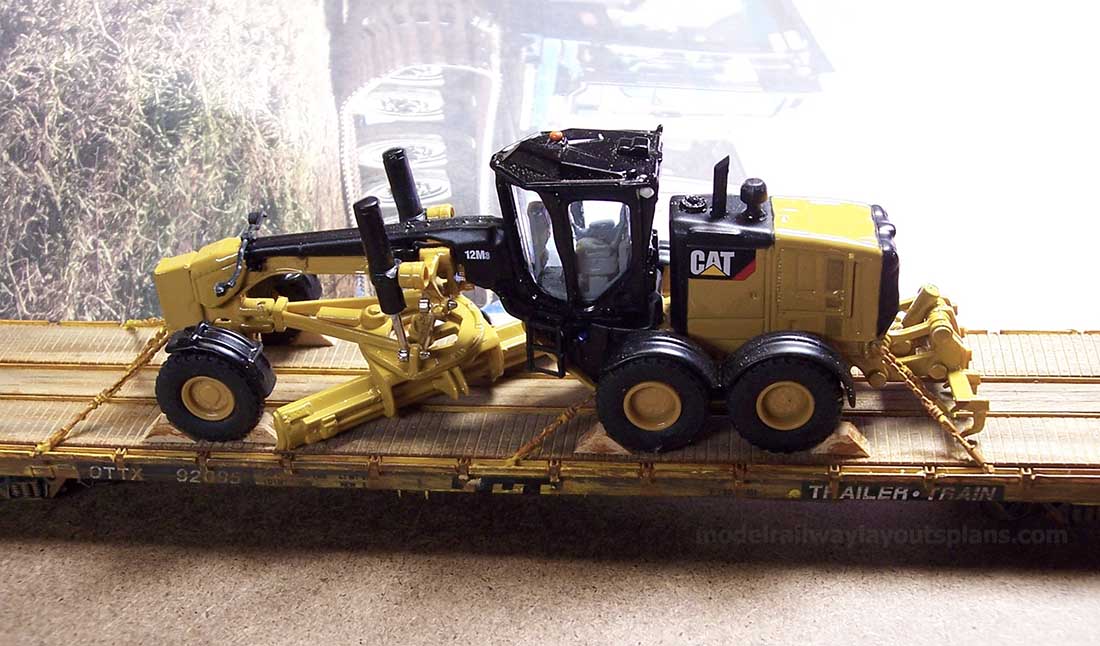
I’m retired (medically) since 02′ and life has been a challenge to say the least. I do love to build HO scale trains and cars and HO scale trucks. I will never put a Matchbox or life-like vehicle on my layout.
It’s just the machinist in me that demands perfection or what ever it is that drives my strange brain.
Most of what I build gets lots details, weathering upgrades and anything I see that would make a model look better may or may not get added to the model I’m working on. I’m not into DCC yet and may never get into it, I just don’t know at this point.
Here is an example of some of work I do. It may or may not go on ebay. This seems to be the only picture I’ve saved over the years.
Well that’s about all for now, nothing really eye grabbing. No layout yet. Thanks for all you do for modelers out there, its just awesome what you give to all of us. Plus your comedy is to die for. You are a happy nut and doing very well. Keep on having fun
Thanks
Ed Saunders
Norwood, MO USA”
A big thanks to Ed, and to Scott for sharing his N scale train yard.
Please do leave a comment below if you can help Scott or Ed.
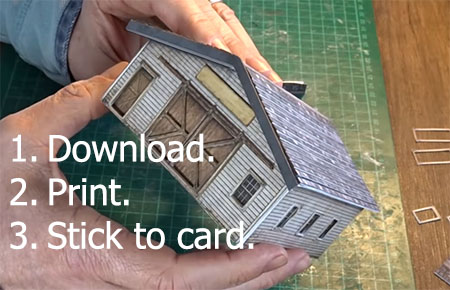
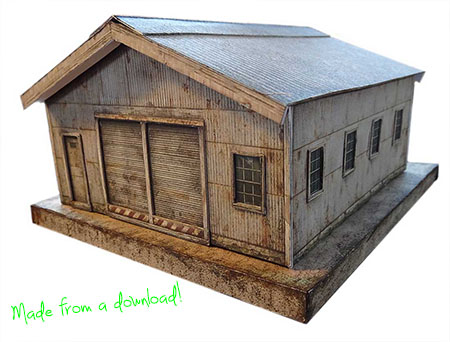
Ed pics, and Scott’s track plan reminded me of one of the latest printable buildings – I think it would it fit in well:
(You can see this building and the others in the store.)
I’m slowly putting all of the printable buildings into one place… bear with me, they’ll all get there soon.
The houses will be next (there are some new ones too), here’s a vid of them from a while back now which always make me smile:
Every building is made from paper – they’ll all be in the store soon.