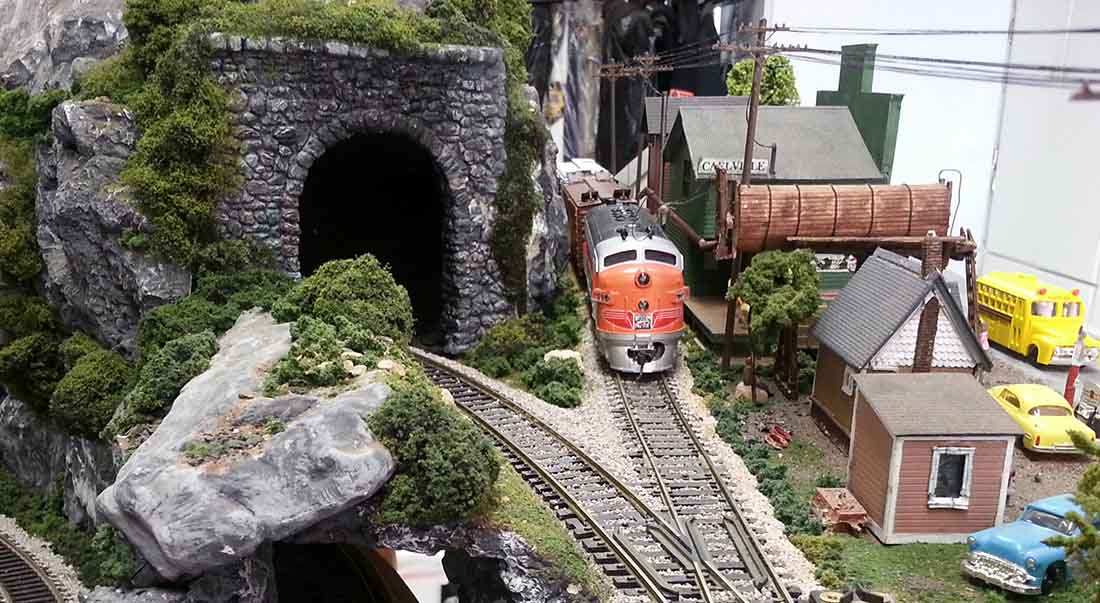
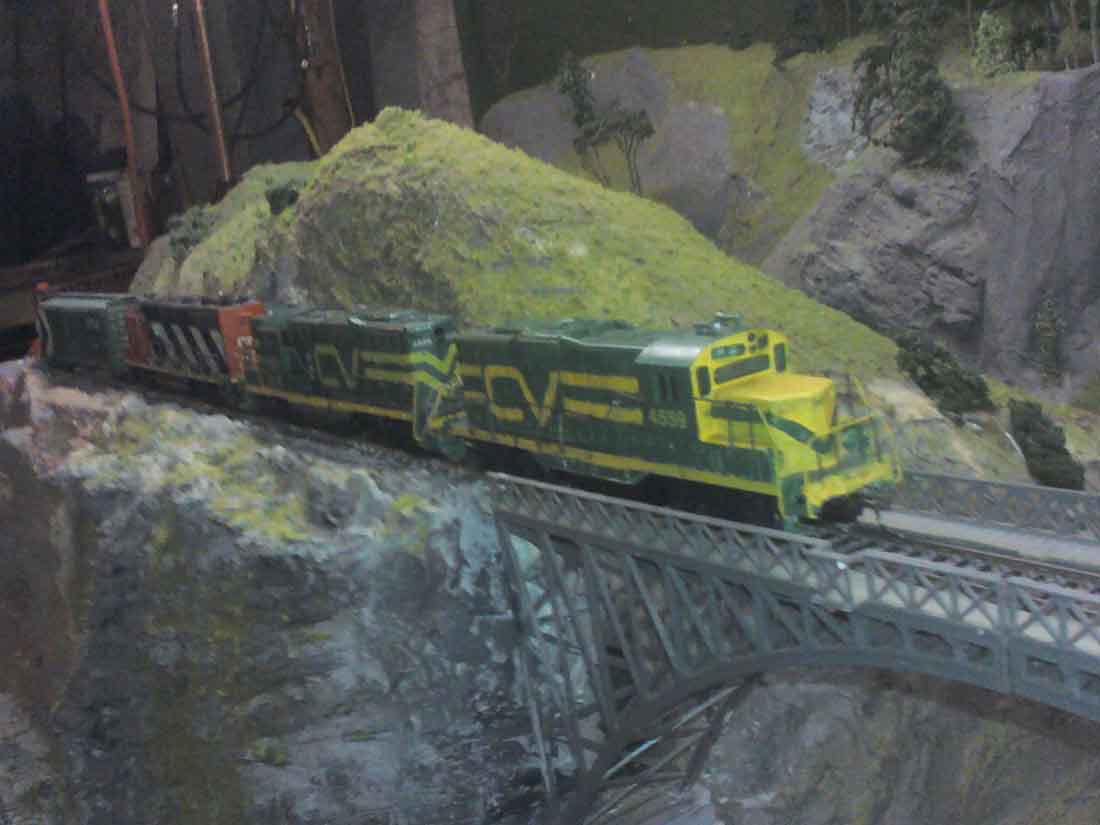
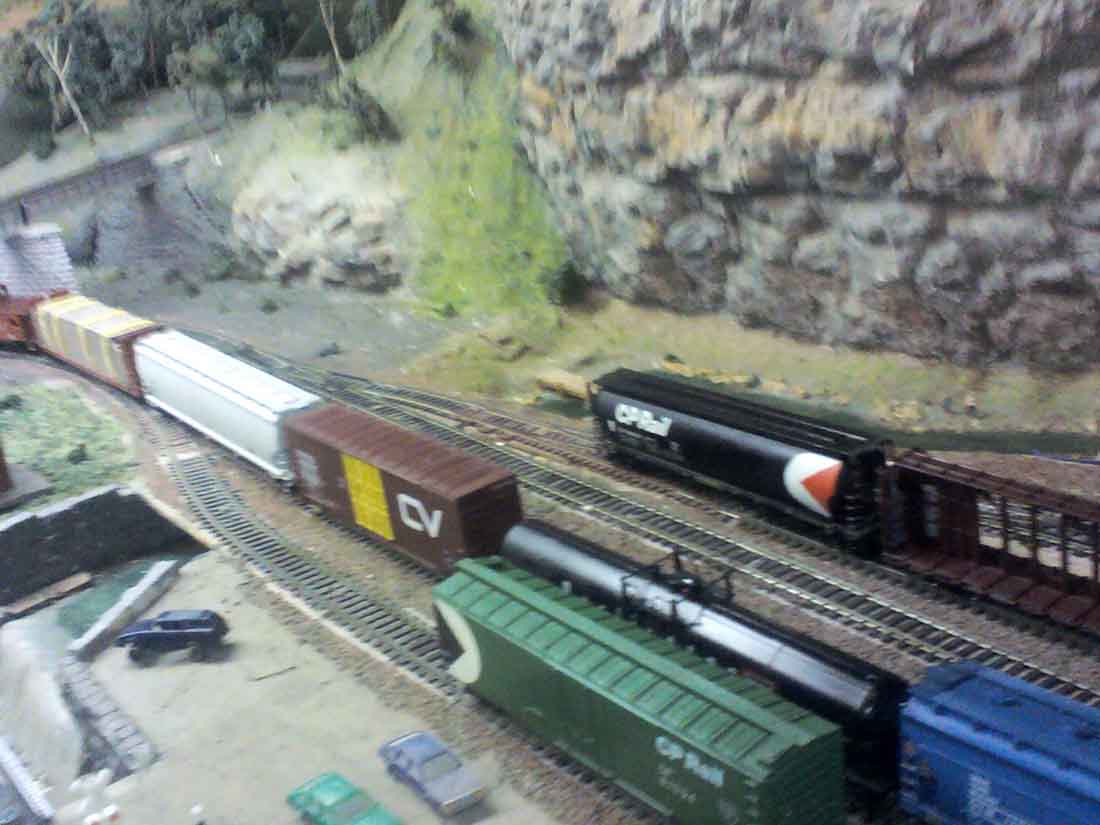
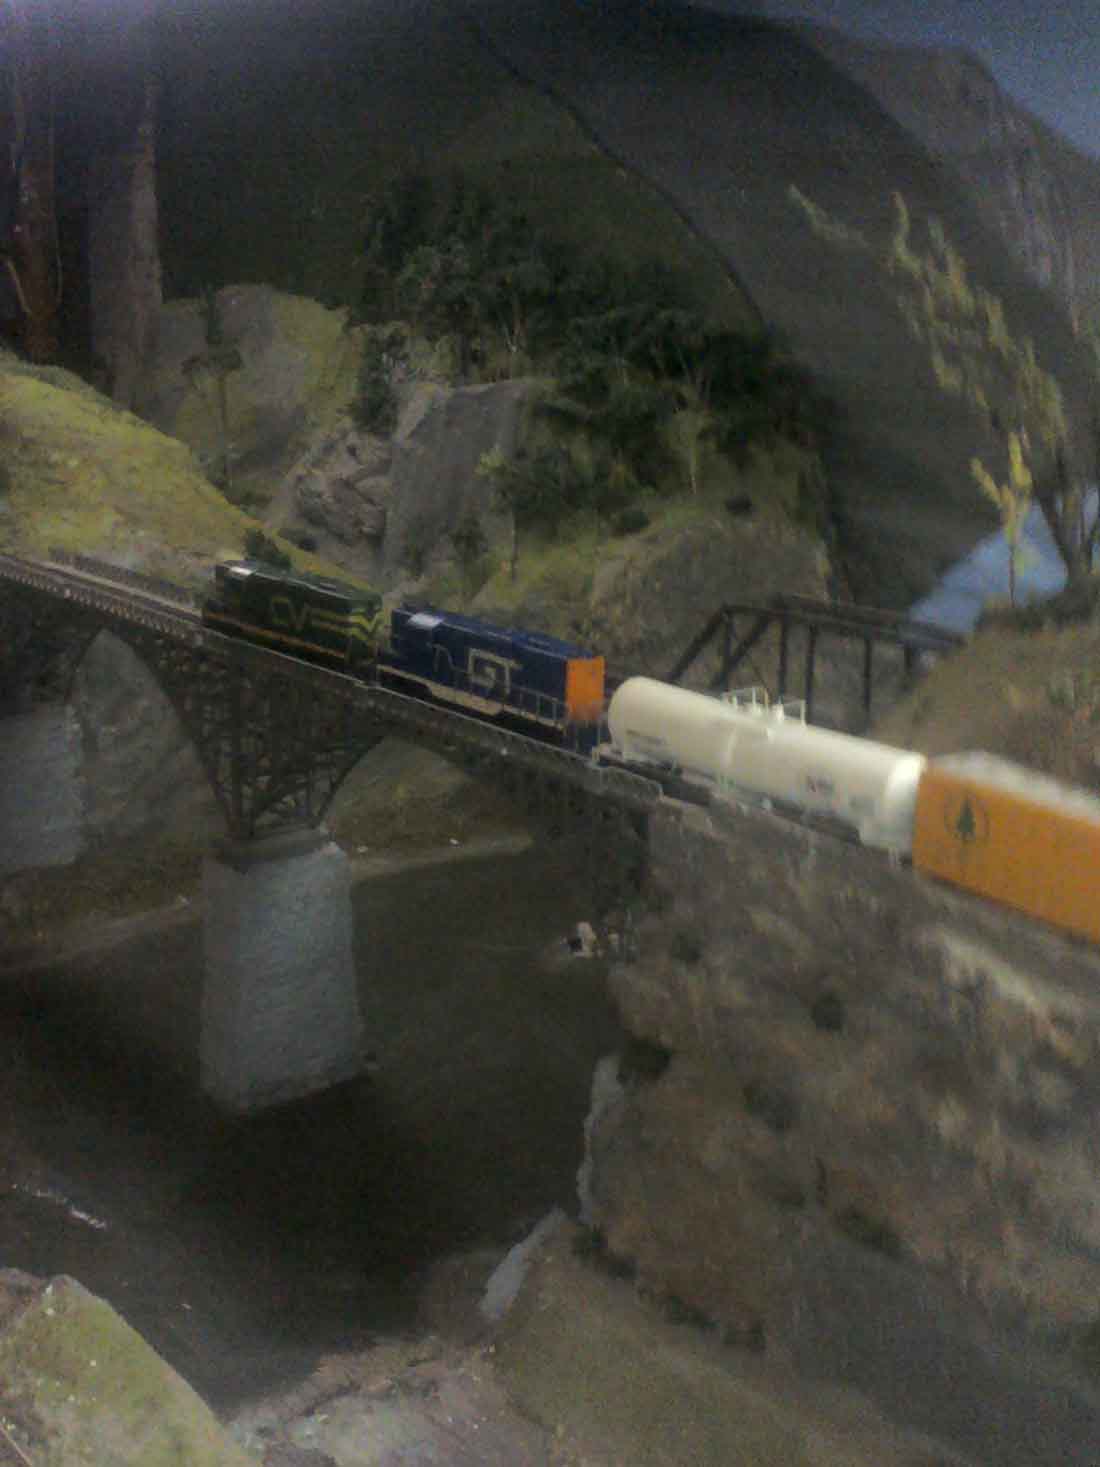
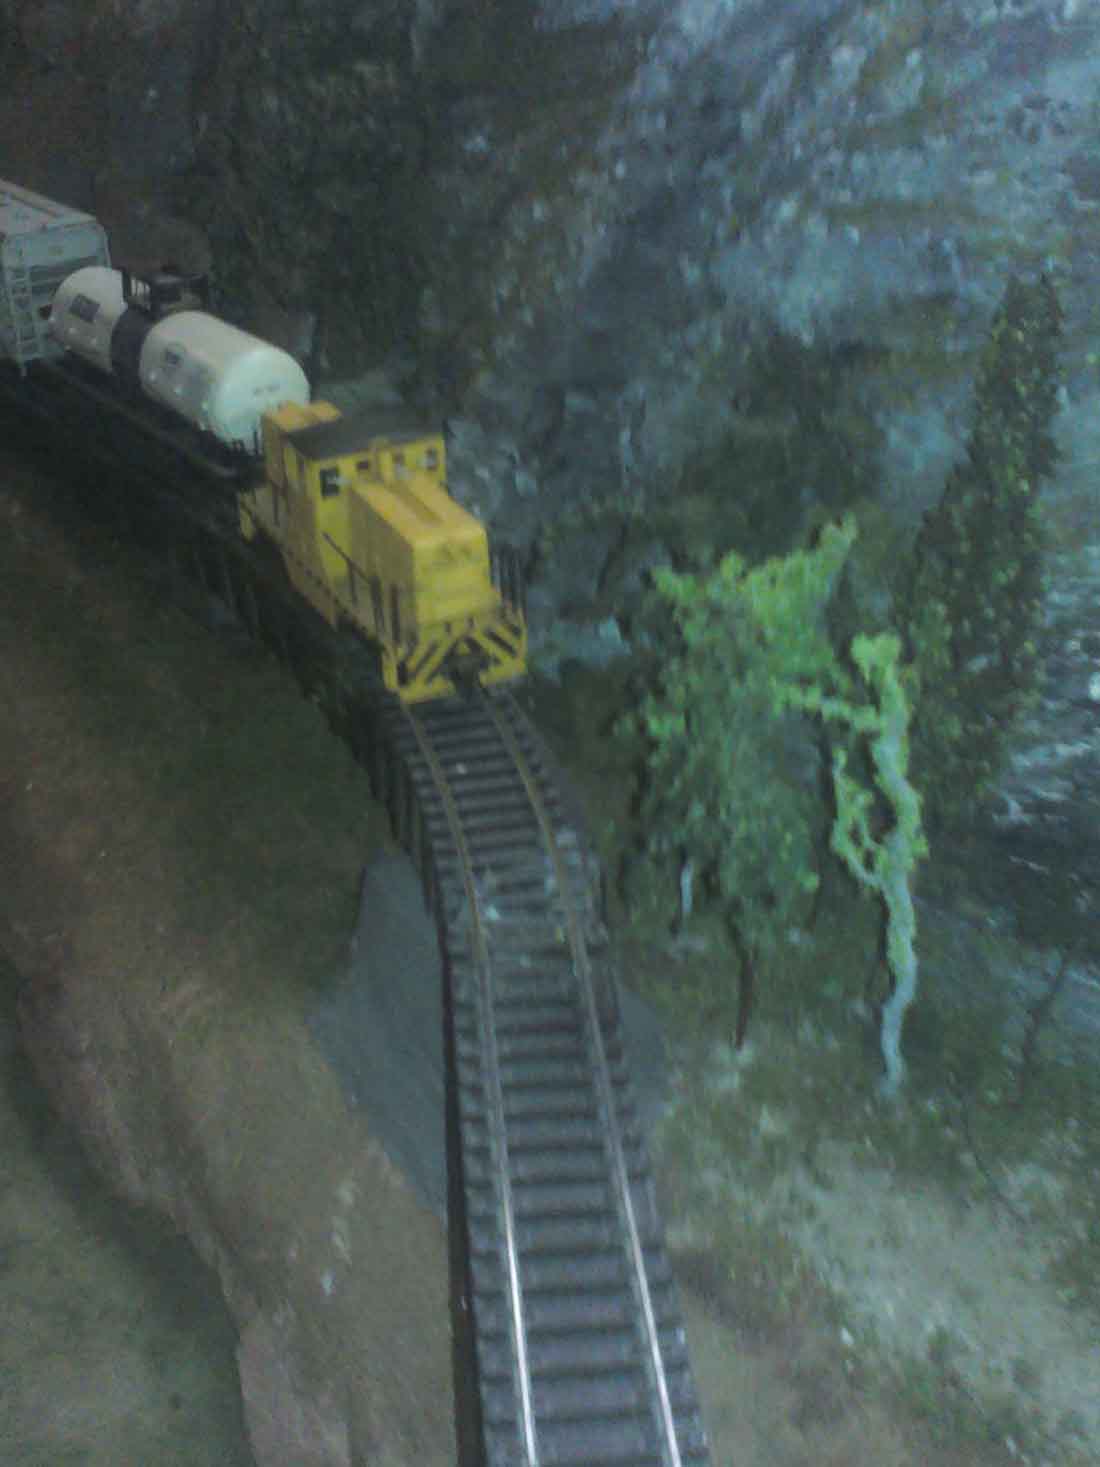
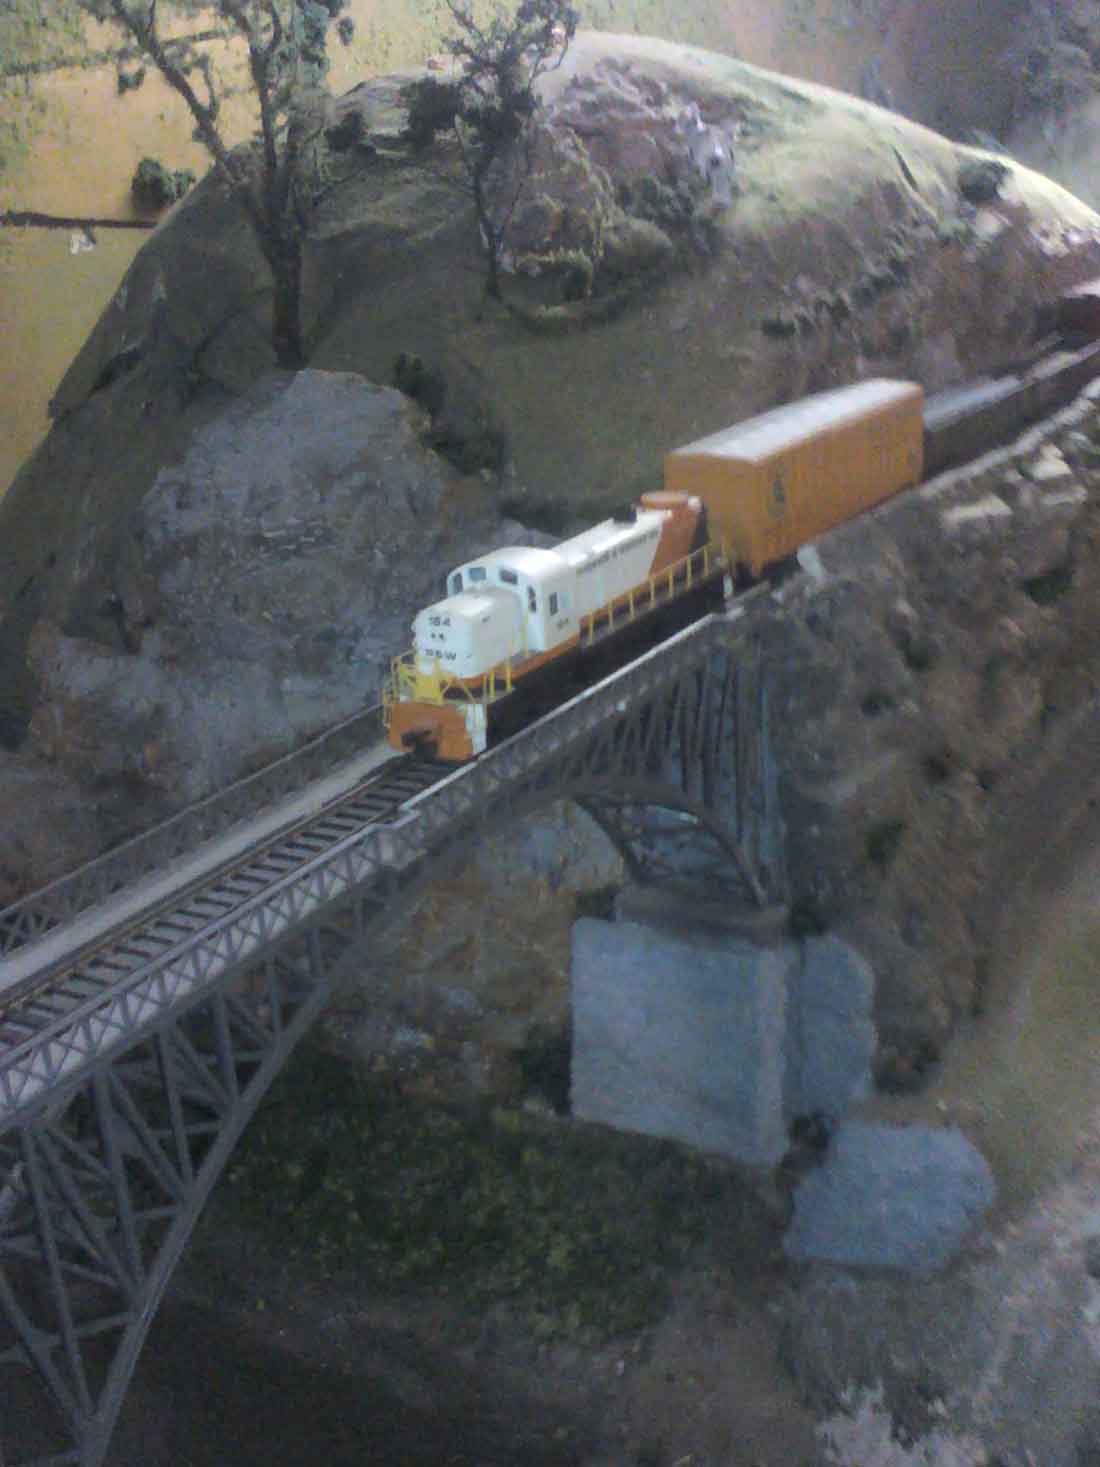
Craig’s been in touch with his HO scale diesel loco pics:
“Al:
I have been reading for quite awhile and …just thanks. I really appreciate the tips.
I sent one post in about making some street lights and keep telling myself that I should do another on some of the things I have been doing for my lay out.
Mine is about 5 x 9 feet, takes up half the garage (which my wife constantly reminders me about, but that’s another story).
I bought the cookie cutter layout benchwork from a guy who just likes to construct roadbed.
I have added all the pink foam insulation for the mountains and to fill in between the tracks. It’s a work in progress, but I thought to share, hope it’s worth looking at. My first layout, and I made mistakes and have learned much from the experience.
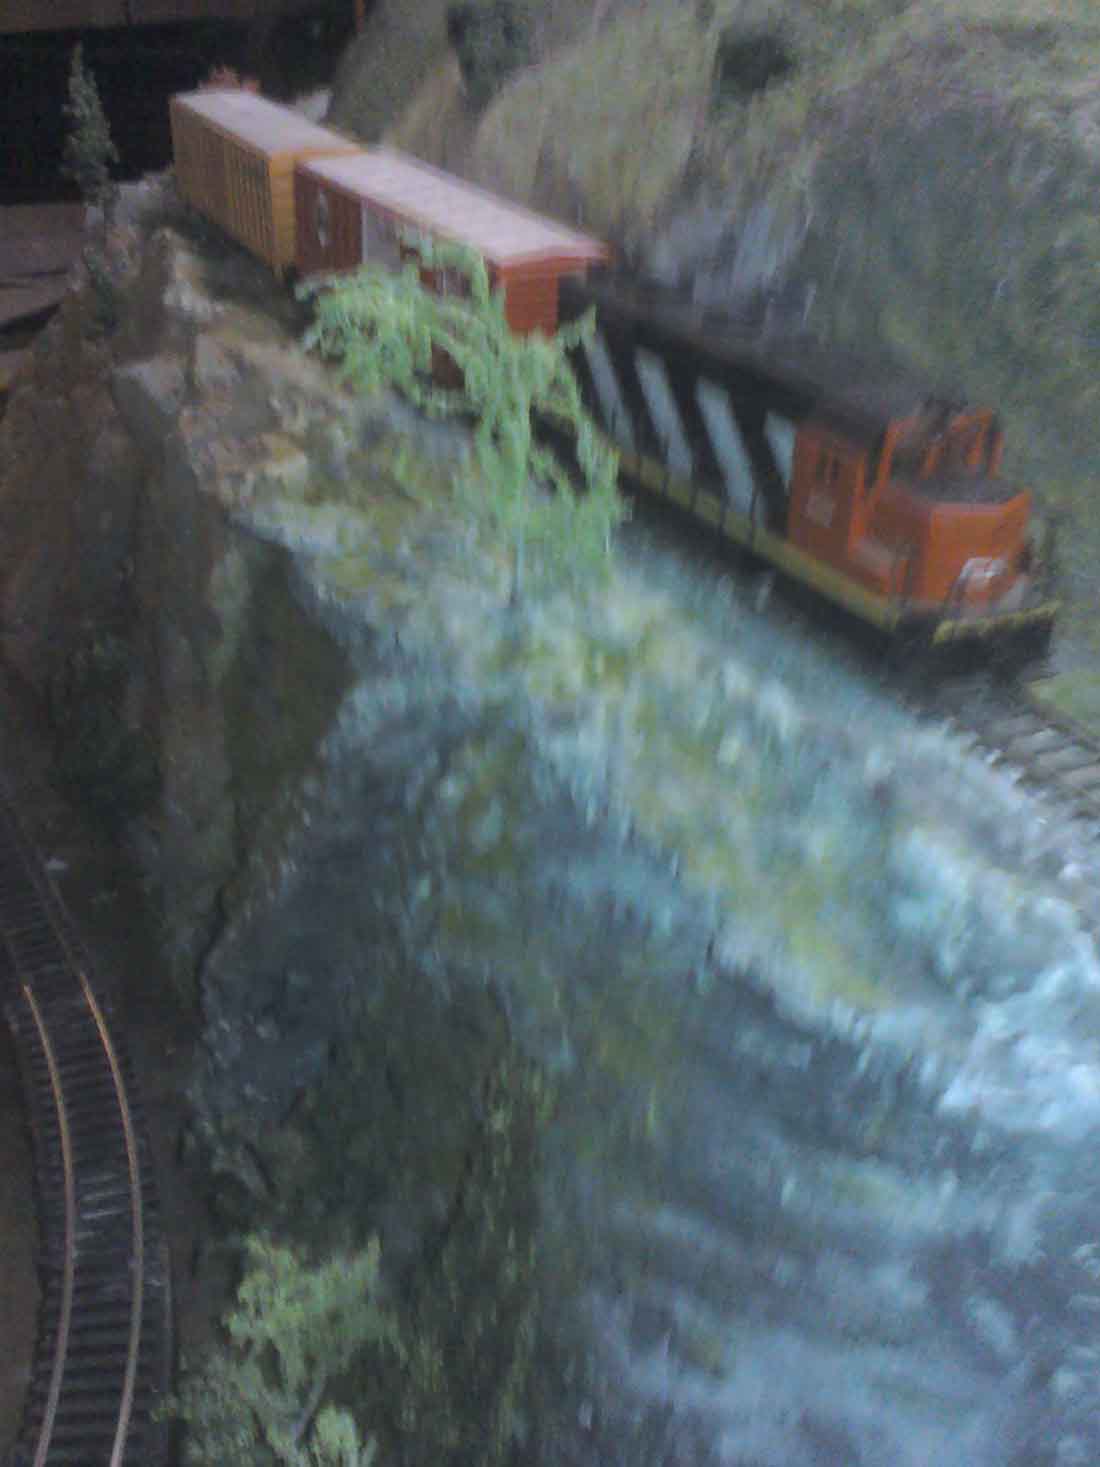
My layout has little towns named after my grandkids. Caelville shows a couple of boxcars being unloaded at the local mercantile.
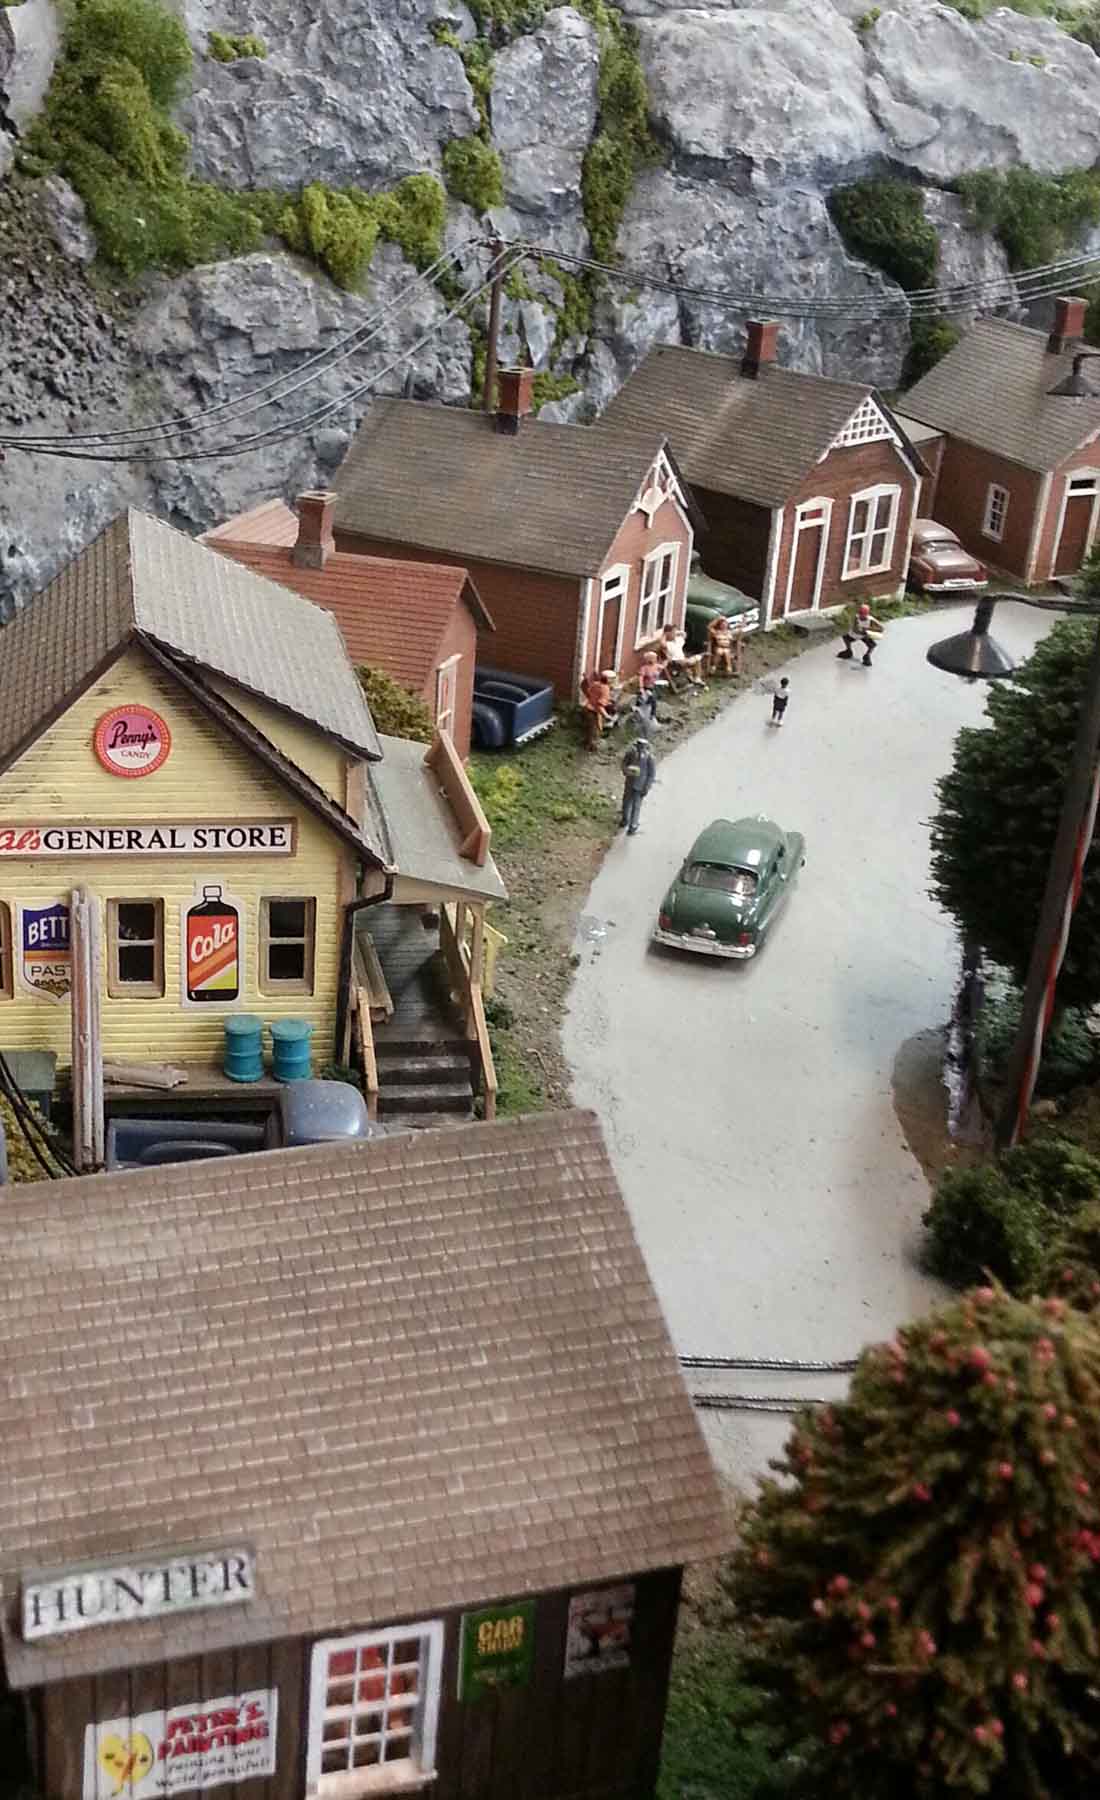
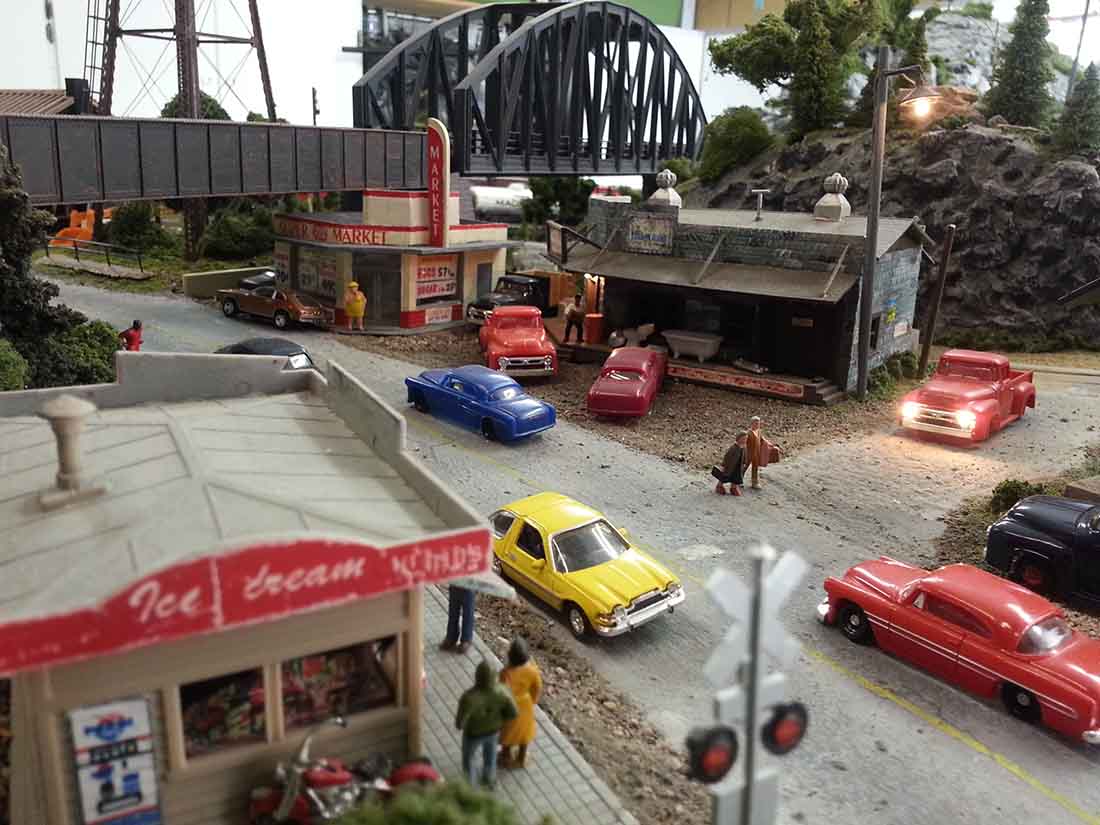
Downtown shows the teaming metropolis of Hunter and a couple of policemen shaking down two suspicious guys hanging around outside the shops. A little welding operation is going on at Teds workshop across from the new house under construction.
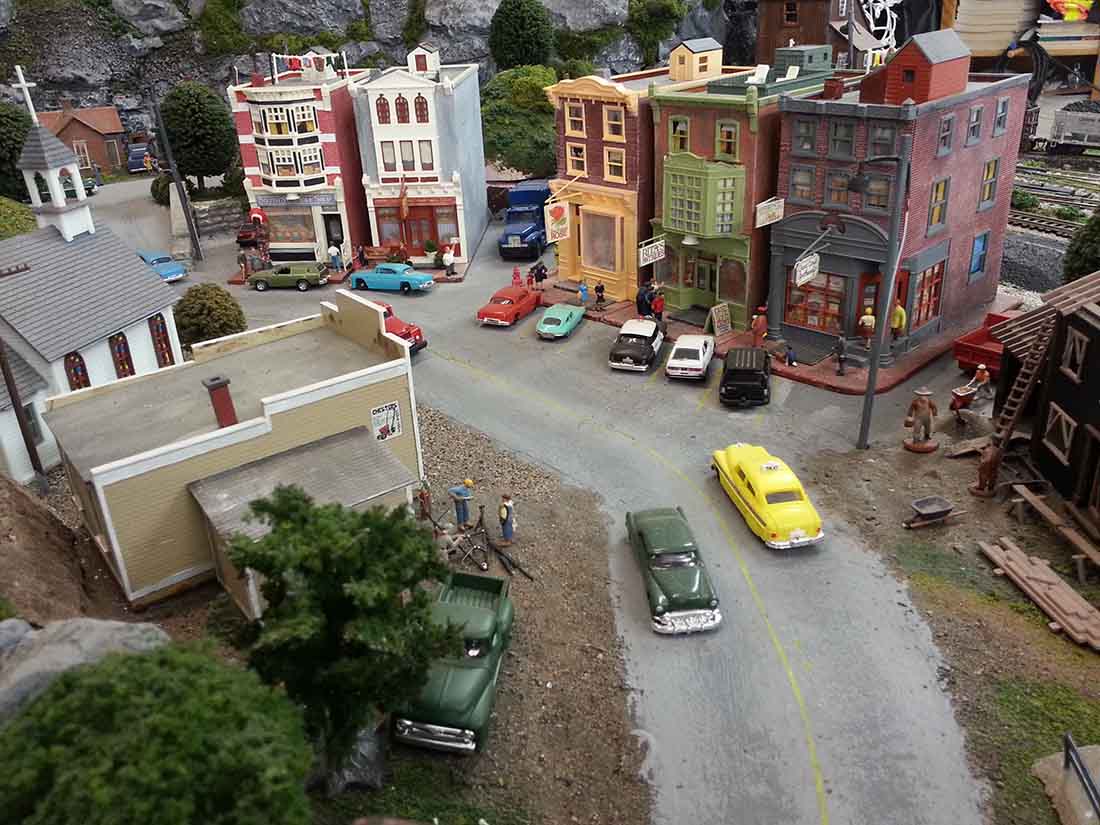
Downtown #1 gives us a view of the biker bar tucked back in the alley. Farther down the road we see the plumbing and hardware store and the local market.
A hot dog stand supplies snacks to the people getting off at the train station across the street.
I also wanted to put lights in a truck, so I drilled out the headlamps and glued two grain of rice bulbs inside them and ran the wire down through the roadway to the transformer. Turned out OK.
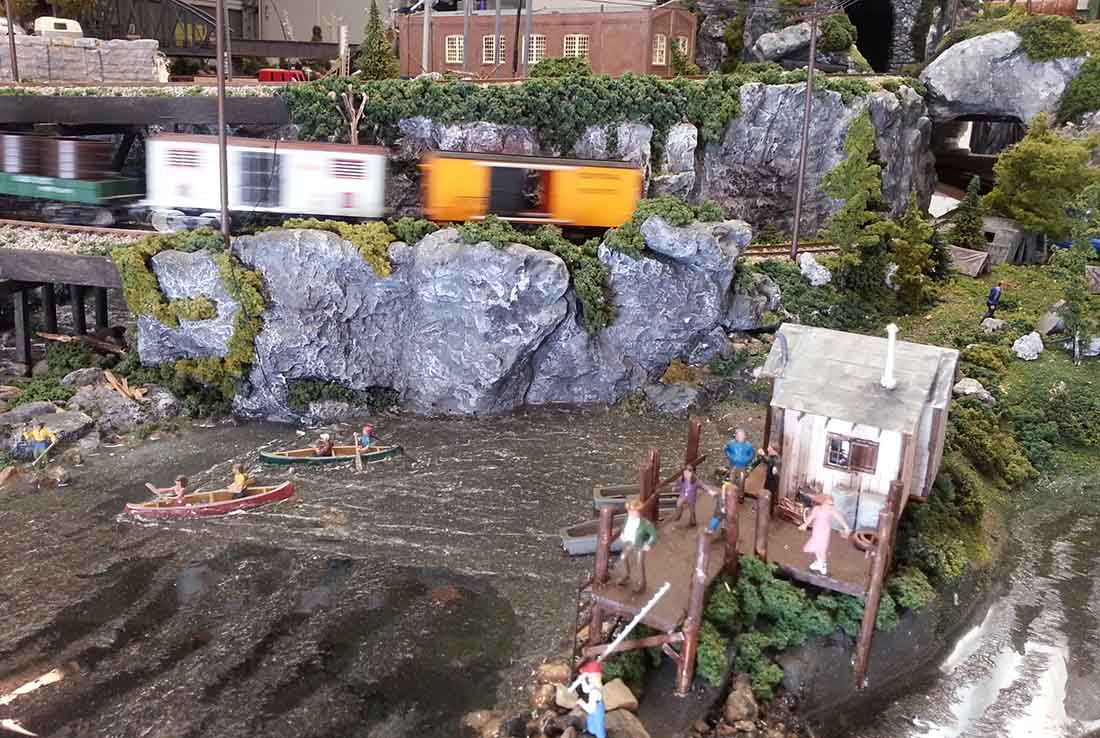
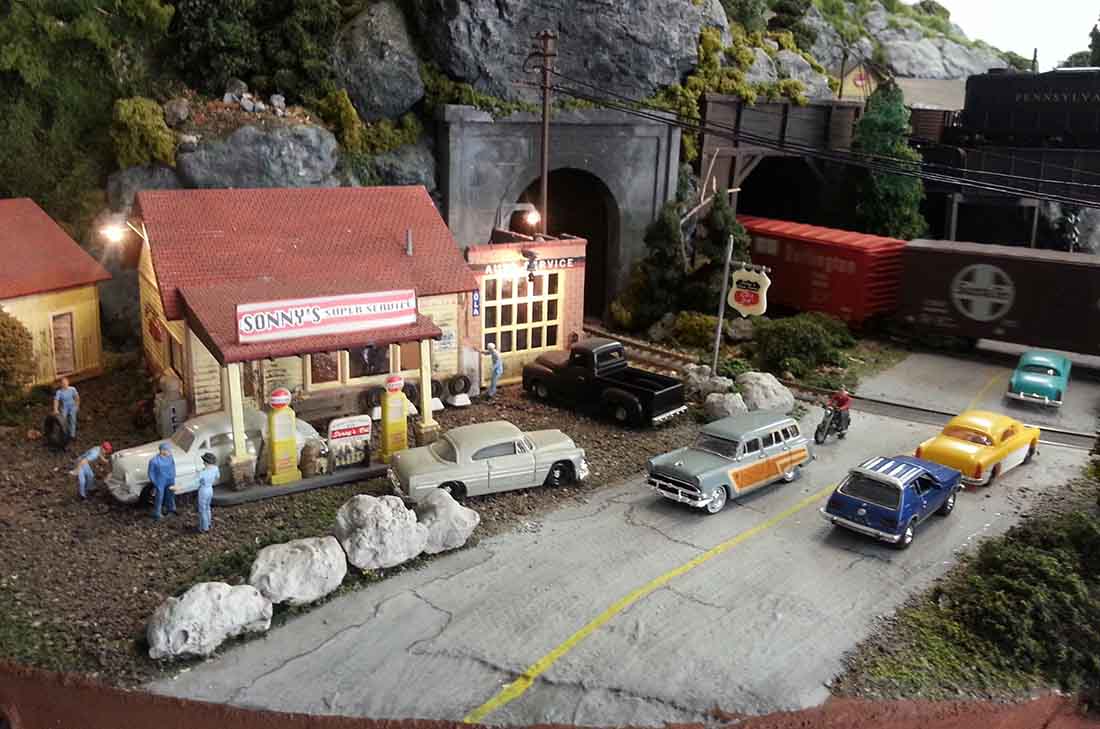
At the outskirts of town, below Caelville some folks are enjoying the lake and the fishing, camping and canoeing. On the other end of the layout, Sonny’s gas station has the monopoly on all the cars coming into Hunter.
I’ll take some better pictures next time, sorry for the blurry ones. I made some silos and a corrugated steel workshop that I will send pics in of. They turned out OK and were interesting to do.
Thanks, and keep up the good work.
Craig”
Now on to Texas Bob:
“hi alastair,
I’m Bob from Harrisville RI. I…like your email details and tips
i’ve been working on my mapleville Vermont railroad for 15 years now (isn’t it a shame there isn’t such a town ),and with an injury I had ample time to finish it (well 95% anyway).
I haven’t posted any pic’s anywhere I didn’t think any were worth posting well here goes
tx bob”
Well, Bob, I’m glad you sent them in because I think your layout looks fab.
And a big thanks to Craig too fo sharing his HO scale diesel loco pics.
Dick has been in touch with an excellent way to create a cheap model railroad.
He really has done an excellent job on his layout, and with the savings too:
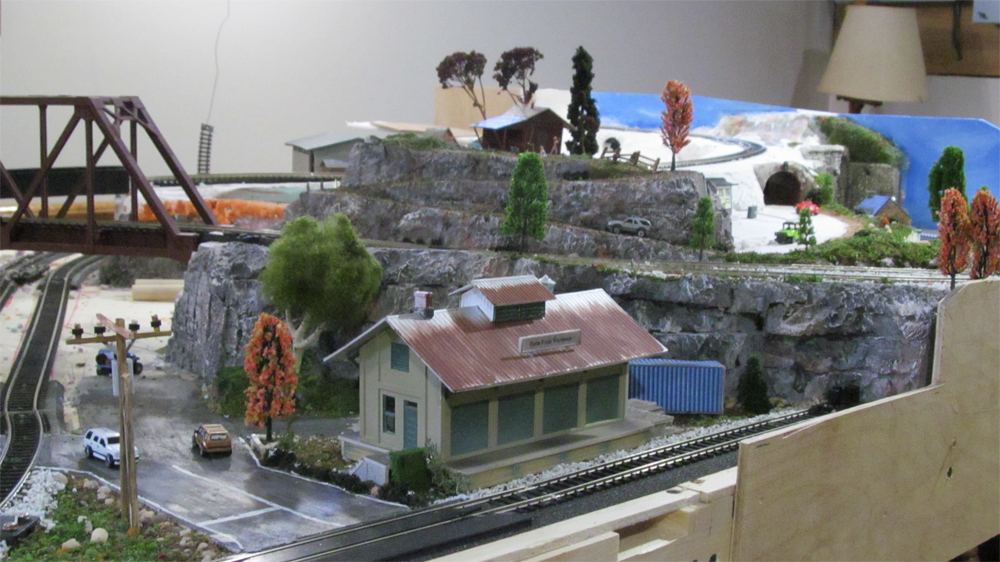
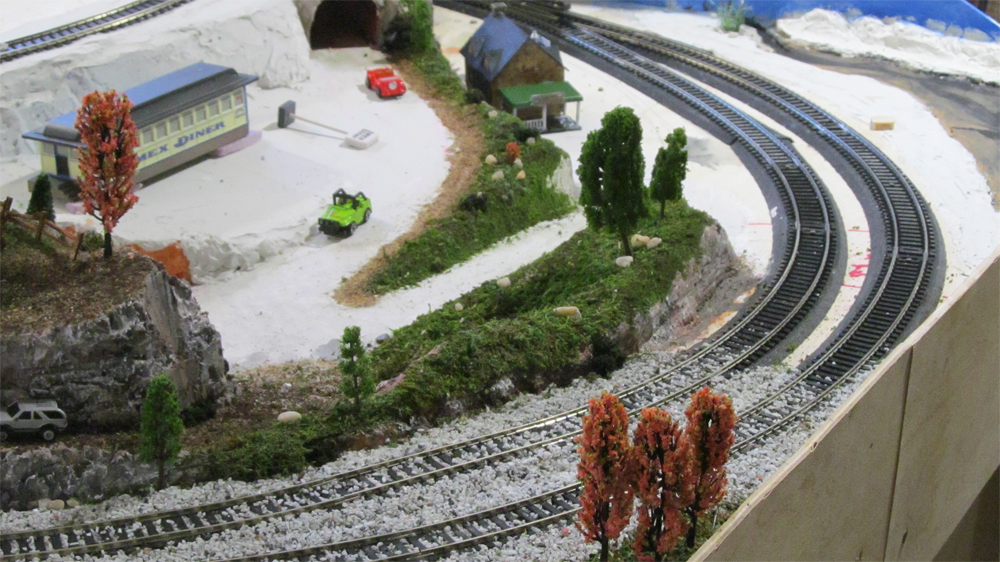
“This is one section I have completed.
I used extruded foam for the rocks and painted them with acrylic paint and dry brushed the white for accent.
The track ballast I used “Chicken Grit”, bought it at my local farm store.
If I need it smaller I grid it on a granite stone with a granite rolling pin I had floating around the house.
Paid $3.45 USA dollars for 5 lbs, cheaper that buying the pre-made stuff.
Some of the trees by the cabin I cut off some of my wife Sedum flowers, in the fall when they dried out.
I also use the small branches to make flowering shrubs.
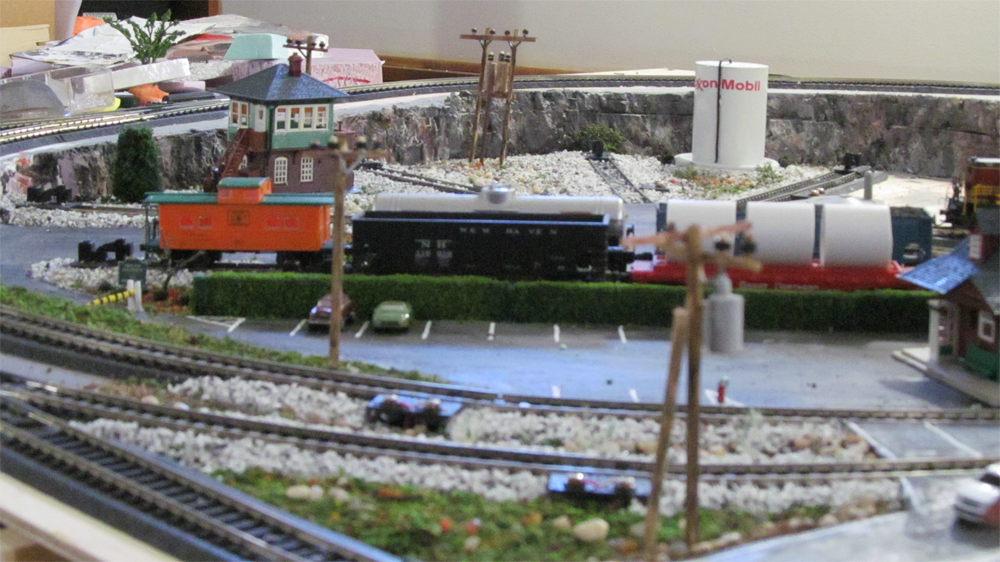
Utility poles are large (to scale) skewers and the cross arms are wool match sticks.
The transformers and a dowel painted gray.
The insulators are plastic beads (cut in half) and placed over smaller skewer, they fit perfectly.
The rocks in the picture, I picked up at a Pet Store, it is aquarium gravel. Works great as there are different sizes.
The grass is a mixture of standard you by in bulk and I purchased a sheet of Flower Topper from my local craft store.
The nice thing about this is that it has an adhesive backing, “no glue required”.
I have found an antique and unique store that has model train “stuff”.
All the train cars I paid $4.00 for and they were in great shape, all I need to do on some of them was change the couplers.
The Exxon-Mobile diesel storage tank is PVC pipe and #14 solid copper wire painted.
I make all my own signs, do a search for the sign image I am looking for and convert it to PDF and then I can scale them.
That’s all for now.
I work in HO scale and am a beginner.
I am retired and 68 years old and it takes up the day, by the way, my wife is into it as well. S
he is my design coordinator, she has increased the size of my original 4’x8′ table top the 5’x12′, didn’t expect that.
Dick”
A big thanks to Dick – that really is a cheap model railroad that looks as expensive as all the others.
Now on to Cam, who also has some wise words on where to spend your money when it comes to layouts:
“Dear Alistair,
Last Fathers day my kids gave me a Hornby Mixed Freight set. Bless their nylon socks. Since then I have contracted a major case of the Model Railway Bug and have been putting together a layout ever since.
Although I am from ‘down under’ it is based on a small town in Surrey England I spent some time in as a kid. This is the first time I have built a layout since I was 10 so I have pretty much had to learn from scratch again.
I have been reading all your posts and they have given my a great deal inspiration along the way. It truly is the best forum on the interweb.
With the layout getting close to completion I thought now was a good time to start sharing some of my own experiences and anecdotes. I have taken photos and notes of my experience along the way so if your readers are interested I can put together a series of posts on the process and outcome.
Phase 1 – Head Scratching
The kids gave me oo scale, so oo scale it is. The Station Master at the local Hobby shop recommended an 8×4 layout so that was another decision easily made. I then found I had plenty of time for ‘head scratching’ while I saved up for the track.
Having done a bit of drafting in my youth I decided to use some simple model rail computer software to design the layout. Not as well considered or drafted as Alistair’s designs but for me it was all part of the process. Good design drawings have some great benefits down the track.
– I designed the layout with a couple of loops so I could run two trains simultaneously (red and yellow on the plan).
– I did one loop with large radius bends so I could run larger locos at higher speeds on it ( yellow loop on the plan).
– a shunting yard is an important part of the layout. I incorporated a long ‘yard lead’ (the handle of the fork,) that does not interfere with the loops. The lead also seves ad an arrival/departures track for the station. There are lots of good articles on how to arrange shunting yards. The yard and lead are shown as green on the plan bellow.
– Every one says to be prepared to rethink it all once you lay the track and start running trains around it. I have to agree.
– the other tip is to mark the beam supports (if you have any) on the plan. This way you can locate them away from any point motors or other equipment that might need to go on the underside of the board.
At this stage the ‘trouble and strife’ (wife) did not know what she was in for. Hold that thought.
Phase 2 – Sawdust
Now relegated to the shed I commenced the construction of baseboard and table. The table is made of 9mm medium density fibre board with a pine frame under. The ramps are 4.5mm plywood with blocks of timber every 100mm or so to prop them up. The whole lot is glued and screwed together.
To achieve the section where the track goes under a bridge I put gradient on both the inside and outside lines of the track. This ensured the gradient of the inside track did not get too steep (3%) while the outside track stayed at a very shallow gradient (1%). This created a lot of extra framing work so I am not sure that I would attempt it again next time.
For the bridge I used a piece of aluminum flat bar that I picked up quite cheap from the local hardware.
One thing I found from the train set I had as a kid was that when you went to fish out derailed trains from tunnels the detail on the engines would get caught on the tunnel framing and chicken wire causing them to break. For that reason I made the inside of the tunnels quite smooth to avoid damage.
Some great cost saving tips I found at this stage are as follows.
1. Ask your local hardware if they have any mdf or plywood packing sheets left over from other orders. When sheet plaster and other items are delivered to hardwares they often have a packing sheet top and bottom to protect the main item. If they don’t give it away they will usually sell them but for only $5 a sheet. This is a lot cheaper than a new sheet. They are usually, and quite conveniently in this instance, 8 foot x 4 foot.
2. When it comes to pine framing ask them if you can go through the off cuts.
Save your pennies for track and train I say.
Cam”
I couldn’t agree with Cam more – is there such a thing as a cheap model railroad?
Now on to Bob:
“Hi Alastair,
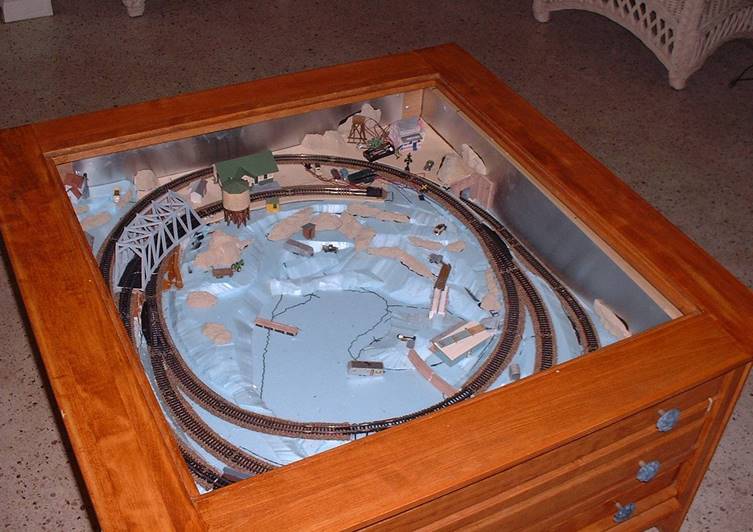
Here’s a tip I figured out for wiring on my N gauge layout. I am building it inside a drawer under the glass top of a 30 inch X 30 inch cocktail table in my living room.
A problem I encountered was that since I had to pull the drawer out to work on the layout it involved disconnecting a whole lot of wires, especially if I wanted to flip the drawer over to work on the underside.
I went to the local computer store and purchased a couple of those flat ribbon wires they use to connect components inside computers and the receptacles to go with them.
Now I can connect and disconnect 30 wires at a time by simply unplugging one end of the flat ribbon cable.
All the wires are color coded too so it is easy to keep track of their purpose, and the ribbon is flexible enough to allow you to pull the drawer part way out and push it back in without disconnecting any of the wiring.
I’m including a photo of my layout in mid construction before I started the plaster work.
I’m using a digital camera to take photographs for the perimeter of the drawer and will use my computer to print them on mat finish photo paper to glue around the drawer.
Then I’ll paint the landscape to match the photo backdrops.
Bob from Florida”
A big thanks to Bob and Cam, and of course Dick for sharing his cheap model railroad – lovely narratives too!
That’s all this time folks. Please keep ’em coming.
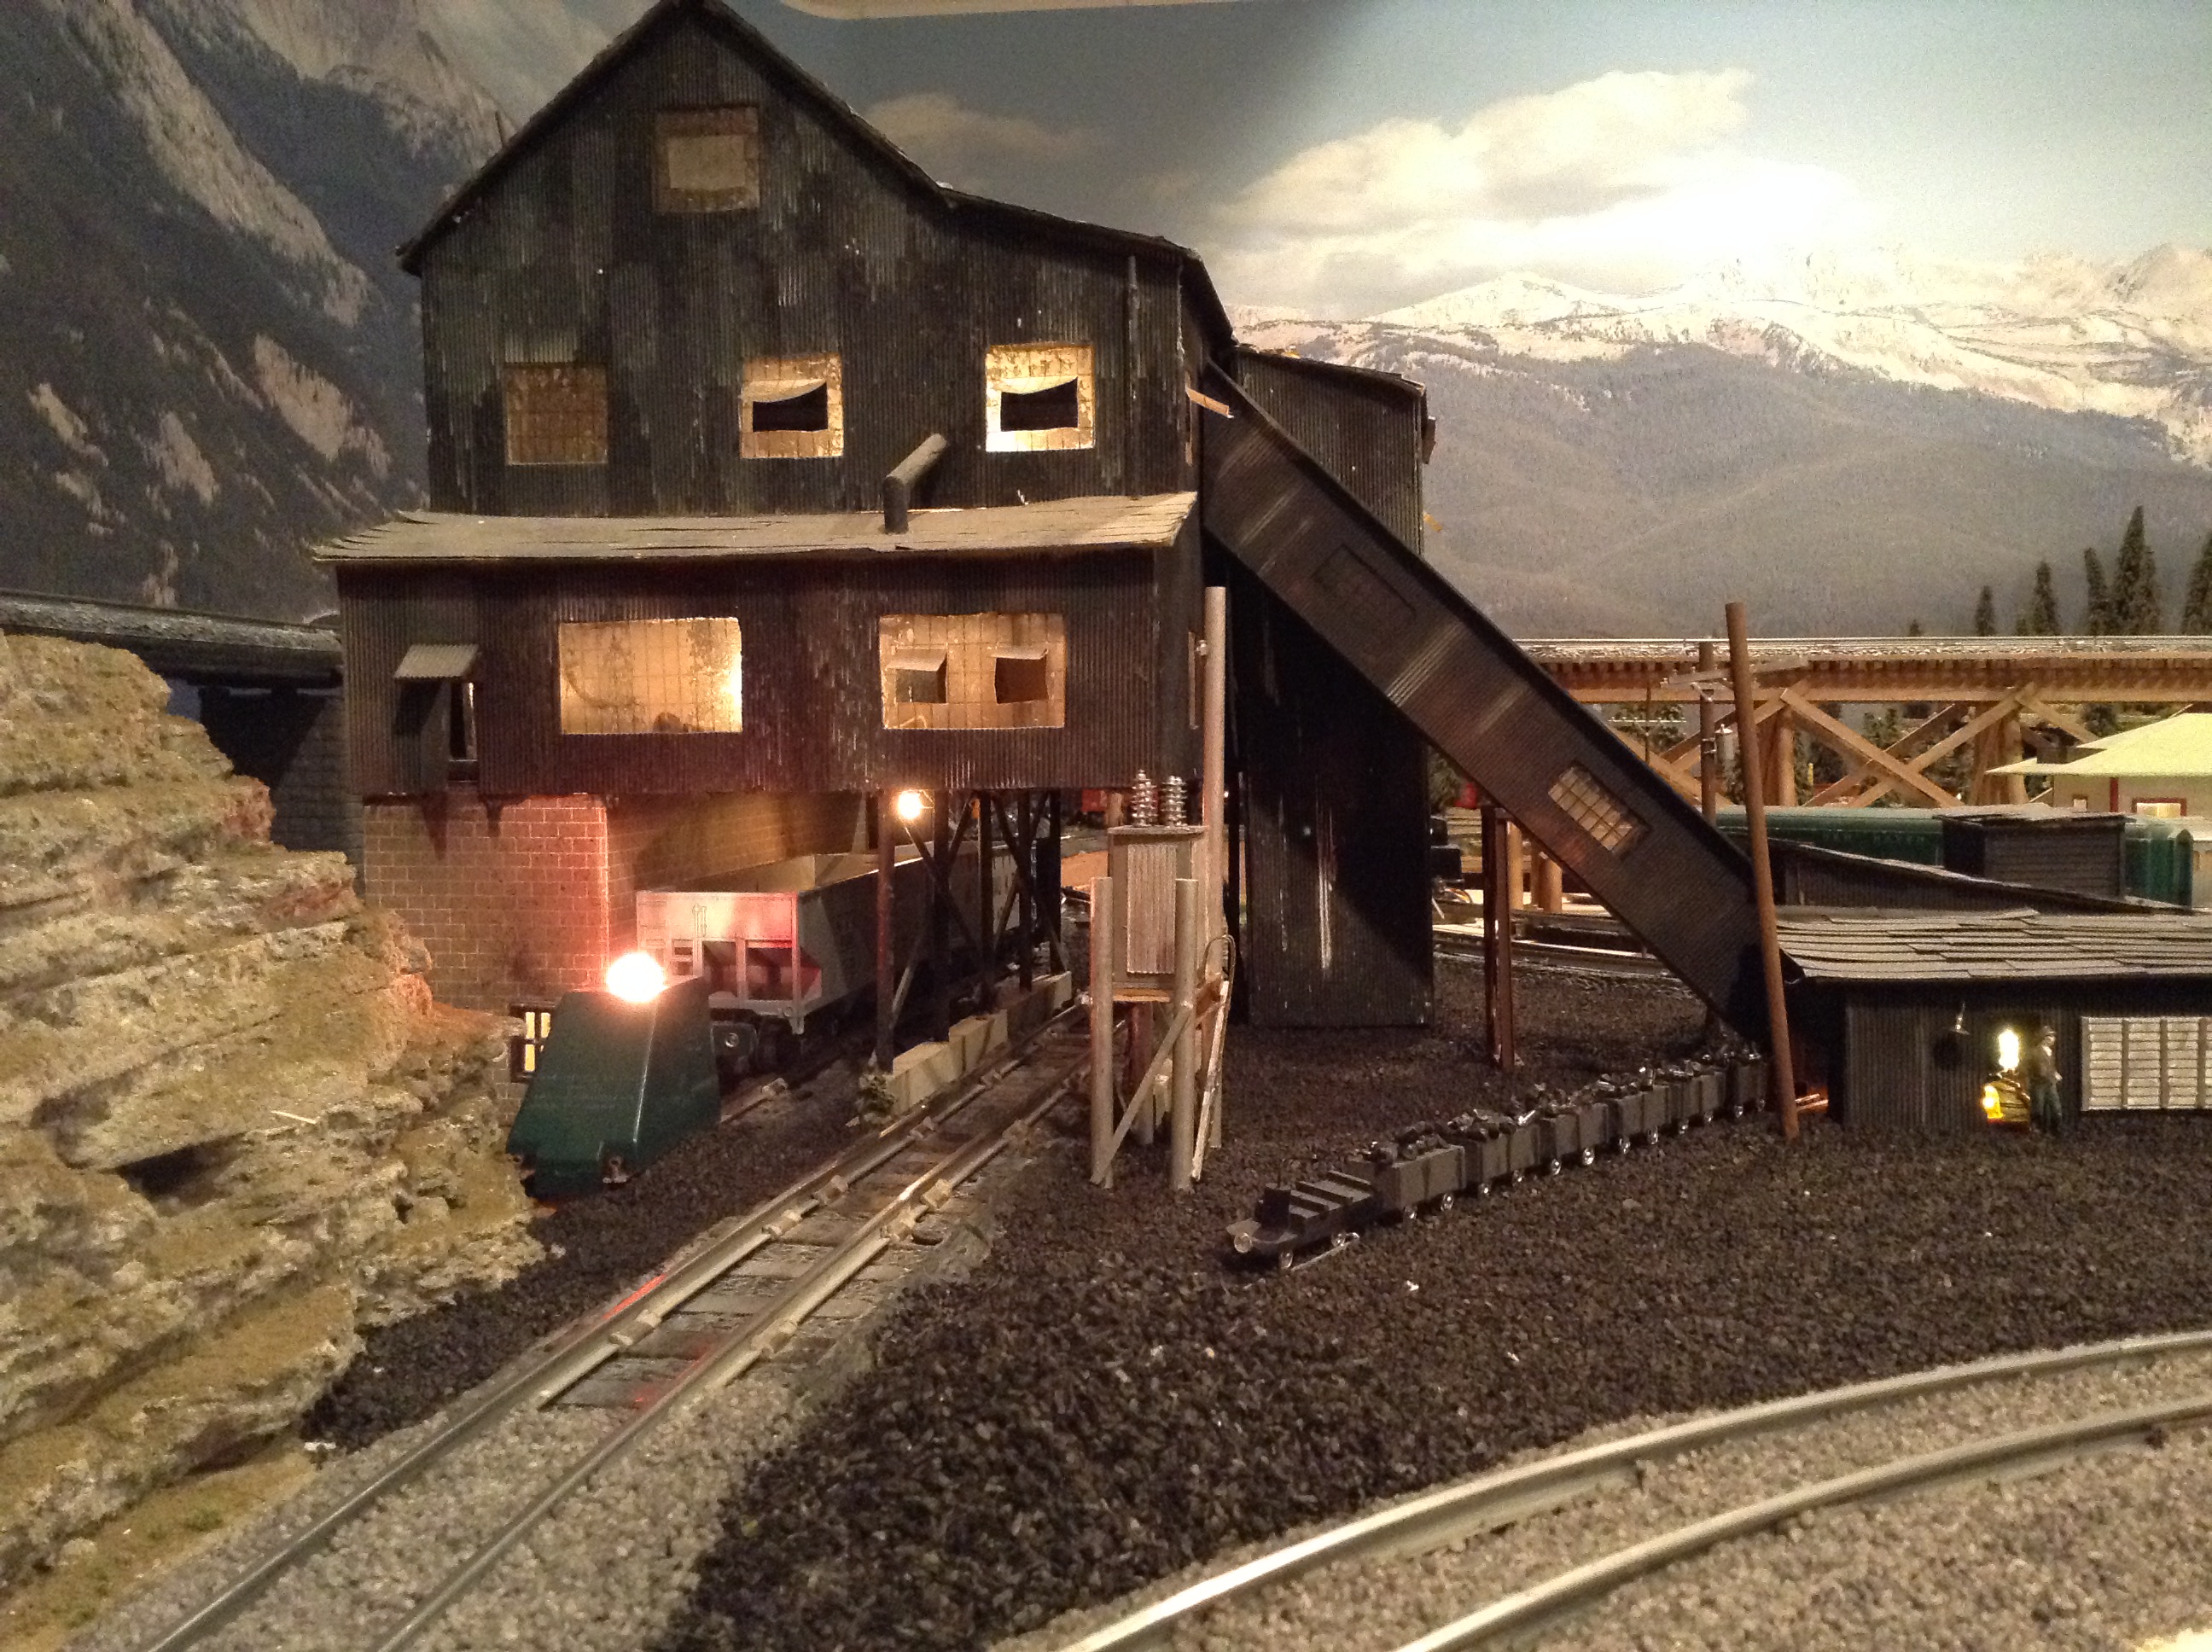
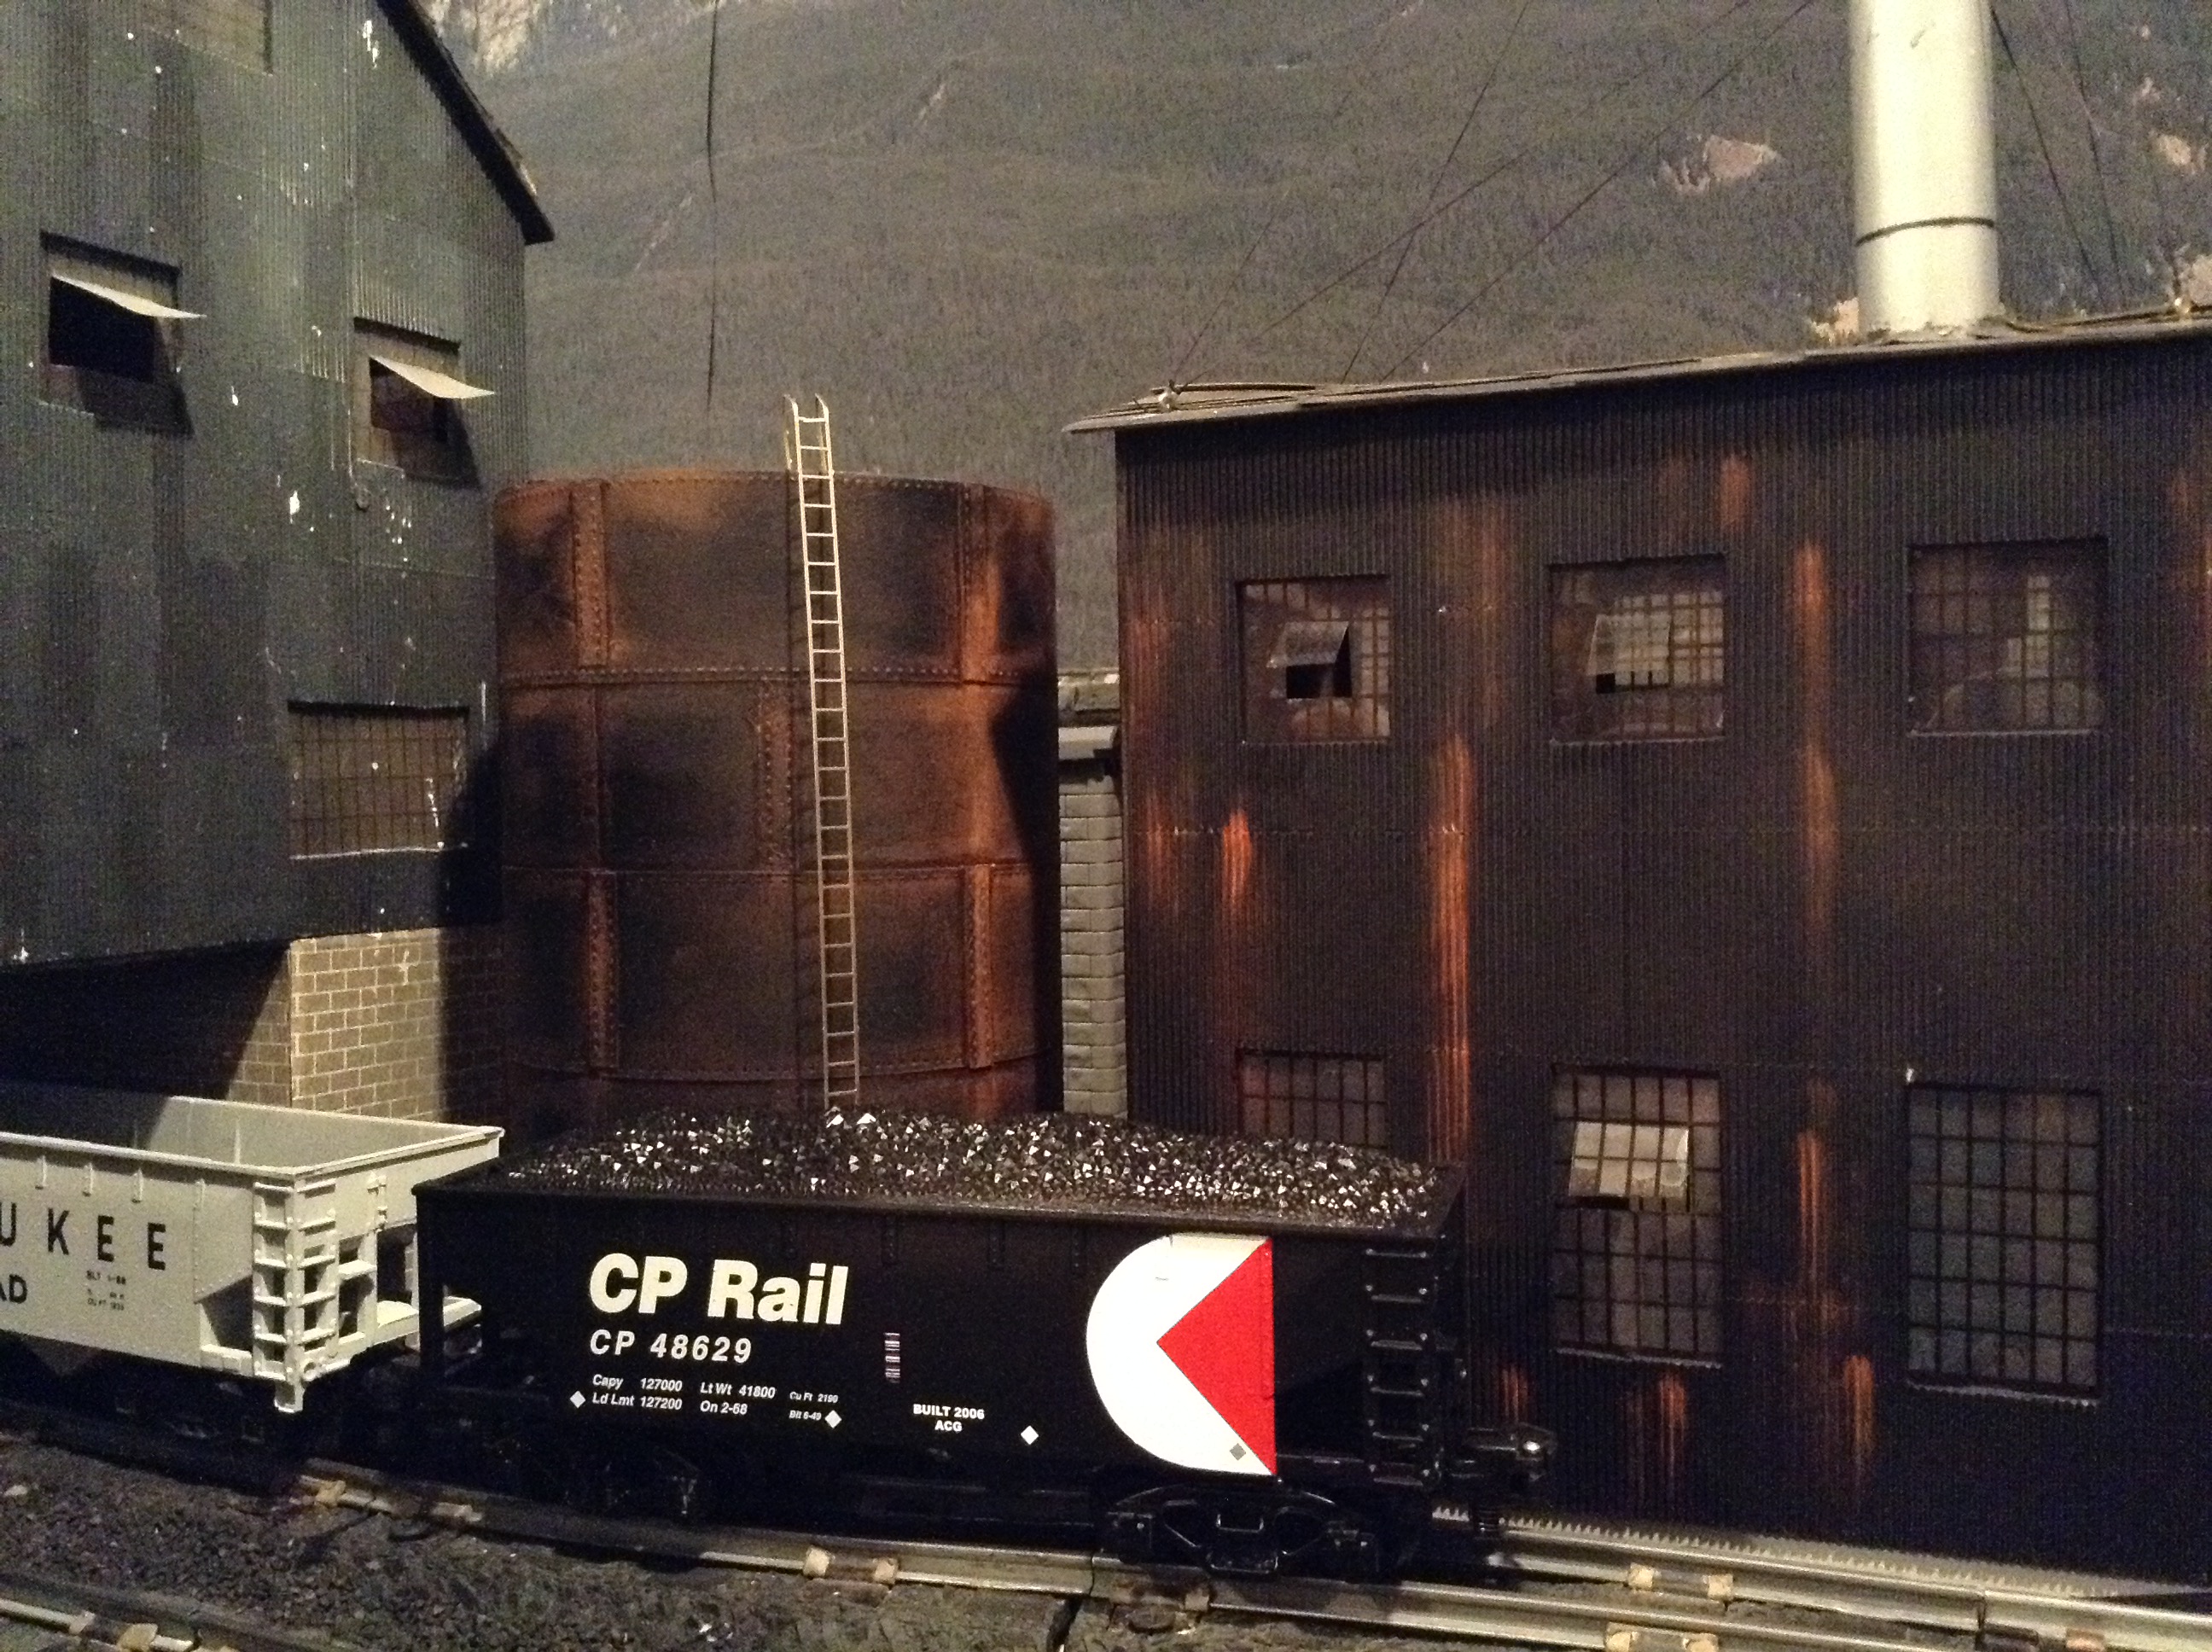
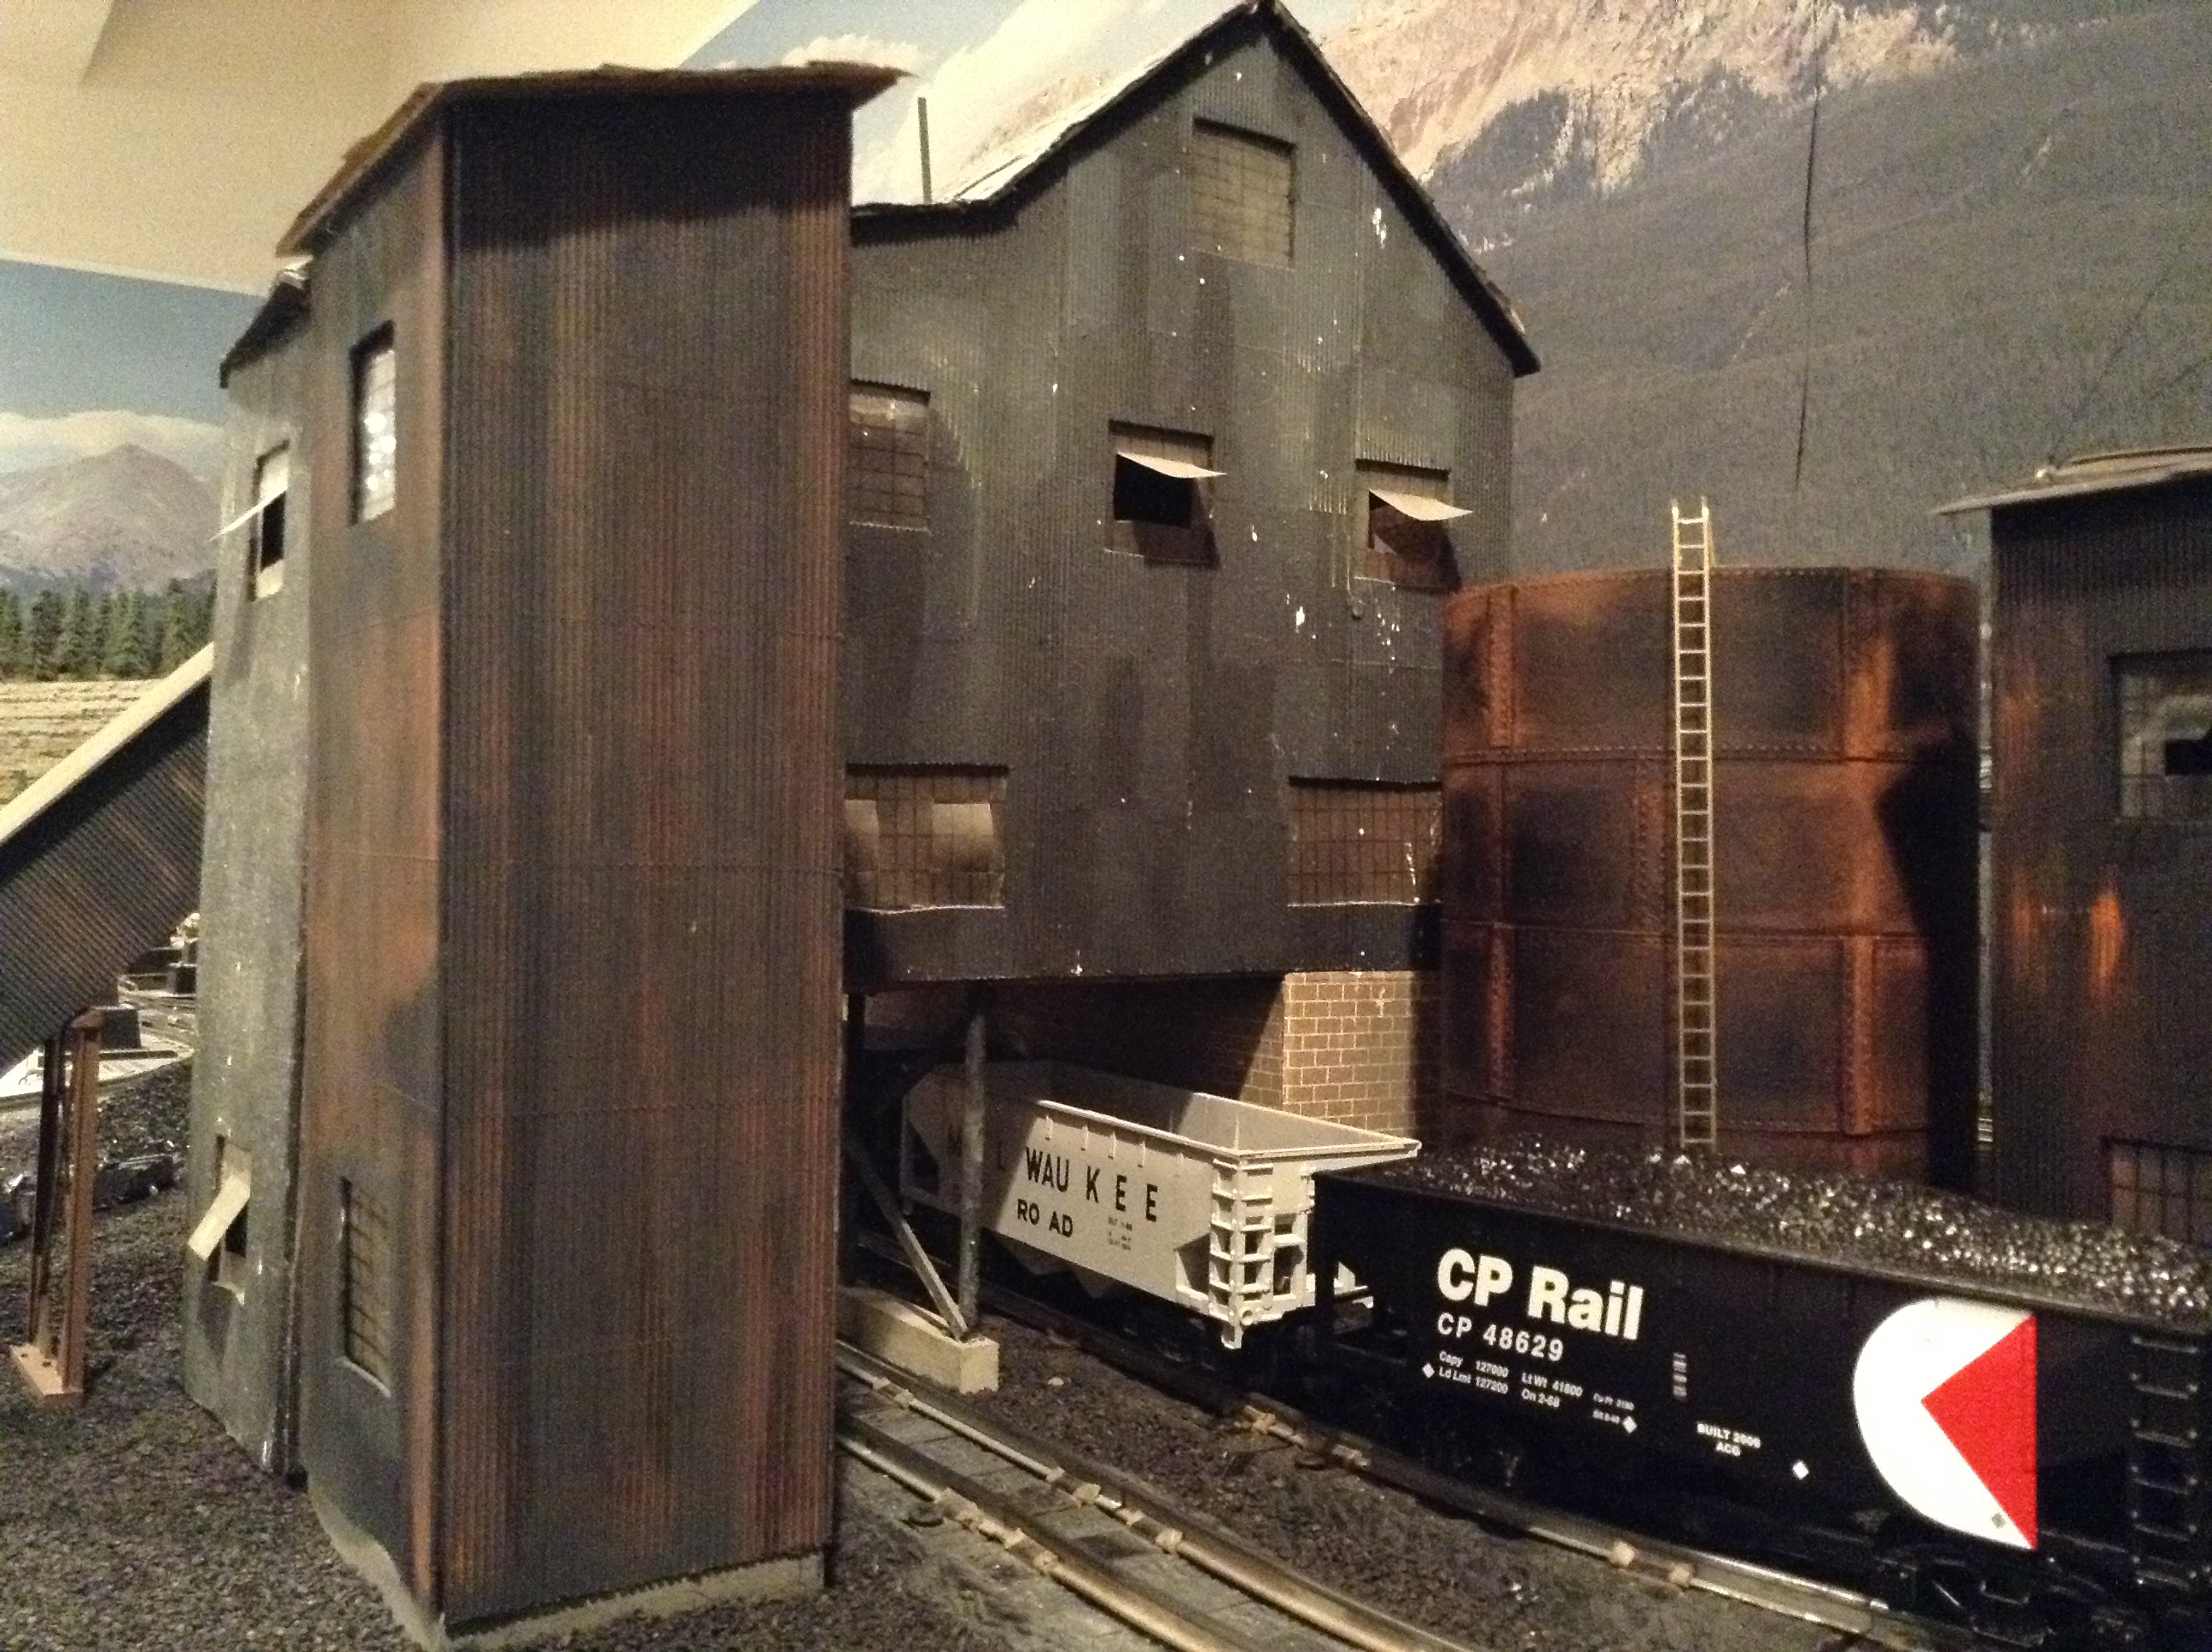
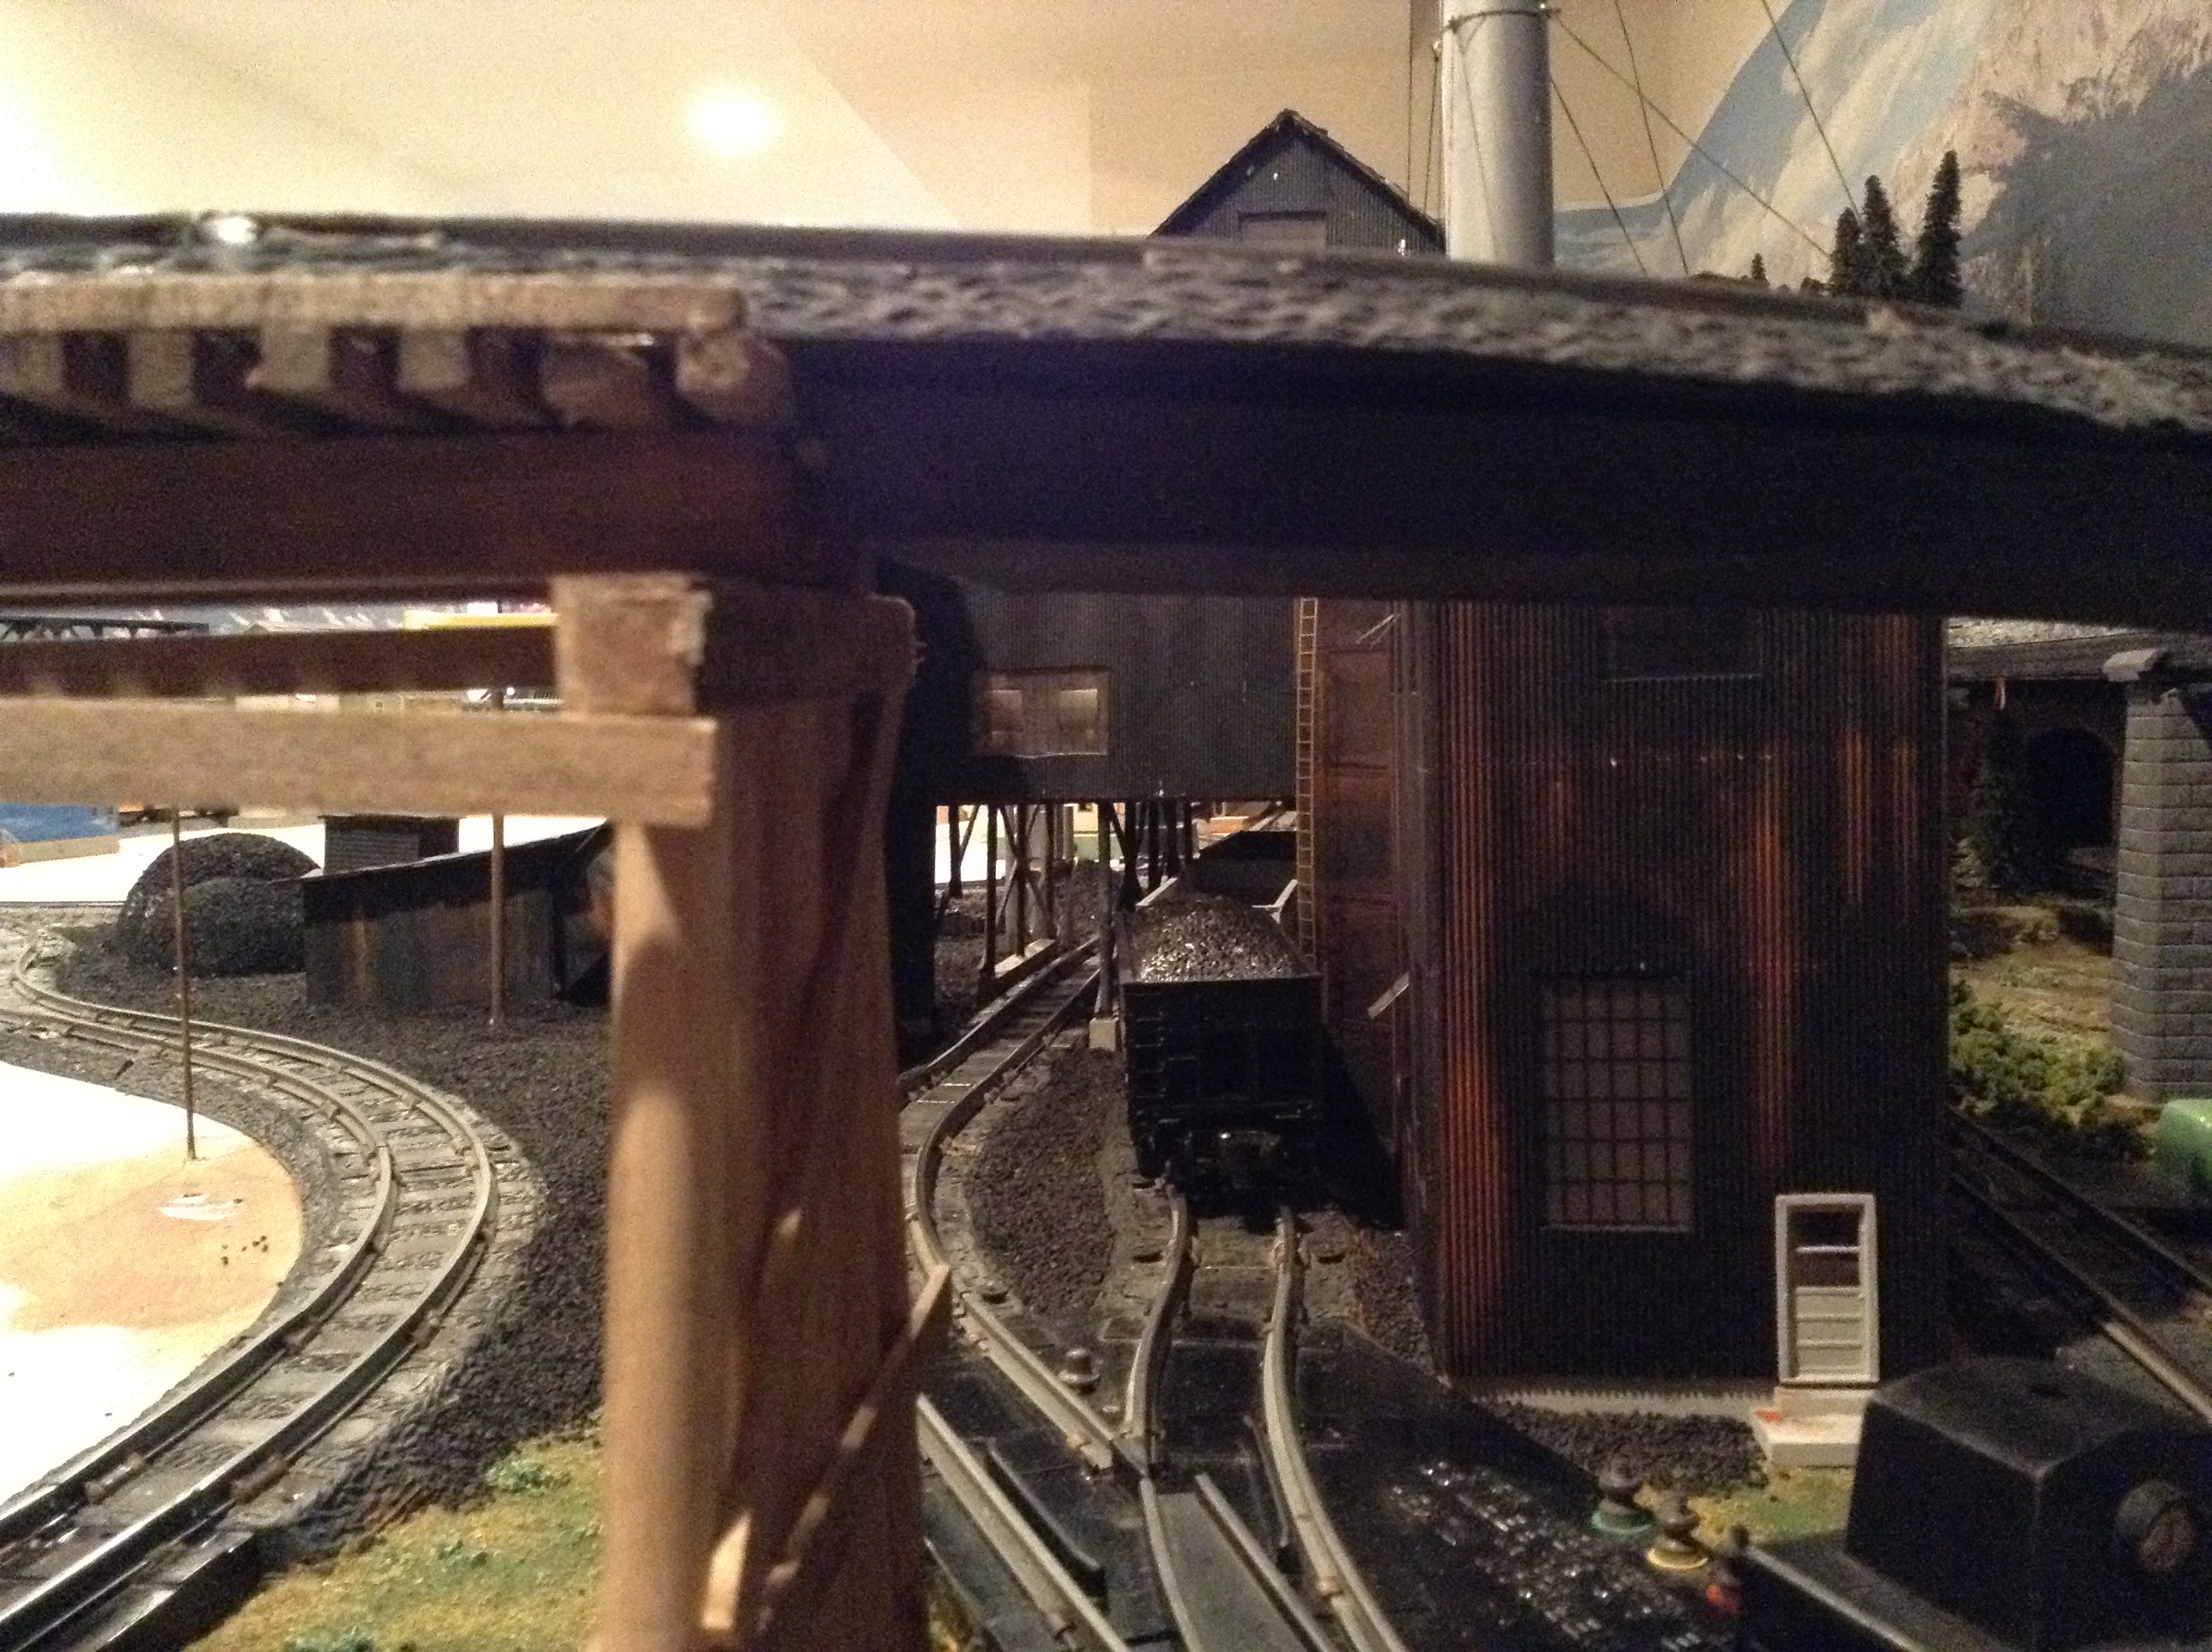
Gene has been in touch with is American Flyer engines:
“Al, I grew up doing model railroading with my Dad, mostly American Flyer from his childhood.
After he passed away, the stuff was packaged up and sat in boxes for more than 20 years.
I started a layout two years ago and to my shock, most of the engines still ran. Most of my engines and rolling stock from my Dad and are more than 50 years old.
Anyway, I have now started to work on scenery and the coaling plant is my beginning. I also plan to have an ore mining area that should be completed soon.
“I think the best thing I’ve found for creating varying ground levels is the insulating foam that comes in a can.
I’m not talking about large mountains here, but just easy undulating terrain. Just spray a glob of the stuff where you want a rise in the terrain, or a low ridge or a crevasse, and let it dry.
Now take a box knife or a sharp razor saw and carve the insulation into the general shape you want. Then fill the holes and gaps that appear with ordinary spackling or wallboard putty.
Again, let it dry, sand the surface to the smoothness you want, and paint with the color of your surrounding terrain.
Before the paint dries, dribble on some sand or kitty litter to simulate loose turf or small gravel and rocks, add a little colored lichen or ground foam here and there as needed, and you’re done.
And if you want to add trees, just stick the trunk support into the foam with a little Elmer’s glue.
Tom”
“I had a late friend, Jim Brennan who now is past. He owned a hobby and train store in Ohio. The one trick he used was to save all his old thinner from cleaning his brushes. He would use it to color the plaster rocks and scenery on his layout. No extra cost but the results were terrific. Keep up the good work. Your hints and ideas are great.
Bill”
“Hi Al,
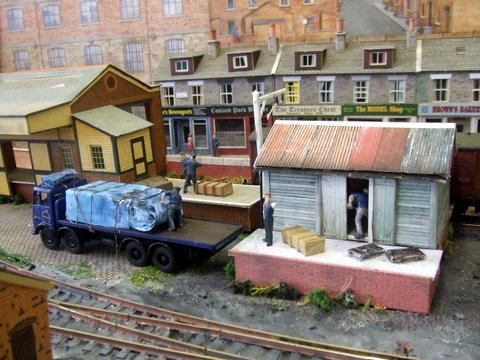
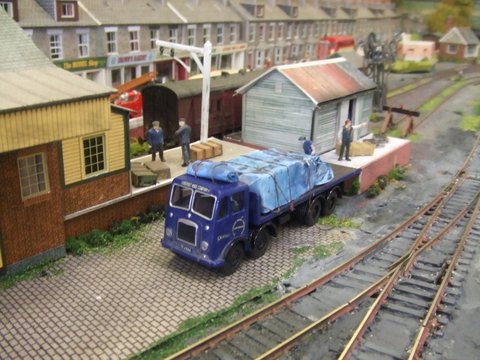
I can only run trains for a limited period of time before I get bored, so I’m always looking for something else to do, such as filming or photographing it.
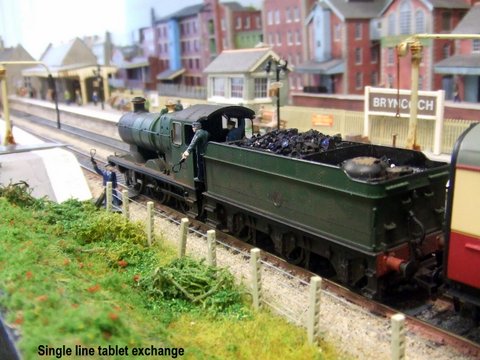
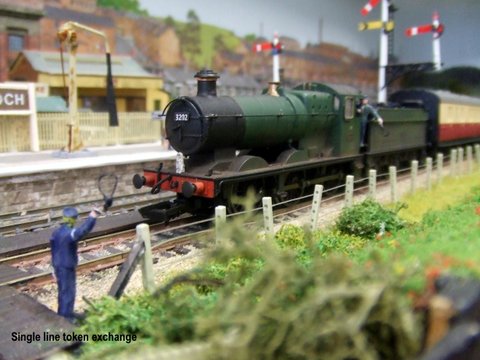
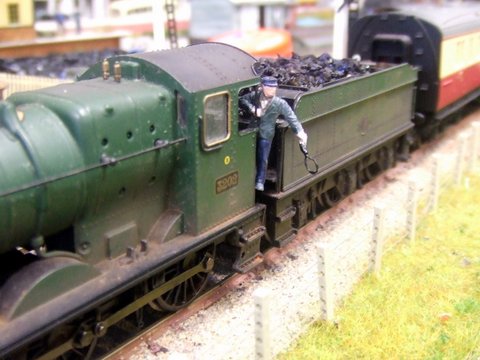
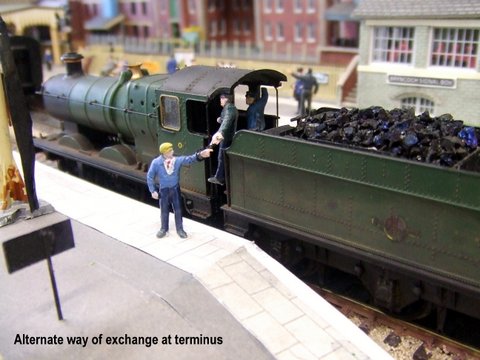
I also like making up cameo poses, and my latest is a tablet exchange for single line working and a lorry (truck) which has just made a delivery. The driver is seen rolling up the sheet prior to roping down the load. The rope can be seen lying on the ground.
keep up the good work
Alan”
Another fine installment from Alan.
A huge big thanks too to Gene for sharing his American Flyer engines and rolling stock – I love the fact that they still run after all those years.
That’s all this time folks. Please keep ’em coming.
And don’t forget the Beginner’s Guide if you want to take that very first step on your own layout.