Jim’s been in touch – he’s having some fun with his HO scale module construction:
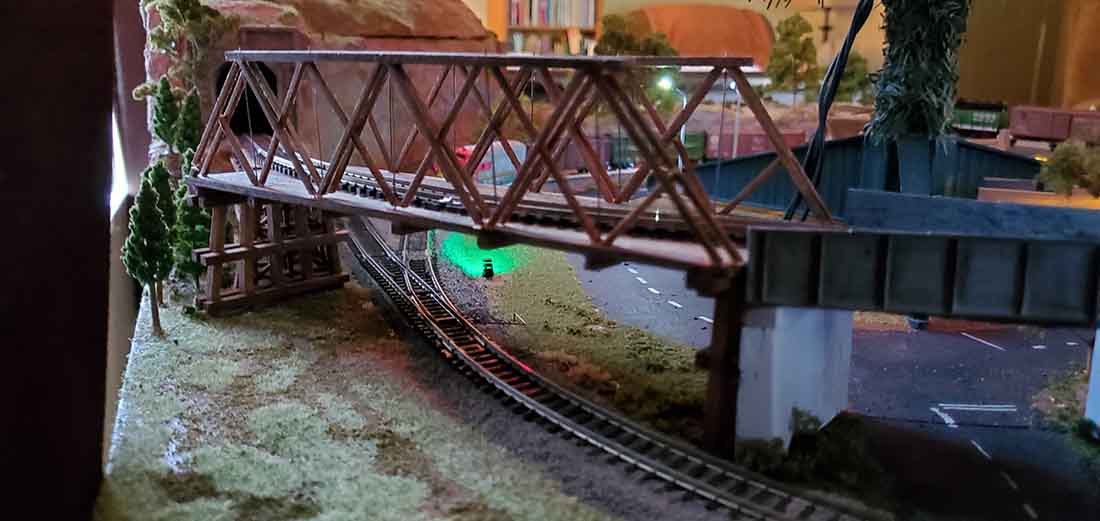
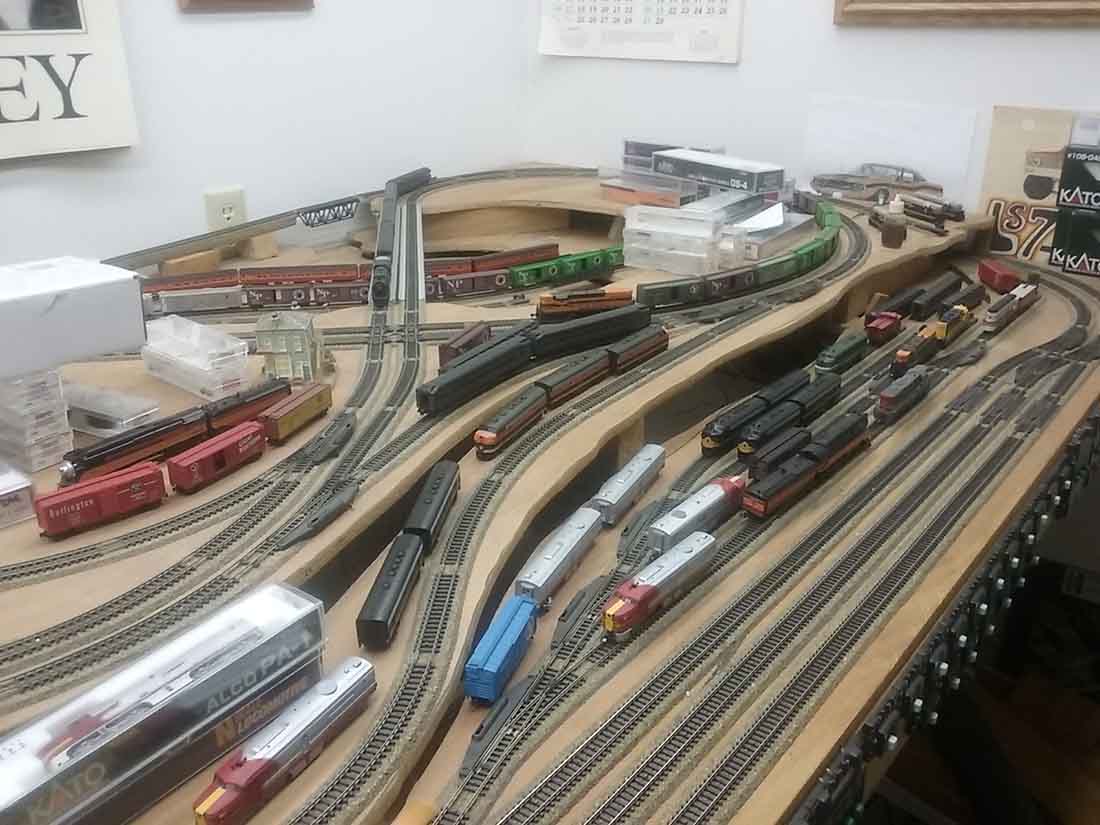
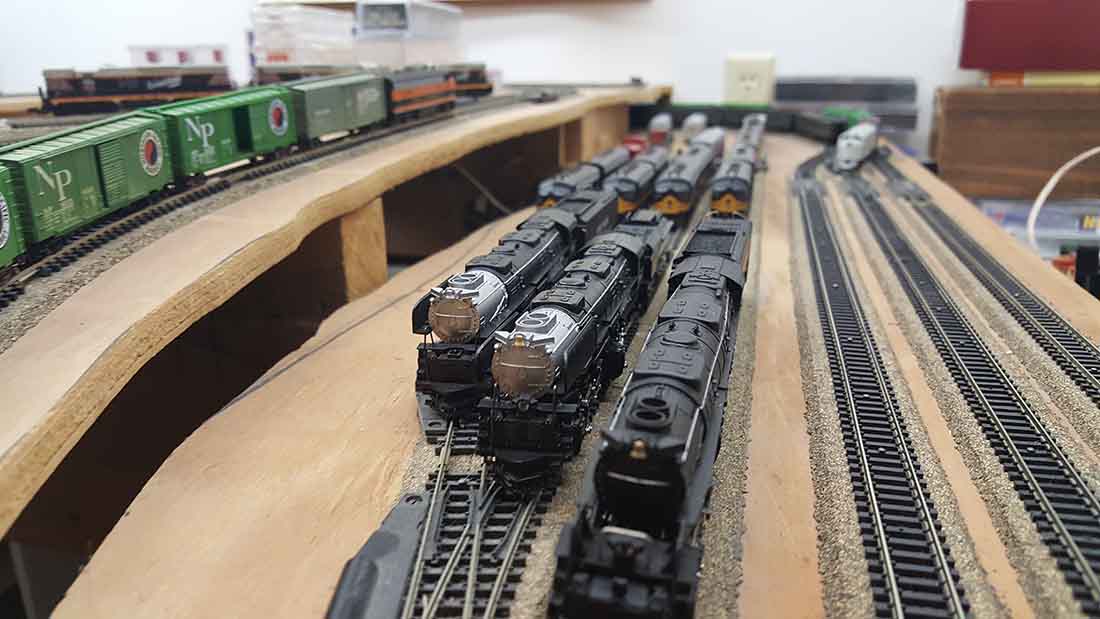
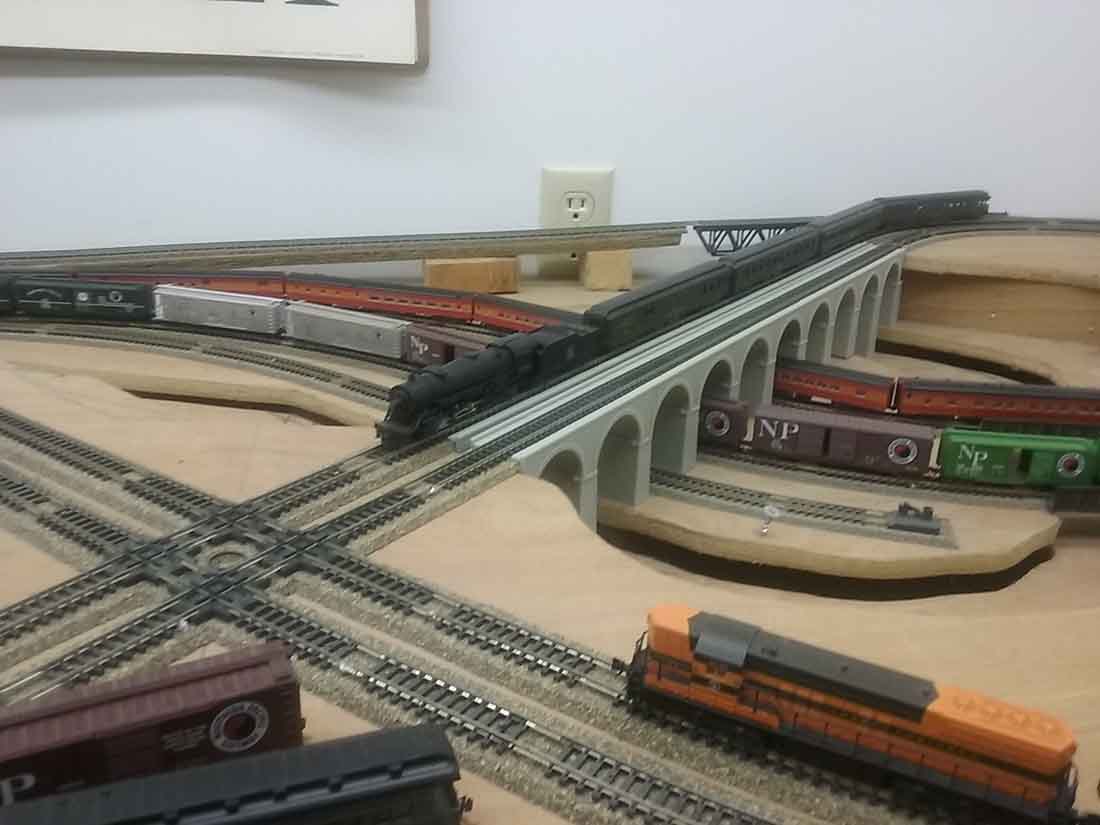
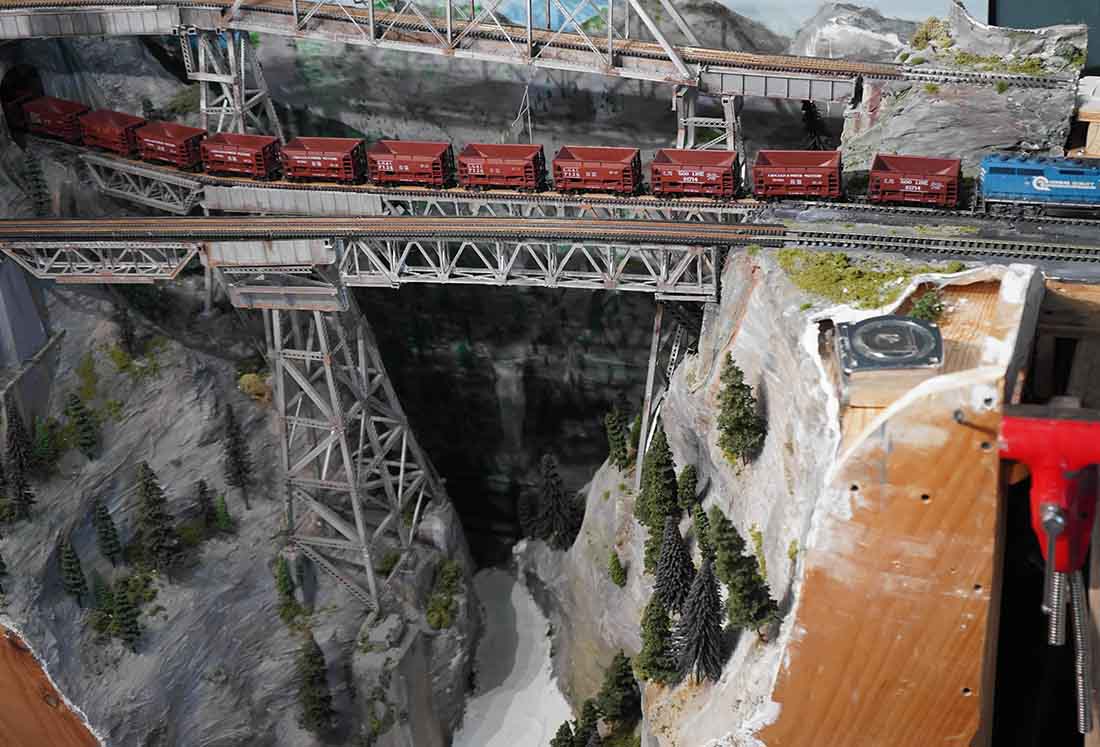
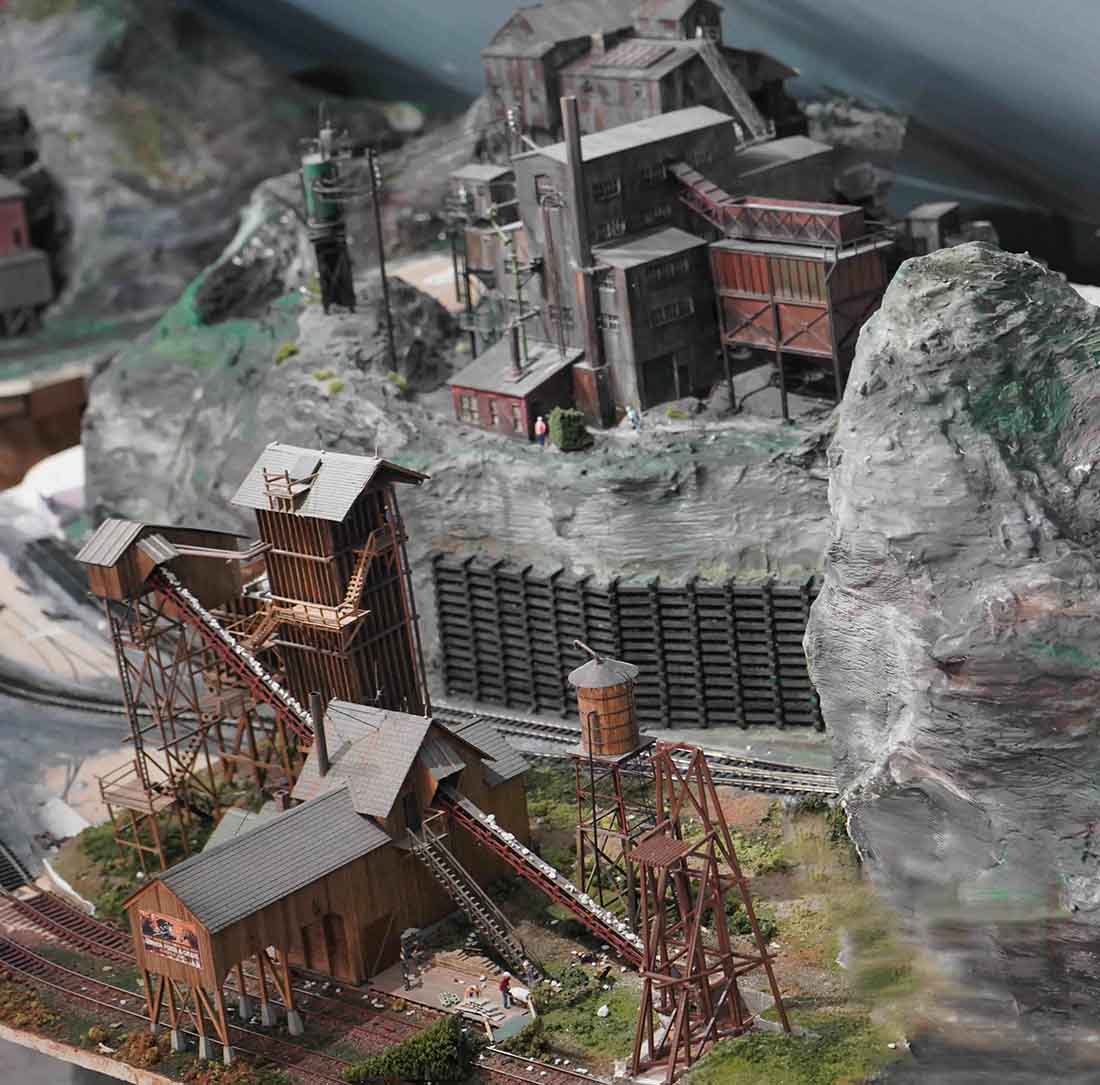
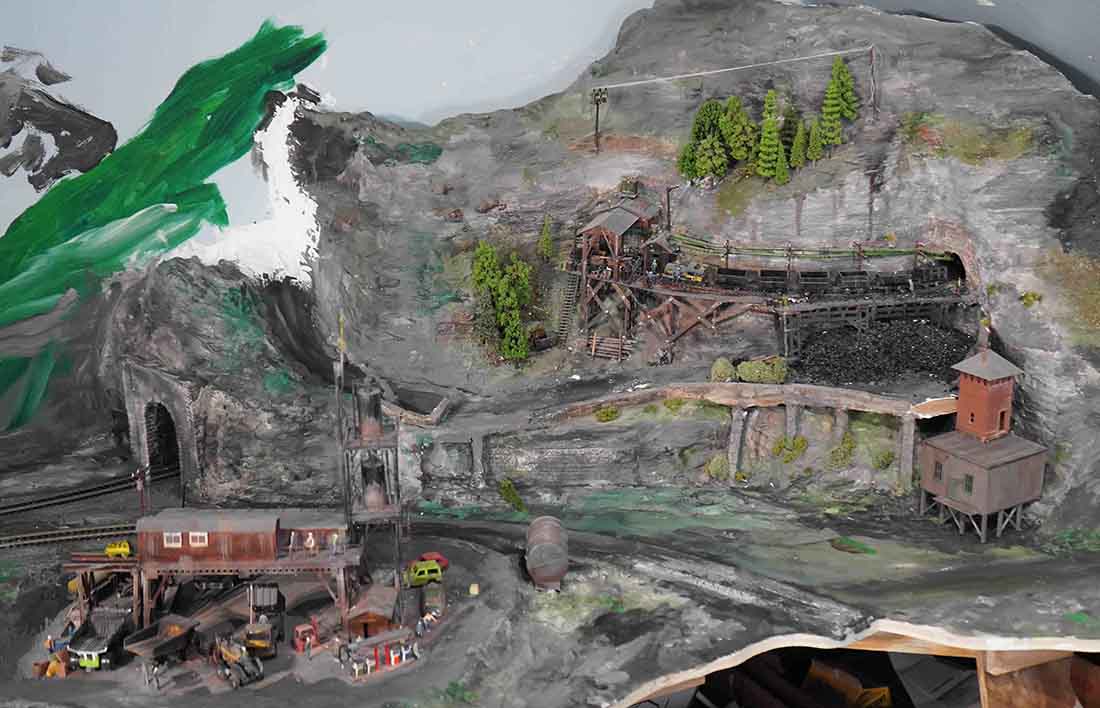
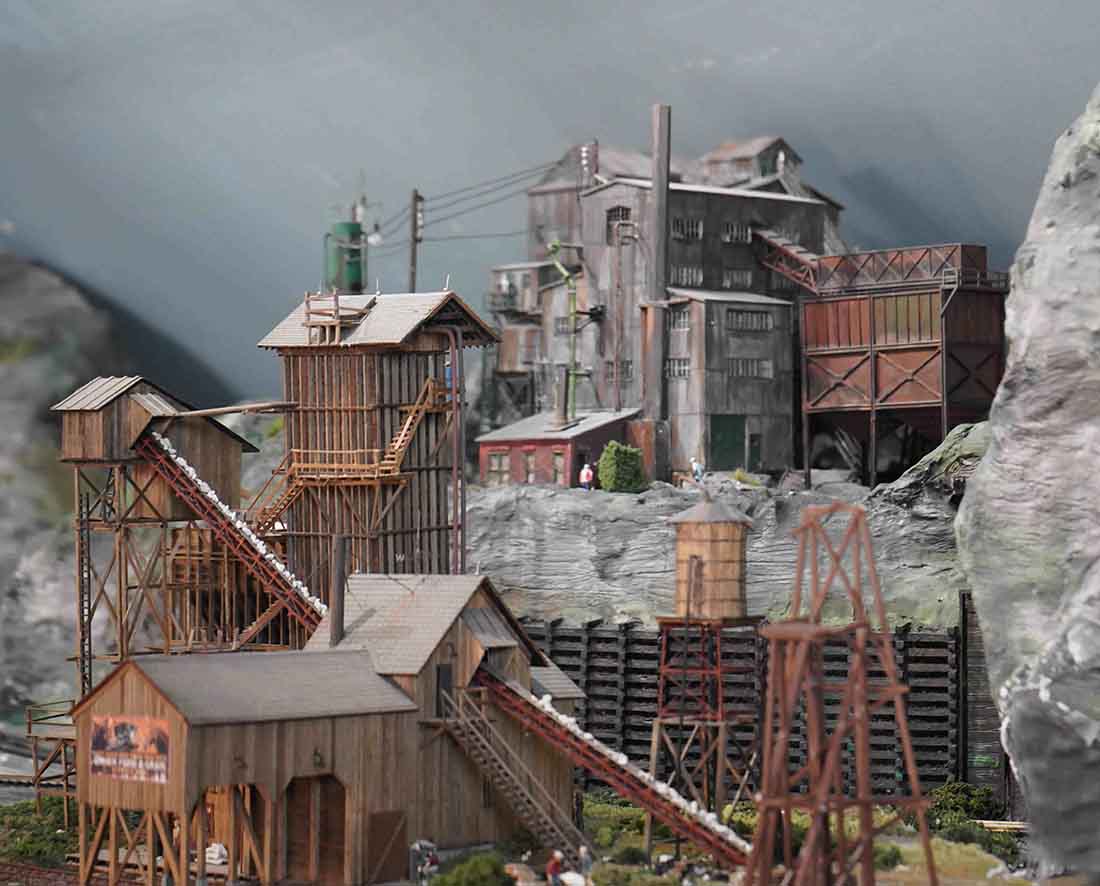
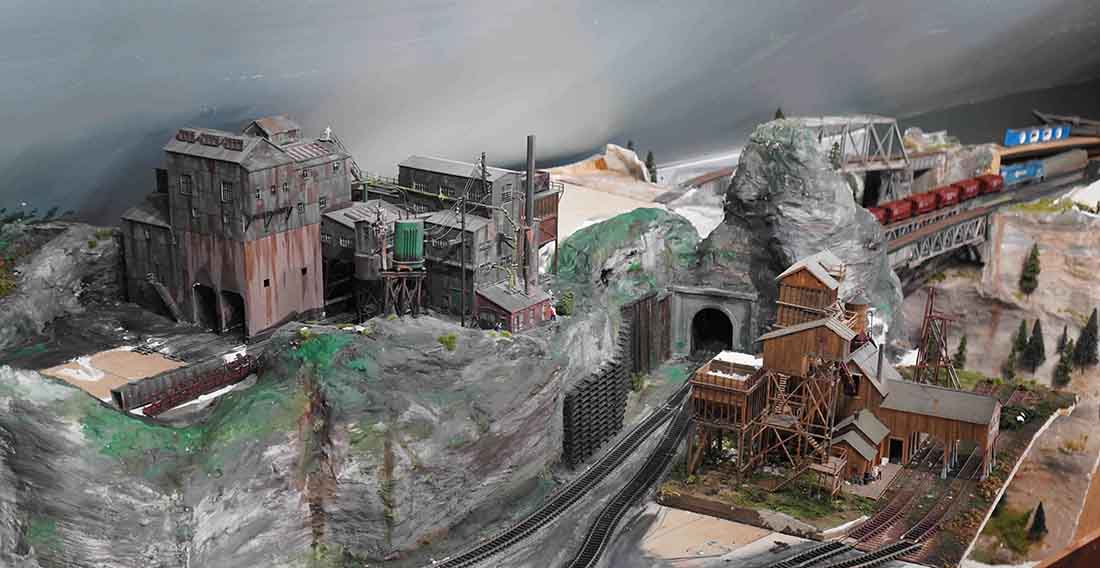
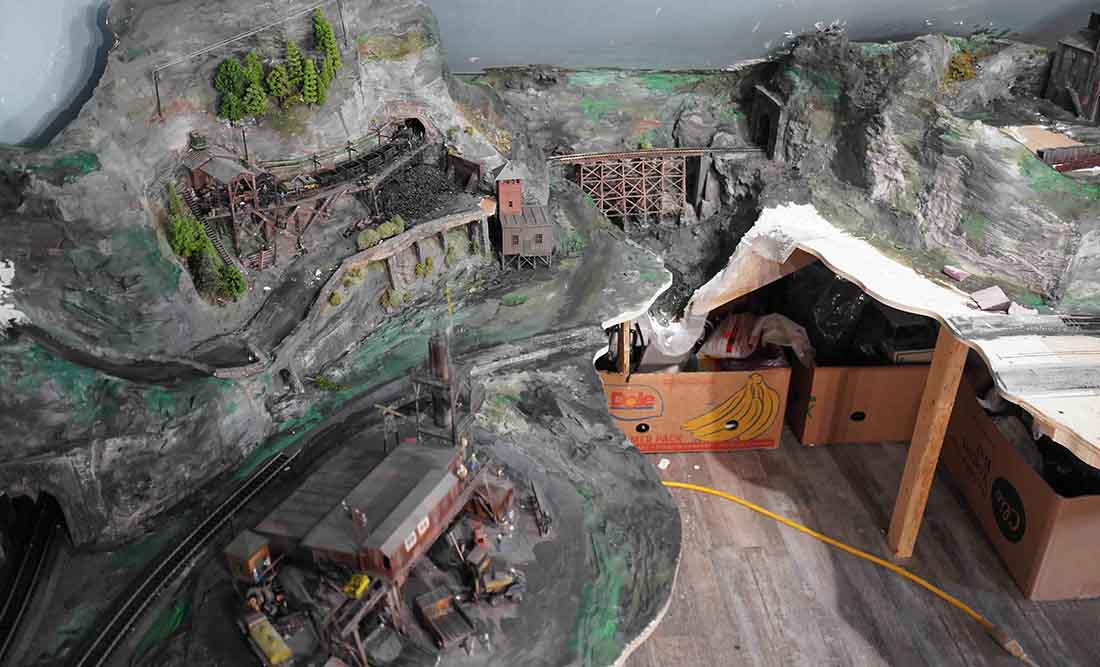
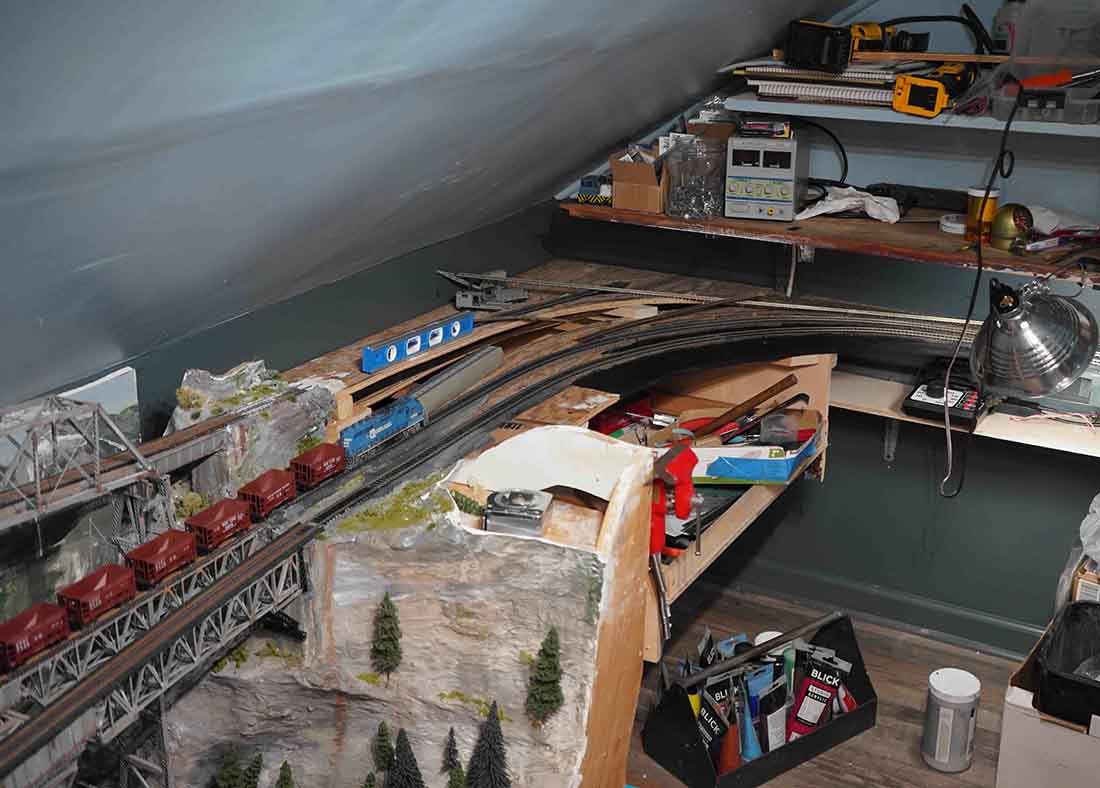
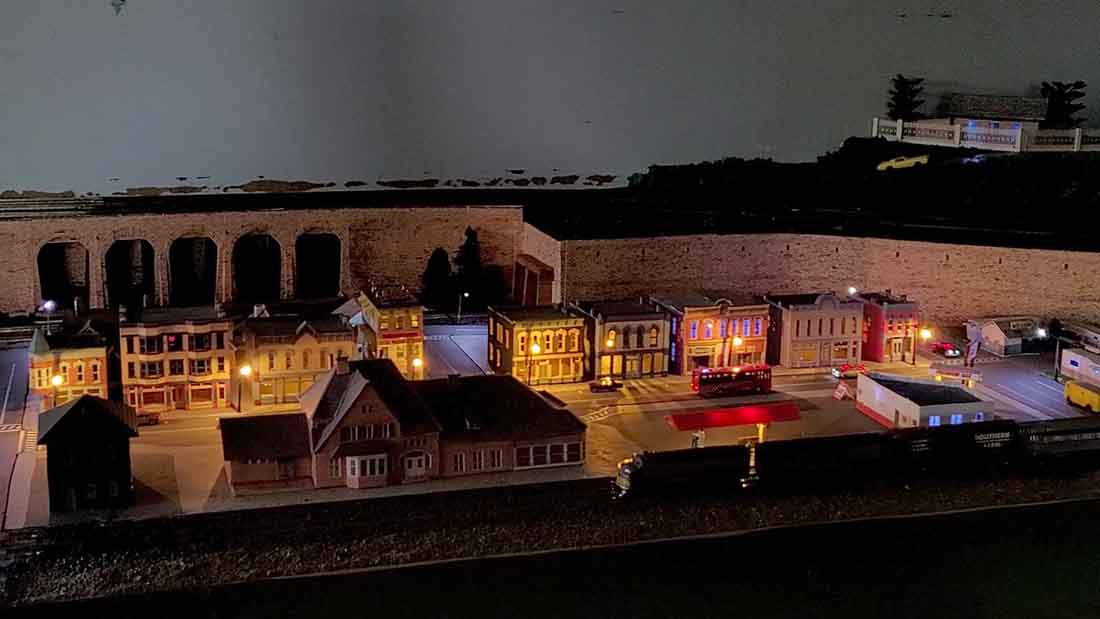
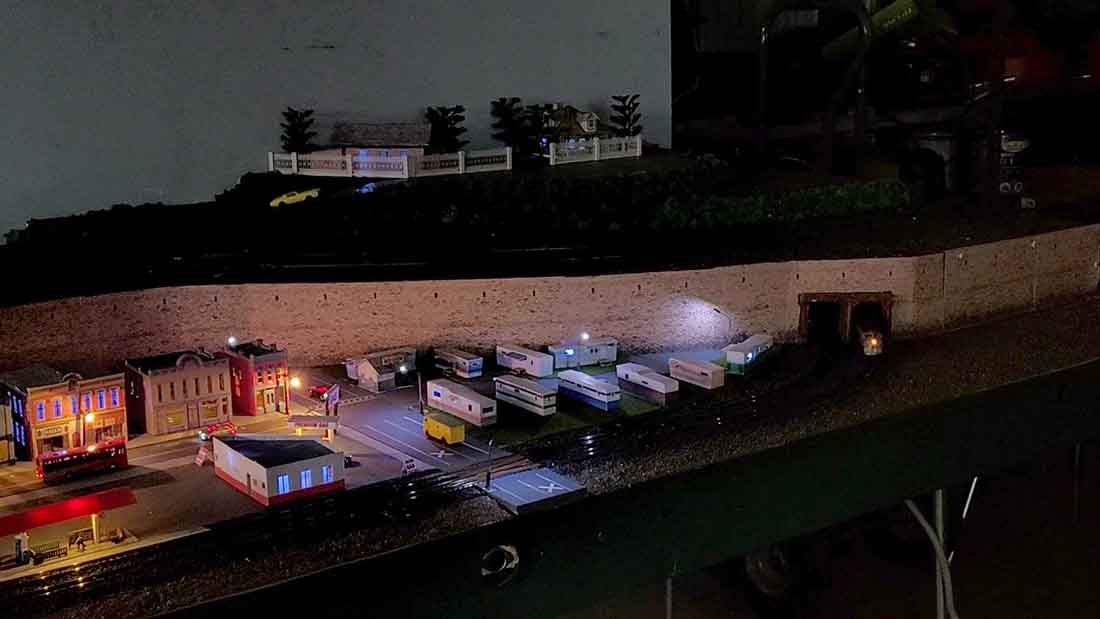
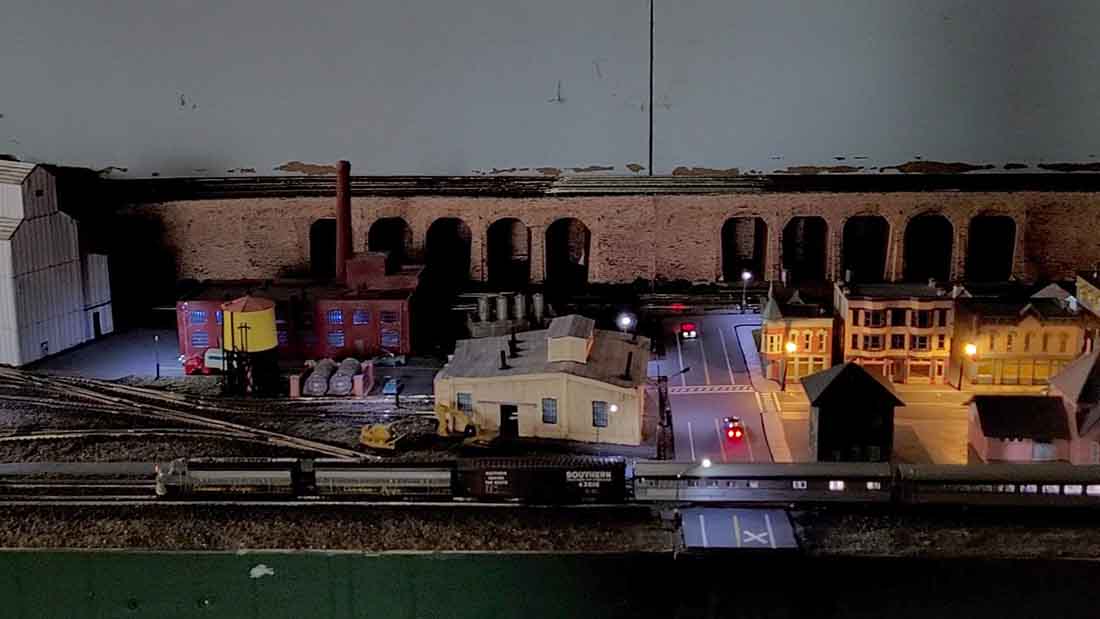
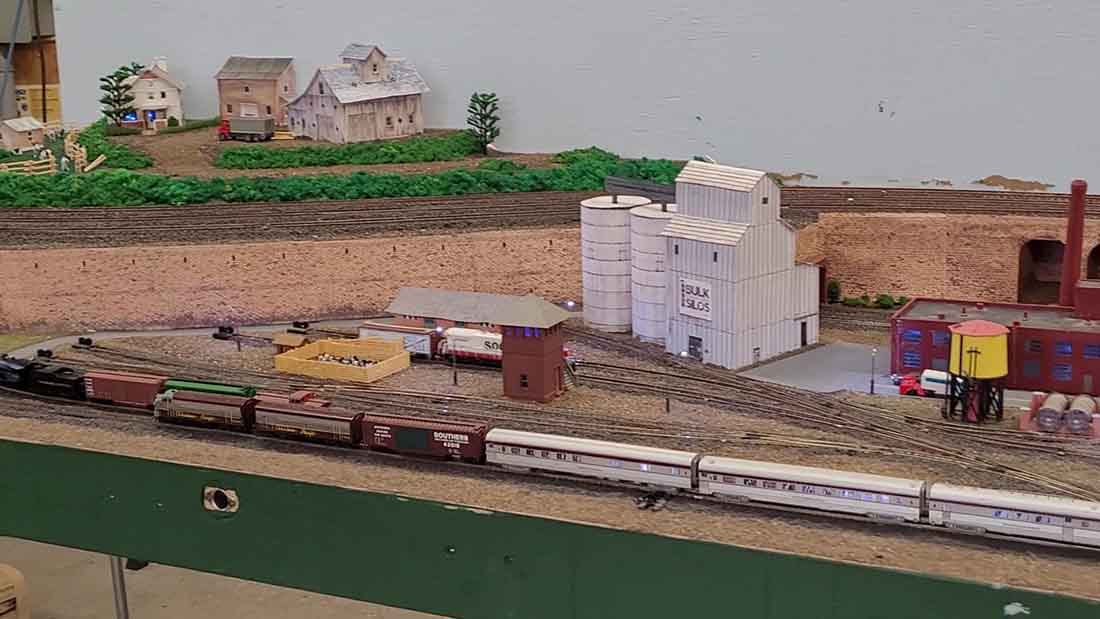
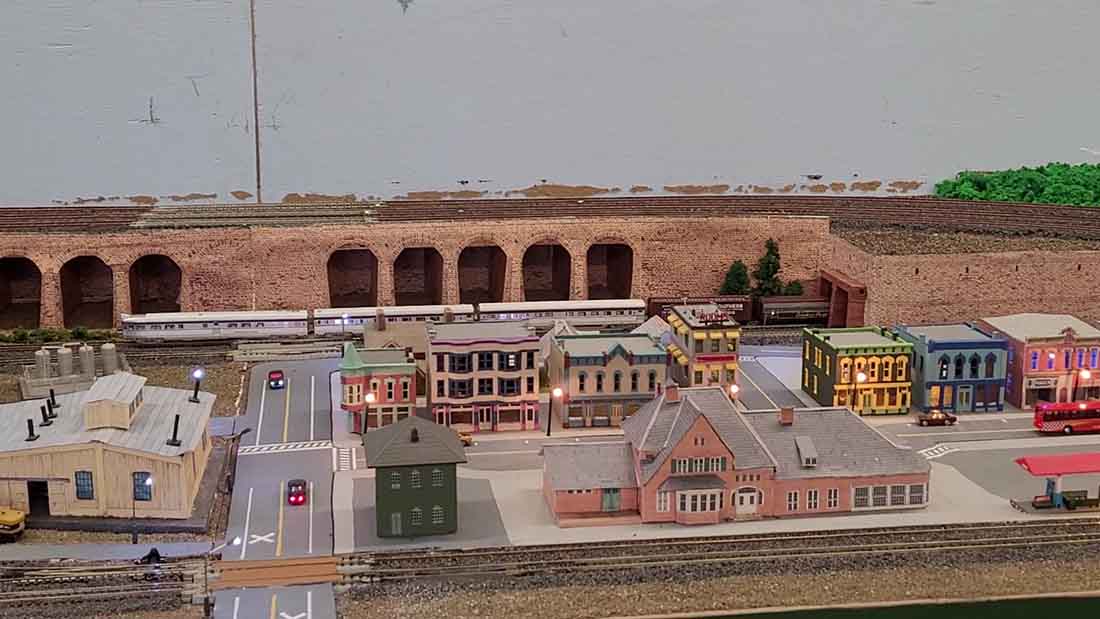
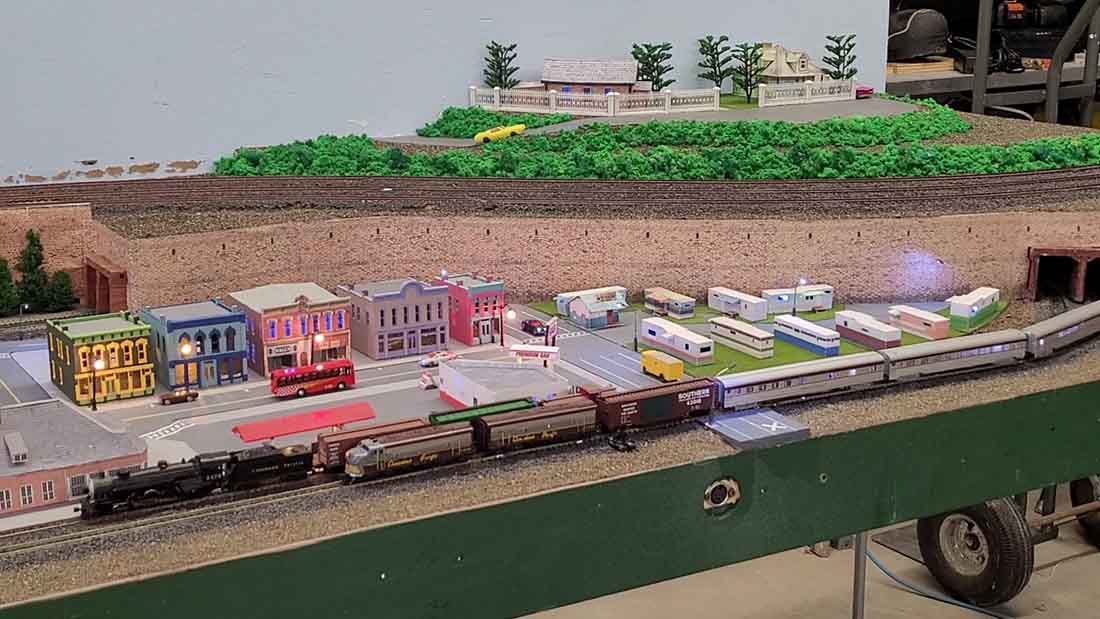
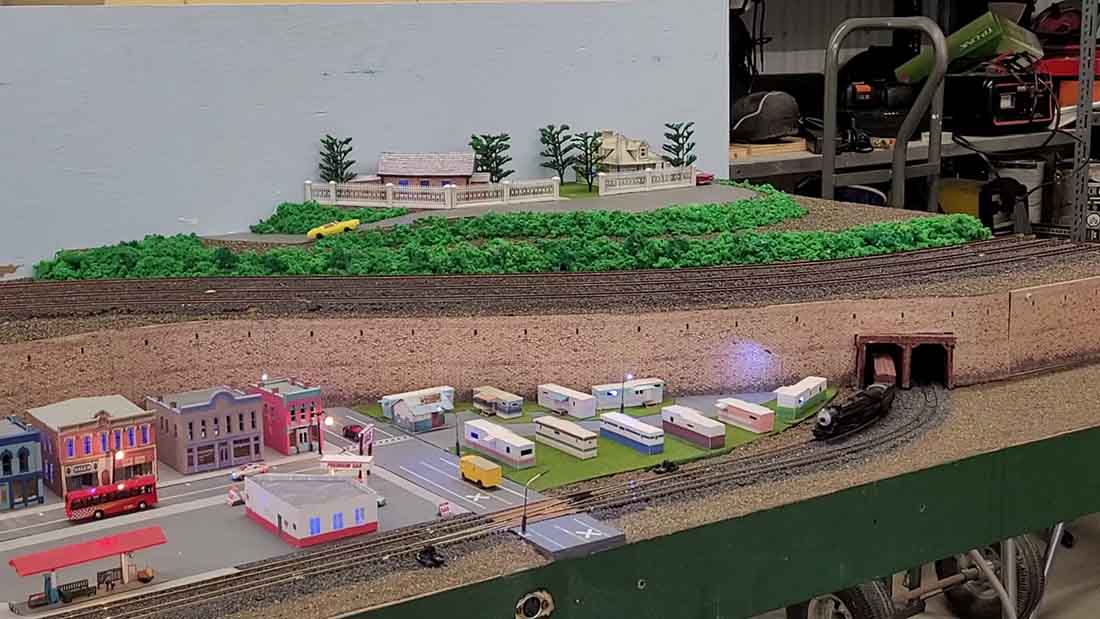
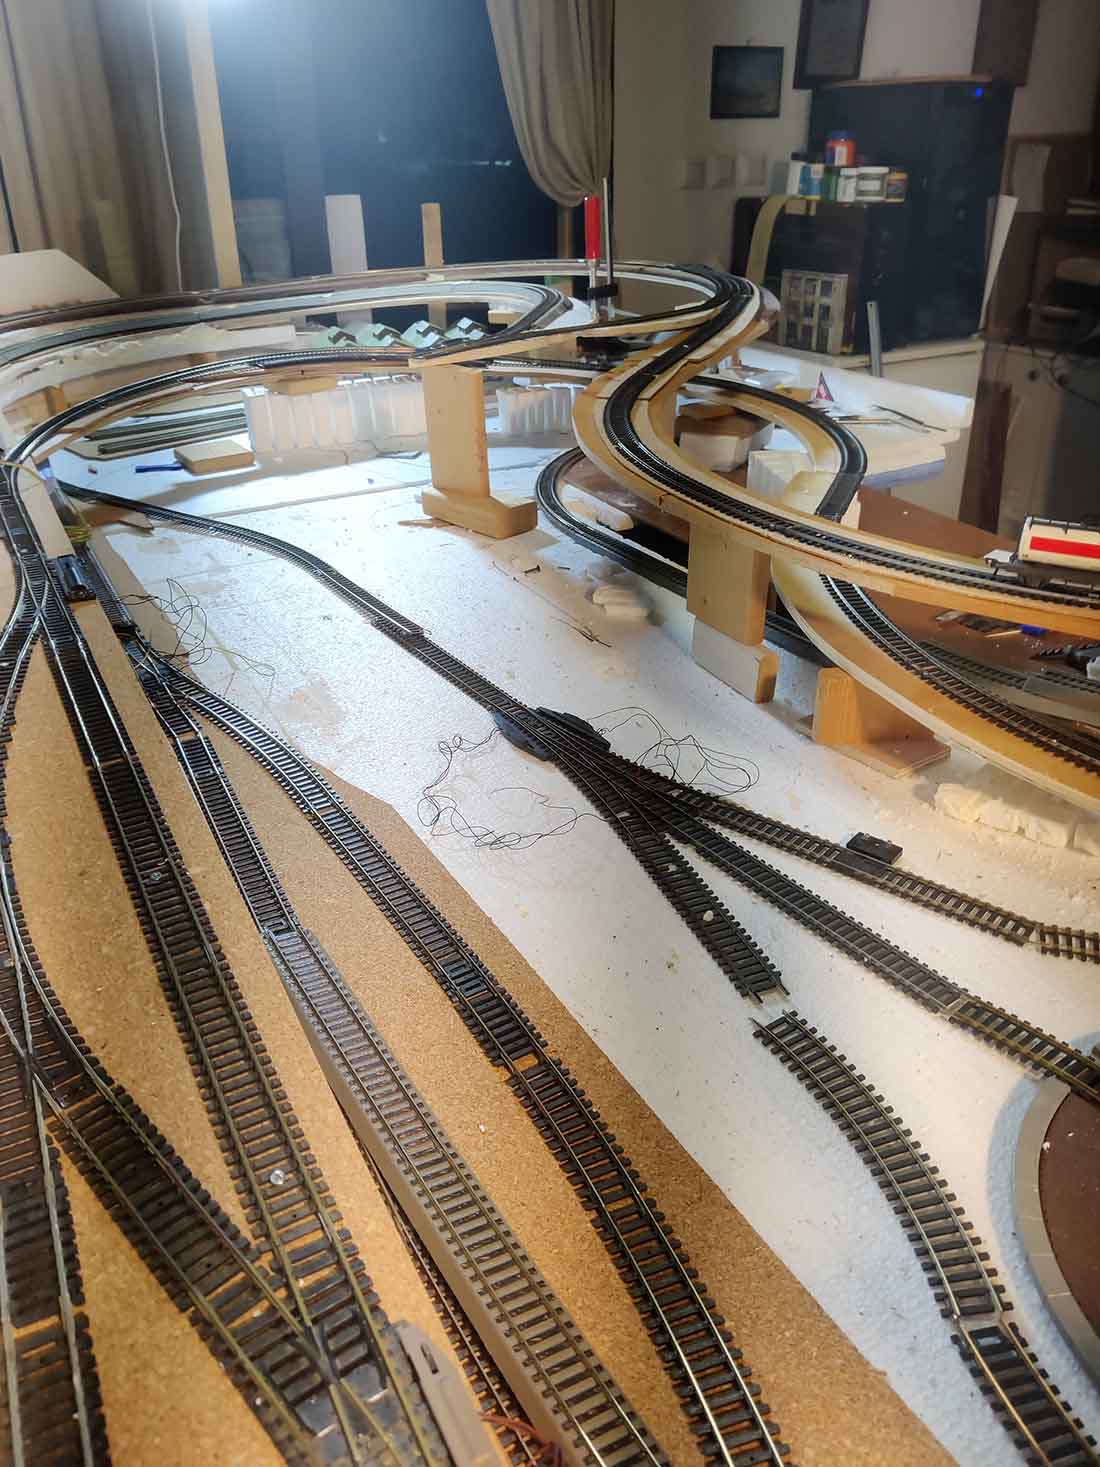
“Alastair attached are photos of the 2 6 foot modules that myself and another member of our model Railroad Club are building.
Still needs more detailing but we do have N Scale trains running.
Our club layout has always been HO so members of our club running N scale were not able to run our trains with these new modules we will be able to and club members can cross these modules with there trains on the upper level.
I have sent a total of 9 photos 3 on this email and 2 more with 3 each
Jim
Moose Jaw, SK. Canada”
A big thanks to Jim – it reminded me of this post: HO scale module layout.
Now on to John:
“Hi Al,
Thought you might like a little update on my current project.
I may need to add a little to the length to fit the buffer stops. I have not made up my mind about scratch building them.
The narrow boat is painted and ready for its first load of coal.
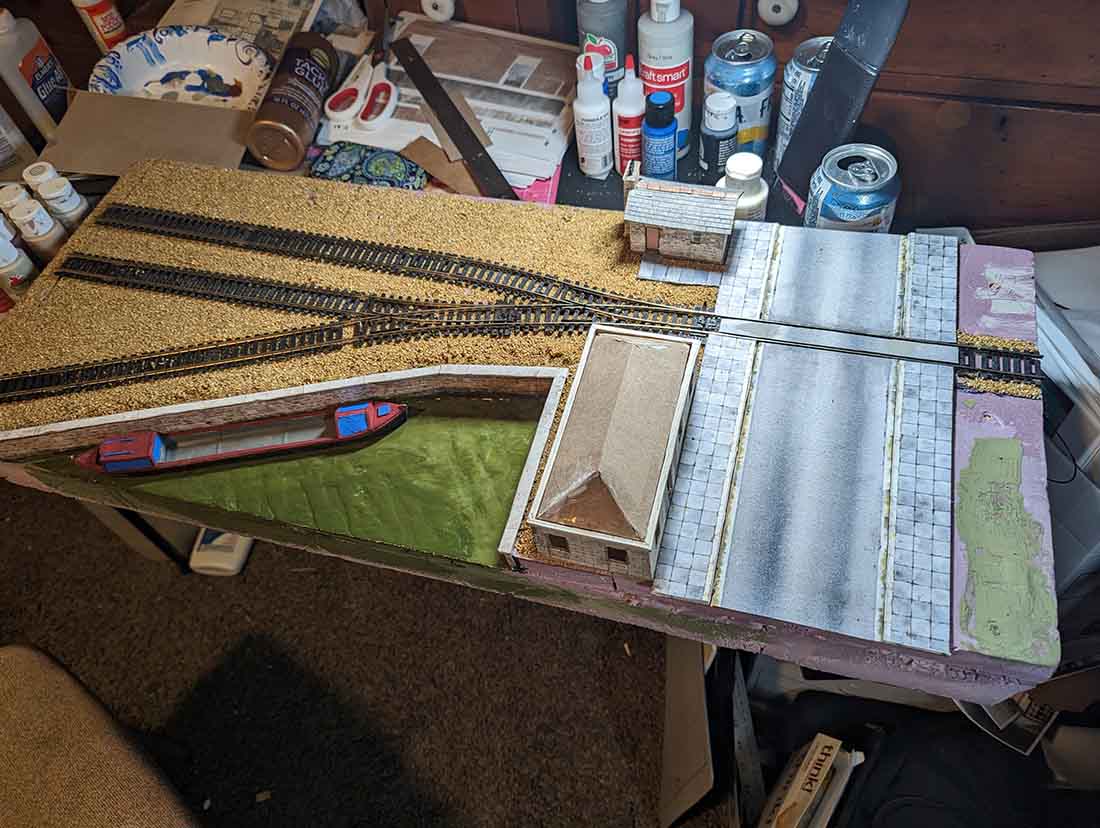
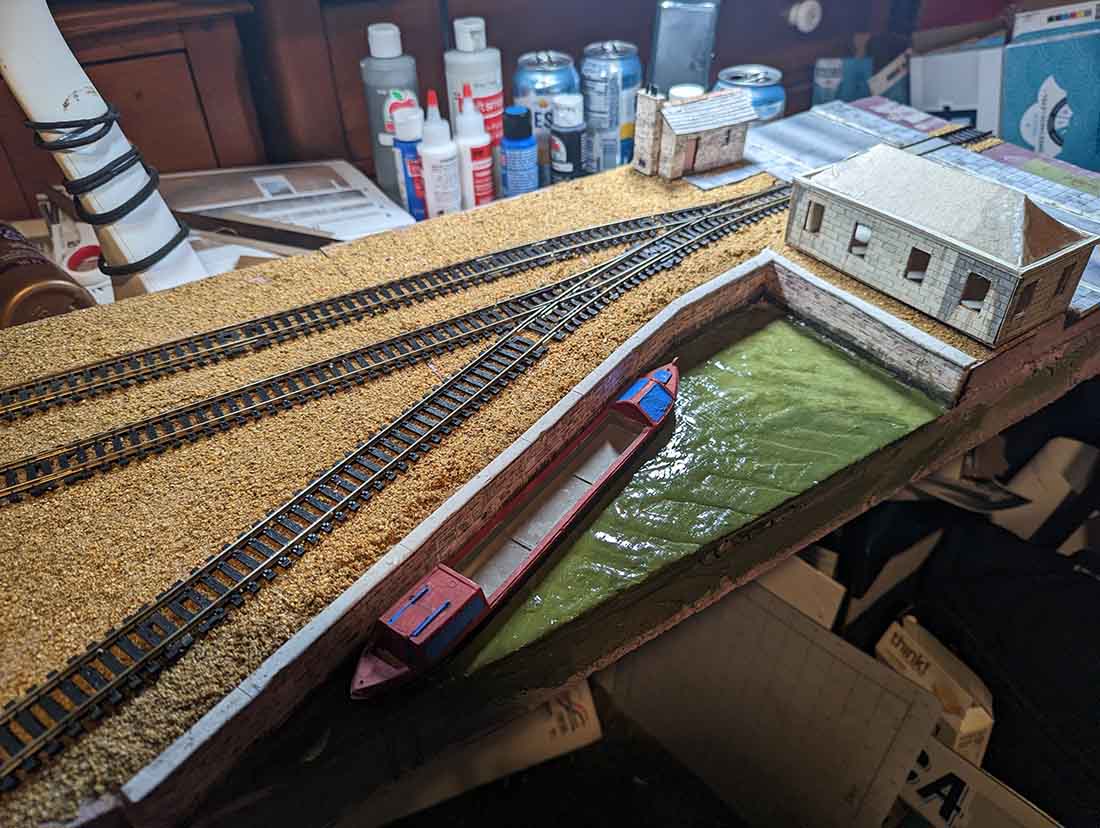
While it still needs windows, awnings, and a chimney, I thought you might like this building.
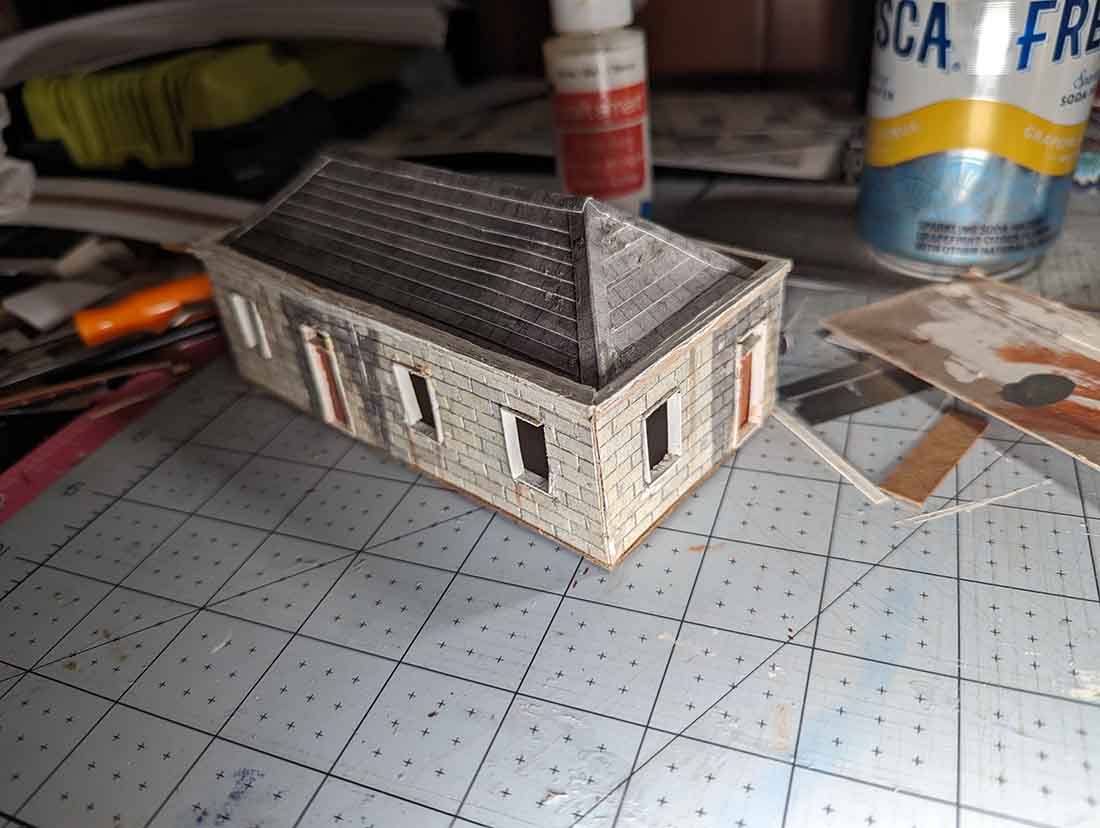
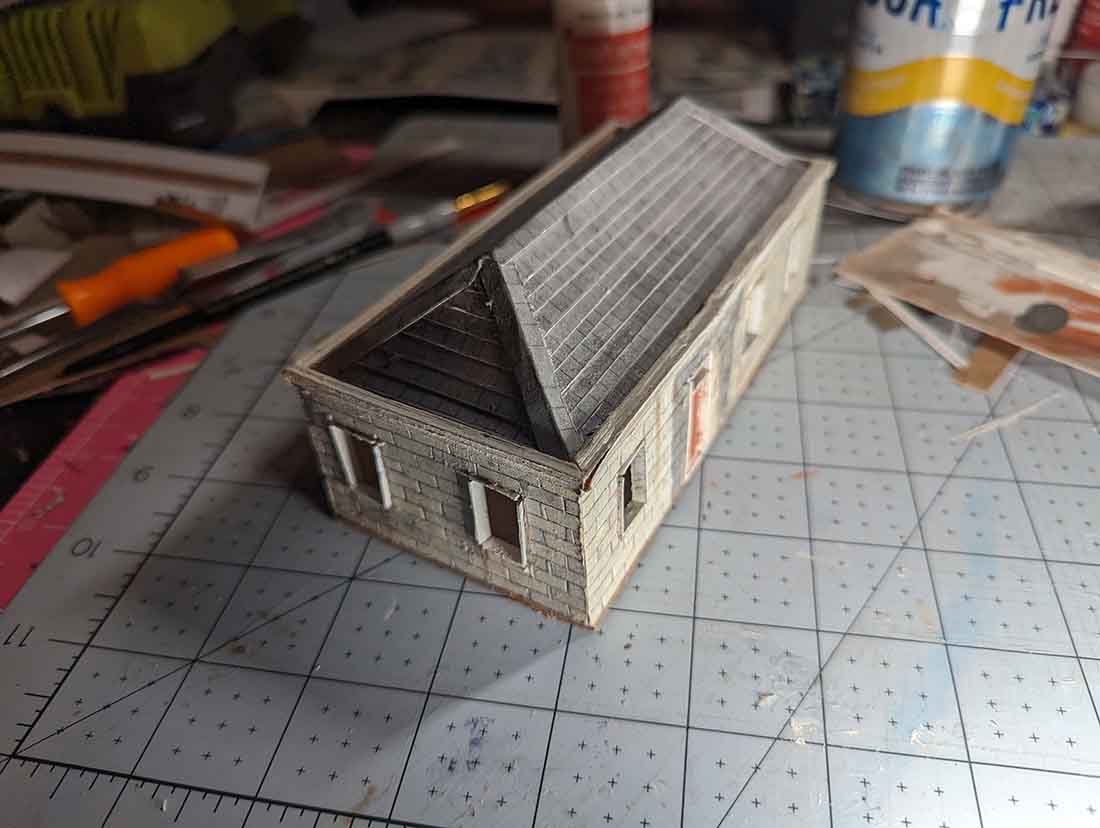
Of course one of your print out kits is where I started.
Best,
John”
If you are new to the site, you can see more of the printable buildings here.
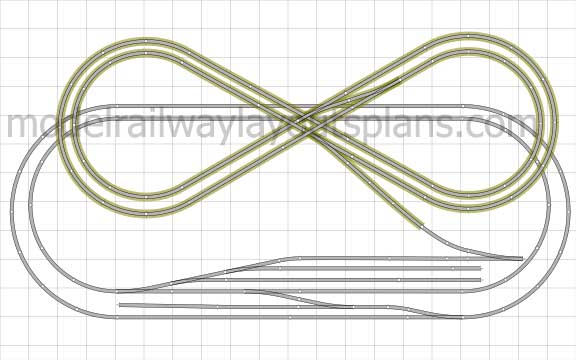
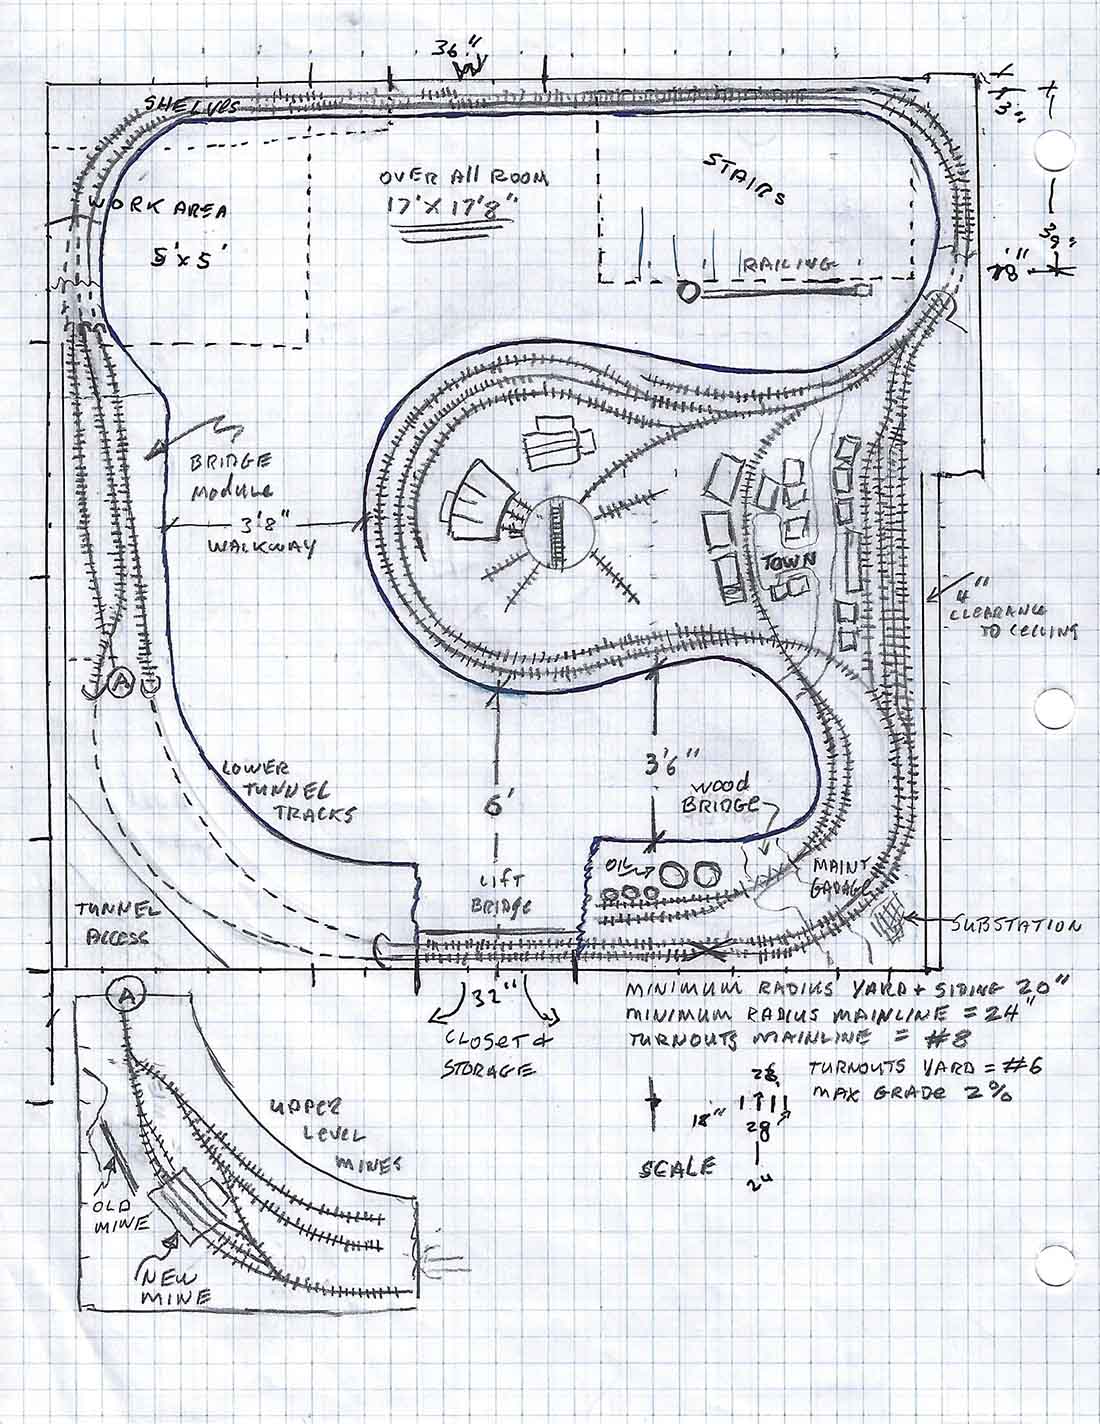
Next up, ‘Chogleg’, who has put together a track plan of his dream layout:
“Hi Al,
Long time subscriber, first time posting to blog.
I have started my life’s dream model railroad in a 15ft x 15ft building.
Just finished my layout drawing using AnyRail6.
I’ve installed the turntable and starting on roundhouses and track laying. Will send some pics soon.
Thanks,
Chogleg”
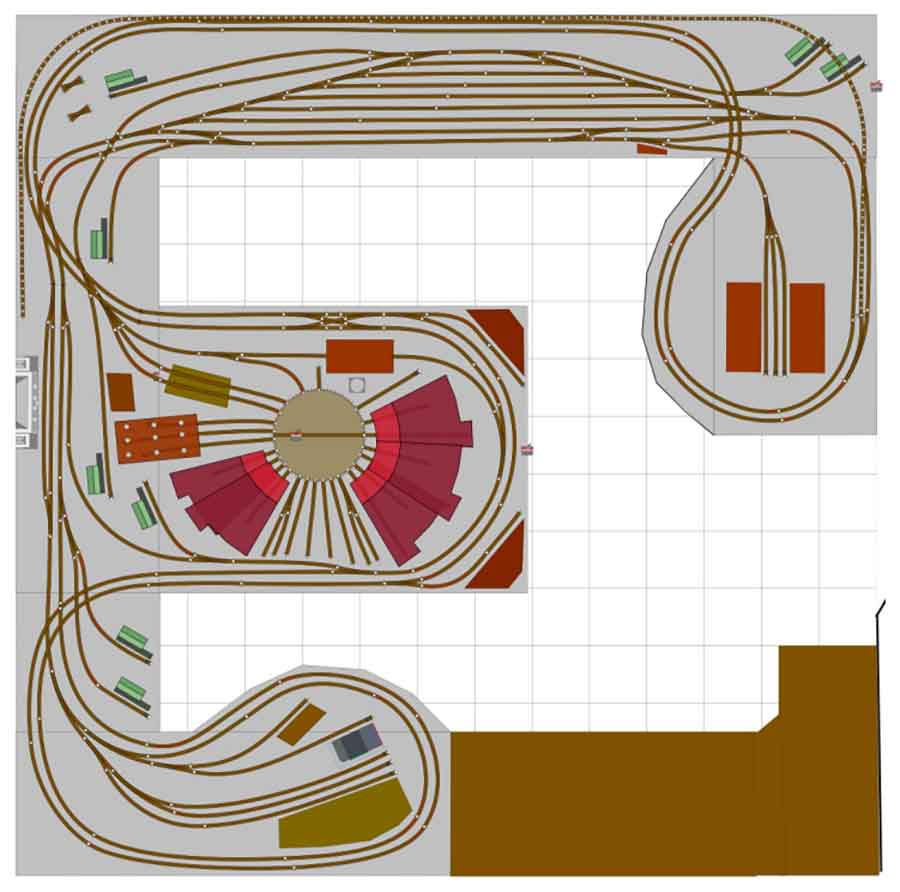
My word – what a track plan – I’m very much looking forward to seeing it come to life.
Now on to Eytan:
“Hi Al,
I m a newcomer to that game, When I lived in London in the 60-70th, I bought from Hamleys a Fleishmann set.
For 30 years it was laying in an old suitcase.
Cov-19 made me do work at home and I found the suitcase…
I started reading on the internet everything about layouts and how to start.
Your site is my daily teacher and master.
I table is 330cm u shape and 150 deep (on both sides and 80 cm at the centre).
I used only wood from old pallets. I have started building 8×4 feet, but very soon realised that I would not be able to reach all points on the table.
Then I decided to change it to U shape.
not knowing/having a computer programme, I started with my own planning.
I m enclosing my layout without and scenery.
I m sending a few photos.
Many thanks indeed for all I have learned from you
Regards Eytan from Israel”


A huge thanks to John and Eytan, and of course to Jim too for sharing his HO scale module construction.
I really do enjoy reading about how you all fell back into the hobby, and seeing the pics of your endevours make it even more special.
Please do keep ’em coming.
And if today is the day you pick the hobby back up, the Beginner’s Guide is here.
Best
Al
PS More HO scale train layouts here if that’s your thing.
Need buildings for your layout? Have a look at the Silly Discount bundle.