Stef’s been in touch, he’s added to the Lionel train layouts on the blog:
“Hello Alastair,
And greetings from Middleton MA, just north of Boston.
I, as all of your subscribers do, truly enjoy and look forward to your postings from araound the world.
As with many of your readers, I too enjoyed my first Lionel set from Santa back in mid fifties…a #600 MKT diesel switcher and , of course, a Baby Ruth box car/still own the set today and will send photo in next communication.
It appears that many of your postings involve HO and some N scale and the occasional O gauge which I really look forward to viewing.
I am an original ‘Lionel guy’ and I hope our other Lionel enthusiasts will especially enjoy this posting and photos as well as your other subscribers.
Actually, I was going to wait until I nearly completed my layout before contacting you, but, as I have seen many postings sent in at various stages of completion, I thought it appropriate to send in my photos at this time to share with others. Will follow up again as the layout achieves more completion.
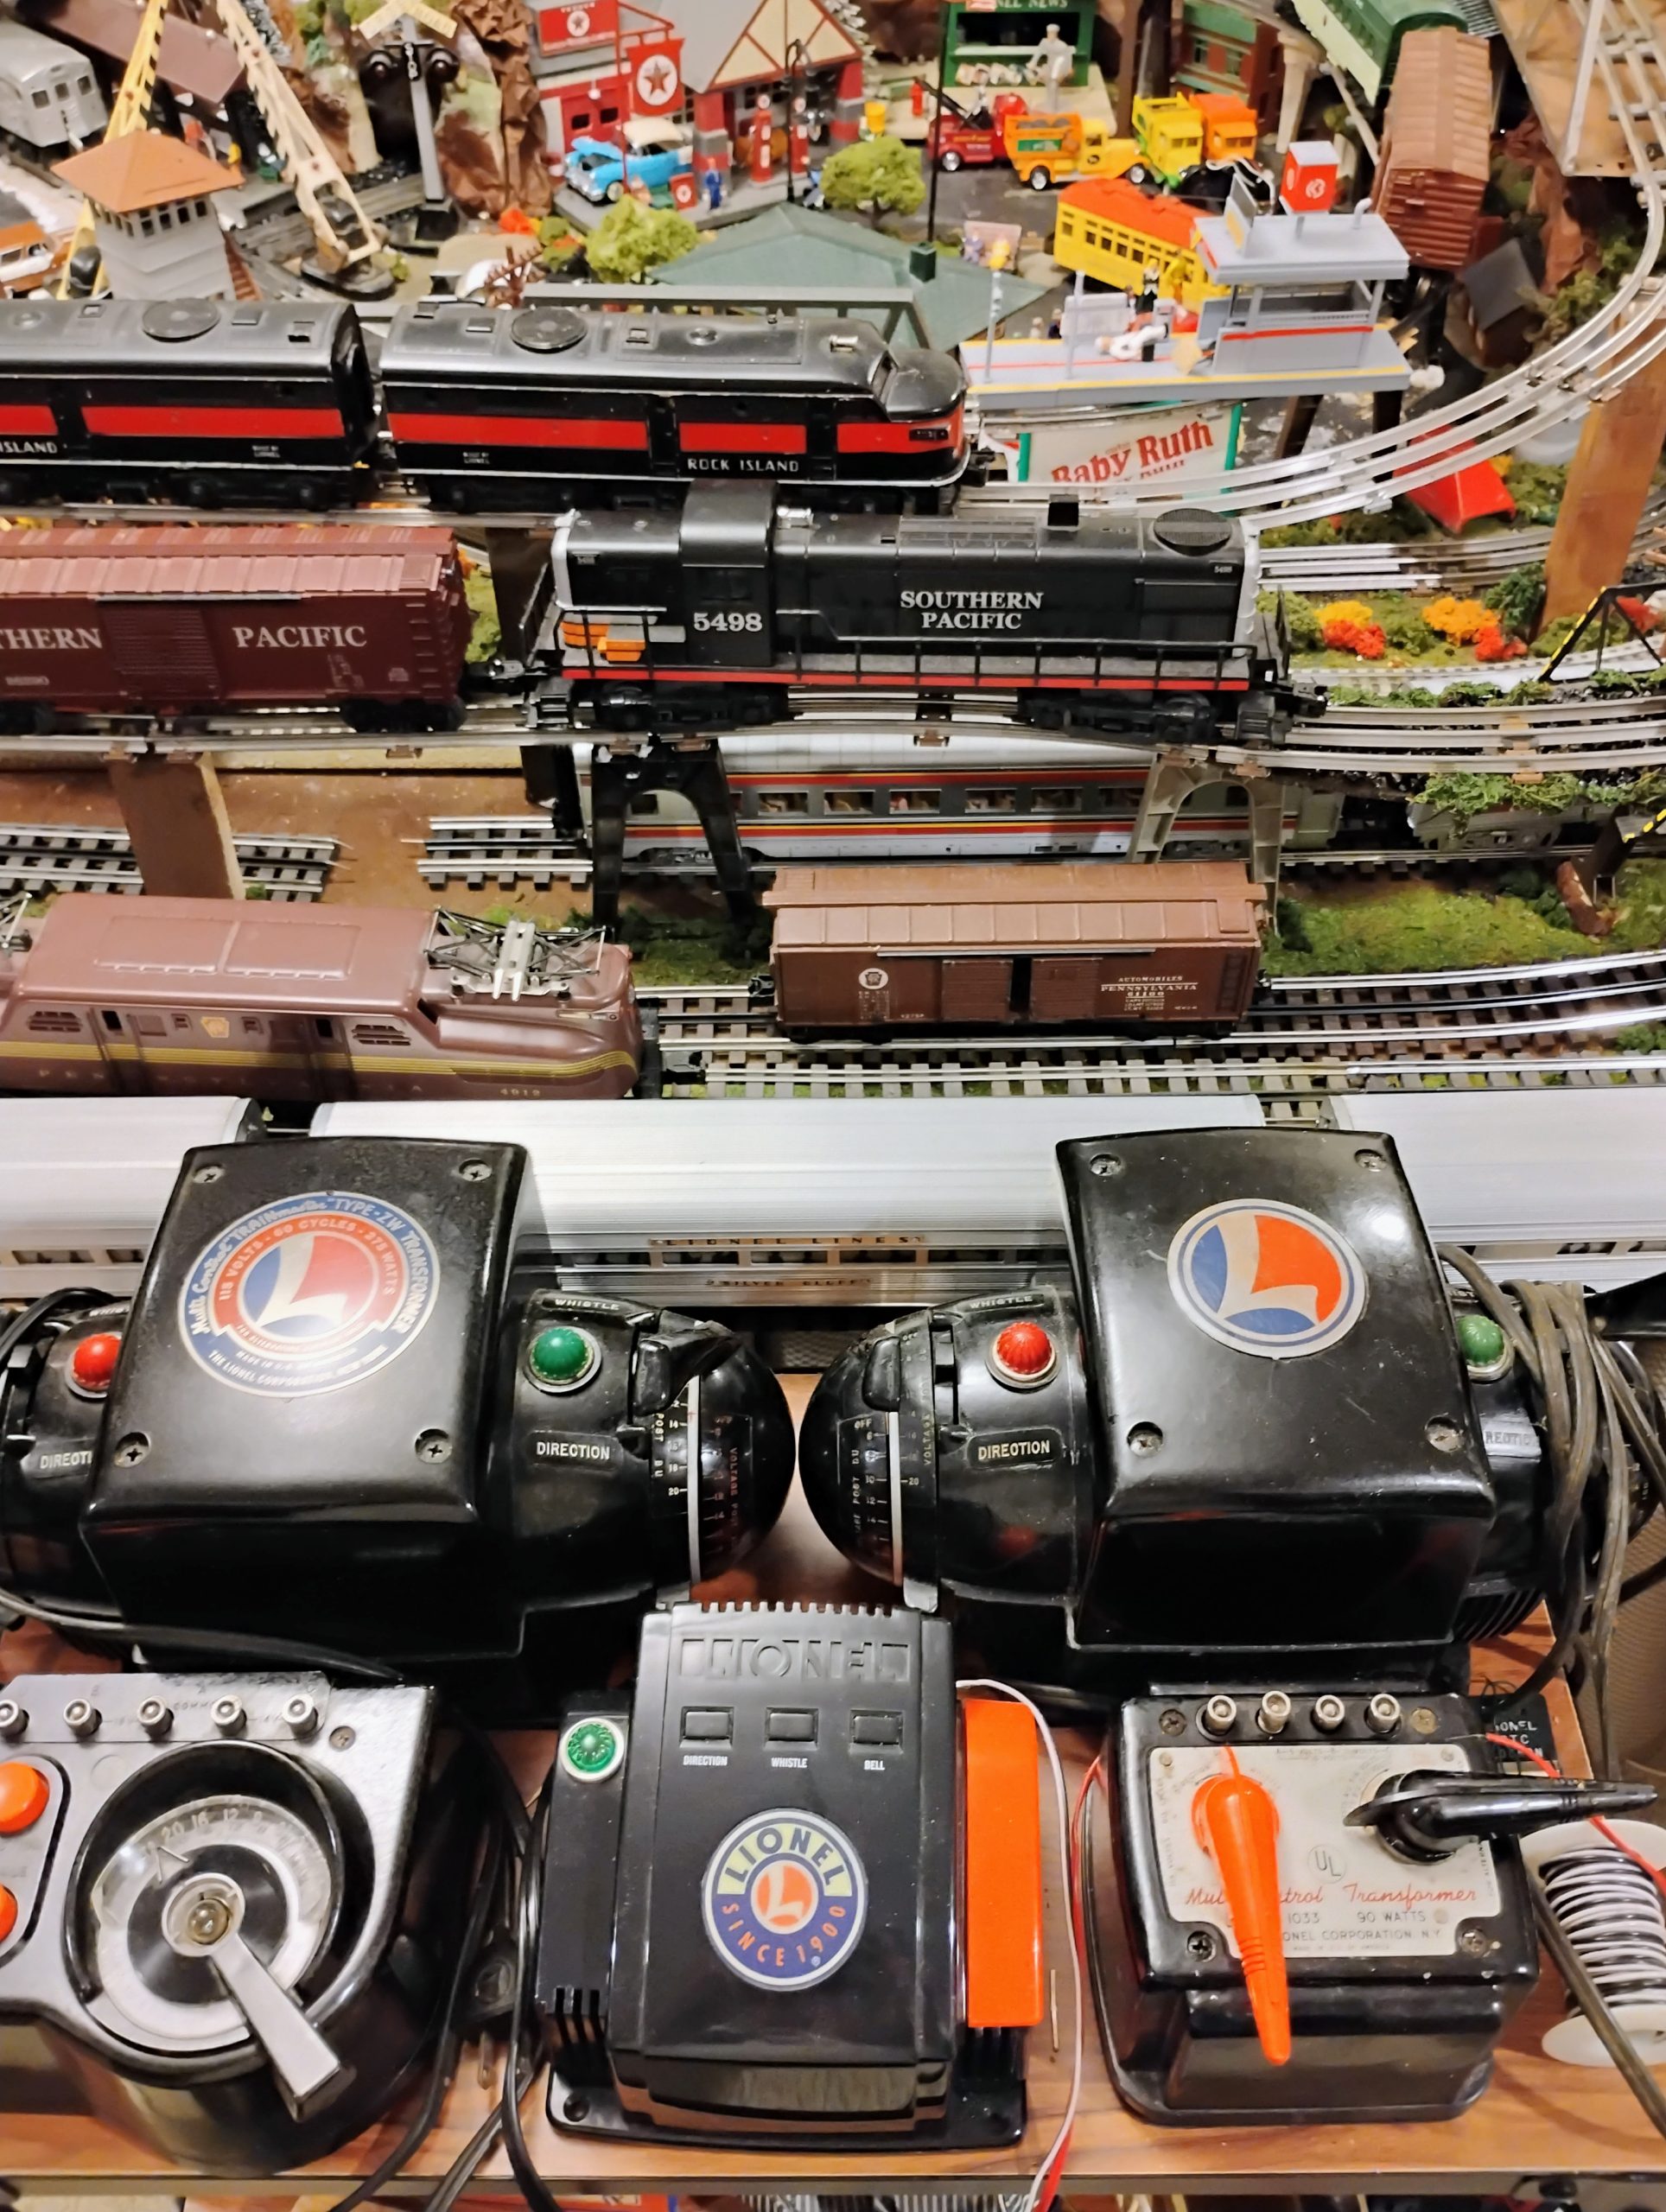
I am a ‘non technical’ enthusiast and stay with the ‘basics’ and I guess I am ‘old school’ as well and age 77; so, my power connections and future lighting and accessory connections will be as they were way back then!
Since I still maintain my retirement financial planning practice and have for many decades both here and in SWFlorida where we also reside and travel back and forth each month, I cannot devote
‘full time’ to the layout; after all, it is a hobby! In addition, I host and produce a weekly financial information radio show heard in MA and FL and have done so for nearly 25 years.
After my wife and I ‘downsized’ from our much larger home with a very large Lionel multi train layout [12 train operation] about twenty years ago after our children married, I sold almost all of my Lionel collection.
The thought was to switch to HO in our new home attic where I started to build a basic layout. After buying a good deal of HO ‘stuff’, I realized that Lionel was truly what I enjoyed and started to restock with Lionel, original accessories along with some Williams and Kline from the internet and some local MA purchases.
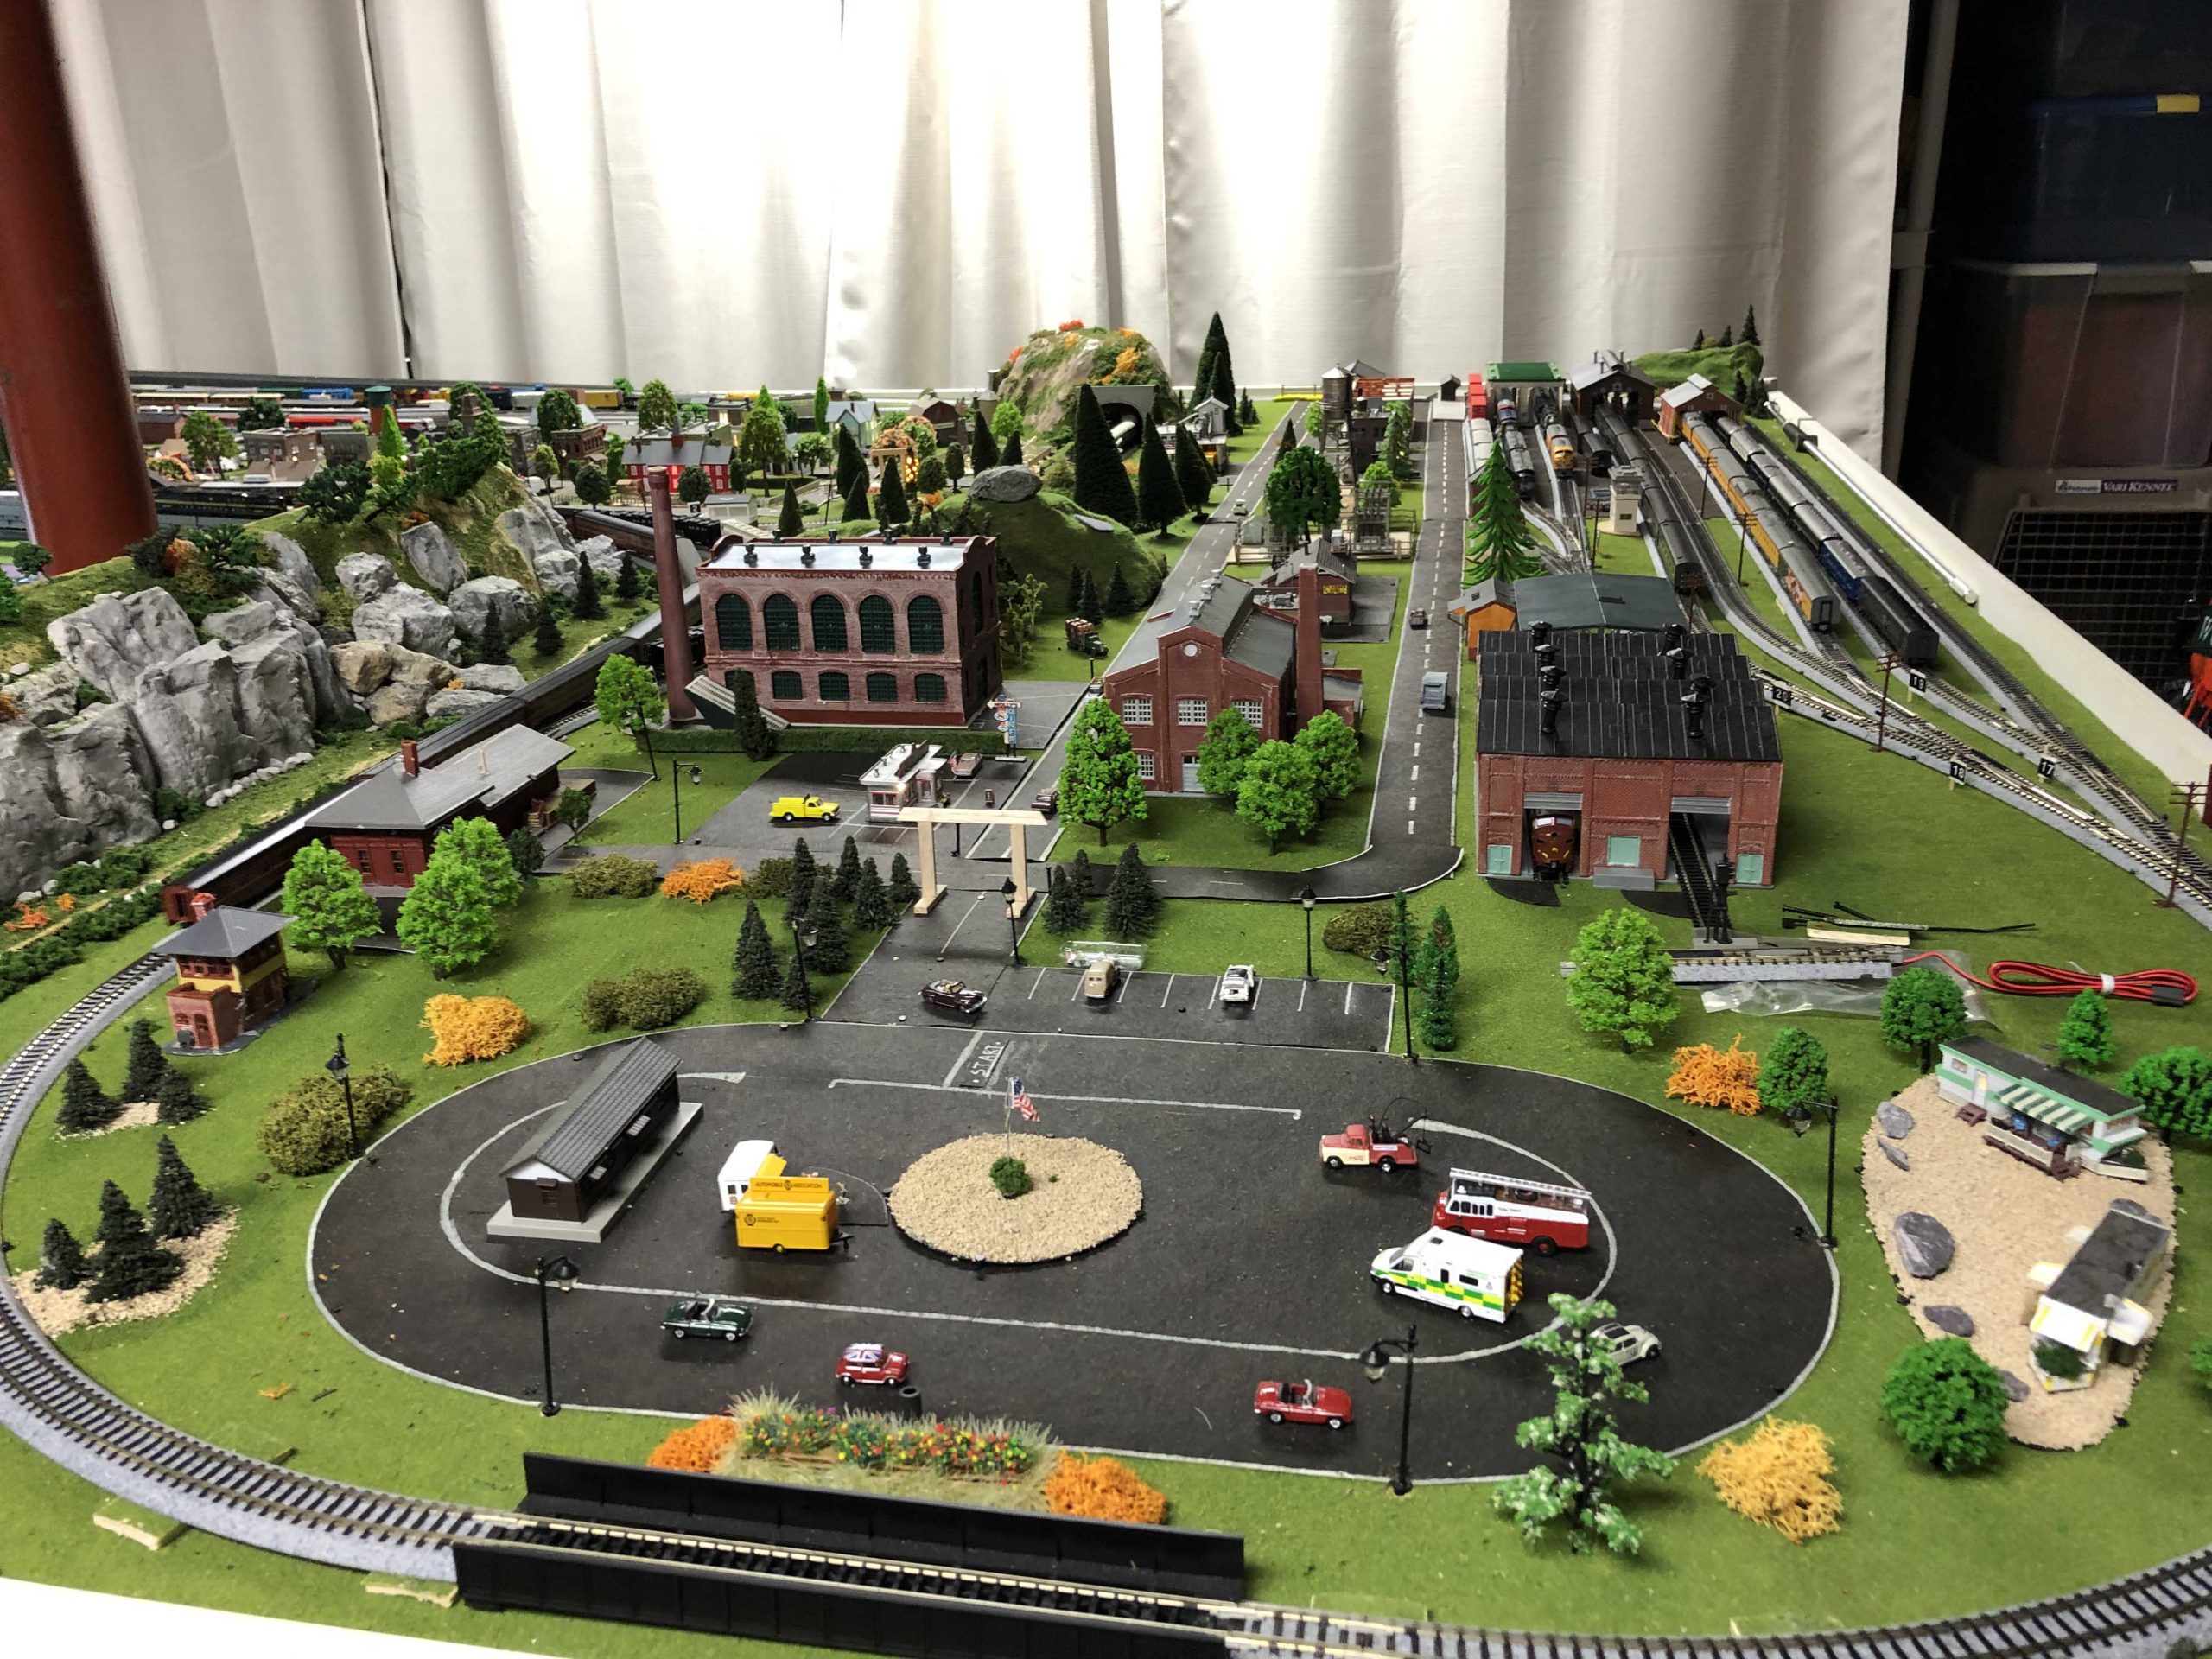
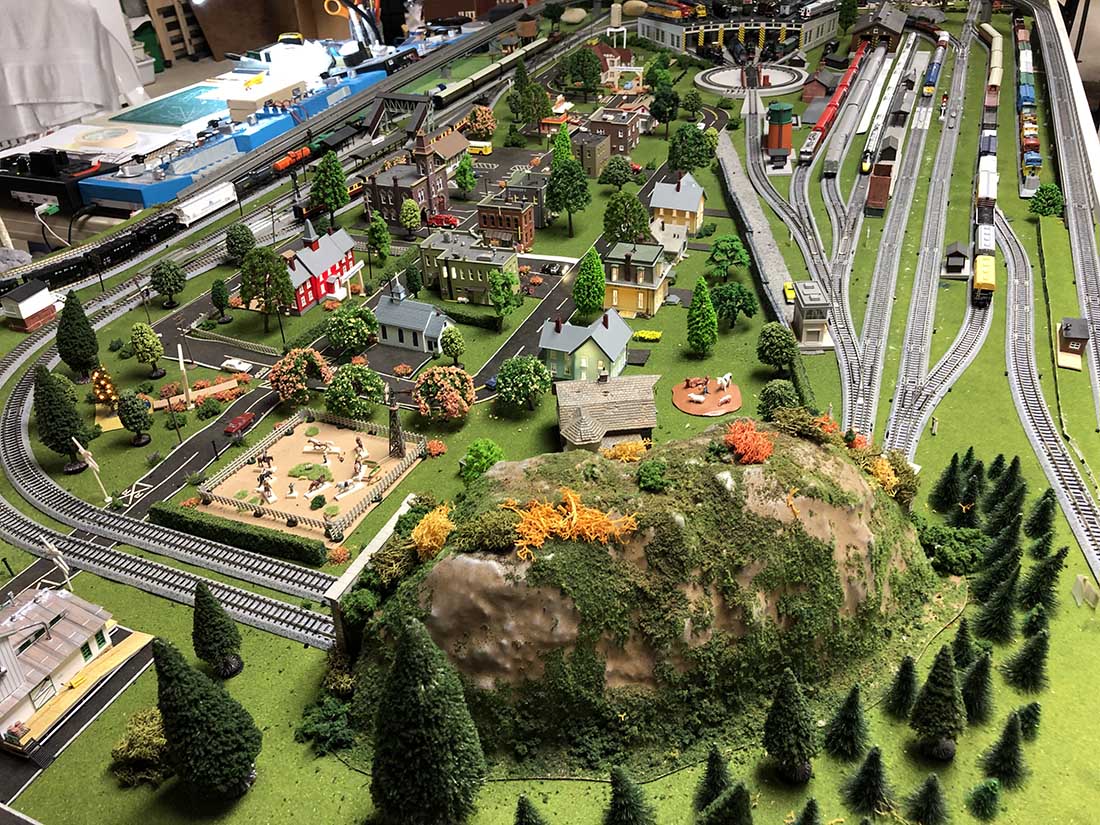
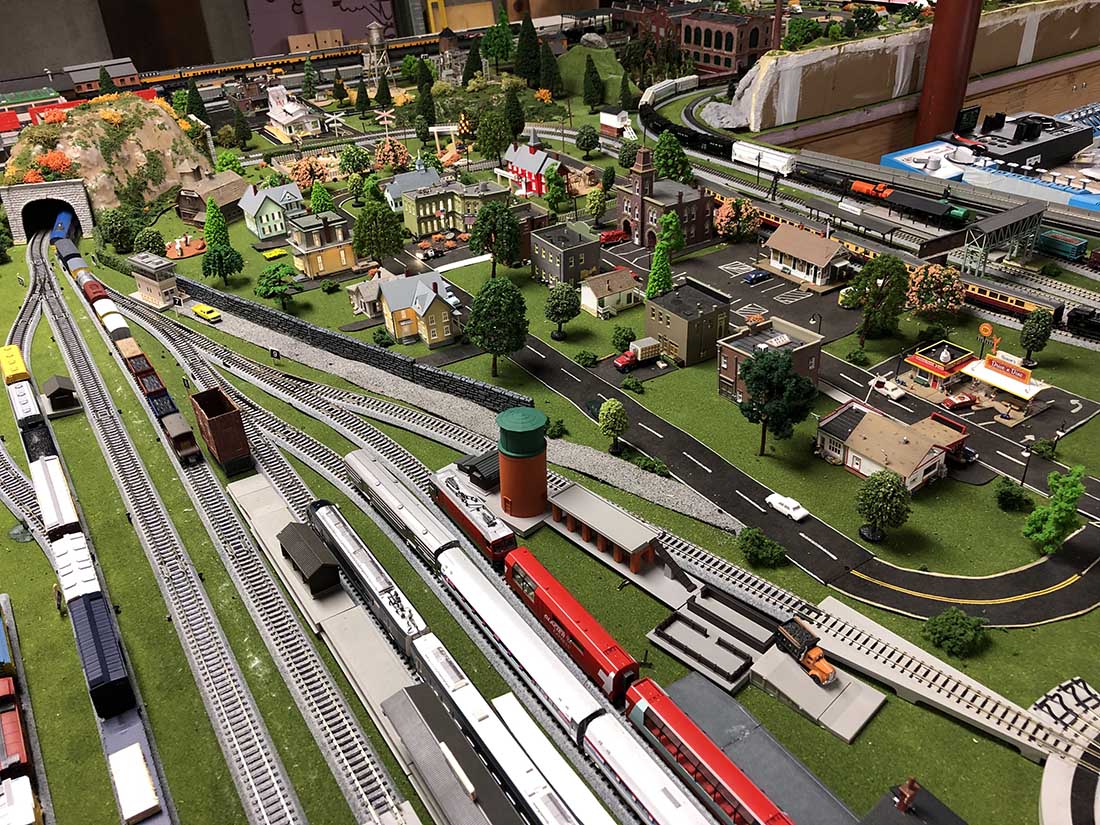
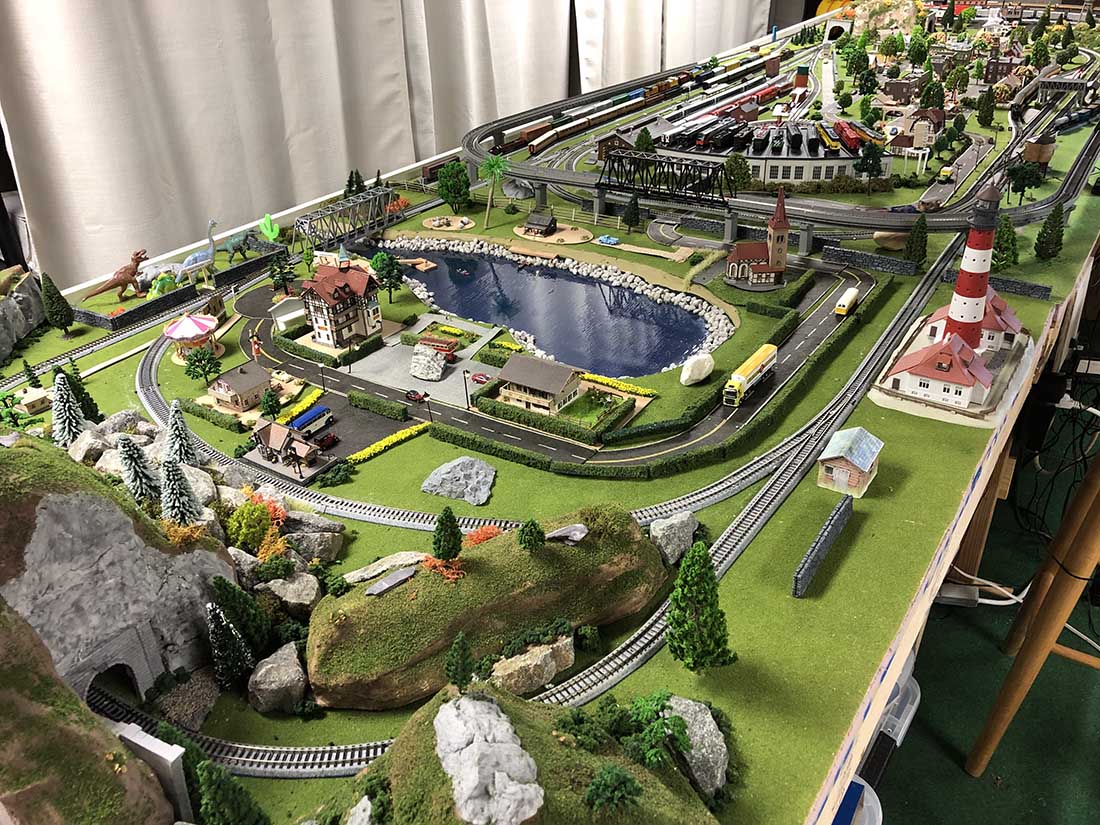
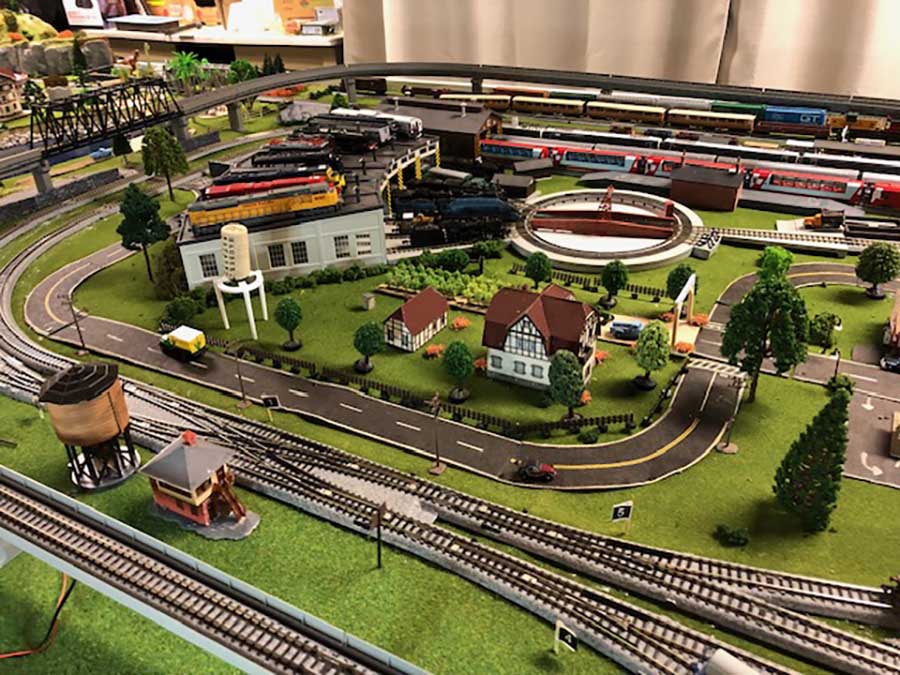
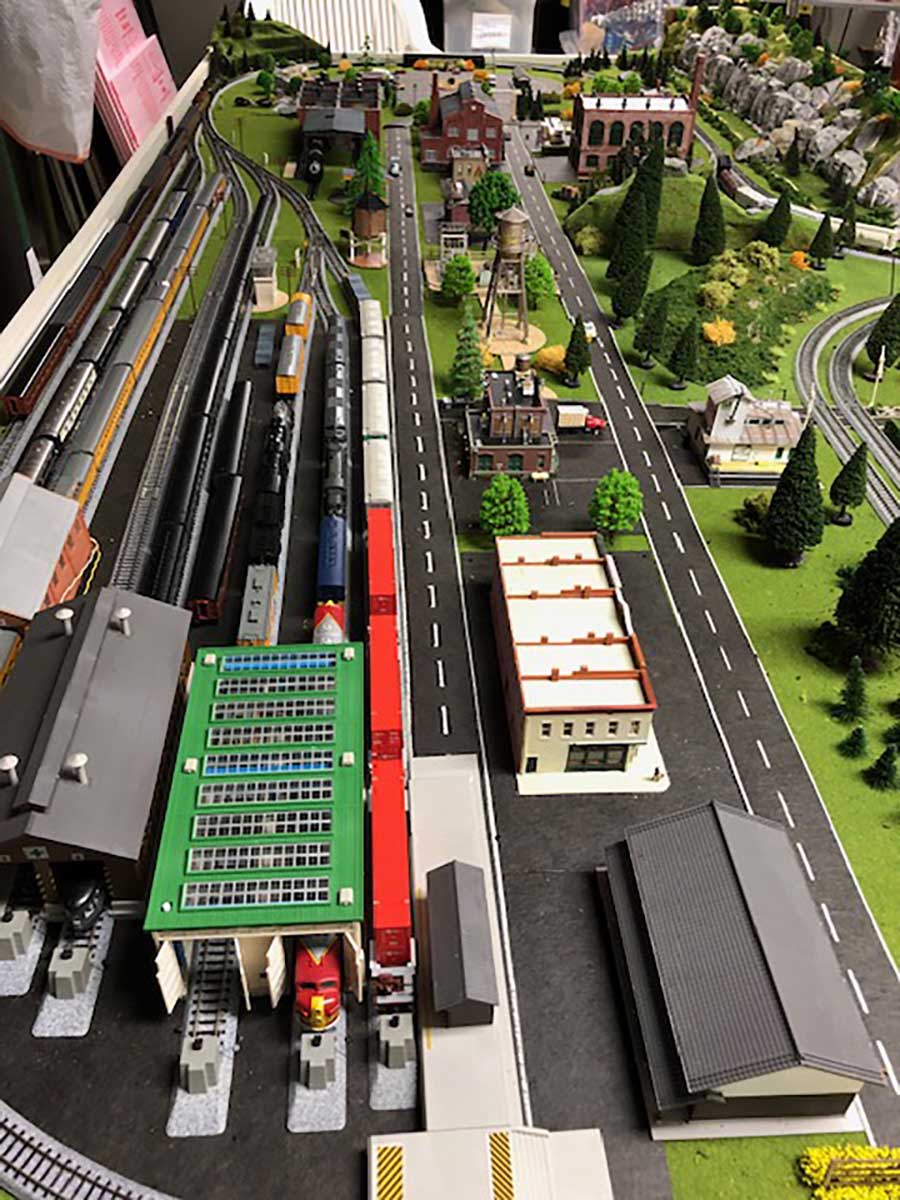
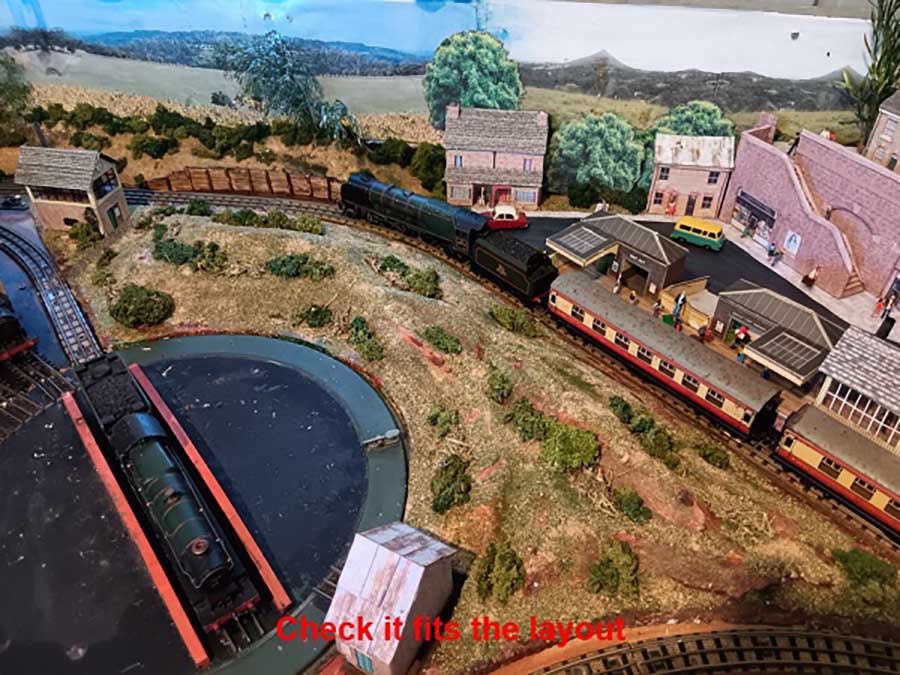
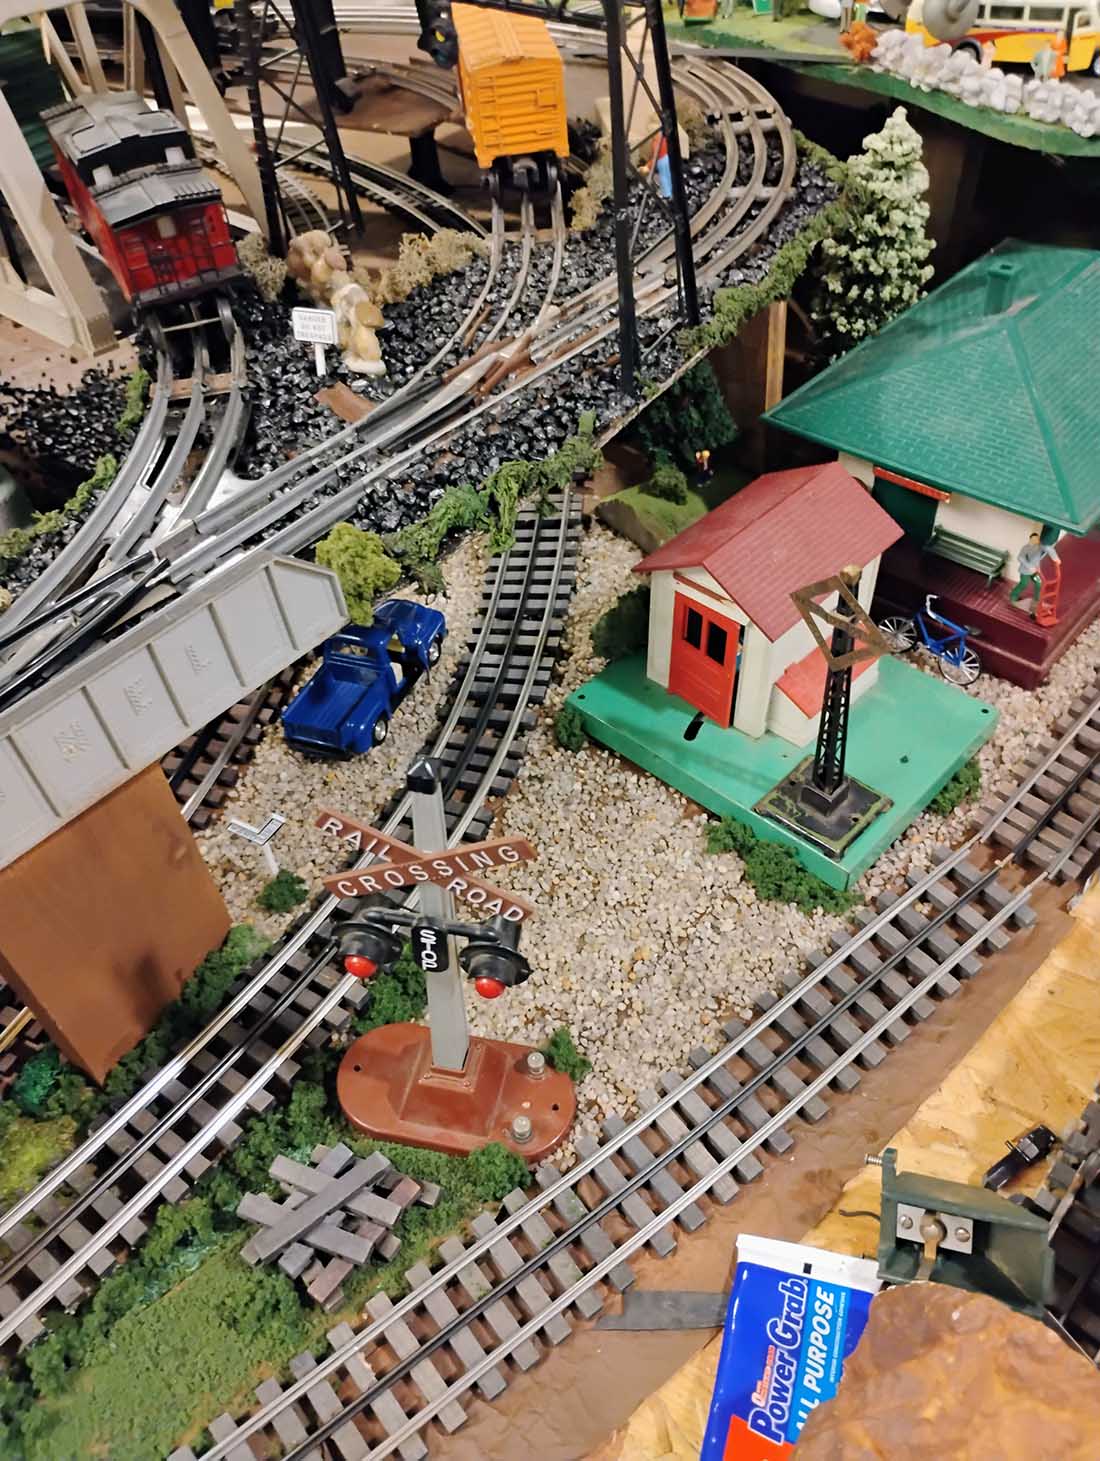
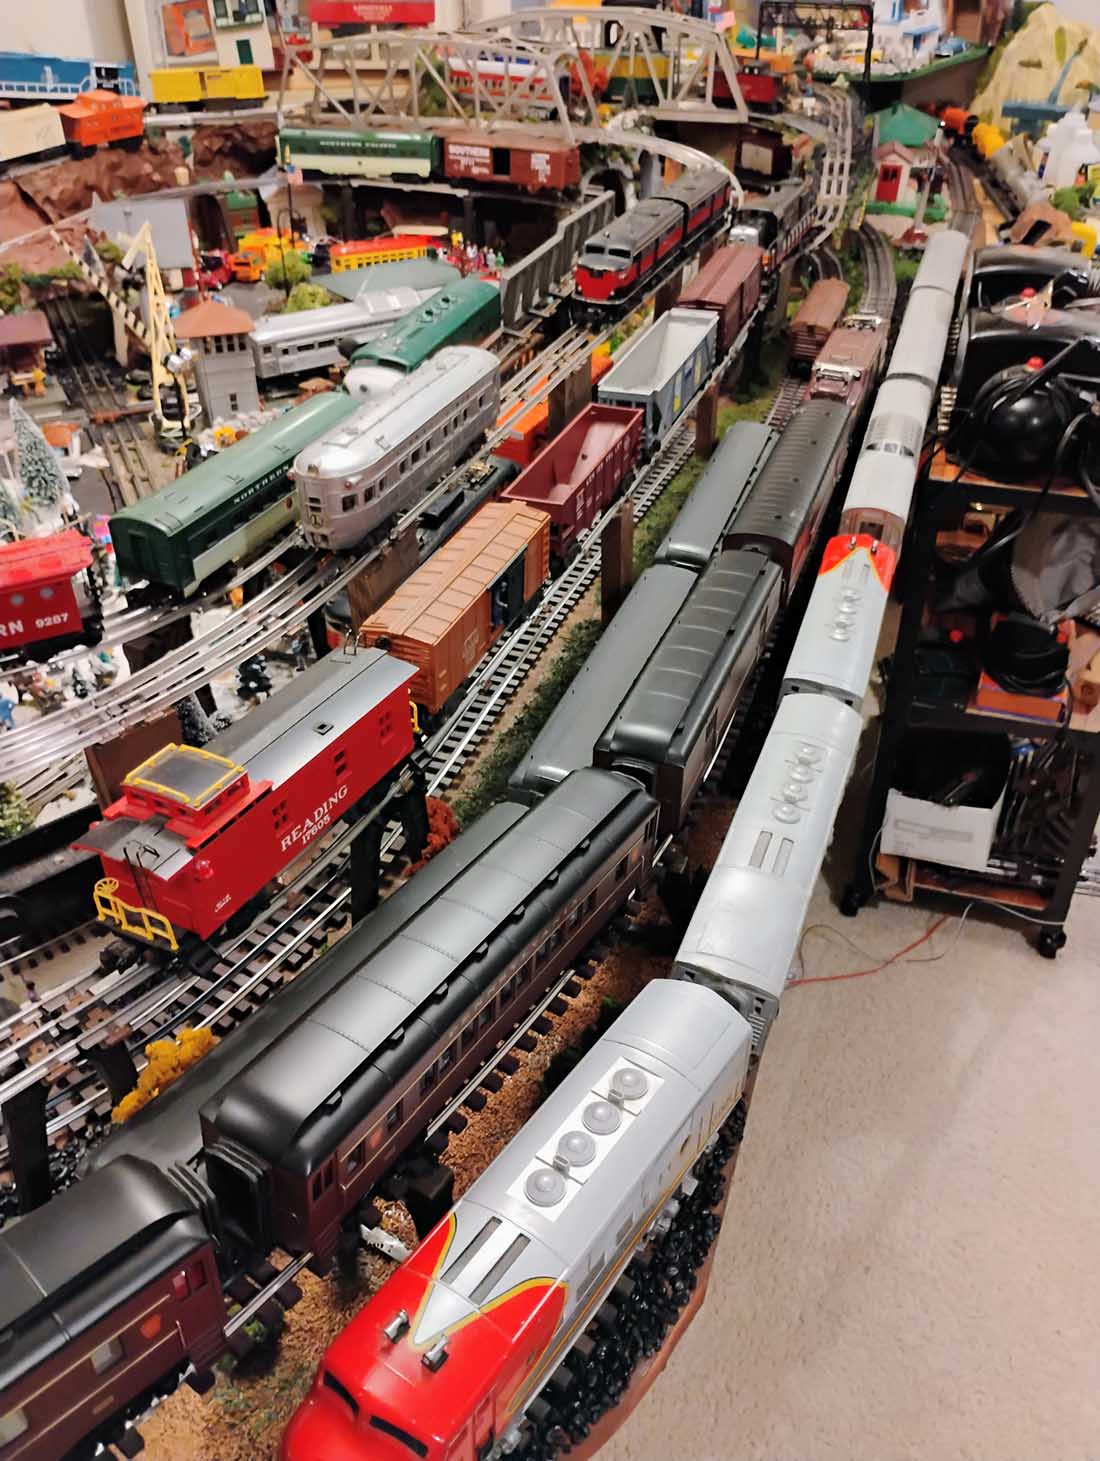
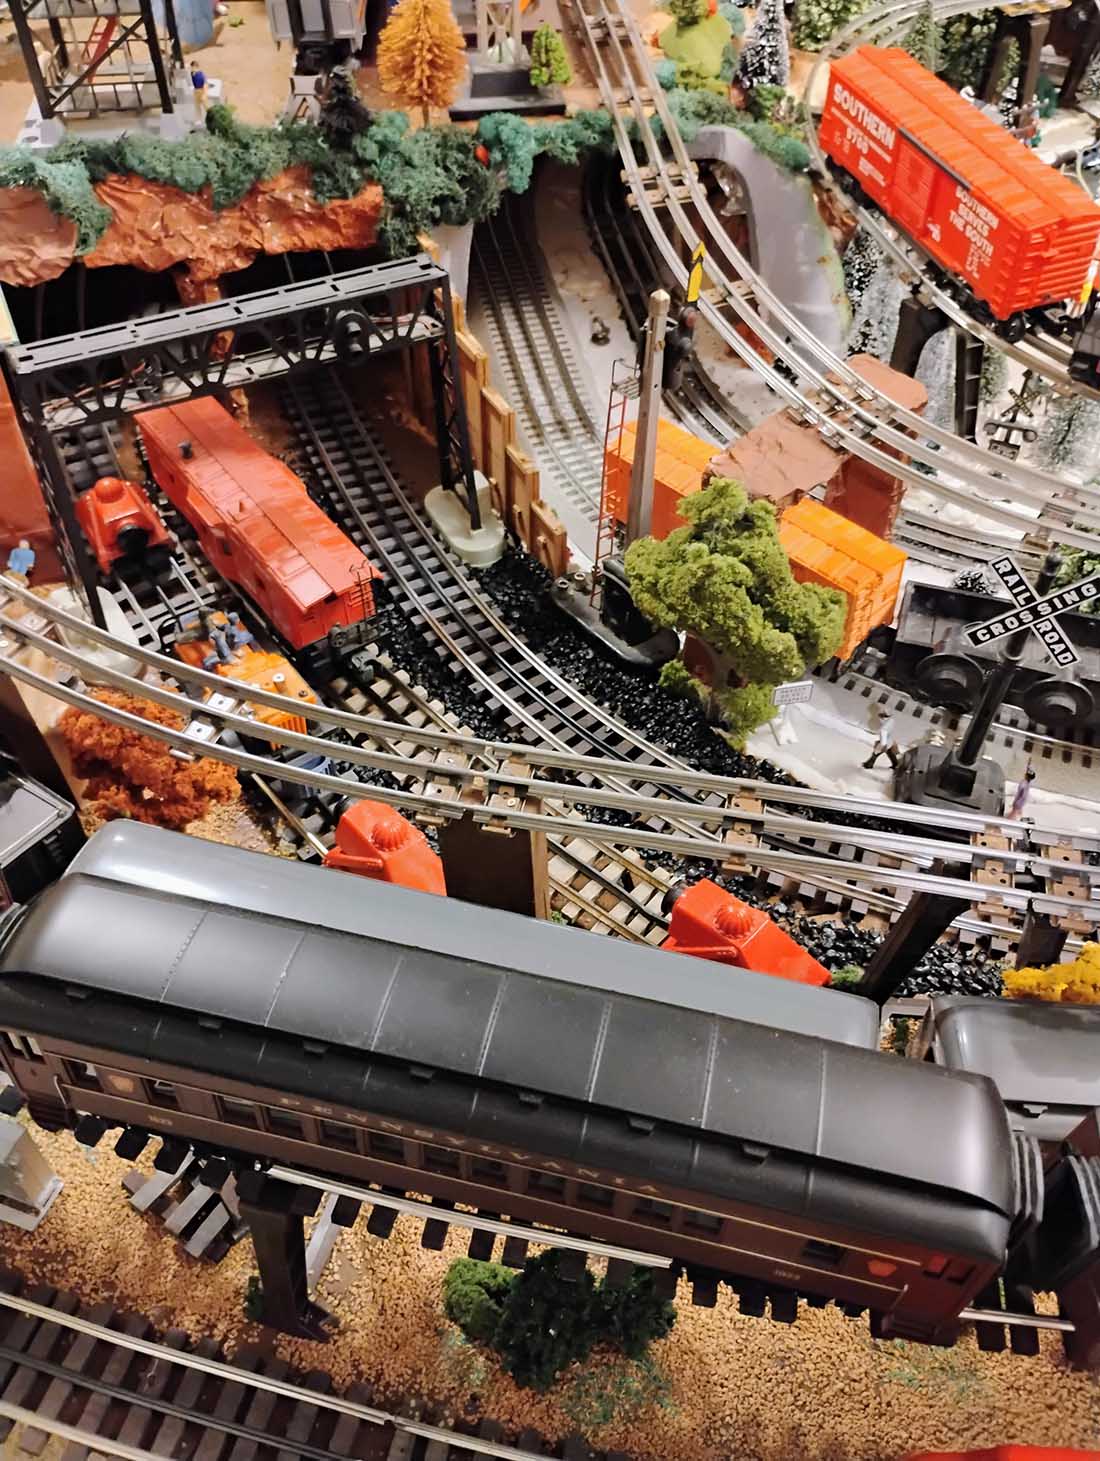
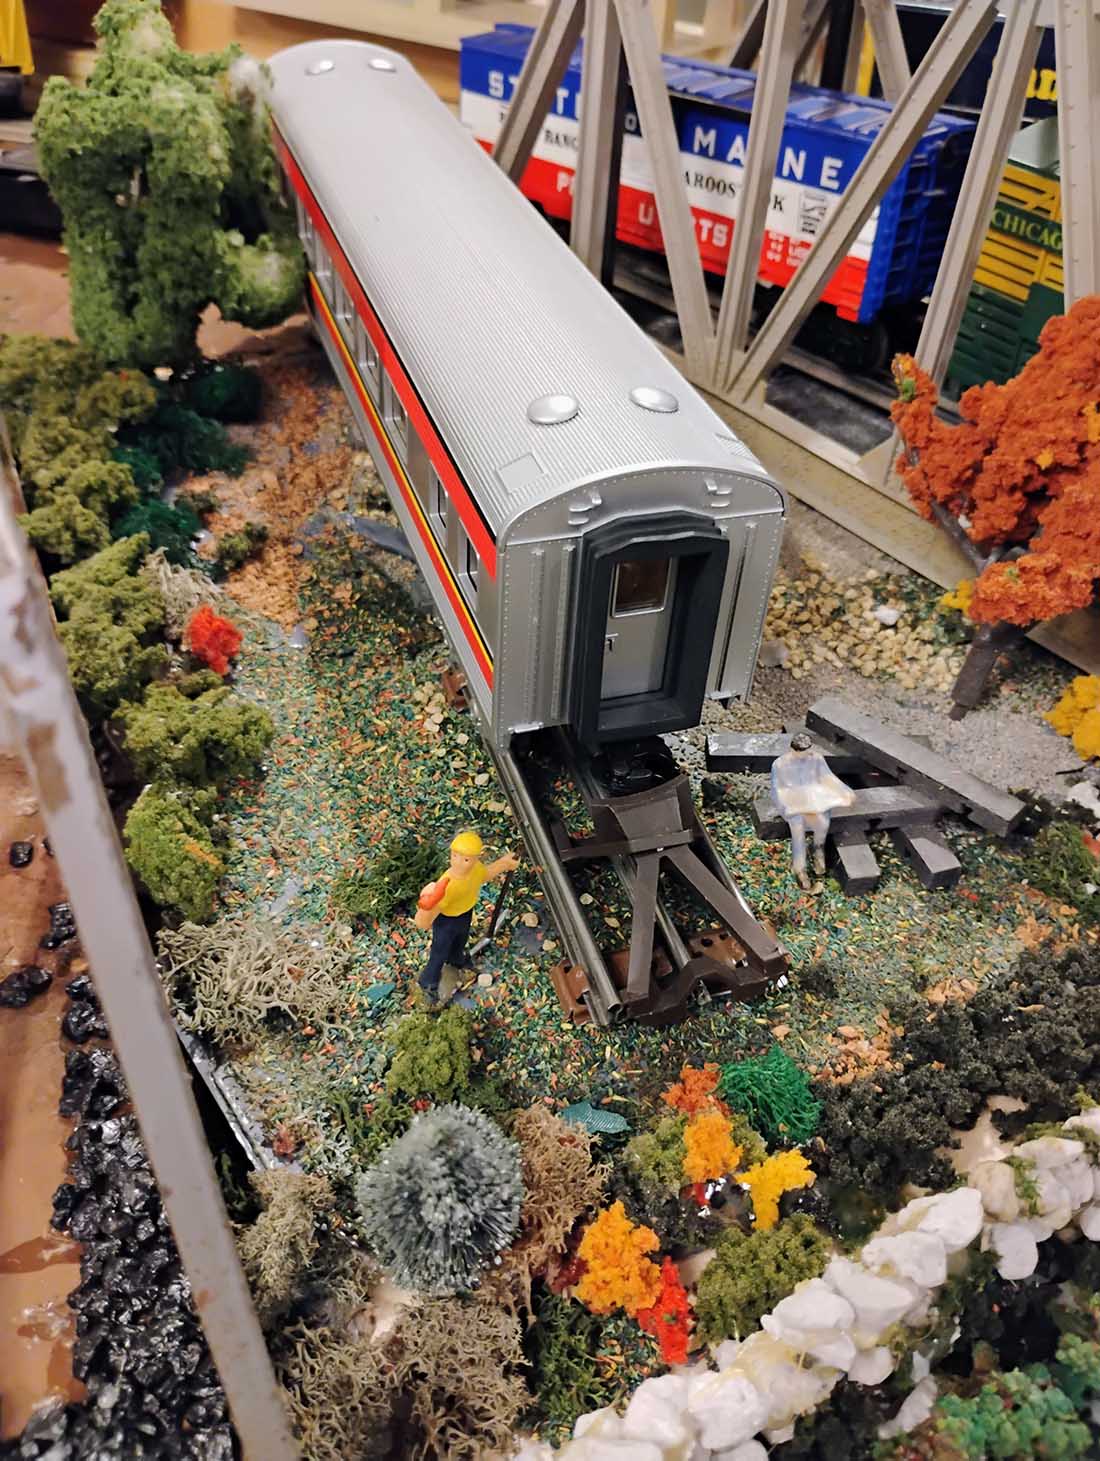
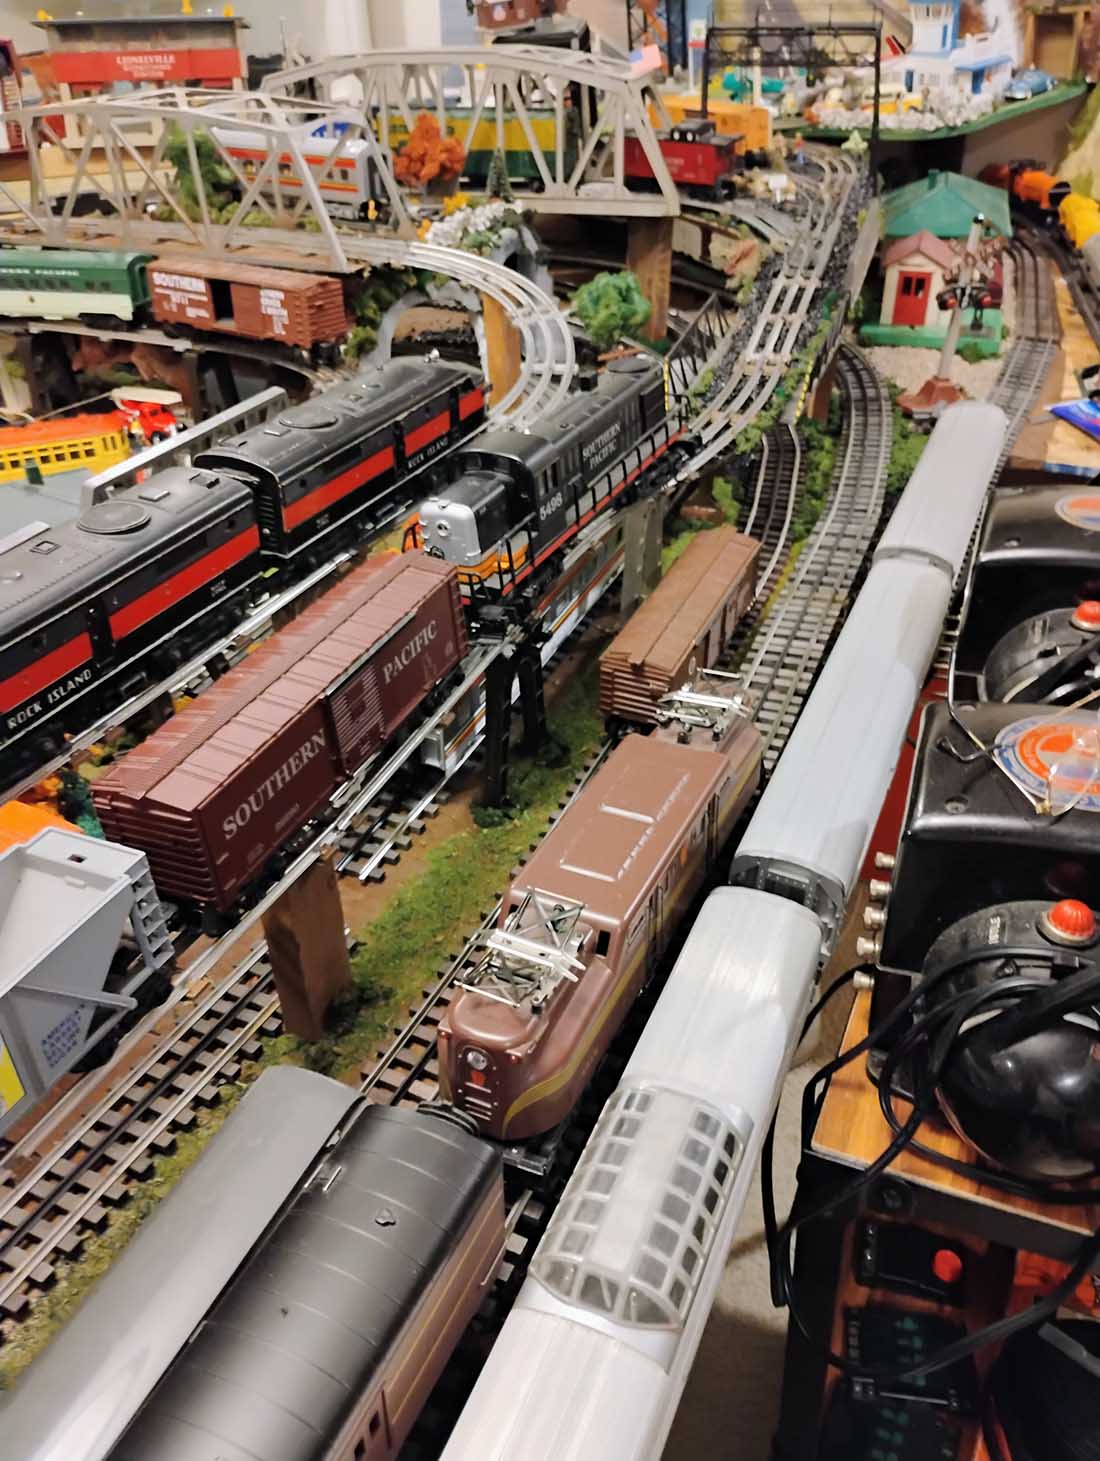
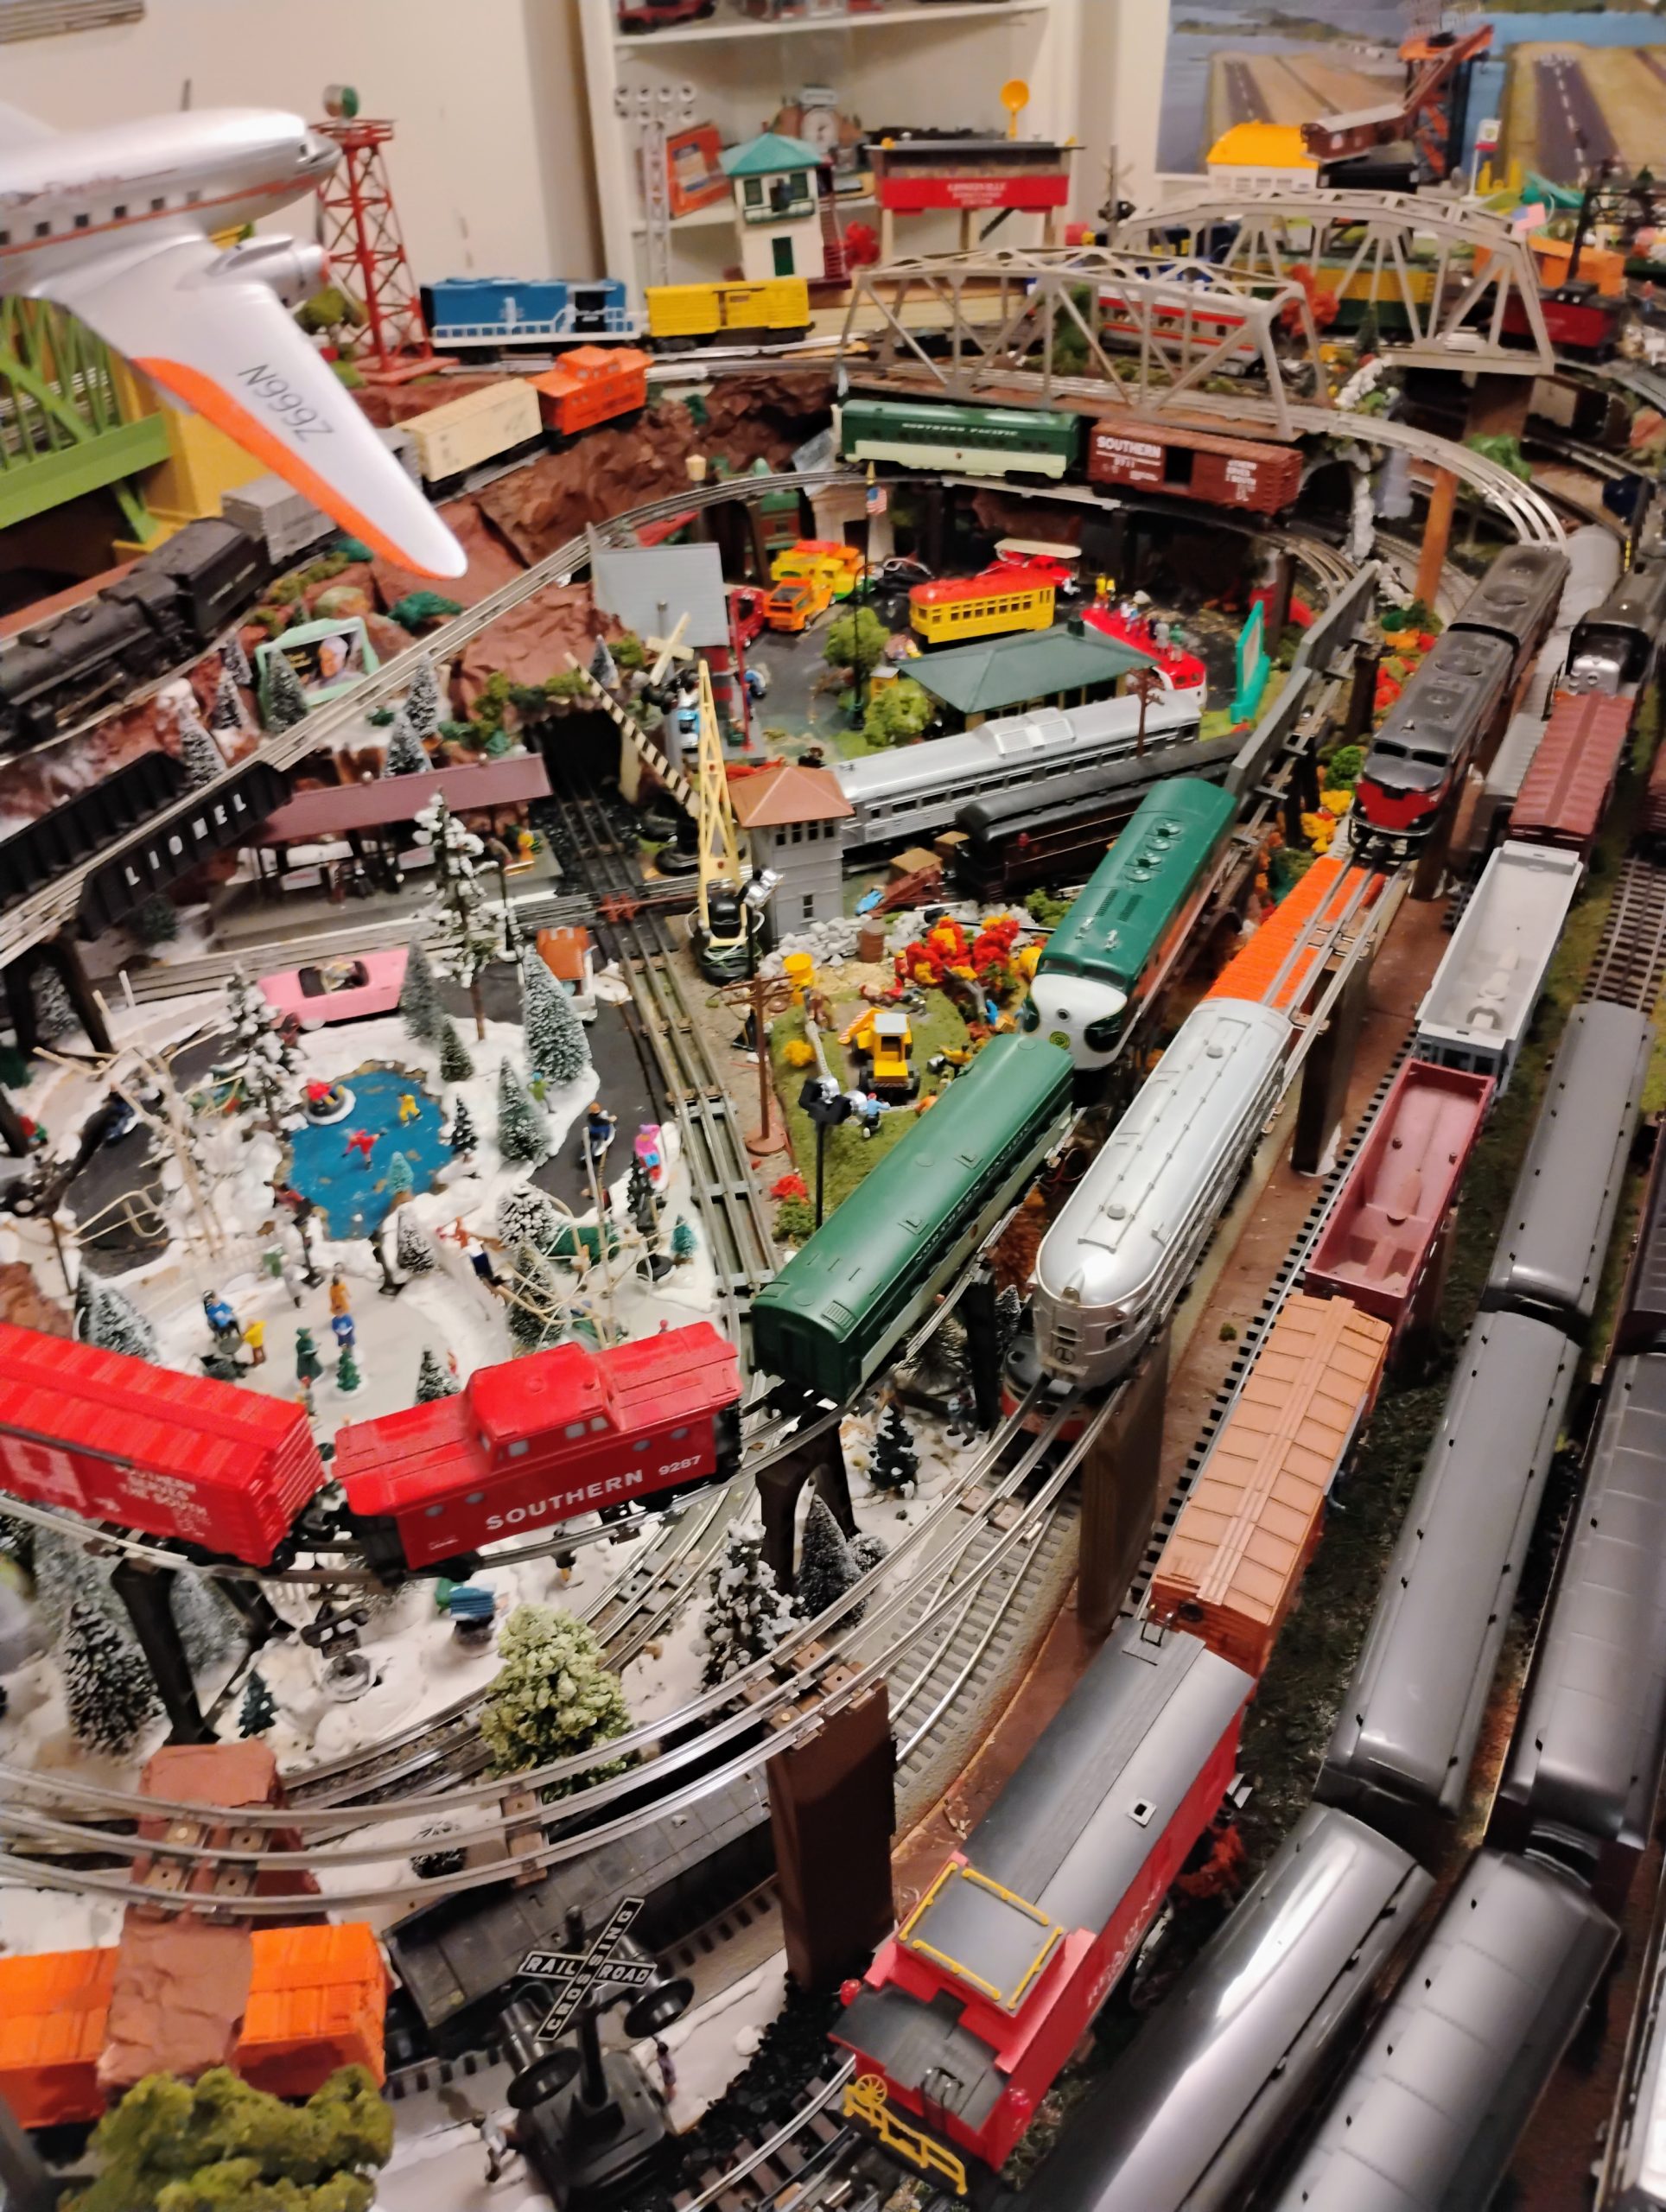
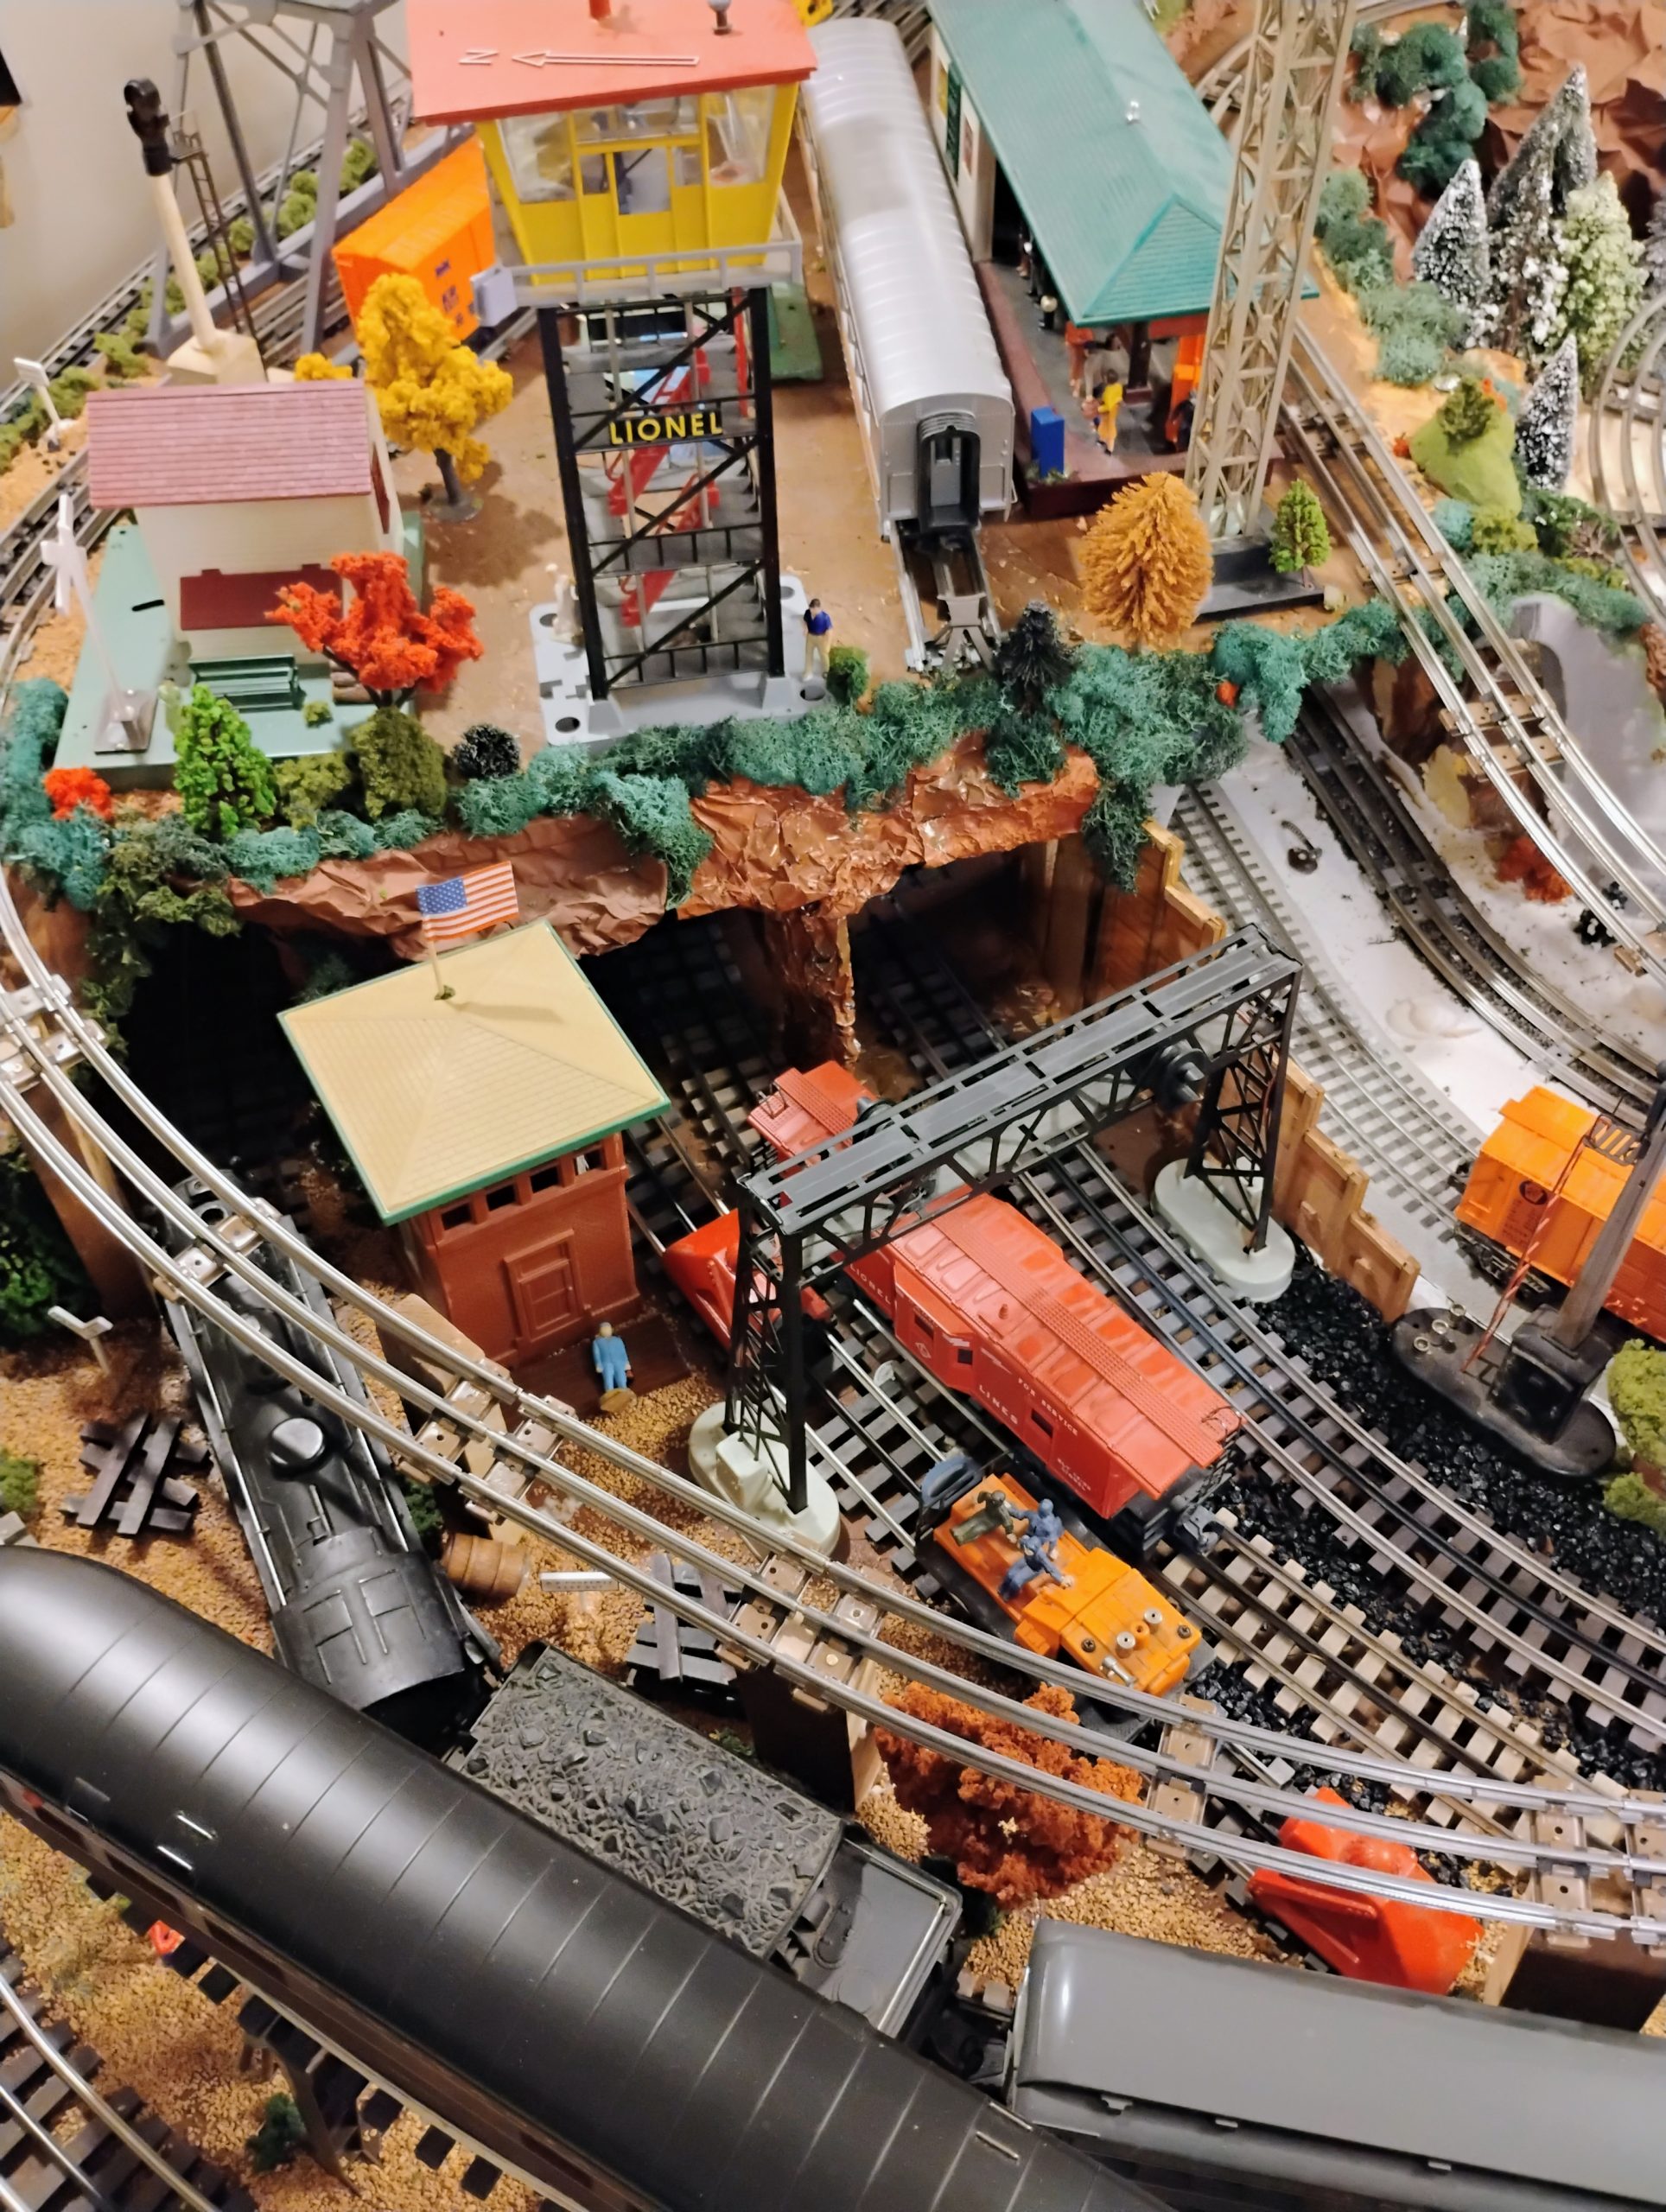
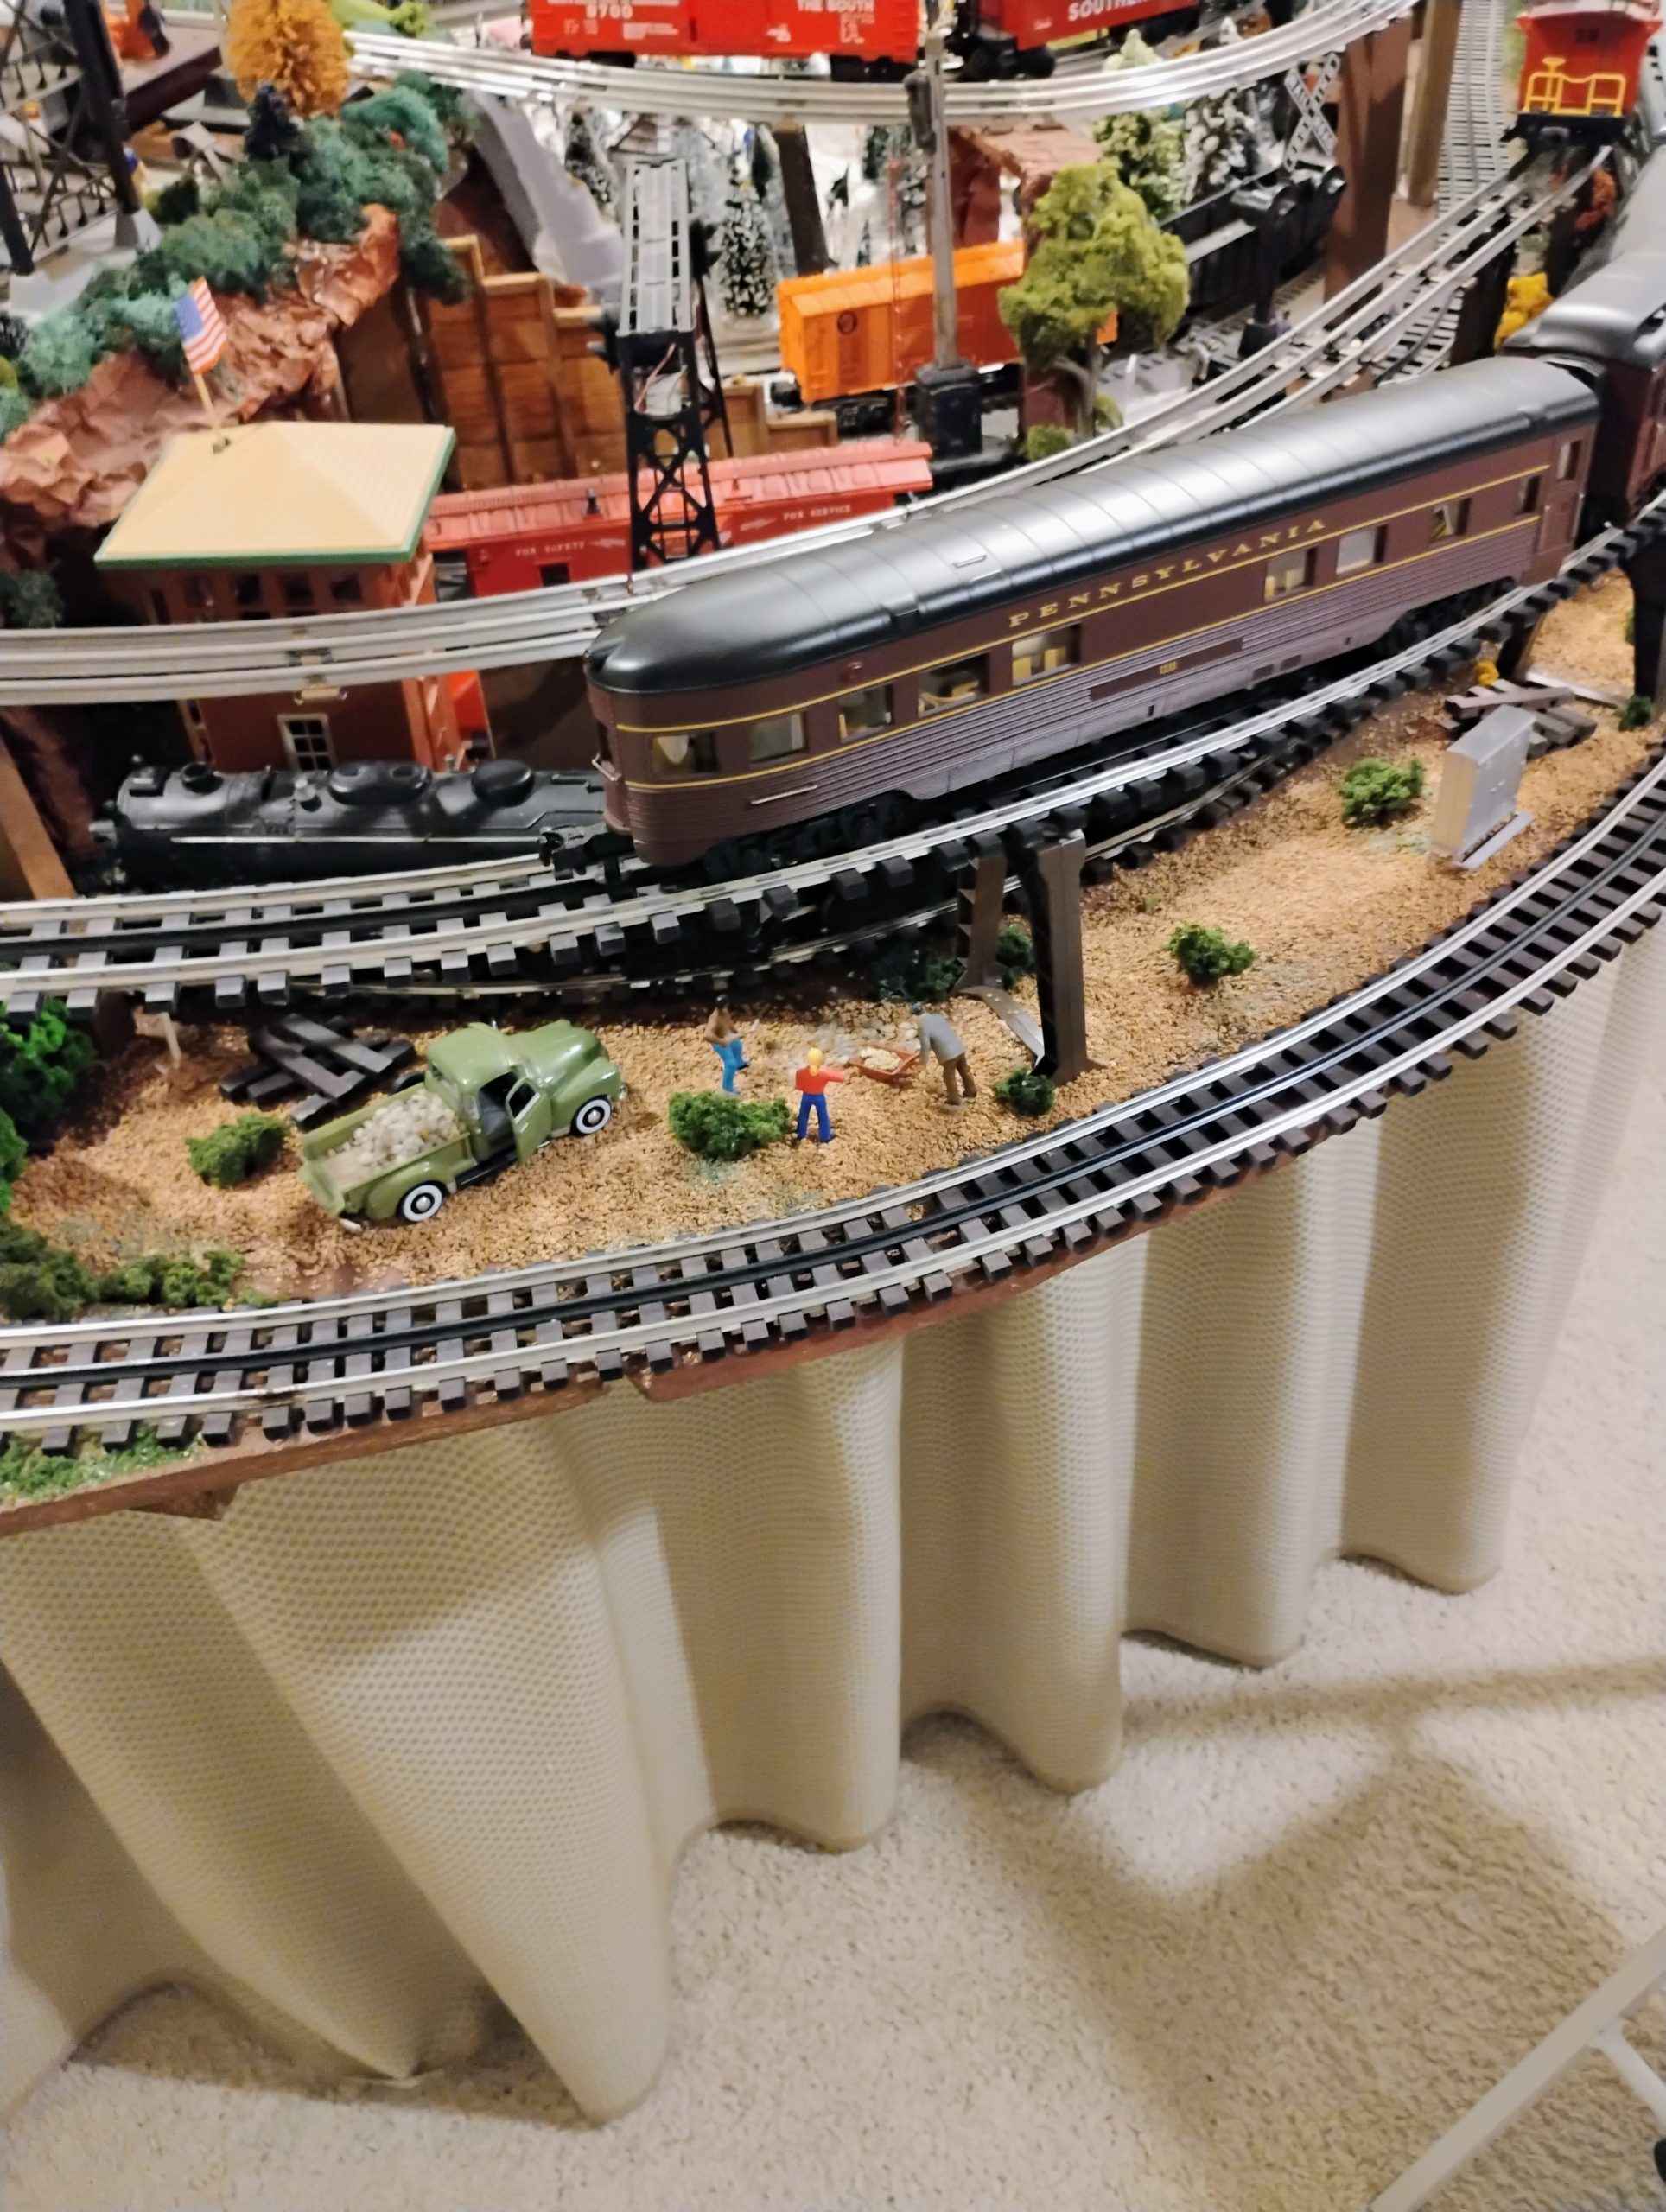
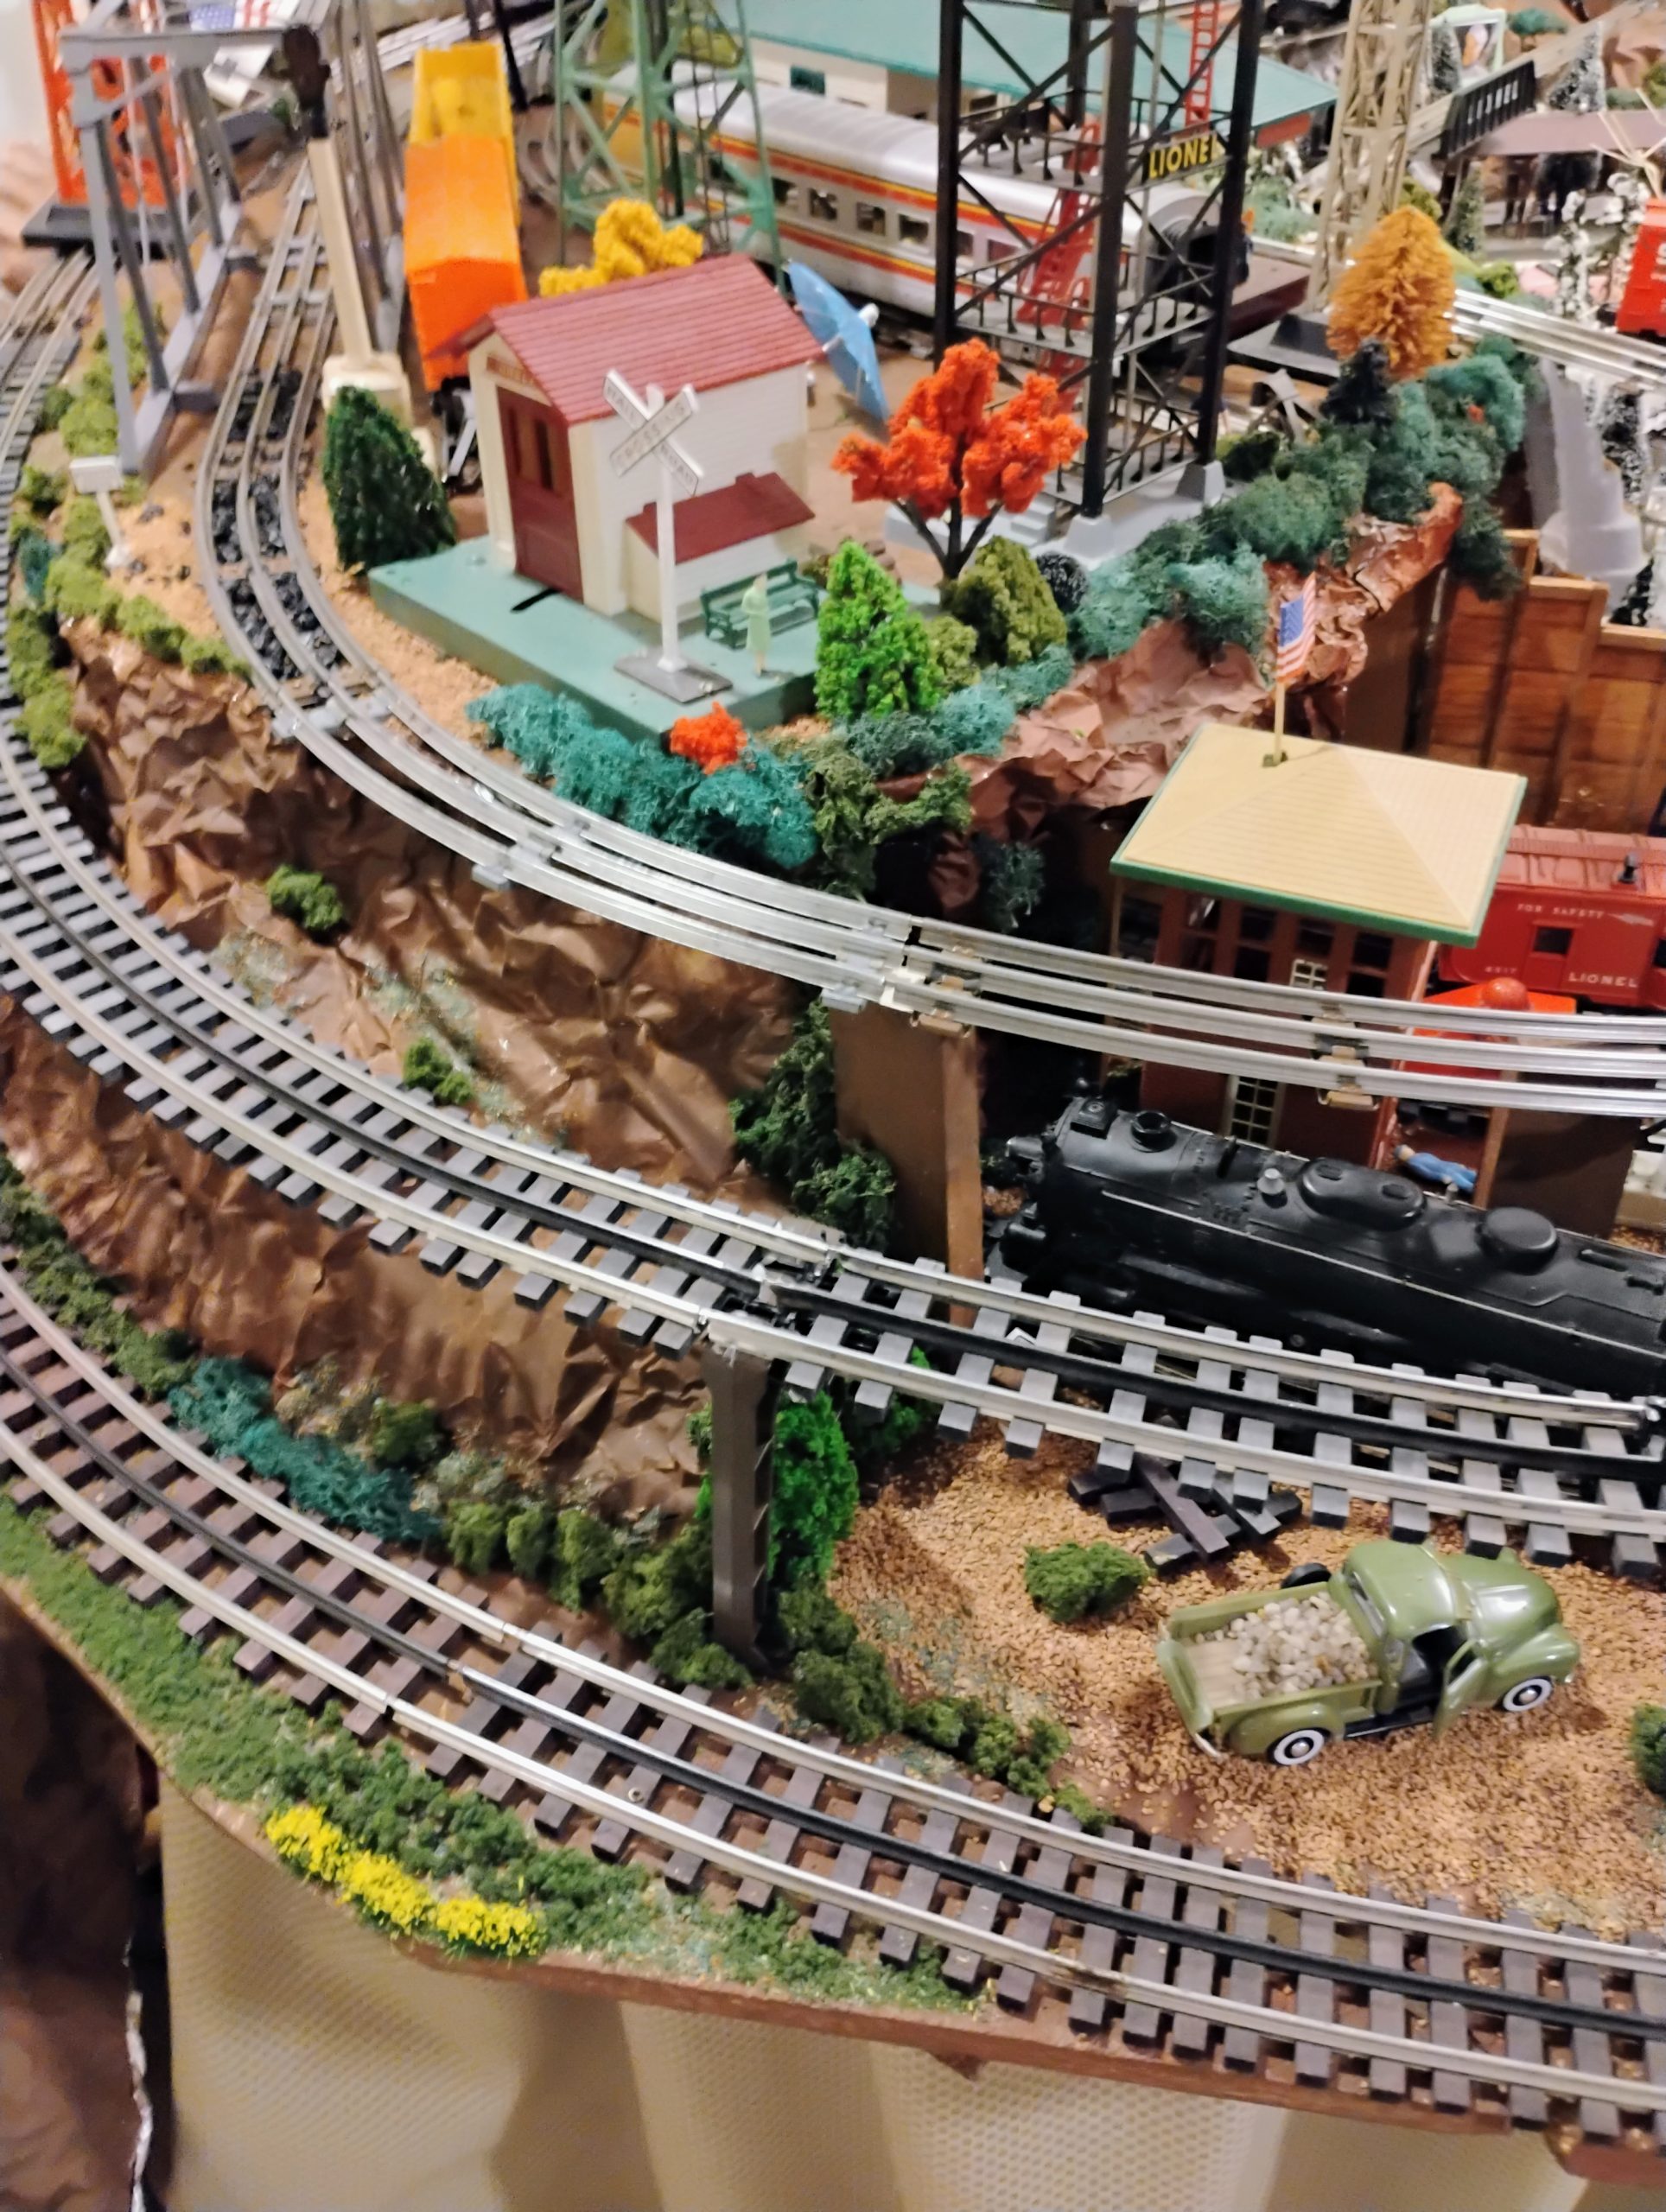
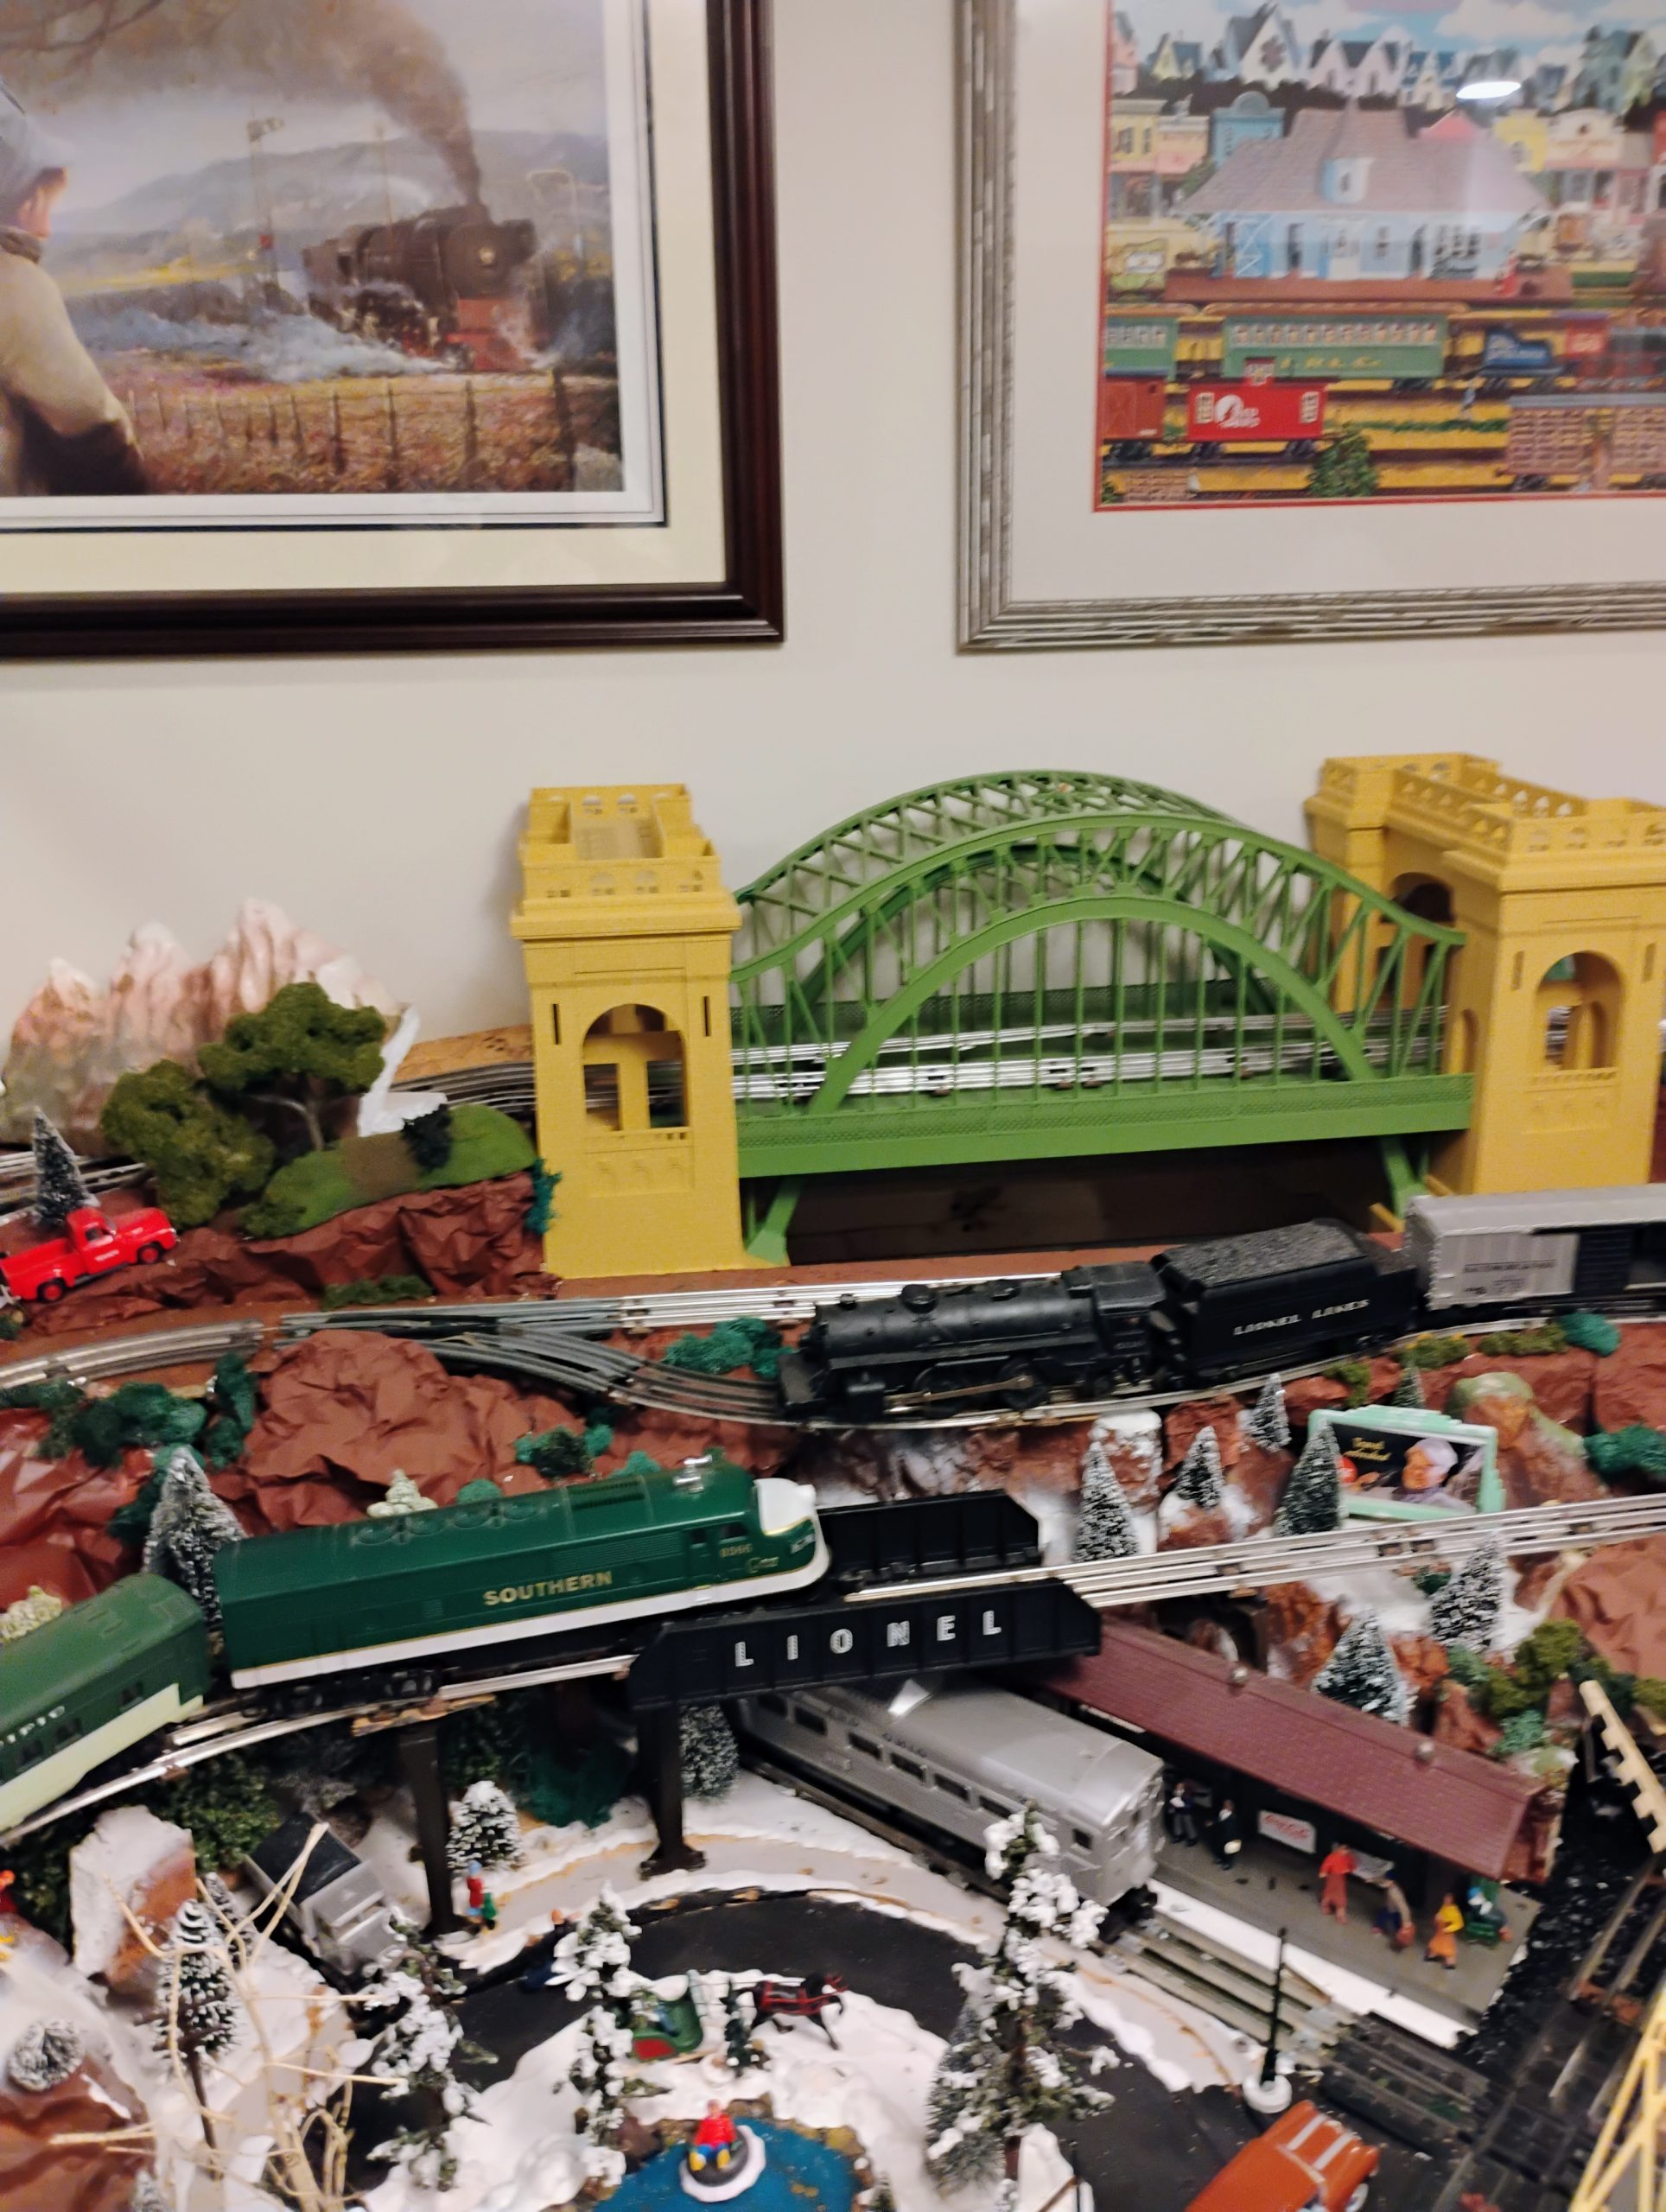
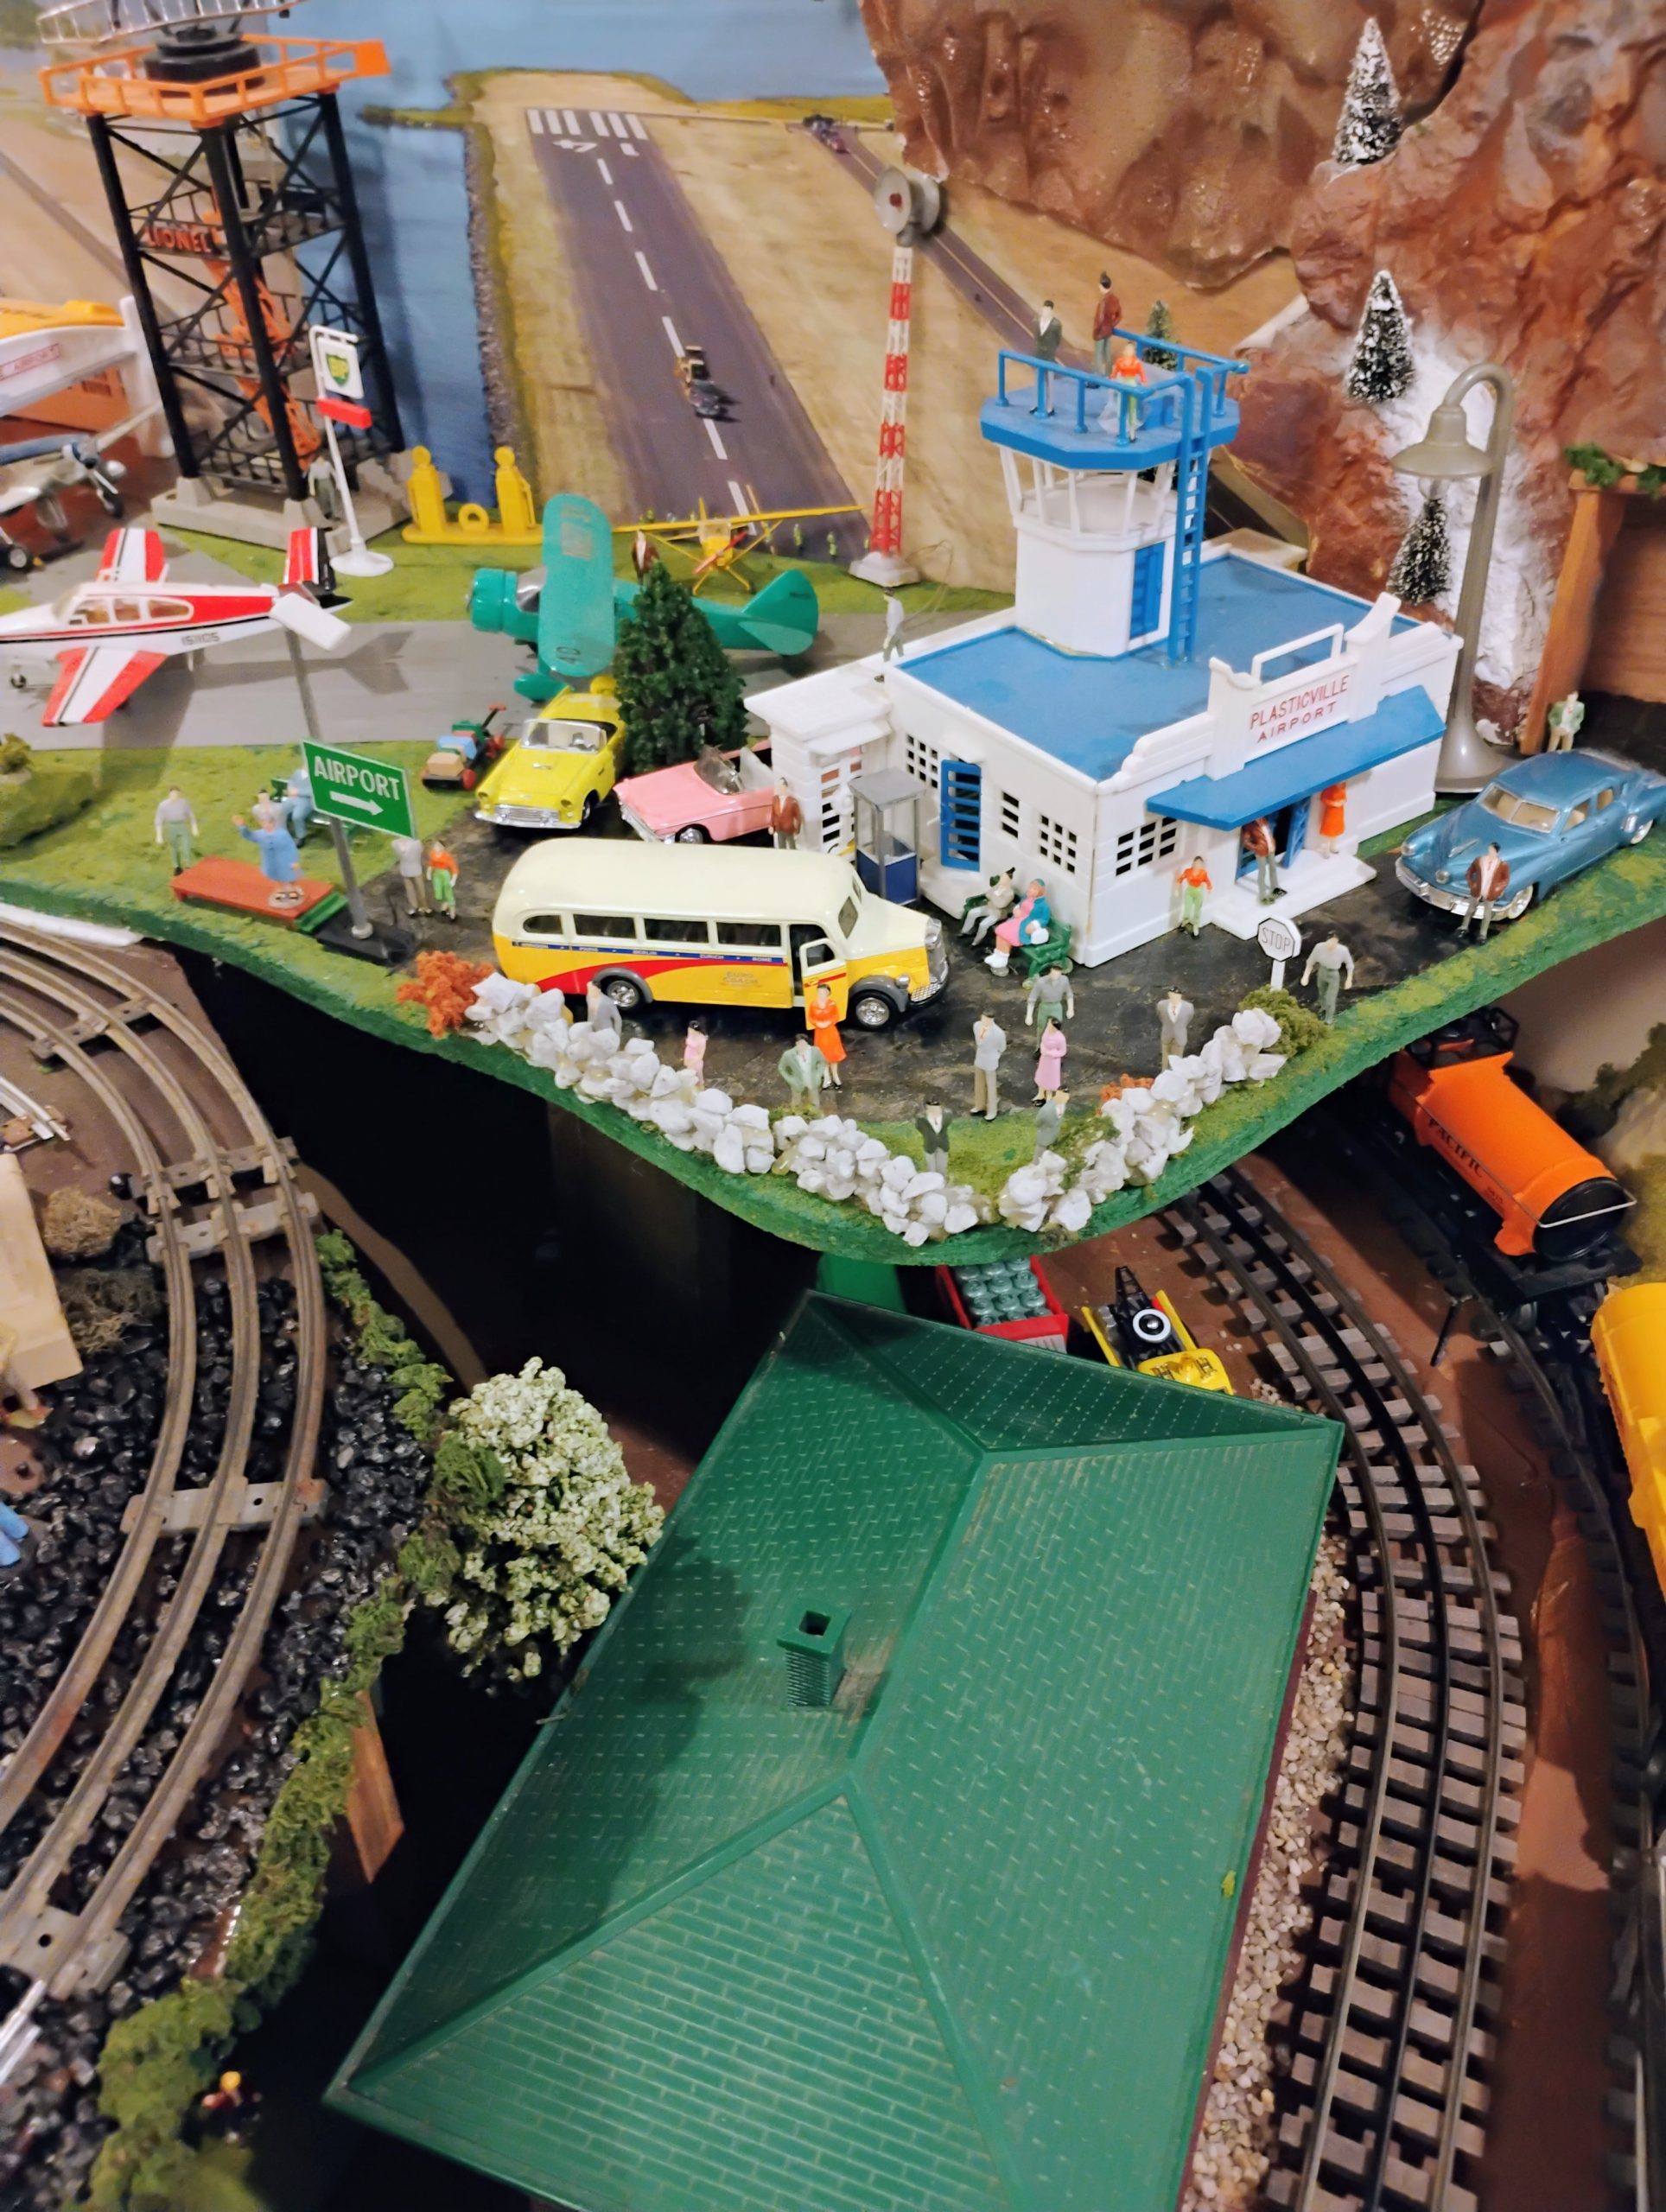
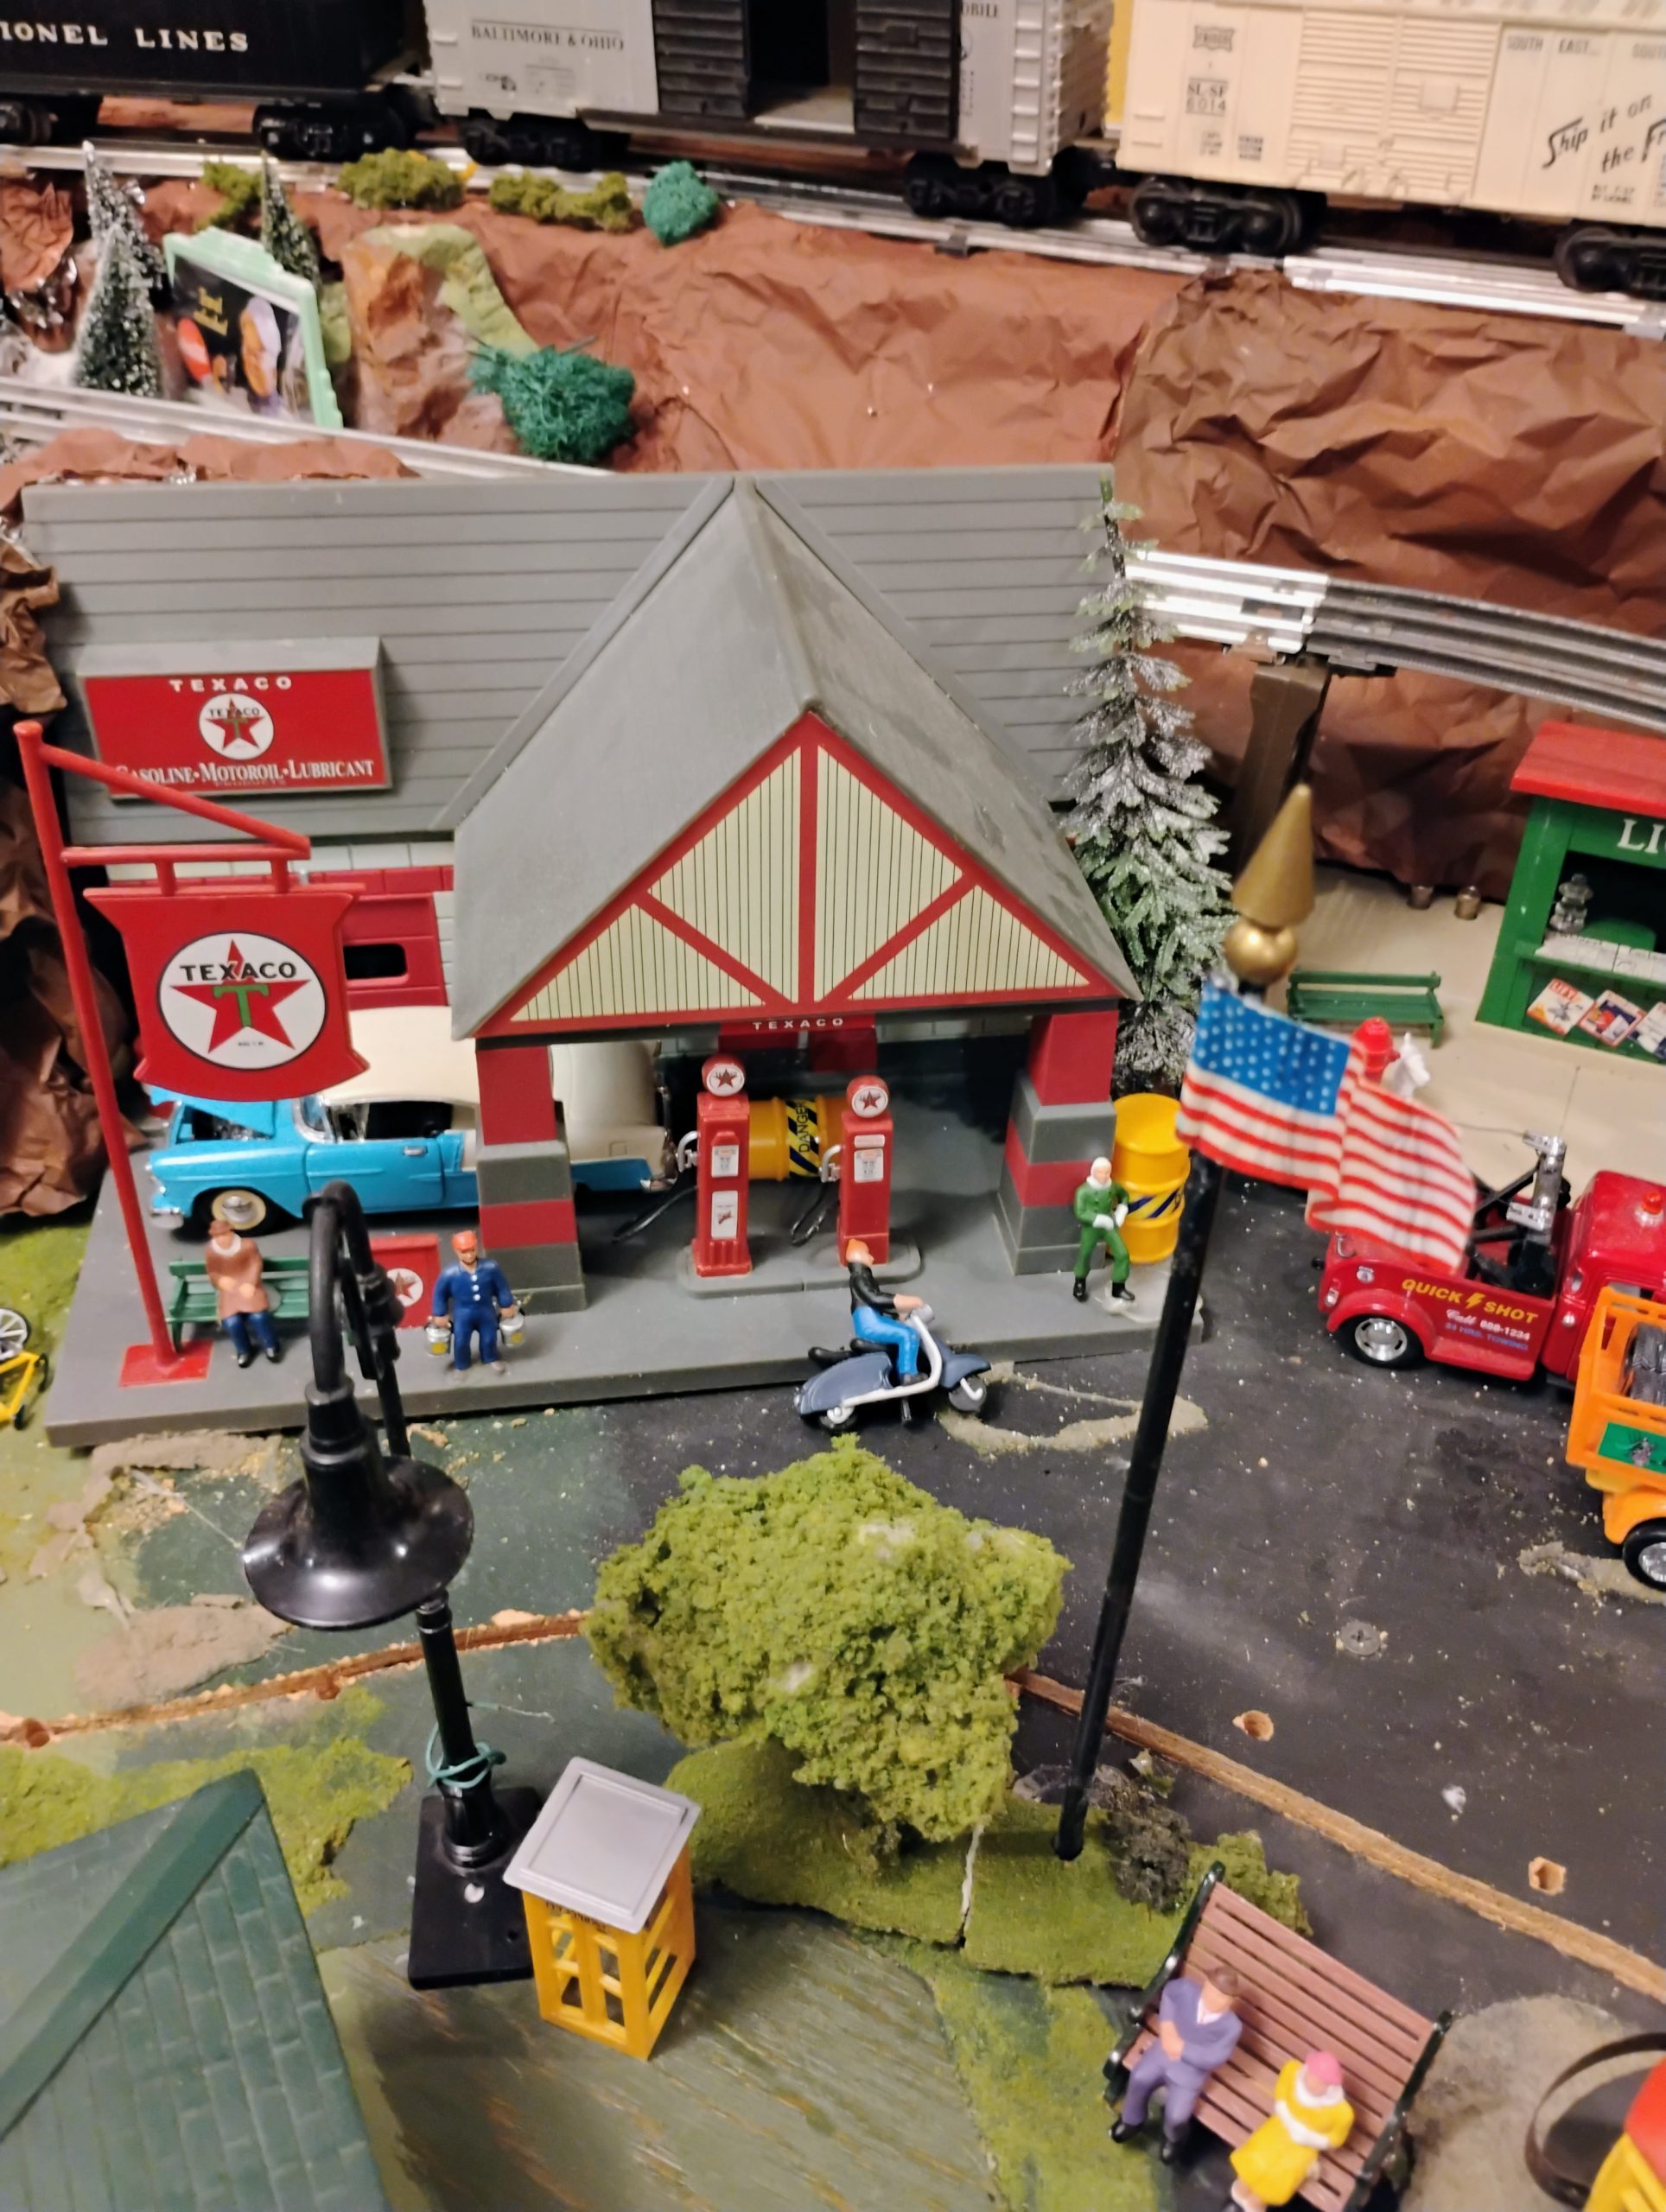
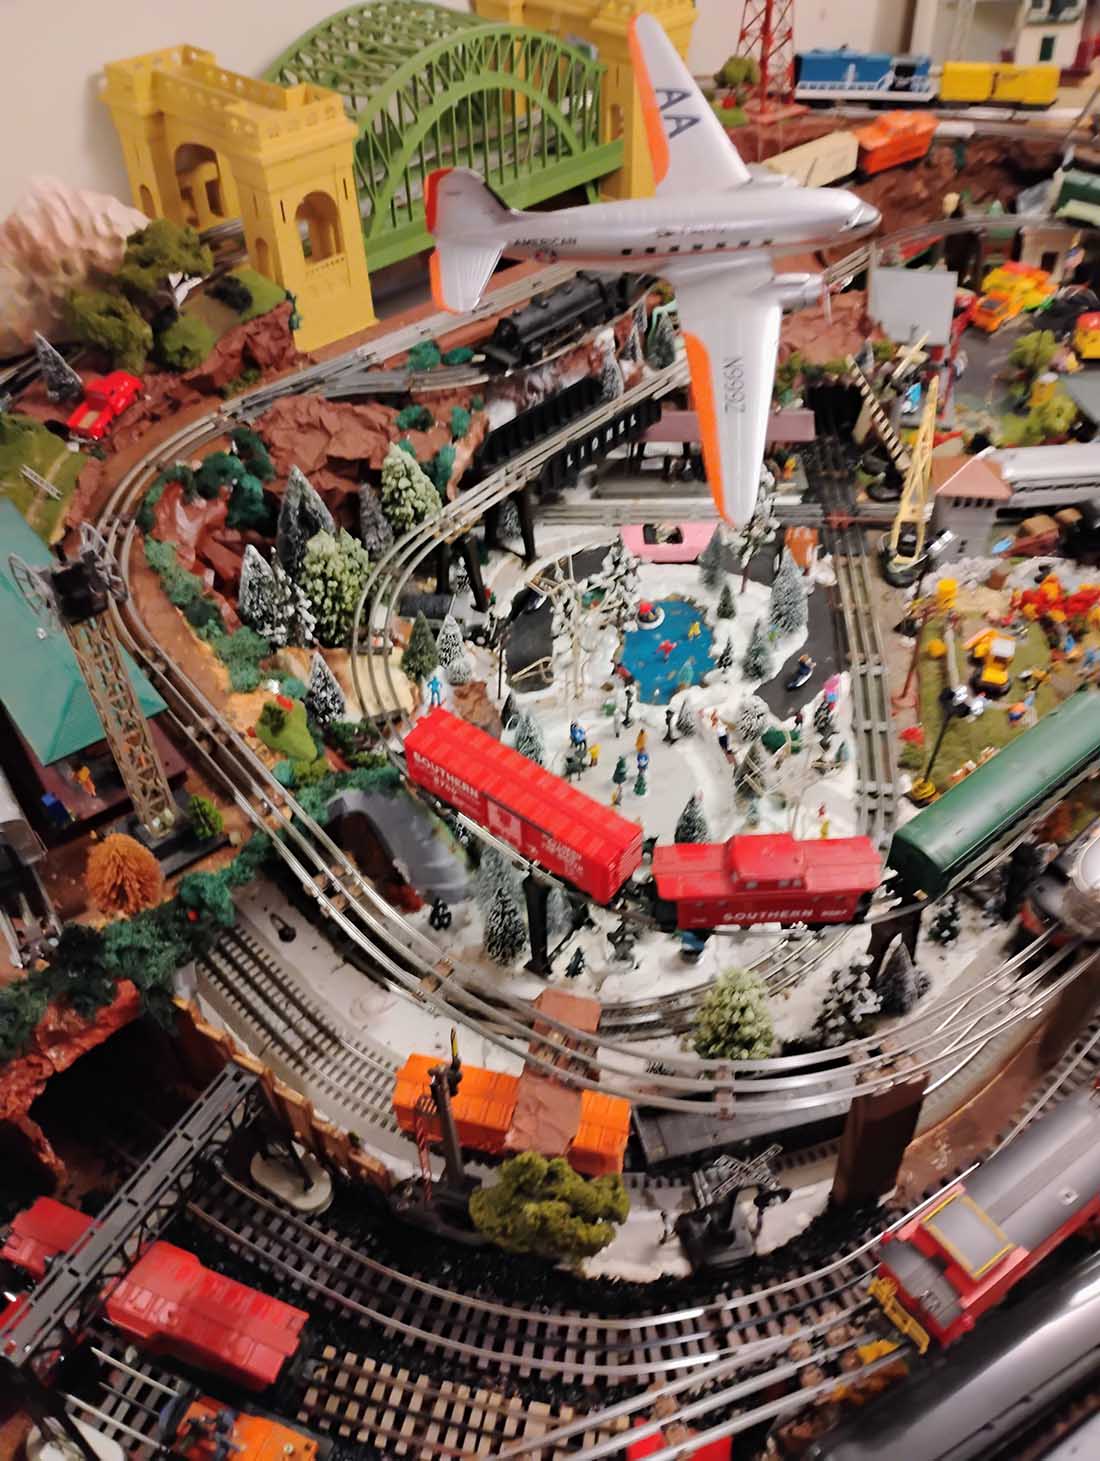
I then set up the current 13.5’x6.5′ layout seen in these photos. My intention was to operate as many lines as possible given the confined board area and add some basic landscaping which I enjoy and find very soothing and satisfying.
So, I now have a 9 train operation and two bumper tracks for the Lionel gang car and the ever present Lionel trolley.
Many of your readers often comment about offering ‘space’ on a layout; so, they may not appreciate as much what I have created with limited board space in the lower level of our home which also serves as my home office and repository for my many collectibles; however, I do think there is much to view and, ultimately, I will send in photos and video of the entire operation.
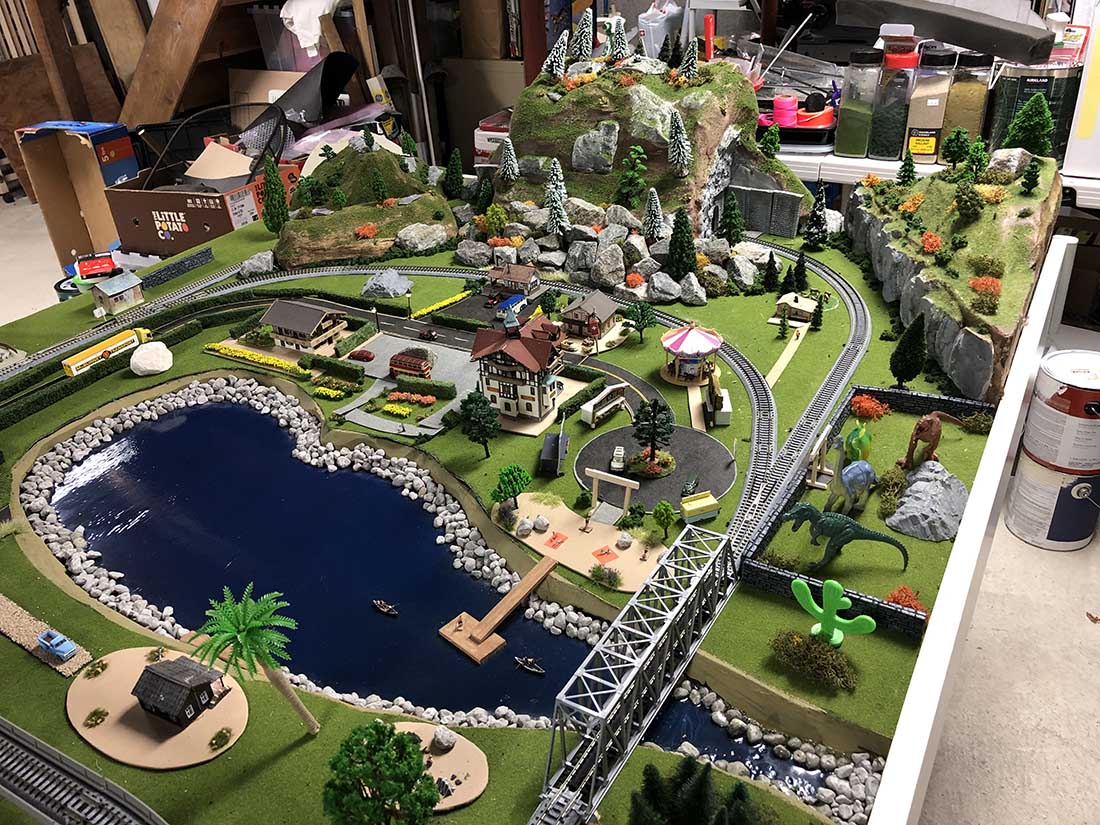
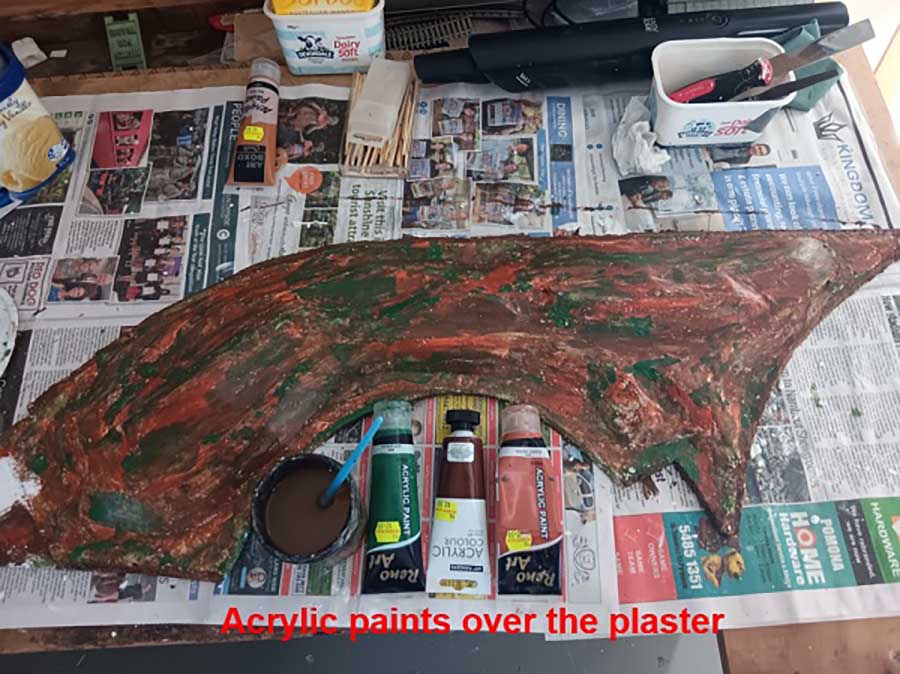
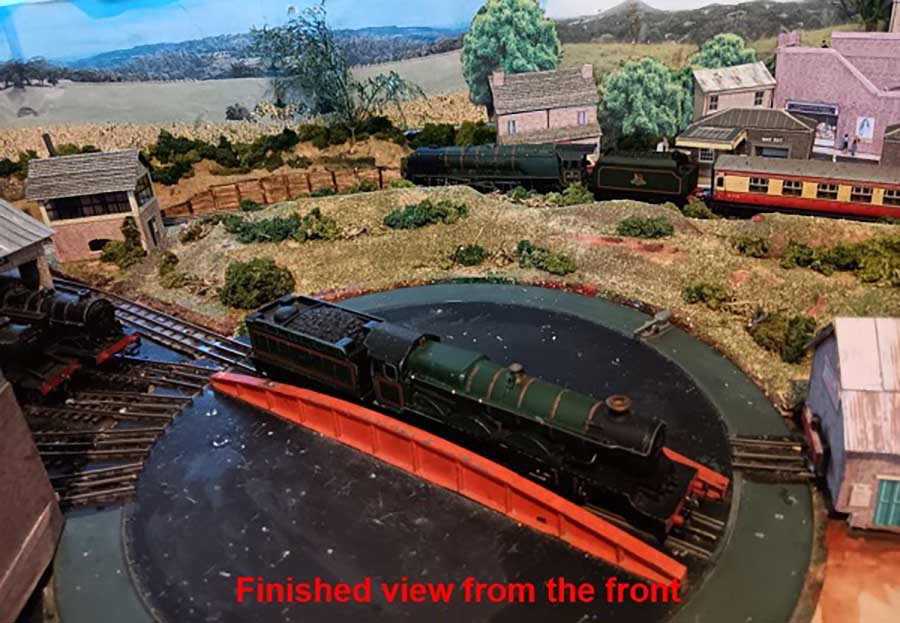
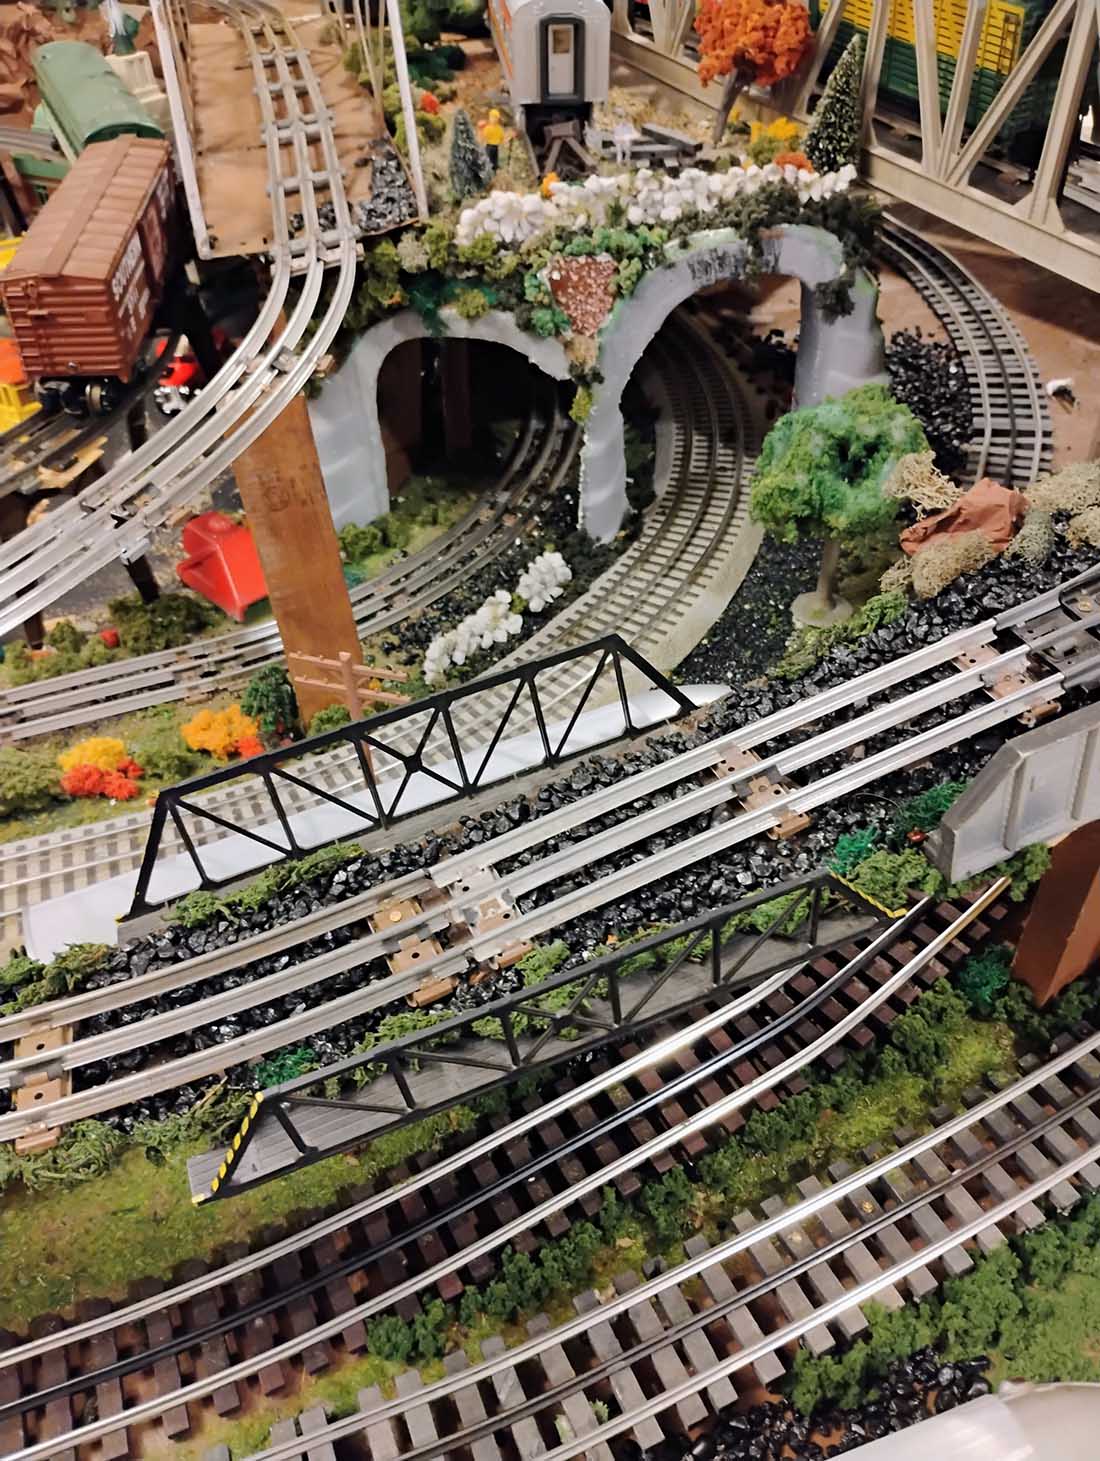
Also to note, that my rock facing is actually spray painted aluminum foil that, when crinkled, resembles craggy rock facings, in my estimation. It still needs some detail, but I have found the foil to be next to zero cost, but, most importantly, easy to work and not requiring plaster and multi course rock work.
I agree that is not as perfect as many of your layouts viewed; however, it serves nicely for me. Additionally, there are on line videos that show rock wall formation with foil and then applying loose plaster for even more realism.
Hope you all enjoy the various views and from above
Hopefully, what I have sent and the photos attached will be received by you and suitable for posting soon, especially as you have asked in the past for more O gauge layouts.
Again, to mention, there is still much to complete and therefor, photos will show some incompletion and detail yet to be performed.
Alastair, with thanks and appreciation for your efforts from ‘across the pond’.
Sincere regards,
Stef”
A big thanks to Stef for adding to the Lionel train layouts on the blog.
Whenever it comes to Lionel layouts, I always think of Tom’s: Lionel O scale trains.
That’s all for this time folks.
Please do keep ’em coming.
And if today is the day you get started on your layout, the Beginner’s Guide is here.
Best
Al
PS More HO scale train layouts here if that’s your thing.
Need buildings for your layout? Have a look at the Silly Discount bundle.