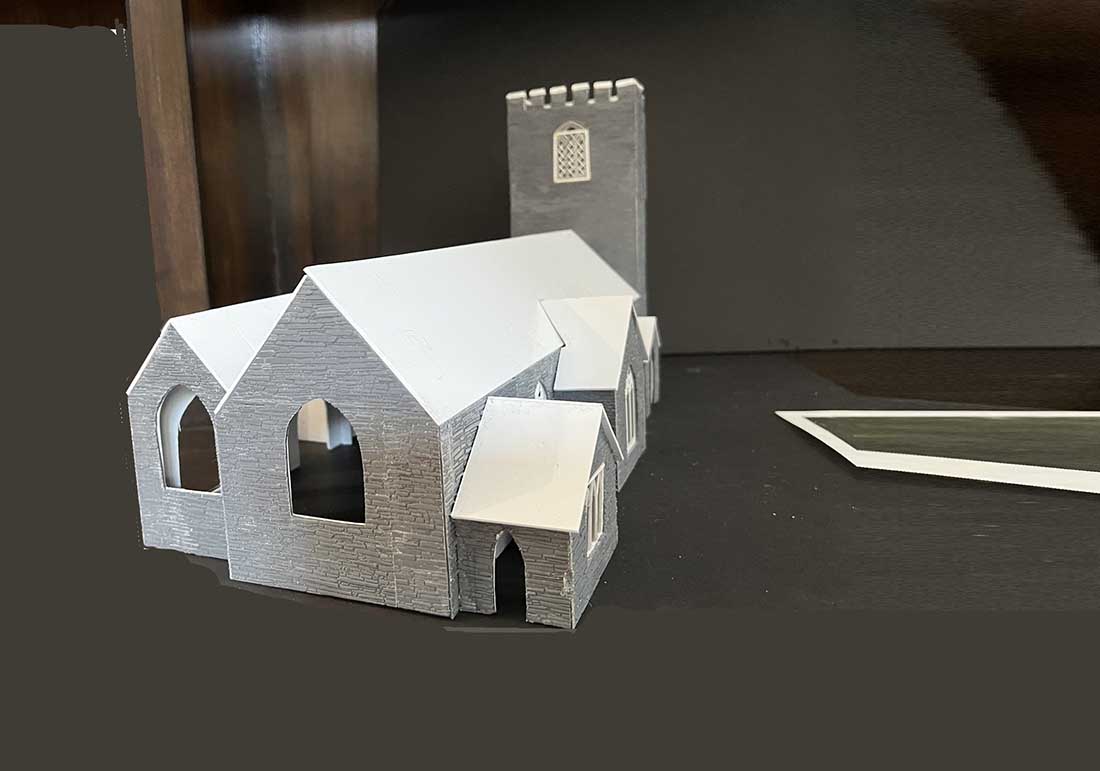
Hall of Fame Rob has been back in touch, with his scratch built model railroad church building:
“Hi Al,
I hope you are doing well.
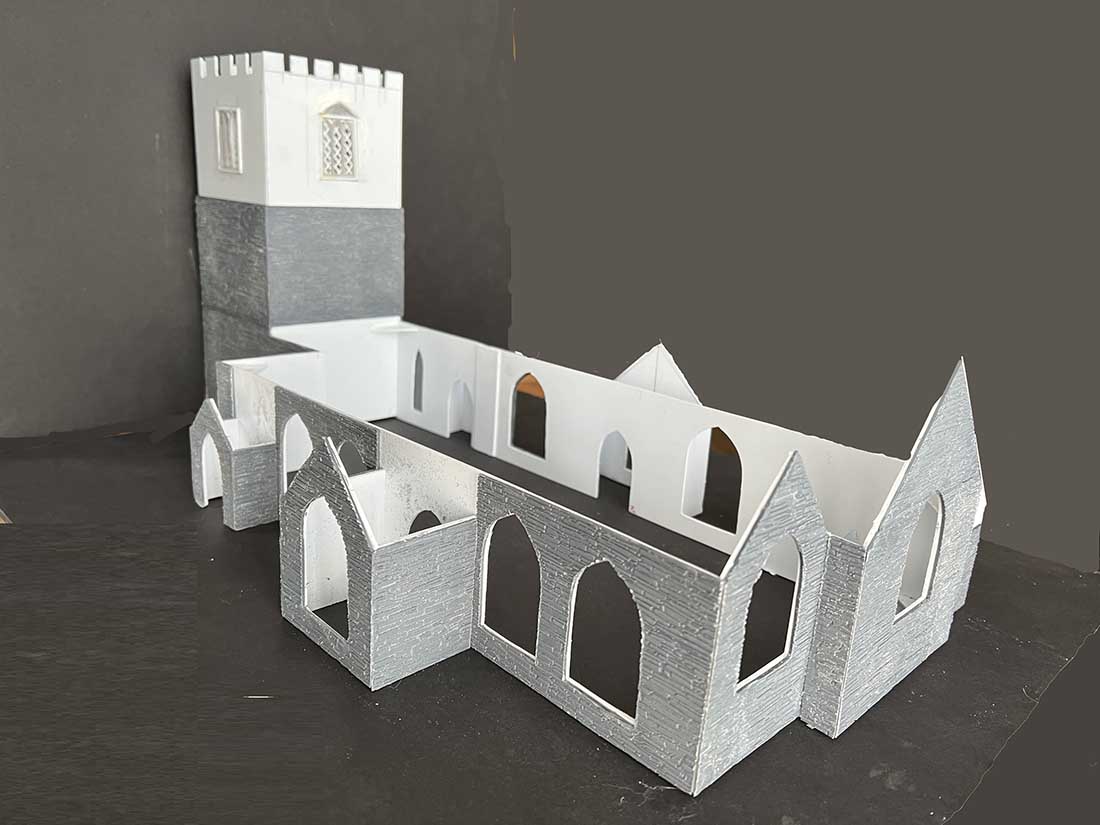
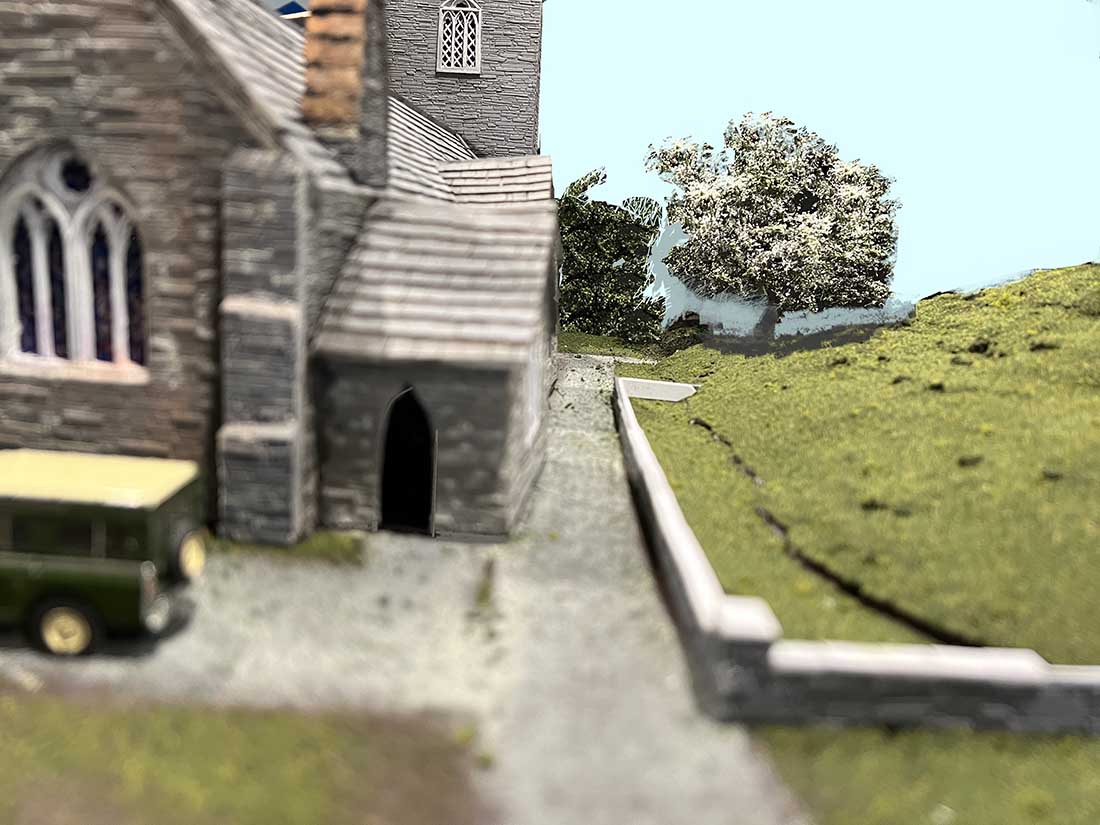
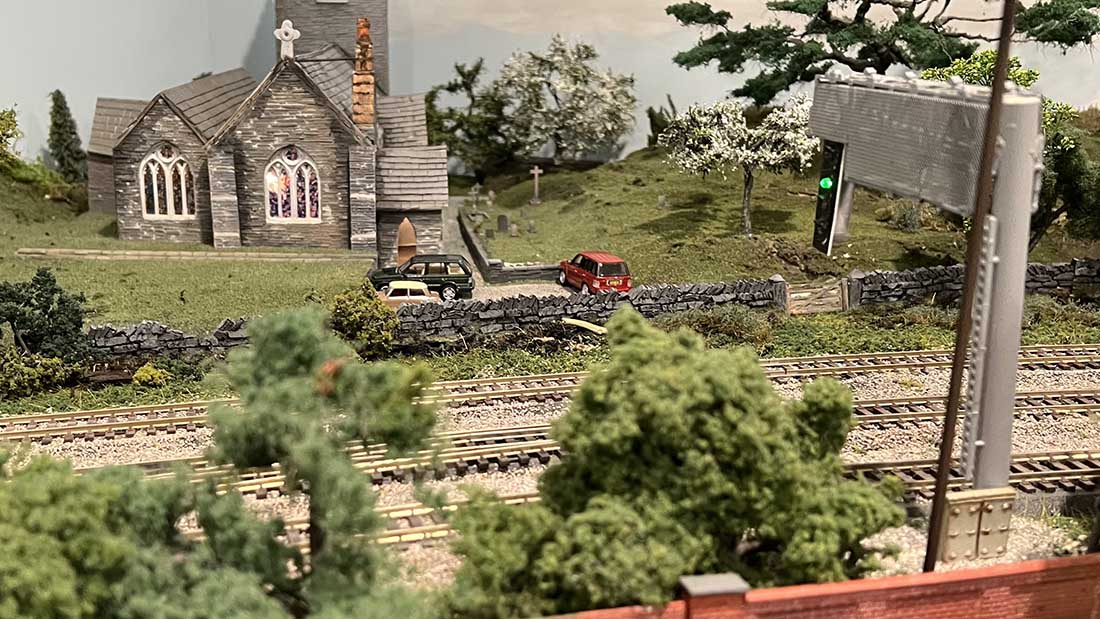
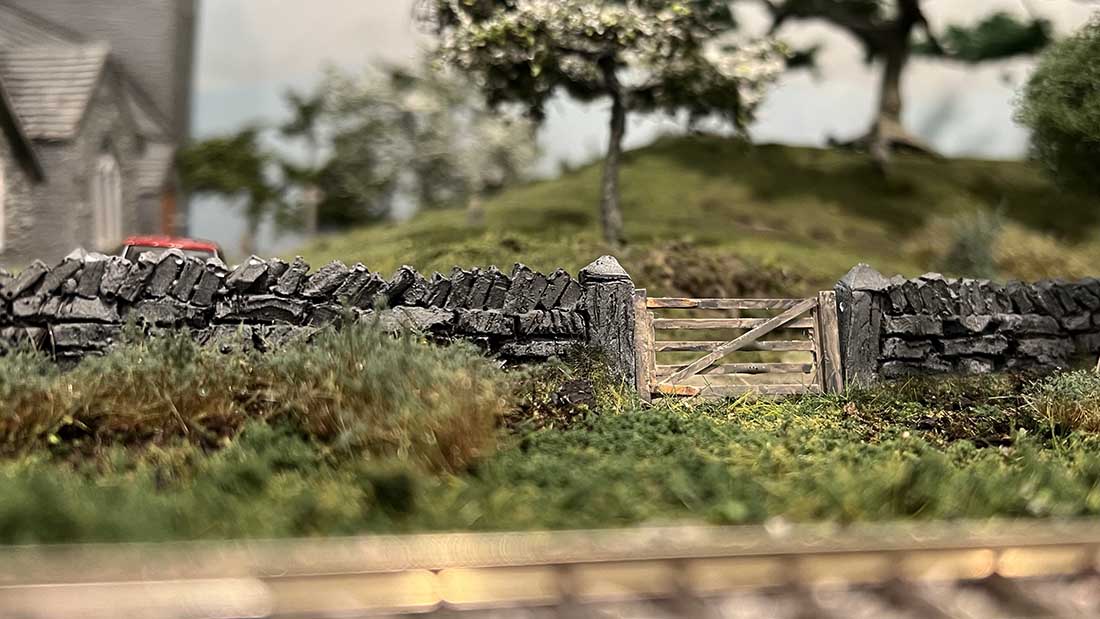
After spending many happy hours conceiving, planning, and building, I then created a home for it on my layout. The St Breock church project is complete. It turned out okay.
I have learned a ton from it, and this knowledge and skill will carry on with me to the next project I work on. I have started a new signal box for my layout—more on that in the next submission.
Here is the video for the church completion:
Rob”

(You can see Rob’s first post here: Church scratch build.
I did smile when Rob wrote his Model railroad church building ‘turned out okay’. I think it looks amazing.
Now on to Dean:
“Al, cheers from Dean in New Mexico.
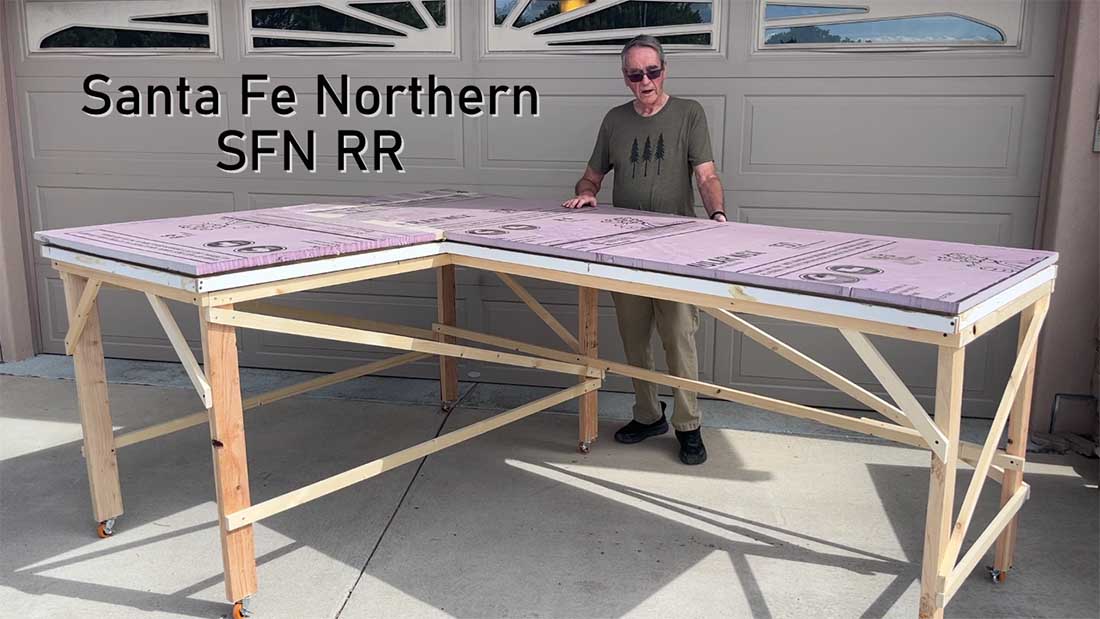
With summer upon us, it’s time for me to start back on my latest N-scale Model Railroad, the Santa Fe Northern, an N-scale L-shaped model layout.
The first step was to build the baseboard and movable table. Here’s a photo of the completed support.
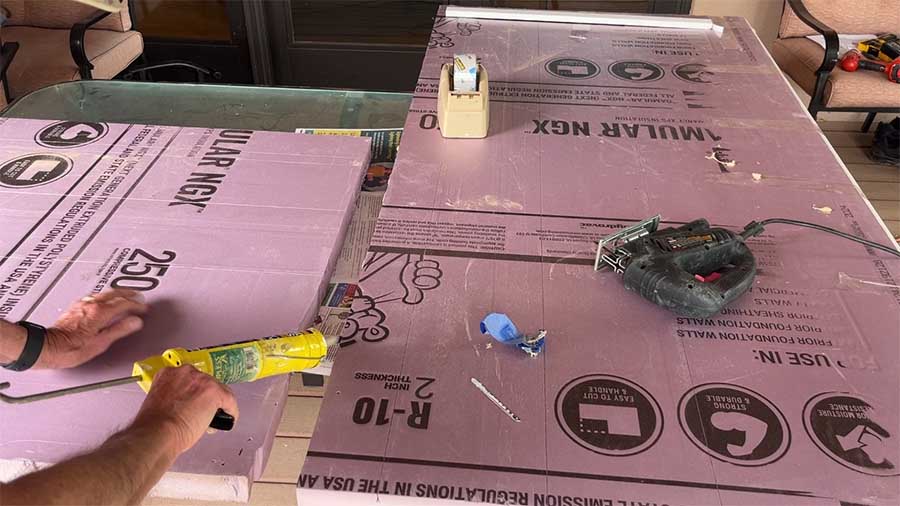
Rather than plywood, I used two sheets of 2-inch purple foamboard, cut to size and glued together with Liquid Nails. The edges of the foamboard were surrounded with 1×2 boards which were cut and glued to the foam with Liquid Nails and screwed together at the joints.
These boards strengthened the foam assembly and also give something to fasten the backboards and facia. After assembly I let everything set for several days. The assembly was very strong as I was able to move it around safely by myself.
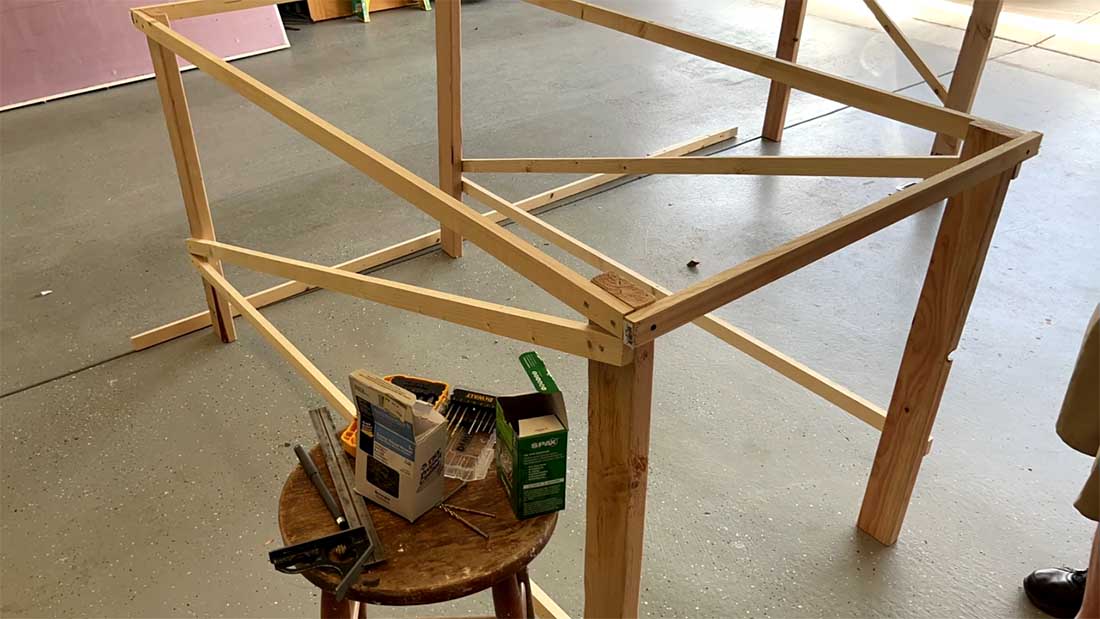
The table support was put together with 2×4 legs and 1×2 select pine boards. I’m going to use a 1-inch foamboard (indicated) to hold the track and cut and support it on blocks so that the track can rise and fall. The 1-inch board is also shown, again two foamboards.
Here is the layout diagram. I used SCARM software as always to plan and print out the layout.

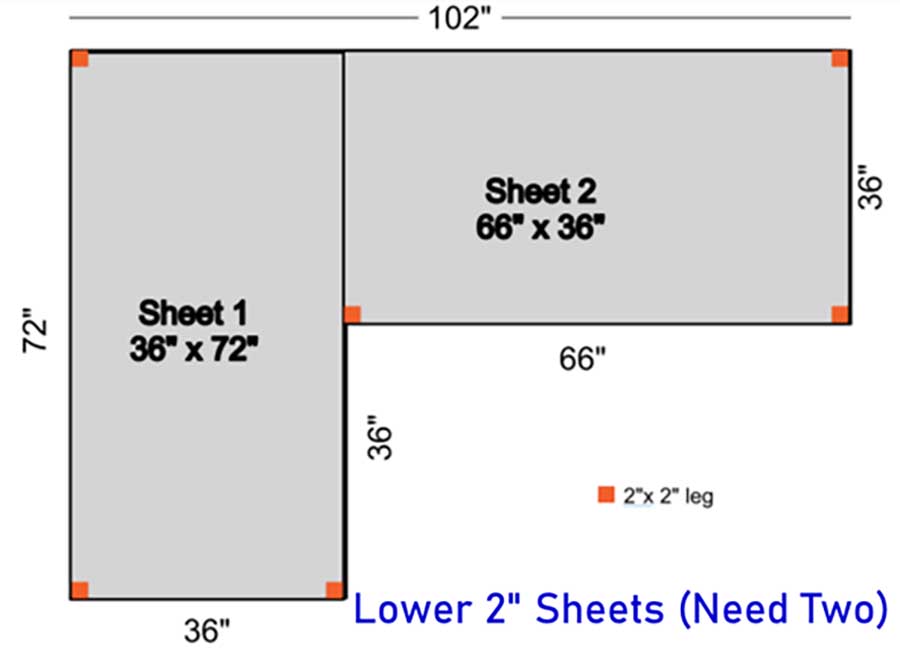
Here’s the cutting schedule for the lower 2-inch foam.
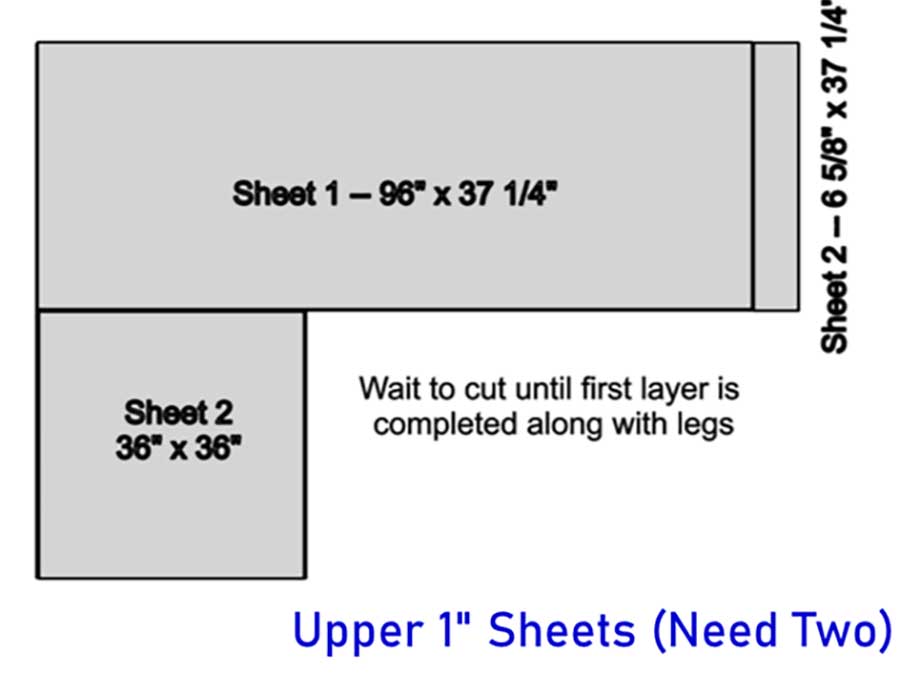
And the upper 1-inch foamboard
Here I’m gluing a side piece to one of the boards. I used shipping tape to tightly hold the board and foam together.
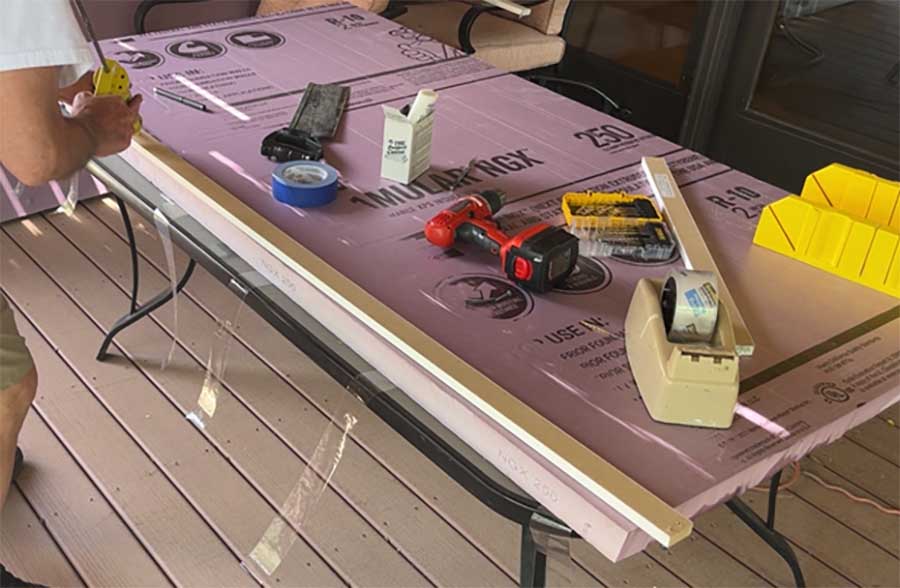
I also used tape and Liquid Nails to hold two boards when gluing them to the foamboard
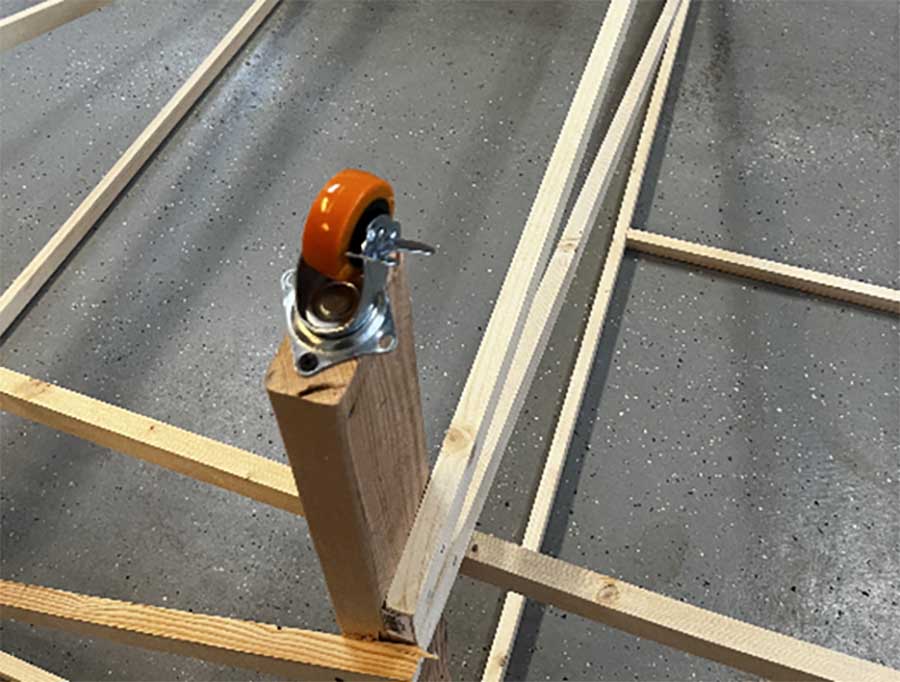
This photo is of a completed legs assembly. Two more sets were made to size.

And here is the table partially assembled.
I used swivel wheels on each table leg to make the assembly easy to move.
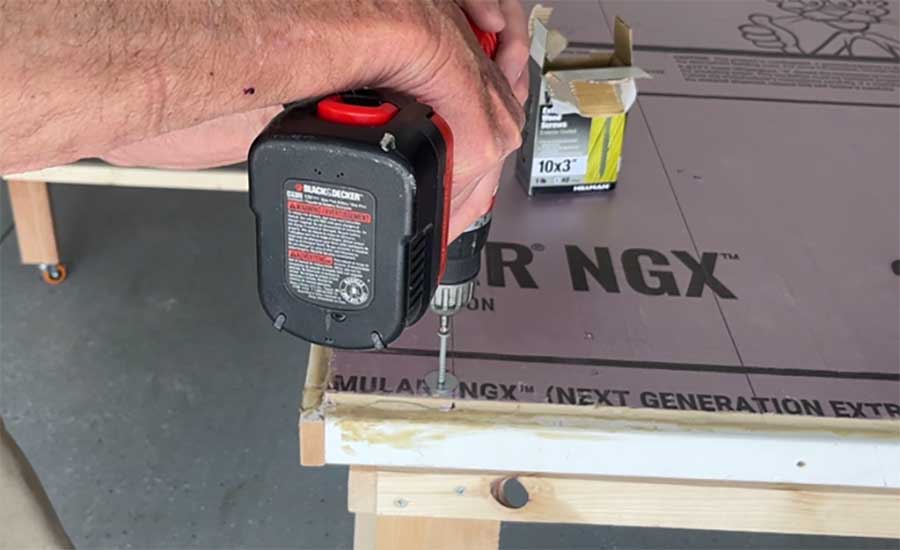
Here’s the completed table

The 2-inch foamboard was screwed to each of the 2×4 legs to hold it down.
So that’s it. You can get more details on my video.
Here’s the final photo of the support and baseboard.
That’s all for this time folks. A big thanks to Rob and Dean.
Please do keep ’em coming. Just email me if you want to share anything.
And if today is the day you get started on your layout, the Beginner’s Guide is here.
Best
Al
PS More HO scale train layouts here if that’s your thing.
Need buildings for your layout? Have a look at the Silly Discount bundle.

Rob,
I love your church rebuild, and the care you took for the scale and actual measurements. My only suggestion is that you move one huge electric tower
further away from the church on your layout. I feel it distracts from your beautiful and historic church.
Well Rob, I think I found a sometime to make a comment on your work. I think the Cross is too larger for the church. There I said it. Rob, you’re an excellent modeler, great to see your work.
I used osb sheets underneath the foam to provide strong support. The foam board by itself flexes too much. There is a reason casters have four mounting holes due to forces changing direction as the swivel changes direction. I would have glued and screwed additional blocks along the side of the bottom part of the legs to give casters the proper support. As is now as weight increases on the layout, the casters will torque and not stay in proper position. Just somethings to consider, not meant as a criticism.
Great Church, nice layout. I take it it’s HO, keep up the good work your Beautiful layout.
Rob what can I say but wow! That church looks real great jog!
Nice scratch build of the church Rob. I can’t imagine how long it must have taken to cut out all those arched windows and doorways. The vestry door looks a bit lopsided compared to the photo, but otherwise it looks very accurate, and I appreciated you sharing the methodology and story behind the structure in your video.
Dean, as a fellow New Mexican I always enjoy your Santa Fe Northern stories, photos and video. I like using the 2″ foamboard as a layout base too, but I ran 1×2’s crosswise every 16″ under the foamboard to support it better so it won’t sag. I also run 1×4’s around the outer edges of the foamboard with the top of the 1×4’s even with the top of the 2″ foamboard. That leaves 1-1/2″ below the foamboard for my 1×2 cross supports, which is perfect because a finished 1×2 is 3/4″ x 1-1/2″, so they don’t protrude below the bottom of the 1×4 edges.
One thing I really like about the 2″ foamboard is that I can pin my track in place with 2″ florist’s pins that are almost invisible once painted to match the ties. Gluing is unnecessary and you can easily rearrange the track to a new configuration without damaging the foamboard.