HO scale structures and scenery: Jim’s

Jim’s been back in touch with a post on his HO scale structures and scenery.

Have a look at what he’s had built:

“Picking up where I left off. I will cover more structures and some scenery in this thread.

Here are some of the early pictures of my yard.

The first pic is the EAST tower of the Colton Yard. It has a twin on the West end.

More weathering and lighting details are scheduled for both structures.

Signal house HO scale

HO scale signal house

This is NOT an antenna farm. It is a section of one of the primary focal points, which is a LARGE farm with crops and lots of cattle.

HO scale farm build

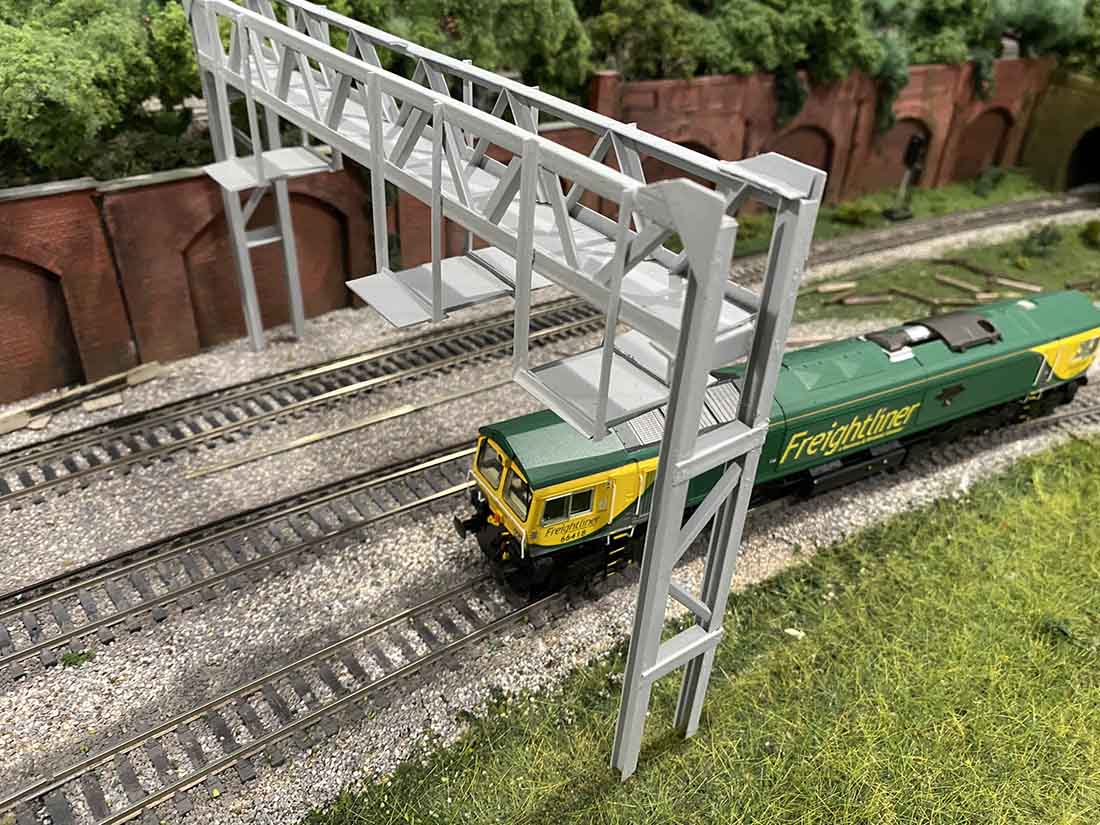
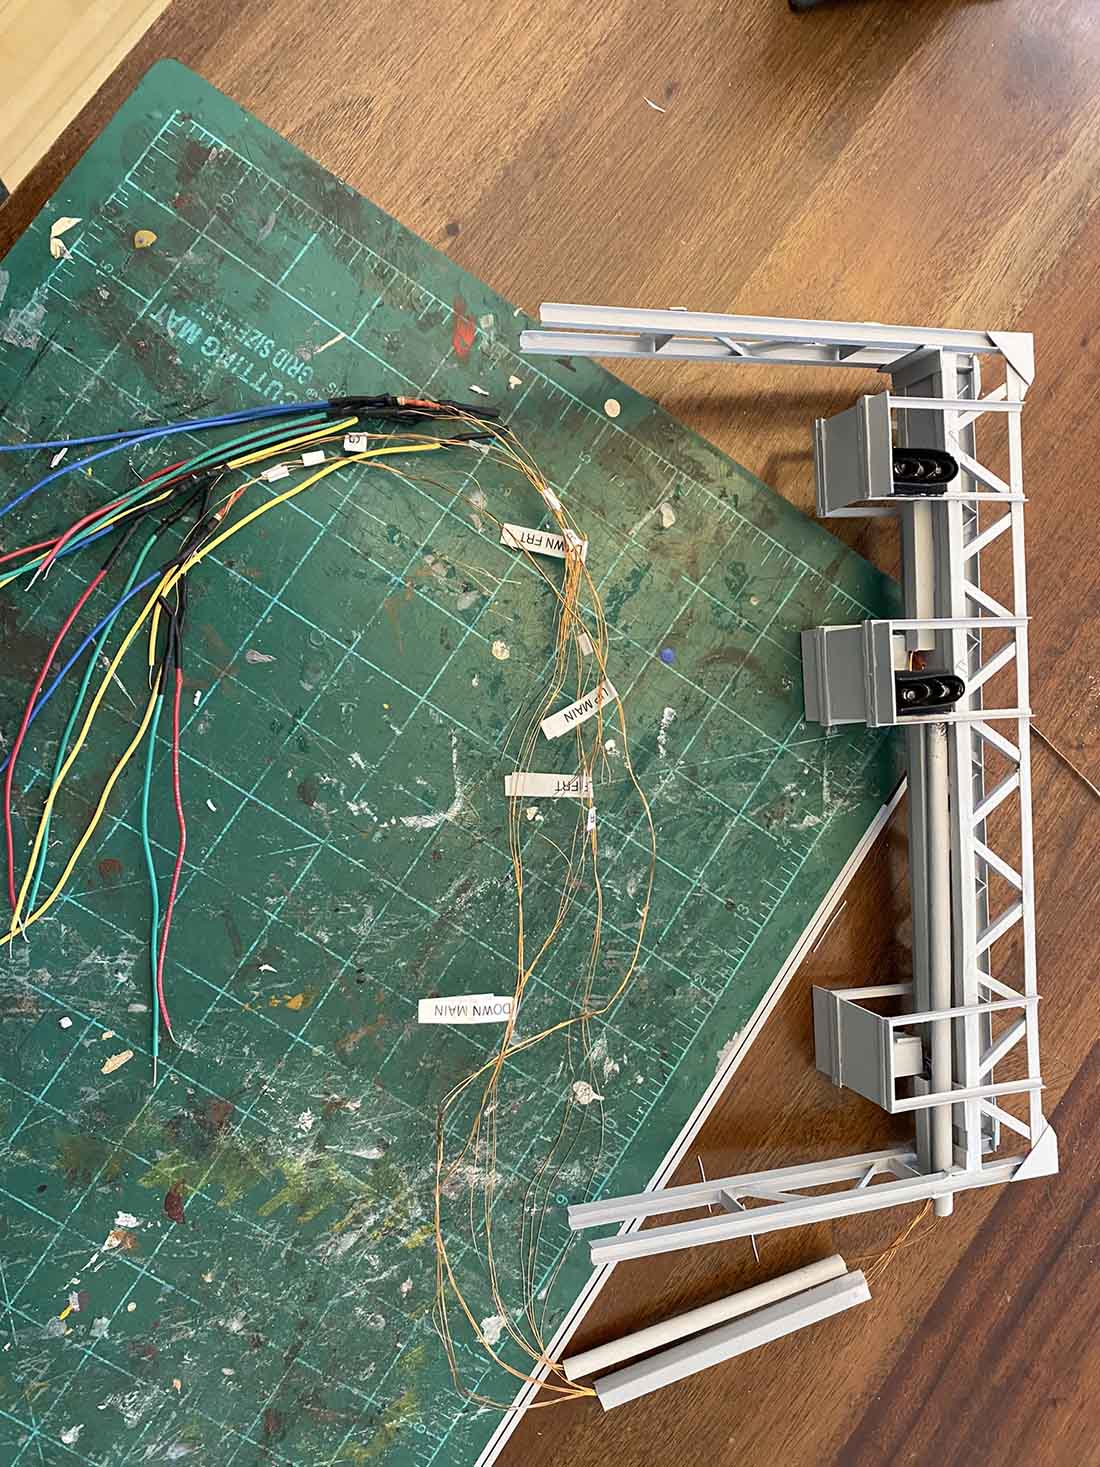
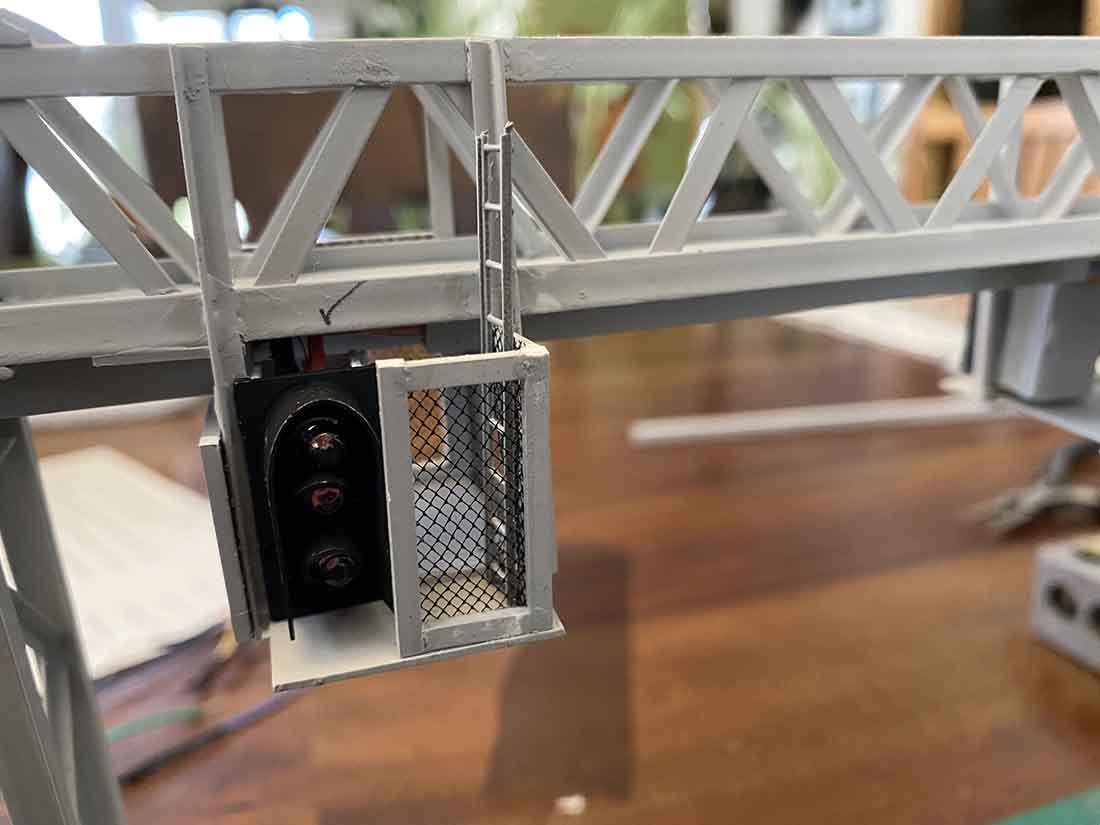
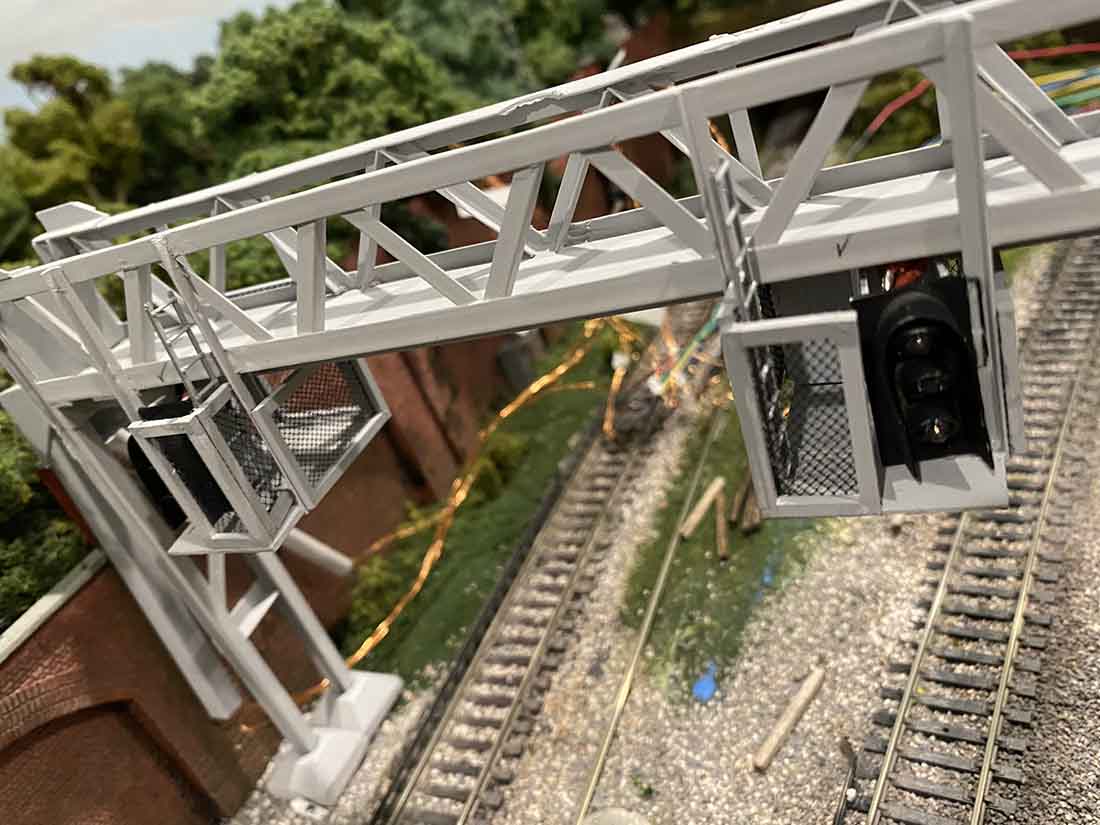
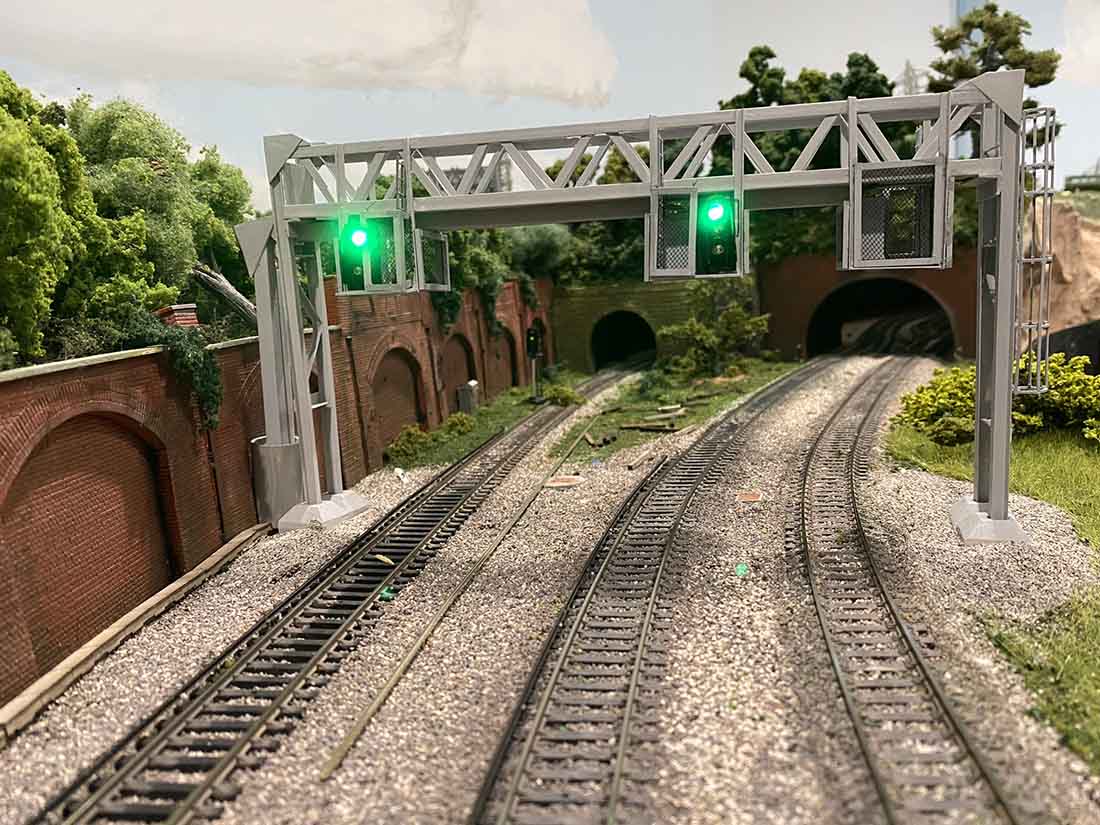
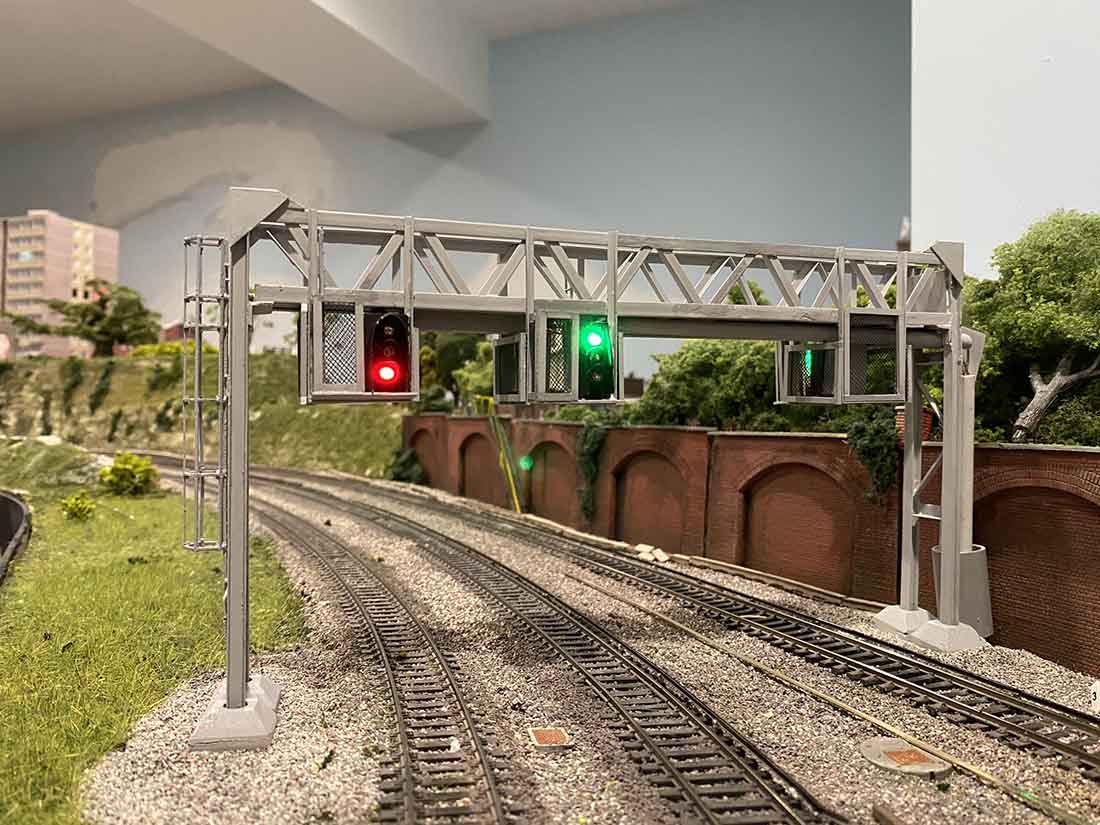
I had a difficult time trying to get “D” type block signals.

Details West -out of stock, no ETA.

Walthers Kato – look like they belong on a 1950’s Lionel layout.

These are avail on the bay:

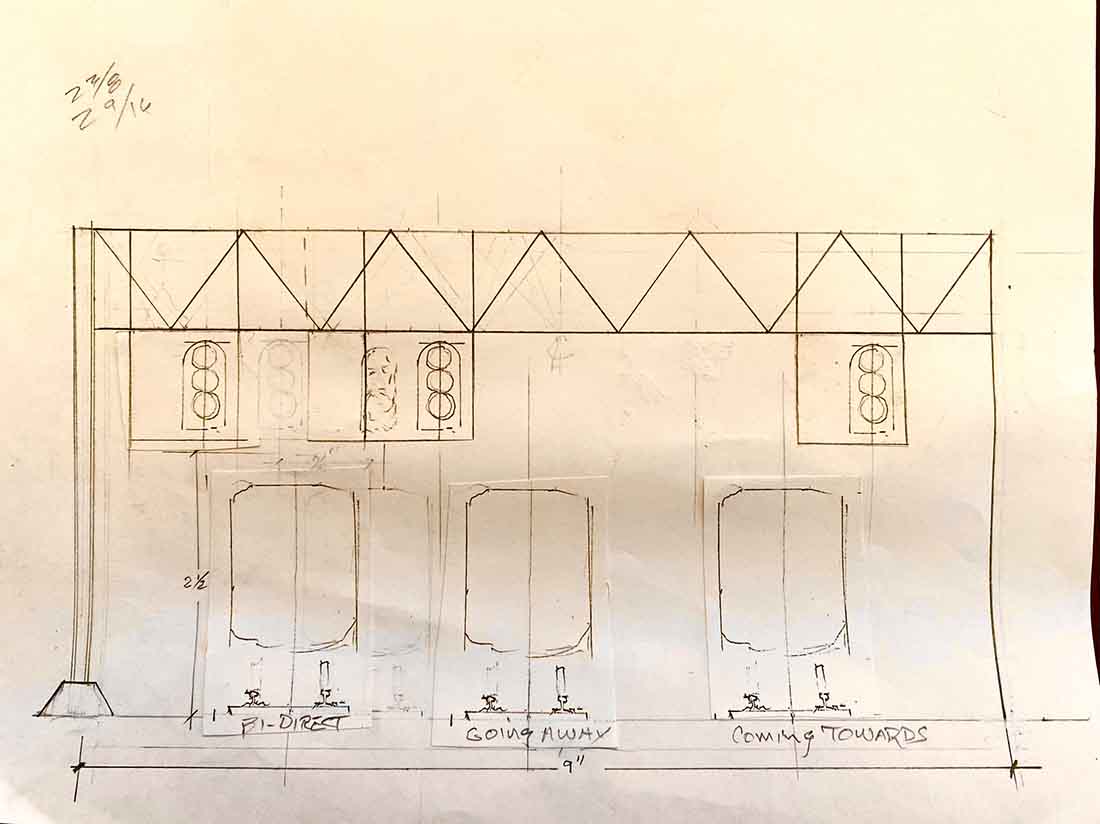
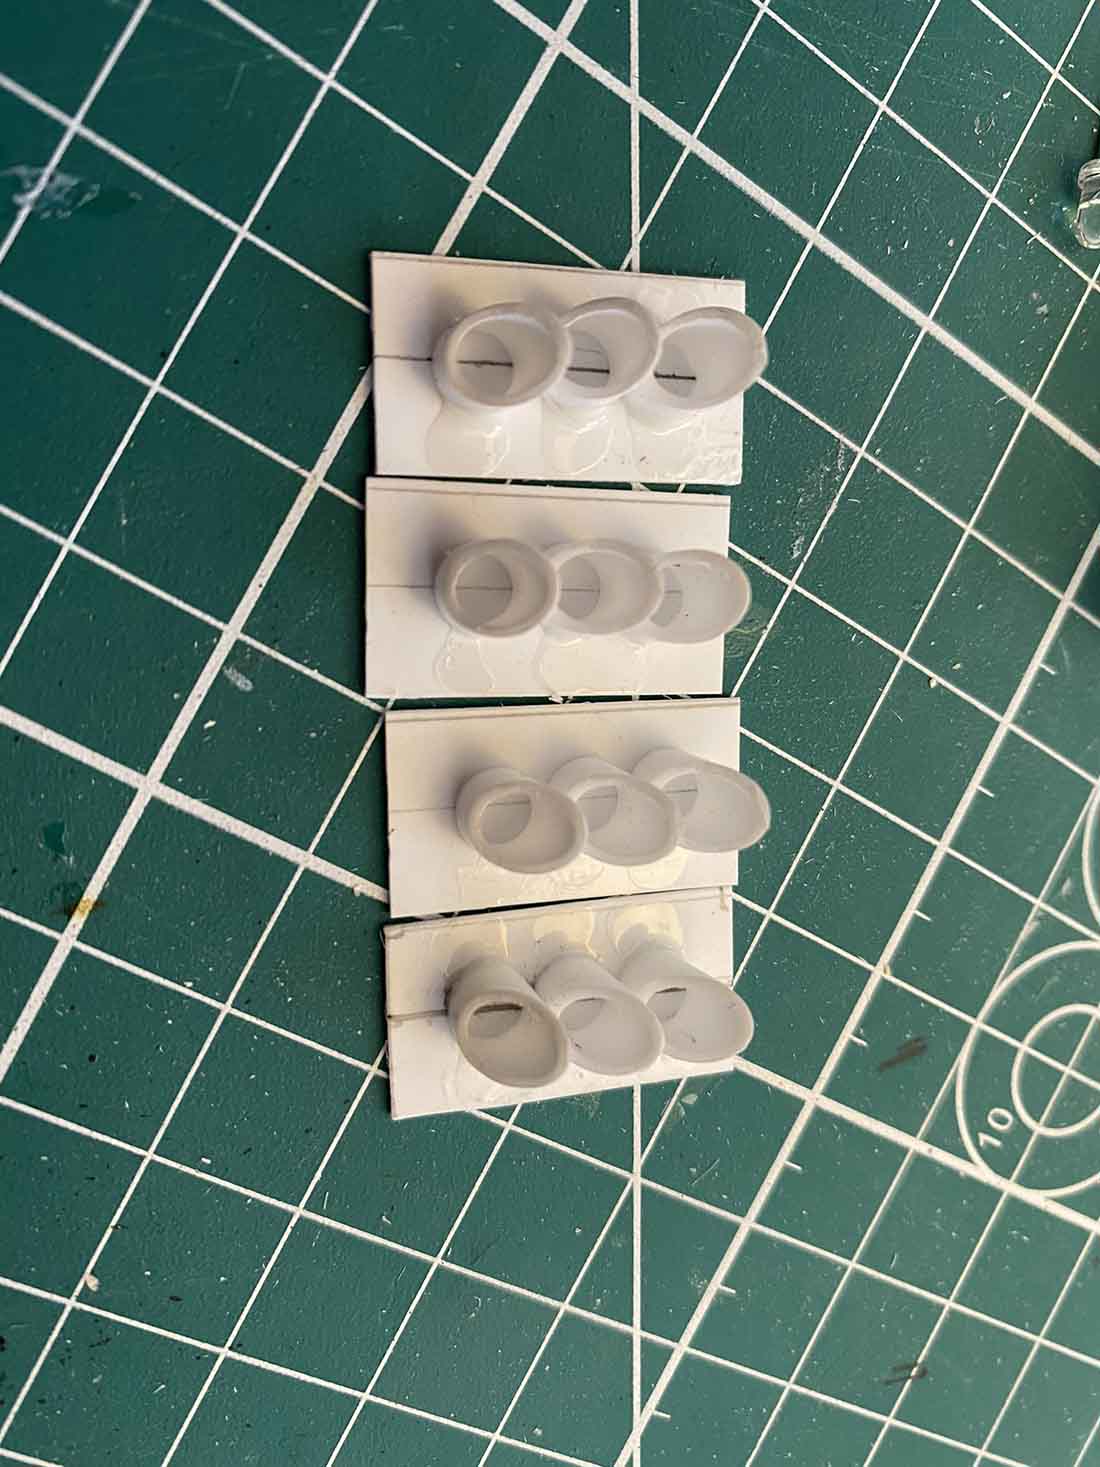
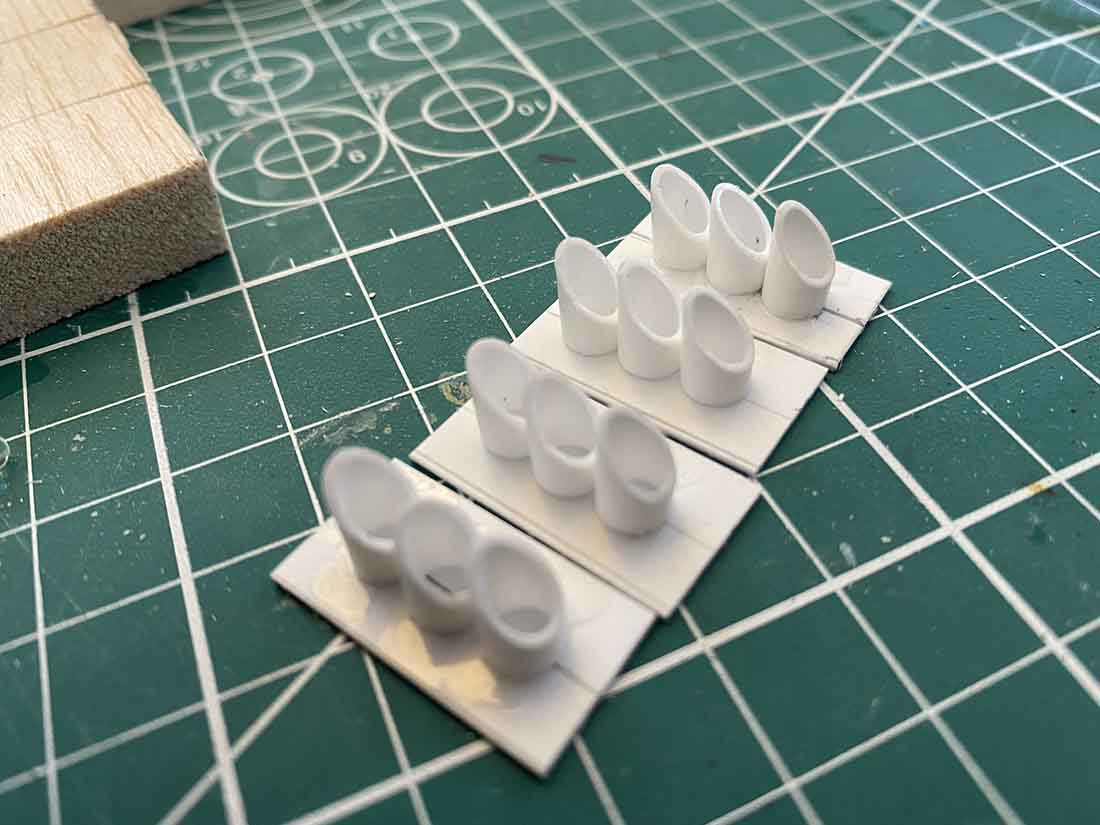
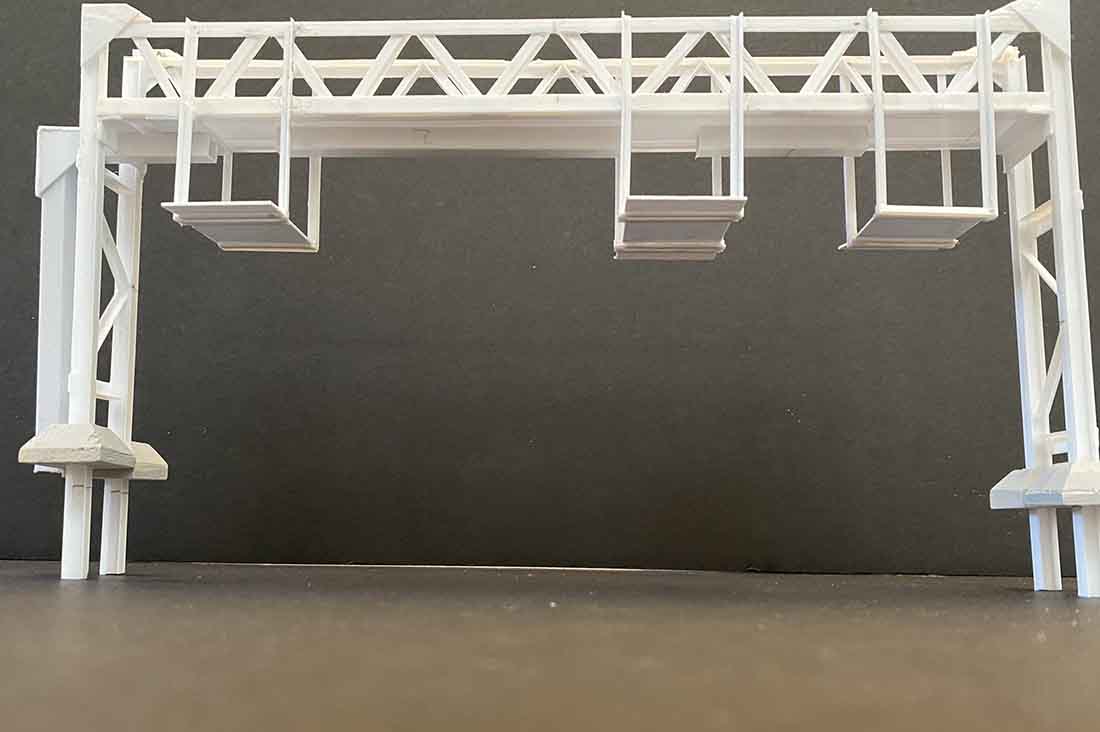
HO scale traffic lights

Lucky for me PMD was able to get the 13 that I needed from one of their many contacts.

Remember this picture of Veteran’s Park?

HO scale park build

A couple of weeks later it looked like this. Starting to shape up nicely.

HO scale park build


HO scale park

HO scale park

There was still more to be added. This scene is one of the key focal points on my layout.

Early on the tunnel portals and surrounding area looked like this.

HO scale tunnel

HO scale tunnel

Here are a few wider shots that include the “first rough coat” ground cover.

All the GREEN is just a base to give all additional ground cover applications a surface to cling to.

When these guys get going the acres and acres of well-manicured “putting greens” will disappear.

HO scale embankment

HO scale embankment

The second coat of the general ground cover has been applied to some areas of the layout.

Things are starting to come together a bit faster now. The 3rd and 4th layers will be added this week.

At this point, it is all about layers, texture, and colors blending together. Also, note that no trees or bushes have been added yet. It will get better.

HO scale embankment

HO scale bridge build

More landscape details as layers, texture, and colors blend together.

HO scale tunnel scenery

The scouts are camping this weekend at Camp Wenonah. This too is in the early stages. Many more details will be added.

HO scale camp site

Scout Master Grayson is just returning from his walk through the woods. He can’t wait to tell the boys what he saw in the clearing.

HO scale camp site clearing

The crew of Steve, Joe, and Jim like to mess with me. They are always adding STUFF on the days I come to take pictures. What a GREAT crew. Ask for anything and they will make it happen. This whole campground was an afterthought just to fill in some empty space. More pictures of this later.

My all-time favorite Christmas movie will be playing 365 days per year. This also gets more details later. The “Boys” fabricated all the lettering.

Can’t take this hobby too seriously, IMHO you gotta have a little whimsey. [:D]

The guys doing the build once again display their humor by staging a circus train wreck before I arrived. The helicopter crew captured these beasts hanging around the lake. I have been assured that they will be rounded up before the layout is delivered.

HO scale circus scene

HO scale bisen

I was also assured that the track gaps would disappear when the trestle bridge is installed on the upper level. Too dangerous to fix now with the giant albino bird and gator hanging around.

HO scale bridge build

Calling it quits for today. I will post again tomorrow. Hint: It starts to get REAL.

Jim”

A huge big thank to Jim for sharing the evolution of his HO scale.

It just goes to show you can have a lot of fun with a layout, even when you’re not building it yourself.

I love what he’s done, I think the personl touches really add to it.

Jim’s first post is here.

Here’s his second post.

That’s all for today folks. Please do keep ’em coming.

And if today is the day you get tired of sitting on the side lines, the Beginner’s Guide is here.

Best

Al

PS More HO scale train layouts here if that’s your thing.


Santa Fe model train – Jim’s

Jim’s been back in touch with his Santa Fe model train build:

“The bi-line for today is Wiring & Structures.

After all the track is laid, the rails are cut at each section boundary and the entire layout is taken apart.

Each section flipped 90 degrees and clamped securely to allow easy access for the wiring process.

Every wire is color-coded and labeled. This will help to resolve any wiring problems.

These pictures show some of the sections that are being wired. Being at the 90-degree angle speeds up the wiring process as it allows the installer to sit or stand during this stage of the build.

A LOT easier and faster than scooting along and banging your noggin under the layout,

Each section, in my case there are 9, is wired separately. When the wiring is finished the sections are re-assembled and tested.

HO track santa fe model train

laying curves HO track

santa fe model train wiring

santa fe model train wiring

santa fe model train wiring

laying track HO scale

laying track HO scale


As I mentioned in an earlier post, the bridge, over a bridge which is over water will be one of three primary focal points on my layout.

santa fe model train bridge

The second will be the passenger station with the two sprawling platforms. The station is a Walther’s kit shown below.

track side view station

The Walthers kit has some resemblance to the old Santa Fe station in Fort Madison, Iowa. That is the look I wanted to capture. Back in the day, many passengers passed thru this station.

old santa fe train station

Here it is pre-weathered and about 90% assembled.

model train station

The twin platform will each be about 40″ long with butterfly shelters fully lighted, benches, luggage carts, phone booths and many passengers.

The station will be named Fort Madison and Santa Fe Logo’s on all four sides.

In an earlier post, I mentioned that several of the business would be named after family members. The following pictures will show it.

An old house converted to a doctor’s office for my daughter-in-law. This sign will appear in front of the house which appears on the left side of the next picture.

model train shop sign

My wife, who has a passion for baking will have her shop here. You may have to expand the pictures to read the text.

HO scale store

My daughter works for a large international legal firm in the budgeting and finance area.

She is represented by this modest office on the 2nd floor.

HO scale store

As mentioned earlier my son Jeff works for a lumber and building supply company.

laying ballast HO scale santa fe

Even my son’s dog will be getting in the act. This structure will be re-named Westley’s Doggie Treats.

HO scale pet feed store

Joe an artist, electrician, and all-around great guy, performed a “track test” to expose any problems or flaws.

His crew spent several hours running trains forward and backward going thru every turnout to assure everything is “in gauge” and functioning properly. The owner of PMD, Steve, is the guy that invented the Tortise switch motors.

Here is a sneak preview of the finished product. My Santa Fe model train passing thru the grade crossing on Marley.


That’s all for now, check back later.

SantaFeJim”

A big thanks to Jim for sharing his Santa Fe model train build – his posts really do get across just how time and effort goes into a layout.

I do love the way he’s added the personal touches to include the family.

You can see the finished Santa Fe layout here.

That’s all for today folks – please do keep ’em coming.

And if today is the day you join in on the fun, the Beginner’s Guide is here.

Best

Al

PS Latest ebay cheat sheet is here.


HOn3 kit bash

Brian’s been back in touch with his HOn3 kit bash:

“Hi Al, hope all is well with you.

As promised, another write up on one of my builds: Sierra West build (HOn3)

A friend in Durban (RSA) about 1000 kms up the east coast from me, visited my layout here in Knysna and did not have enough time to see it all and asked if he could visit again the next day to see what he missed on the first day.

It was here that he asked me multiple questions on my build technique on all my buildings and on my layout.

He proceeded to ask me if I would be prepared to build one of his kits that he obtained.

His excuse was that he wanted to use the built up model as an example to follow when building his own models.

I agreed to build it (in a trade off) for him and 75 hours later, the results can be seen below.

When the kit arrived, I did as I alway do, open up the box, read the instruction book and then check the contents.

My excitement soon turned into dismay as there was about 50 to 60% of the kit missing.

I phoned my friend in Durban and he gave me an explanation as to why there was so much missing.

I told him that he shouldn’t worry about it and said that i will continue to scratch/ kit build his limited run kit.

I would supplement the missing parts from my “bits box”

Below is the photo on the box that I had to use as an example of what was needed. I did some research on the internet but to no avail as to any finding photos of the built up kit.

picture of kit box

So, let the fun begin.

After reading and studying the instructions 3 times, I decided that I had to build the top level structure first as that would give me the correct size for the bottom part of the 2 story structure.

top level of HOn3 kit bash

The kit was supposed to have stone and brick walls on the bottom structure but those were completely missing. I decided to use Northeastern Scale scribed siding for the four walls.

HOn3 kit bash adding side building

Now I have a structure to work on.

kit bash adding base layer

Fortunately the walls and roof casting for the side building was in the kit.

HOn3 kit bash adding roof

I was able to to find enough windows of the correct size as well as doors that fitted the doorways. (From my own castings)


HOn3 kit bash painting walls

I mixed up a wall colour that closely matched the photo, painted the building, doors, windows and weathered them accordingly.

adding fence to model train building

Unfortunately the chain link fence was also missing, I decided to make and wood fence and weather it up a bit to look as if it has been there for a long time. I salvaged bits and pieces from my “bits box” to use in this area.

adding detail to model train outhouse

Next was adding tar paper to the roof. It has to be weathered as tar paper would look in real life. I use masking tape cut into strips and started the layers from the bottom up.

Once done, I painted on quick set Alcolin (white) wood glue over the whole roof and let it dry for 24 hours.

It was then painted using acrylic grimy black and this gave me the old and worn look. I added a few patches here and there where the roof had been repaired.

HOn3 kit bash weahering walls

The HO gauge track in front is just a guide and will be replaced with HOn3 track.

HOn3 kit bash weathering roof

I used the resin shingle roof supplied in the kit, painted and weathered it accordingly. I also weathered the sign as well.

adding detail to platform

Details was added to the platform and deck in front of the door of the HOn3 kit bash. (ignore the track in front).

adding detail to porch

Next was the addition of the front porch also missing from the kit.

weathering roof model train building

Note the patches on the porch roof where a few leaks were fixed.

adding HO scale person to porch

The boss thanked the worker below for repairing the leaking roof.

HOn3 building

An Ariel view of the diorama showing the addition of a tree behind the fence. An HOn3 flat car being loaded in front of the platform.

HOn3 building

completed HOn3 kit bash diorama with weathering

The final photo of the completed diorama with all the weathering done.

Plus/minus 75 hours of building excluding the time taken moulding a few of the details that were added that I did not have readily available at the time.

A write up and photos (of the ‘trade off kit’) as I build it will appear here in the near future. It is Fine Scale Miniature Seafood Emporium.

Kind regards

Brian
The HOn3 guy in Knysna RSA”

A big thank you to Hall of Fame member, Brian for sharing his HOn3 kit bash.

I do love his building style – it has bag of chararcter.

That’s all for this time my friends.

And if Brian has inspired you to make a start, the Beginner’s Guide is here.

Best

Al

PS Latest ebay cheat sheet is here.