Bill’s been in touch again with a step-by-step on how to a make a cliff face:
“Hello Al,
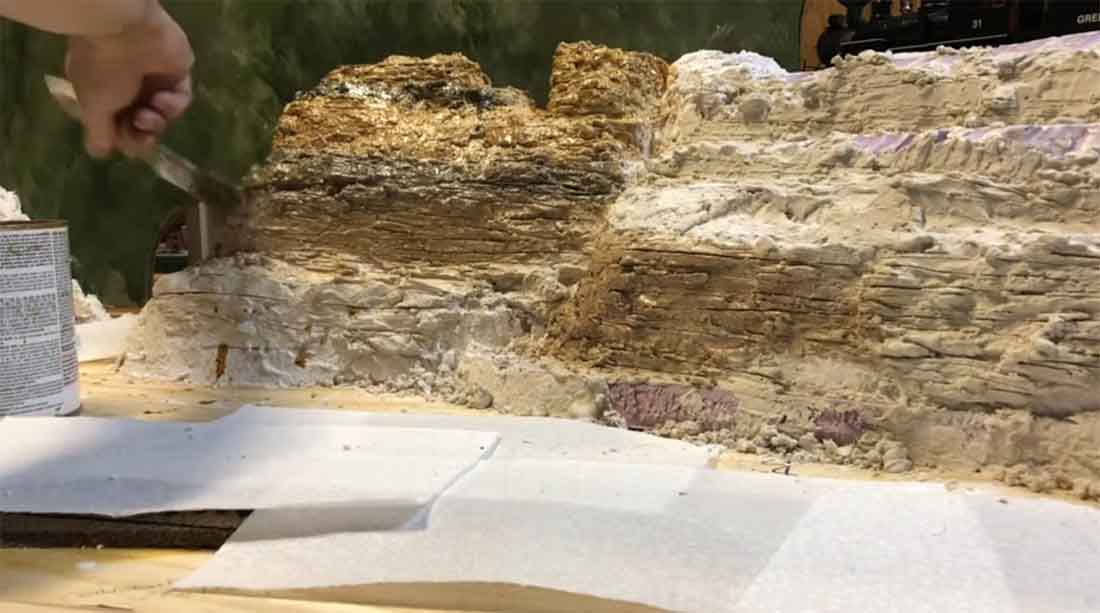
I’m sending in a link to the follow up video that showed how I made the cliffs on my O/ON30 layout.
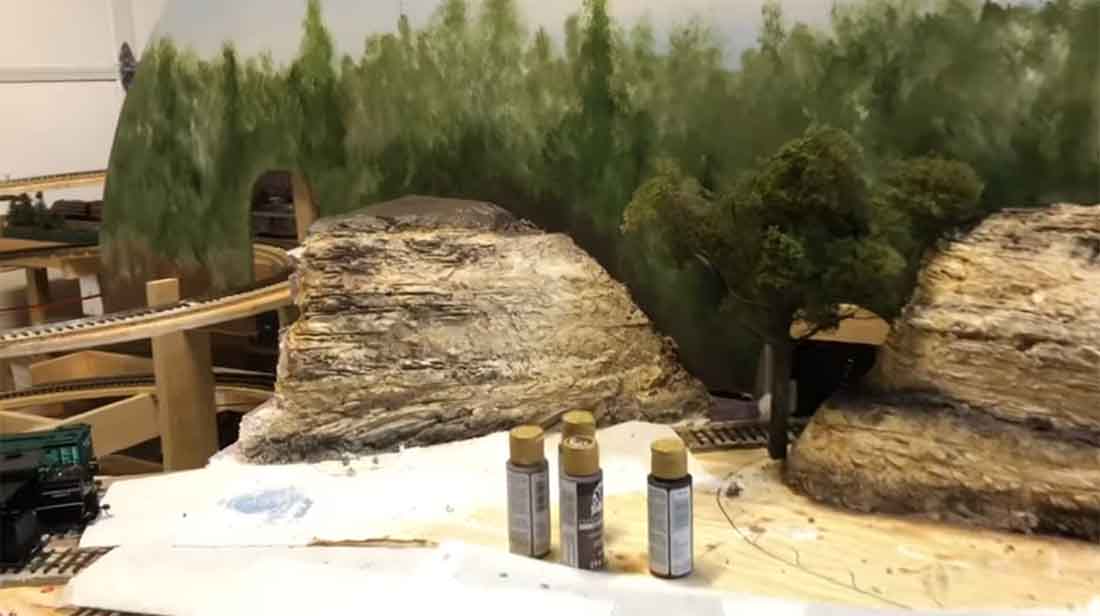
This one shows how I color the cliffs and also shows scenery starting on this piece .
Thanks for all your continued support of the hobby!
I still cannot thank you enough for your blog as it got me out of the chair and back to modeling!
Cheers
Bill in Virginia”
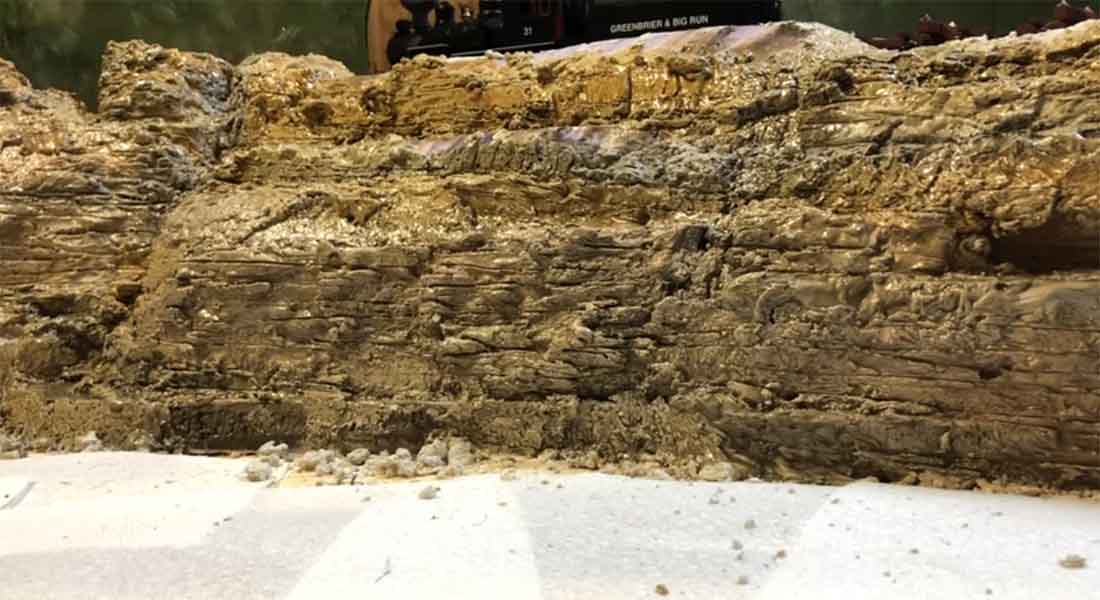
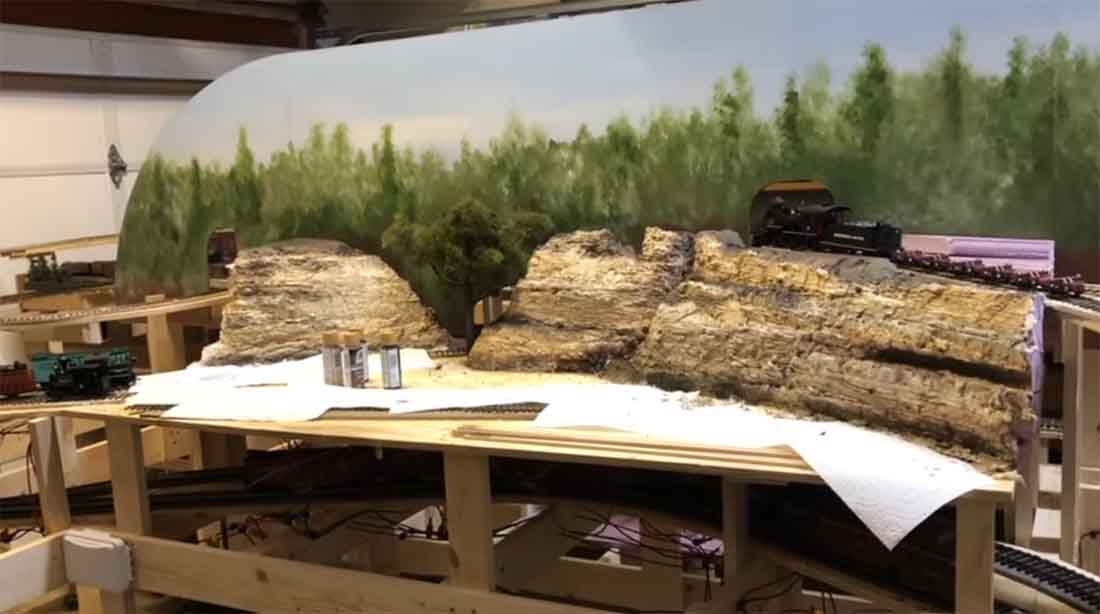
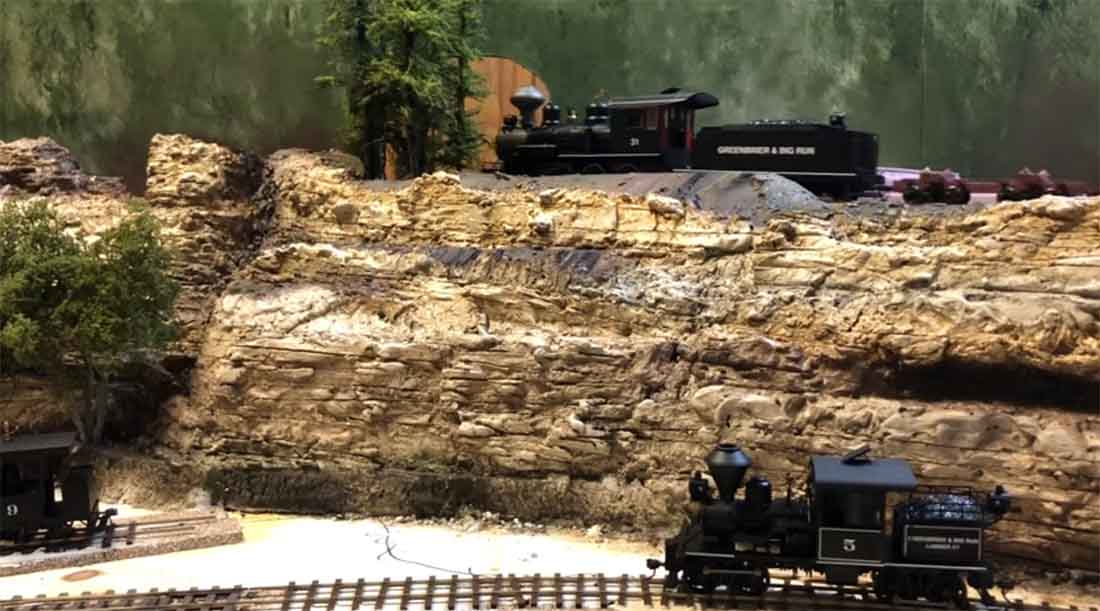
A huge big thank you to Bill. His cliff face looks amazing, can’t wait to see more.
If you missed his last post, it’s here.
Now on to Roger who has been doing some scratch building:
“Allister,
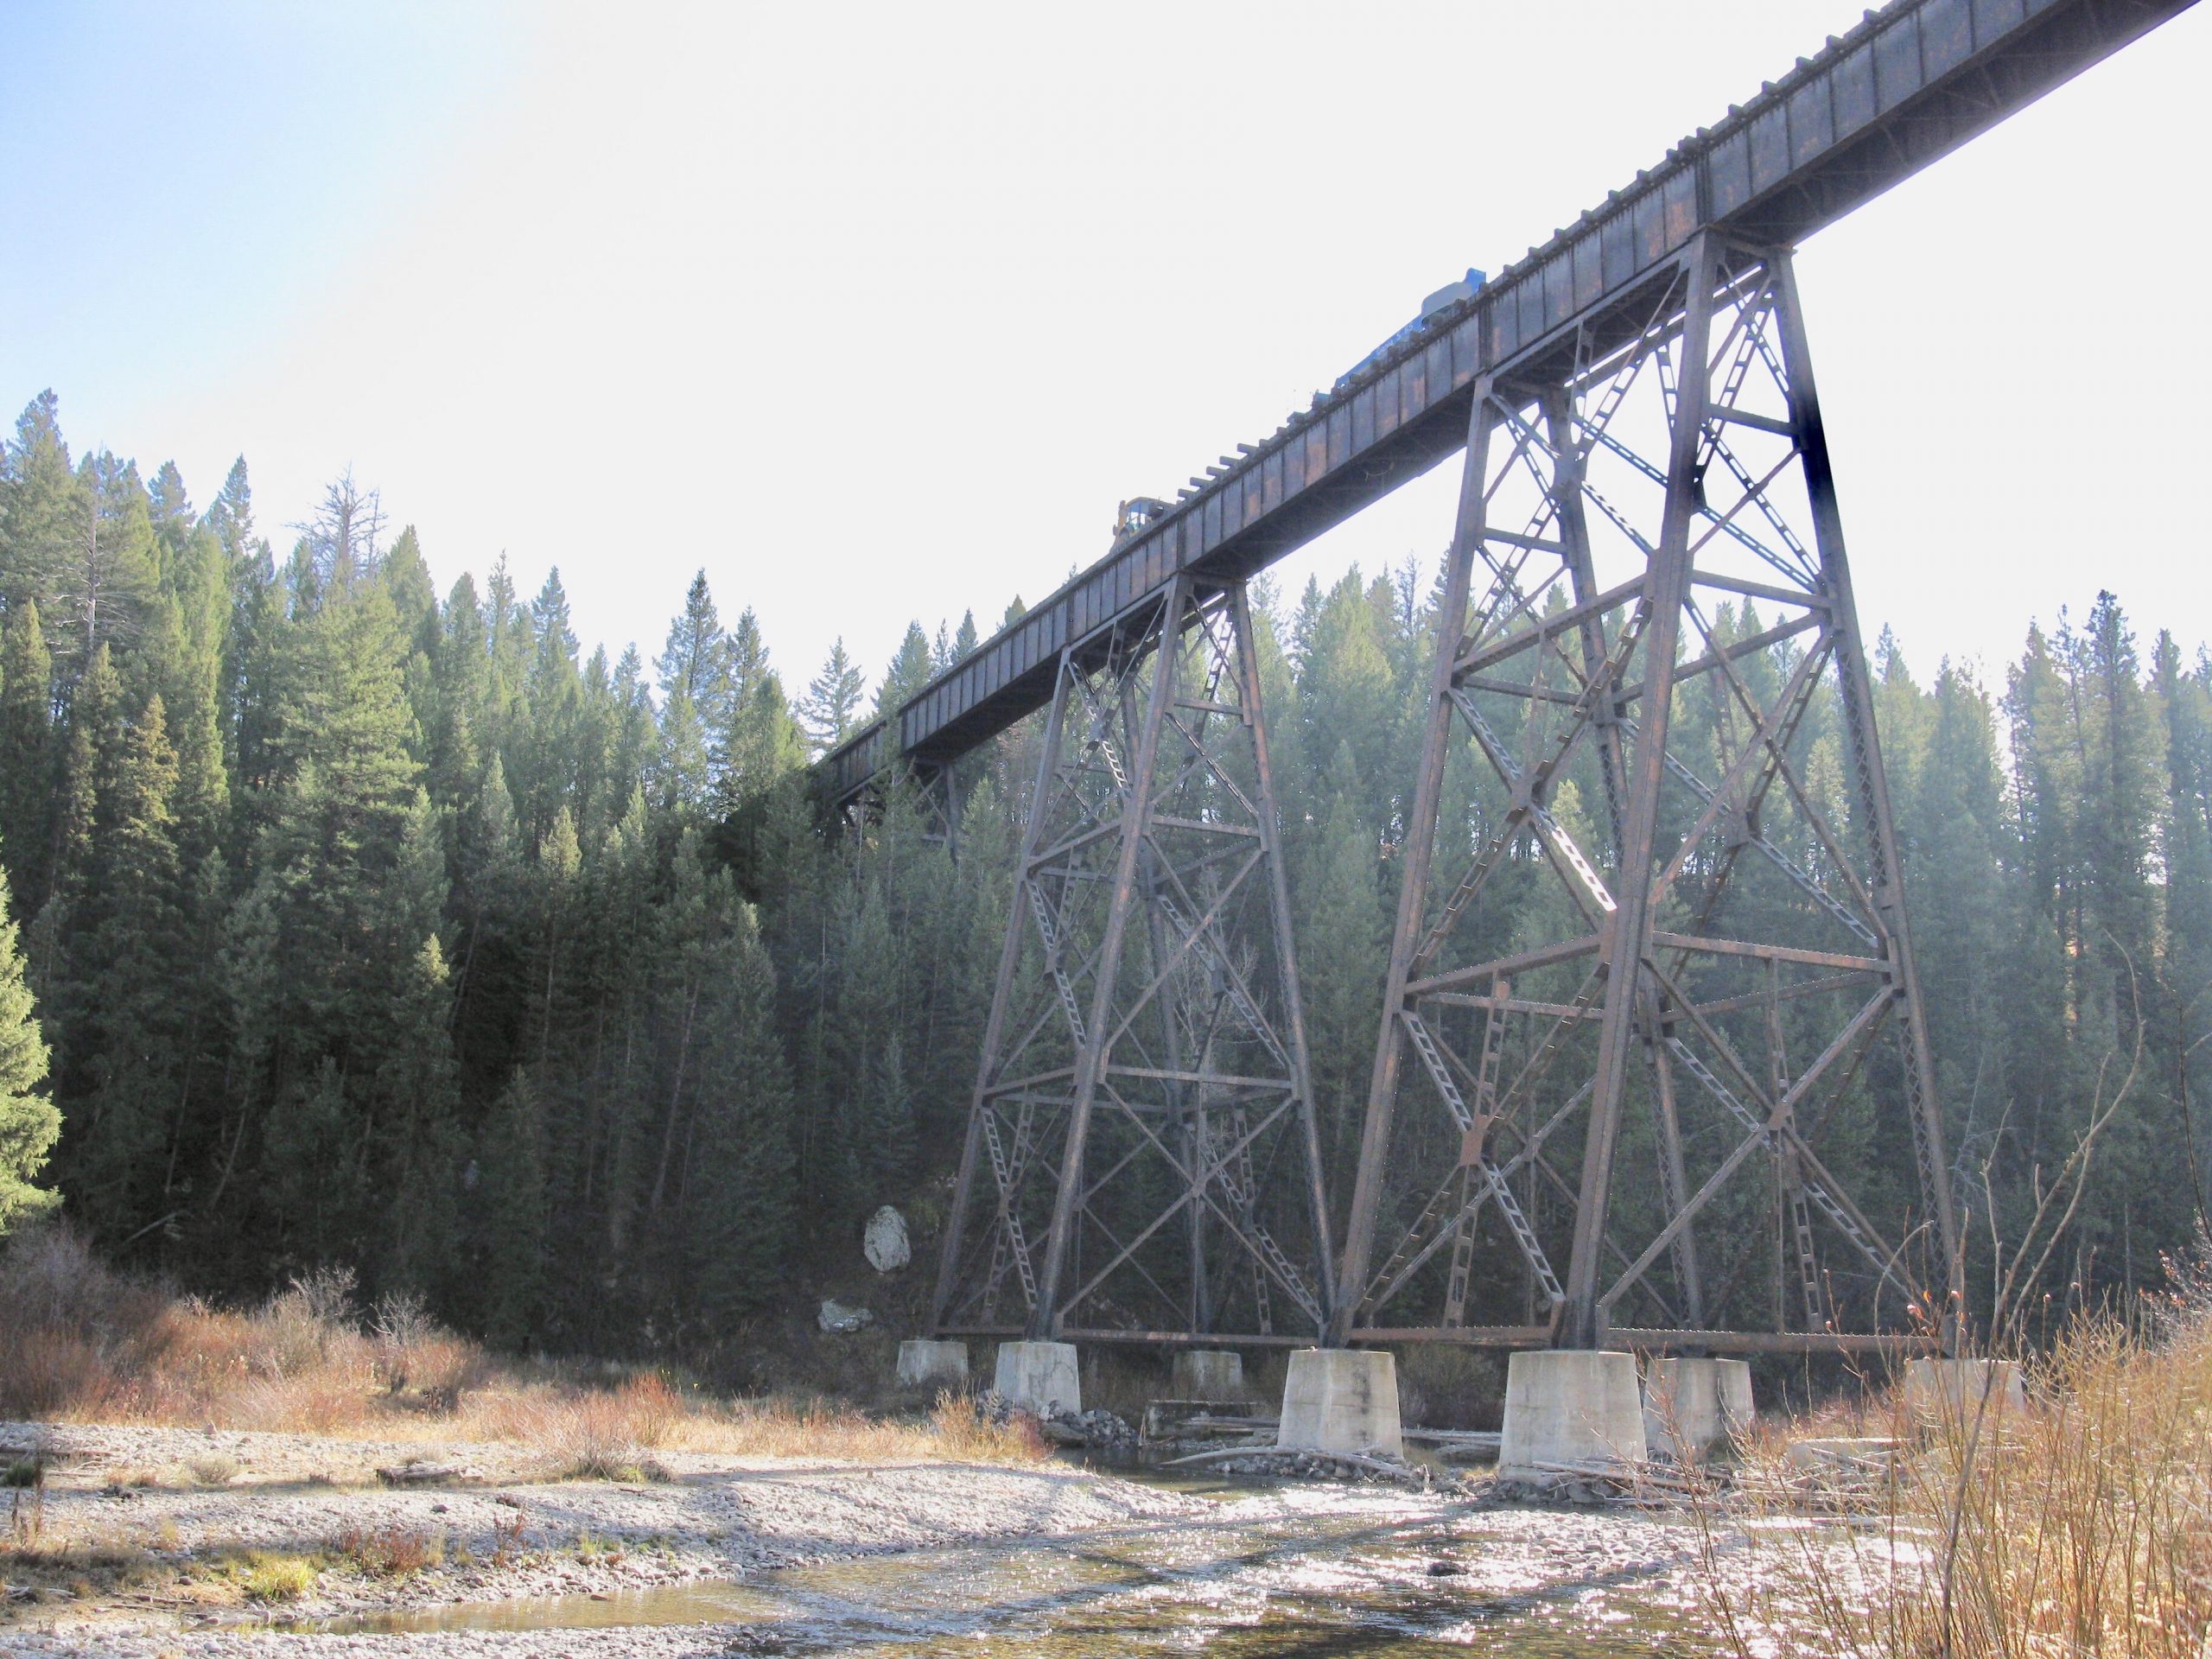
Here’s an N scale model of the Bitch Creek bridge in Idaho that I’m working on
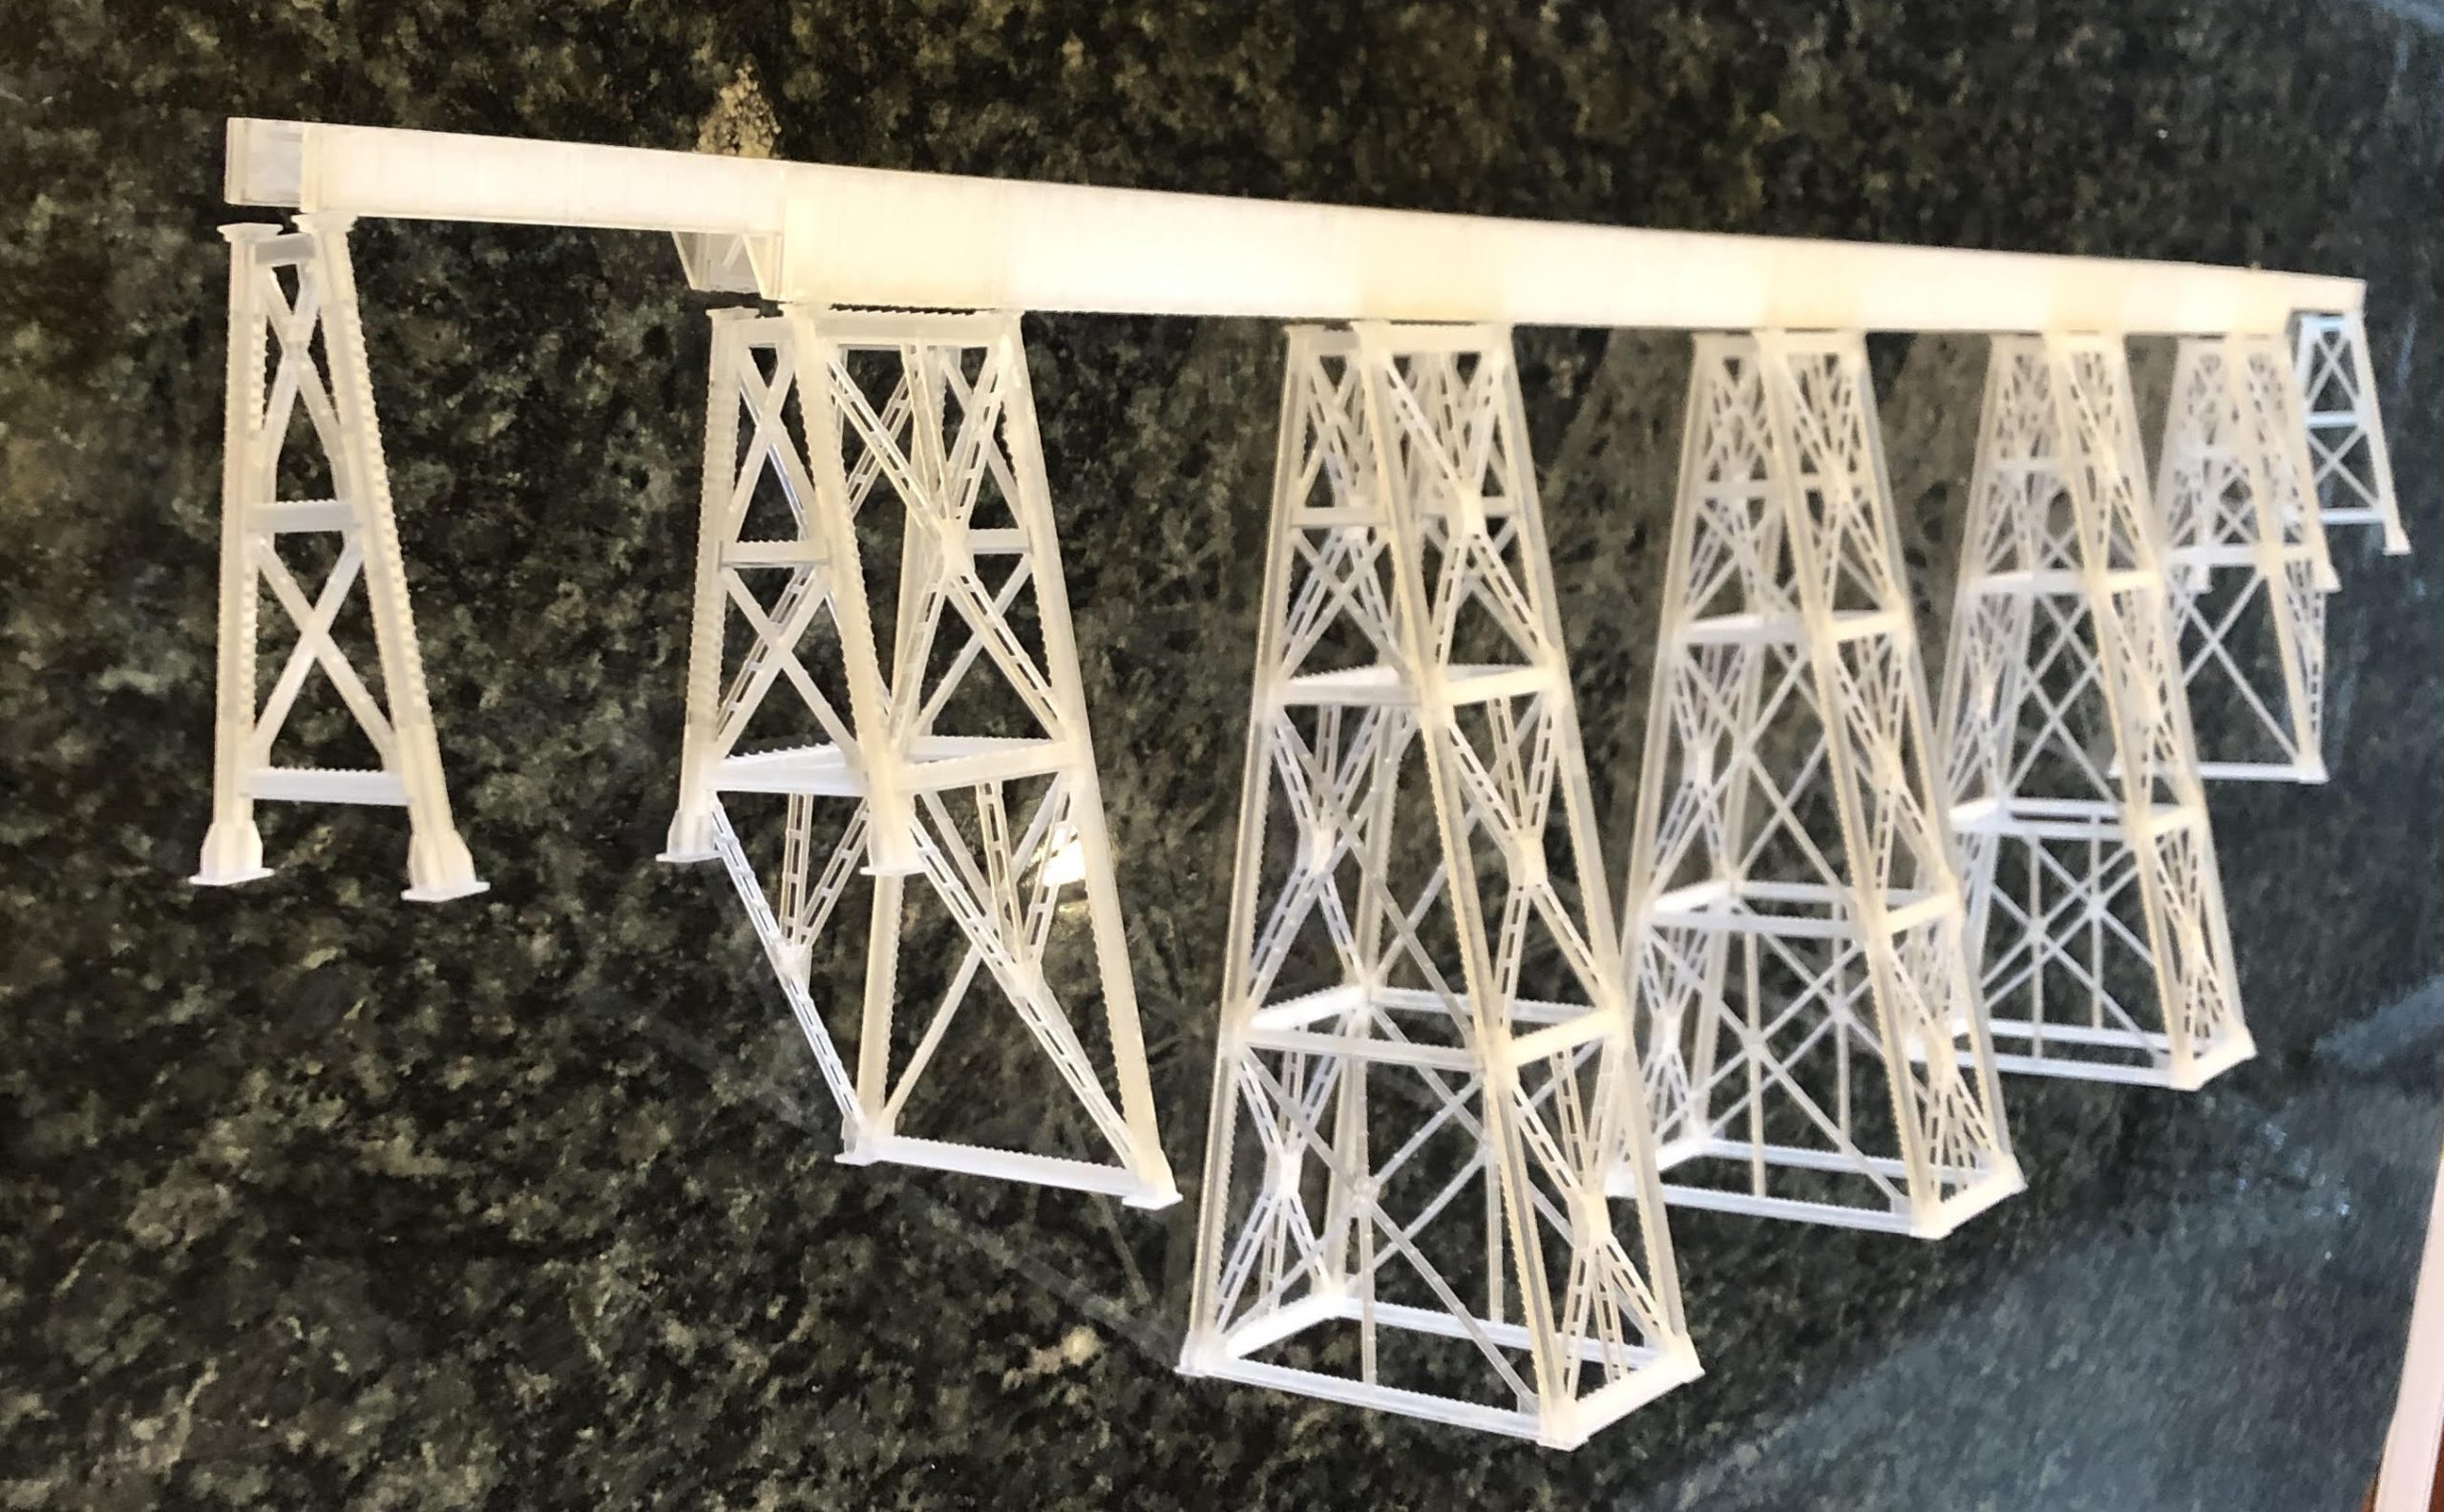
Really enjoy your web site
Roger”
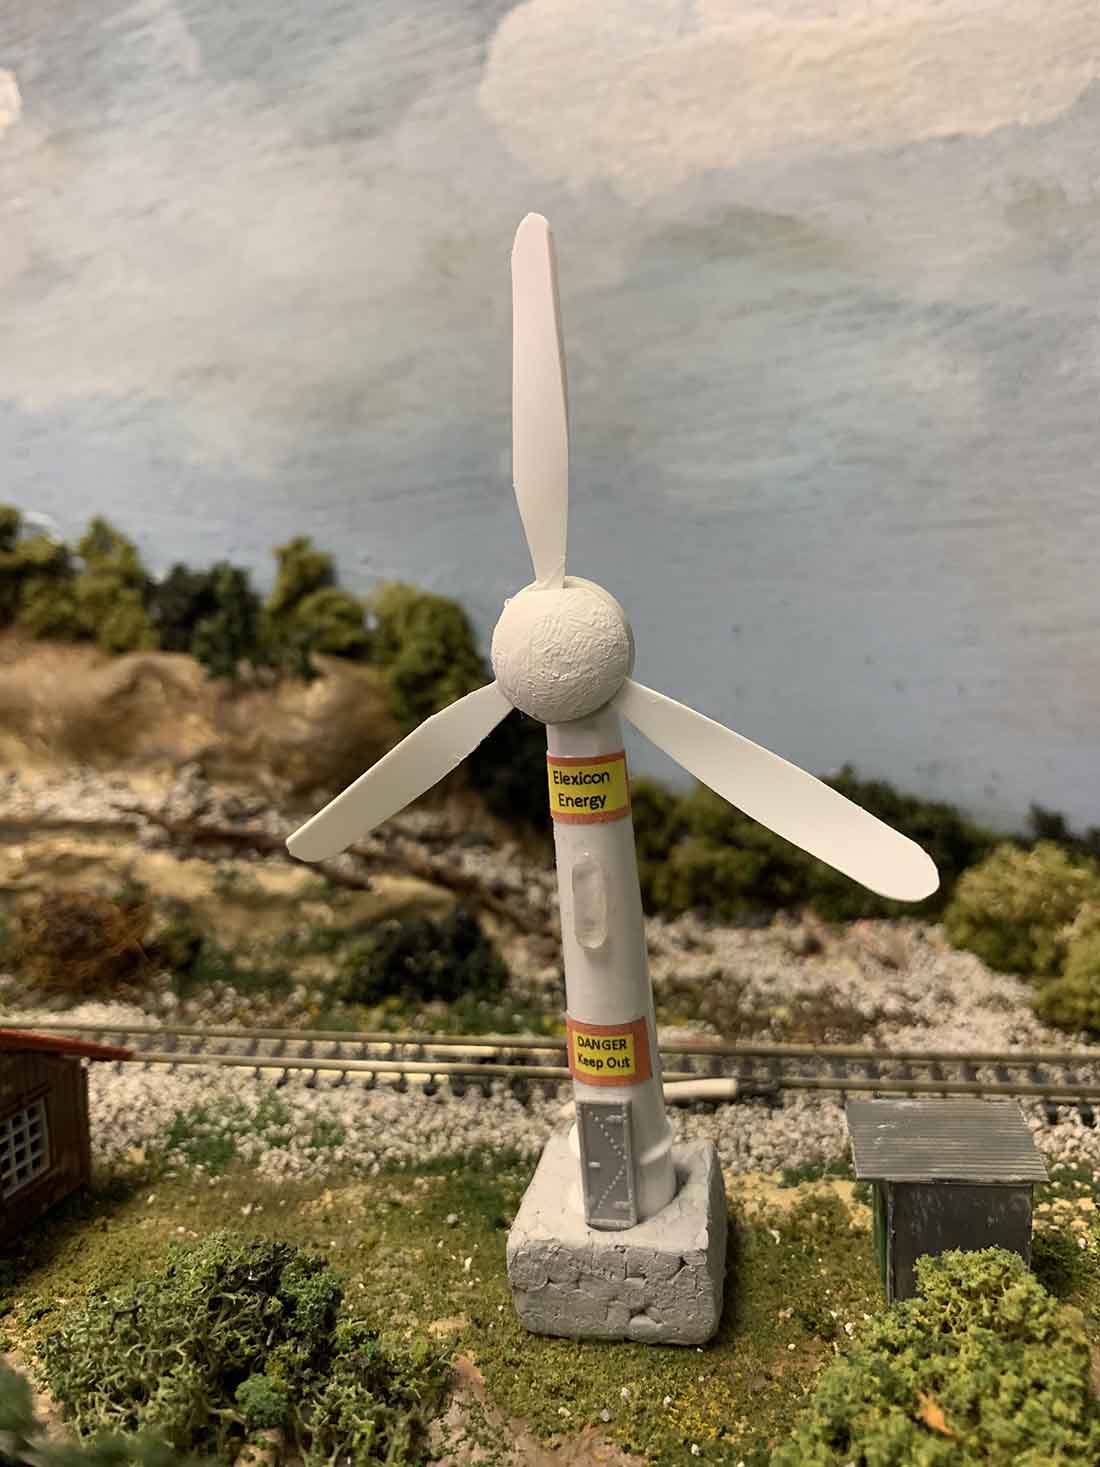
Now on to Joe who has built a wind turbine for his N scale:
“Dear Alistair
Wind Turbine For N-Gauge Layout
Here are the steps to build a wind turbine for an N-Gauge layout.
I recently needed to change the brush head on my Oral-B toothbrush.
Having done so, and as a true model railroad fan, I wondered what use I might find for the old head.
As I stood the old head on the counter, the idea came to me – a wind turbine.
After some thought, here is what I came up with.
First, remove the bristles from the head with a sharp cutter.
If you can’t get really close, finish off what is left with sandpaper or a file.
Next, draw and cut out from very thin styrene or cardboard, one blade.
After trimming it to the shape you like, trace it and cut out 2 more blades.
Twist each blade to give it some propeller shape.
Glue the blades to the brush head.
Cover where the blades are glued with a button or something similar, and paint it white.
Add a hatch or door to the front (for “access”) and a “window” to cover a hole.
I put a small hatch door on the top too.
Also maybe some decals (to cover brand name, etc).
I mounted it on a concrete base (small square of styrofoam painted grey).
I then scratch-built and painted a small maintenance shack next to it (on the right in photo).
Other options – fence it in, use different or no base, etc
Joe”
A big thanks to Joe, Roger and Hall of fame member, Bill.
I have to say, Bill really did make my day by saying:
“I still cannot thank you enough for your blog as it got me out of the chair and back to modeling!”
If the blog has prodded you back into the hobby, I’d love to hear from you.
That’s all for today friends.
Please do keep ’em coming.
And if today is the day you leap out of your chair and start on your layout – just like Bill, the Beginner’s Guide is here.
Best
Al
PS Latest ebay cheat sheet is here.


This video suggests that a complete beginner’s set of videos should be undertaken by someone to show us, newbies, how to do these things. While this may already exist (if it does I did not know it) it needs to be done in categories such as cliff construction, including the painting and landscaping. His video on painting was the best thing I have seen so far that will actually help me to build and paint scenery. Still need to see something on bridges, and other scenic venues that may be displayed.
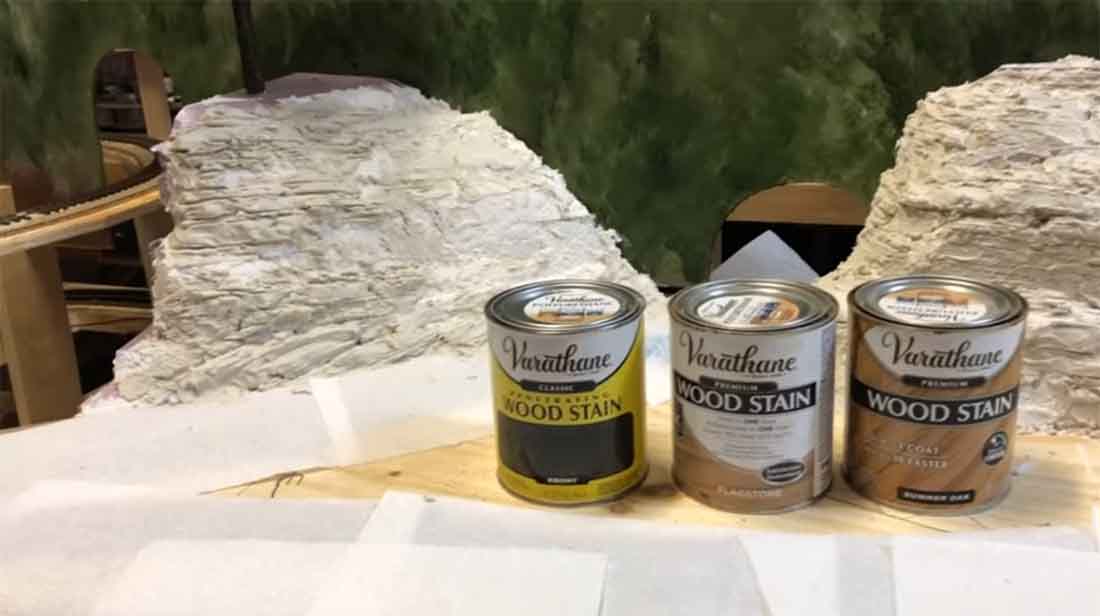
Found Bill’s video on painting the backdrop very informative. As for cliff faces, I can see the first set of products but cannot read the labels as to the colors used [not enough pixels/inch]. In Bill’s 4th photo there are three bottles but if he’s using them to paint the cliff faces, can’t tell what the products are. Nice effect on finished cliff faces.
I like that he’s using easily found hardware store products. I used to love the Poly-S paints, but I used to perform weathering with pastel chalks.
The cool thing about model railroading is you can use so many different methods, techniques and materials.
Frank in Orlando
Ahh I get it now…. the windmill project is cool. He used the whole unit.
Frank in Orlando
Excellent video. I do enjoy Bill’s approach to making realistic mountains and scenery. The colors Bill uses work well for eastern railroads, but I think I need some more reddish and sandstone colors for western themed mountains.