Larry’s been back in touch with his scratch build brewery.
You may remember him from his Abingdon and Crane railroad:
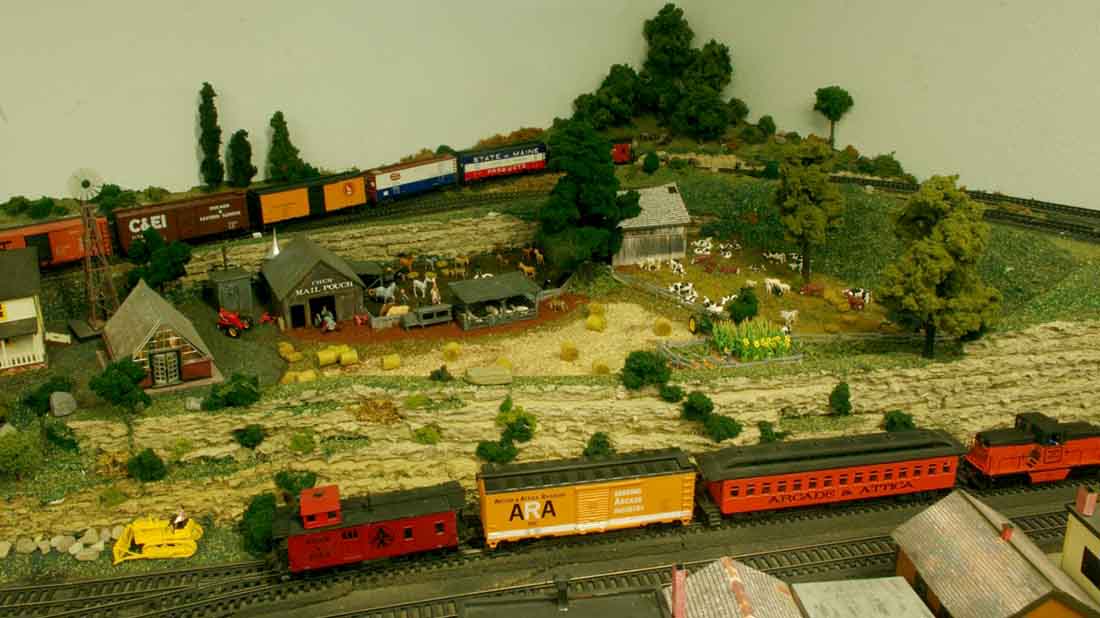
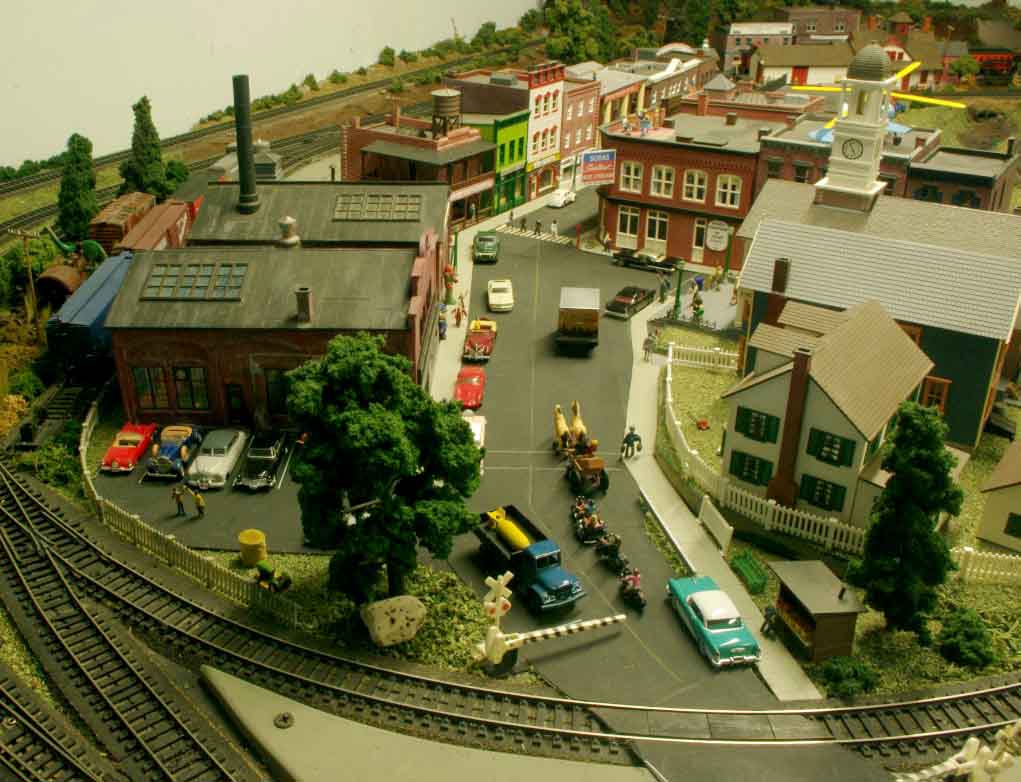
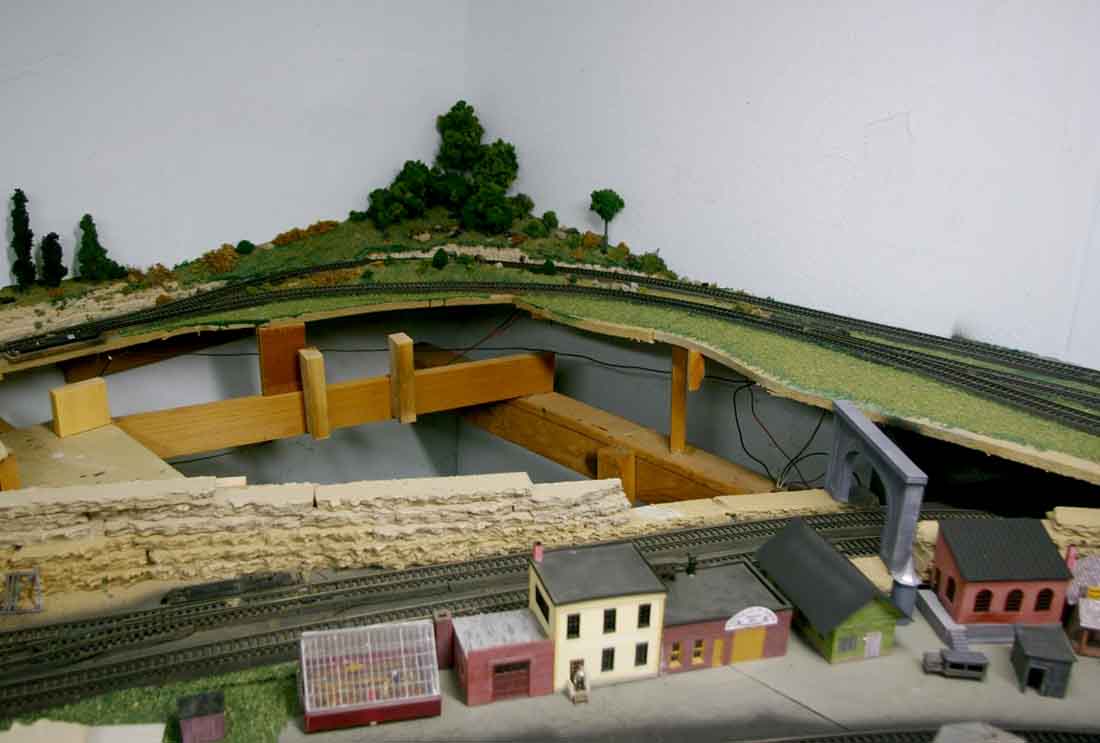
“Here are a few Abingdon & Crane RR pictures. Notice the Beatles crossing Main St.
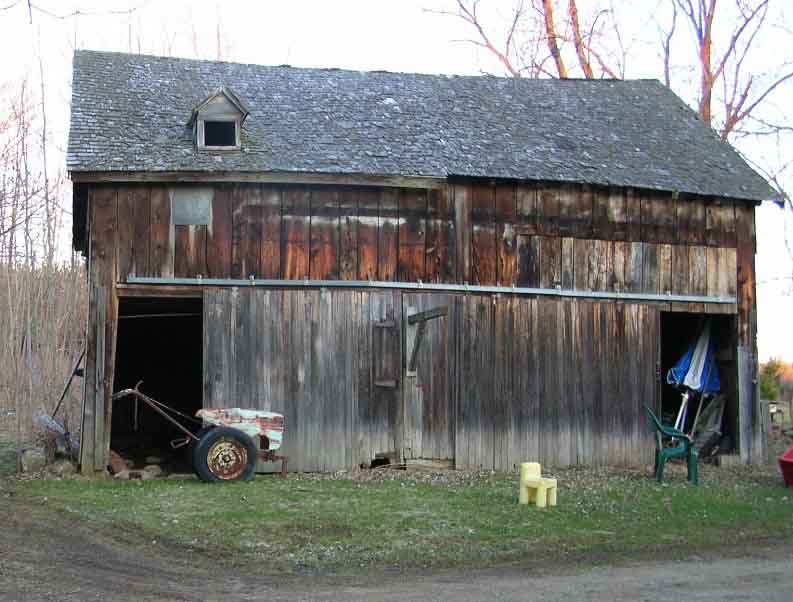
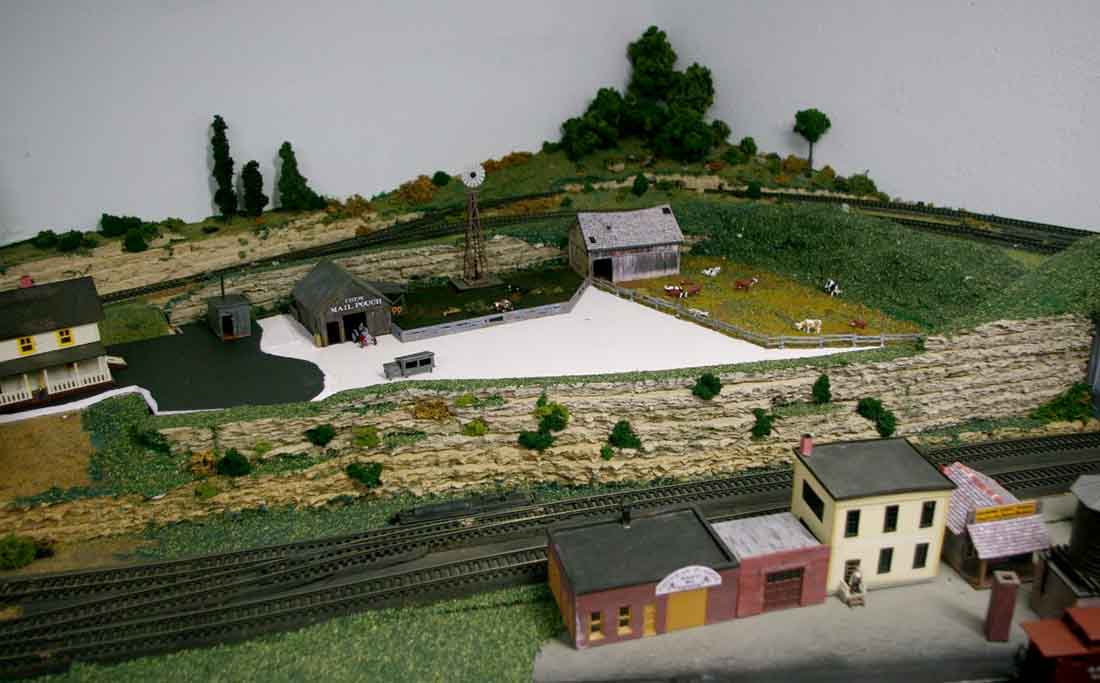
Scratch built also is the “old” barn on the recent farm, again from photos.
I built the farm in my kitchen and dropped it into place, making it removable if necessary.
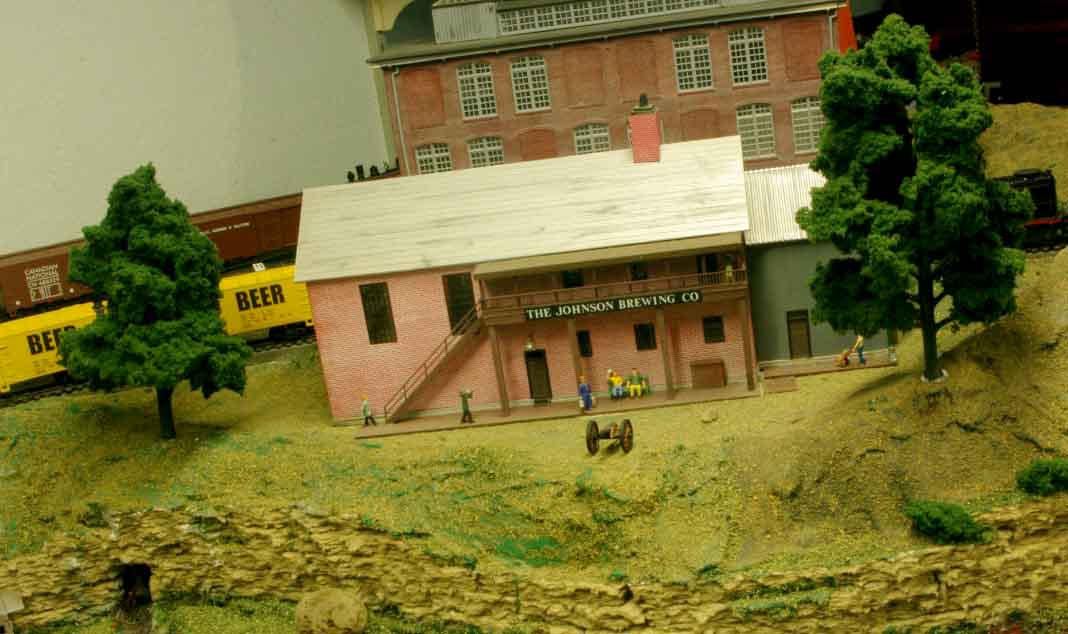
The railroad is partly fueled by beer and the church-like brewery building is also an early scratch build.
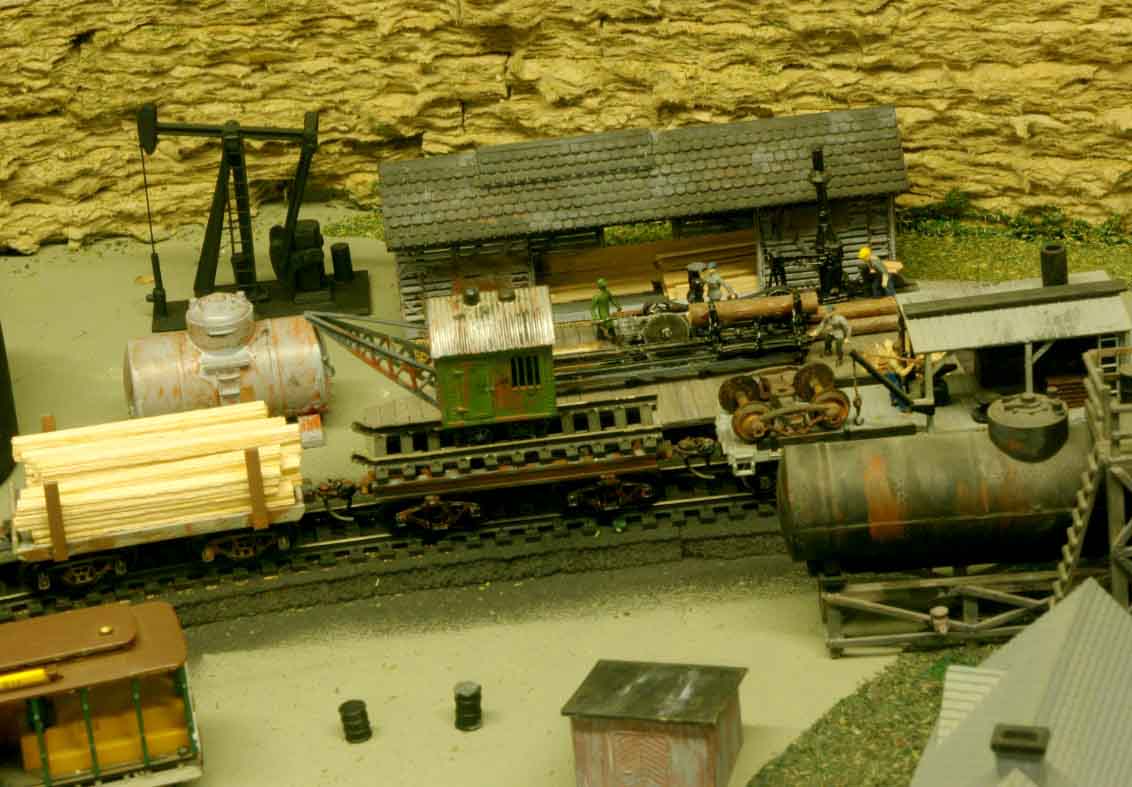
Terrapin Station is a scratch build as is the oil pump jack.
One of the best ways to photograph a layout is to use a “real” digital camera on a tripod with a long exposure and as small an aperture as possible. This gives much greater depth of field.
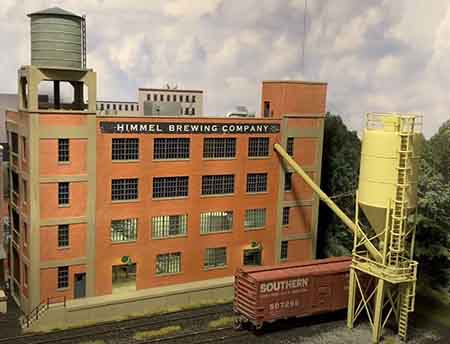
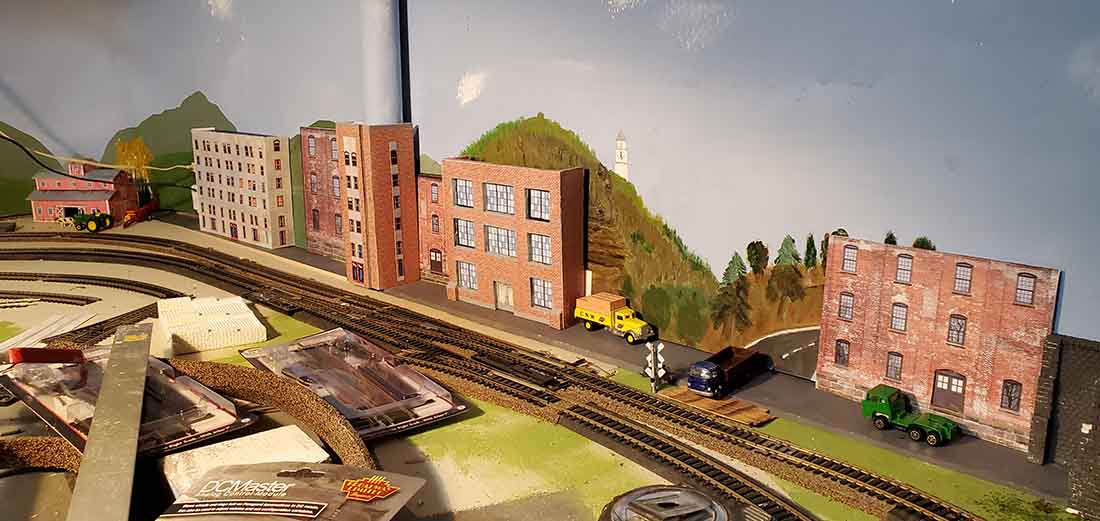
I’ve recently completed a brewery on my HO Scale layout, which serves as a major rail customer receiving boxcar loads of barley malt and shipping finished beer in iced refrigerator cars. It is located in the town of Manchester, and was the final structure to “complete” the original shelf layout.
Rod’s been back in touch with his HO scale electric trains off the coast of the med:
“Hi Alastair,
My wife reminded me recently that the new ipad she gave me for my birthday has a decent camera on it so I had to try it out on the layout, which is otherwise unchanged.
The bulk of the ipad limits the range of views you can get compared to my little digital camera, which can get under and between things, but the depth of field is amazing.
Here are a few pictures:
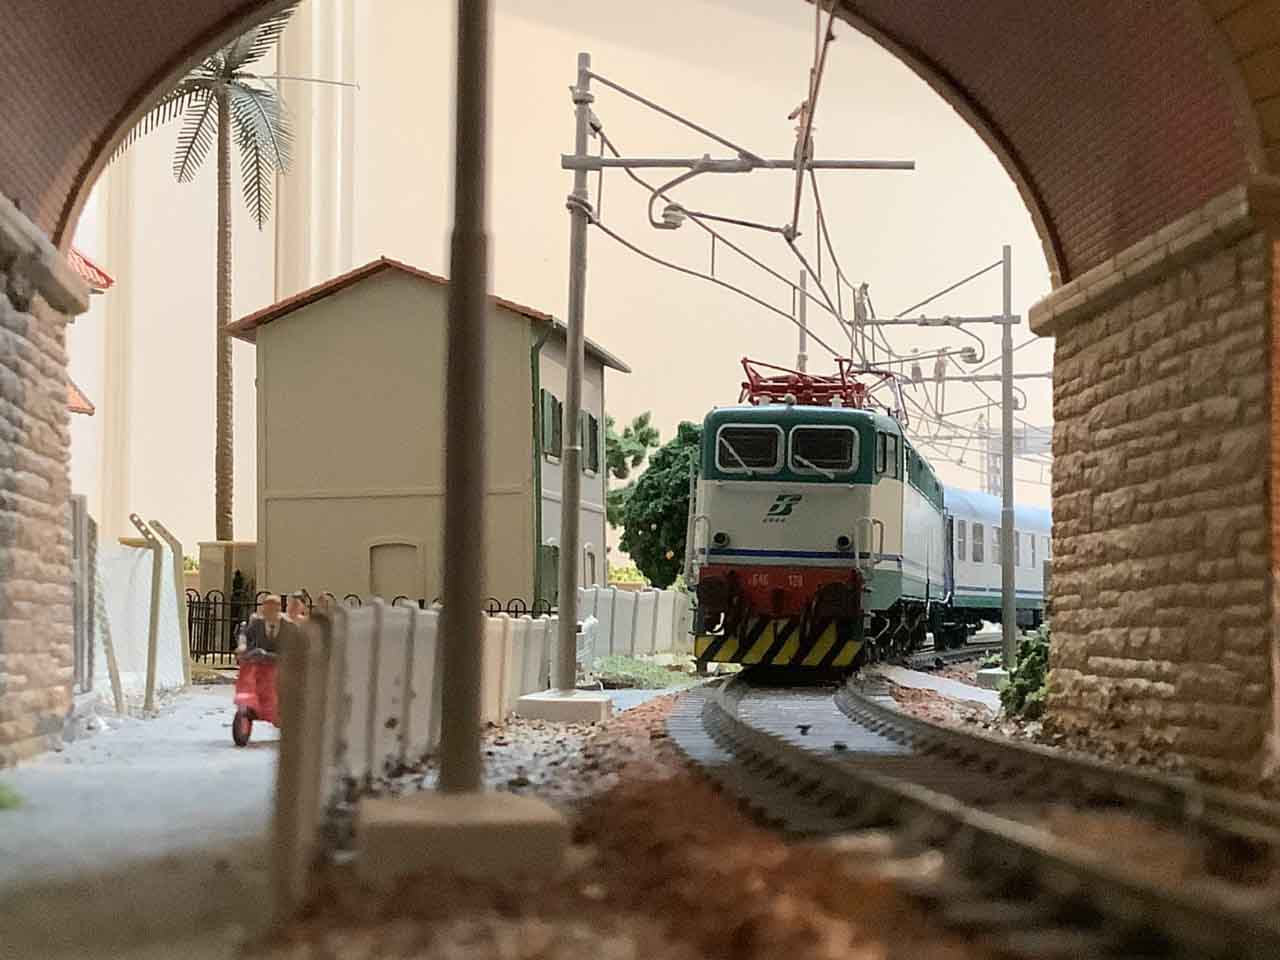
A push-pull diretto hauled by an E646 3kV electric train passes through the headland tunnel at Cervo St Bartolomeo and heads west along the coast of the Med (first picture).
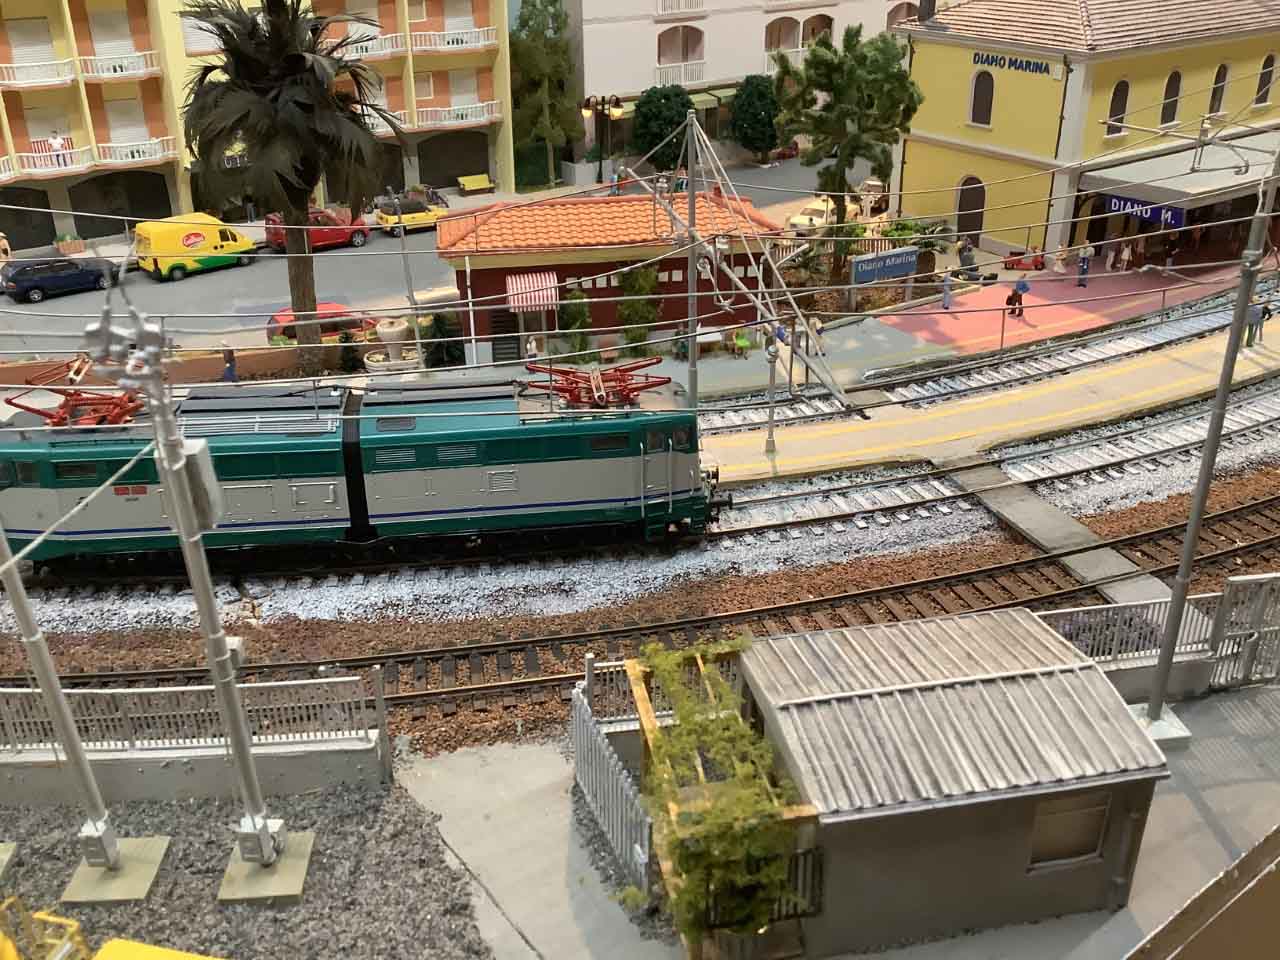
Then runs into Diano Marina station passing the buffet bar with the Hotel Torino in the background and the OHL maintenance depot in the foreground (second picture)…
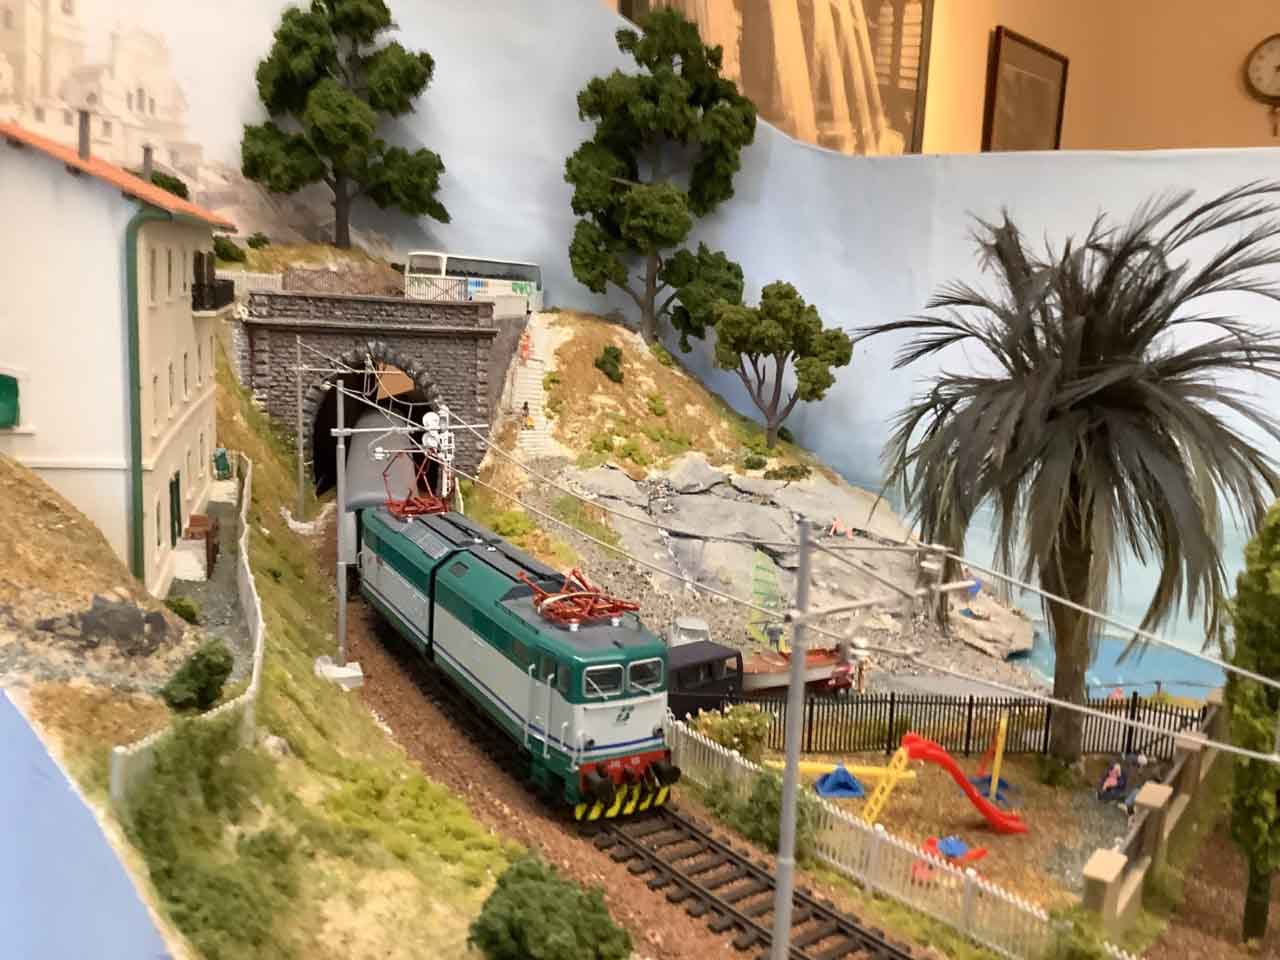
…and finally leaves town under the Via Aurelia bridge (third picture) en route towards Ventimiglia.
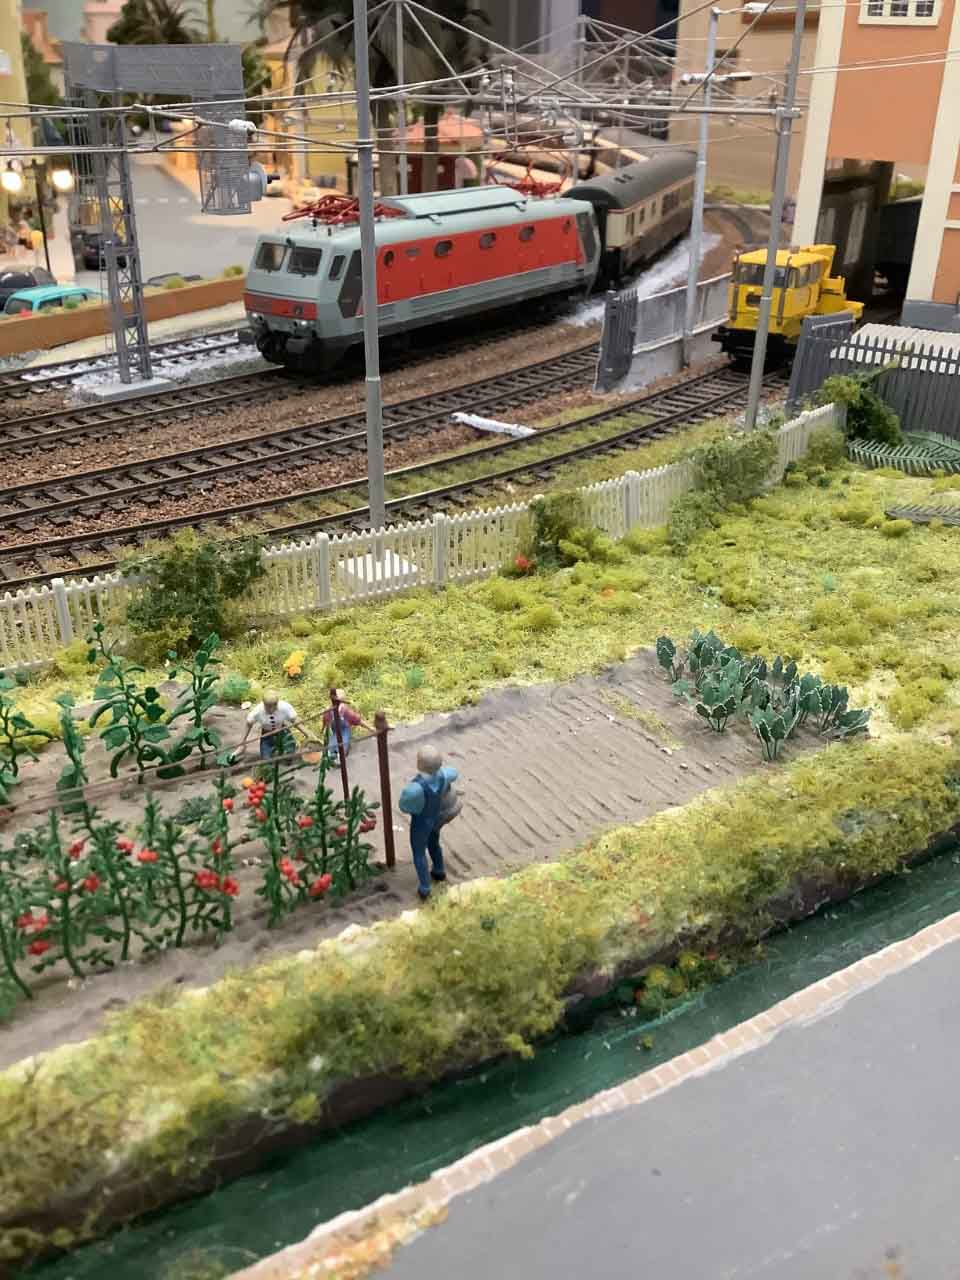
Finally, going the other way, an E444 hauling the ‘Riviera dei Fiori’ through service from Nizza to Zurich via Milano, leaves the station past the 3kV substation while a family from the old crossing cottage tend their vegetable patch.
Ian’s been in touch – he’s shared his train layout in a shed:
“Hi Alistair,
My interest in trains started at the age of 6 yrs.
When I lived in Great Torrington, my father use to take me down to the station where I spent most of my time taking train numbers ( don’t ask me why).
During that time I got to speak to many engine drivers as well as the fireman. It was because of this that I was offered a trip on the footplate on the Petrockstow line.
Could you imagine that happening now especially with the so called Health and Safety rules.
I was hooked. It was then a built my first Tri-ang analogue layout.
After years of moving around Devon, Dorset and Norfolk I married a Weymouth girl whose father happened to be the Weymouth Station master and the second layout was built. This time it was digital, a train layout in a shed approx. 18@x15’ and was a very complicated layout.
About 3 years ago we moved house which had a long but narrow garden, once the house was in some sort of order a shed measuring 14’x10’ arrived on Nov 2020 somewhat smaller than I wanted.
Rob our electrician was summoned to wire up the shed on one condition that a cup of tea and a visit to the model railway construction was in order should any work be undertaken in the house.
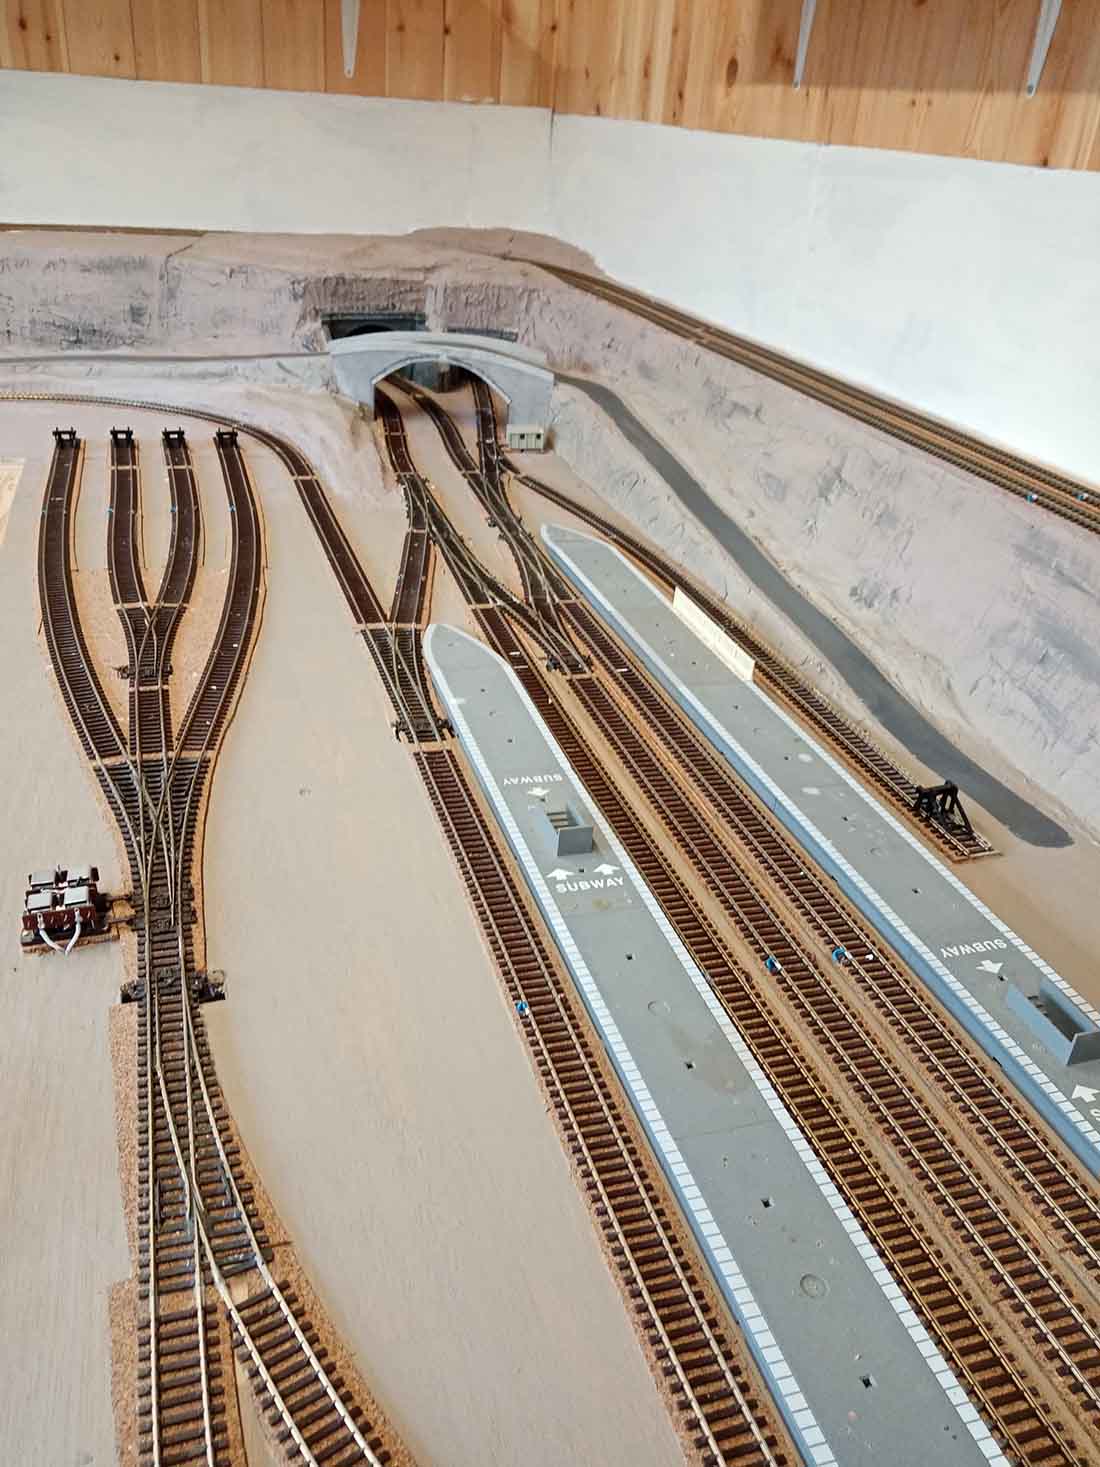
I had an idea as to how the layout should look so first the baseboard was constructed using 3/8” ply and 3”x2” legs which would support my weight, the base width itself was anything between 24” to 36” which gave me plenty of room for the marshalling yard etc.
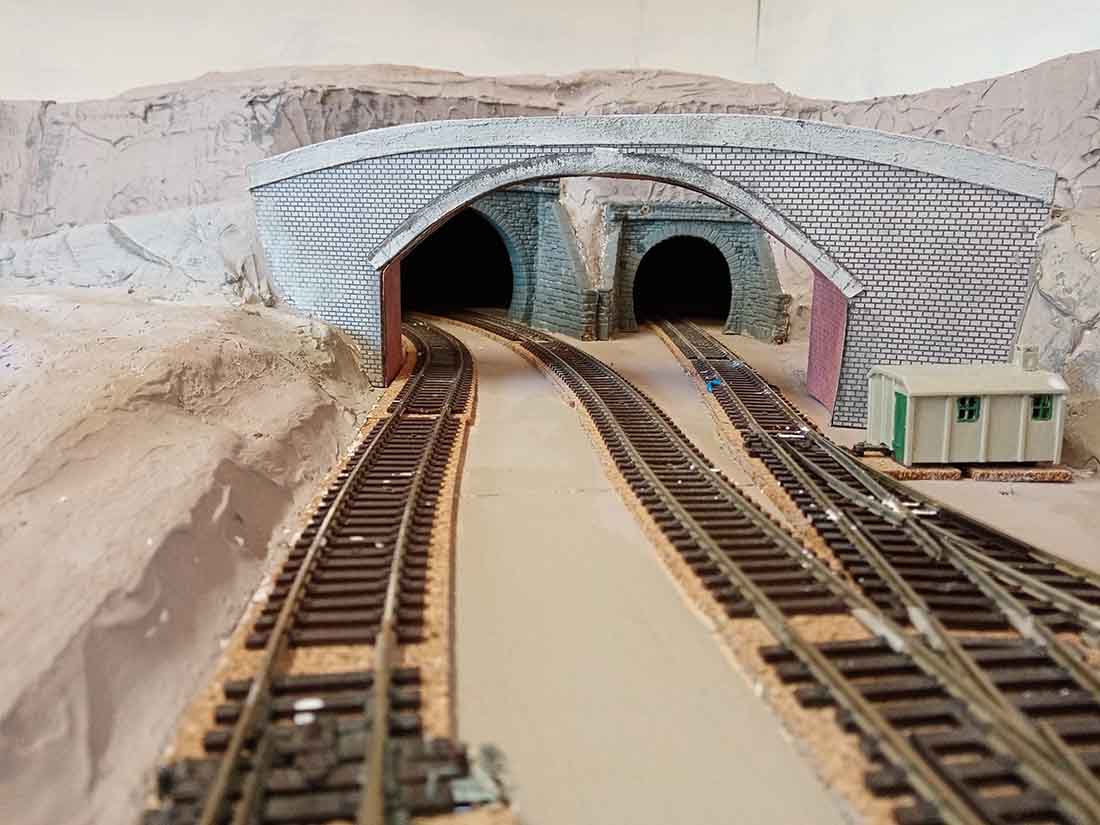
At this point a second base board was added underneath this ran the full width and length of the shed to incorporate a single track eventually ending up under the control board with four siding fiddle yards, entrance to the fiddle yard is via the tunnel nearest the wall.
Inclines of 1” every 24” were made of ply/hardboard and covered in cardboard, mod rock and a thin layer of Polyfilla to give the rock effect.
Once the inclines, tunnels and bridges were in place and the whole thing wired up to the control board I ran several trains with various rolling stock to make sure of any mishaps.
Next was the Faller car system which I had from my previous layout, as you can see from the video the little VW Camper van run really well sadly only enough room for a single track.
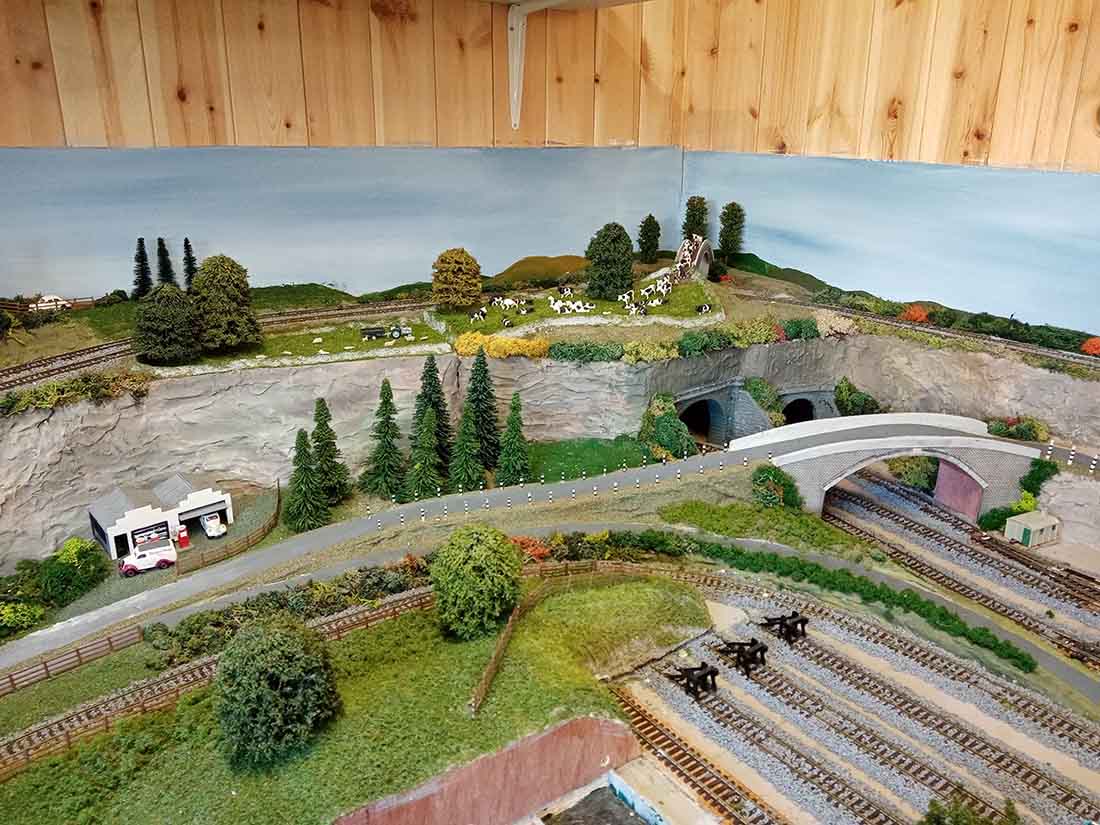
Access to the shed was made from a sliding section 18”x24” (I hope I don’t put on any weight) which can be removed and stored when required, ballast and scenery were next on the agenda, buildings placed in various positions to give me some idea of how the scenery was to be created.
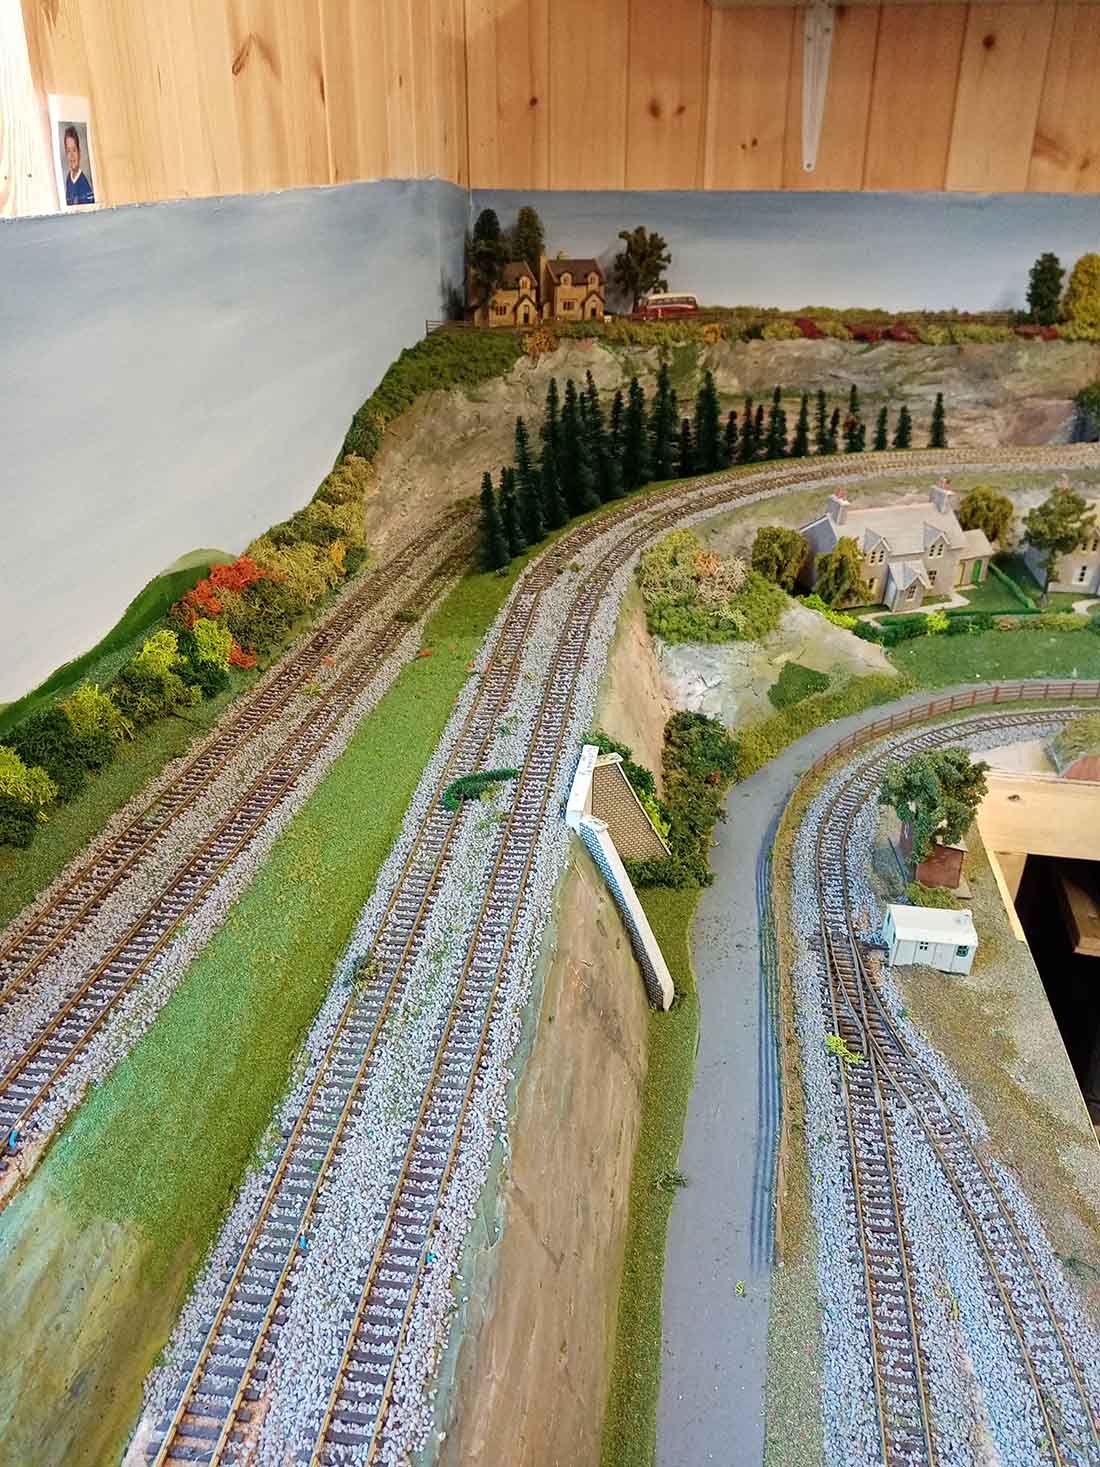
Two sections of the hills can be removed for easy access should a train become derailed, the first is behind the garage the second is in front which allows me to clamber up onto the base board to get to the far corners if required.
Only a 3rd of the scenery is partly finish if ever it is, I don’t want to shut myself in the shed for the rest of my retirement, so I joined a model flying club something I’ve always been interested in.
So dry weekends are spent flying, wet weekends are spent either in the shed or repairing the WOT trainer, for some reason the cornfield in the surrounding landing patch seems to jump up at the plane when landing.
I’m not a model train buff and I’m sure some of you will look at the layout with disapproval especially the way the building etc are placed but to me it’s the way I see it even if some of the engines are pulling the wrong rolling stock, it’s all in the satisfaction of scratch building and running the trains achieving something on your own.
Ian”
There’s been quite a few train layouts in sheds recently – a simple way to get your own space. And think of the peace and quiet…
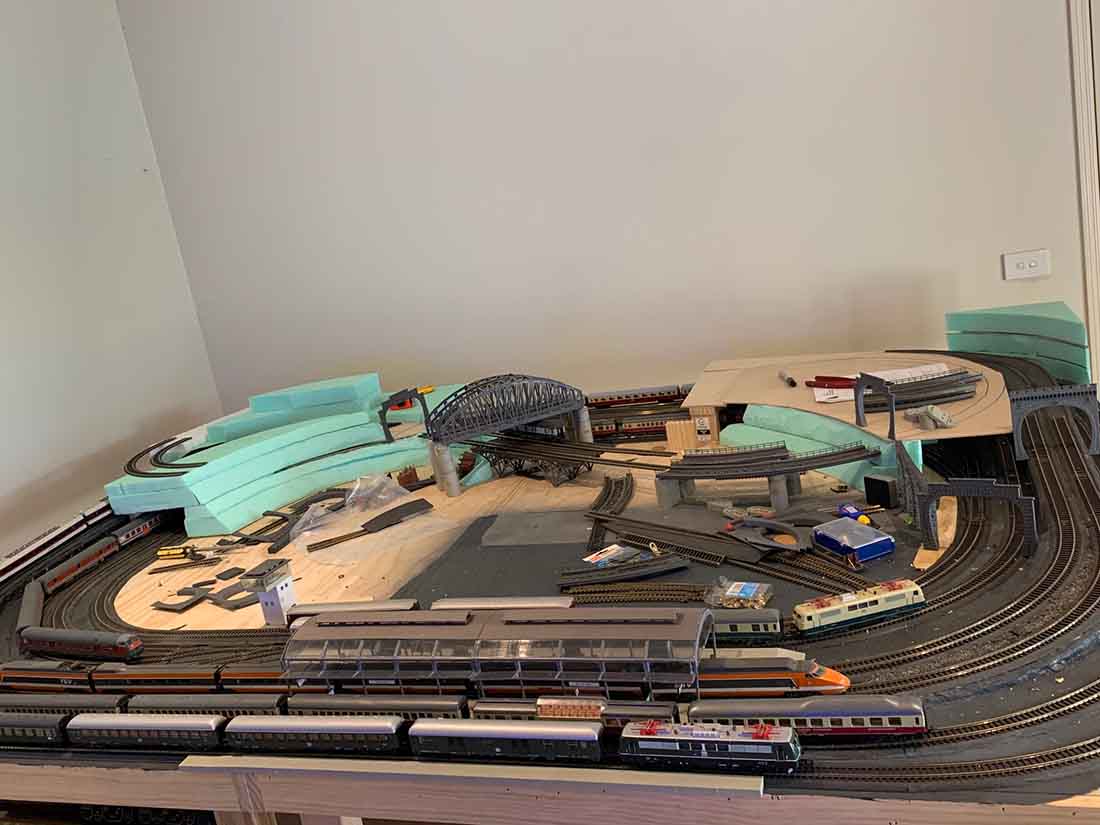
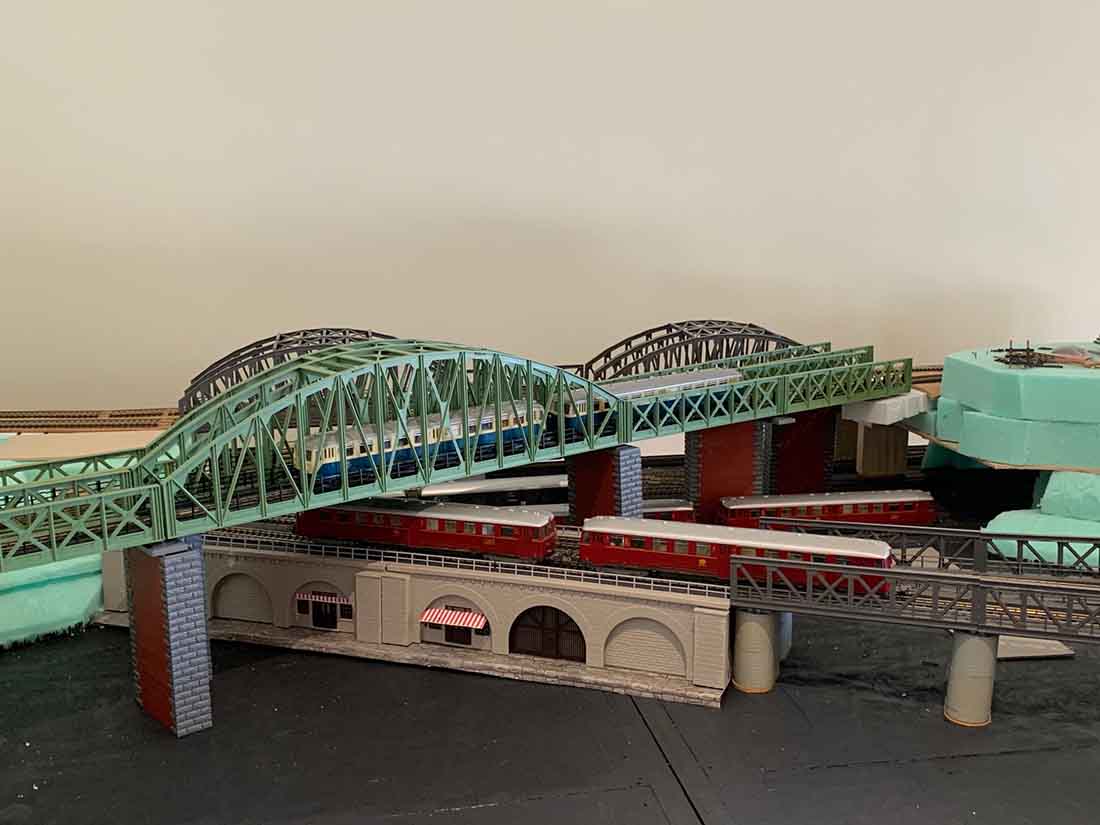
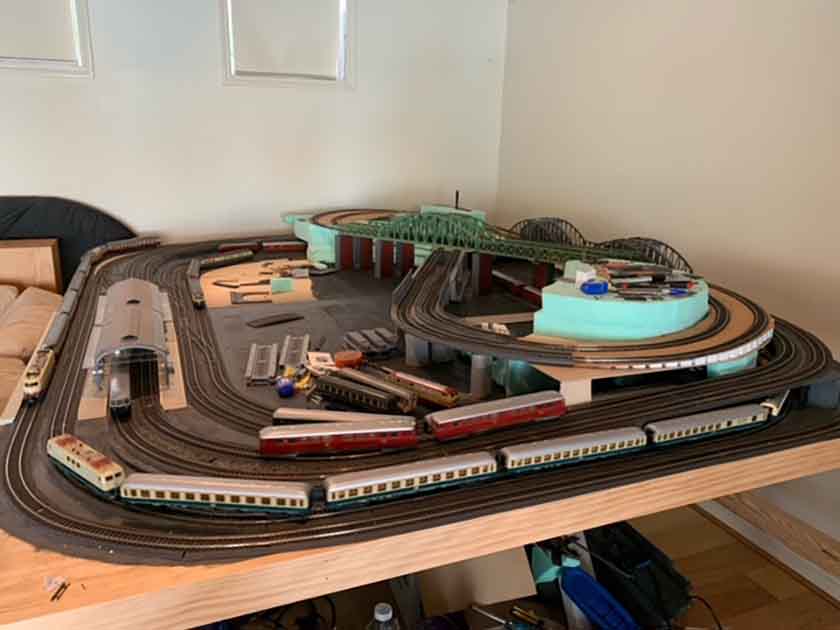
“You will recognize most of this stuff as much of it is yours.
The 3 sided tower covers the drain from the kitchen and has windows from the building next to it.
As this is somewhat distant I did not do the relief that John recommends. Great to do while watching football (not soccer) playoffs.
Greenery and other landscape treatments will finish it off. But first I have track work to do.
Have a great balance of the day.
Dan, aka MN Dan.”
Now on to Bill who has a question:
“Hi Al,
Thank you for all the posts! I read them every day and save most of them for future.
I have finally started! As a kid, I set up my Lionel around the Christmas tree and ran it until tinsel fell on the tracks popping the circuit breaker. It has been seventy years since those days and I have finally started my layout.
I decided my first effort would be a conservative 4 x 8 early twentieth century California Sierra Mountains logging operation with two connected tracks in HO scale; an upper/inner logging track bringing rough cut logs down to the mill and village where they would be cut and loaded onto flat cars for transport to “market” on a larger mainline.
I have completed the bench work and laid out both lines, but now I am losing some confidence. My lower mainline should be fine with 18” radius and 2% incline/decline, but I’m more concerned about the upper layout. I have designed the track on a 12” radius with 3% to 4% incline/decline hills. My intention is use a small loco, x 6 x, or Shay at slow speeds pulling three or four logging cars. Am I destined for continuous frustration with derailments using this tight of turns?
Thanks in advance for your input.
Bill
California, USA”
Please leave a comment below if you can help Bill.