Brian’s been in touch with an excellent post on model railroad scenery ideas.
Have a look at what he’s done;
“Hi Al,
I have been making silicone moulds and resin castings for much needed detail around my layout.
If you are short on model railroad scenery ideas it’s a great way to fill a corner of your layout.
Herewith photos and descriptions of how and what I used for this process. I have been asked before on your site on how I make the castings and what I use.
I want to stress here that I make the moulds and castings for my own use only. I do not sell any of them as that would be illegal and a copyright infringement.
Here goes. (Some of the photos are not the best quality as they were taken before I had a decent camera).
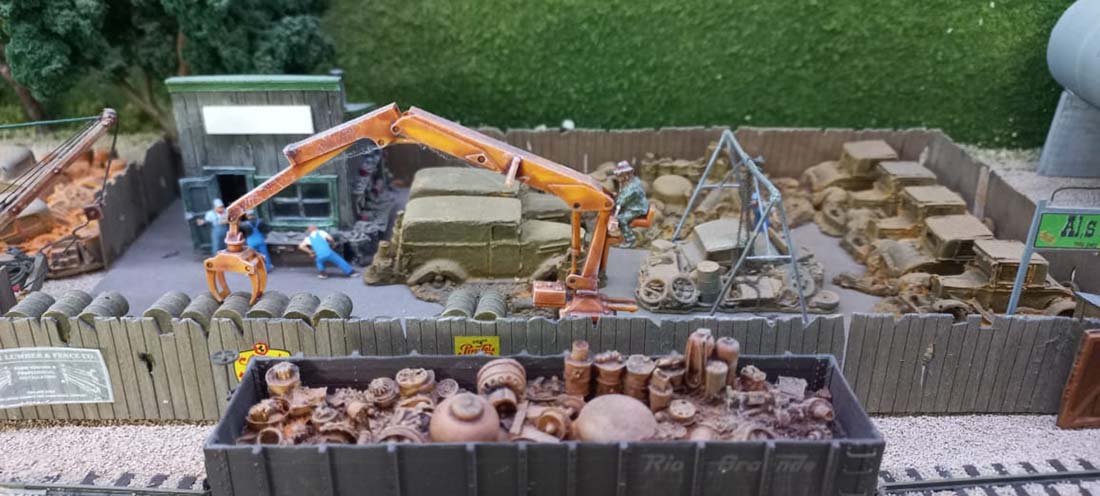
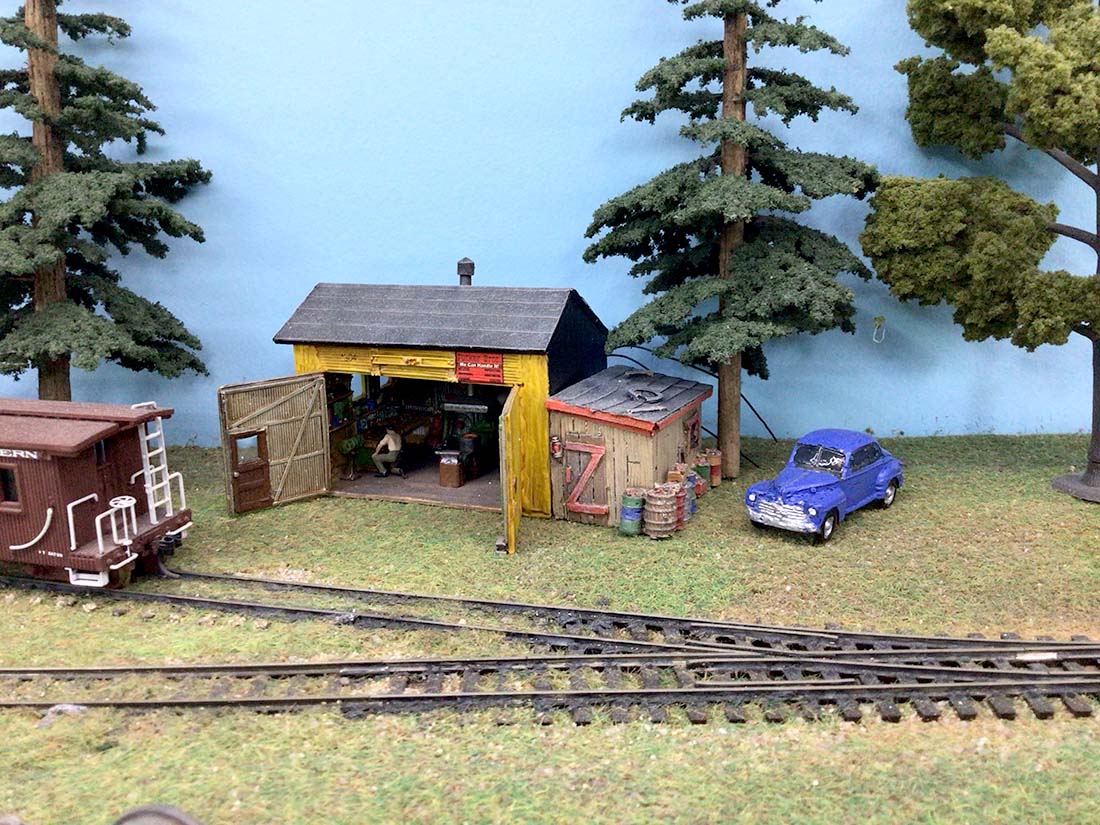
This photo is of one of the scrap yards I have on my layout showing a lot of cast vintage vehicles glued together.
I am planning a third scrapyard for my layout. They generate a lot of shunting, deliveries and collections from them. Hence the gondola car in front.
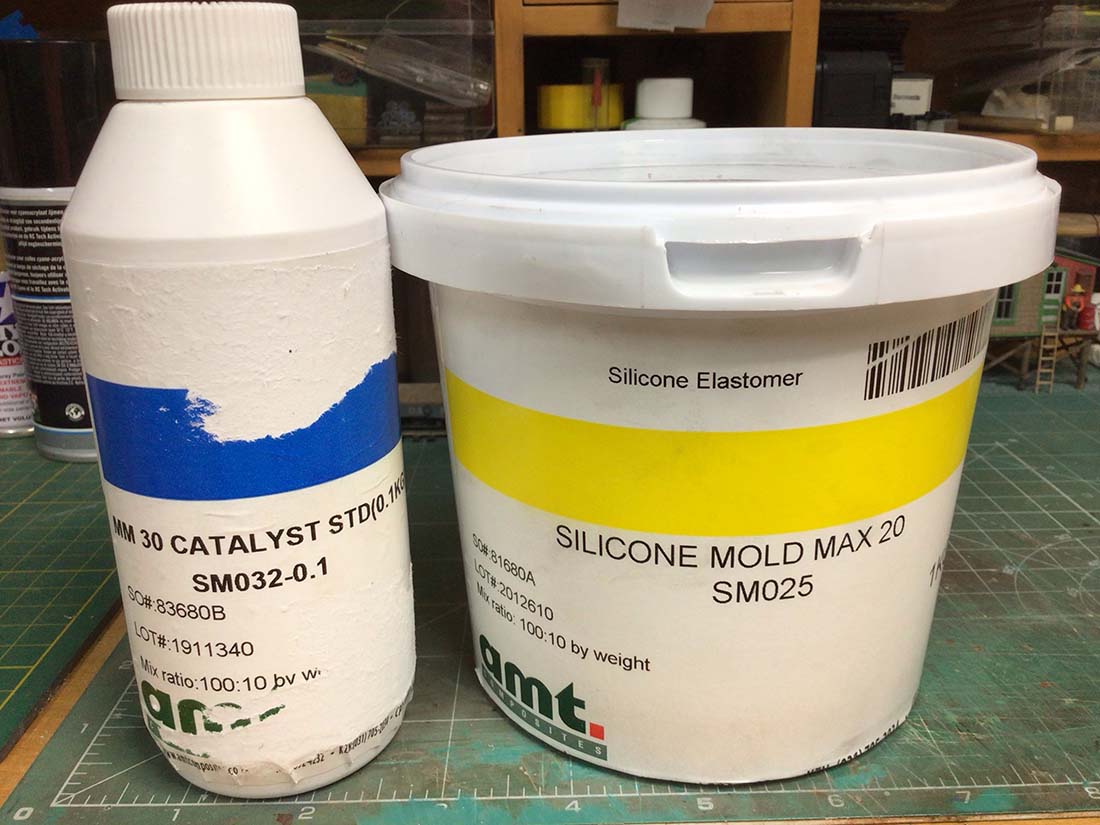
Here are the products that I use, silicone and it’s catalyst. Mixing instructions are on the labels. It is normally by weight and ratio – 100:10. This is the silicone product.
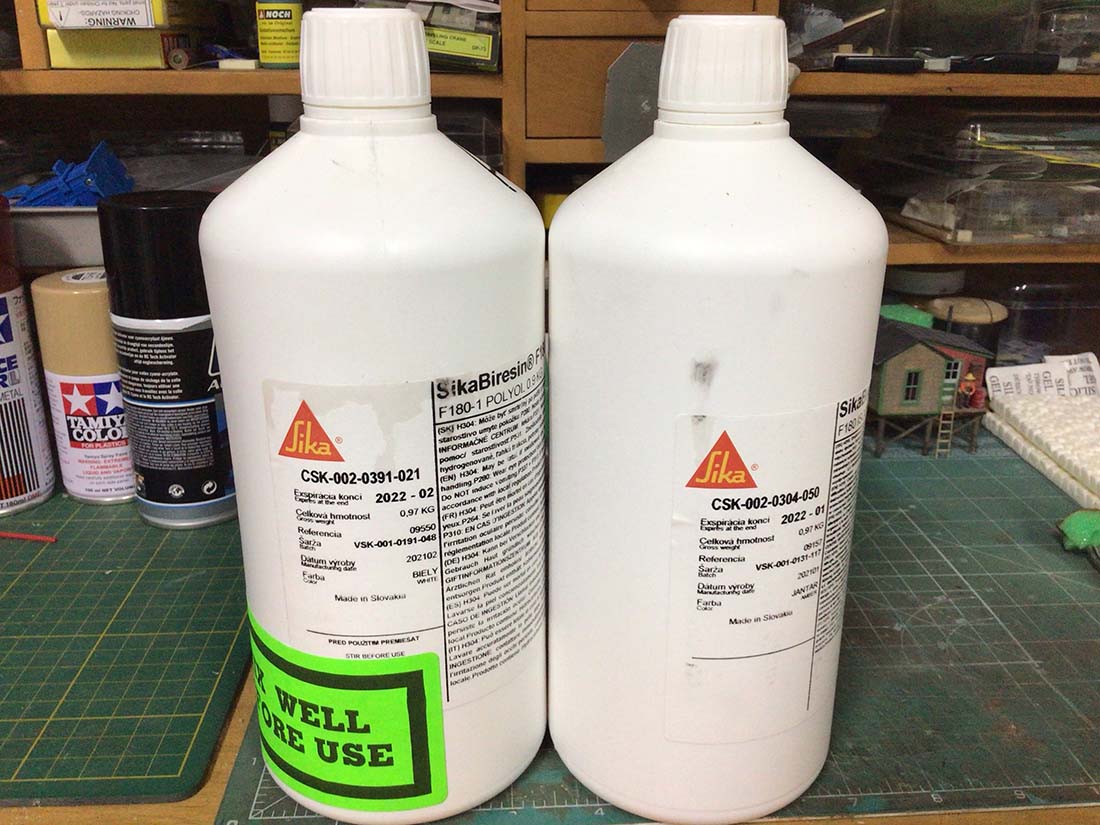
Below is the resin product. Mixing ratio is 1:1. When purchasing this resin product, ask about its expiration date as they do have a shelf life.
Next, I select the parts that I want to male moulds of and select a suitable tub to use. I stick the parts to the bottom of it using “blue-tac”.
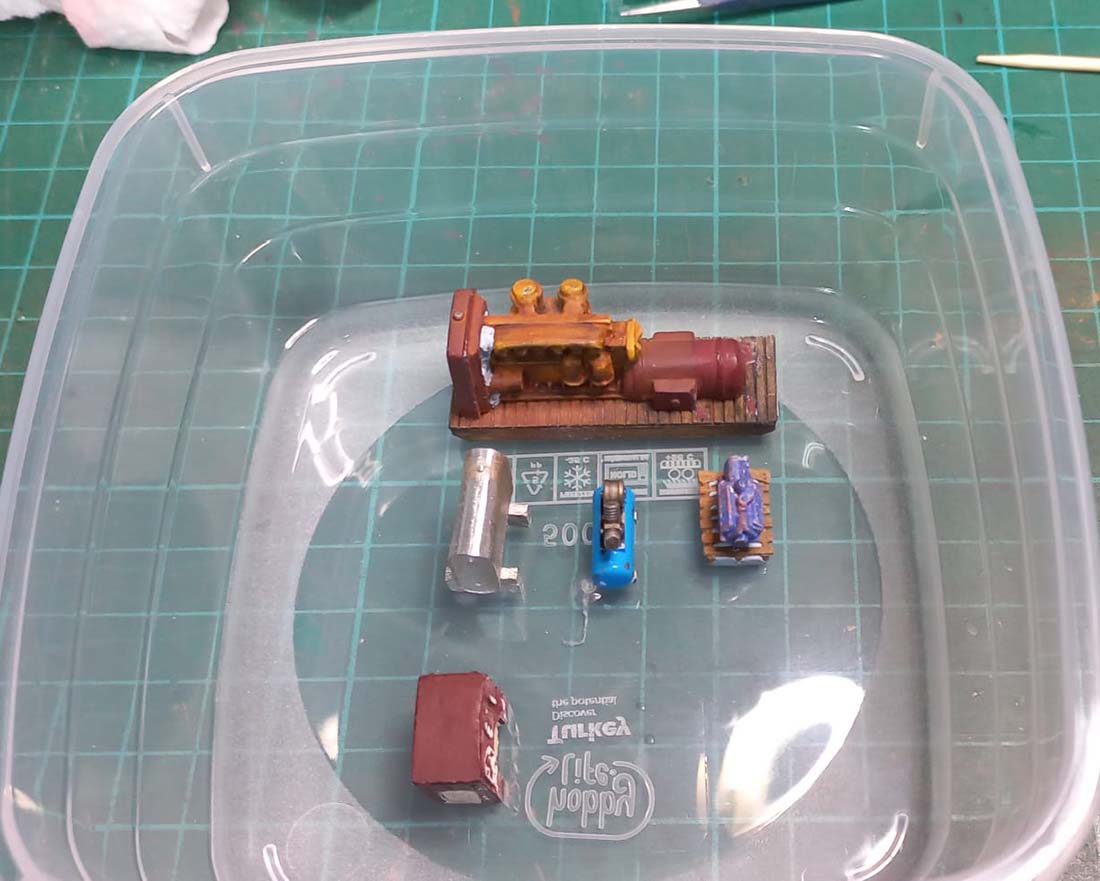
From here, I fill a jug with water, pour it into the mould above to the depth that I think would be sufficient, then measure the amount of water, usually in millilitres and that will tell me how much silicone I need for the mould. (No wastage of the silicone)
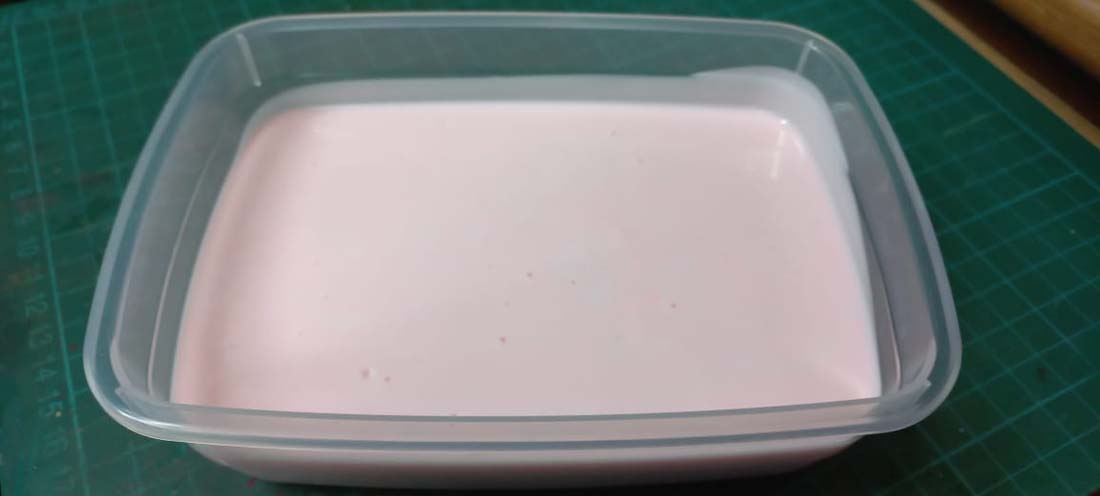
Below is the tub filled with the correct amount of silicone covering the parts underneath.
After approximately 5-6 hours of curing, depending on the weather, the silicone can be removed from the tub and the parts are easily removed.
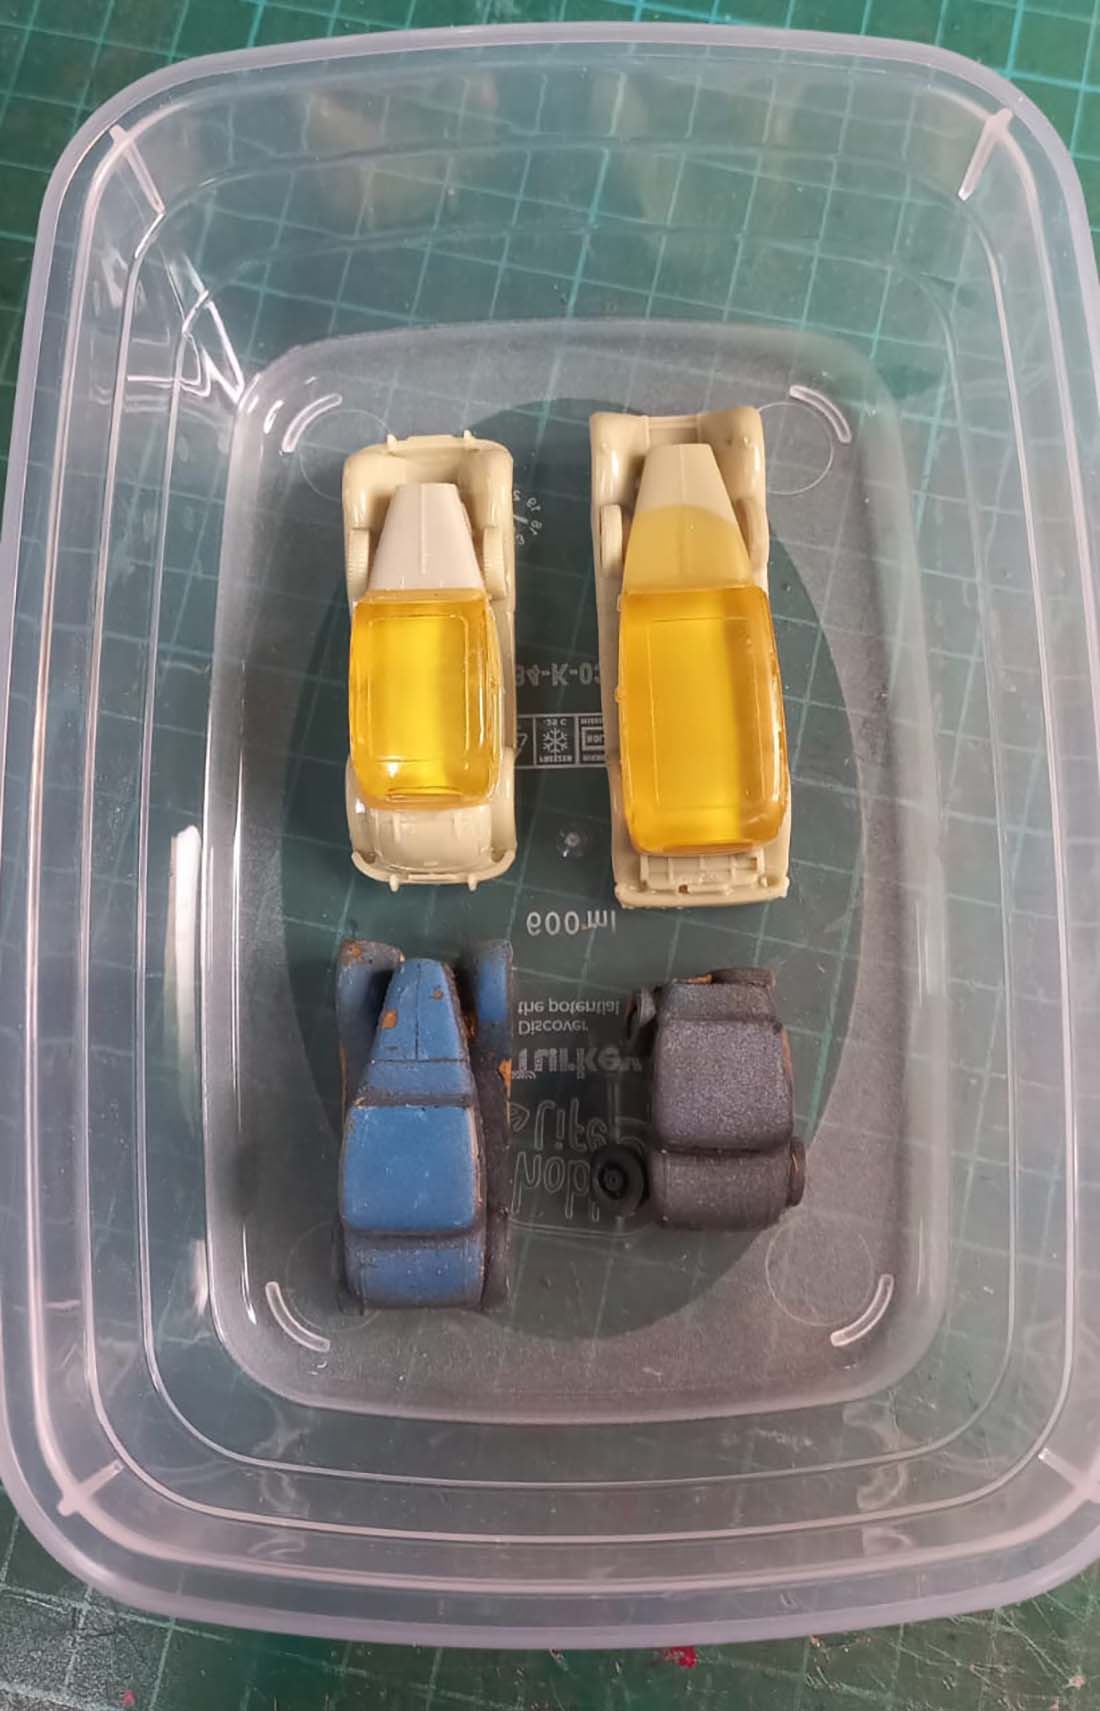
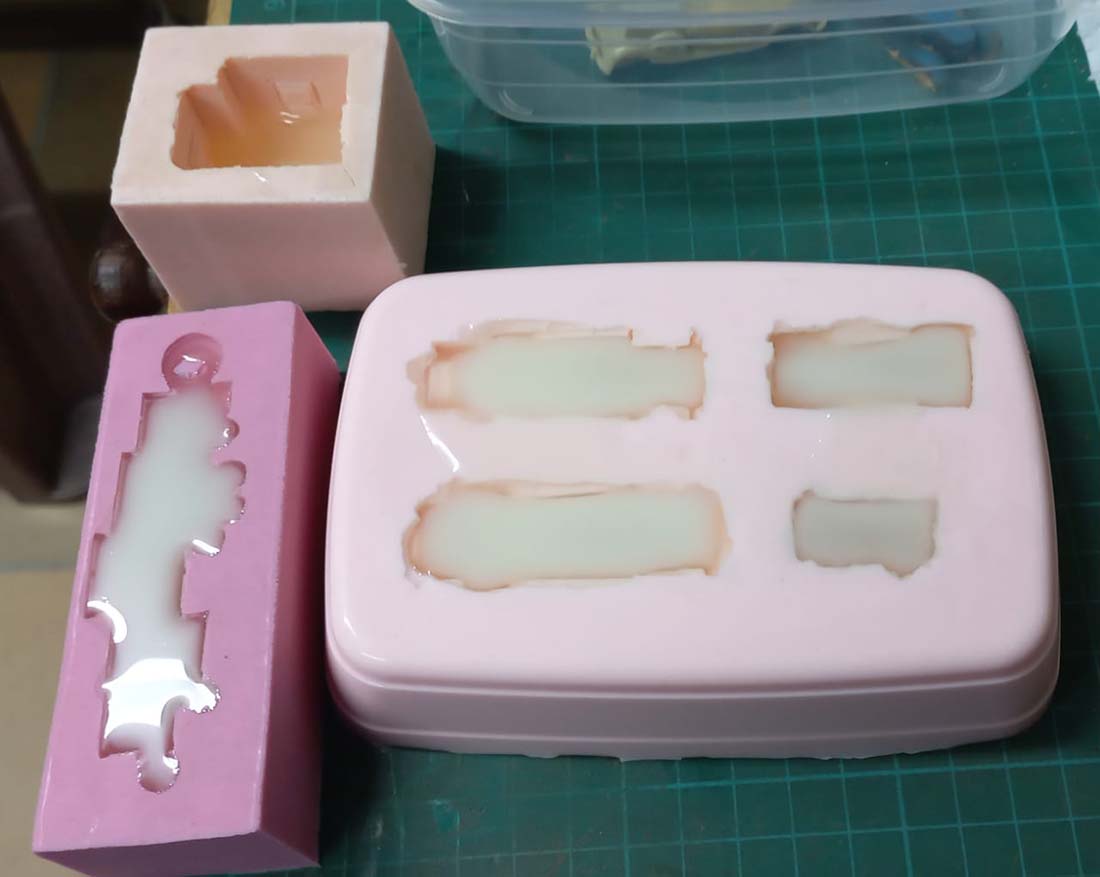
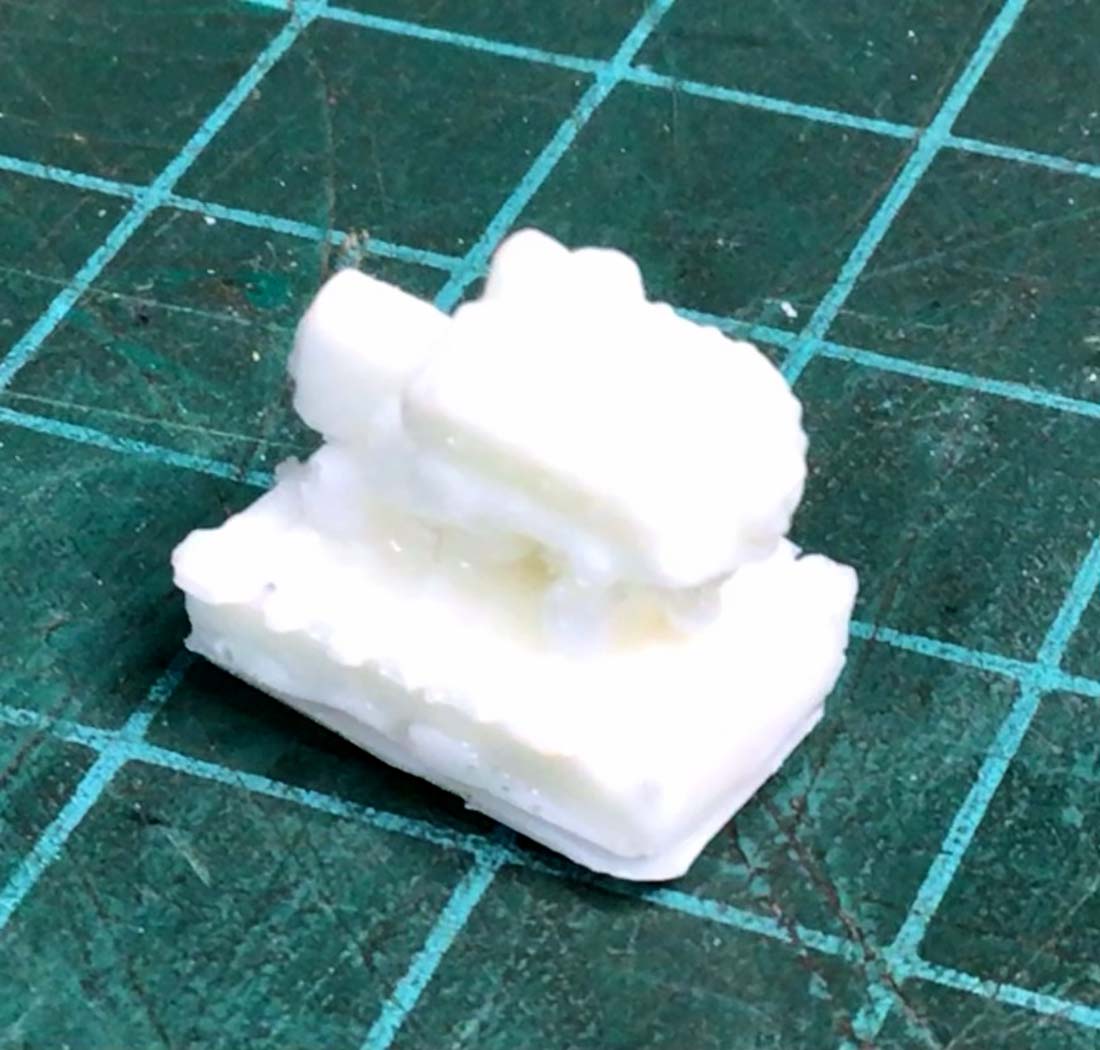
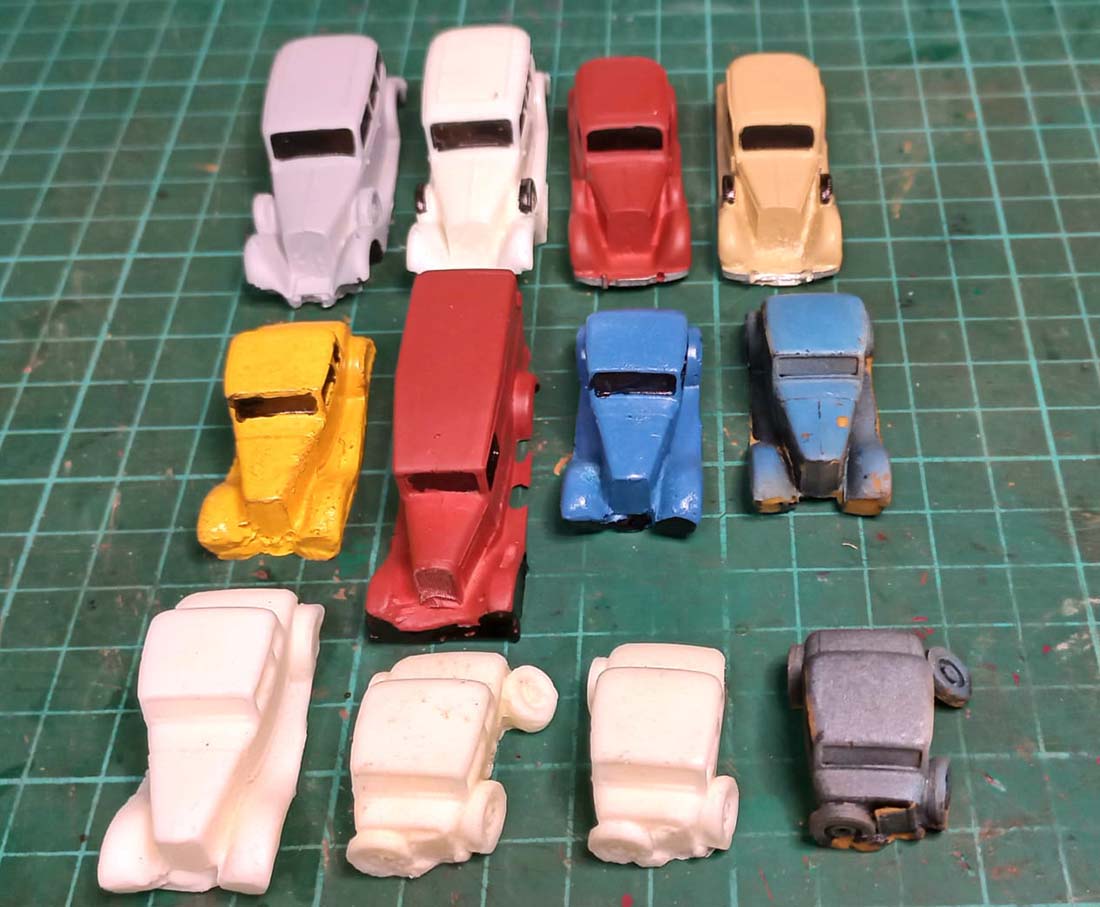
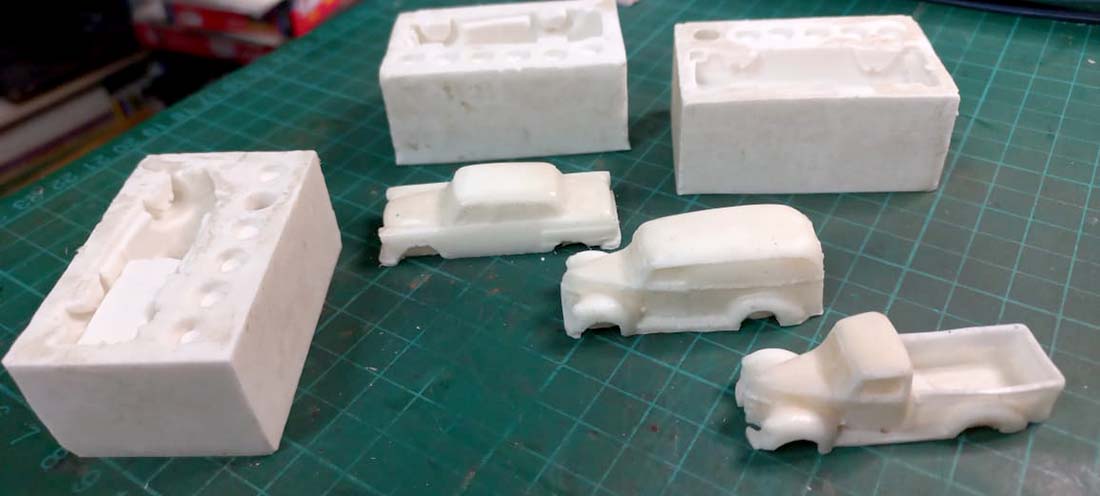
Here are the moulds in use with resin poured in them and after approximately 15 minutes, the parts can be removed and the moulds are ready for making more.
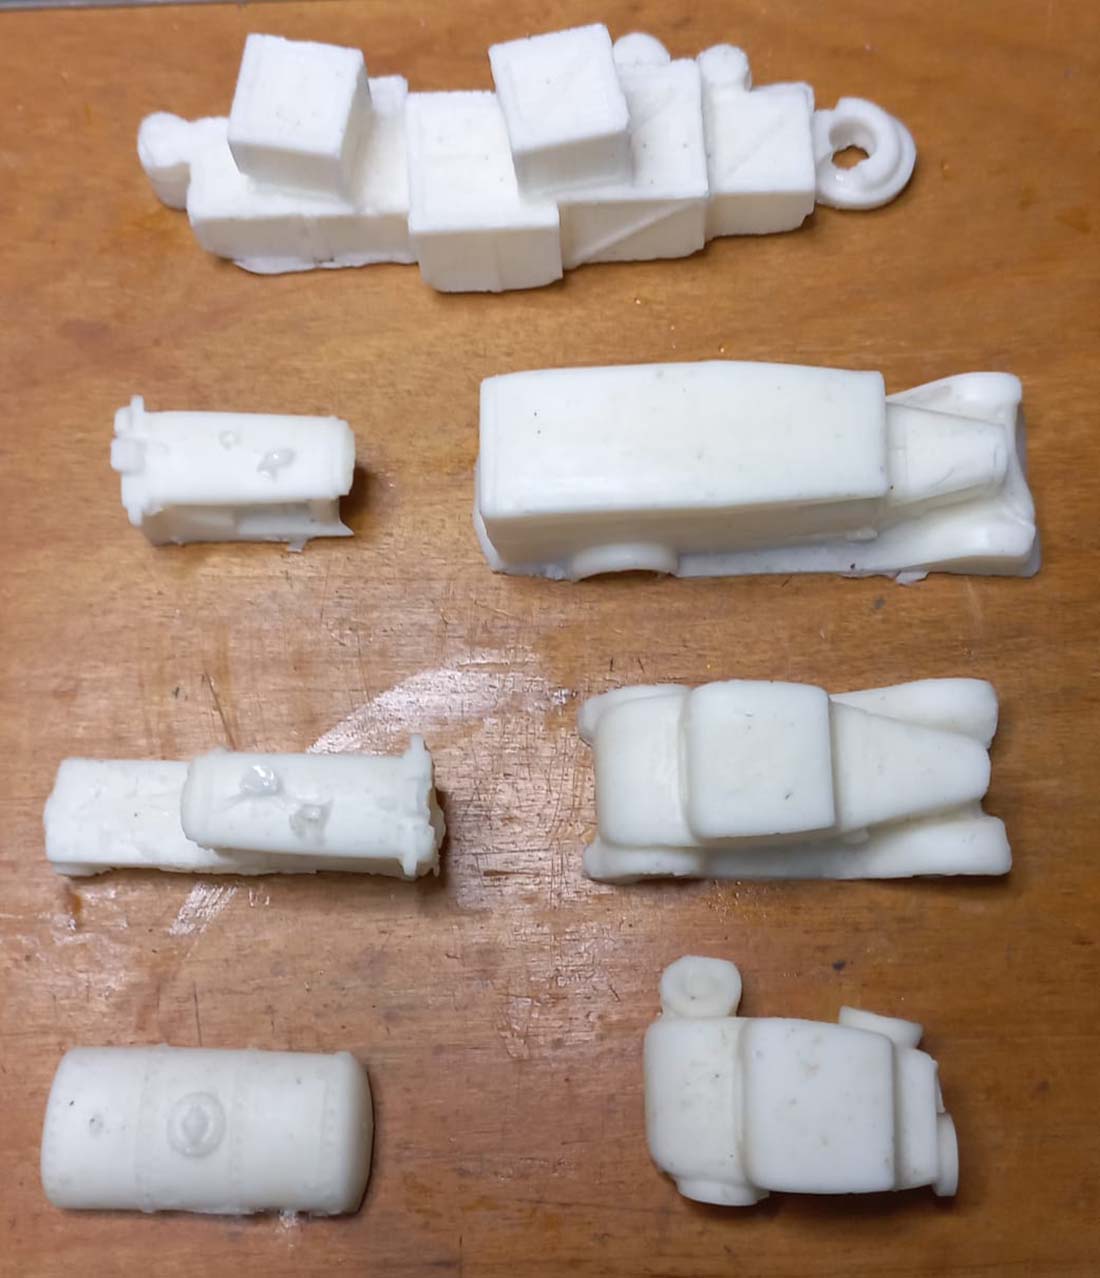
The resin turns white after curing.
Below is an HO scale V8 engine block on a pallet that I also made a mould of and used lots of the castings in and around the buildings on my layout.

Below is the V8 block out of the mould. (Excuse the terrible photo)
Below shows a size comparison with an HO scale figure.
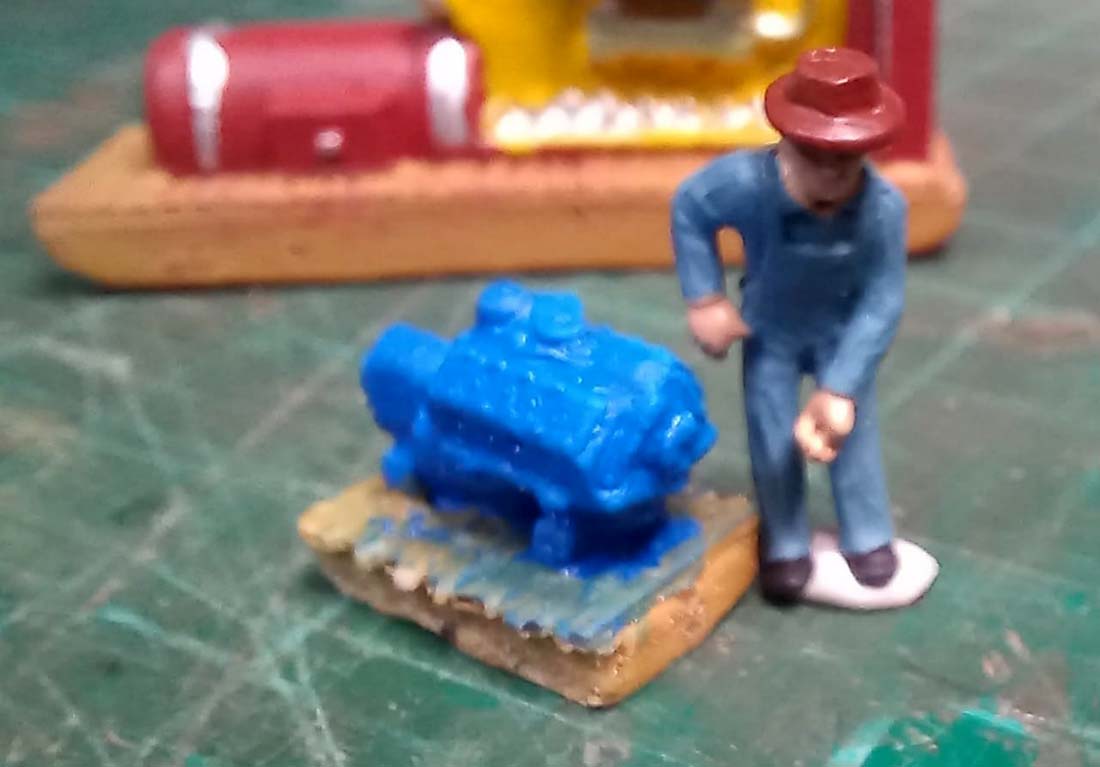
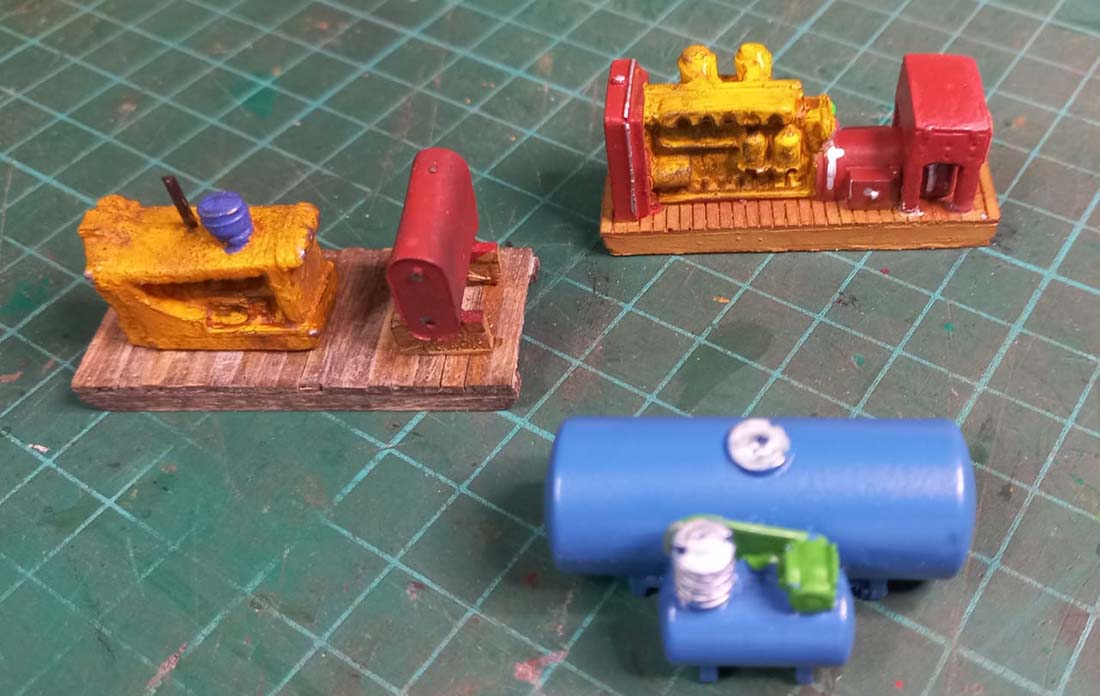
A generator set casting, right is the original and left, the casting before painting.
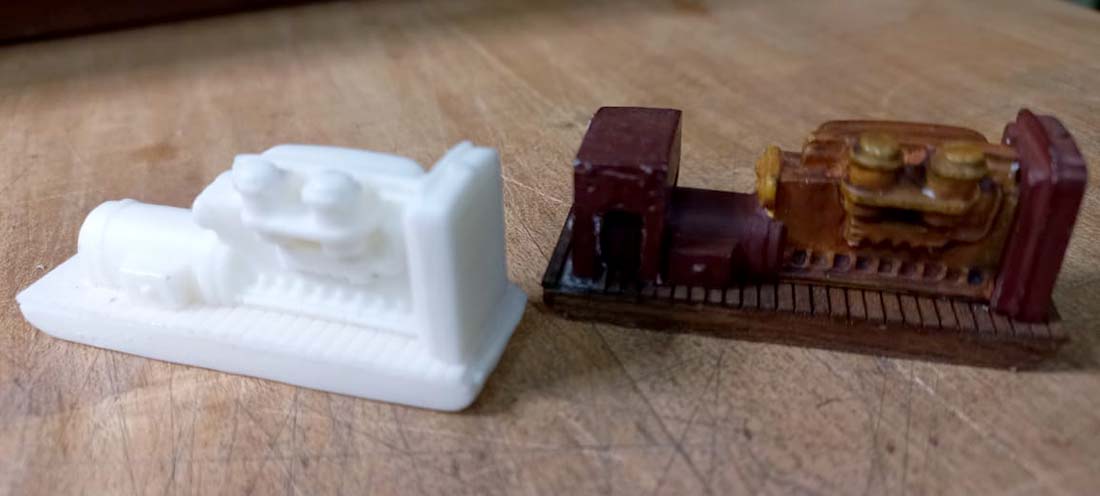
Top is the original and the finished generator casting set below it.
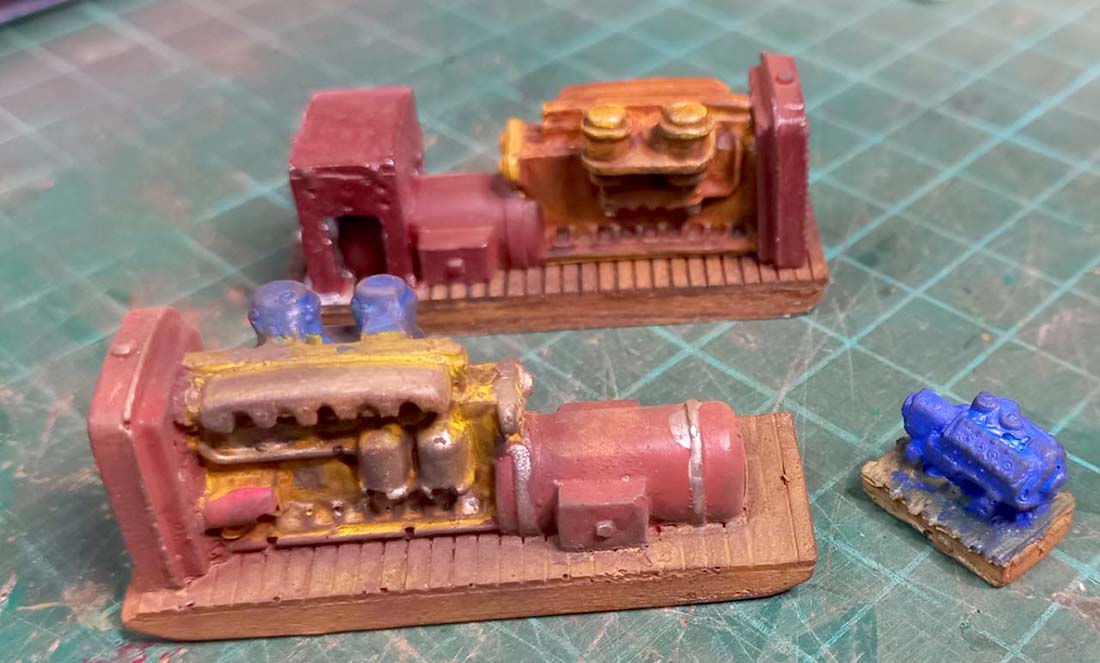
Below is the start of the painting process. Will later be weathered and rusted up.
Out of the mould and needs trimming.
Almost finished.

The above vehicle was moulded in this old photo slide box.
The advantage of using this silicone is that no mould release agent is needed either in removing the mould from its box or the part from the mould. The parts do not need washing after removal as there is no residue on them.

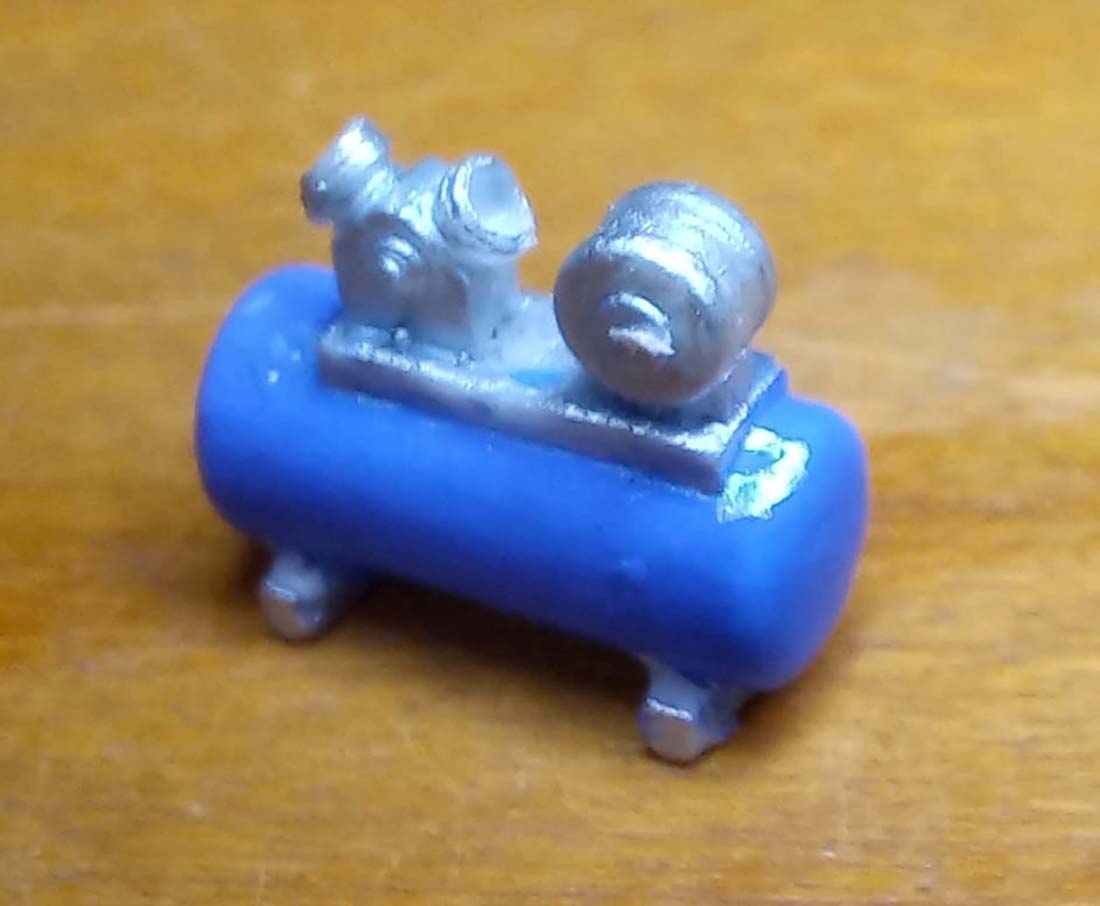
This casting of a small compressor is only 12mm long.
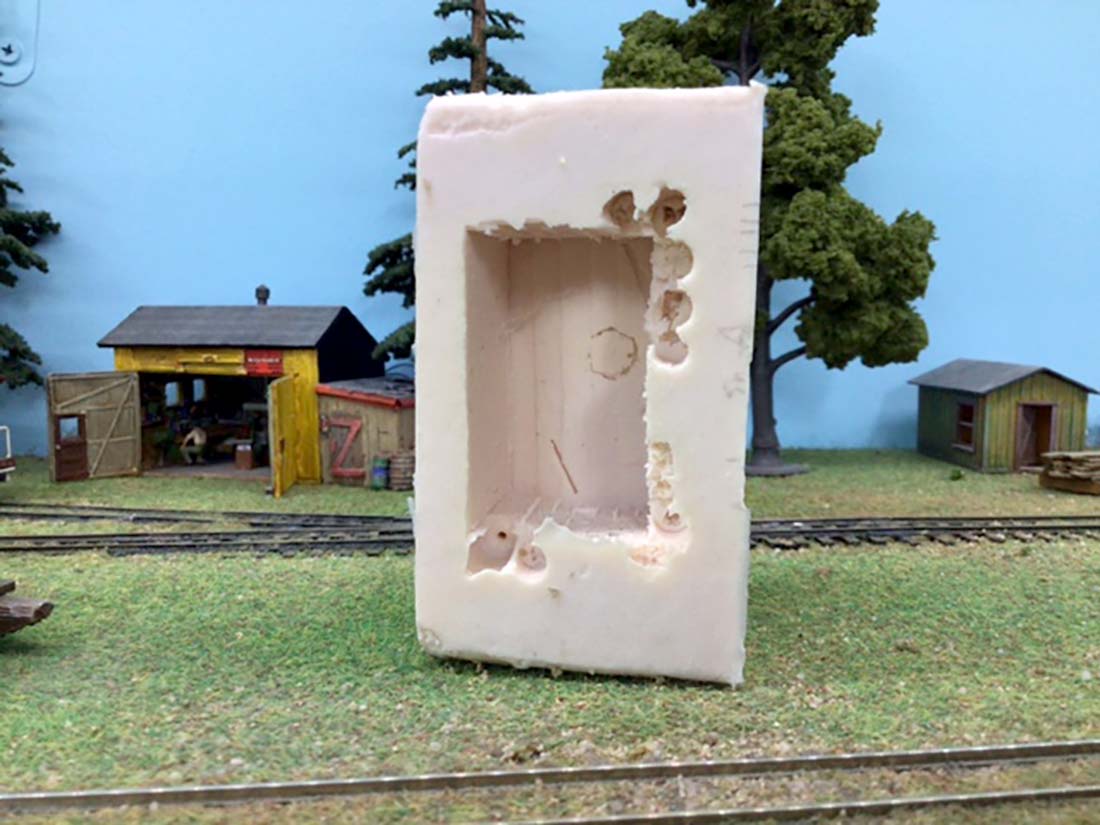
Below is the mould for a building that will be placed on the side of a bigger building.
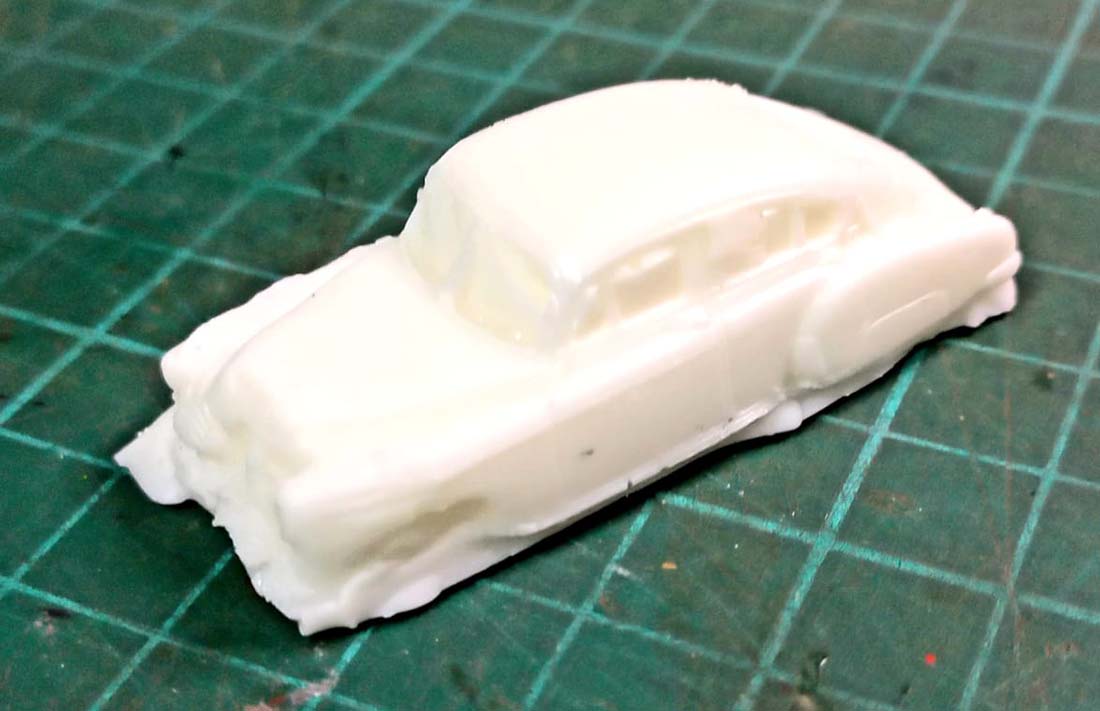
Below is the raw casting out of its mould.
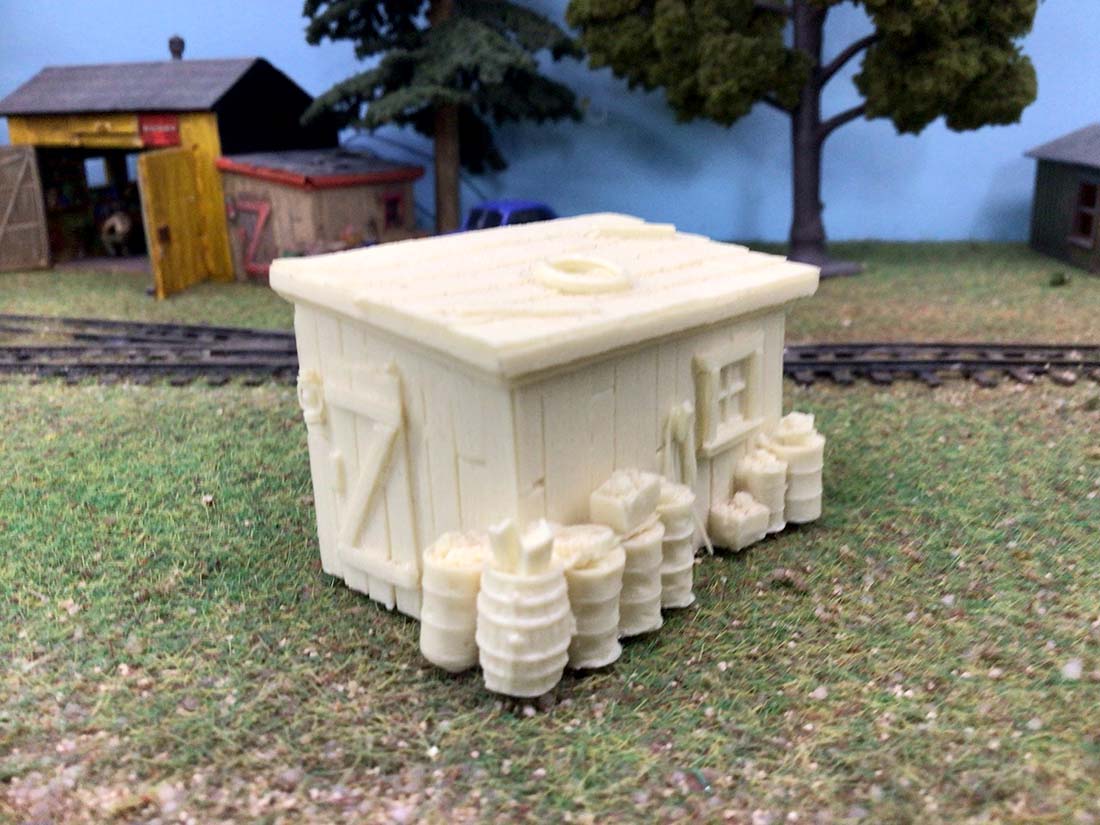
Here it is painted, weathered and placed next to a workshop.
A few more different castings to show what can be done.
A footnote – do not worry about using painted products for moulding as the silicone does not damage or remove the paint. (The original generator set used above is a perfect example).
Again, I must stress that these moulds and castings are expressly for my use only and are not sold or given away.
I hope that this article has explained how I arrive at all the finer details around my layout.
Brian – the HOn3 guy in Knysna RSA.”
A huge thanks to Hall of Famer, Brian. Clever stuff.
Hope you enjoyed that as much as me, I never would have guessed in a million years that’s how Brian makes his scenery.
That’s all for today folks.
Please do keep ’em coming.
And don’t forget the Beginner’s Guide is here if today is the day you start on your own layout.
Best
Al
PS Latest ebay cheat sheet is here.


Well that’s just amazing and I really like the shed, well done Brian!
Mackenzie (Germany)
Brian. Thanks for this. The clever thing is one molded the parts can be cut up to make them appear to be different. This way not too many duplicates around the layout.
Now that’s very creative!
Wow this is fantastic and so useful. Thank you so much for sharing with all of us. I want to try this right now! But alas I will have to wait a little bit but this is one I’m going to reference for many years to come.
Brian
Awesome- many thanks
I always wondered how my dentist made moulds of my teeth… now I know!
Brian, all your doing is duplicating what you already have. All be it you can make 10 cars being all the same. Is it worth the time, $ and effort ?
The Critic
That’s Great to share a big LIKE!
WOW !!!!! Really great Brian!!! Thanks so very much for that information. It’s great to learn something new !!!
If all the cars/trucks are destined for the junk yard….they look to be in too good a condition. What if – you put some crumbled paper, other strategically placed “something” that would give the appearance of a crash of some sort when it came out of the mold? The possibilities seem limitless once you have the technique more or less under control. 🙂
Awesome idea for copying items for your own use. Thanks for the tutorial. Have you tried coating the items with a product for easier removal from the silicone moulds especially items with a lot of corners like that great little house addition or is it necessary?
Sparky, there is no need for any mould release. The resin parts pop right out very easily. The silicone that I use does not leave a residue, therefore no washing of the parts from the mould. The silicone is very flexible allowing the part to be removed easily from the mould.
Brian – the HOn2 guy – Knysna RSA🇿🇦
The critic – NO comment.
Brian
Super idea