Dean’s been back in touch – he’s been busy with his N scale mountains.
“Hi Al,
Greetings from Dean in New Mexico.
Here is the sixth video in an 8-part series discussing my construction of the N-Scale Scenic Ridge layout.
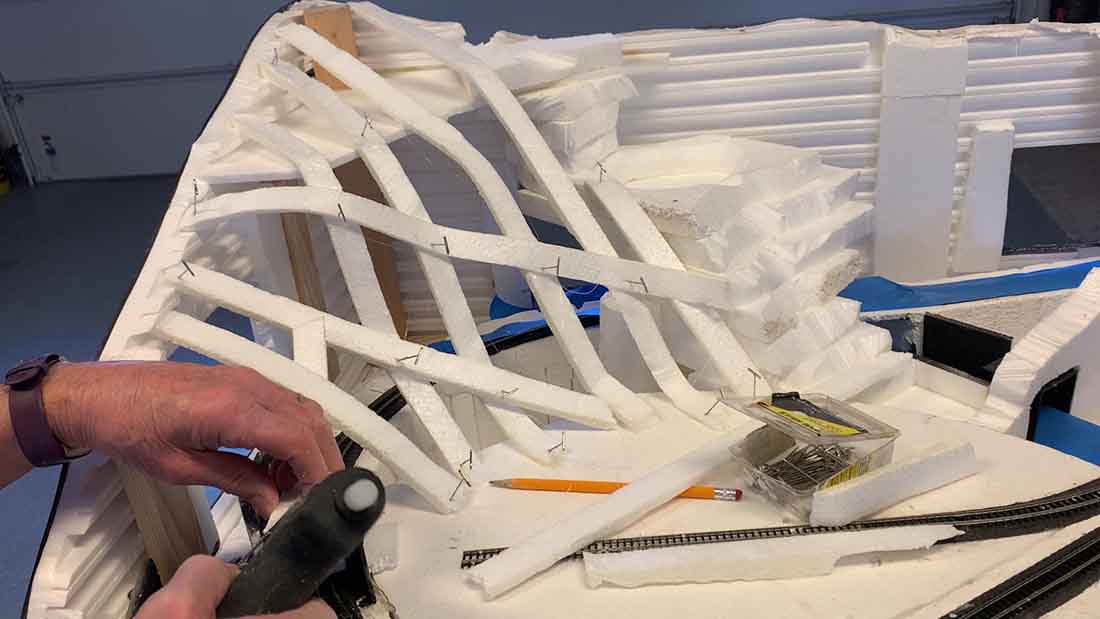
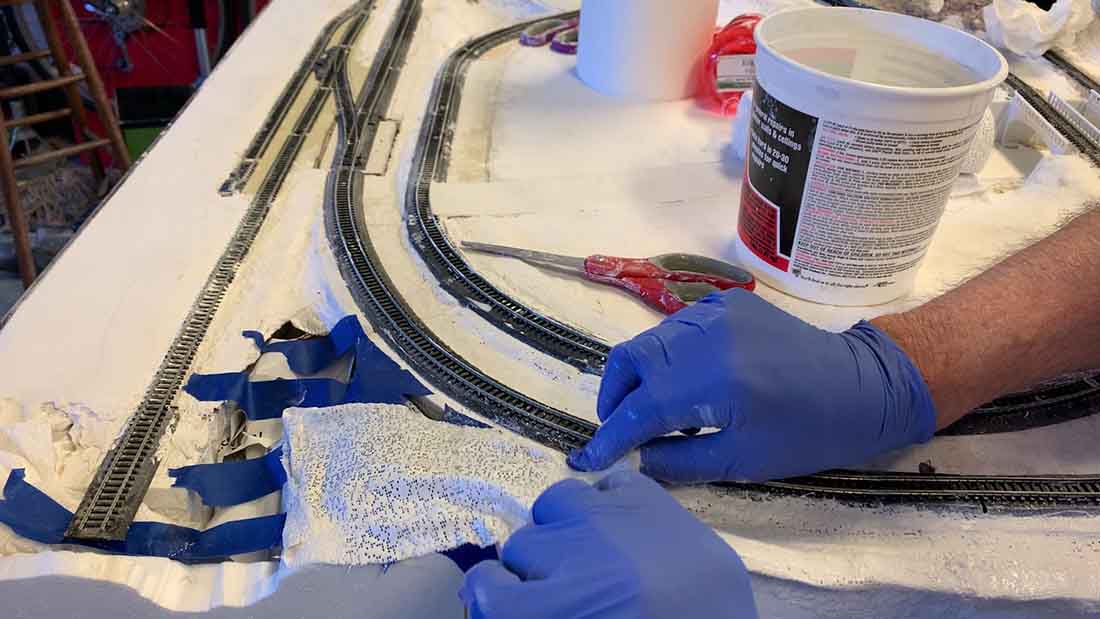
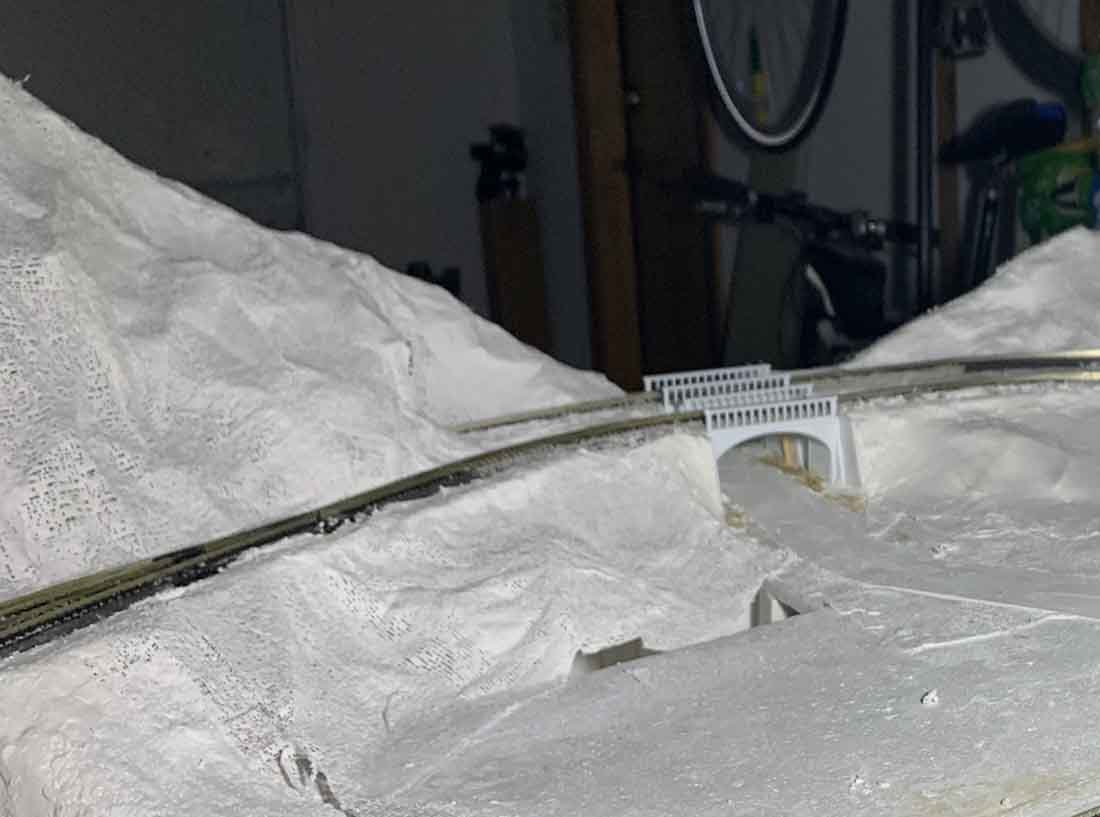
In this session, I show how I created the terrain of the layout using plaster cloth and Hydrocal plaster placed over glued 1/4” foam strips.
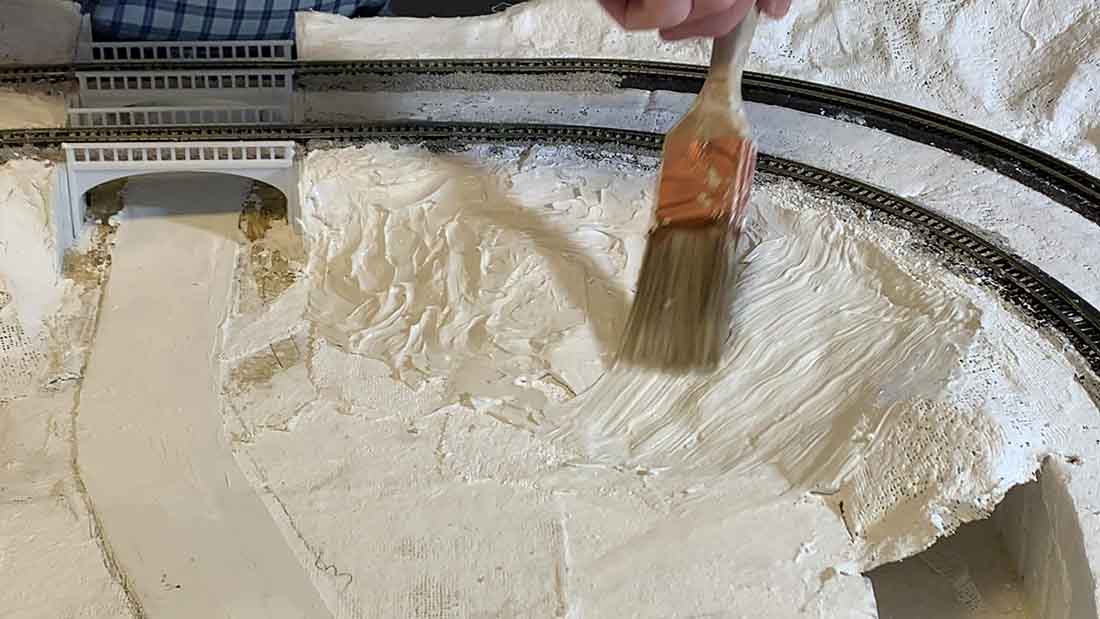
I also talk about making and using paper mache (recipe included) or joint compound to smooth out ridges and valleys.
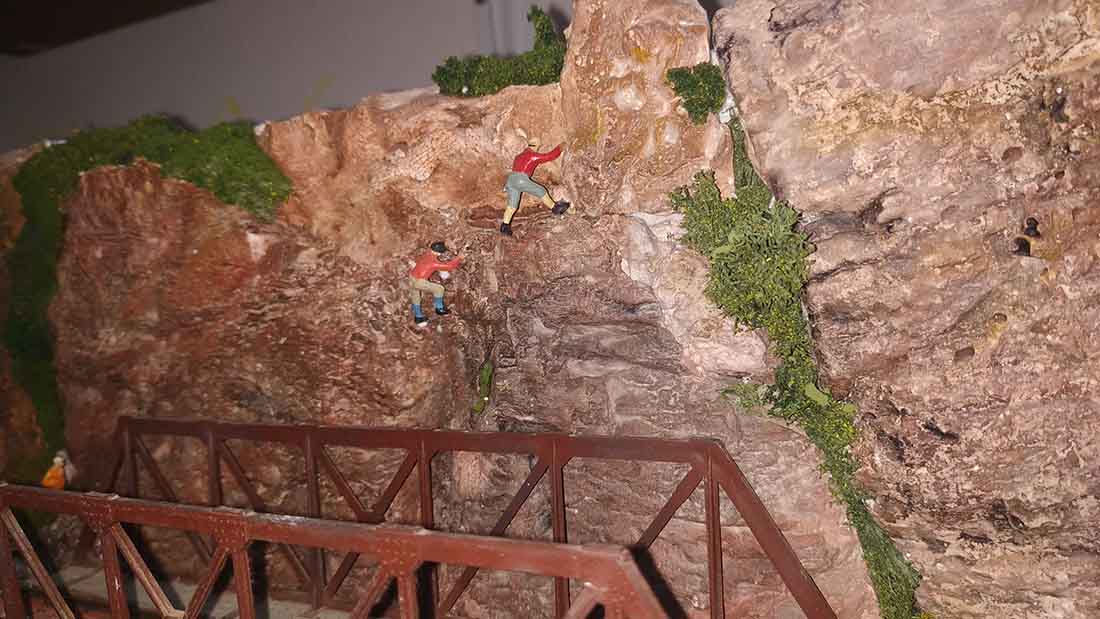
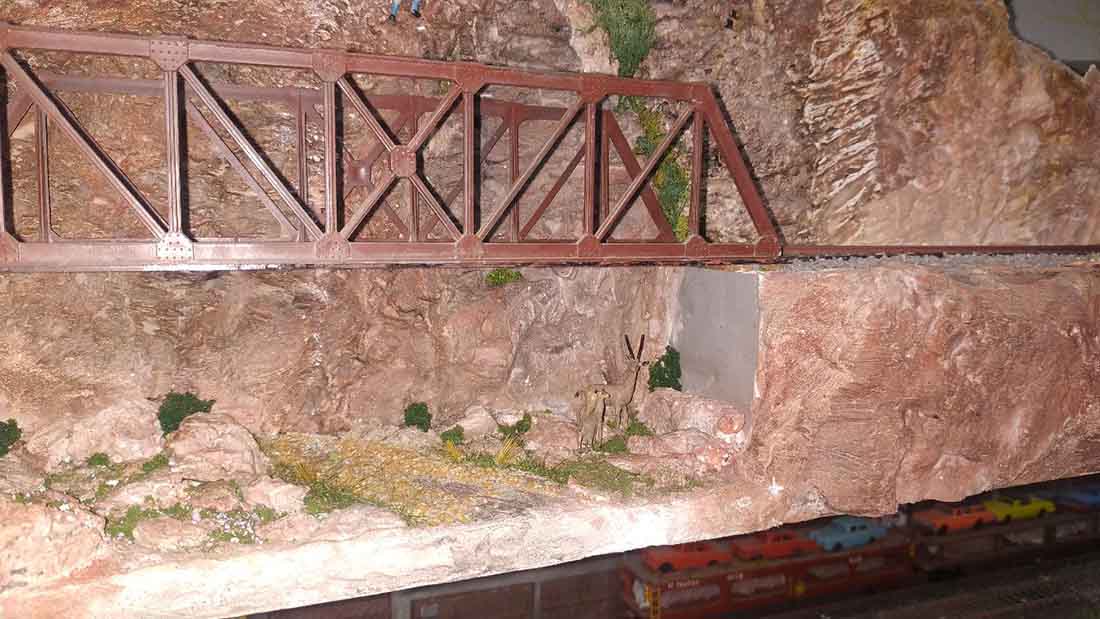
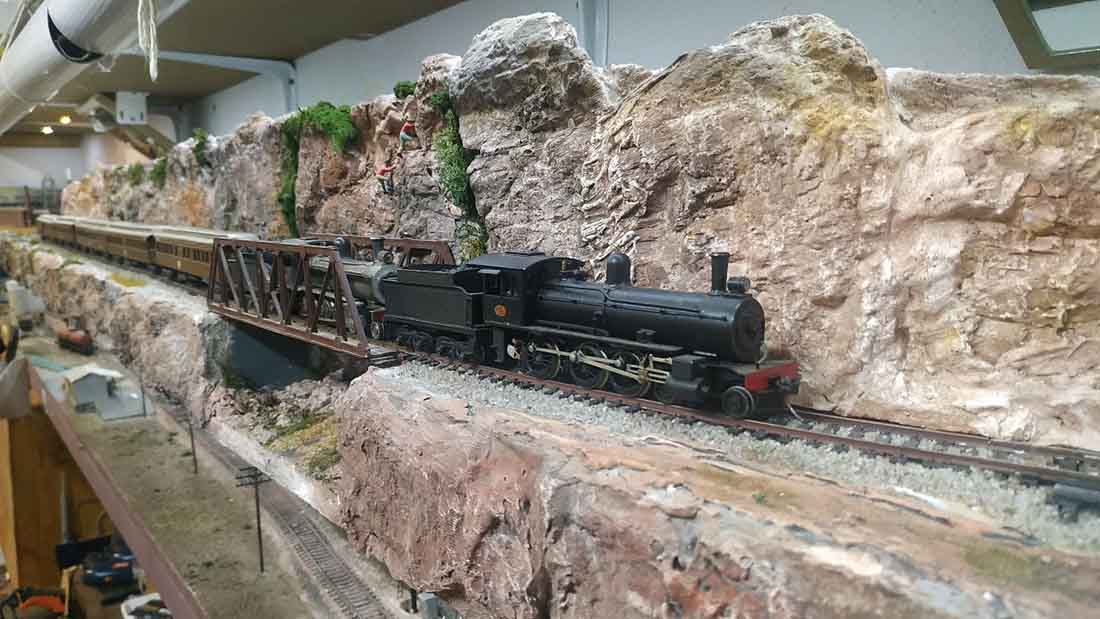
And I talk about making and installing Hydrocal rock formations on the mountains.
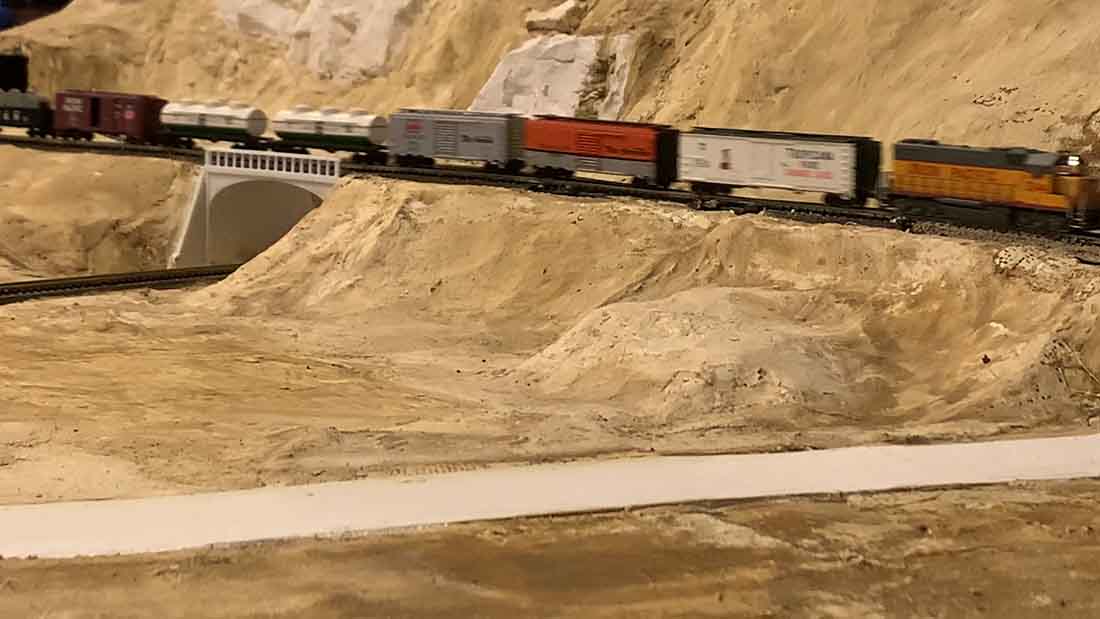
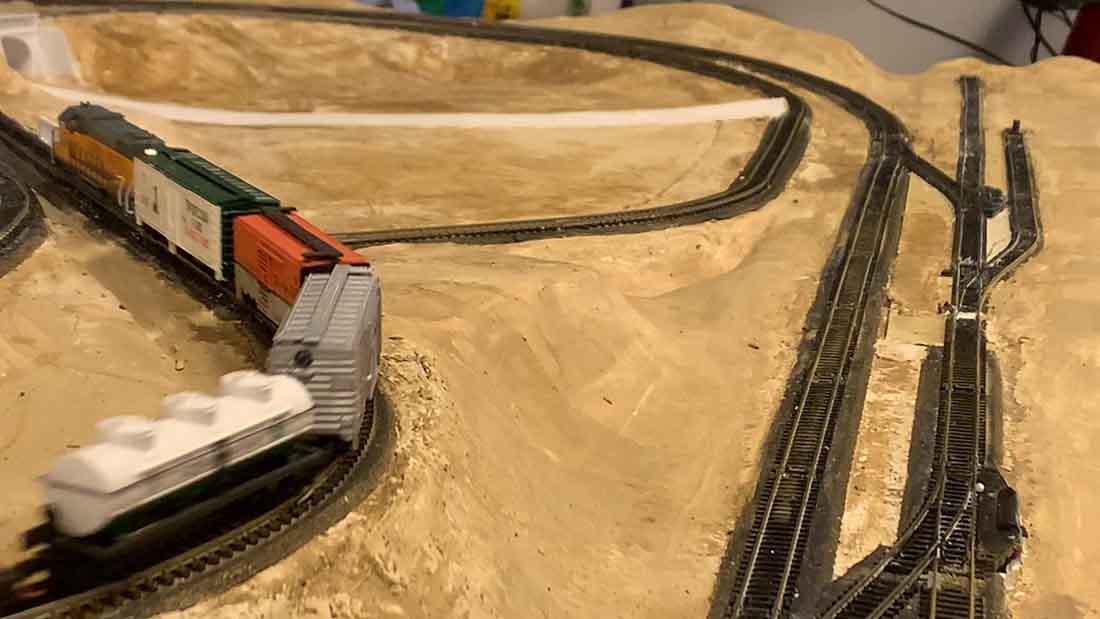
Finally, I include a video that discussed the construction and which begins with shots of a train running on my layout.
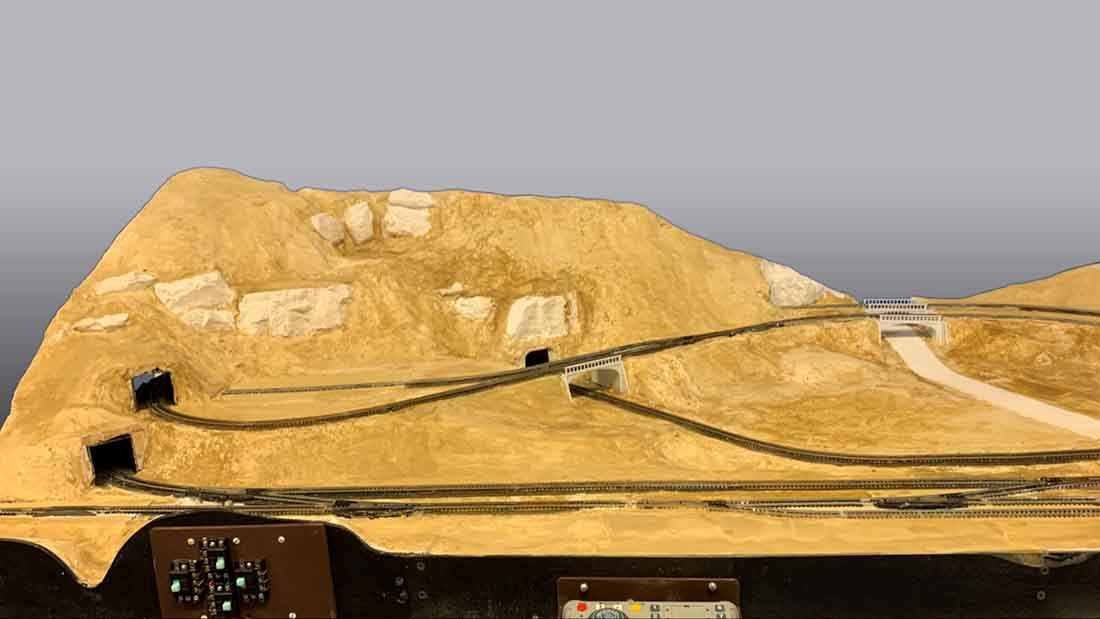
Layout after painting with Earth Undercoat
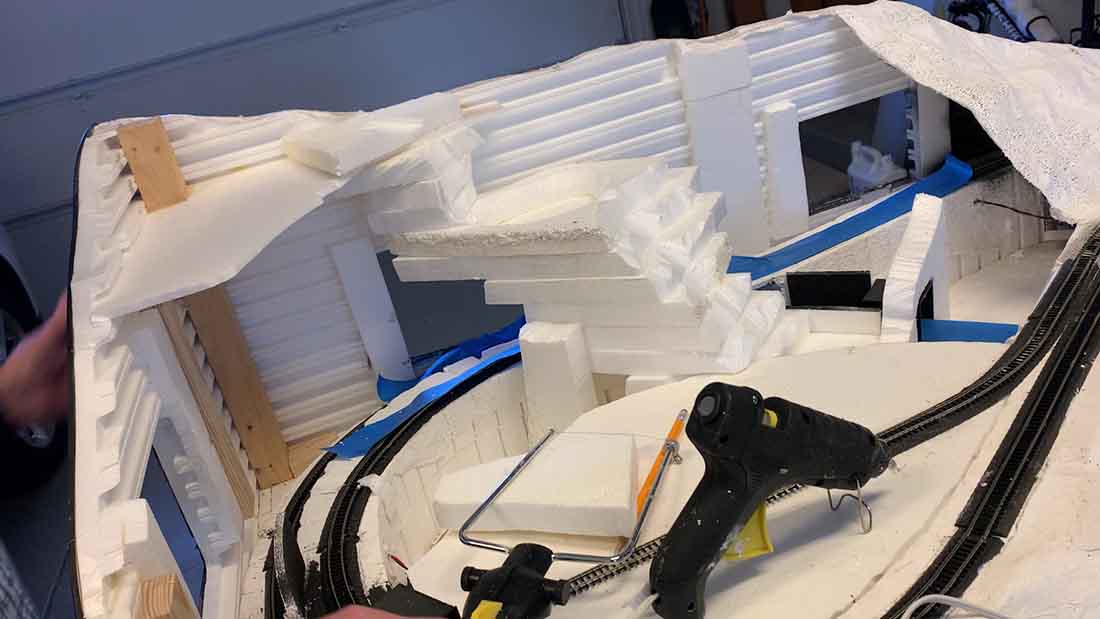
Constructing a foam support for a stream and pond.
Adding foam strips to support the plaster cloth
Adding More Cloth
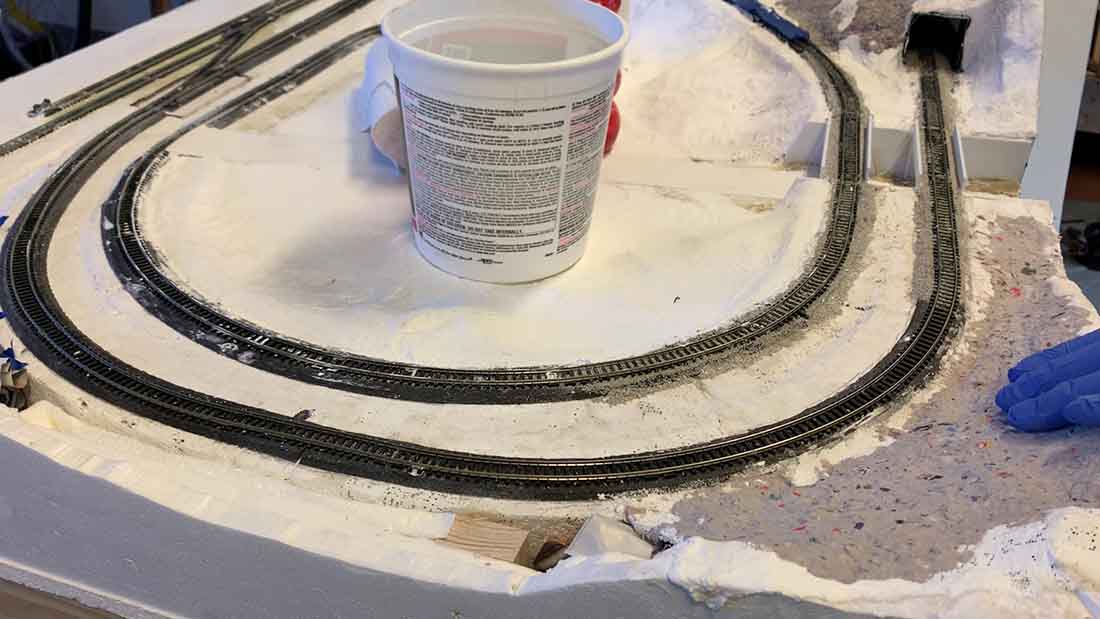
Layout Before Smoothing
Smoothing with Joint Compound
Smoothing with paper mache – Recipe:
Grind up strips of newspaper with water in a blender
Add some binder such as white glue or flour (3-5% by volume)
Drain off excess water through a colander
Place on layout where needed and allow to dry
Dean’s N scale mountains post is his 6th post for his his Scenic Ridge railroad layout:
1. He gets going with his first post and makes that all important start to his N scale.
Personally, I think think one of the wonderful things about this hobby is just how long a layout takes, and that even then it’s never really ‘finished’.
I know that puts a lot of people off, but once you make that all important start, it becomes strangely addictive.
Over the years I’ve noticed the folk who are unhurried but relentless seem to get the most pleasure from their layouts.
Doug has been in touch with his Lionel model train:
“Dear Al,
I have followed your postings for some time revelling at the awesome displays that you readers have.
As there are many many more hobbyists using the HO and N scales, the set ups they had were mere curiosities to me as I run an older Lionel 027 and am limited to how much detail I can create.
Of late however you have been posting articles of the larger sets so I decided I would send you a sample of what I had created.
In 1959 I received a Lionel train set at Christmas, as the years passed the set got bounced around, in moving boxes, from house to house, being set up several times and taken down once more.
The intention had always been to give the set to my son once he began a family, however when he bought himself a hobby farm which included a fair size barn it was decided to once again set the tracks up and see what happened.
In or around the year 2005 the Canadian dollar became par with the almighty American dollars and for a few weeks it even exceeded the value. At that moment I proceeded to purchase additional tracks and cars to enhance the set up as the actual space I had was now 22 feet in length and 18 feet wide. This was a far cry for the 4 x 8 setups I had been used to.
Unfortunately my son met someone and decided to sell his farm, leaving me with little choice but to pack things up my Lionel train set only this time I had some 50 packing boxes full.
At the same time I had decided to get together with my high school sweet heart who I had not seen in 39 years. She accepted to allow me to bring my trains with me and I moved to Calgary, Alberta from Montreal, the only hitch was I could not set the trains up inside her house.
Eventually I was able to construct a small set up along the outside wall of the house, with another smaller operation in the garage. during the winter months both set up were mothballed.
My companion past away in 2018 from cancer, leaving me with little option but to pack the train setup once again so it could be moved.
I decided then as I was to be living alone to purchase a residence where I could enjoy the trains to their fullest extent all year long and this is finally what I was able to accomplish. No doubt at my death the trains will be packed up for one final move, but I happily will not be around to see that happen.
I have organized the layout so one track runs completely around the outside, which the other track runs more or less in an L, yet also can transfer off on to the centre table.
I had purchased two legacy locomotives so that when my grandchildren visit they can run each their own, on either track, all my other other engines have to be controlled by a transformer which at their young age they find a bit complicated.
As for photos, I had to do a bit of organizing, as the grand kids had been very busy with their imaginations and several of my scenes had been taken out of context. I have included a zipped file of some 43 photos for you to use as you wish – I have letter coded them with my paragraphs of the description)
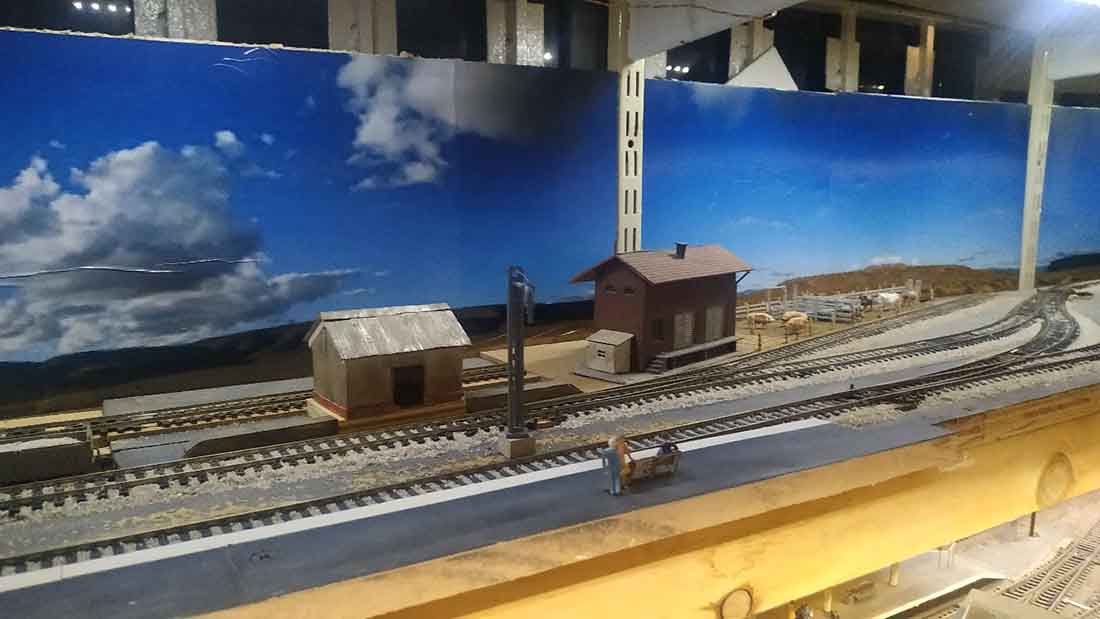
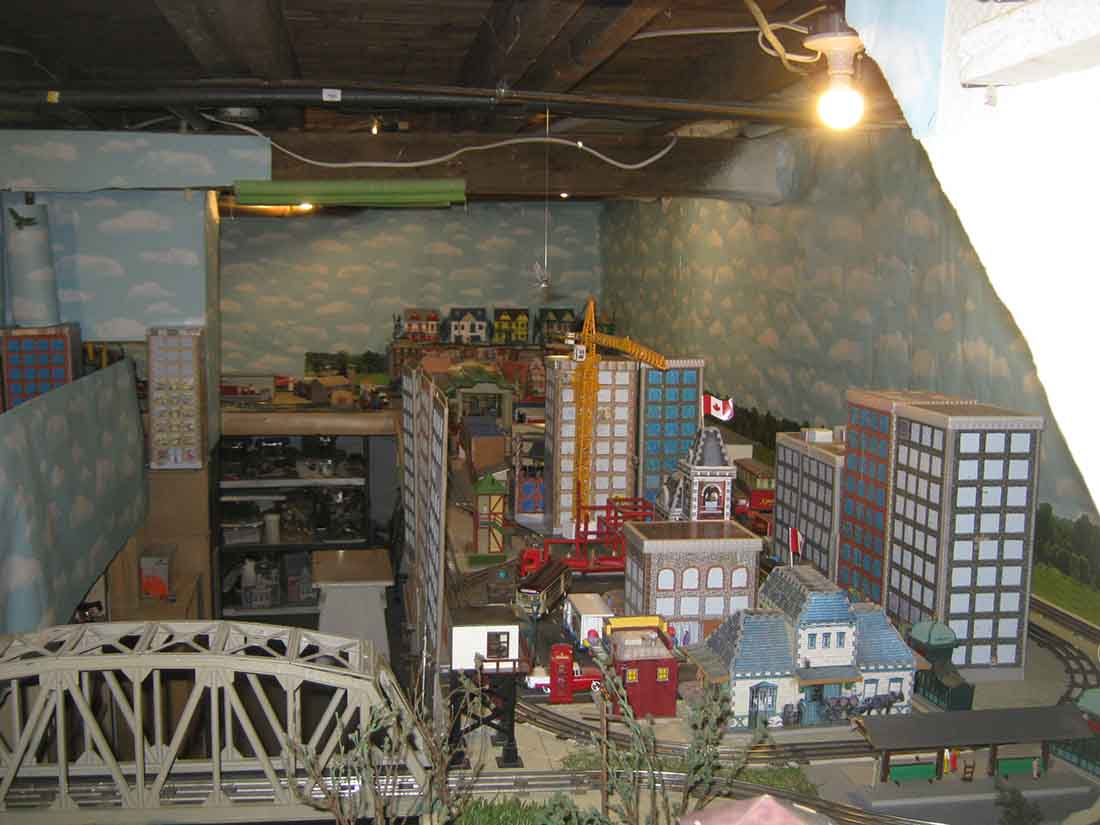
So if you will permit the first shot is what you see as you descend into the basement.
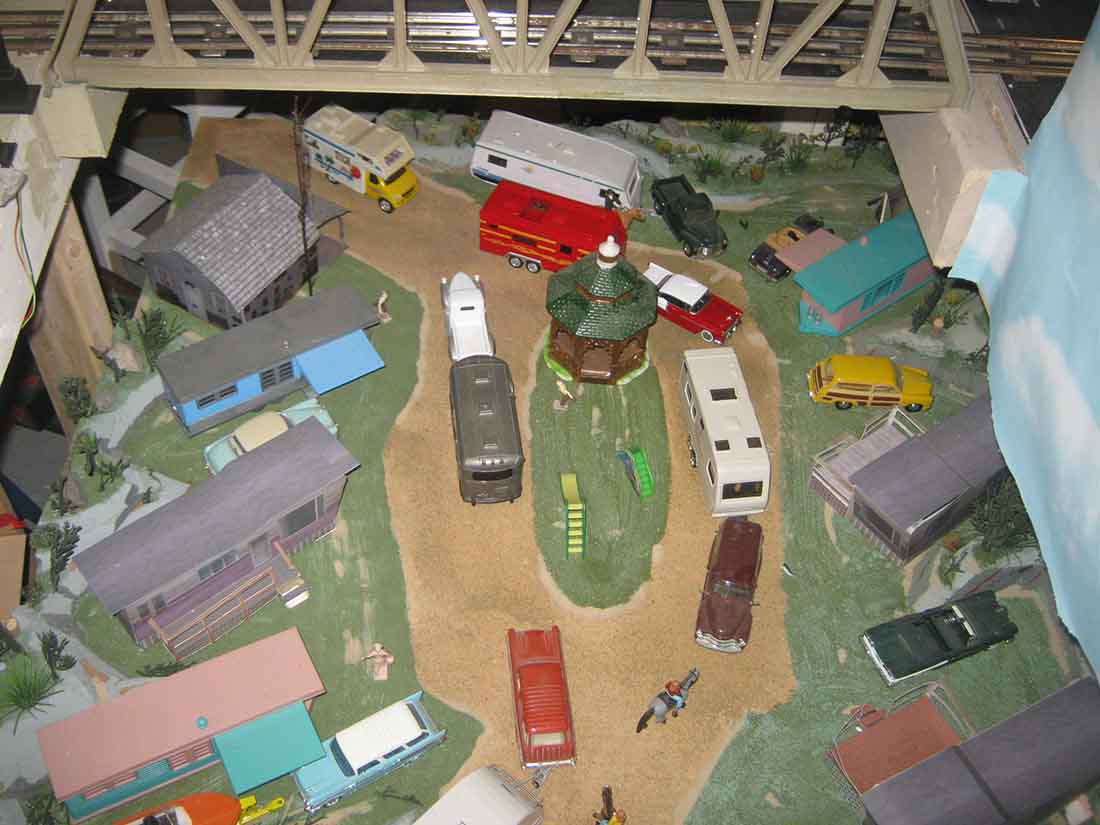
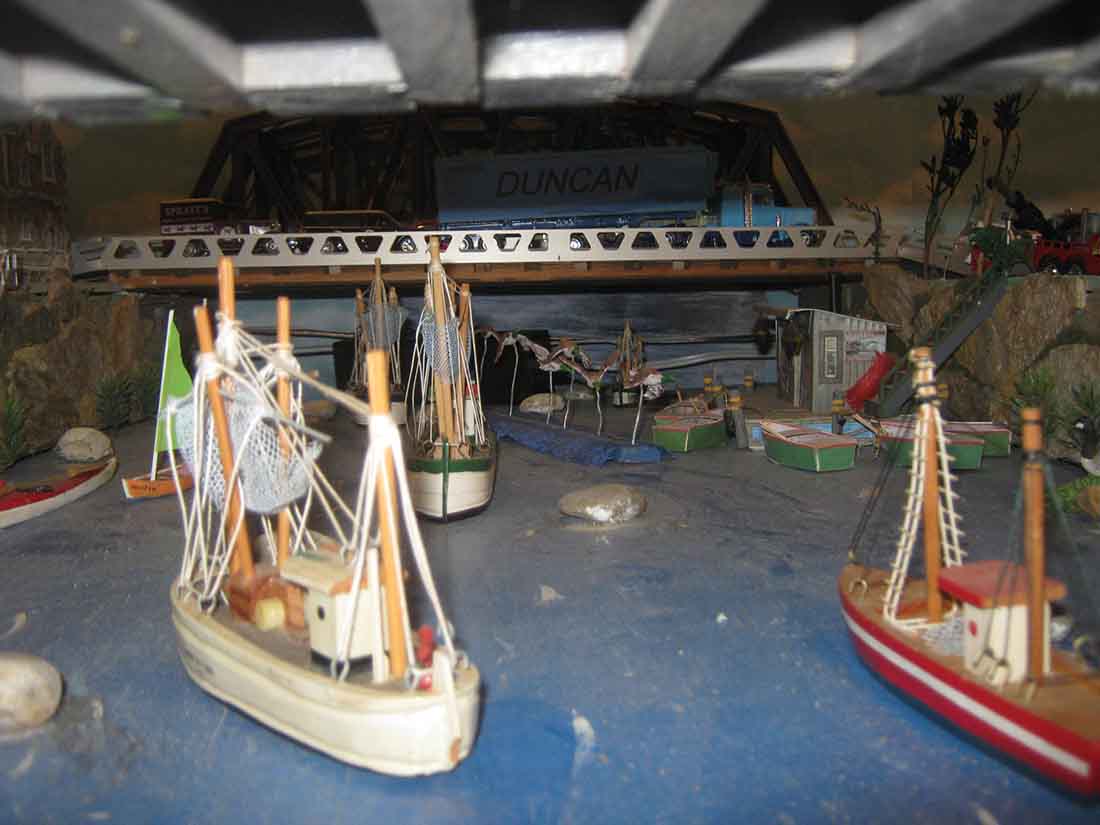
Under the bridge I not having more room, placed a small mock up of a camp ground my companion had help make while we were together in Calgary.
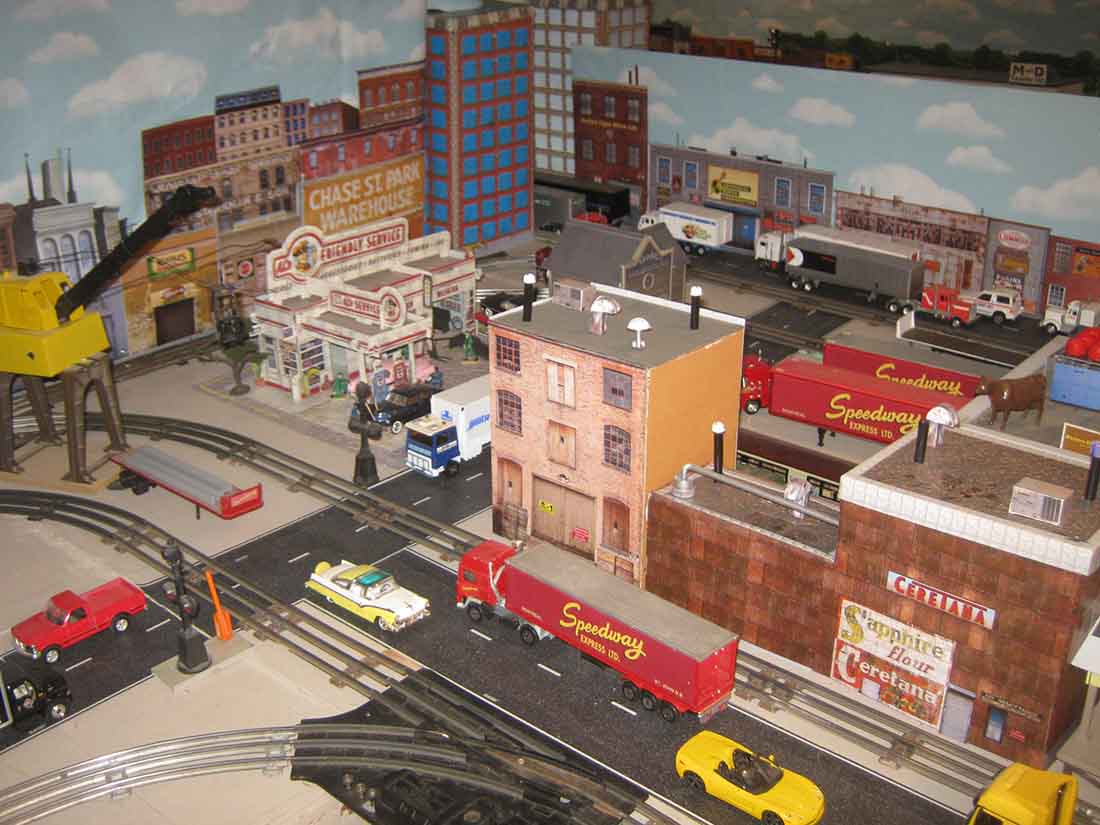
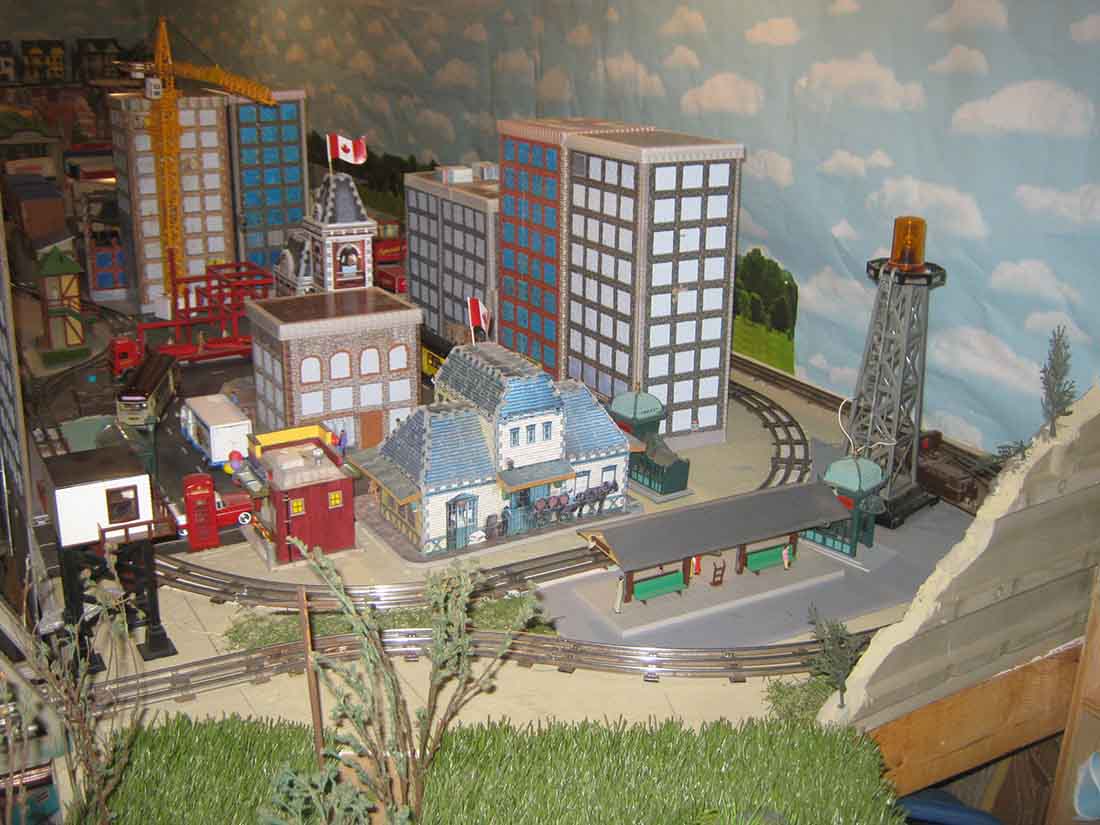
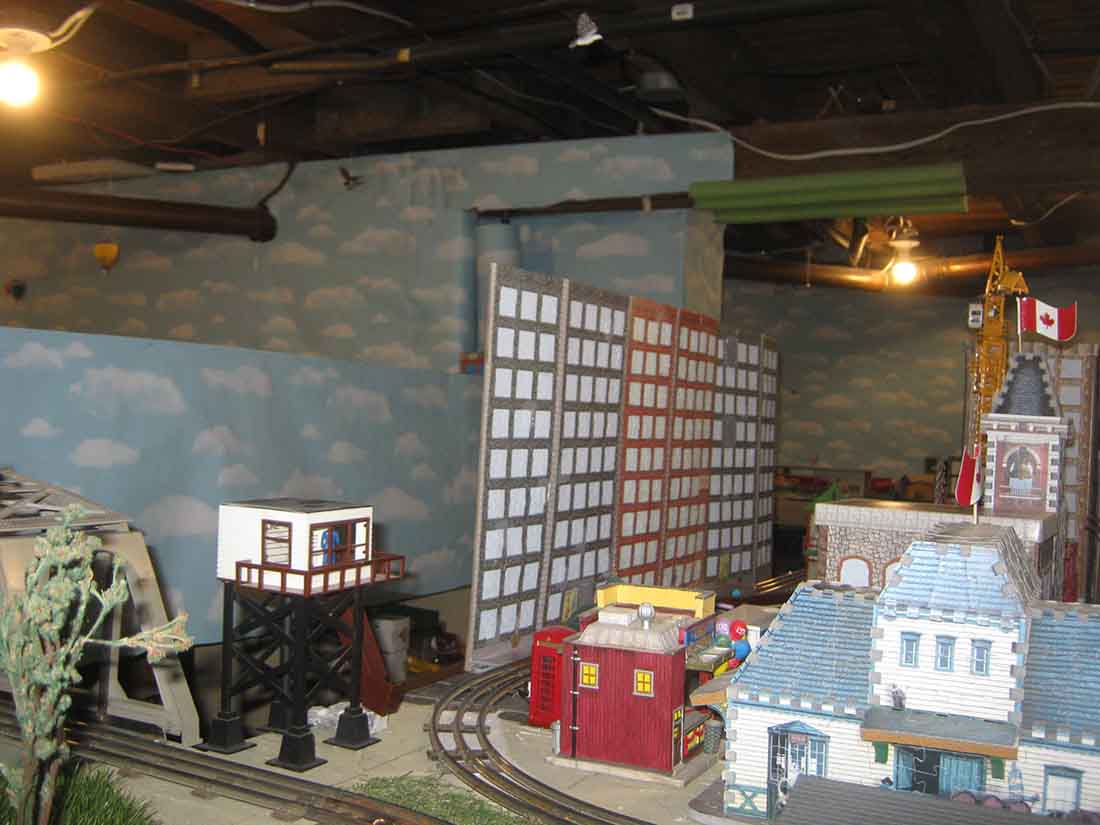
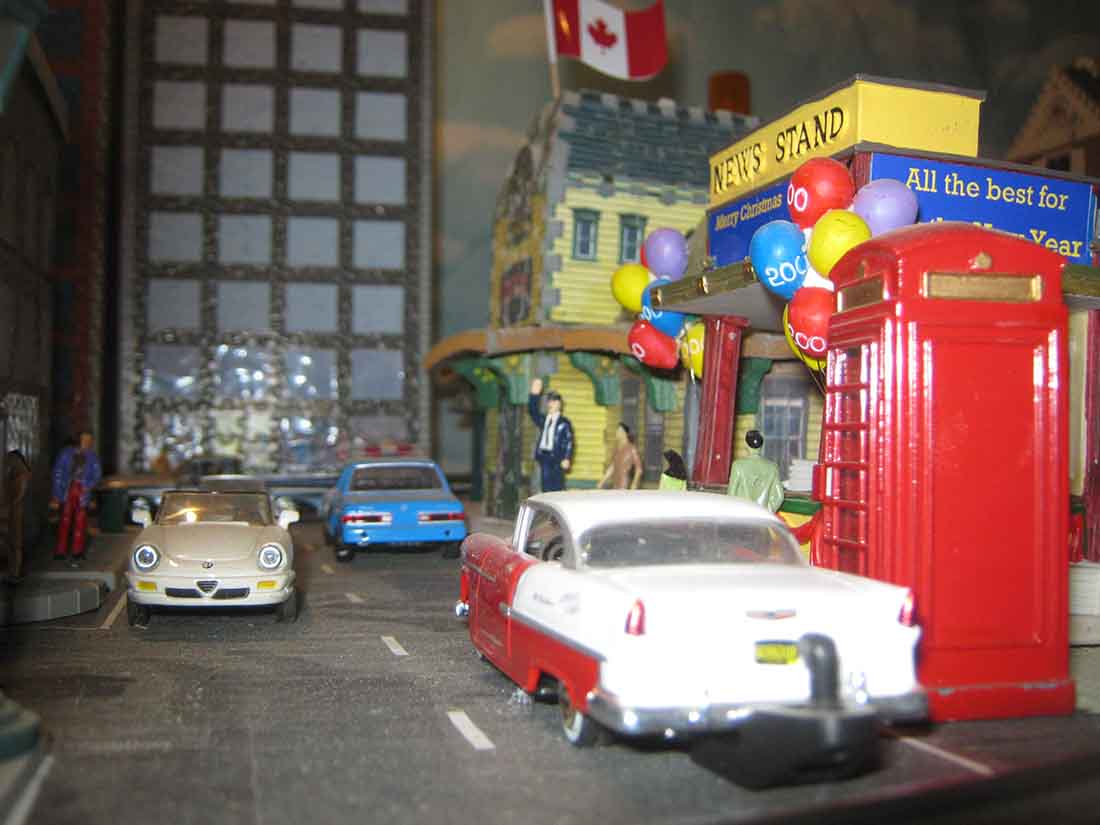
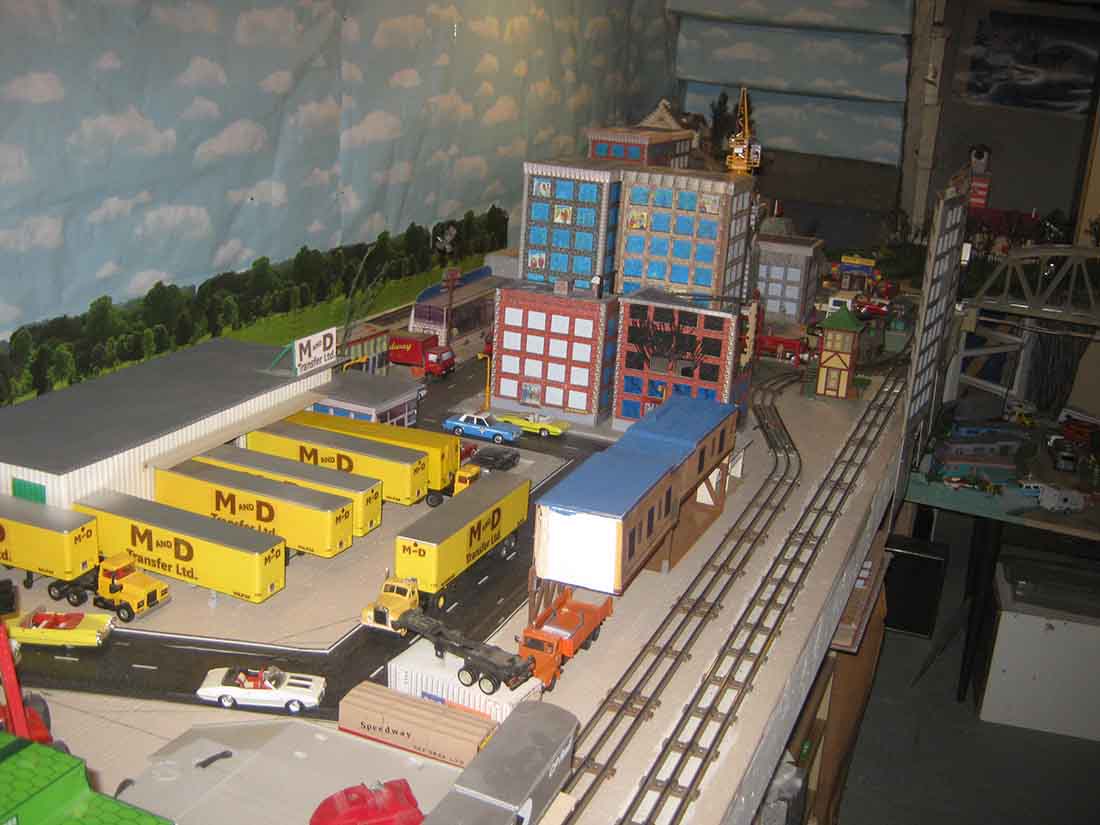
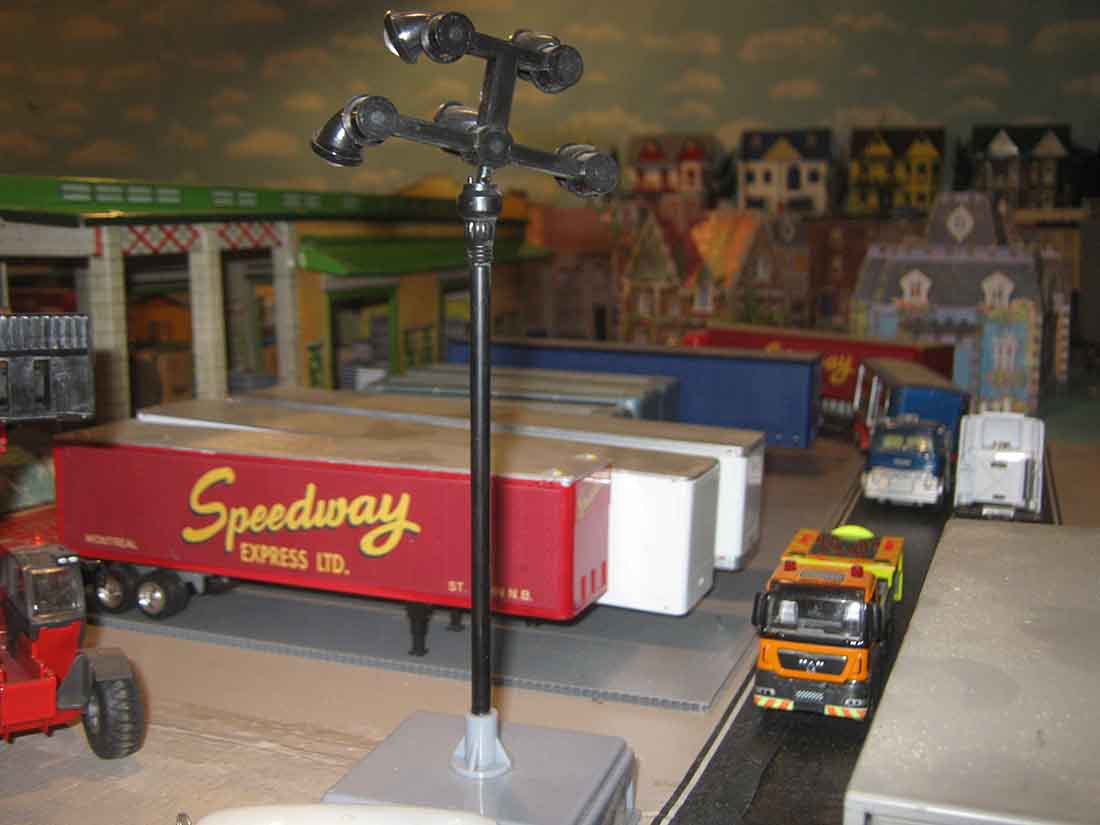
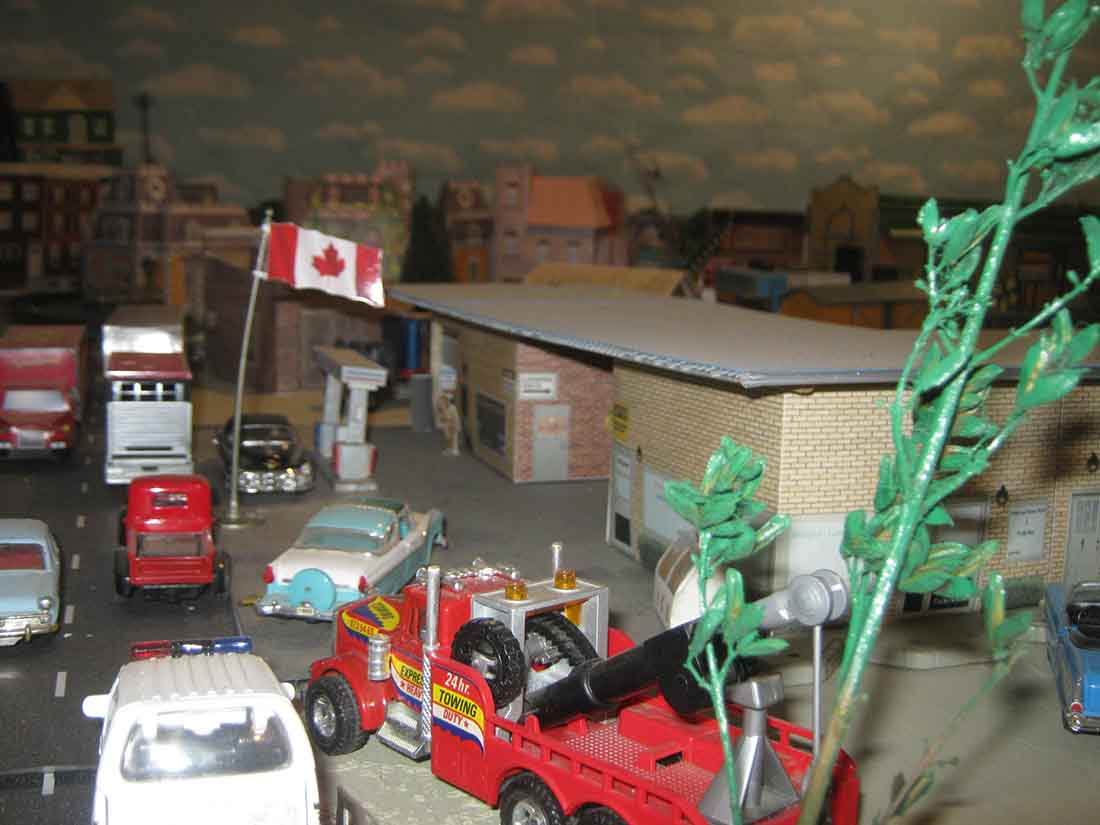
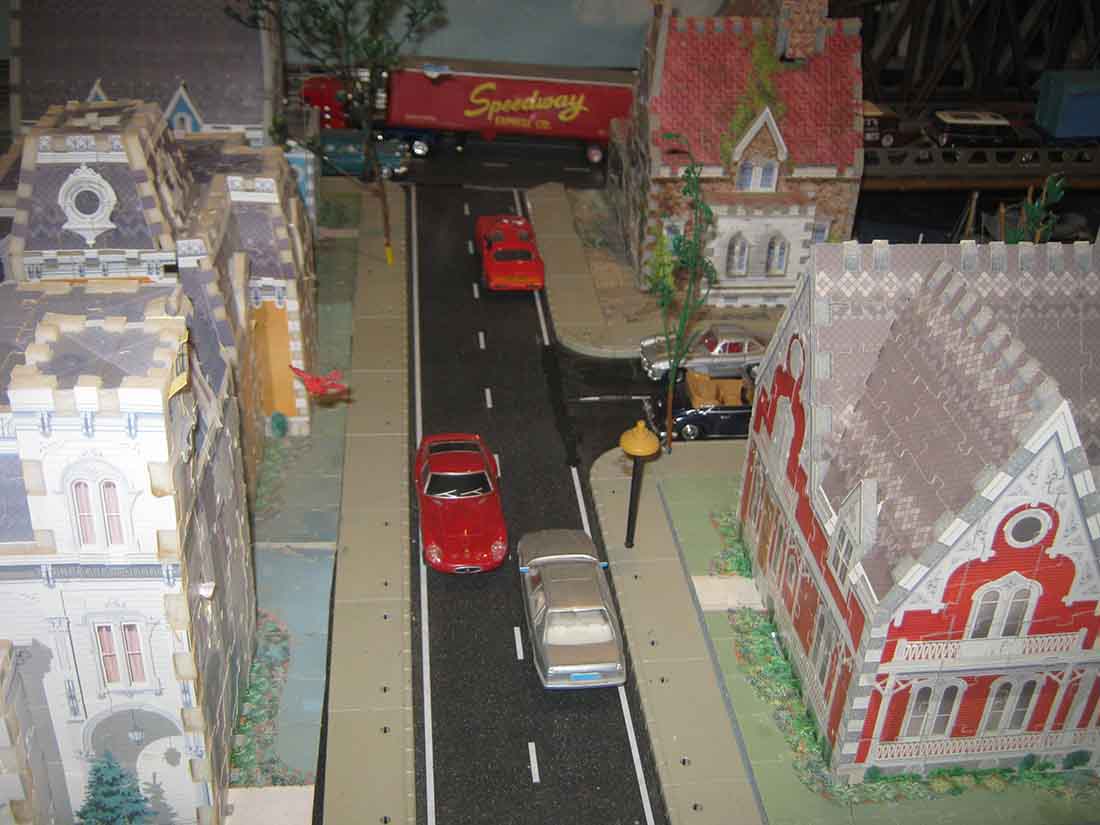
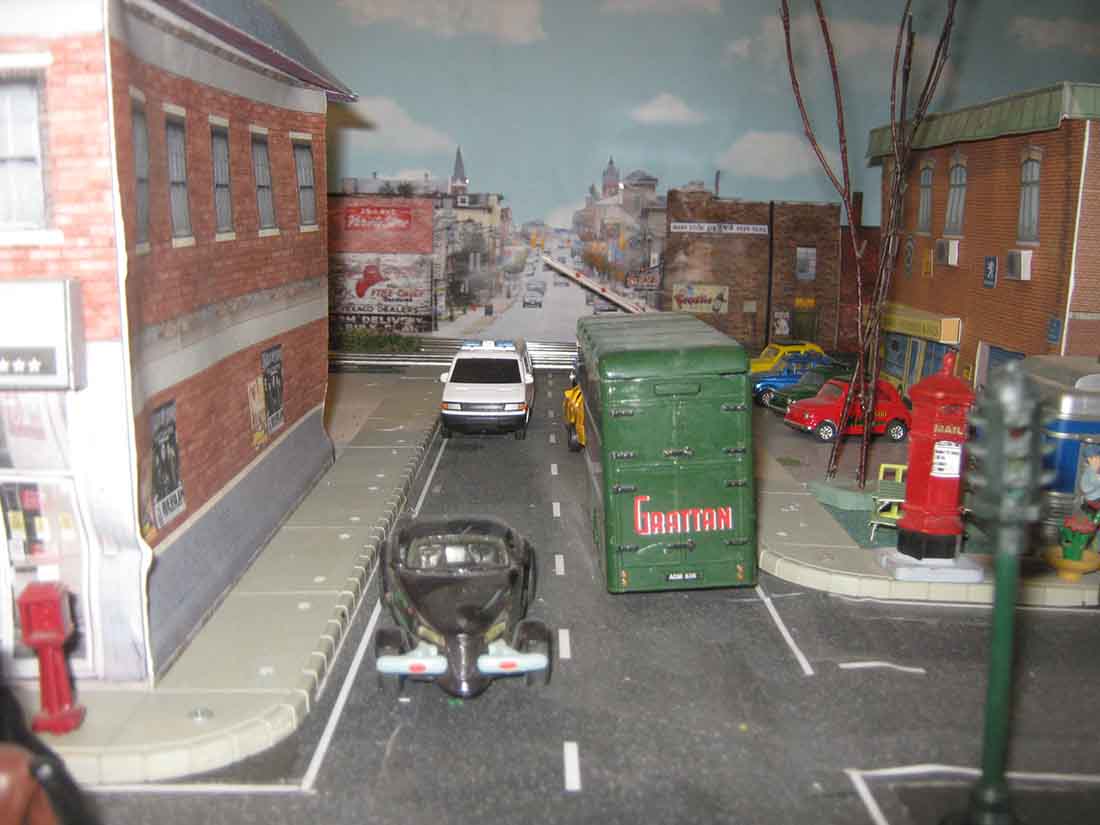
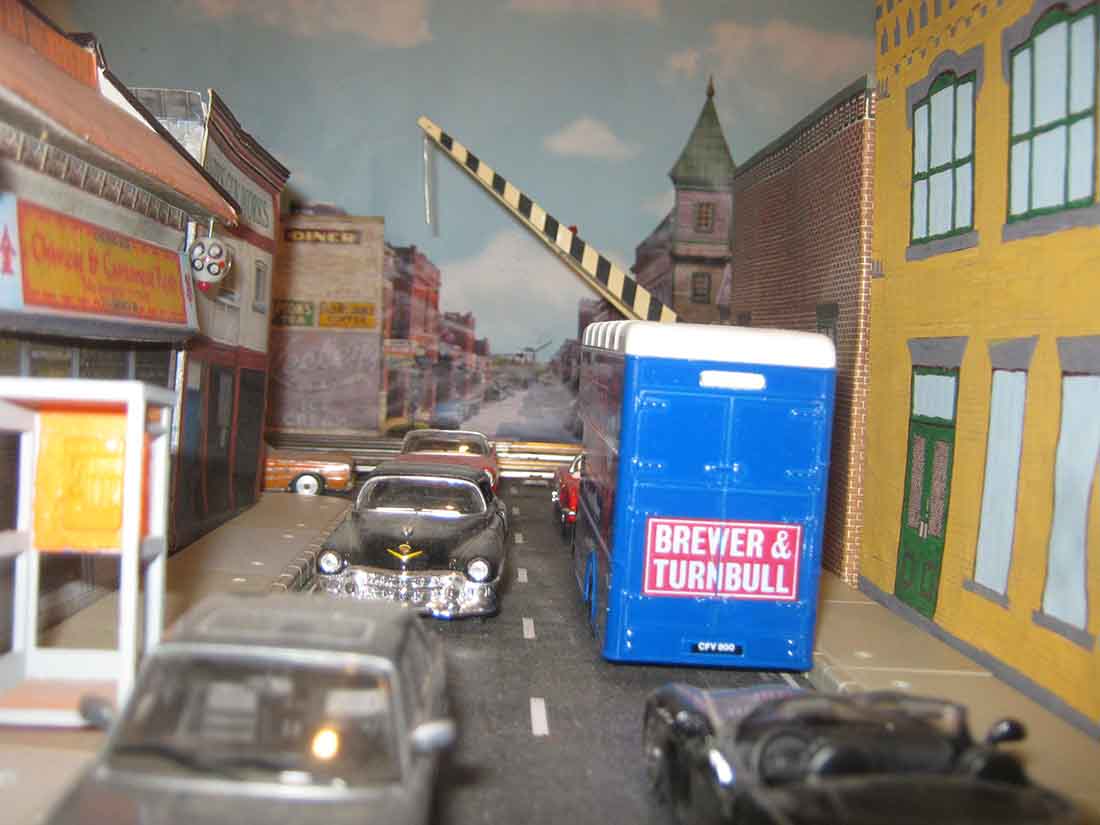
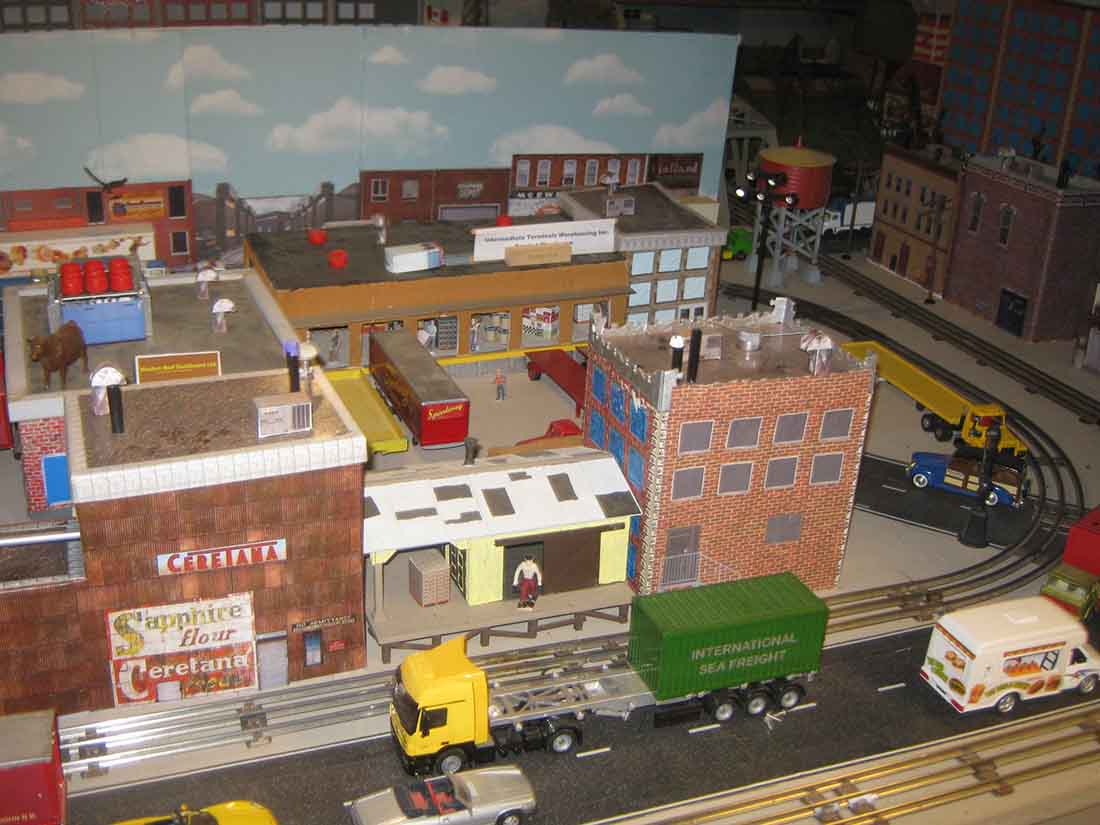
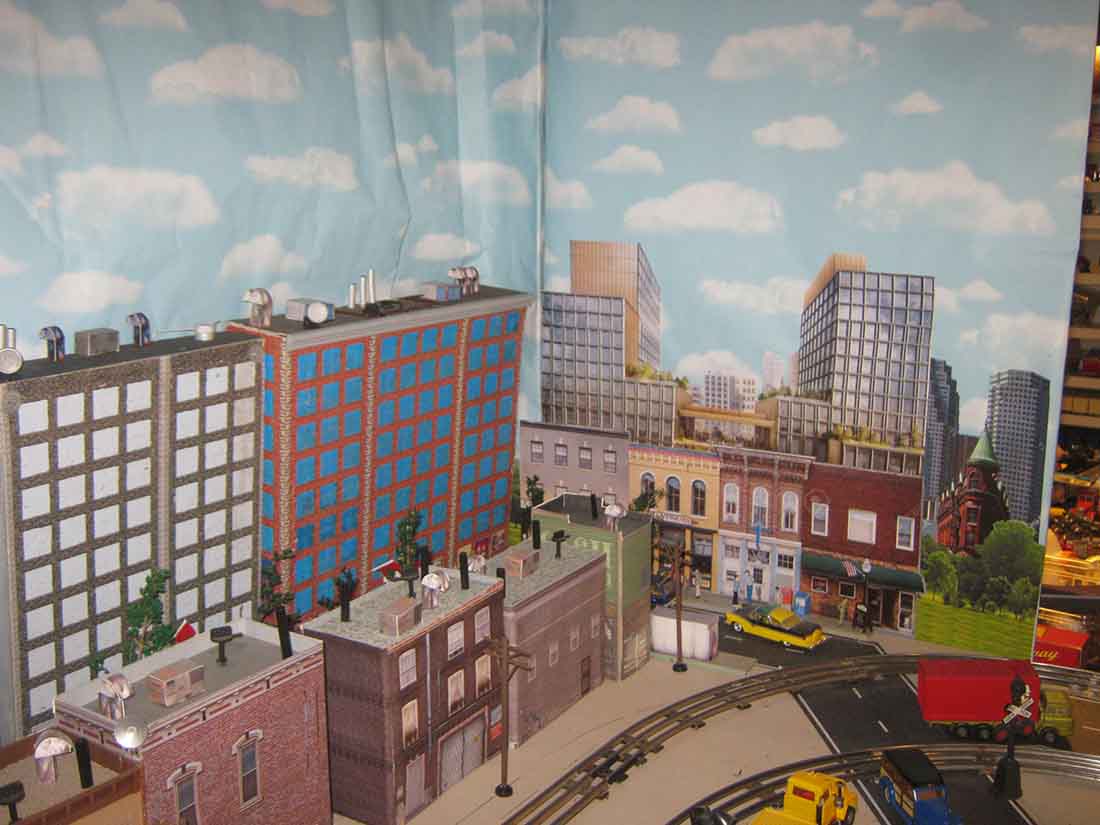
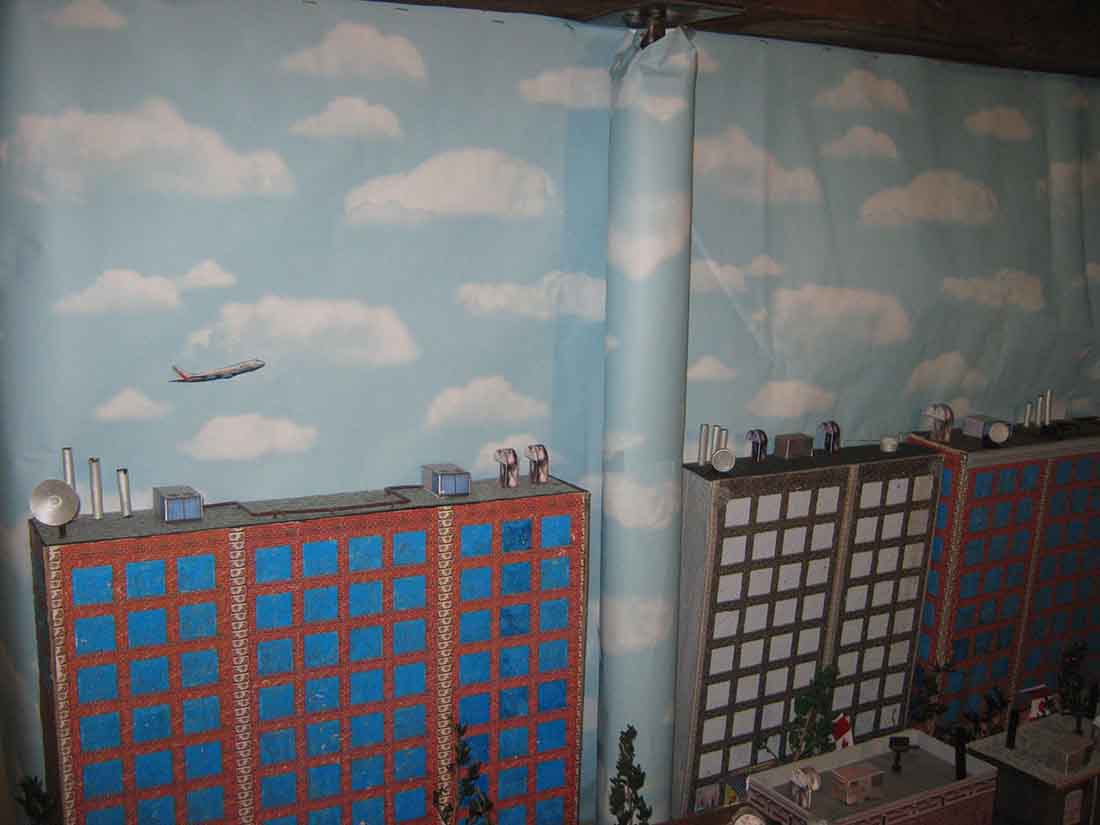
In my city I have used several different structures some being Wrebbit 3 D puzzles , the tall building were also puzzles I had accumulated while working for a gift distribution company, the side walks are from Majo kits , the roads are HO Play Tape which I enlarged to fit my 1/43 scale vehicles.
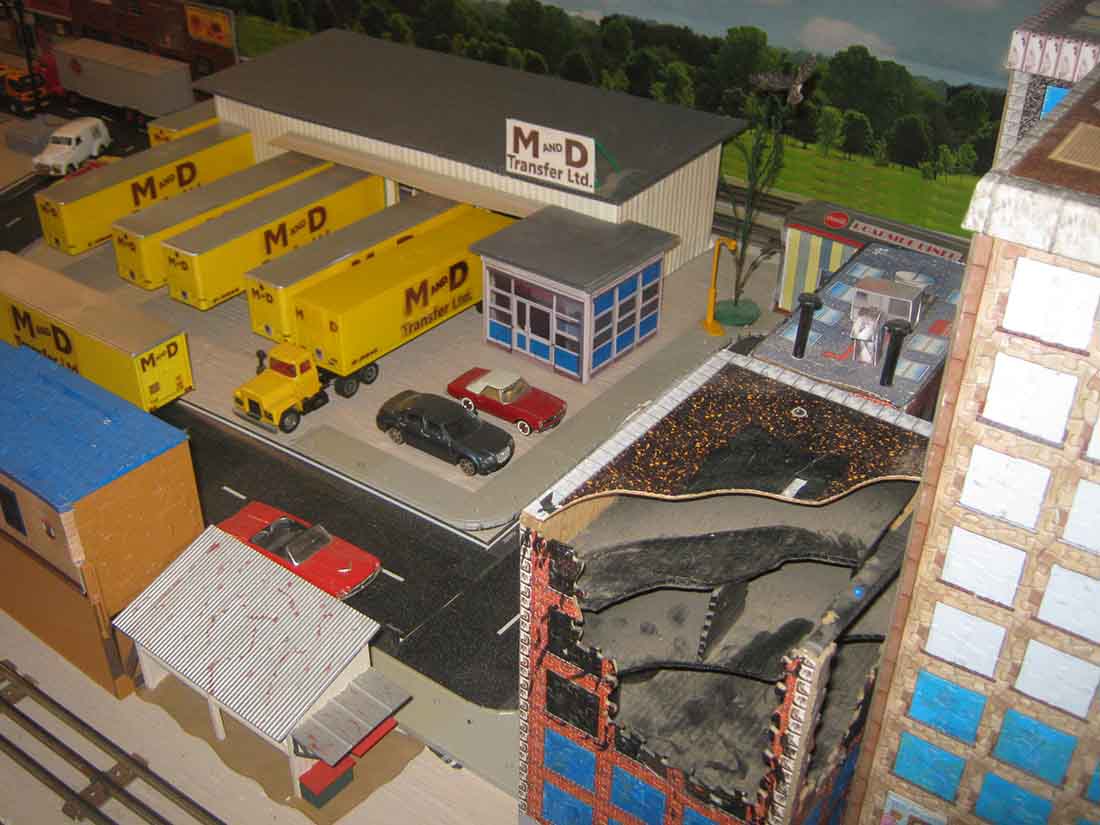
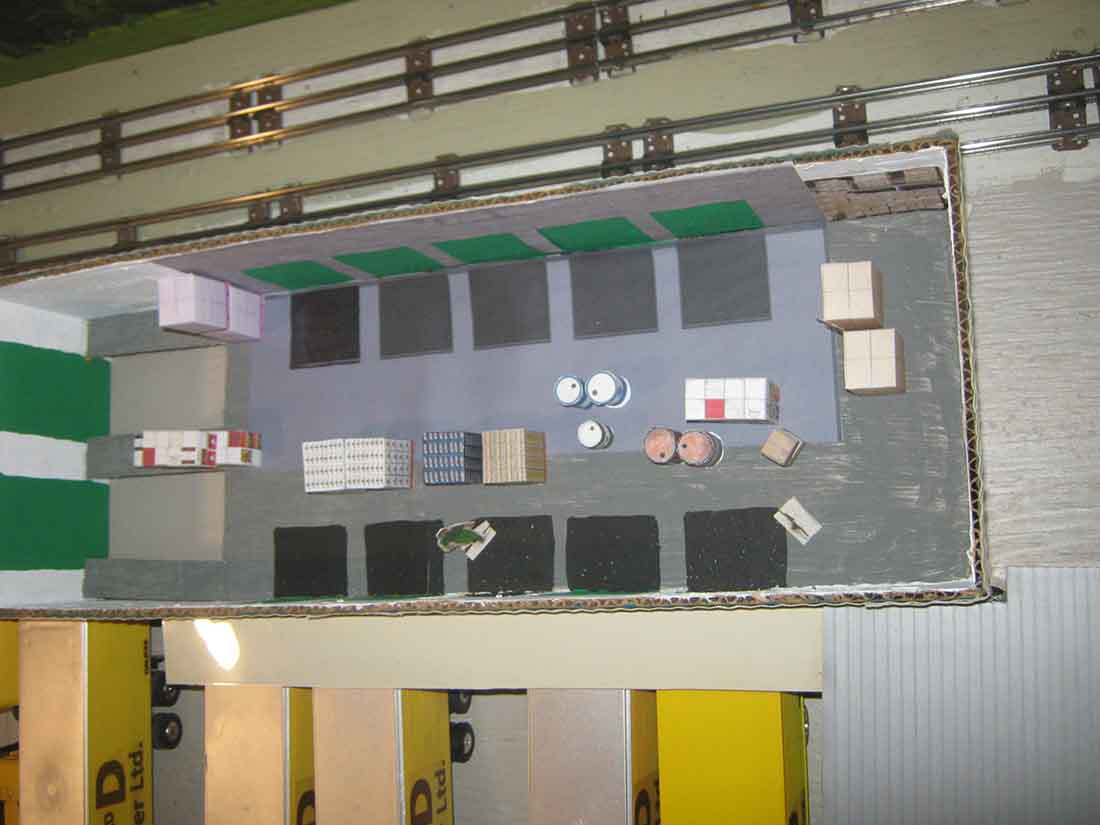
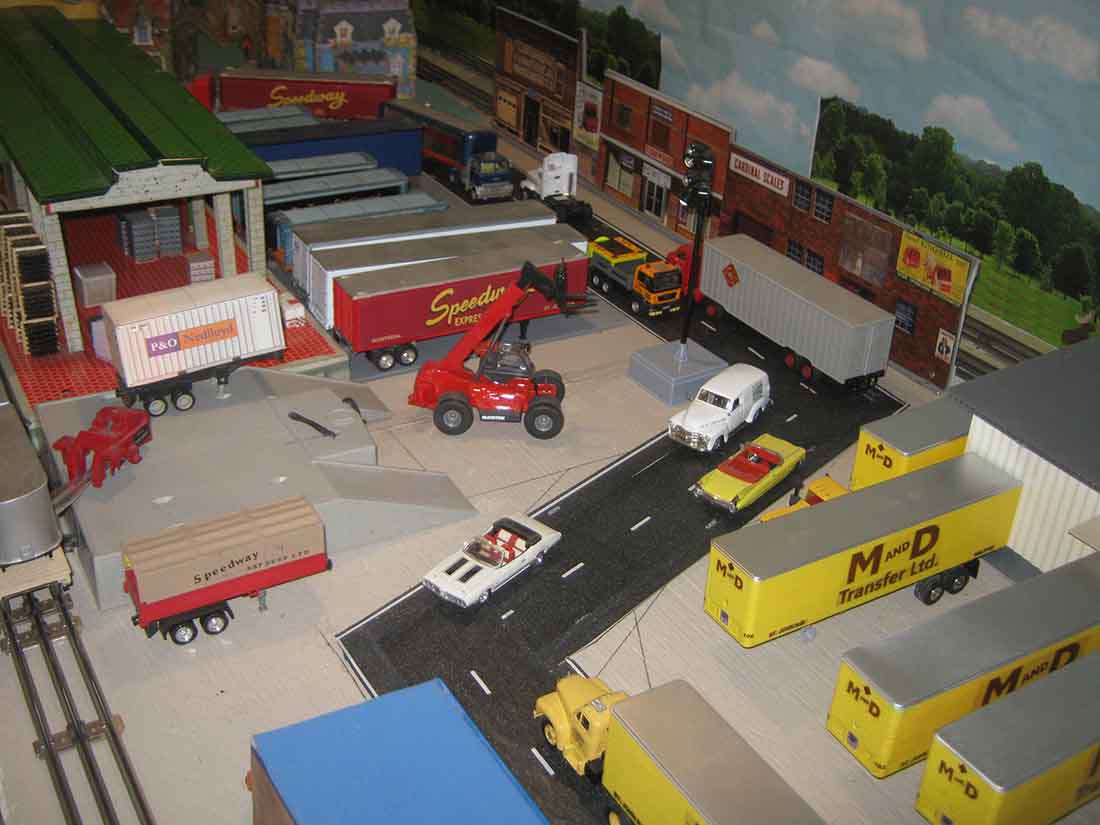
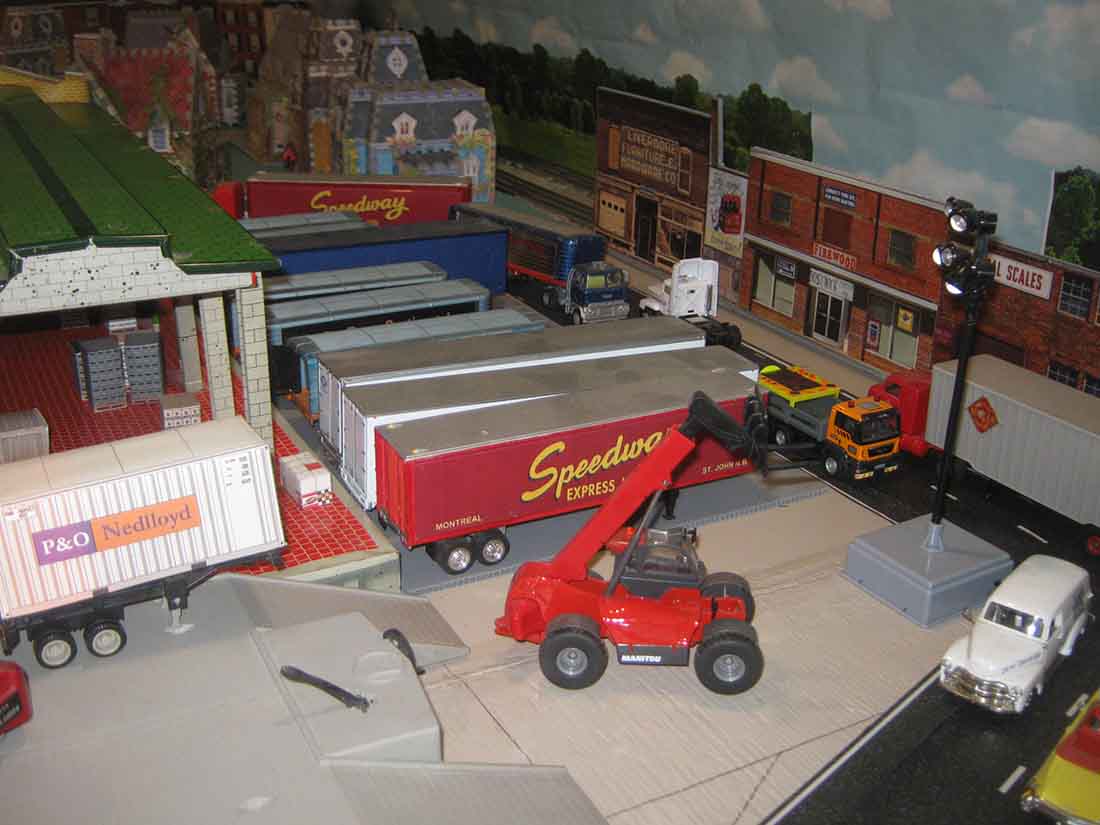
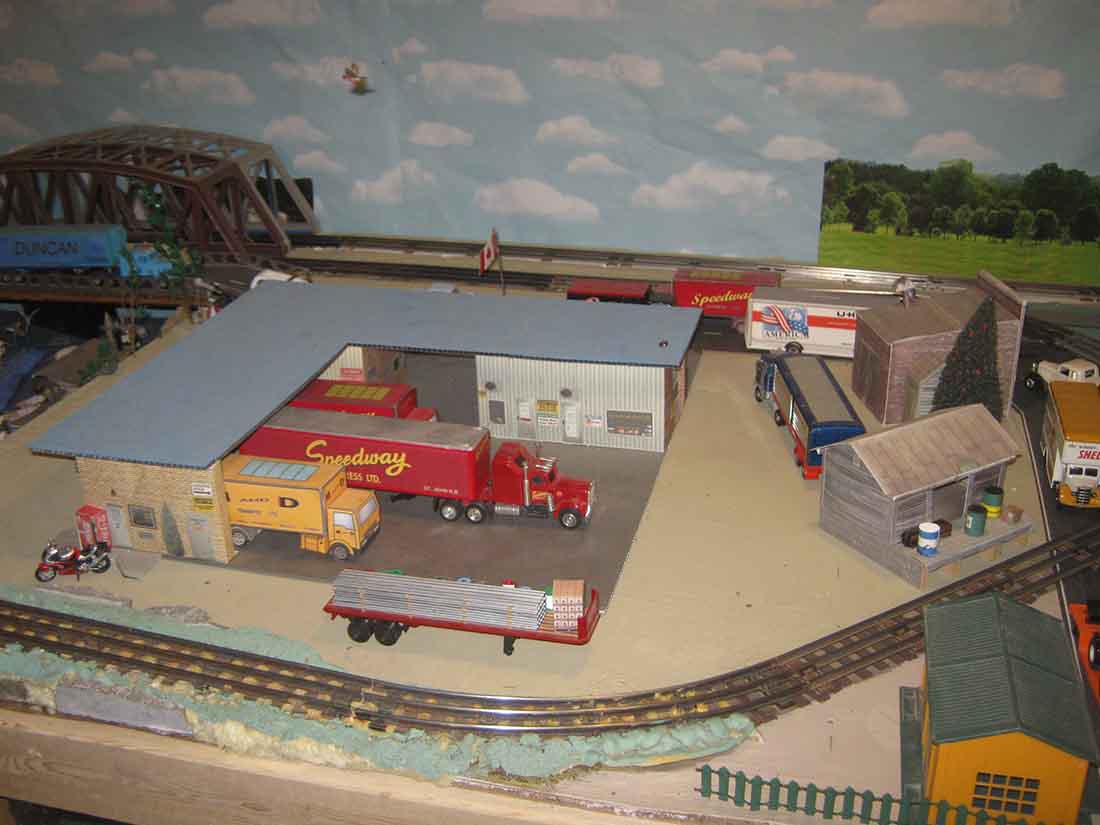
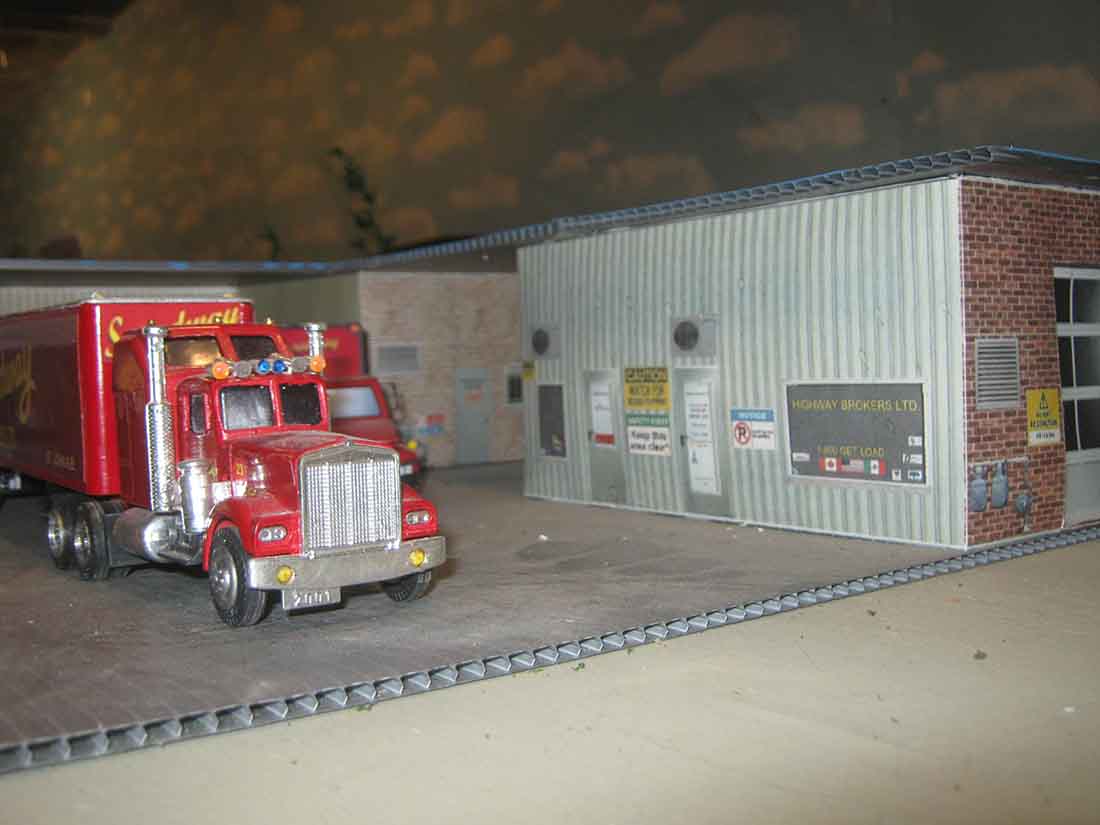
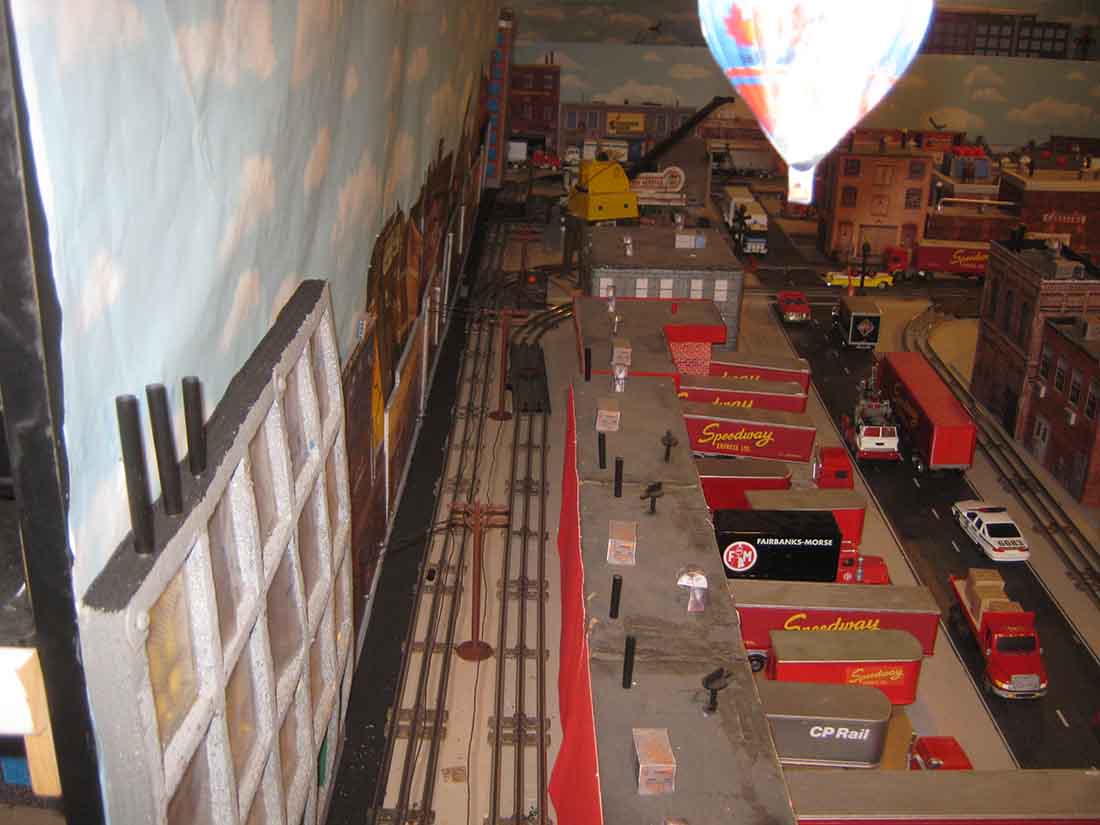
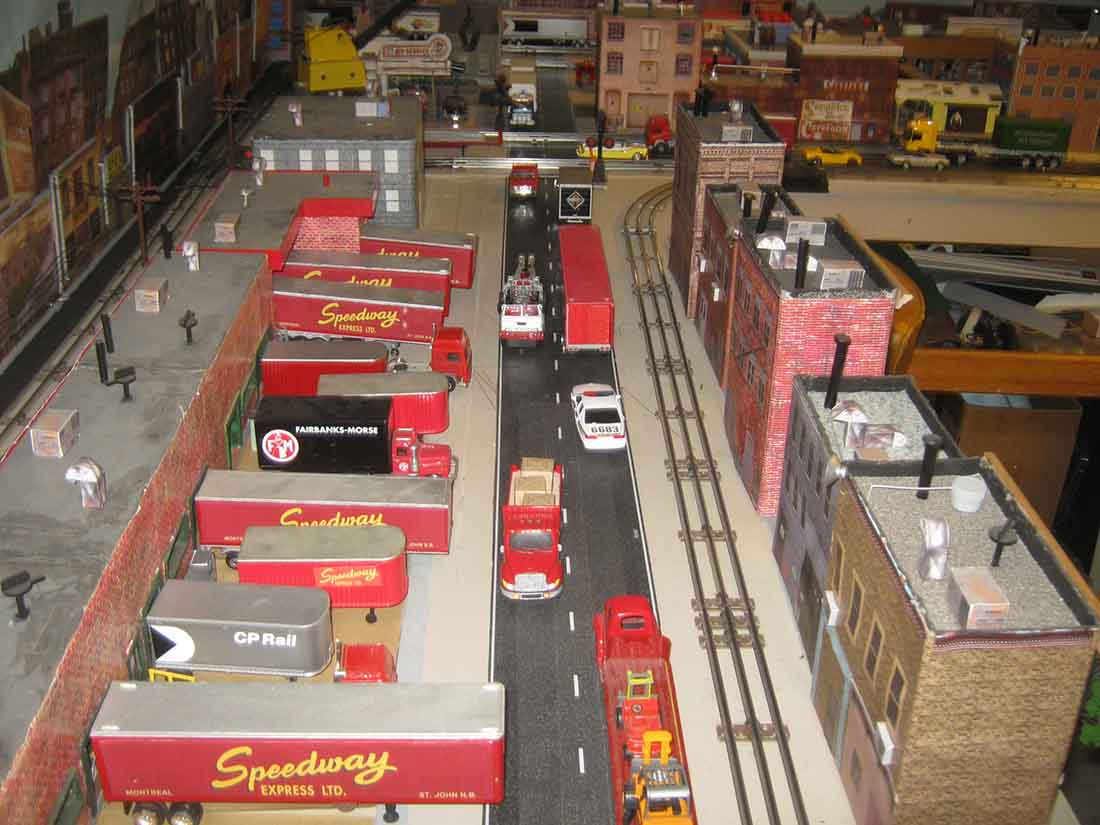
Taking you in to a more industrial area I have created from card stock a replica of a transport warehouse M&D a transport company with whom I did business back in 1968.( there is some interior work in the warehouse)
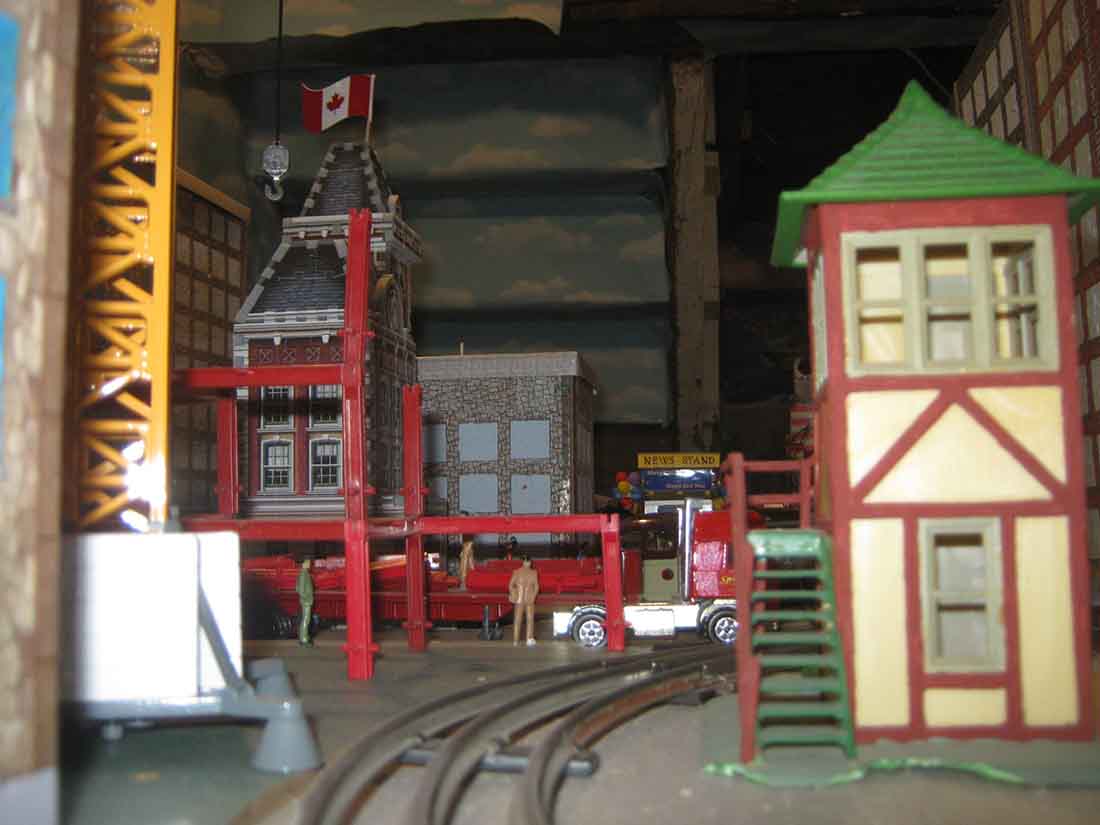
Of course any one using the large trains will recognize the Marx terminal , this comes from a boy hood friend who got it as an Christmas present but who was not really into trains and since he had three daughters figured I could make better use of it. ( a shot of the interior of this warehouse also)
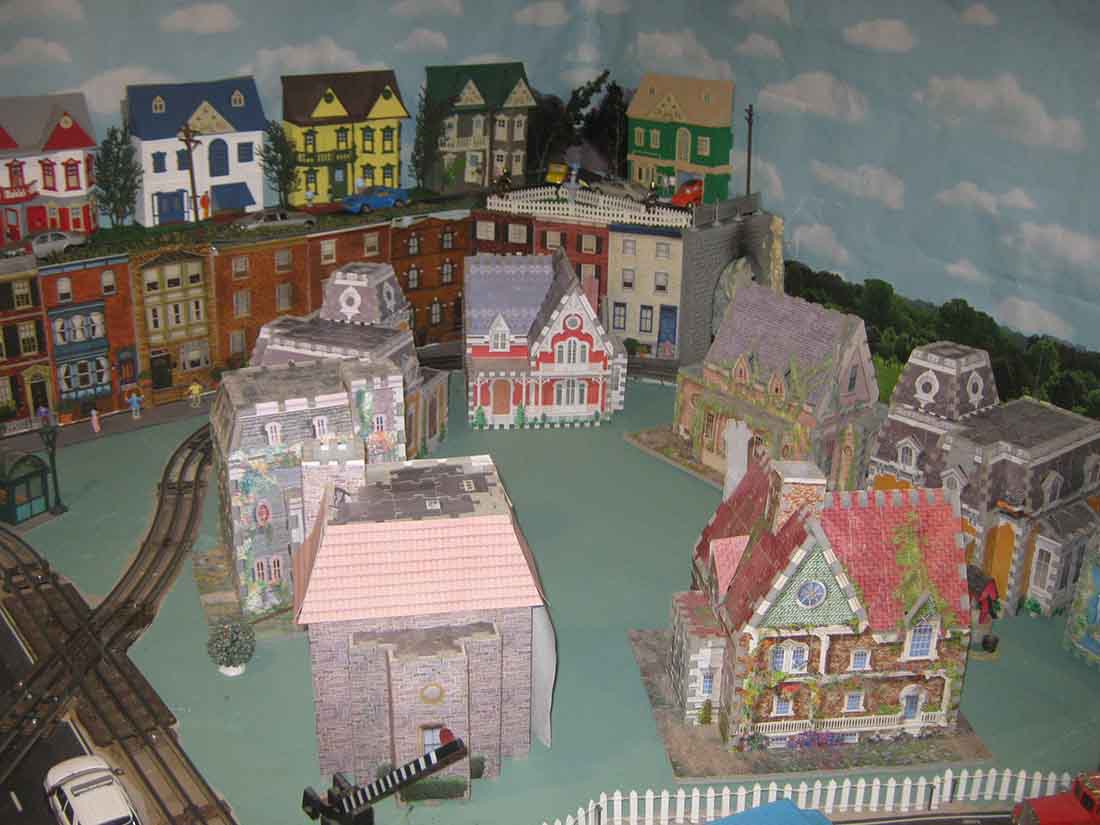
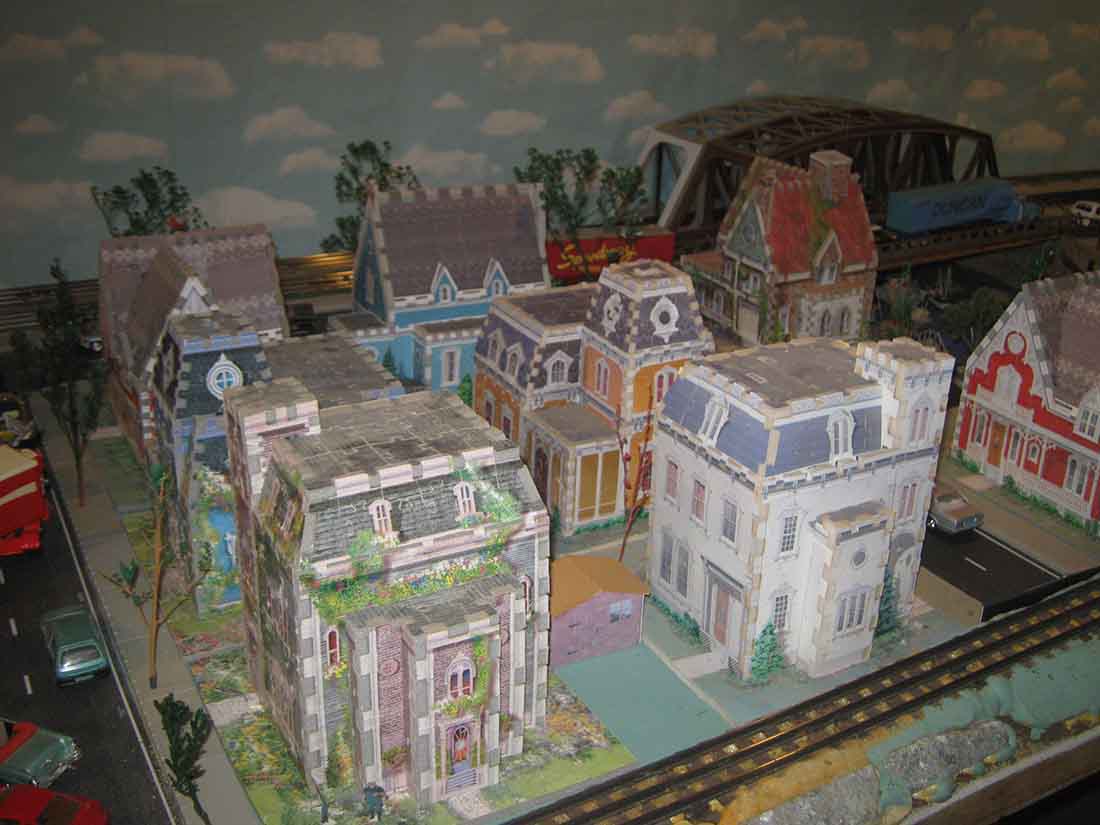
I have tried to create a more or less suburban area again using Wrebbit 3 D puzzles , I am not quite finished organizing the area to suit my tastes , I need organize a more grassy looking base on which to place the houses ( this is one work in progress area).
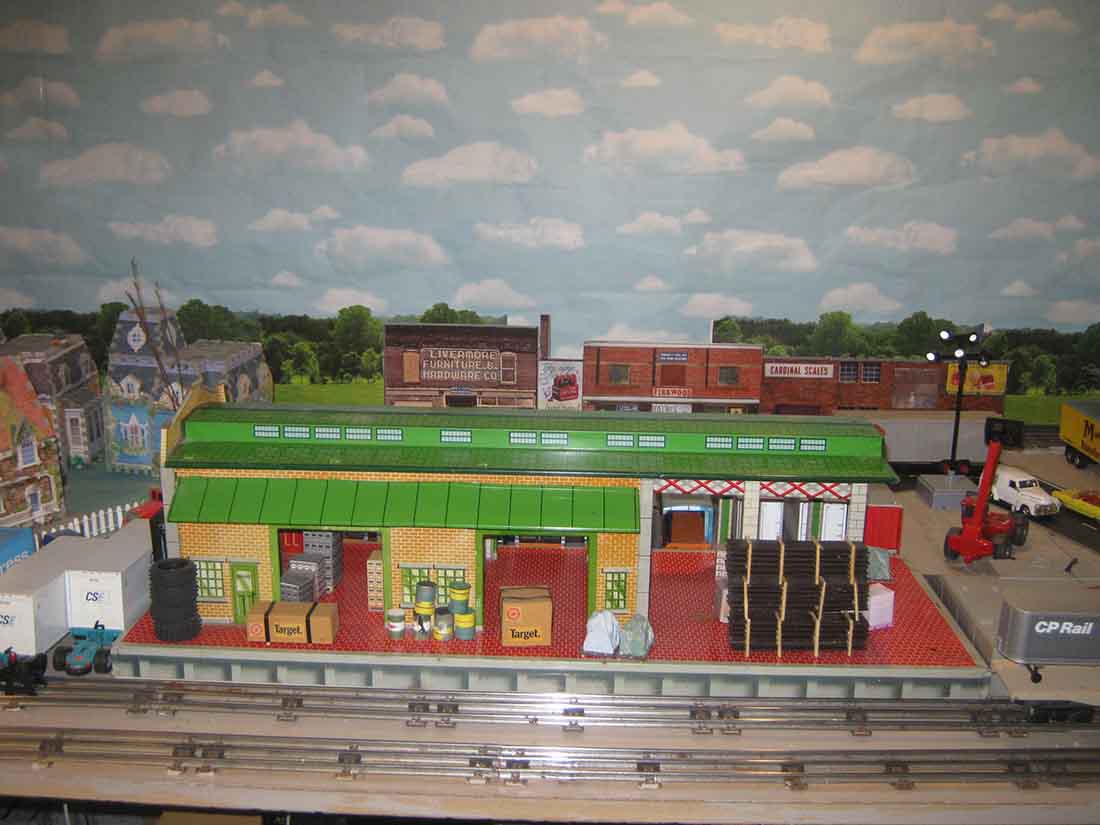
As I very into trucks ( I have some 300 of them many still in boxes) I reconstructed a service station I had purchased when I was about 13 ( which I foolishly gave away when I got married).
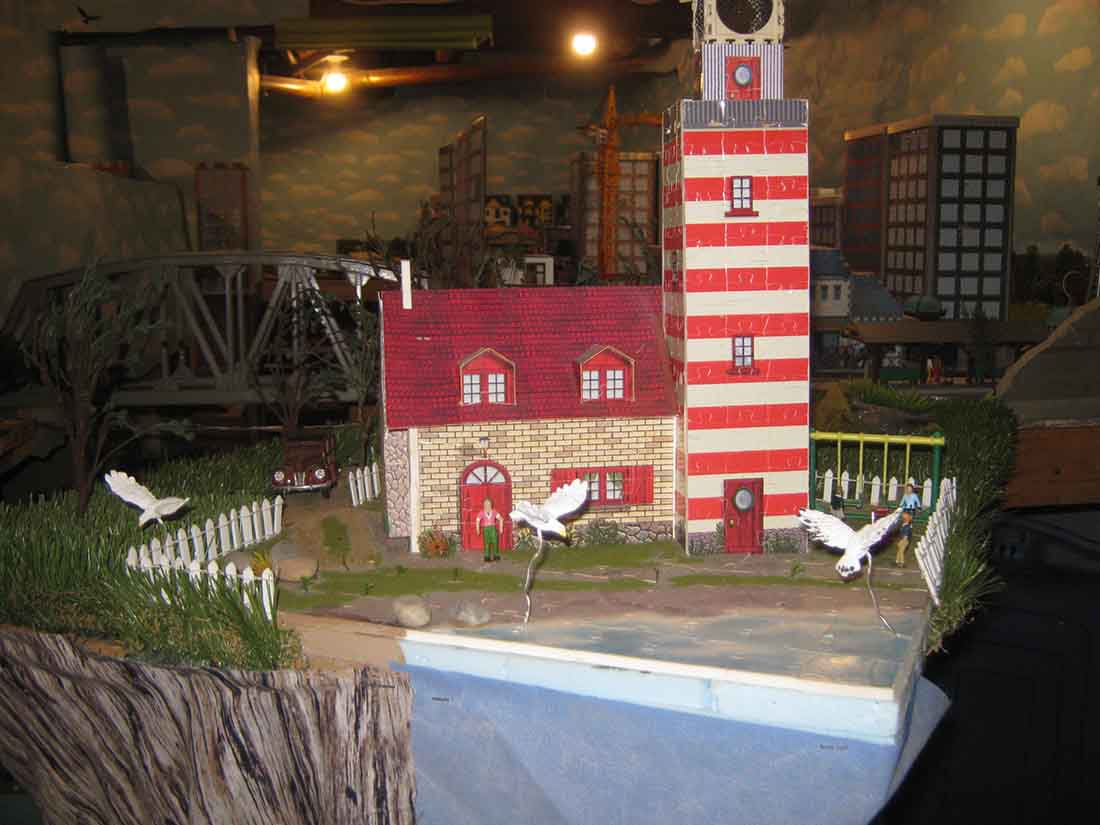
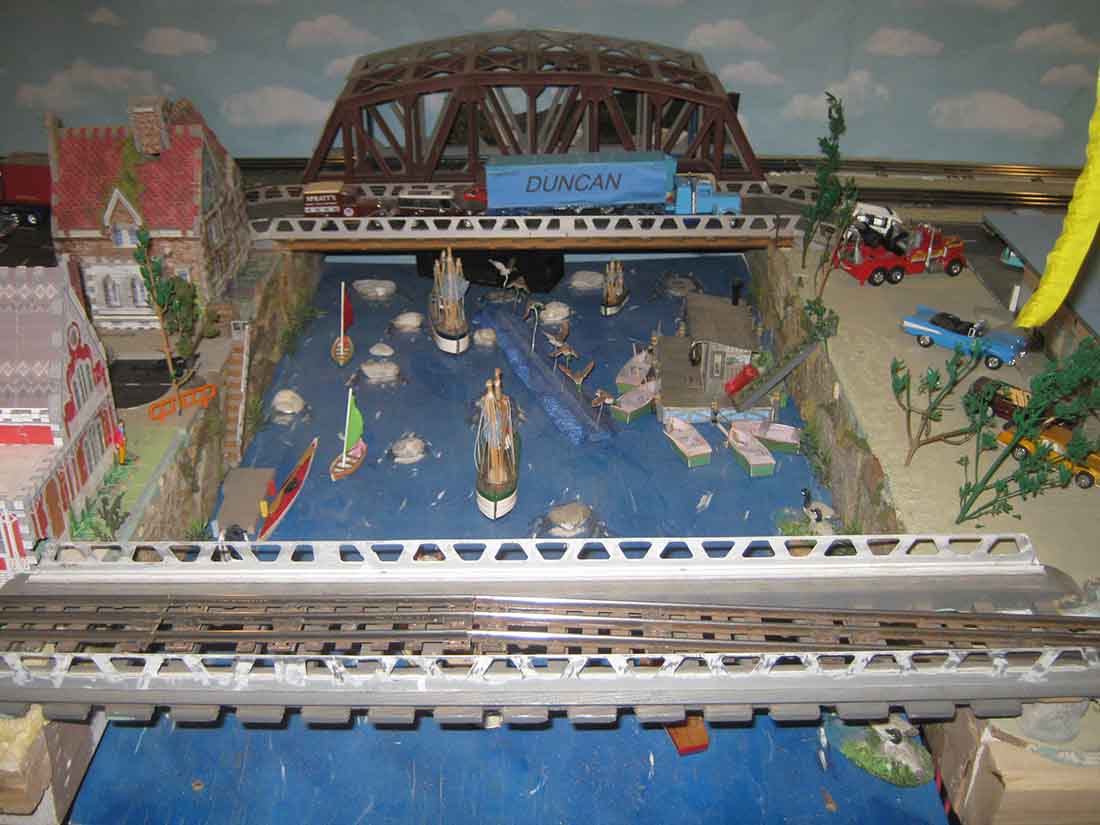
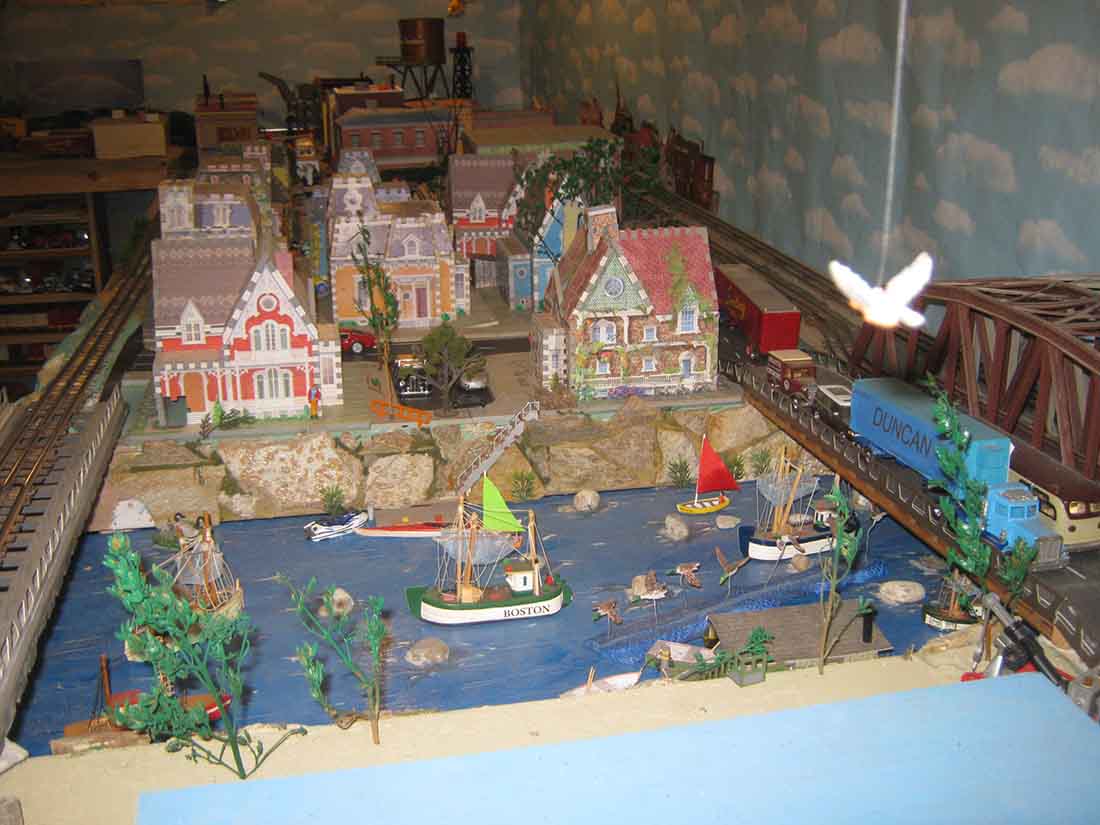
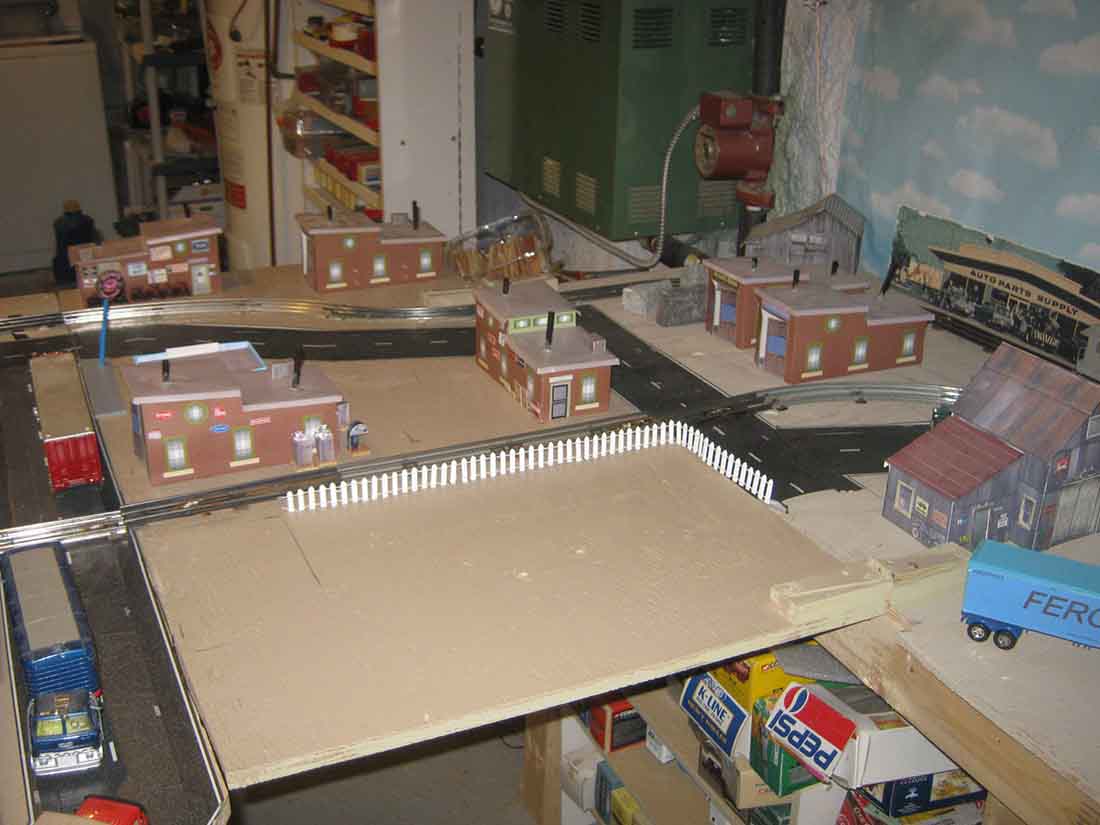
In Calgary, I had made a simple water scene to allow for connecting the two tables I had built at the side of the house so decided I would incorporate it once more in my new location. (work in progress is fixing the over pass that was demolished at the time of the move)( S, T and U)
As I had a good number of Wrebbit 3 D houses I created another suburban area.
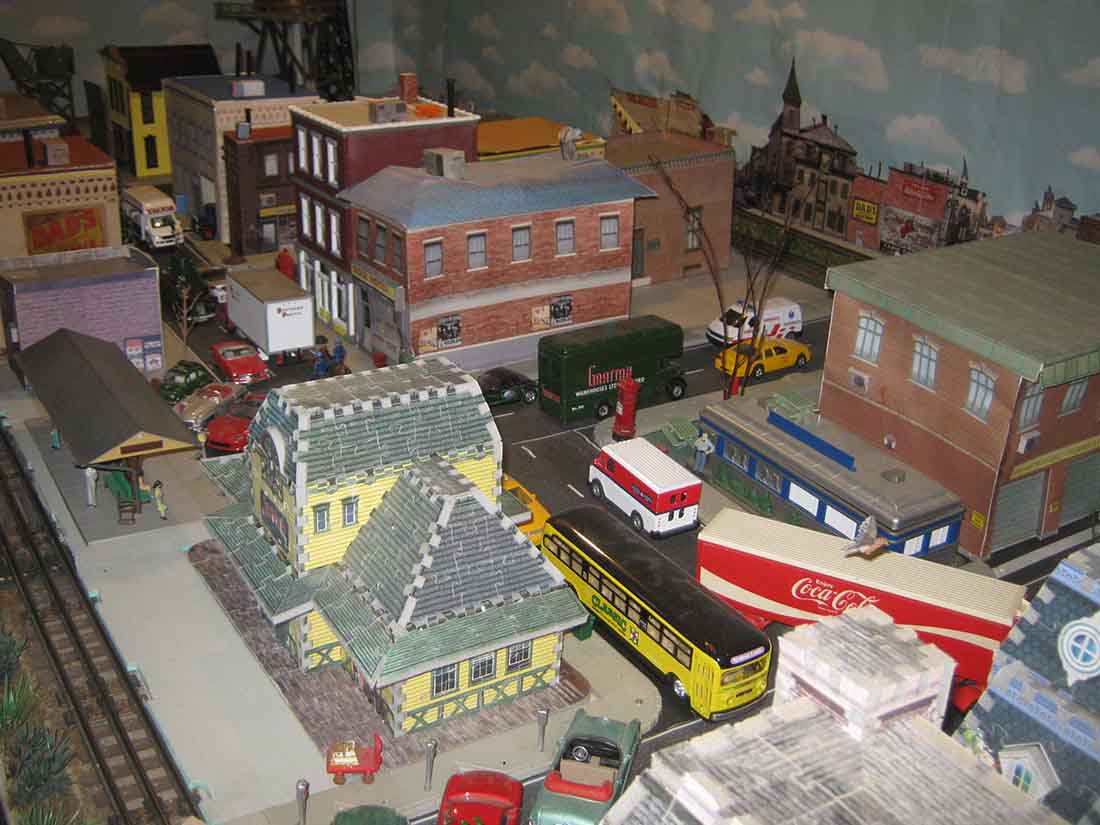
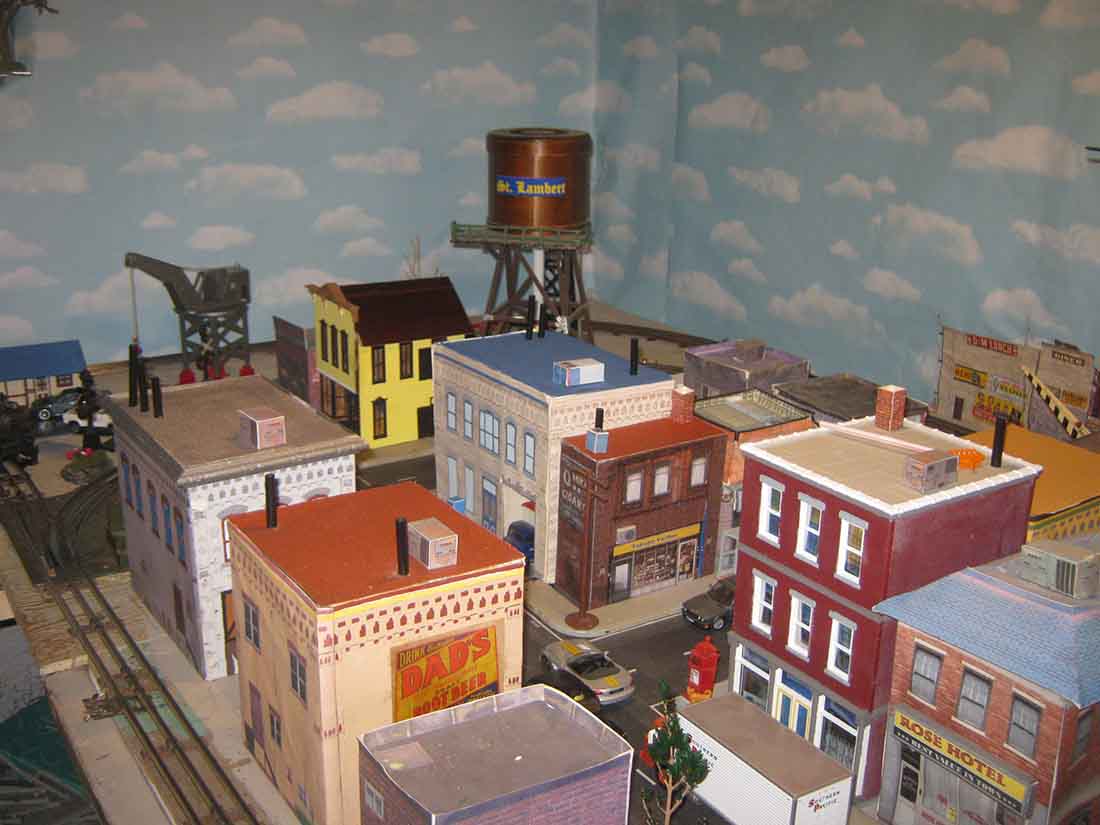
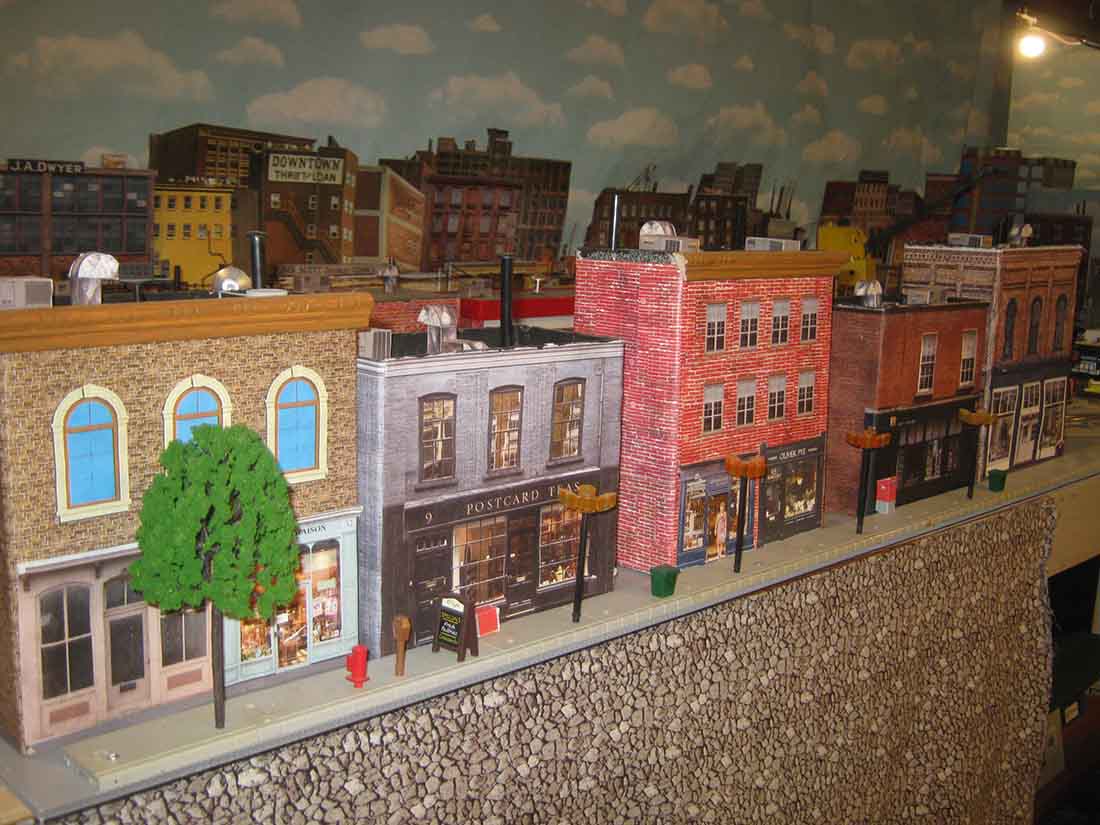
Town centre is made up of card stock, 3 D, K-Line, Lionel and other buildings . I used an old tobacco container to make my water tower, labeling it with the name of the town I was brought up in.
The next area is a location that is a work in progress, I have several card stock buildings – Clever and Evans – products that I am cutting and gluing together trusting I will have room enough to place them here , and on the lift up platform.
This takes us into the middle section where you can see the outside track running through the bridge and across to the side table and the other track running around the interior which connects to the interior track on the side table . Again there are a multitude of makes of buildings.
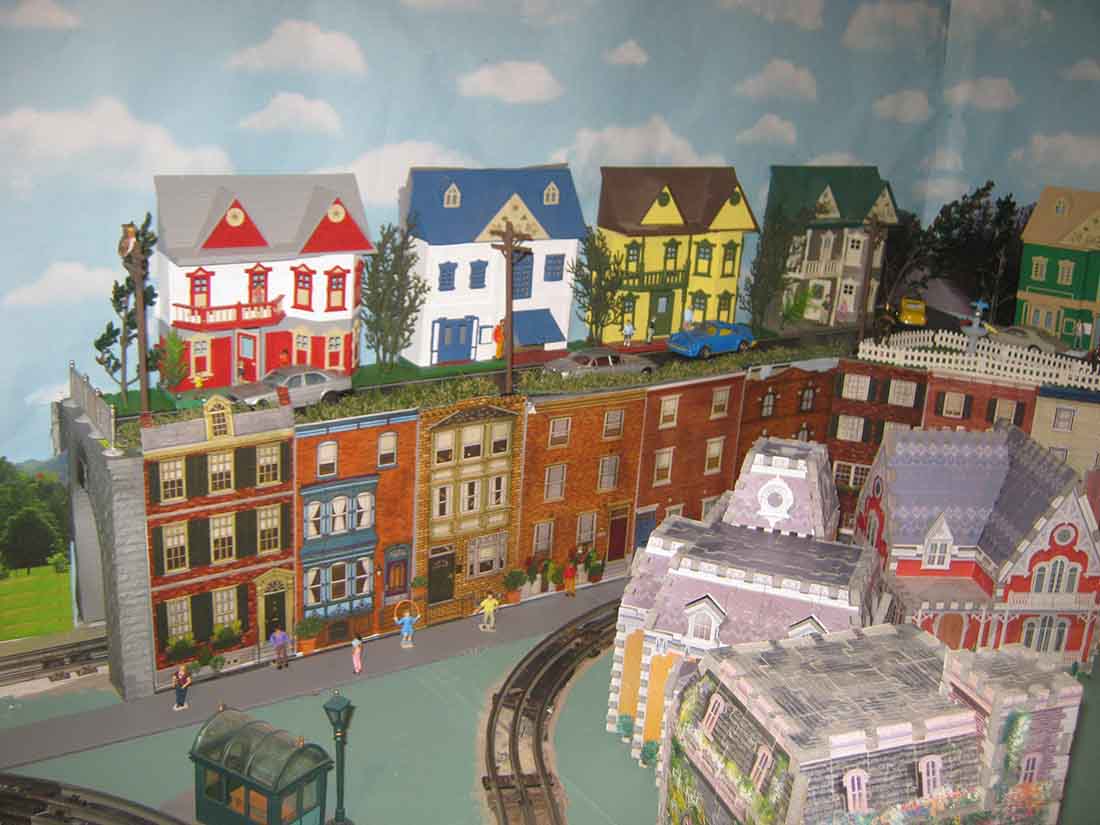
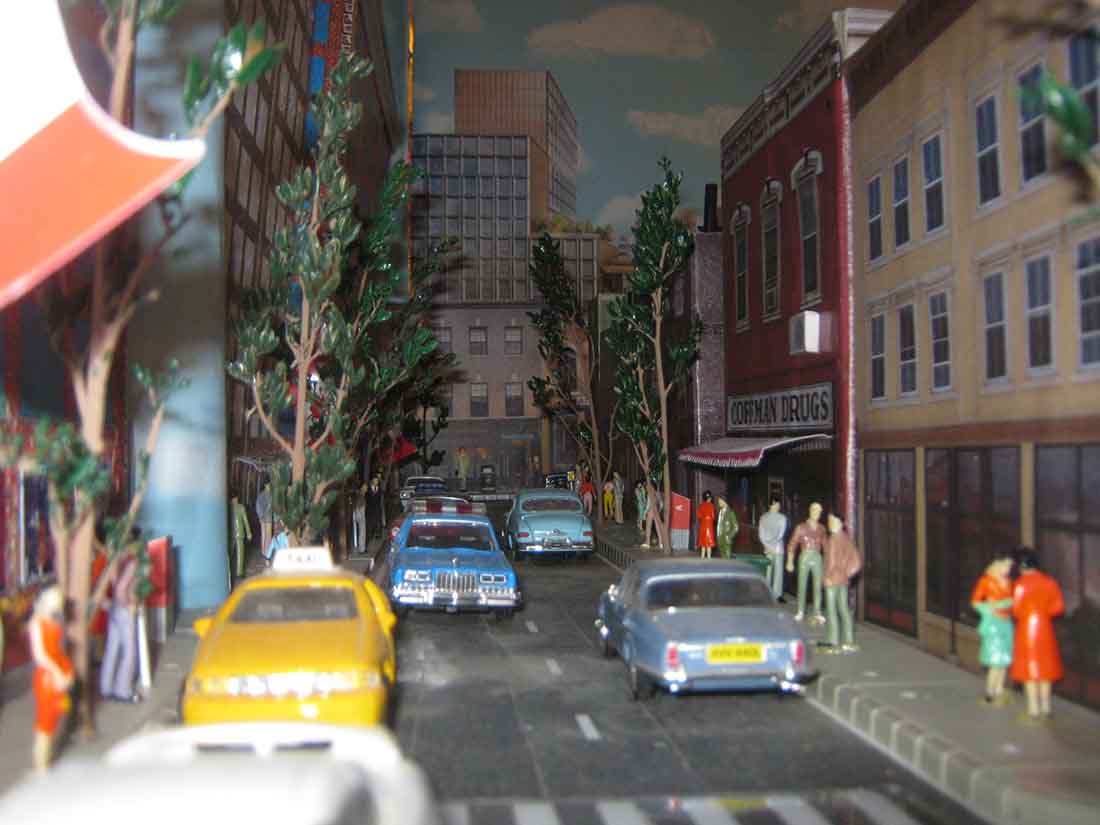
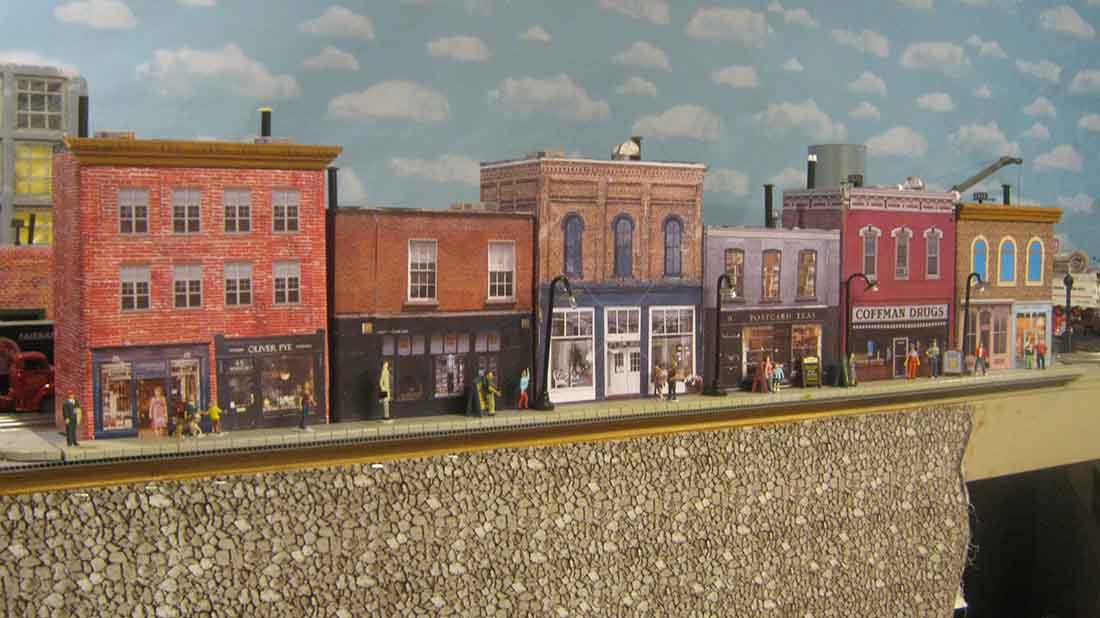
The next to last photos was my latest work making a commercial street scene, one photo was taken with people lined up on the street, the second was with out the people as my grandchildren had banged into table and knocked all the people off.
Cold winters are long in Canada, and now that I am set up in my very own basement I can spend hours up hours working , running and otherwise enjoying myself with my set up. This very last photo is really a favourite of mine, it shows just how much fun you can have, letting your imagination run with out having to be political correct.
Trusting you enjoyed the tour as I have enjoyed all that you have posted.
Douglas
Moncton New Brunswick
Canada”
A big thanks to Doug for sharing his lionel train set with us – and his narrative too.