Ray’s been back in touch with his 4×8 N scale:
“Hello Al,
I have been a fan of your blog over the past seven years and have found the emails, videos, and “tips and tricks” extremely helpful and informative.
I find myself looking for your email first thing every morning. Thank you and keep up the great work.
I am attaching a video of my N scale layout, updated less than a year ago.
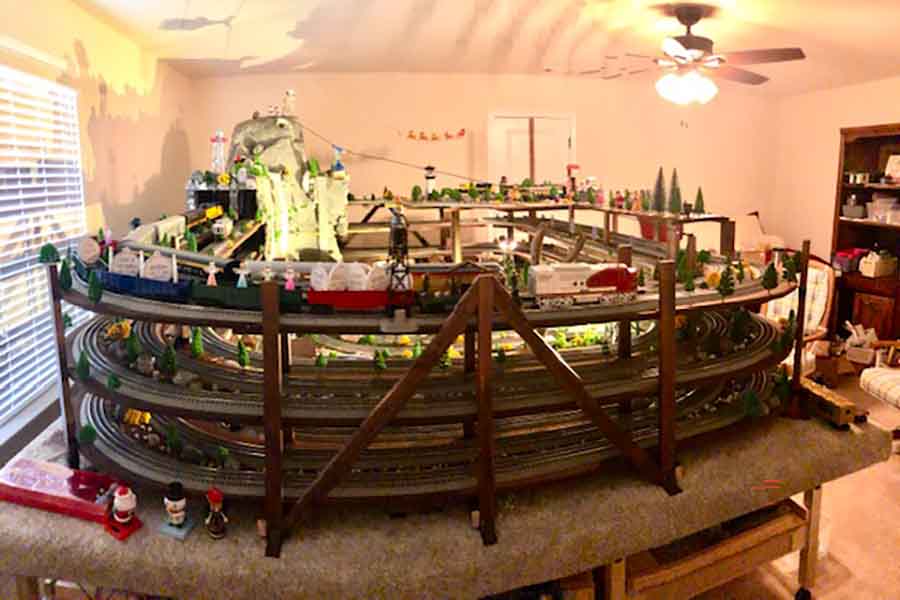
I think I have mentioned in an earlier email that I started with a 4 x 8 layout on a piece of plywood placed on top of the pool table.
The pool table is now gone and N scale trains have since taken over my entire basement.
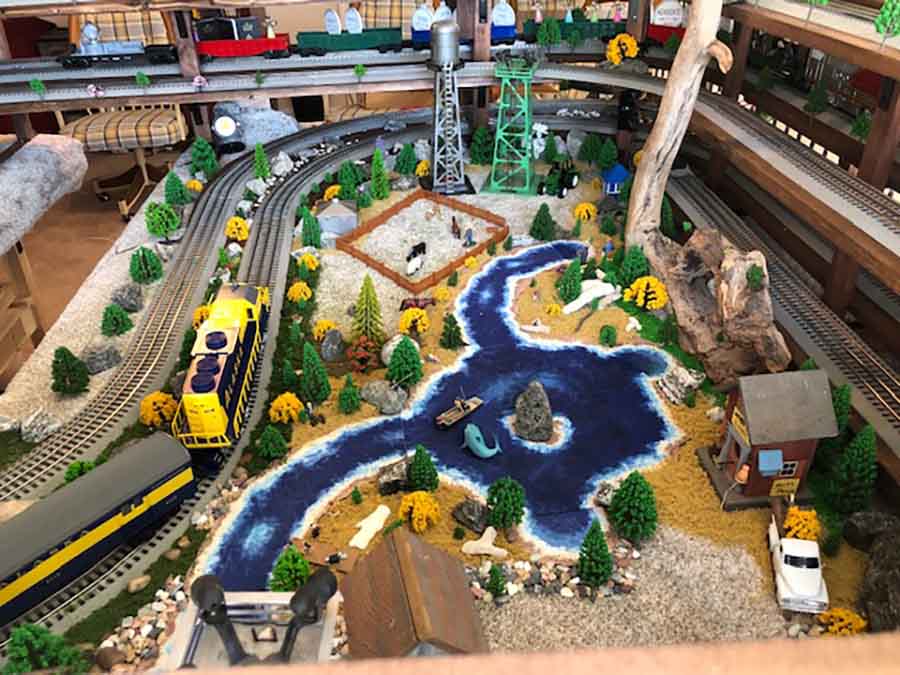
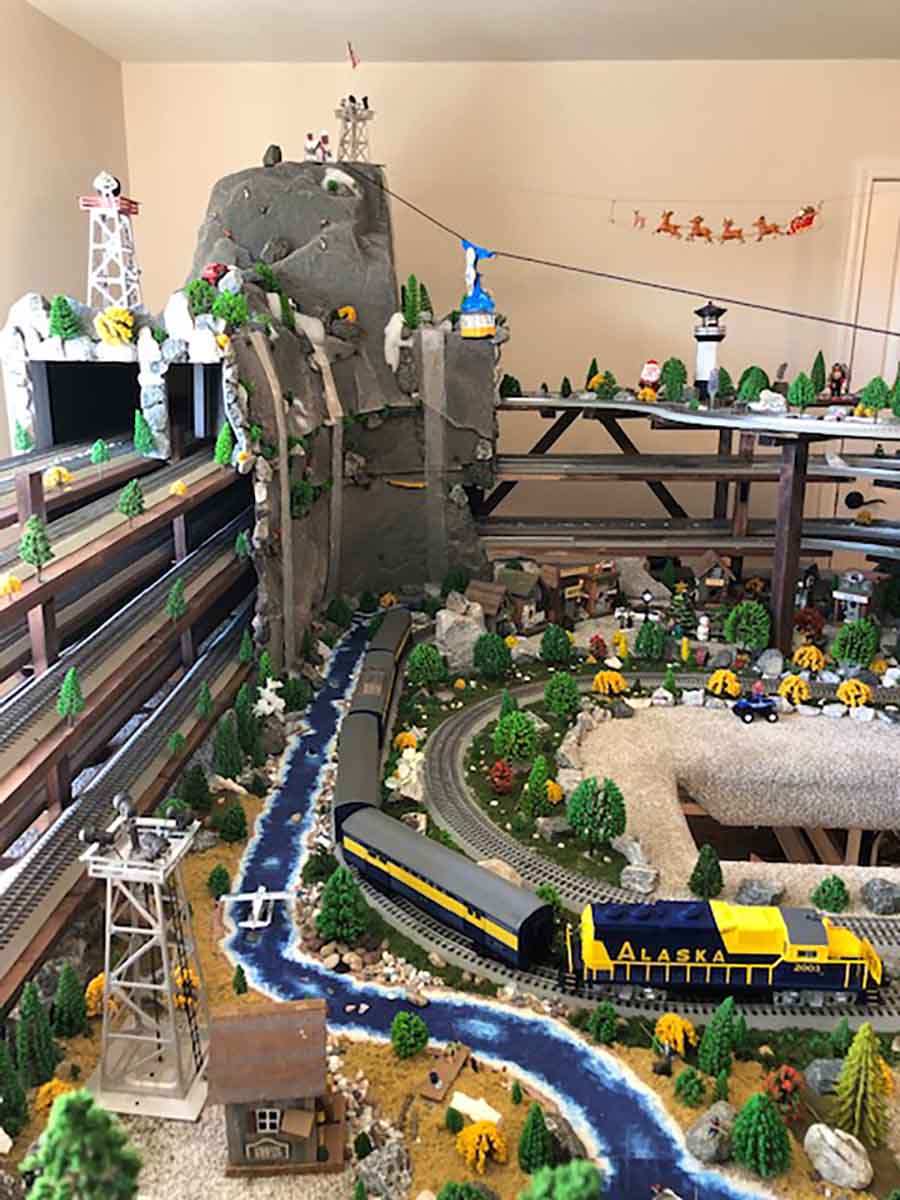
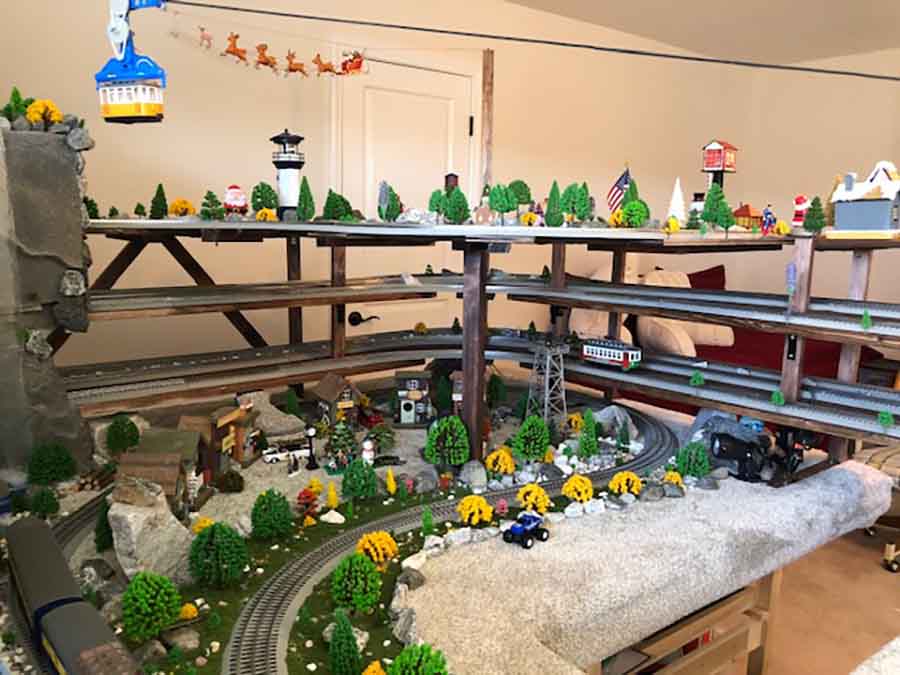
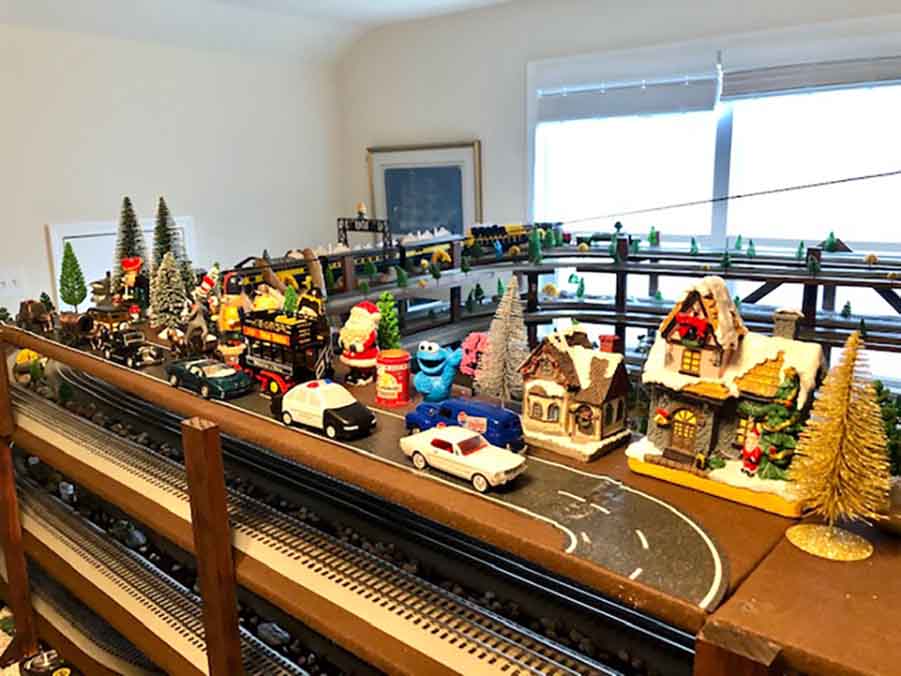
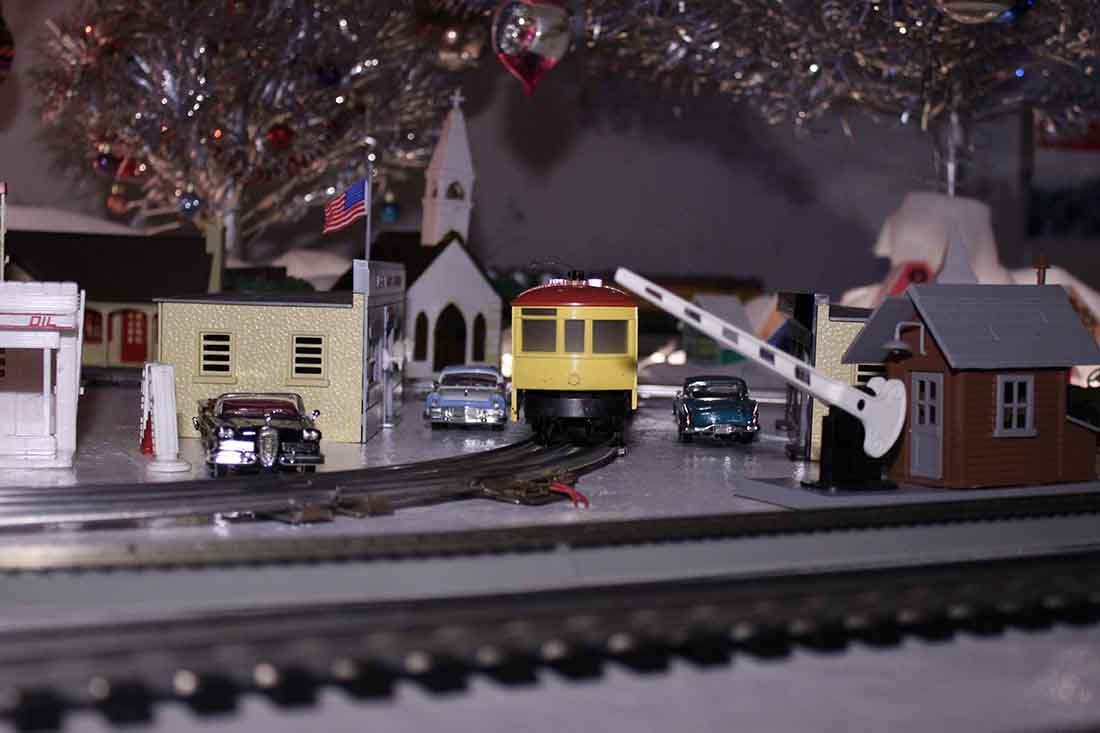
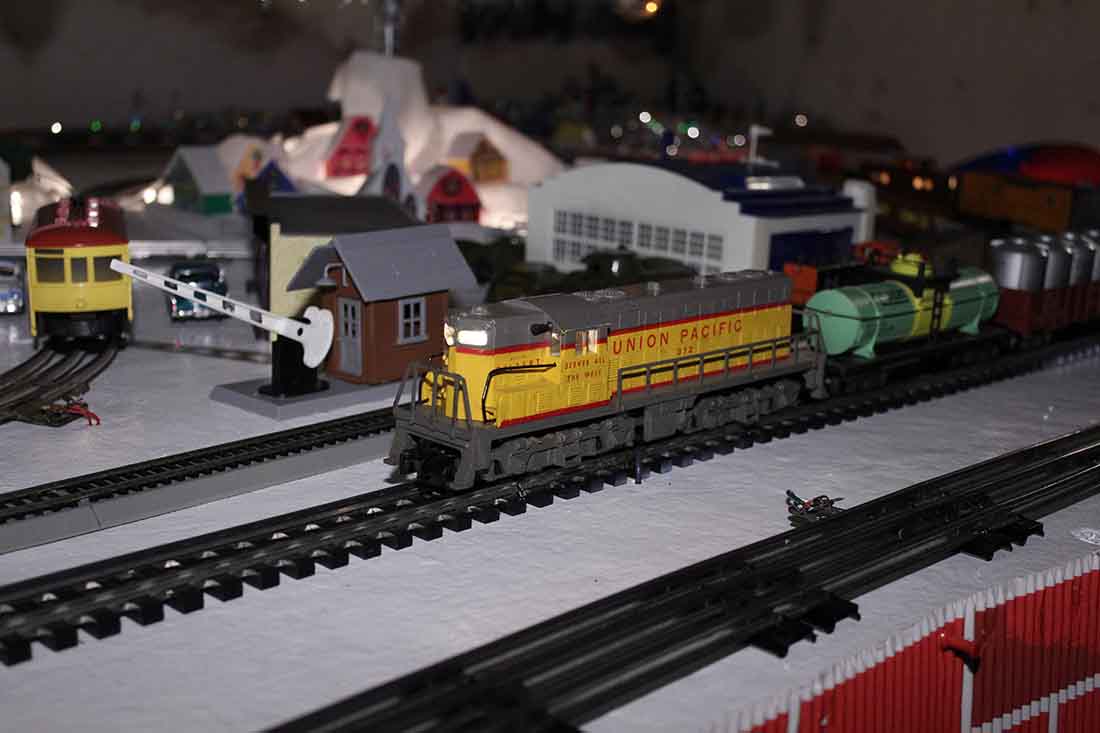
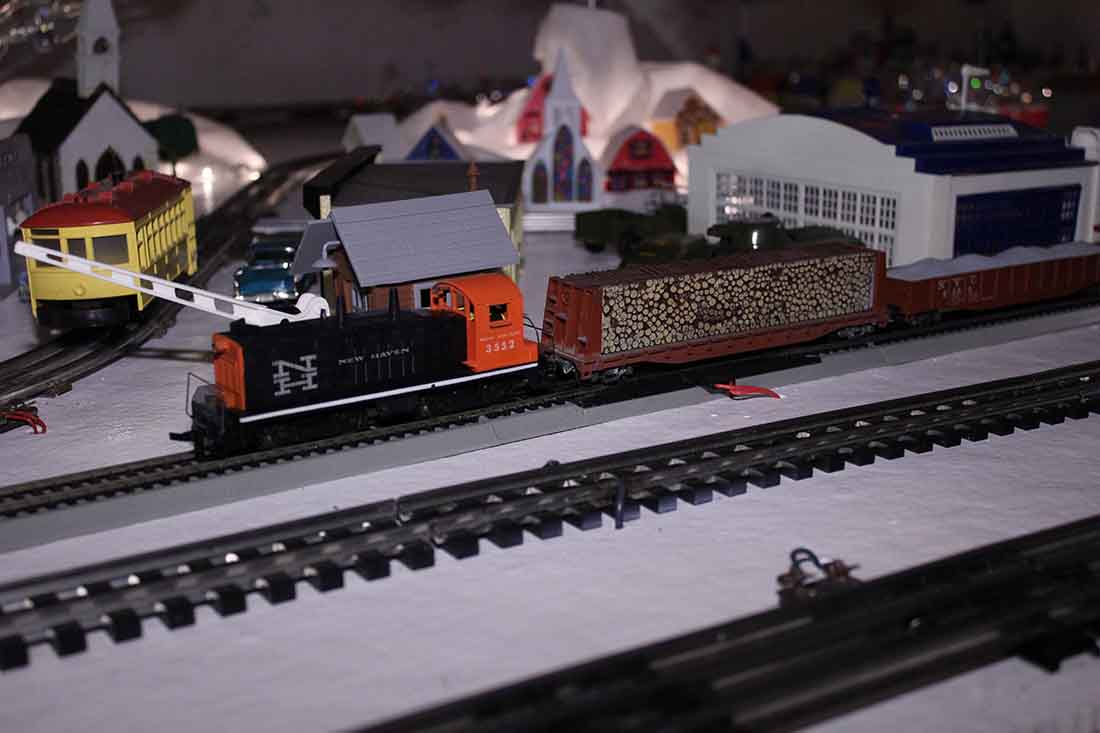
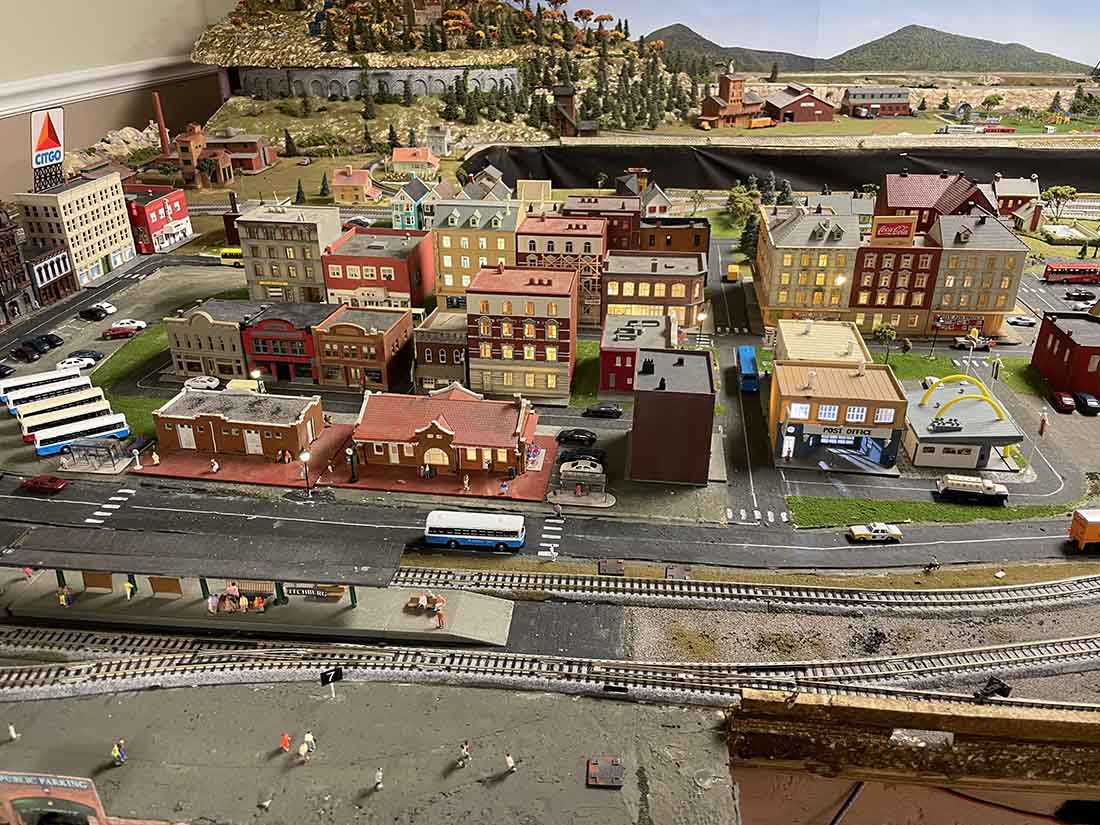
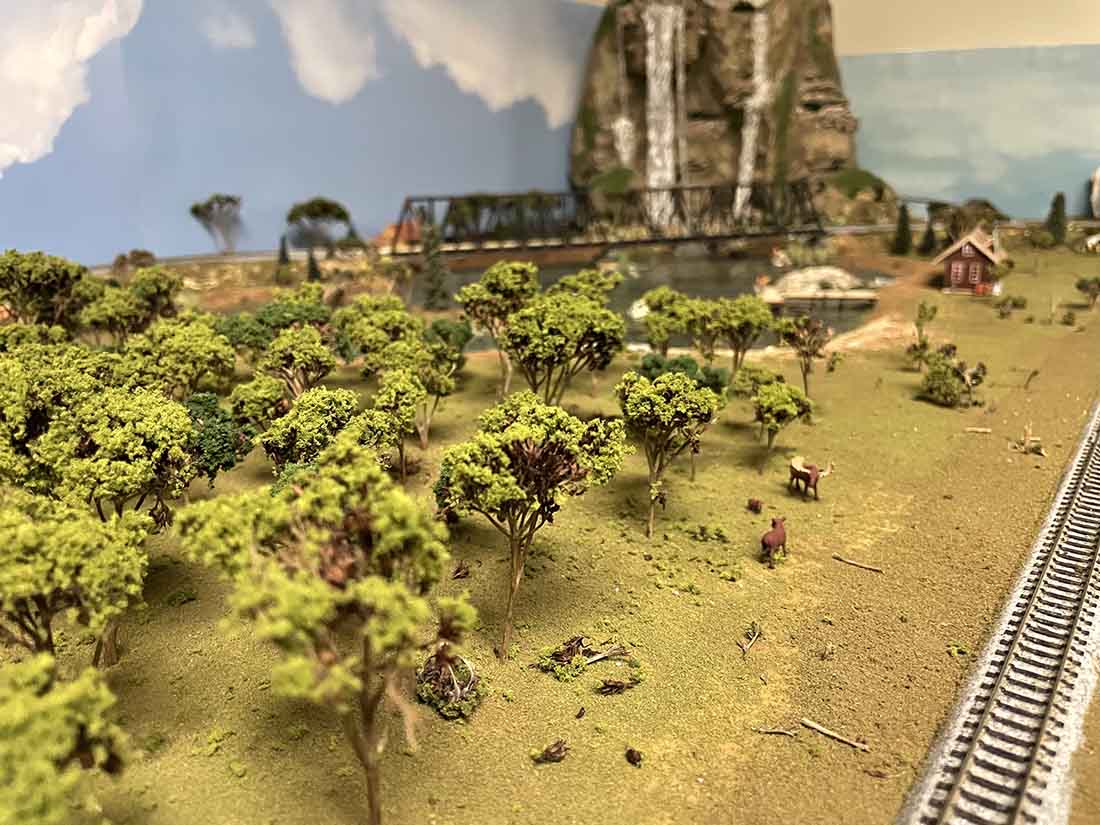
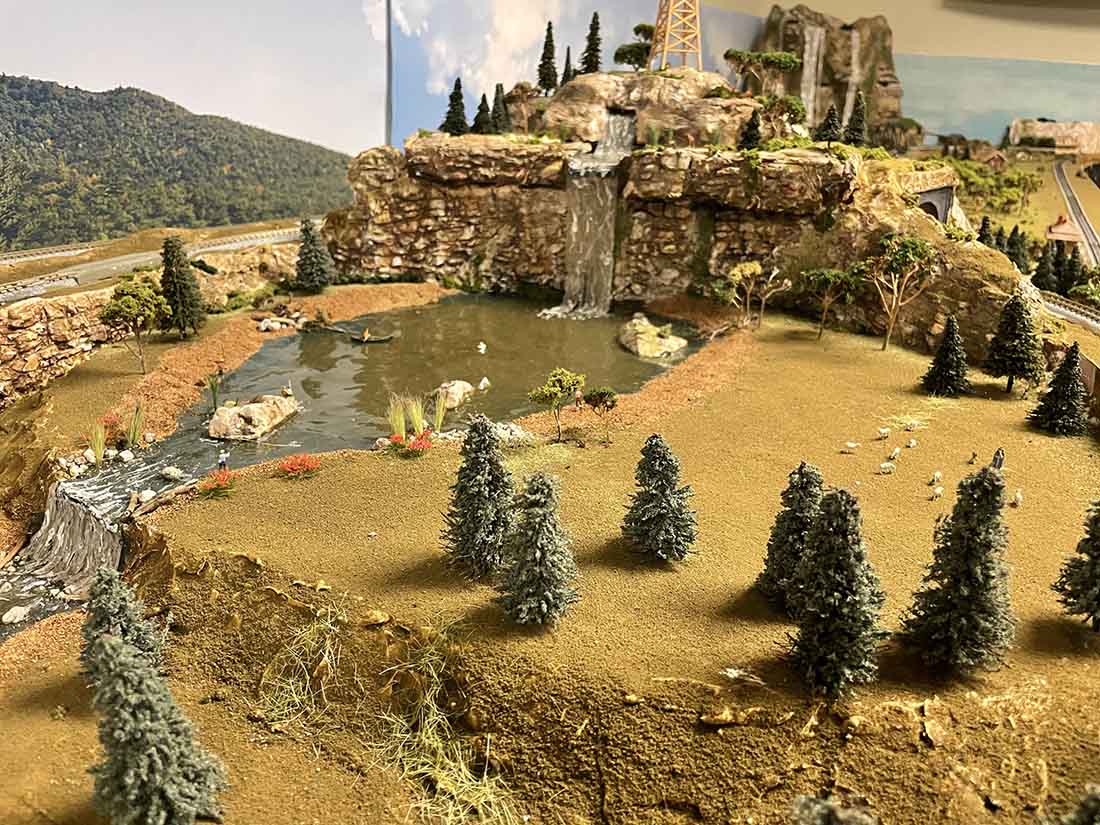
This video shows the accumulation of trains, rolling stock, and scenery over the past 7 years.
My layout is not a specific prototype and may not make sense to your viewers.
I have a fleet of 10 plus Dutch locomotives, because of the time I spent in Holland after college and since my wife is Dutch.
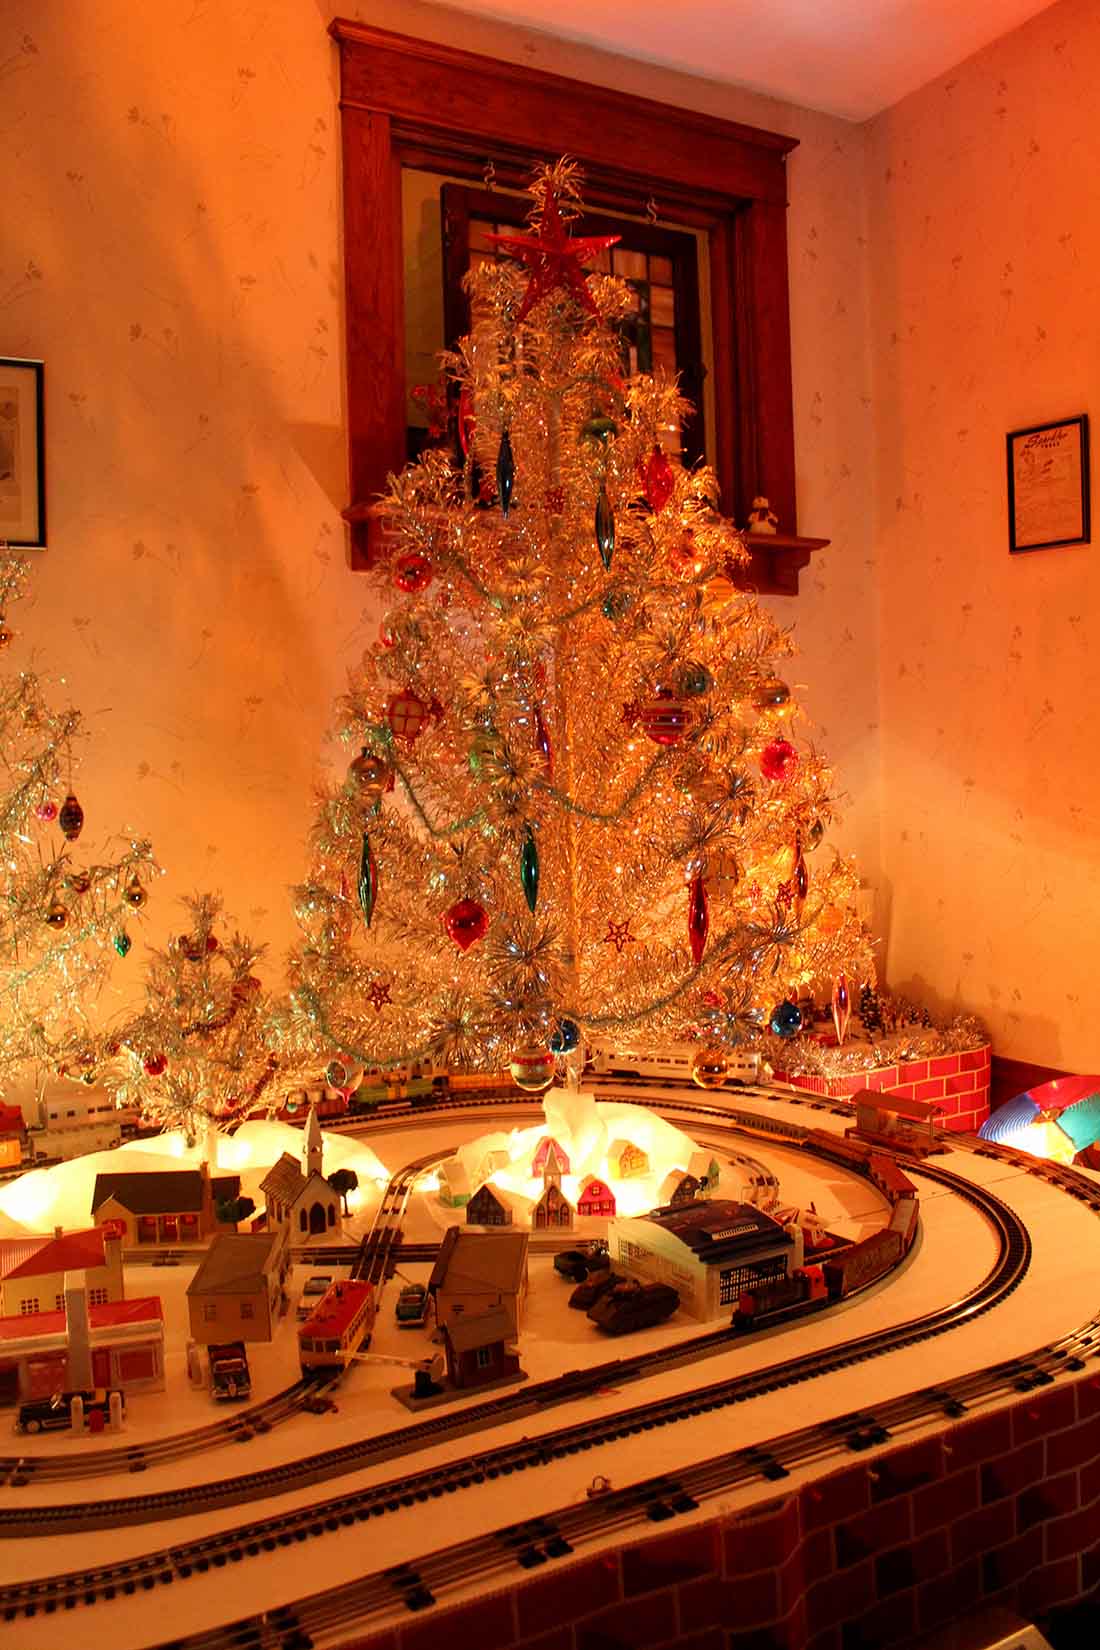
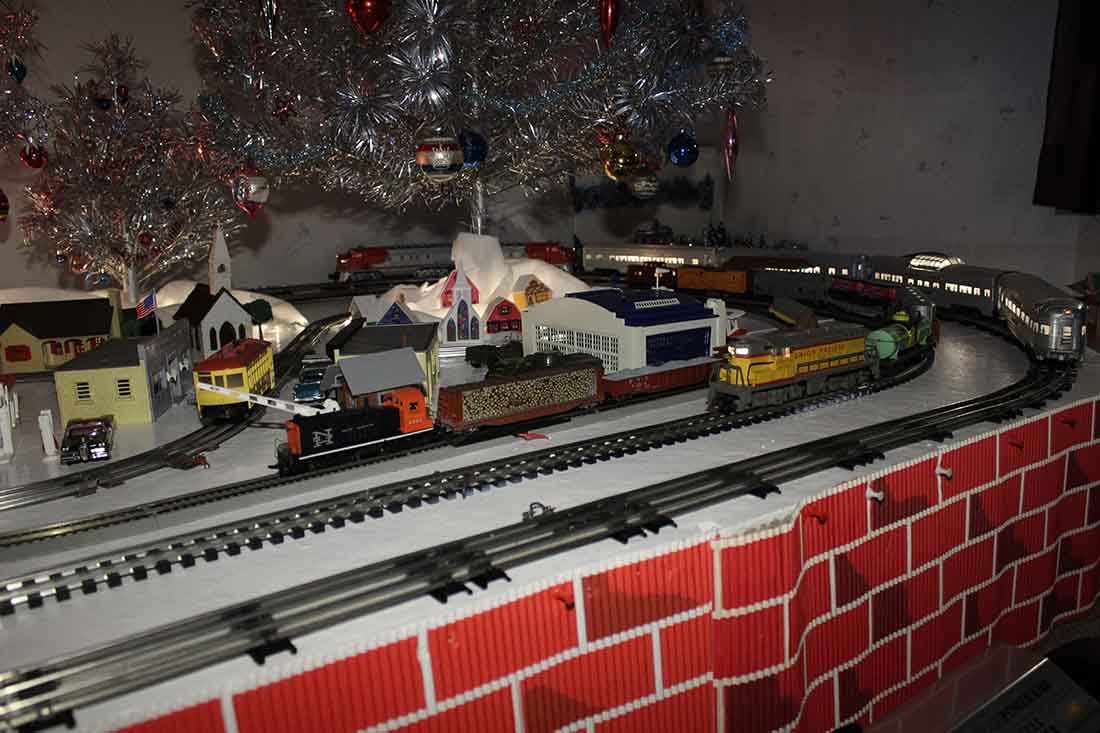
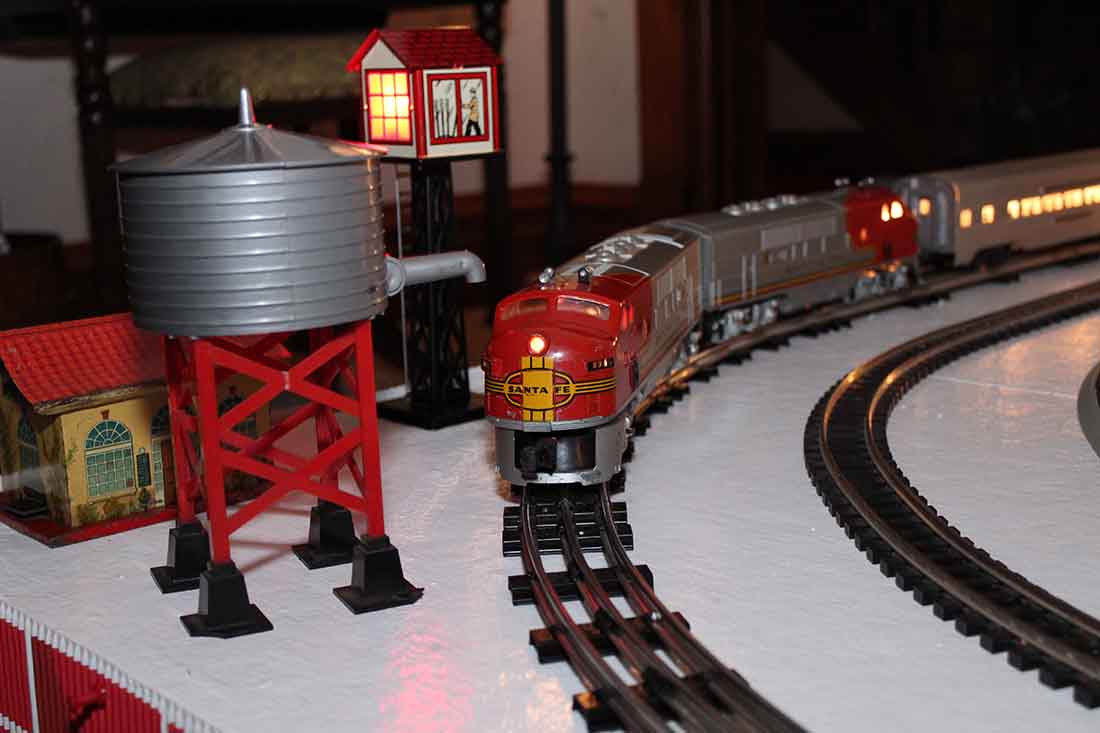
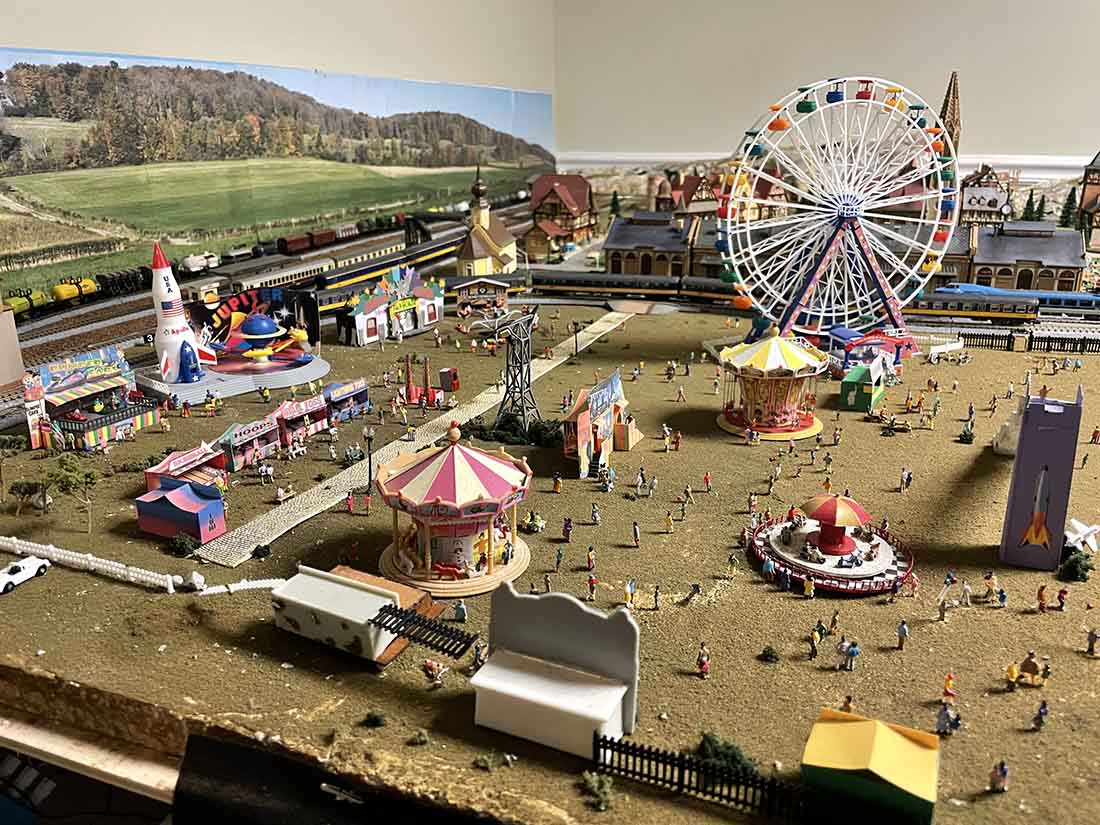
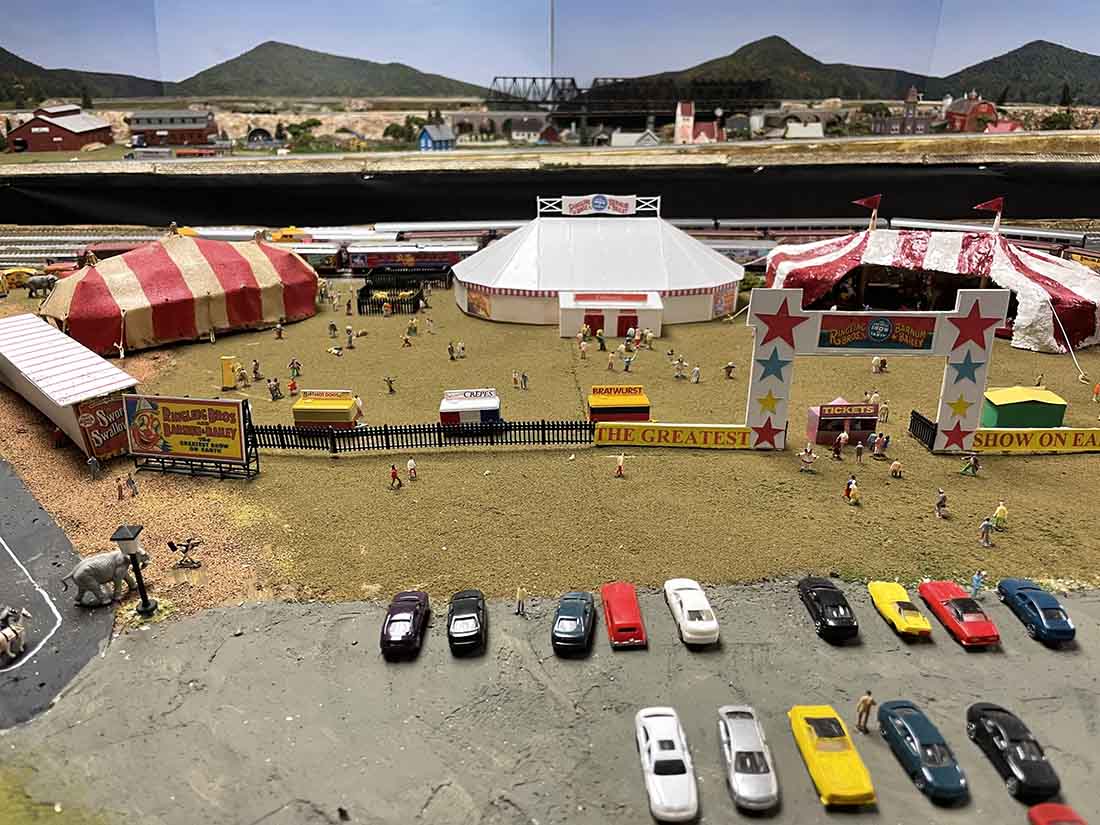
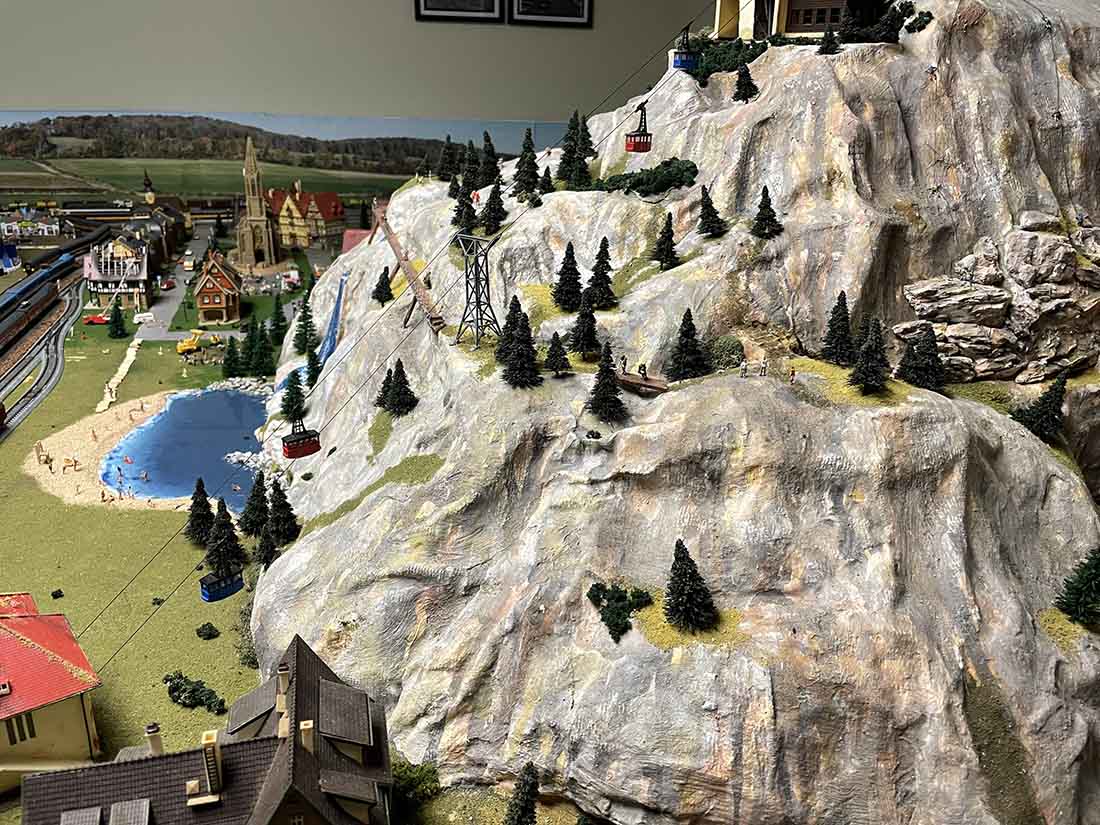
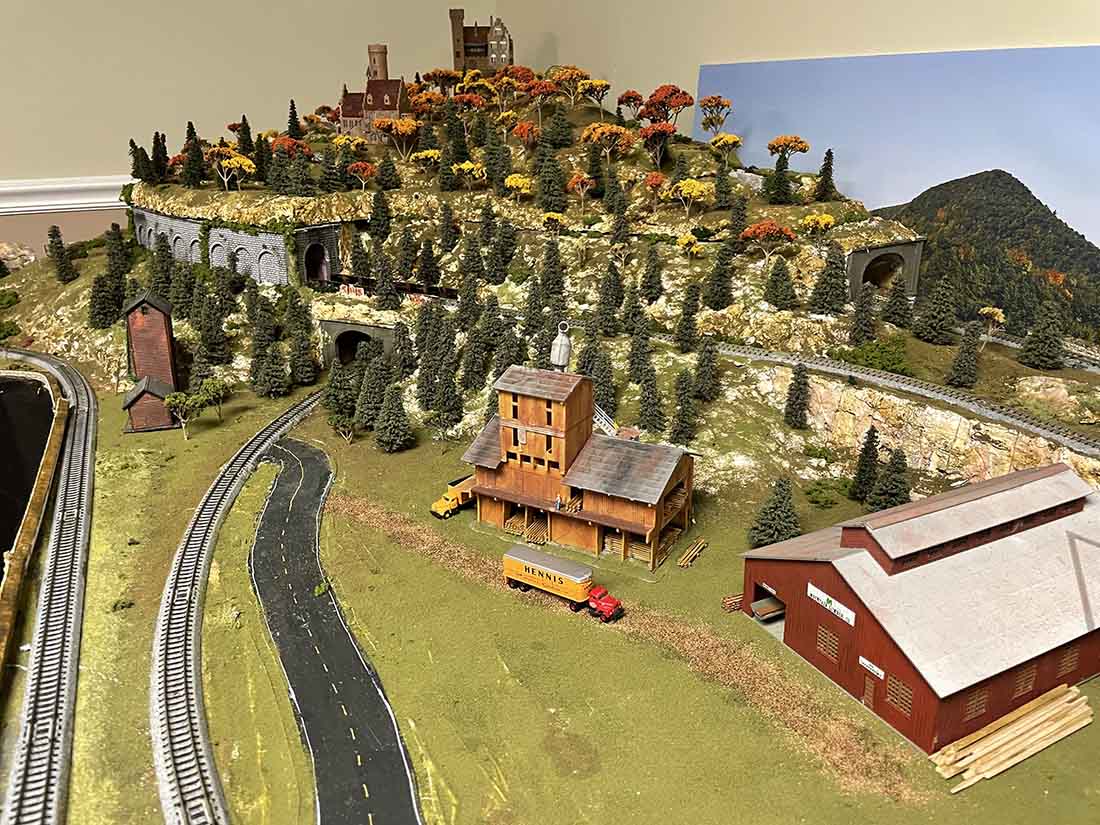
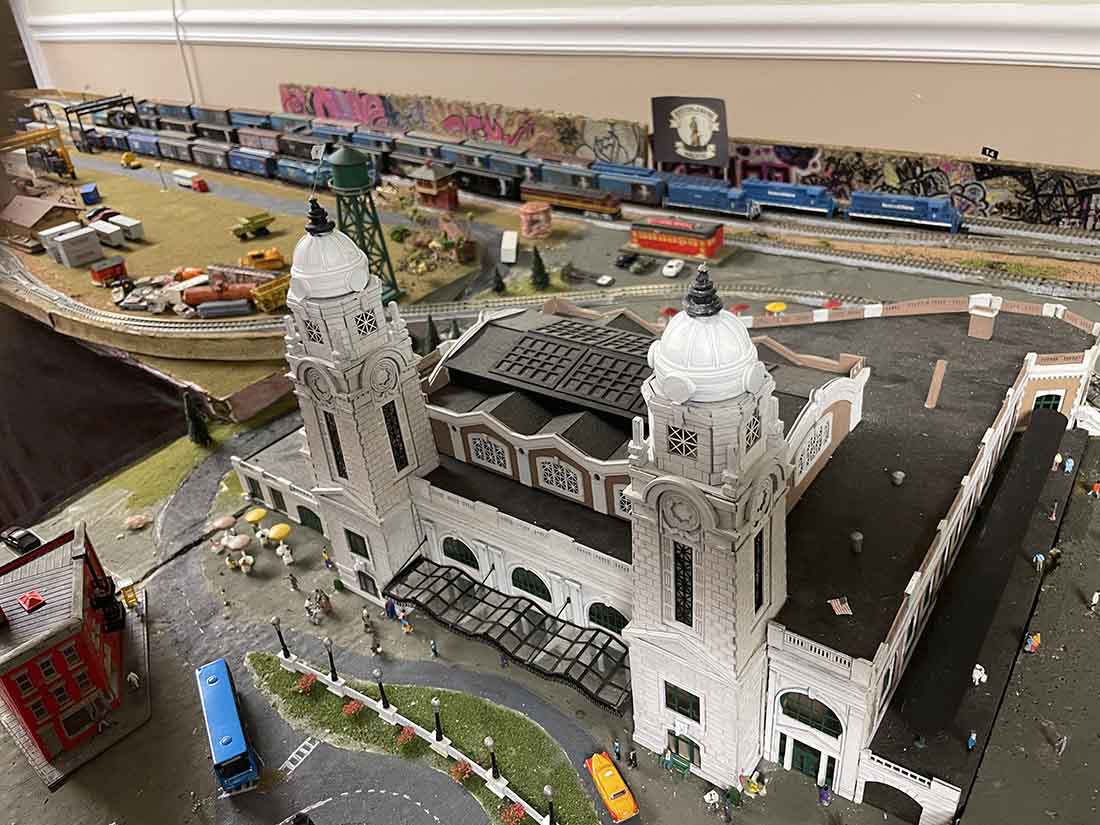
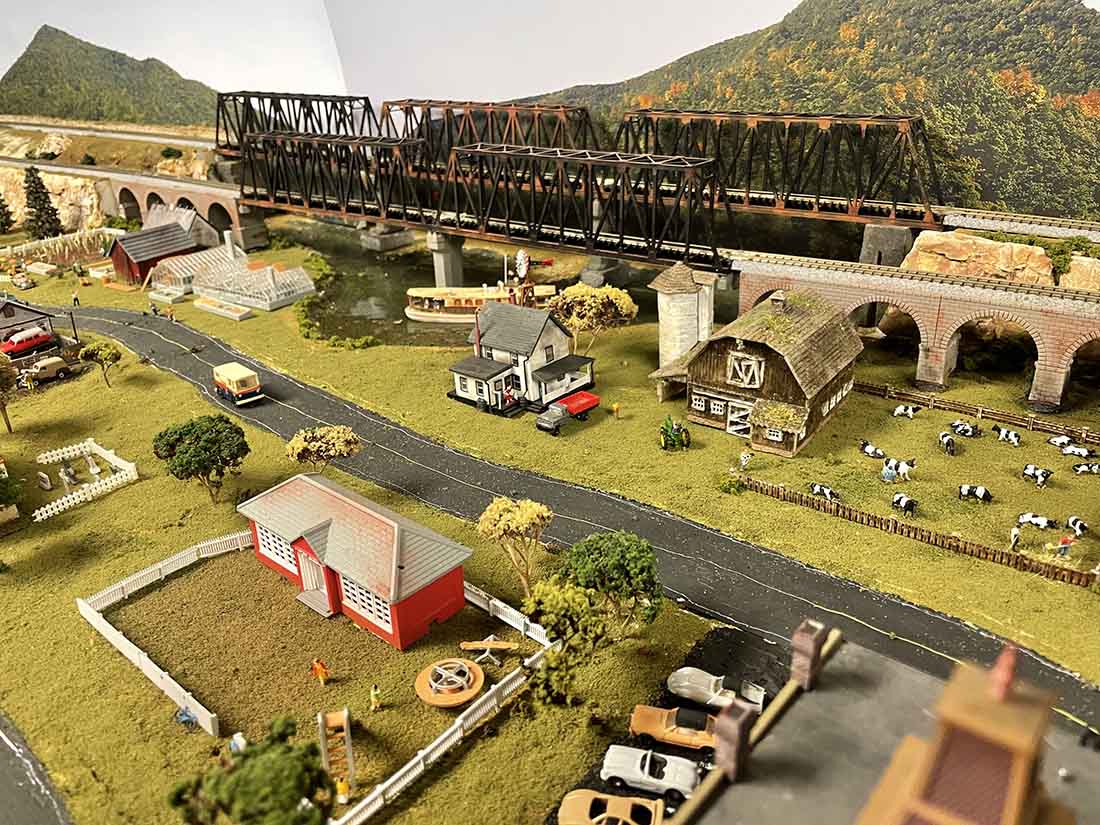
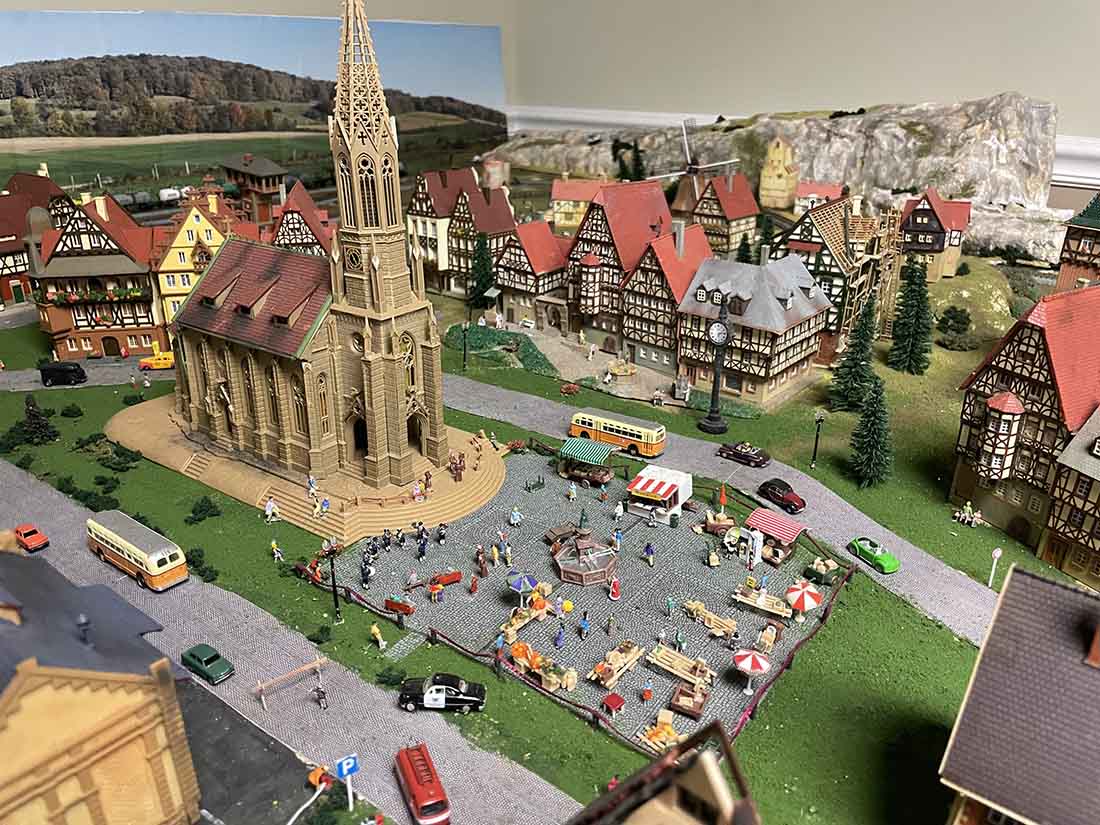
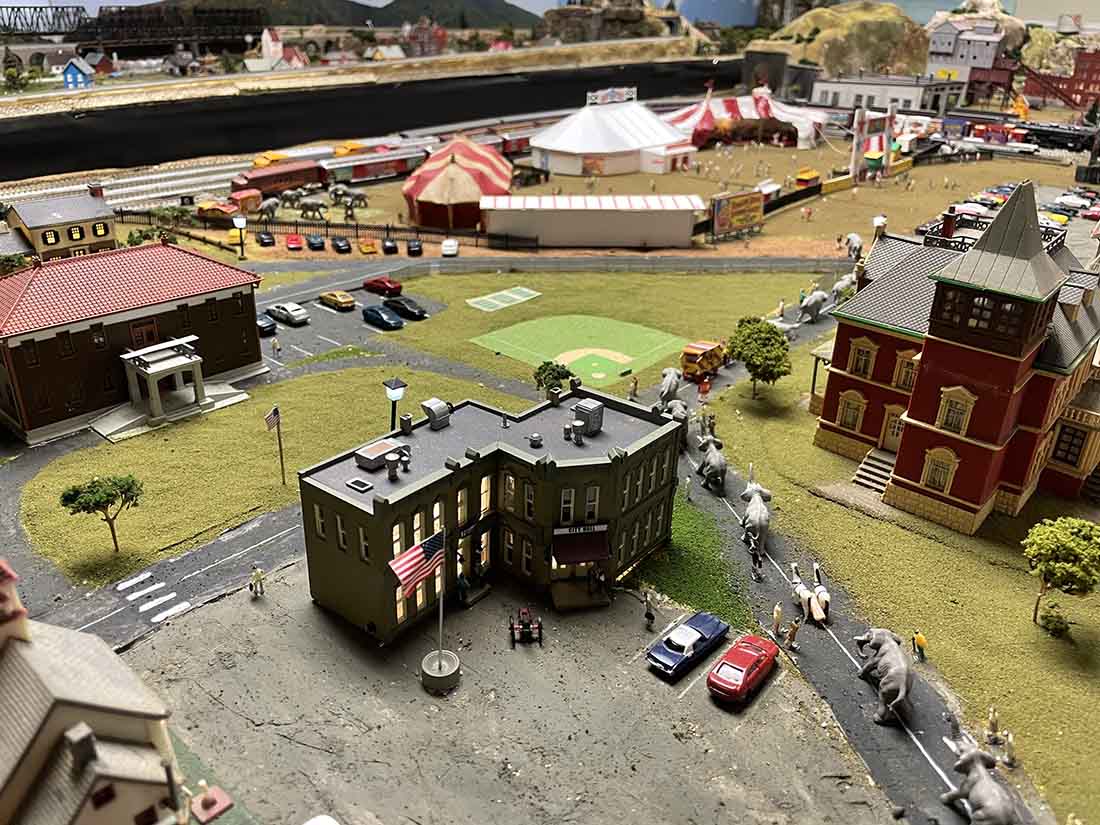
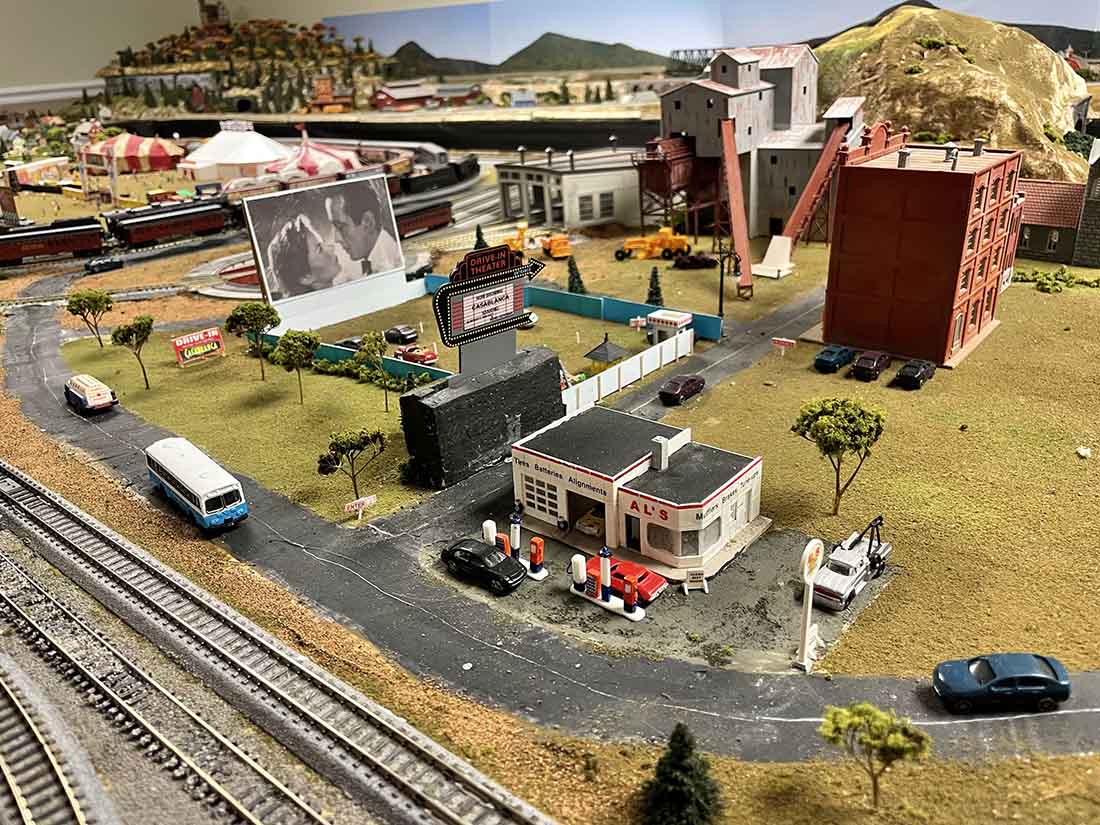
I have locomotives from different eras and road names. I have modeled a collection of places and activities that I have enjoyed over the past 60 plus years, including an amusement park, circus, fishing holes, lakes for swimming, water falls, mountains. a variety of wildlife, a scale model of Worcester Union Station, parks, European outdoor market, windmills, a gondola lift, and much more.
Although I have basically run out of space, I am sure there will be additions, and adjustments in the years to come. As we know, our layouts are never really finished.
Wishing you and all your followers a very happy and healthy New Year!
Best,
Ray
Massachusetts, USA”

A big thanks to Ray for sharing his 4×8 N scale.
Of course we all know this hobby is about making a start – so if you want to see Ray’s start, his first N scale post is here.
Ray’s pics also remind me of Bruce’s layout: N scale 8×4.
That’s all for today folks.
Please do keep ’em coming.
And if today is the day you leap out of your chair and start laying track, the Beginner’s Guide is here.
Best
Al
PS Latest ebay cheat sheet is here.
PPS More N scale layouts here if that’s your thing.