Frank needs some help with his reverse loop in his layout. Can you help?
“Hi Al,
Big fan. Read all the daily postings and have learned a lot.
Like many of your posters, I too had a Lionel as a kid. It’s now gone, who knows where.
Started an HO double track oval for my kids in the 80’s. Still had everything and started up a new layout when the pandemic caused a lockdown.
Found out that HO was just too big for the room I had available. So I gave half of everything to my two son’s for my grandchildren.
This year I jumped in with both feet into N scale DCC. And so my problems Started.
I’ve read everything on line and bought a basic DCC wiring book and cannot grasp REVERSE LOOP WIRING.
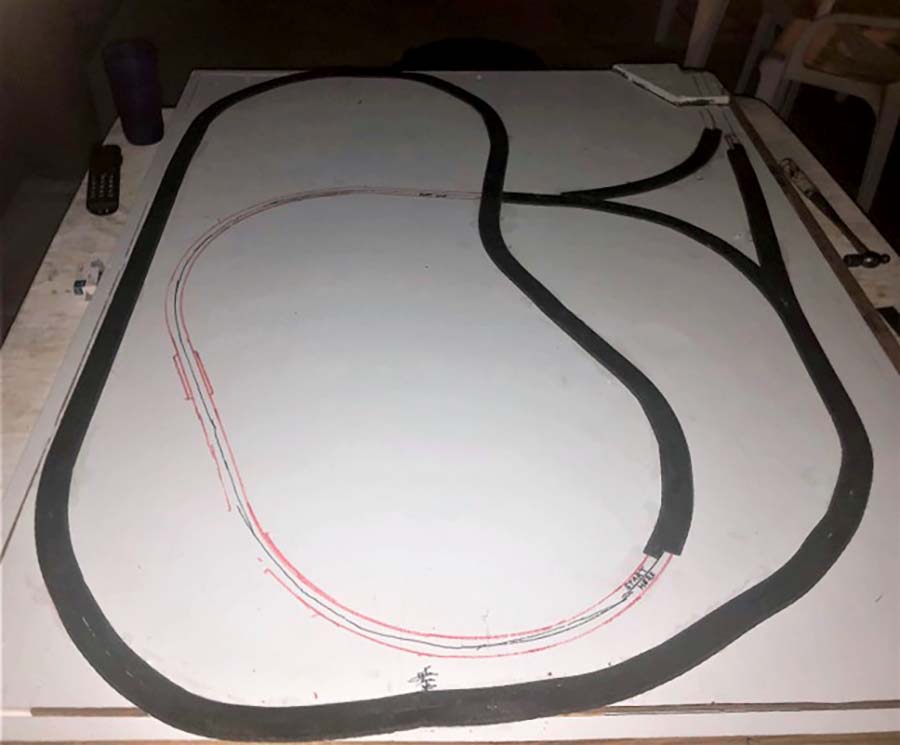
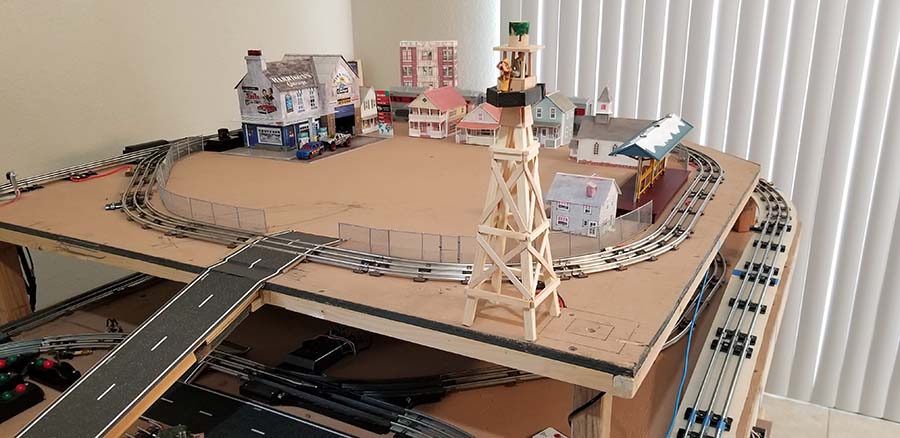
I’m building my layouts as 4’x3’ modules. I’m attaching a layout photo of one of my modules and hoping you or one of your readers can educate me as to where I need to isolate the track and where to place my LOOP REVERSER(S).
Do I need a reverser for each loop???
Incoming train enters the module at the upper right left hand track and exits at the upper right, right hand track.
Thanks in advance.
Frank – 73 years old”
Please leave a comment below on Frank’s reverse loop problem if you can help.
Now on to Ed:
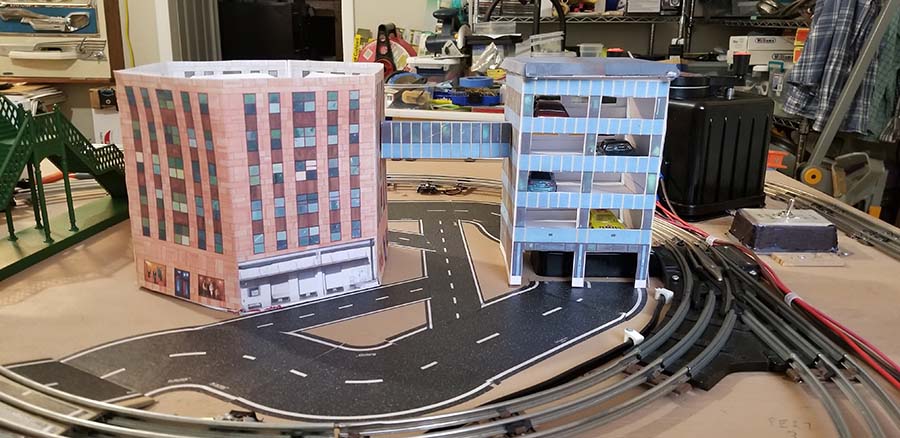
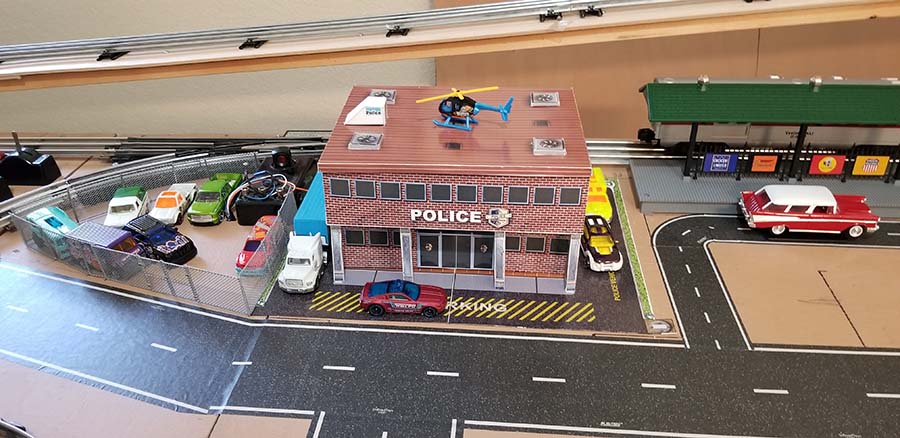
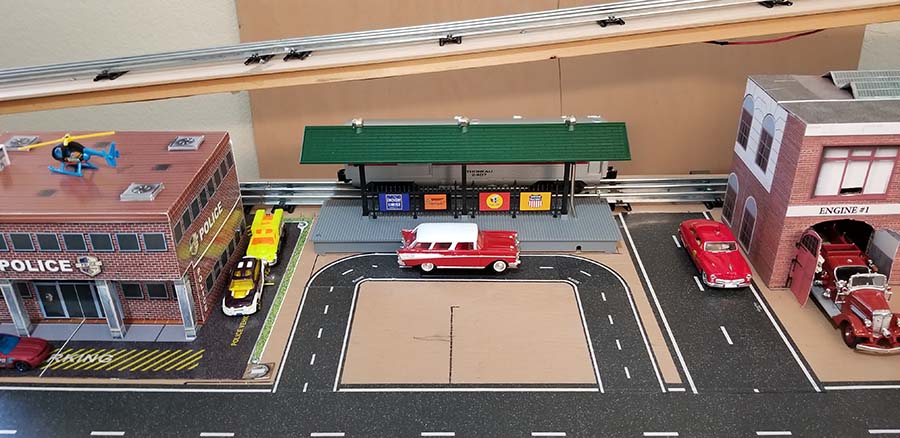
“Hi Al. The set is coming along.
I’ve sent a few pics of your printouts.
The layout has one central circle with two turn around on either end along with an upper residential level.
The ramps are slightly steeper than norm, I used different voltages for up and down controlled by photo eyes and relays.
I have a drawing that can be used for 3 rail or 2 rail, let me know if anyone interested. Next step is to move switch remotes to over by former, then put up using signals, then photo eyes for computer (plc) control.
Ed”
“Hi Al:
My first of 3 surgeries is delayed because Medicare did not pre-approve the surgery.
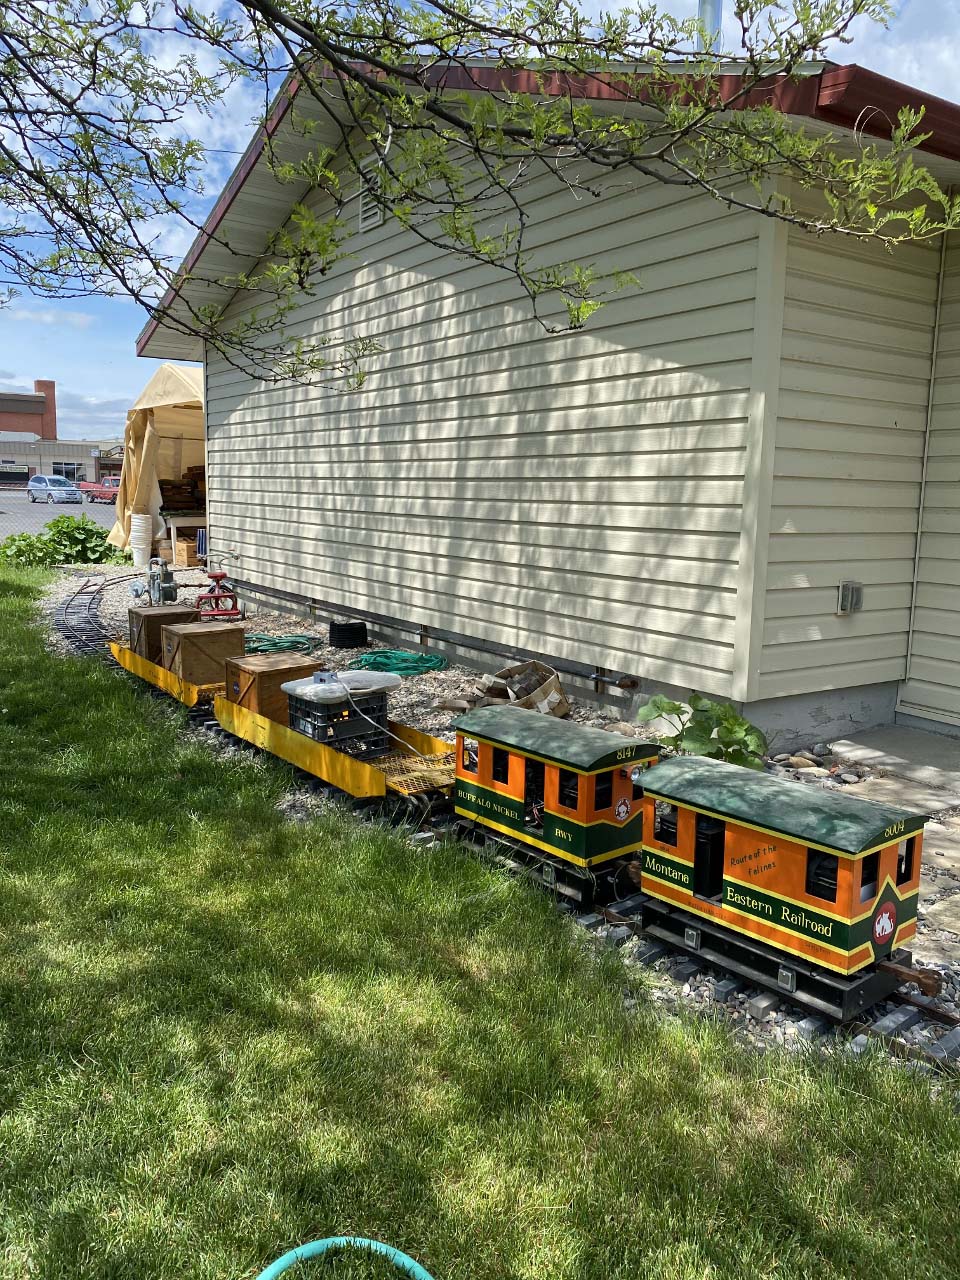
So I spent the past week rebuilding my two Montana Eastern Railroad boxcab diesels.
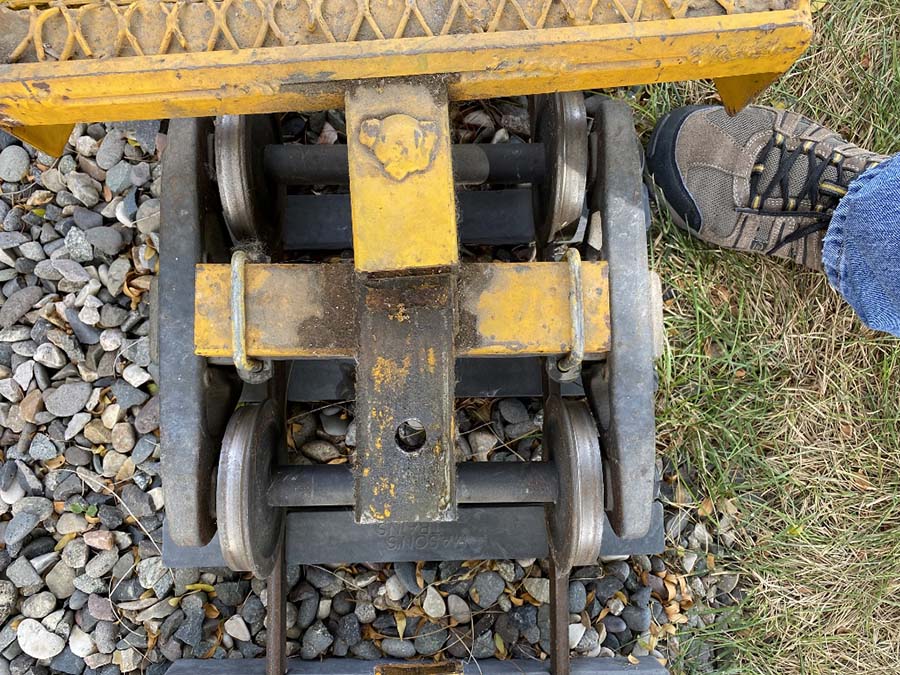
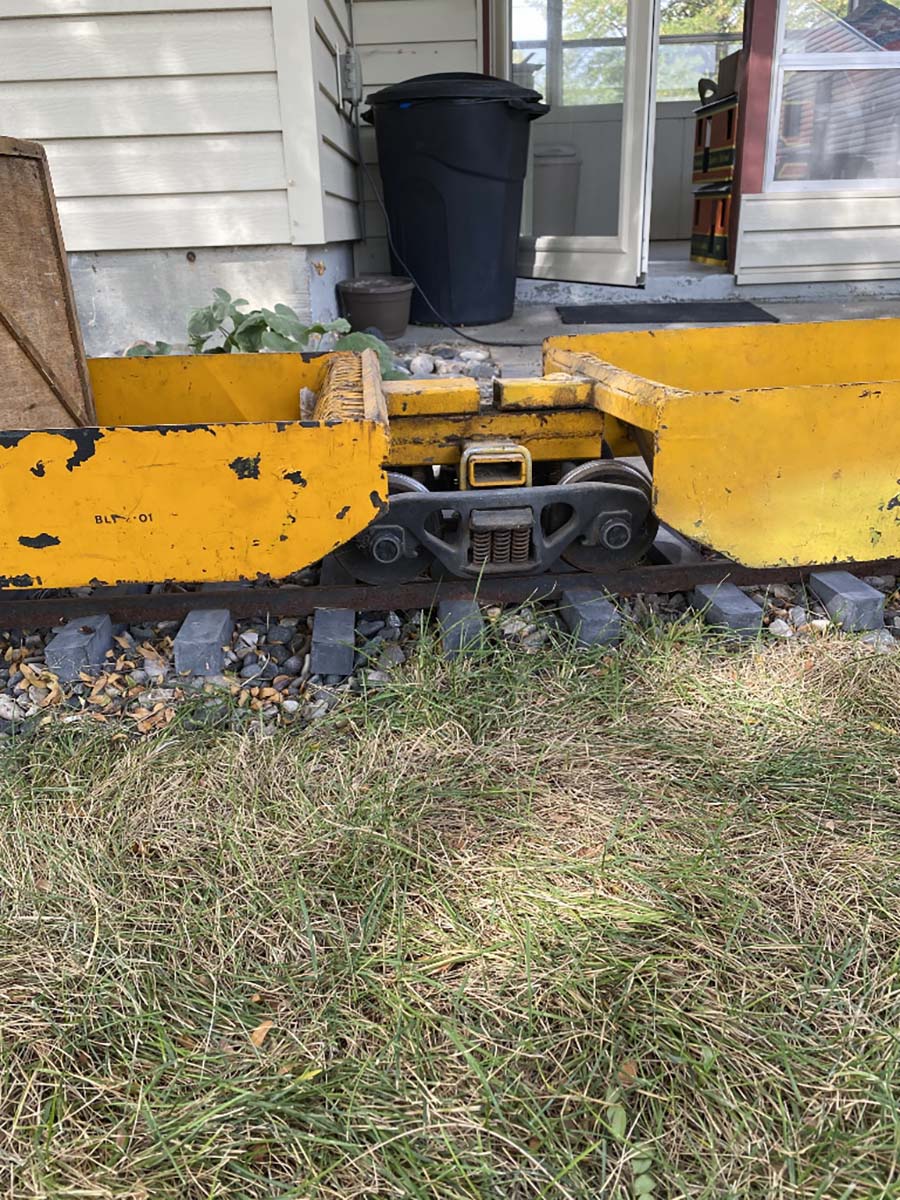
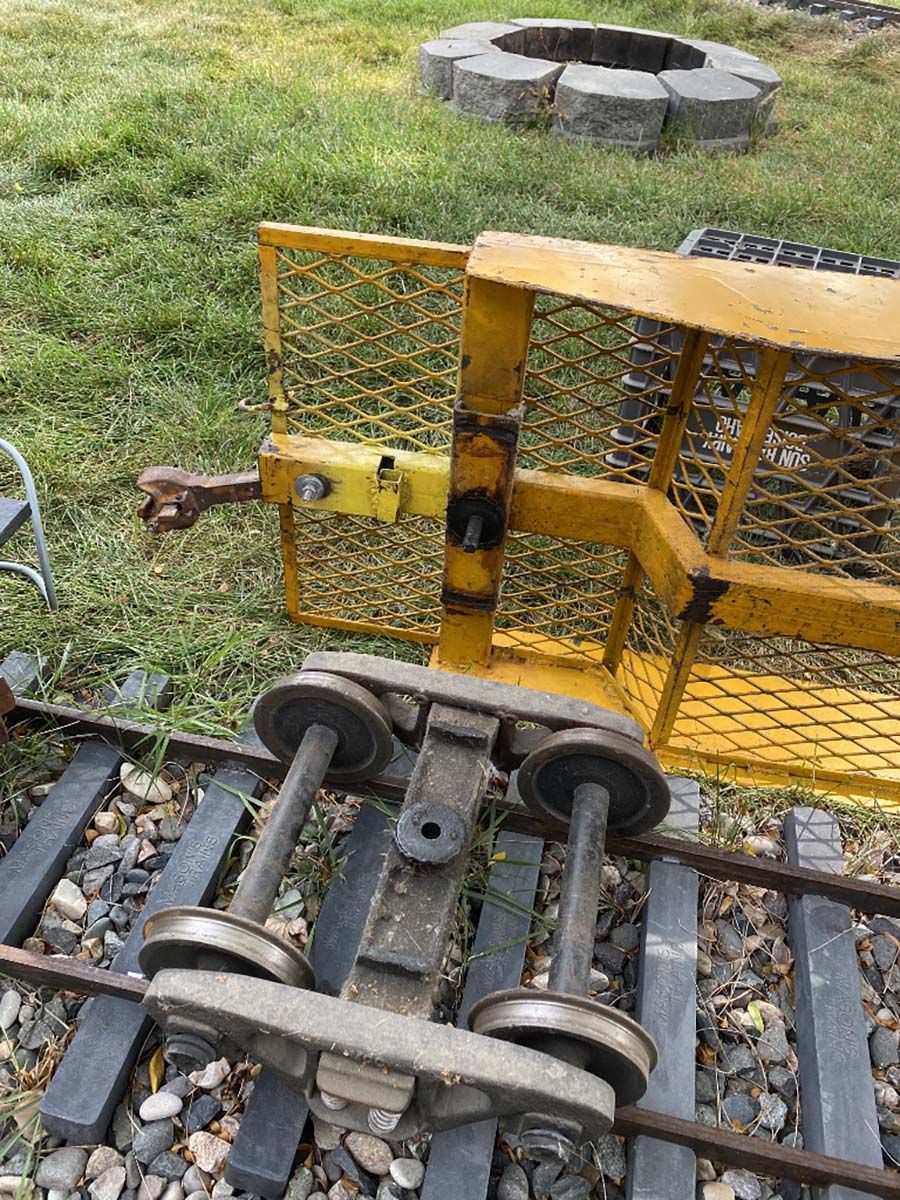
As a reminder, these are 7.5″ gauge, 1.5” scale based on the 23T and 25T General Electric diesels.
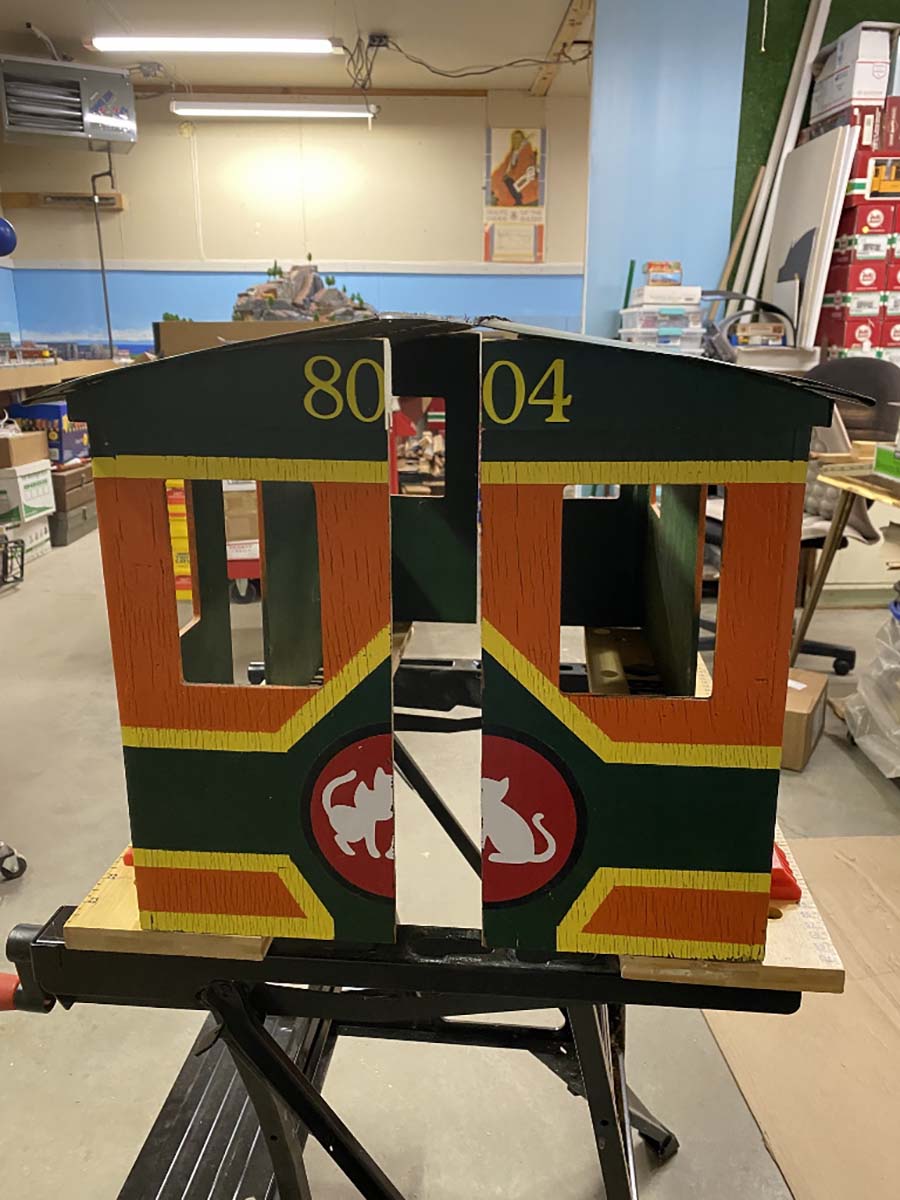
I needed 4 new batteries, the new ones are much wider so I rebuilt the floors, and now have cut the bodies in half to widen them.
The job to hook up the electronics and get the diesels back on the track normally would take all of an hour, but it took all day long, as I have to find ways of leveraging everything into place.
It is extremely difficult to lift anything at all right now and especially to bend down, or get on my knees etc and having to crawl around until I can finally stand up again…
I have some pictures of the boxcabs new floors and how they look cut in half.
Also have a sound system, amp, and speakers on the way. I bought the sound card from “Mylocosound”, they are an Australian company.
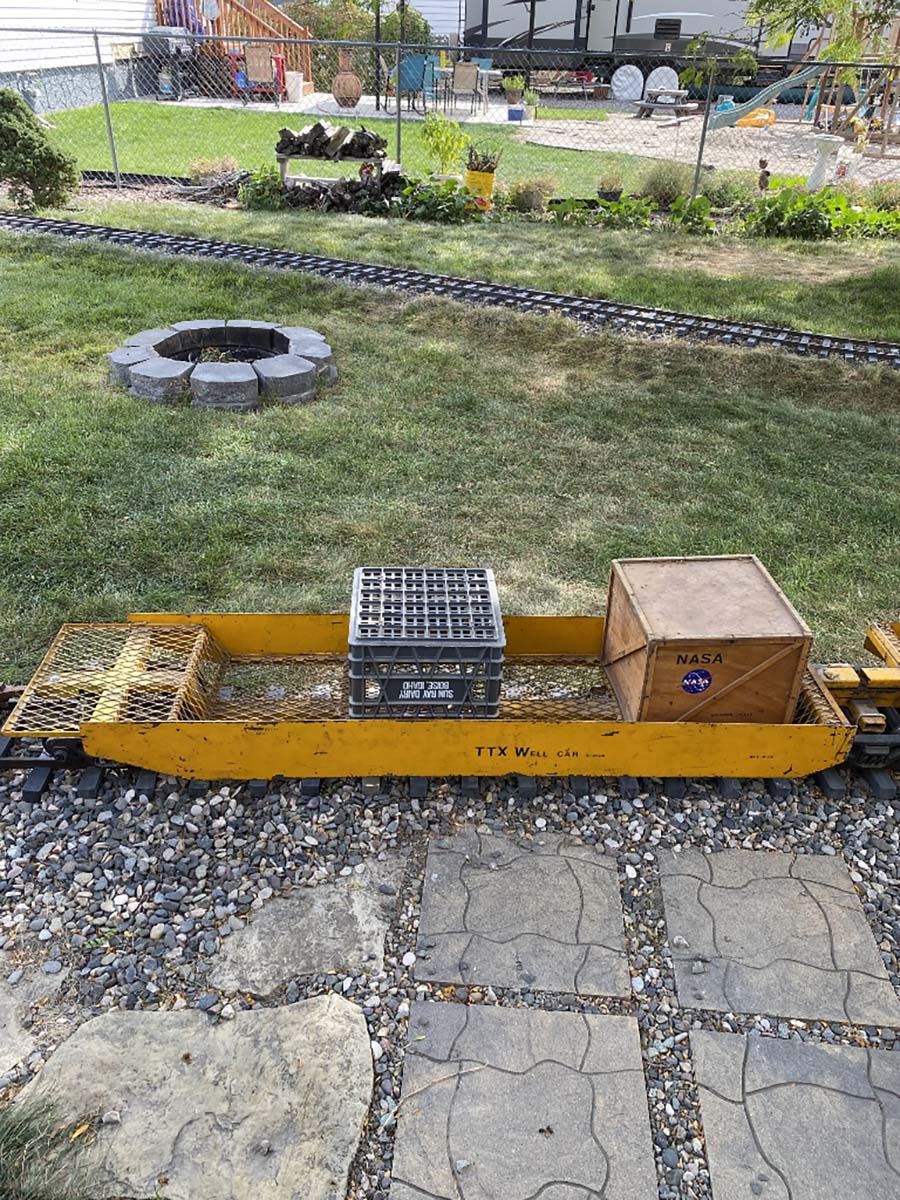
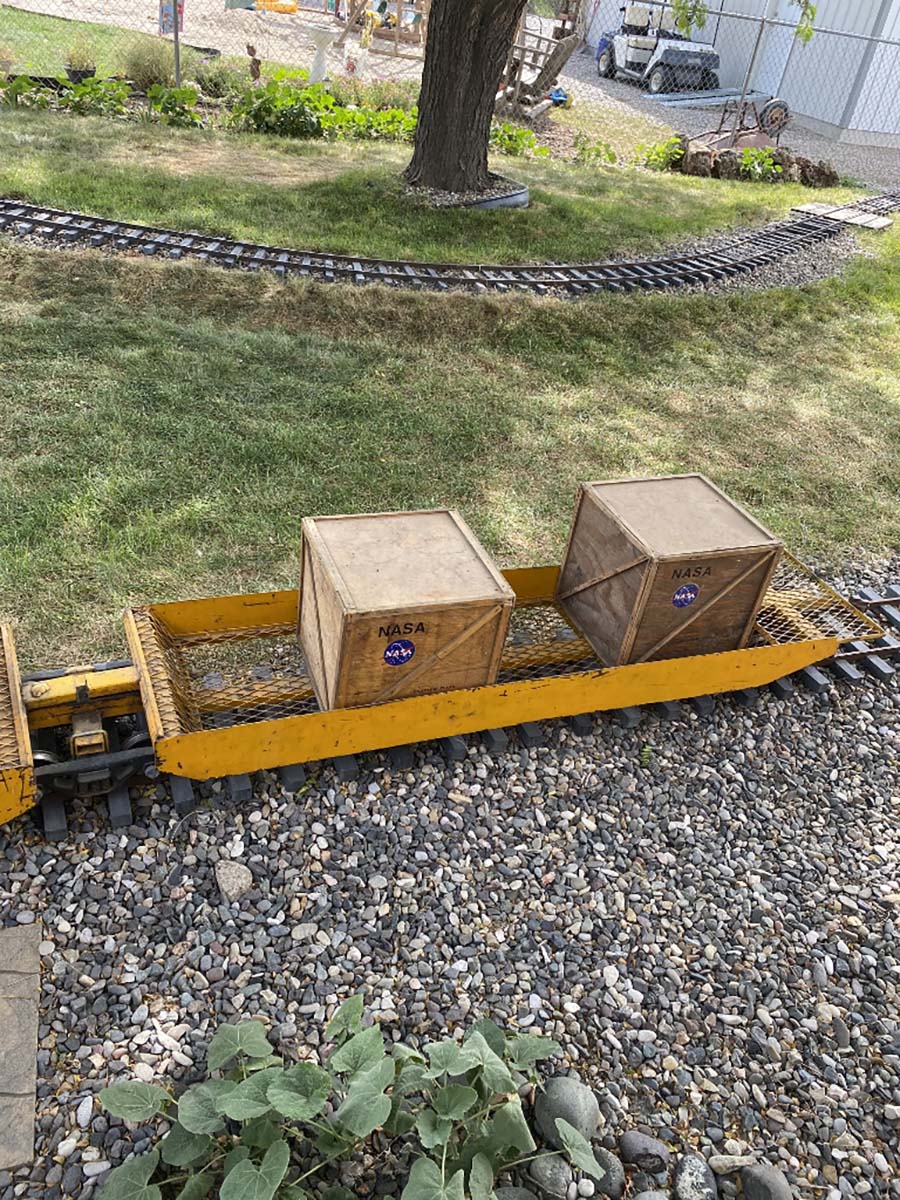
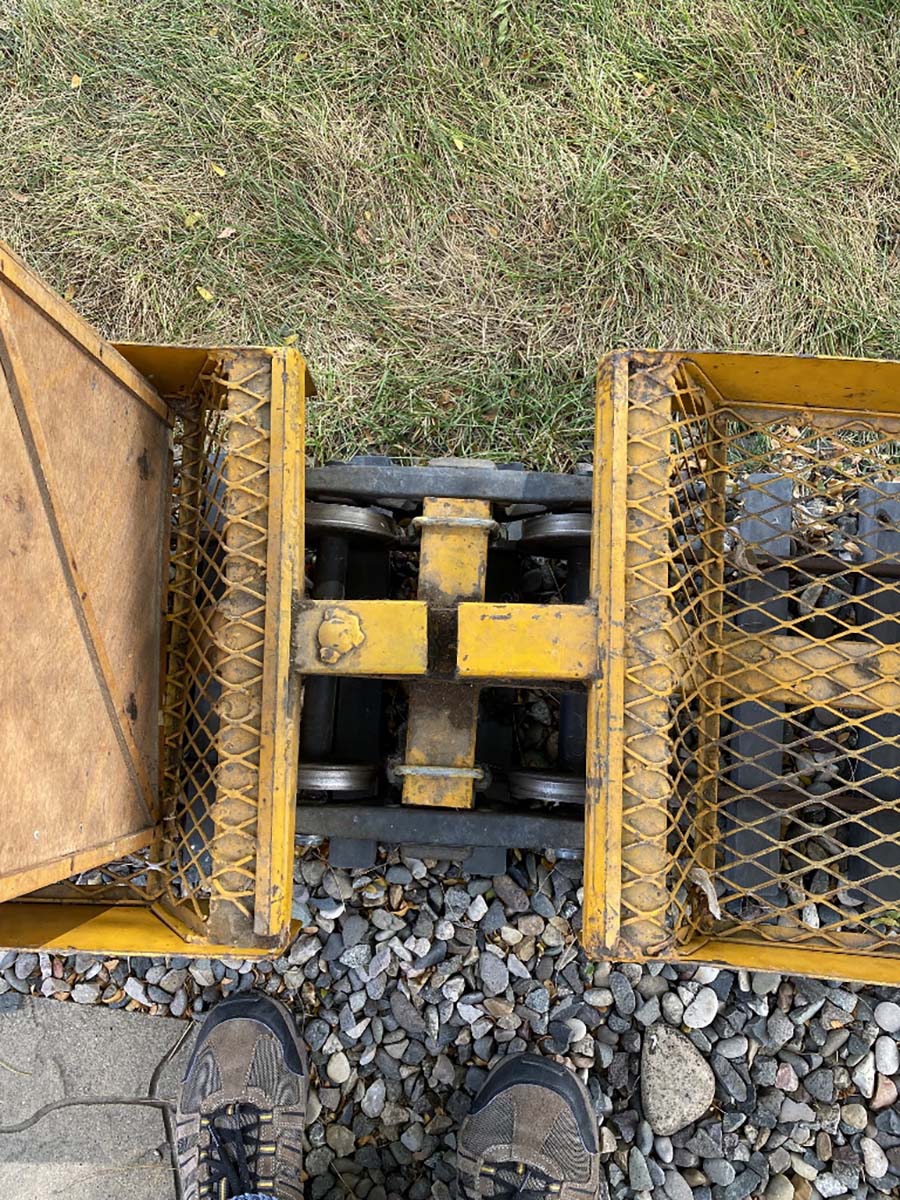
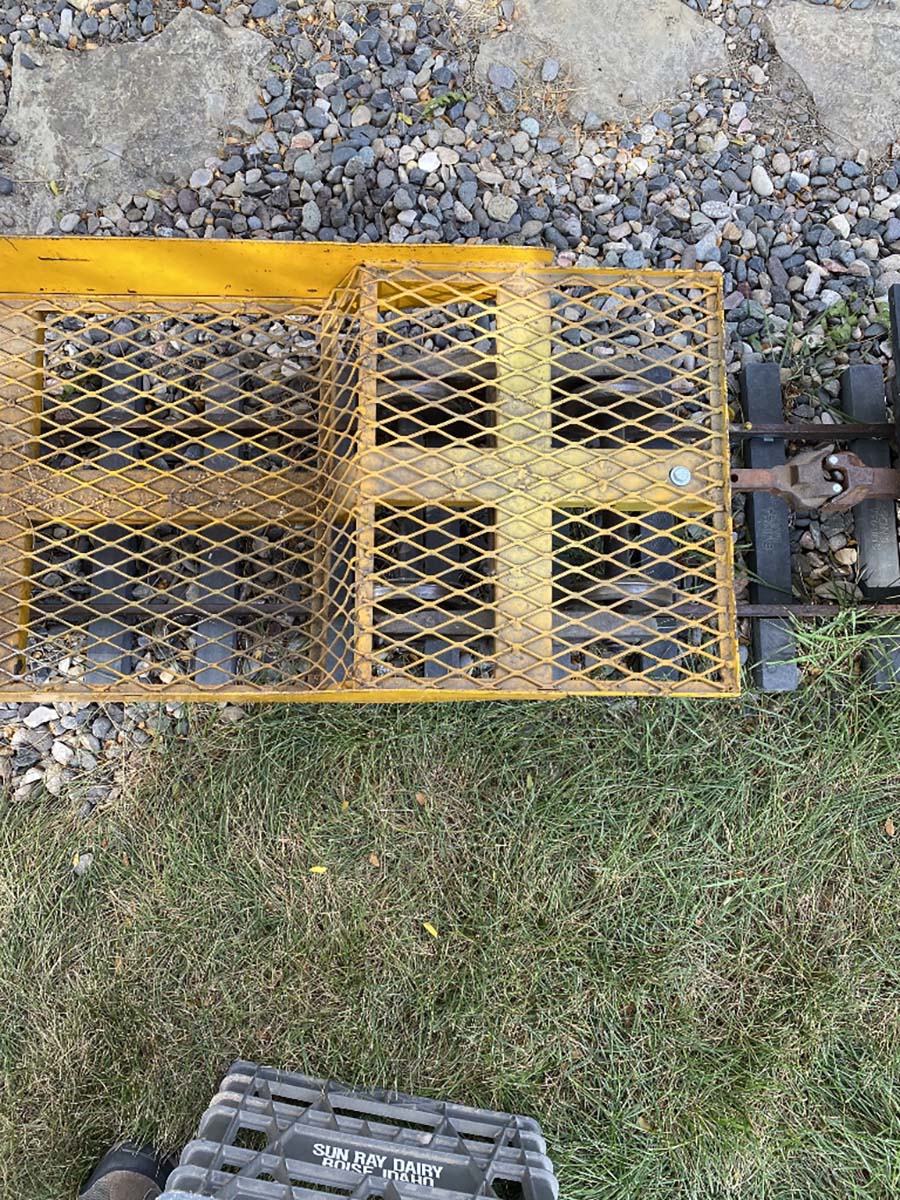
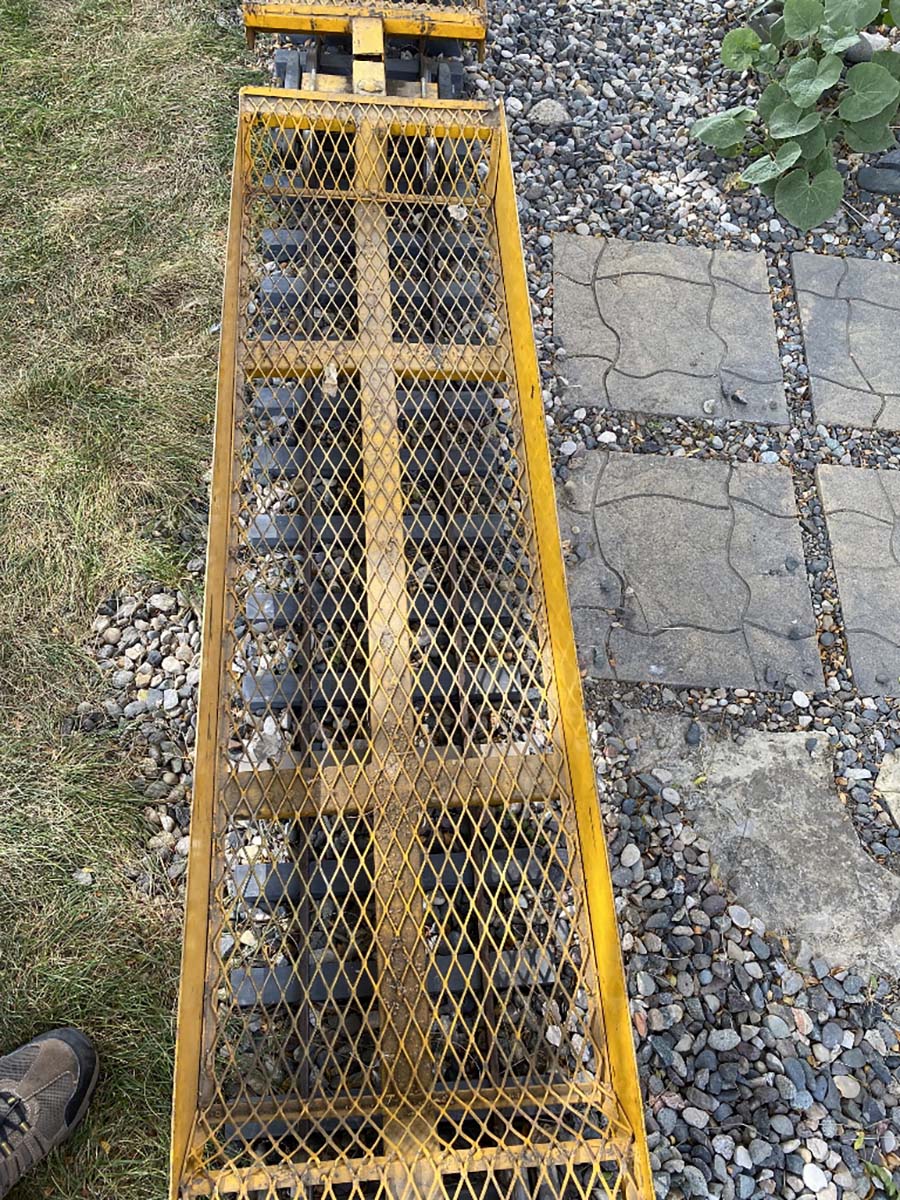
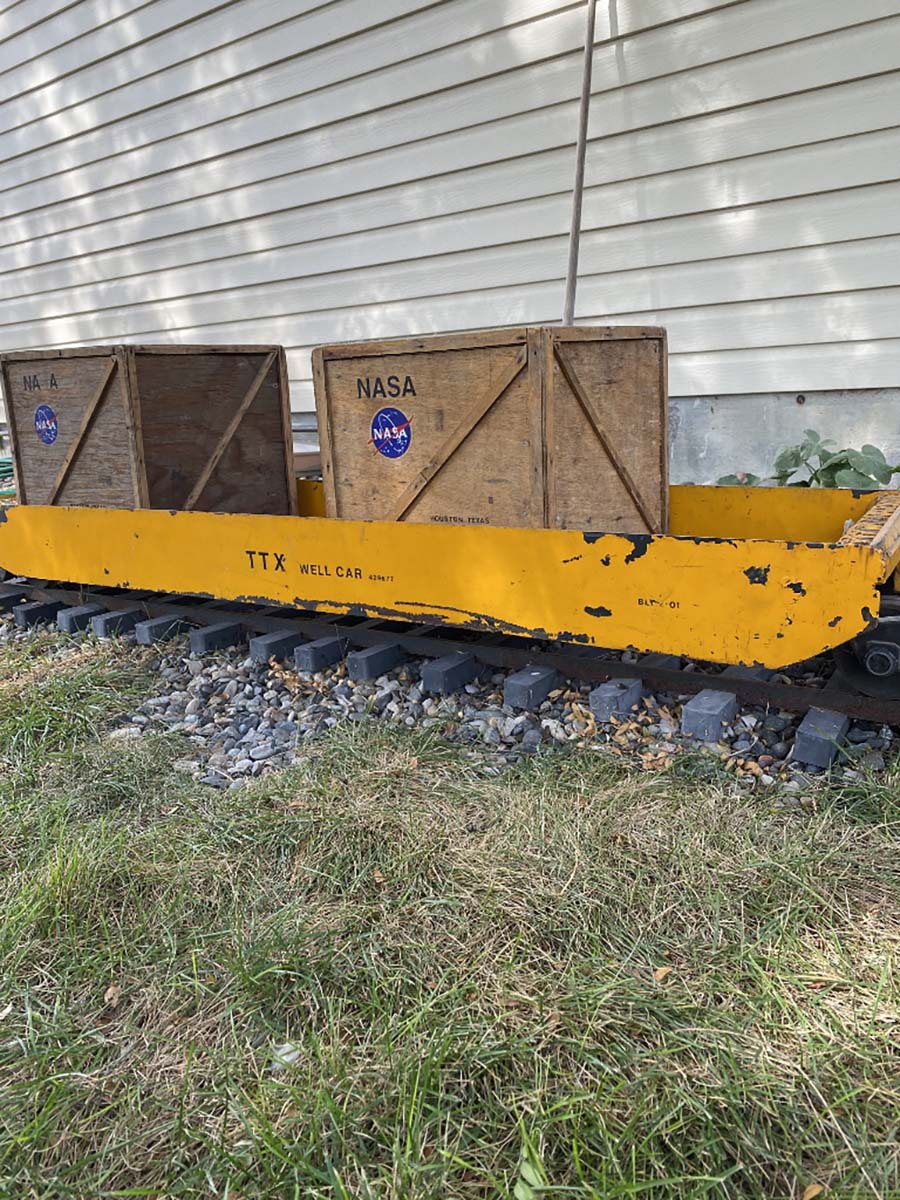
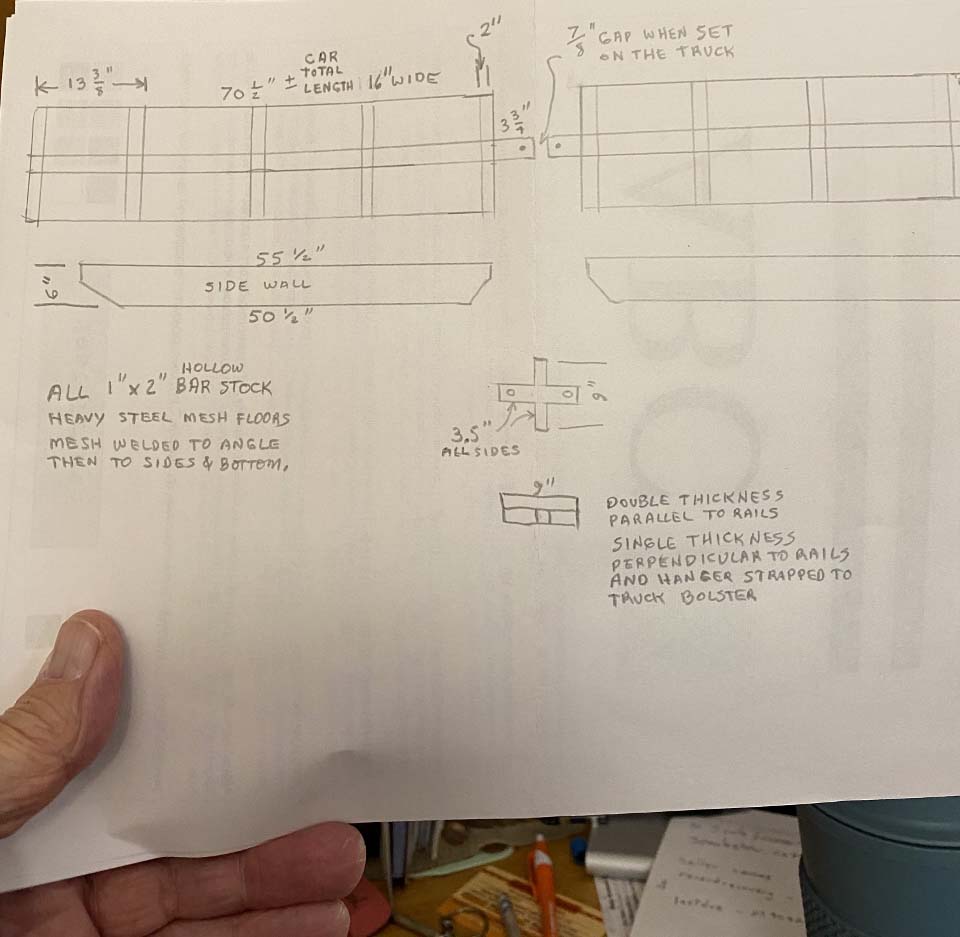
Also, I was asked about my two riding well cars, so I thought I would send some pictures of them along with some henscratch showing measurements that should be enough to use to build some if anyone is interested.
So I will send the pictures along a small group at a time as usual Al.
I hope someone finds this interesting.
Thanks so much again Al for all of your work to keep us active.
Dick”
I was very pleased to get the bodies and roof sliced through the middle and accurately for a change.
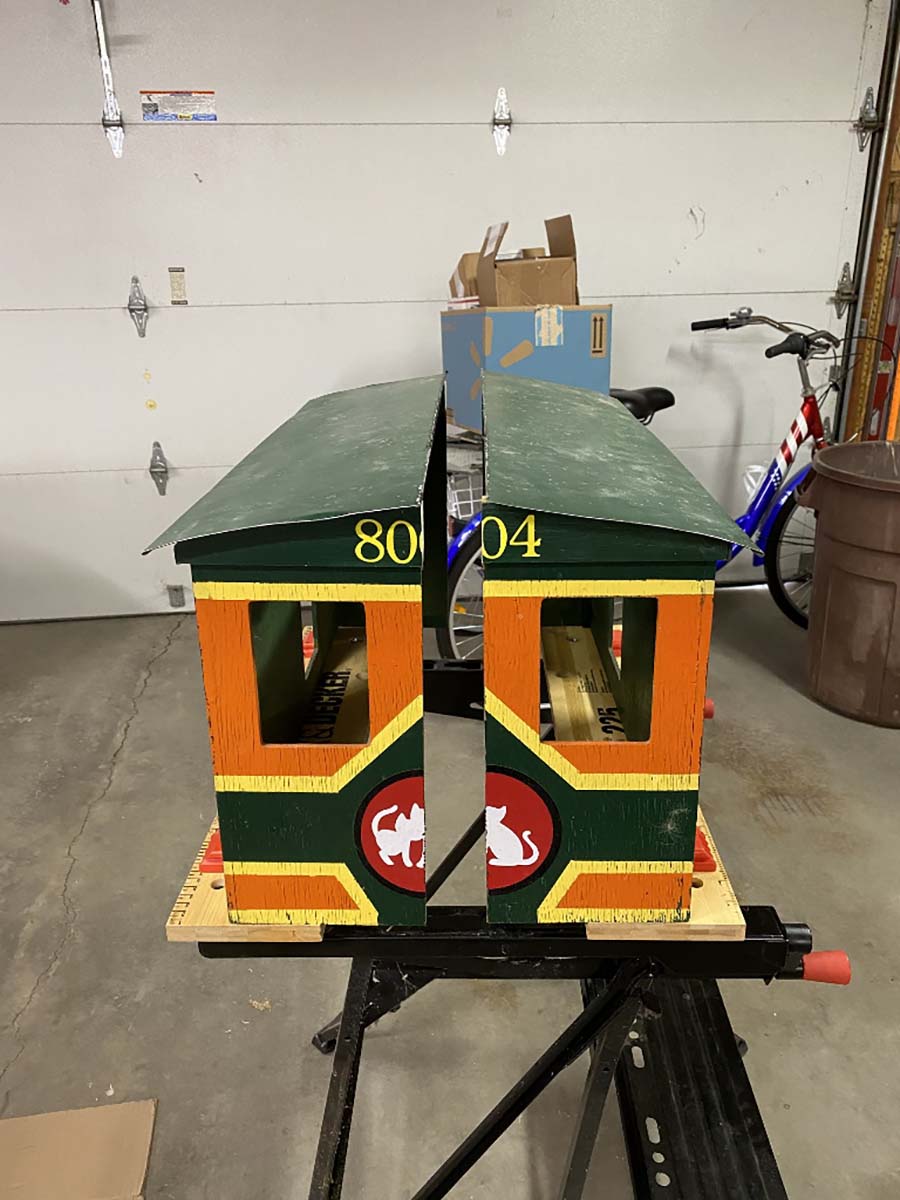

All pics show all sides and ends etc of this articulated set of well cars.


A big thanks to Dick, who is also kept busy with his N scale layout.
Lastly, Cassio’s been back in touch with his latest vid:
There’s no narrative with it, but that’s okay because his English is better than my Brazilian.
That’s all for today folks. Who can help Frank?
Please do keep ’em coming because it’s still painfully thin on the fround this end.
And don’t forget the Beginner’s Guide if you want to stop dreaming and start doing.
Best
Al
Click here for the latest ‘ebay cheat sheet‘. You’ll be glad you looked…


Message to Frank, I’m not sure that you need a reverse module because your inward and outward tracks are separate. It is only when your train loops round and goes back on a single track that you need a reverser.
One way to check is to follow one rail ( left or right ) round your layout and make sure it only joins touches the same one all round the layout.
Hope this helps
Cheers Mike S … Also 72 years old 👍
Hi there are many ways to do a reverse loop I too had a 00 DCC 8 x 6 layout, I found the best way was to isolate the loop rails by either cutting each rail or using plastic fish plates on each rail, then by using a switch to give power to the loop when a train uses it, there are many switches you can purchase or make yourself. The issue is the positive rail meets a negative rail and same on the Meg side. To make a switch work you need a 6 pole switch the input being the centre pins then using a piece of wire dropper wire is ok, solder the wire from top left pin to bottom right pin and top right pin to bottom left pin, this reverses the neg and pos to opposite rails, obviously you take your feed from either a separate supply or from main track supply, then connect to isolated loop, it worked for me. Hope it works for you.
As things stand with Frank’s plans for the one board shown, he wouldn’t need a reverse loop module. The need for one will depend on what he does on the other boards that will be joined to this one. However, the polarities on the entry and exit tracks will be opposite to each other. If Frank wants to avoid this he should isolate the entry curve, and feed power to it through a reverse loop module.
From what I can see from the photo (and your explanation), the train enters at the LH track and exits on the RH track. In the loop shown in the photo, there is no change of polarity but it depends where the two tracks go outside of the photo. Where the tracks enter and exit, they appear to have opposite polarity, if that makes sense, and if the tracks go to a simple loop, then there is no change of polarity anywhere on the circuit. The left hand rail is always positive (or negative) and visa versa and the trains are always going in the same direction relative to the polarity.
Frank, the loop as shown is not a reverse loop. This would only be true if the entry and exit were on the same track, in which case, you would need insulating joiners at the module entrance/exit, and then the entire module could be powered with an auto reversing circuit protector such as DCC Specialities PSX-AR. I use it in complement with the PSX for the main route.
Hi Frank,
You have three turnouts in your entry/exit wye area. So we are on the same page, I will call the turnout at the top of the photo turnout #1, the leftmost turnout #2, and the lower turnout #3.
You will need to put a reverser circuit on either the track running between turnouts #1 & #2 or between #1 & #3. The issue is going to be in your rolling stock. If any of your rolling stock, other than your locomotives have power pickups, for lights or sound, the section of track on the reverser circuit needs to be long enough to hold the entire train. Otherwise, if the train spans from normal circuit across the reverser circuit and back onto the normal circuit, the reverser unit will get confused and shut down. If none of your rolling stock have power pickups, you only need to make sure the reverser circuit is long enough to entirely hold your power units.
You need a reverse loop at the “Y” on the track that goes to the left hand upper
exit track. Just put rail insulators on both rails of the left hand track at the Y and do the same on the right hand rails on the switch that connects to the outbound track..
! ! (sorry for the poor drawing but my computer won’t
==! ! let me paste in a regular track diagram == indicates
/ / ! ! where the insulators need to go)
===
————-/ / ! !
————\ \ ! ! : :
\ \ ! !
\ !
! !
The only problem I see is that the left leg at the Y may be too short to accommodate an complete engine. You may have to move the upper switch back a few feet and extend the left hand track.. Obviously the reverse loop rails need another power source or a double throw-double double pole to make the polarity change.
Terry/Idaho USA
: ;
Frank, the true reverse loop in your layout is the triangle bounded by three turnouts in the upper right region — or rather, it will be bounded by three turnouts once the third turnout is installed, where the entry and exit tracks for the long figure-8 loop nearly meet. (If the entry and exit are not going to merge into a single track, there is no reverse loop on this board.)
One of the three legs of this triangle must be electrically isolated from the other two. It must be either the entry track or the exit track, because the third leg is just part of the long folded figure 8. Whichever leg you choose for the purpose, this will be a very short isolated section, and the result may not be practical. Will all the pickup wheels of your longest locomotive fit entirely within the isolated section? And will there be enough time, as the train passes through this short section, for the system to reverse polarity? If there isn’t enough room or enough time, the layout will need to be changed.
One possible change, retaining the reverse loop concept, would be to remove the third leg of the triangle — the one that completes the full folded figure 8. If that section of track is removed, along with the two turnouts at its ends, what’s left will be one long reversing loop that goes twice around, crossing over itself. Then you can isolate the whole loop, or any section of it long enough to contain your longest train. Just don’t include, within the isolated section, the (not yet shown) turnout where the entry and exit tracks meet.
I always wanted to do a outside train setup but was afraid of the outside elements would hurt it. Looks kool
Frank….good luck with the reverse loop.
ED…… Impressed with the buildings….nice job.
Dick…. Now that’s a model railroad. Good luck with the surgery….know what you are going through….been there with the medical bureaucracy.
Cassio…… great layout….. nice backdrop….good to see the trains running.
Here in the States we use an “automatic reverser” module,
MRC AD520 or Digitrax AR1 are the most popular here,
wiring diagrams come with both
Re: Frank’s reverse loop: I know all you guys are trying to be helpful, but many are steering Frank in the wrong direction. It’s obvious to me that several are not running DCC or have never wired a reverse loop themselves.
The fact is once the turnout at the top right corner is installed and the module is connected to the next module at that turnout (the only logical place it could be connected to another module) there will then be TWO reverse sections within the trackplan, first the entire loop will be a reverse loop, AND a reversing wye will be included inside the reverse loop (the 3 turnouts at the top right that form a triangle). That complicates the installation(s) of the auto polarity reversing module(s) required. Since I have not ever wired such a configuration myself, I will refrain from trying to give wiring instructions for this. My advice and what I would do if faced with such a problem myself, would be to contact the maker of the polarity reversing module of choice and ask for and follow their authoritative advice rather than asking for instructions, some possibly good but some may kill expensive equipment, from random people on an internet forum.
My only other advice is to select a latest technology solid state adjustable auto-reverser that includes a circuit breaker into the design, such as the outstanding DCC Specialties PSX-AR. The module does not need to be of the same brand as your DCC system. I would avoid the once popular, but totally outdated Digitrax AR-1.
Holy Moley. So many answers and methods to try. Thanks to Mike, Andrew ,Terry, Larry, Colin, John, Scott J, Scott M, and Gary.
I live in the states and will purchase an auto reverse module, just in case! My train has 2 engines in line and 10 cars with the last one having an end of train light. The 2 engines total length is 9″. I got another module with 3 wye’s that form a big WYE. Might have to post that if these solutions don’t work. Once again, MANY THANK’s!
Looking at the photo, I can not tell if there are supposed to be
one track, or two parallel tracks. Frank’s comments seem to indicate two.
Assuming it’s one track, I would put insulated joiners between turnouts #1
and #2 (using Scott M’s nomenclature) and between #1 and #3. The reversing
module could be connected anywhere in the isolated loop.
If it’s two parallel tracks throughout, there is no turnout #1. We need some
very specific details on how the turnouts #2 and #3 connect to which track;
where are the crossovers, etc. But it appears that the layout never creates
a reverse loop.
If it’s two tracks that join, or become one somewhere, or crossover, we need a
lot more specific info.
Frank;
According to my Wiring Electronics, The DCC Guide, Second Edition, by Don Fiehmann it recommends an “automatic reversing unit” that when sensing a short (due to reverse loop) that it automatically reverses the polarity thereby relieving the “short” caused by reversing!
Hope this helps?
Walt
You actually have 2 issues: a (reversing loop) and a (3 way reversing Y) to turn around trains, look up wiring for reversing Ys. you need to isolate all 3 switches-tracks.
good advice