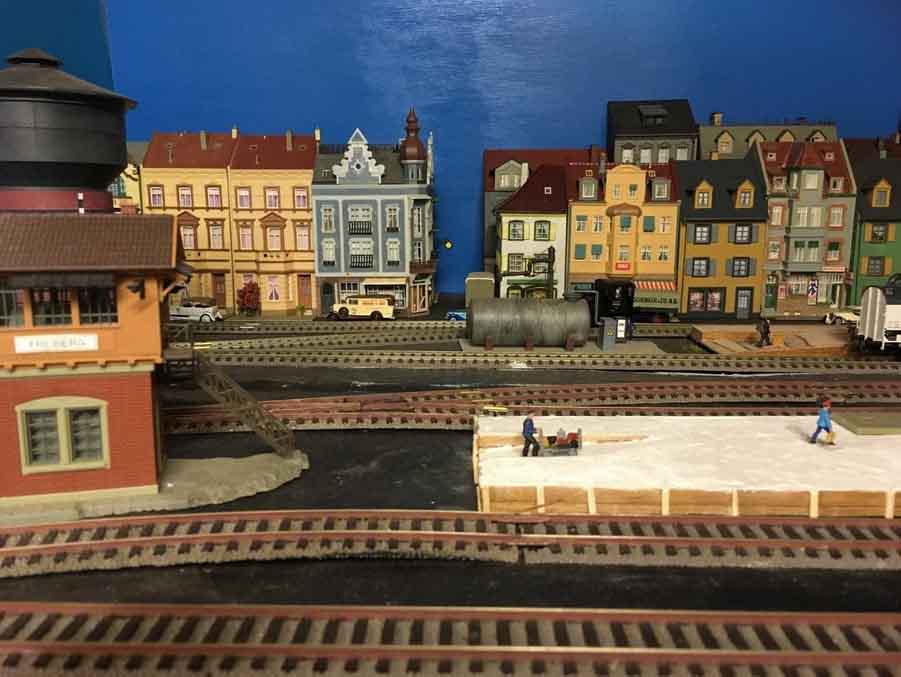
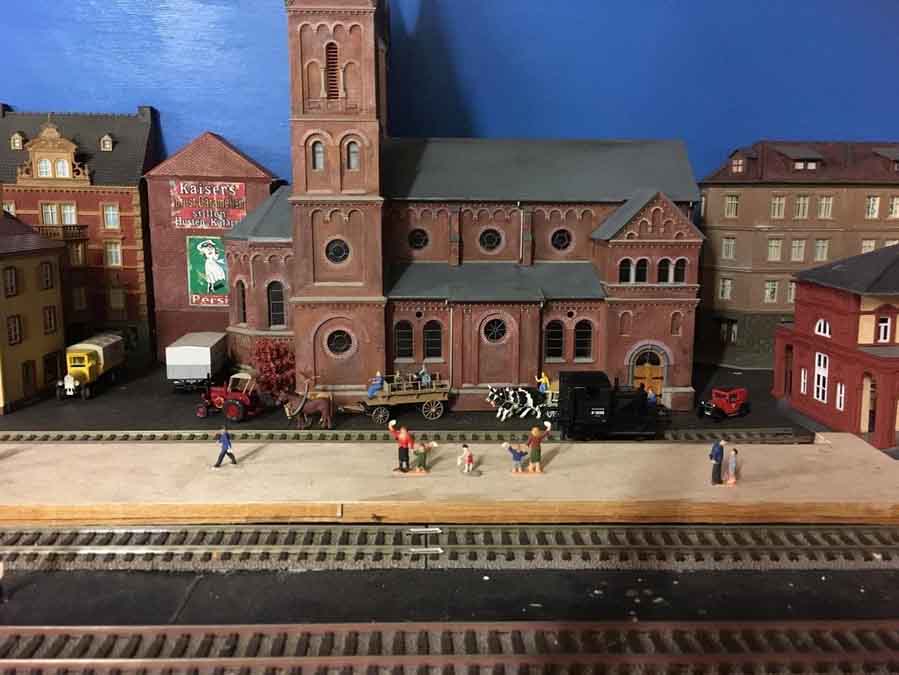
Ernie’s shared a video fo his N scale railroad Atlas layout:
“Hi Al,
As I mentioned, my layout was one of the designs in the “Nine N Scale Railroads” by Atlas. I picked the big one in the last chapter being greedy as I am.
I’m not smart enough to hardly get past an oval with two and a half sidings so the Atlas book opened new horizons for me.
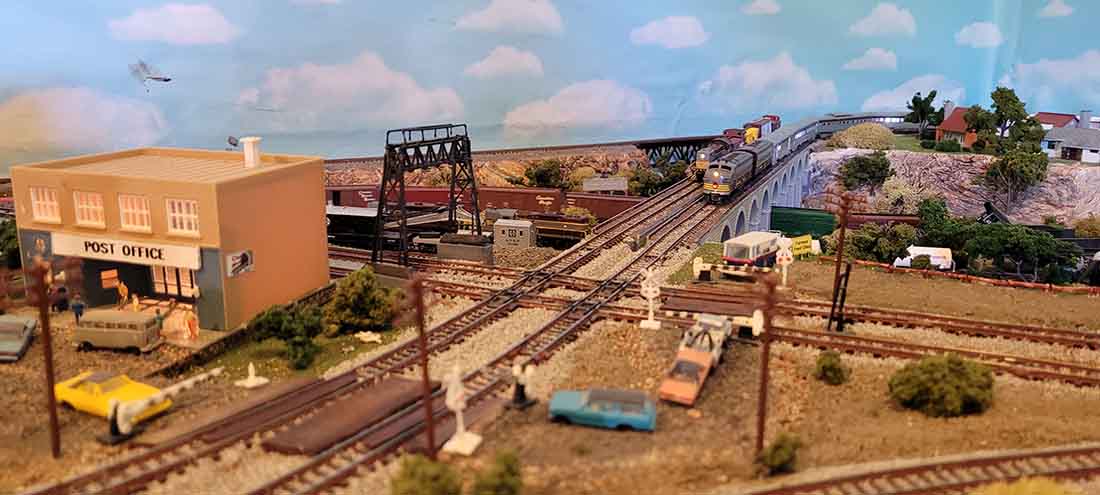
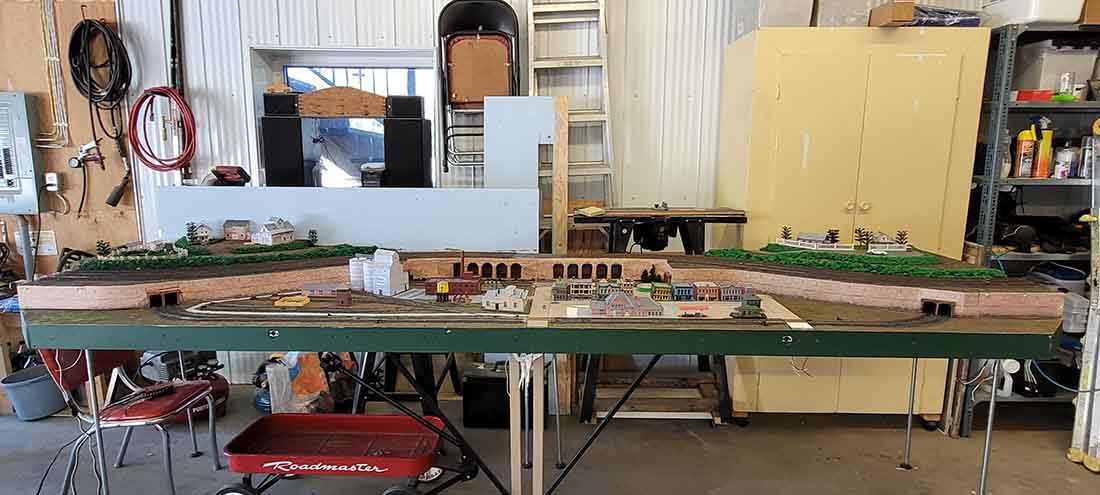
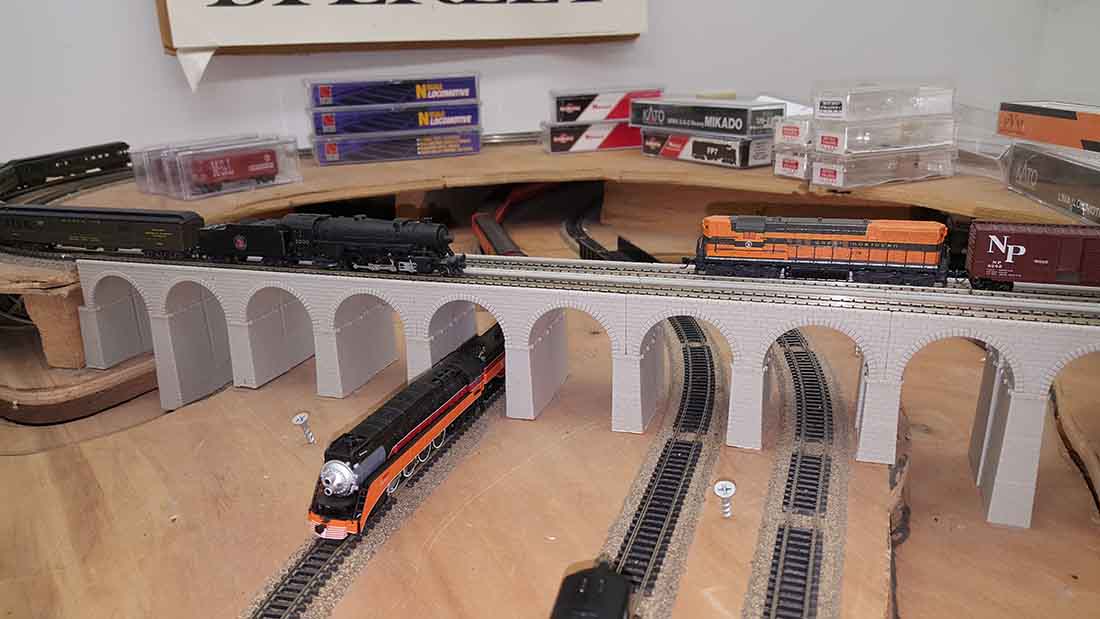
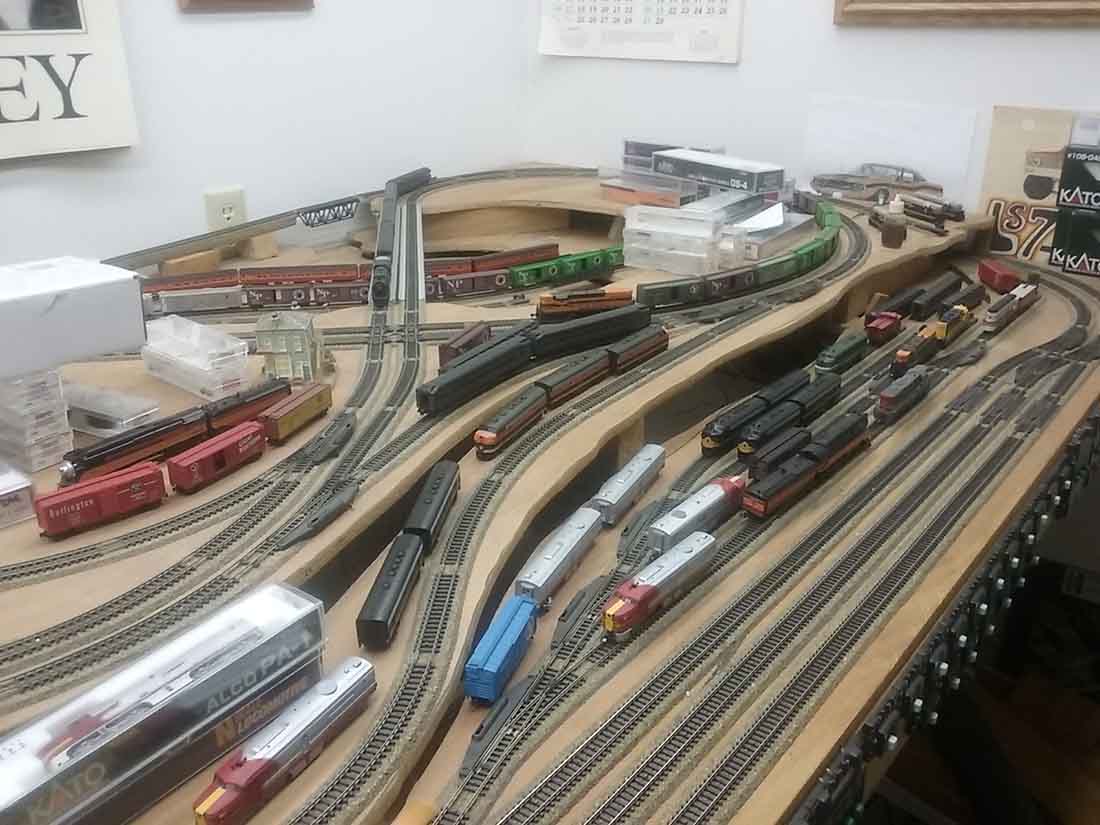
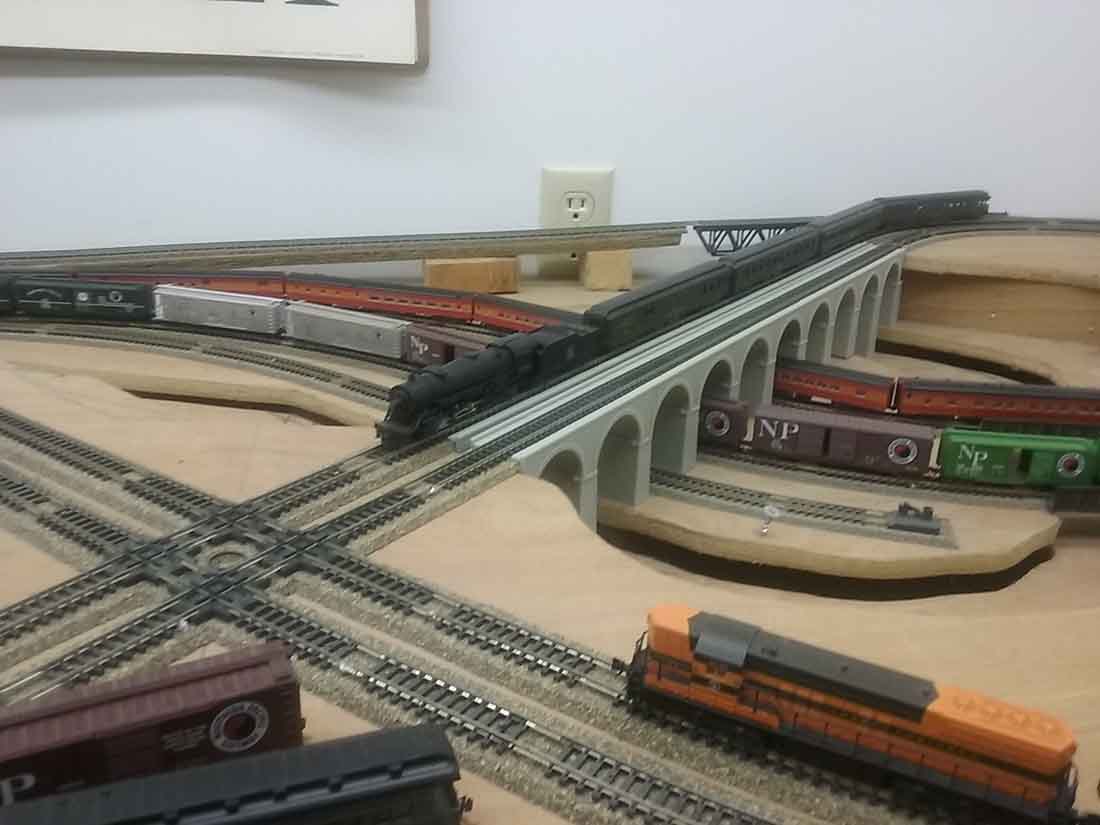
Liked the fact that it can run four trains at a time with upper and lower double main lines, has a small rail yard, mountains, tunnels, a twin crossover, a river, and a massive twin viaduct traversing the valley.
What more could a guy ask for?
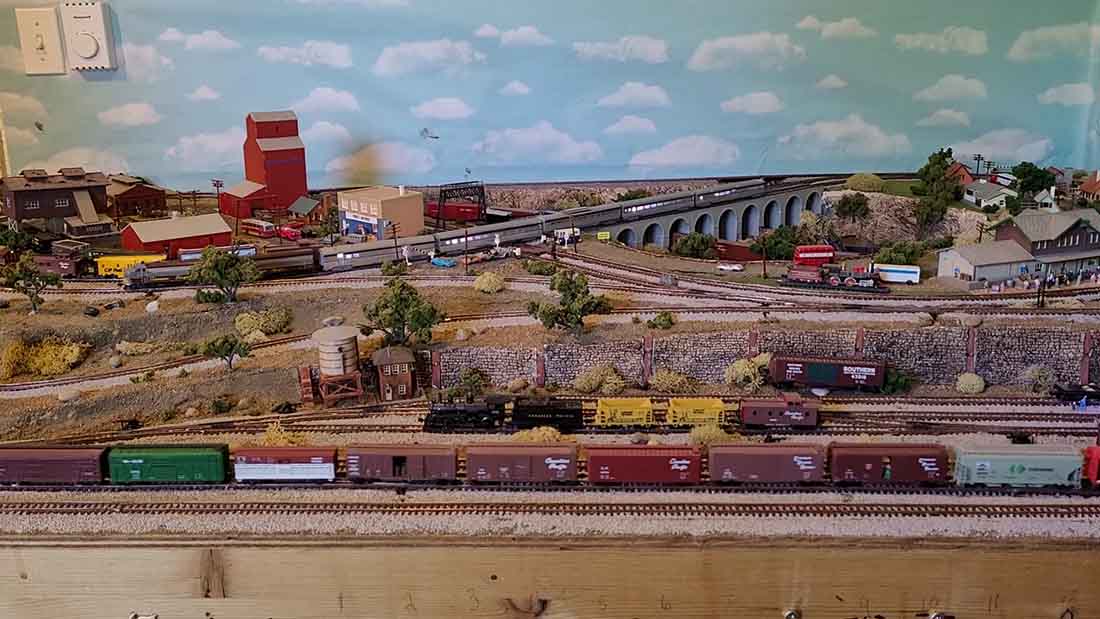
This all rolled into one 48″ x 72″ sheet of plywood! Can stand the thing on end in a closet when not in use.
Layout used one 4 x 8 sheet of plywood cut to 72″ in length with the cut off end used for the upper level including some cookie cutter technique used for good measure.
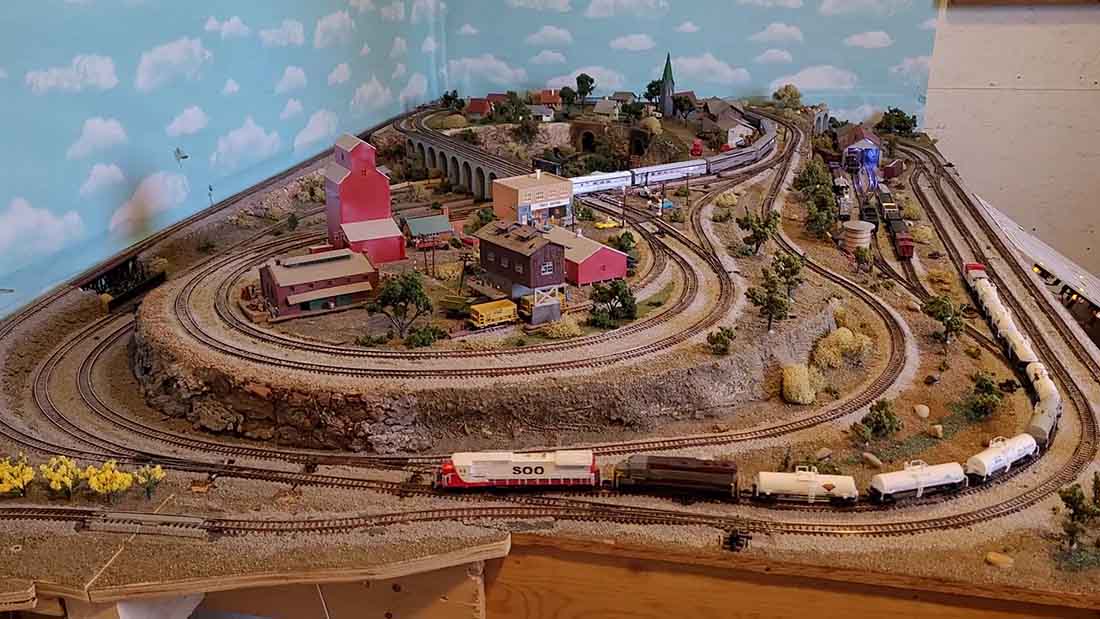
Adding to the fun is the fact that there are two interchanges between the upper and lower levels allowing for traffic between mainlines.
But that’s not all: you have a reversing loop in the upper level AND the interconnects are designed so that a trip to the upper pike and back switches mainlines on the lower level upon return.
Who ever designed this thing easily understands Einstein’s therory of relativity!
I built this layout back 30 years ago and have recently pulled it out of the closet and am enjoying it immensely.
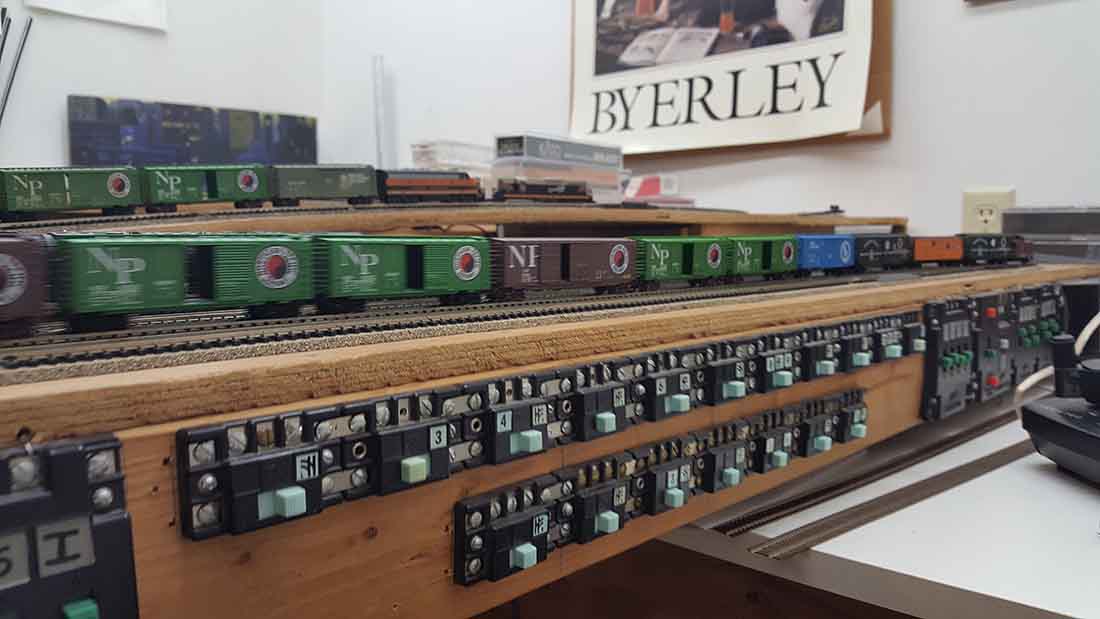
That said this is old school with block wiring throughout and the same turn out controls the Flintstones used back in the day.
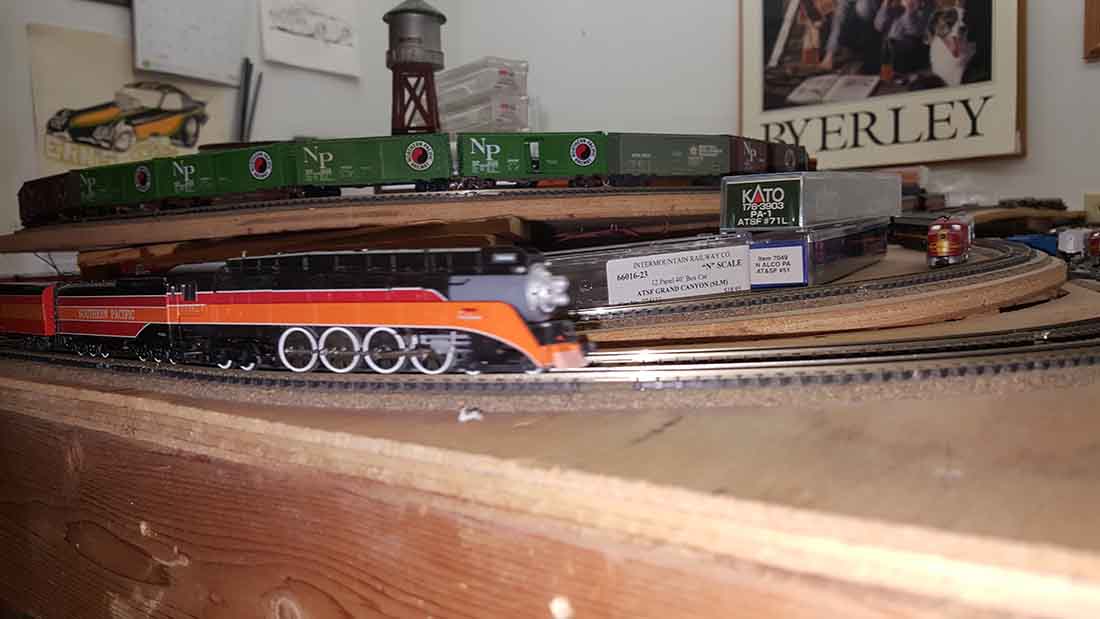
Track is all Atlas sectional code 70. Of course then I discovered code 55……next pike…..(recently picked up 100 code 55 hand built #6, #8, and #10 switches in need of work removed from a layout that was taken down) but that’s another story…..
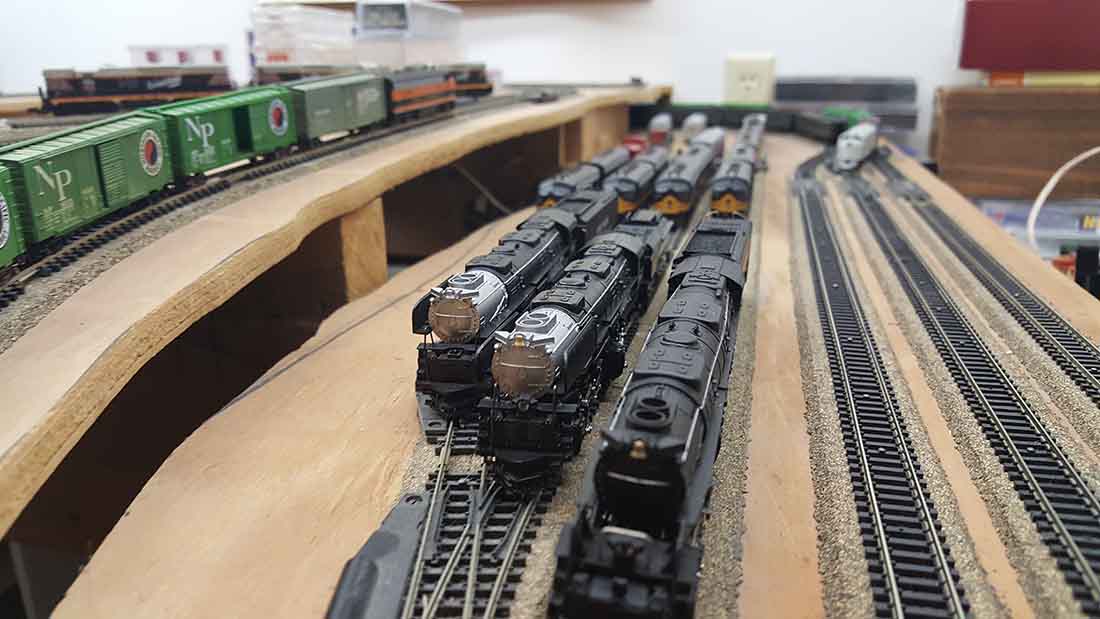
Like the idea of controlling the trains with block switches (keeps the mind excersized), have to work at it when moving between lines or I can just let them orbit on each mainline and relax and watch. Like running long trains.
Can only allow three trains to orbit without attention due to the double cross over on the upper level. To run four you have to tend to that crossover, and, yes, we have had wrecks!
This layout takes four power packs so I used the little cheapies from small train sets for years.
The cheapies would pop the internal breakers when running ABBA configurations all powered after some run time so stepped up to a pair of higher end twin cab units.
The new twin cab units also had some issues (one cab runs half speed always till it warms up) prompting me to consider building my own with plans I have found recently (materials are very inexpensive and use laptop chargers which are a dime a dozen).
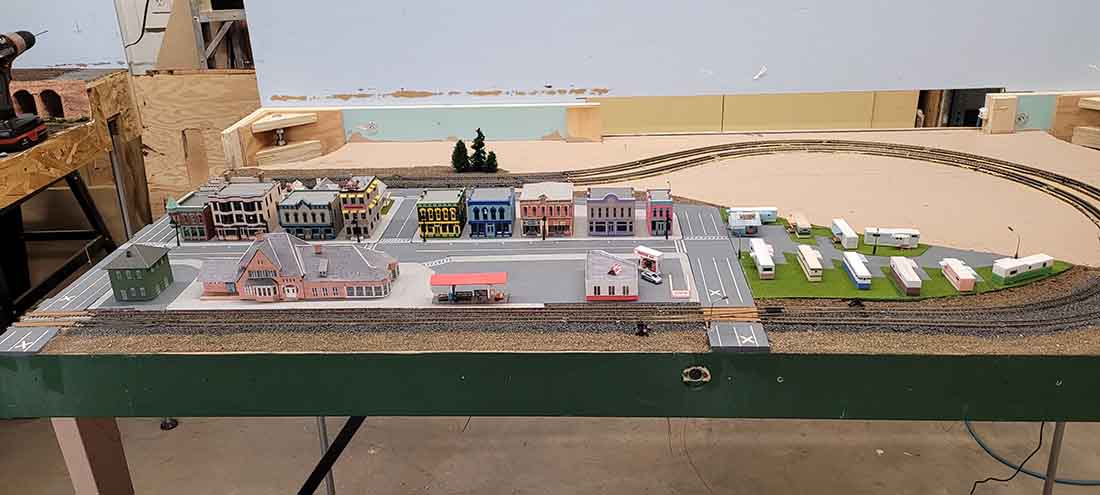
Probably more then you wanted to hear! Rolling stock accumulated over the years always watching for deals. Scenery time next!
Ernie
(Steve but everyone calls me Ernie)”
Looks like Enrie’s having fun with his N scale railroad Atlas.
If you missed his last post with all the pics, it’s here.
Can’t wait to see the scenery!
Now on to Bob:
“Hi Al,
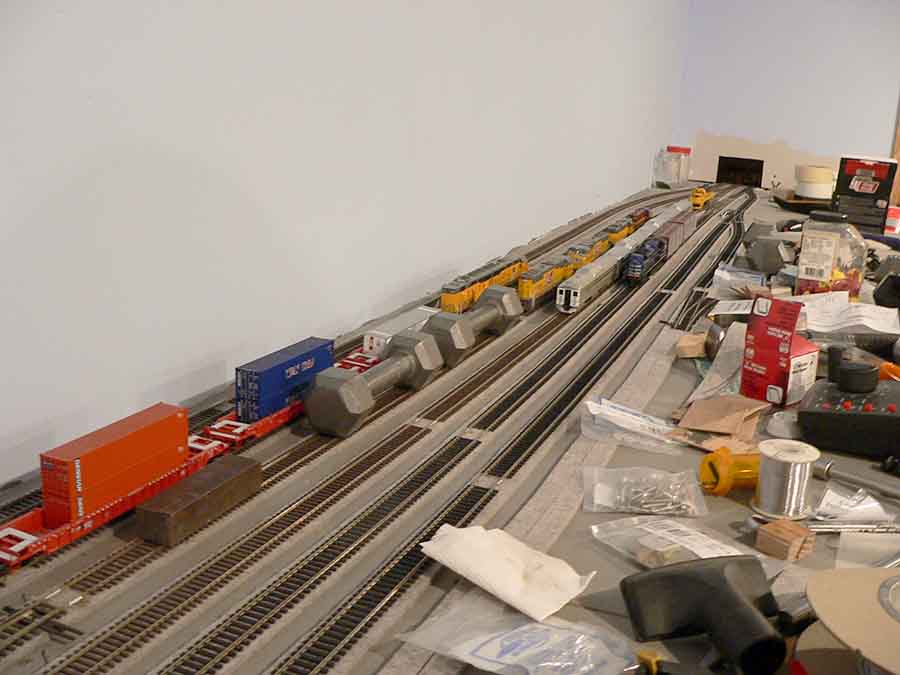
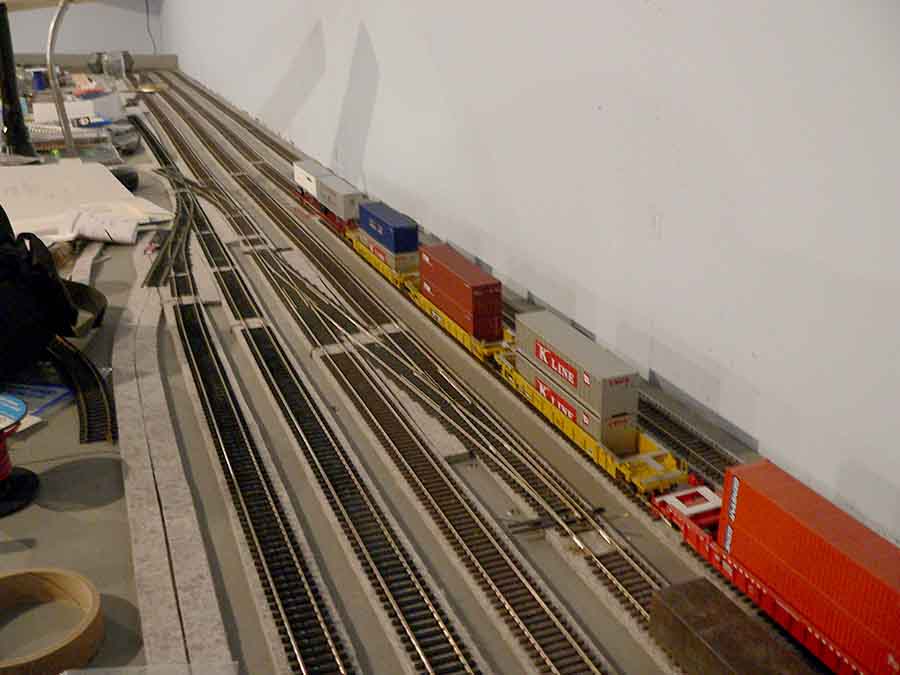
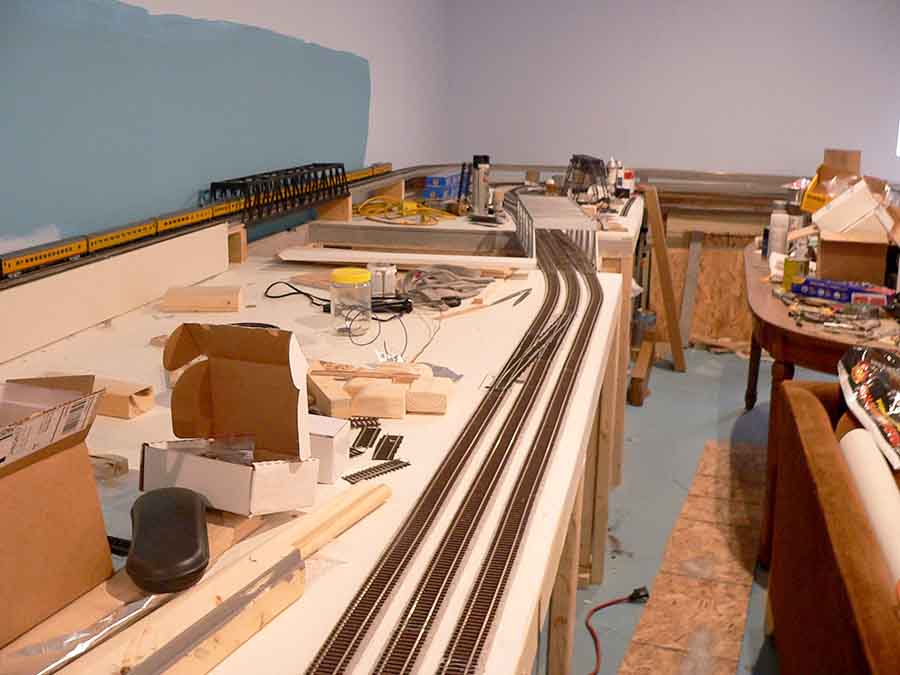
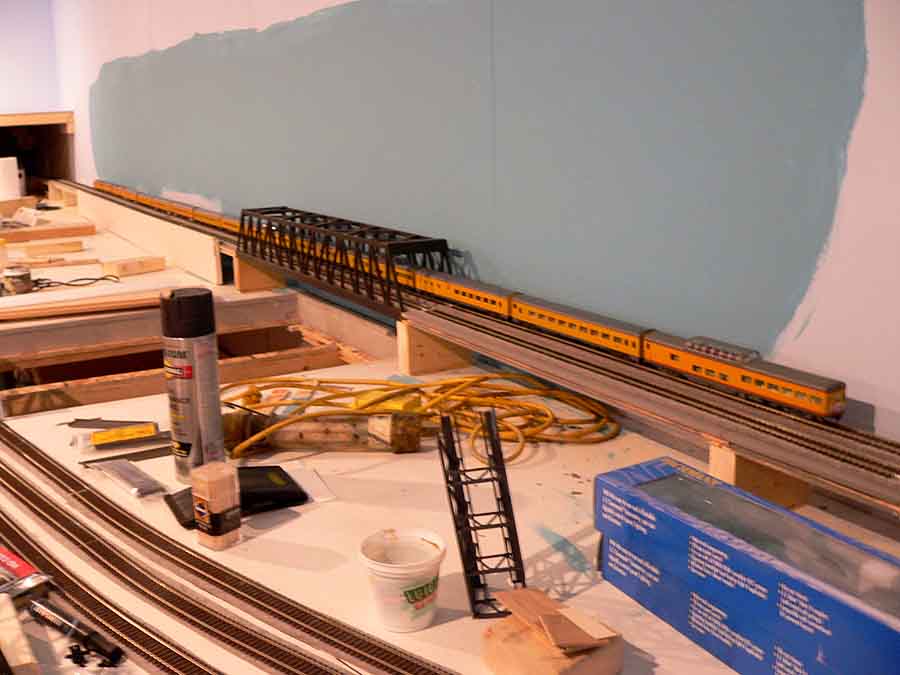
I’m in the process of building my dream model railroad similar to dangerous Dave’s.
The room is 20ft x 32ft feet with a triple track main.
Two of which run around twice and one that runs around once. All the rail is in and the wiring half done.
I have a long long way to go and other things keep getting in the way. But I will keep at it.
I will send a few pictures that I have under separate cover.
Best Regards
Bob”


That’s all for today folks.
Please do keep ’em coming.
And if today is the day you get started on your layout, the Beginner’s Guide is here.
Best
Al
PS More HO scale train layouts here if that’s your thing.
Need buildings for your layout? Have a look at the Silly Discount bundle.