Model railroad securing structures

Model railroad securing structures – here’s how Bob does it:

“Hello Al,

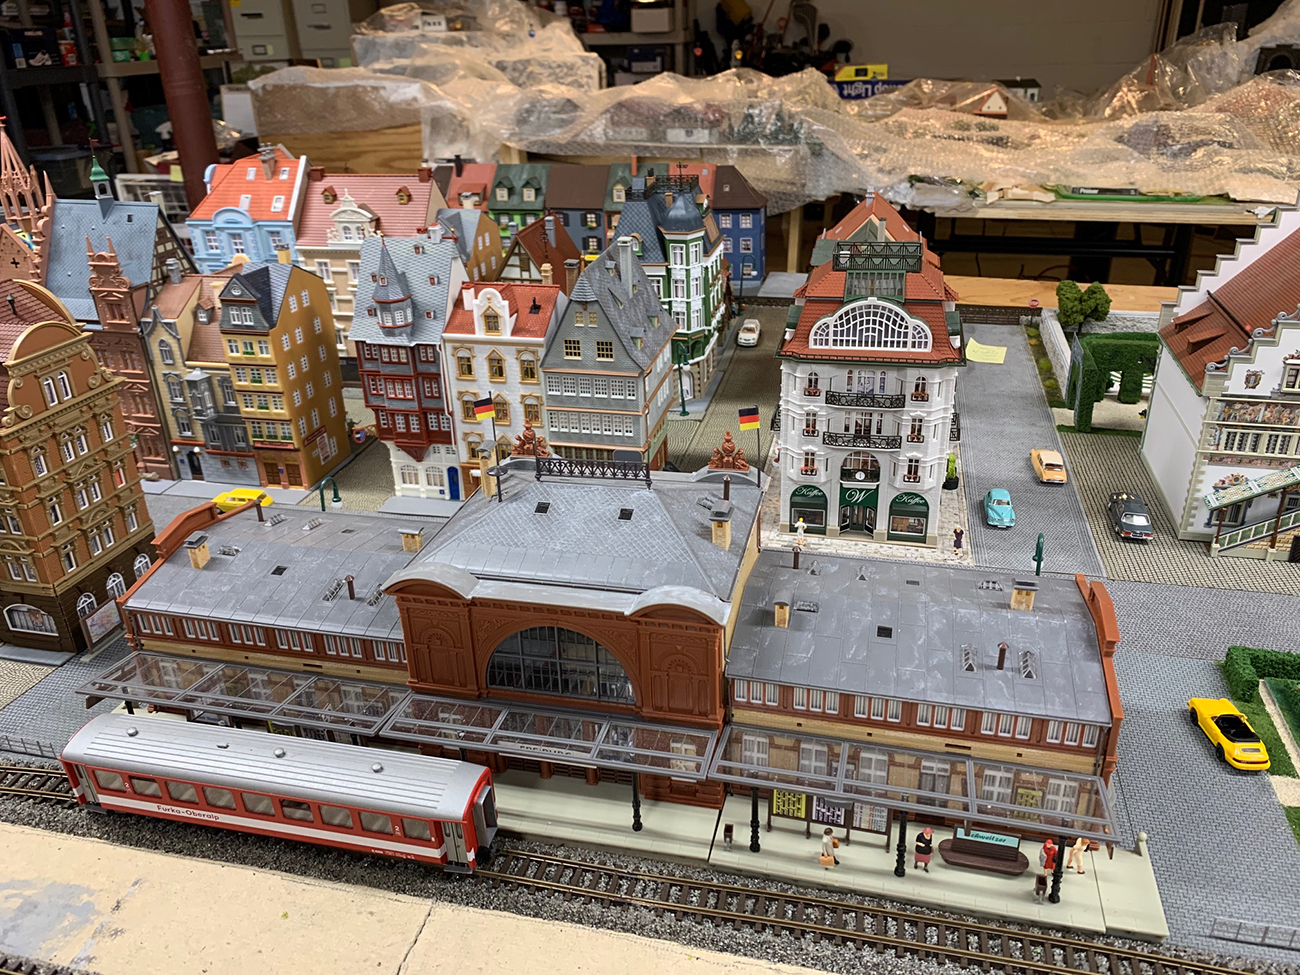
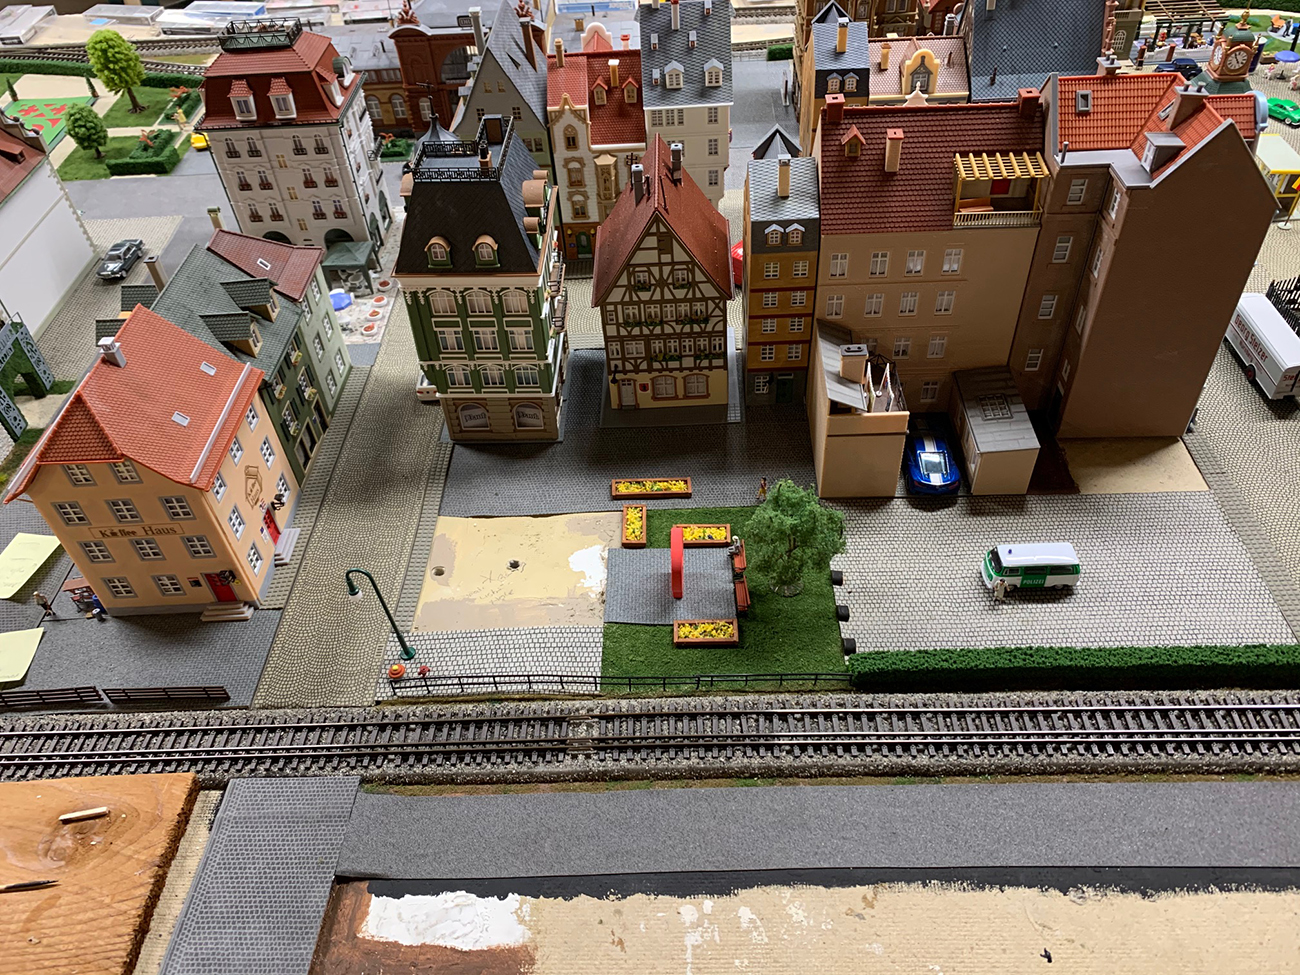
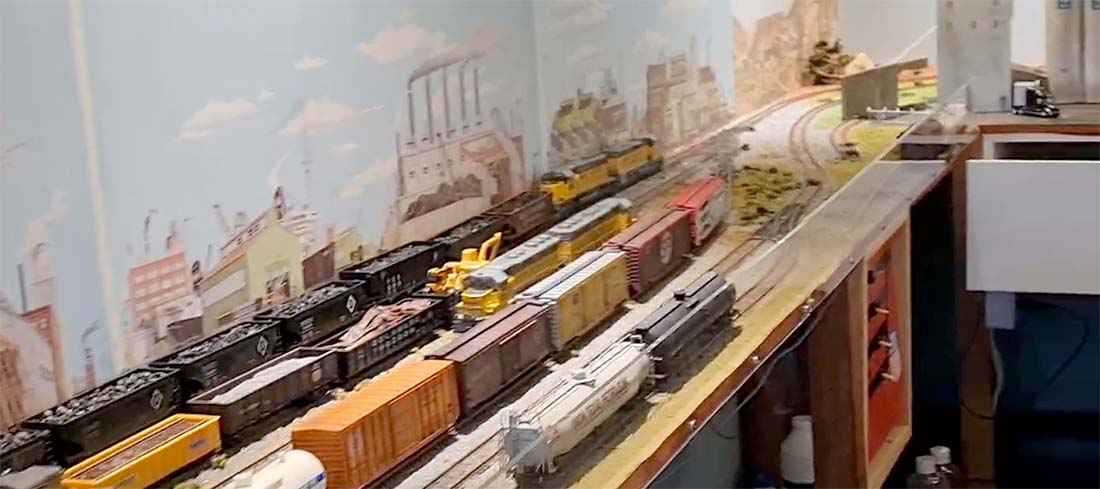
I have attached some shots of My Last Layout. About 1/3 of the layout is in final form and the rest I have just sitting on the base. I still move things around a bit.

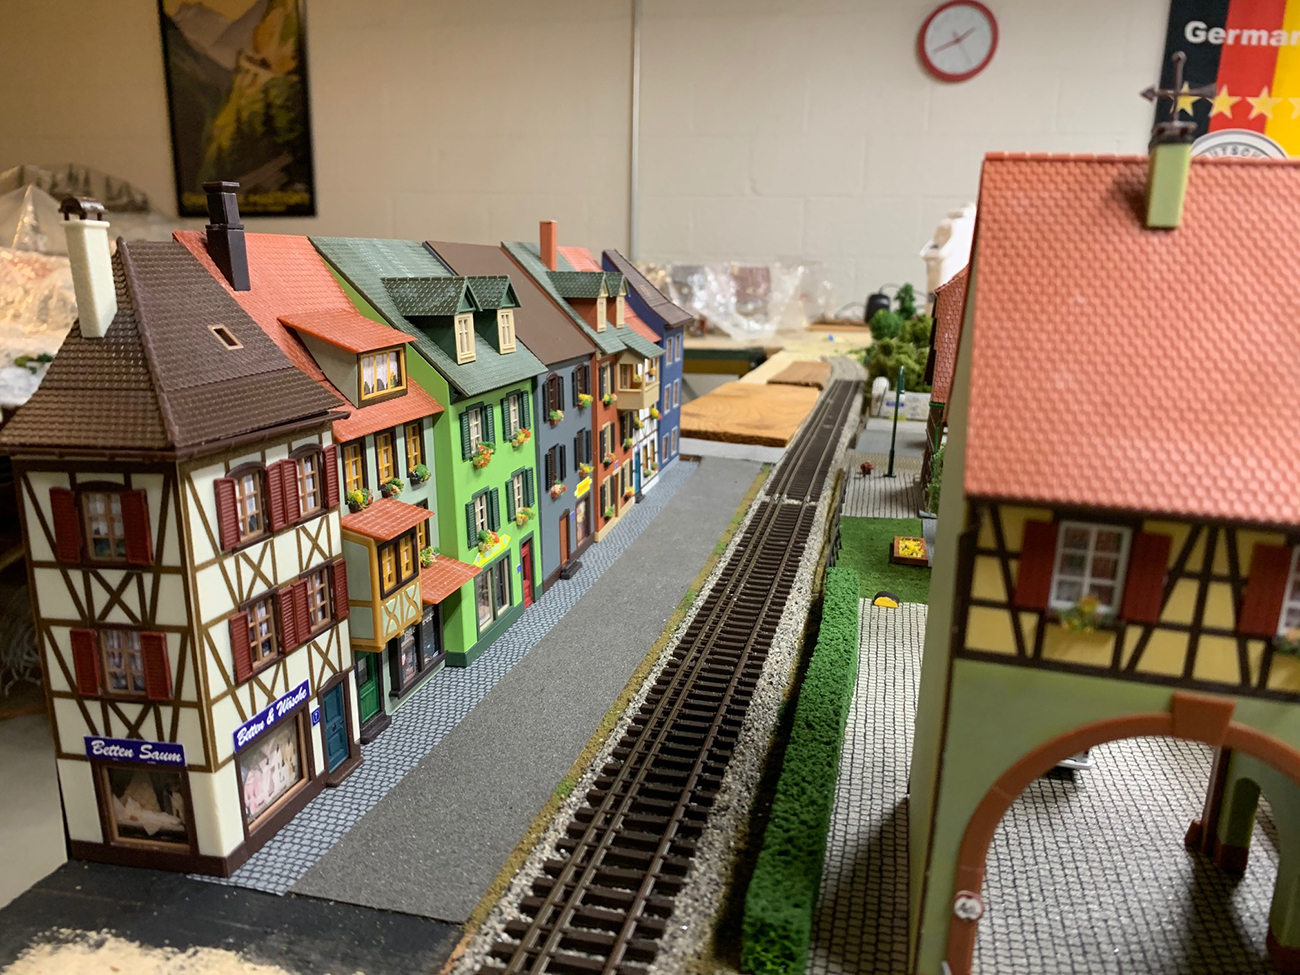
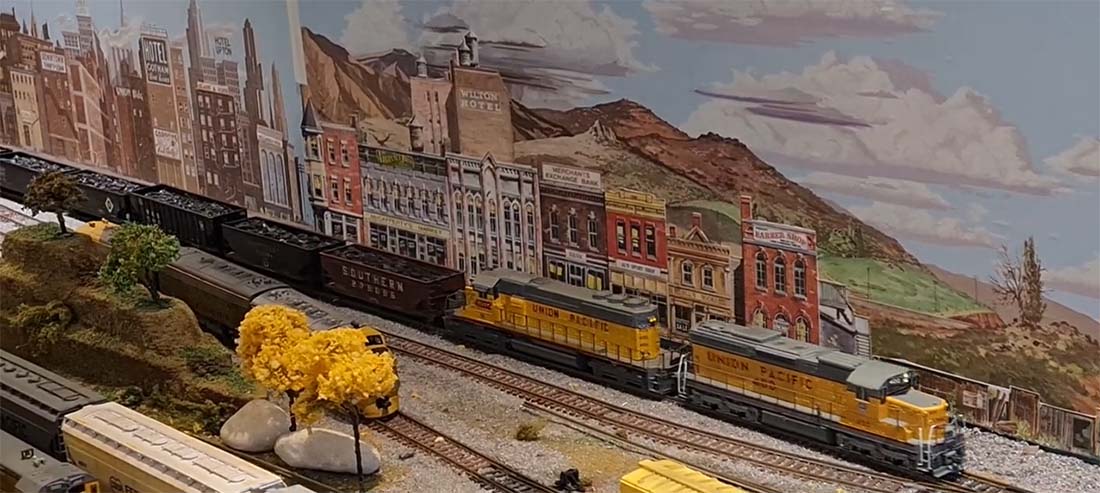
On this layout I painted the top half of the walls flat black and then bought a cheap piece of cotton drop cloth, cut it in half, stapled it to the wall and painted it blue. It kind of draws your attention directly to the layout.

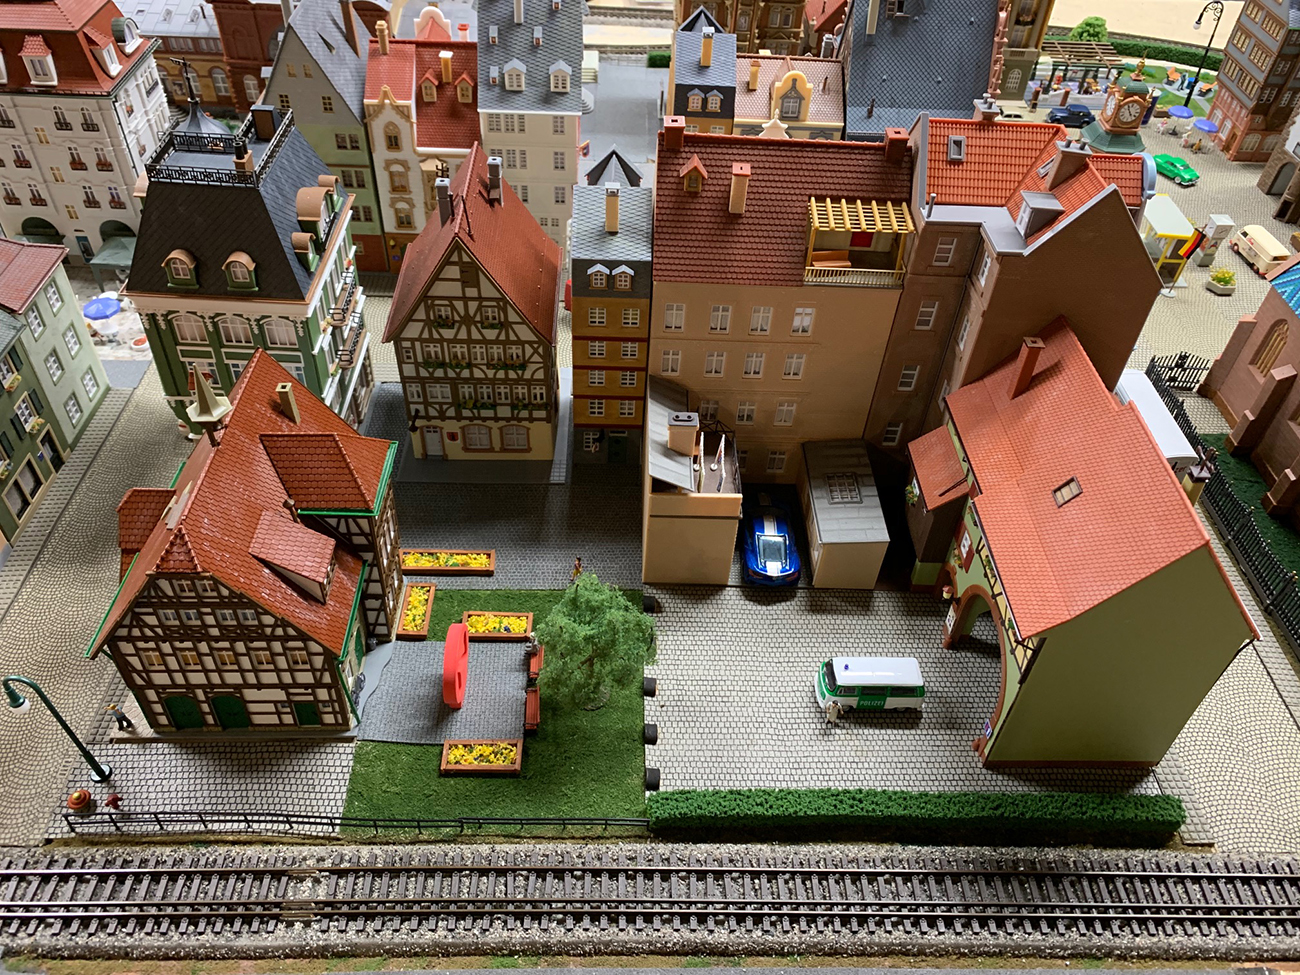
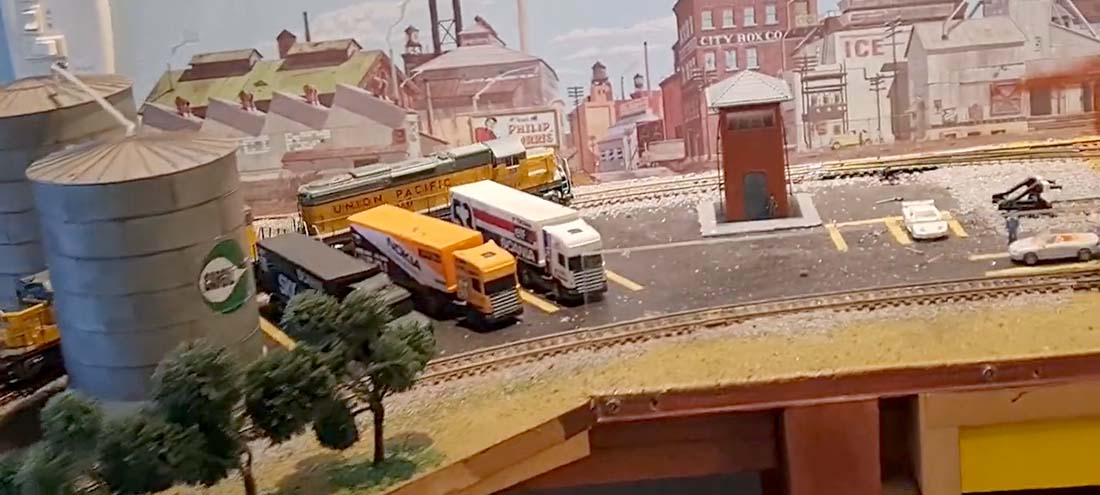
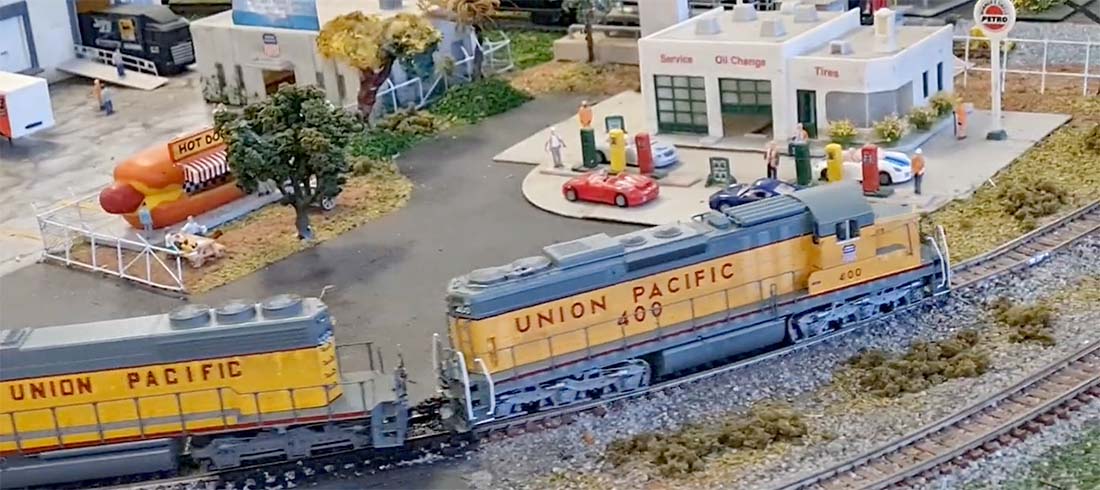
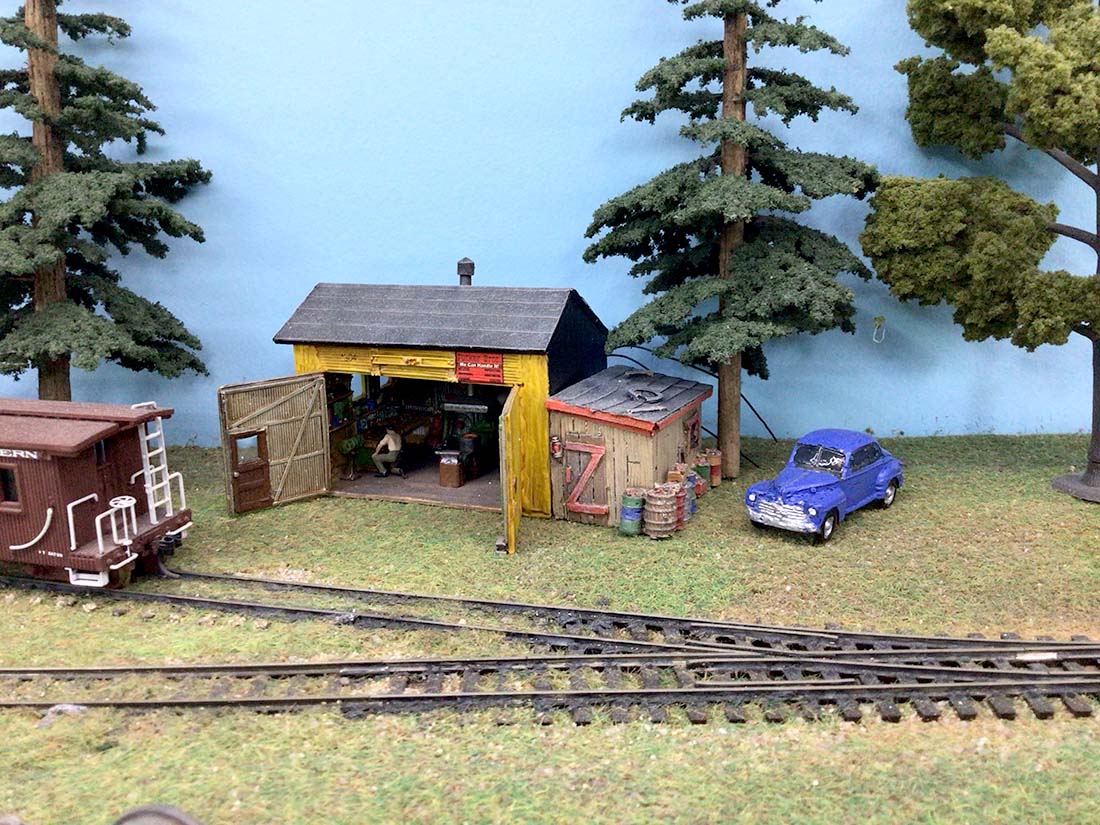
I laid this one out in vignettes that allow me to get a little creative, avoid everything being in the same period and style and provide me with places to put more stuff.

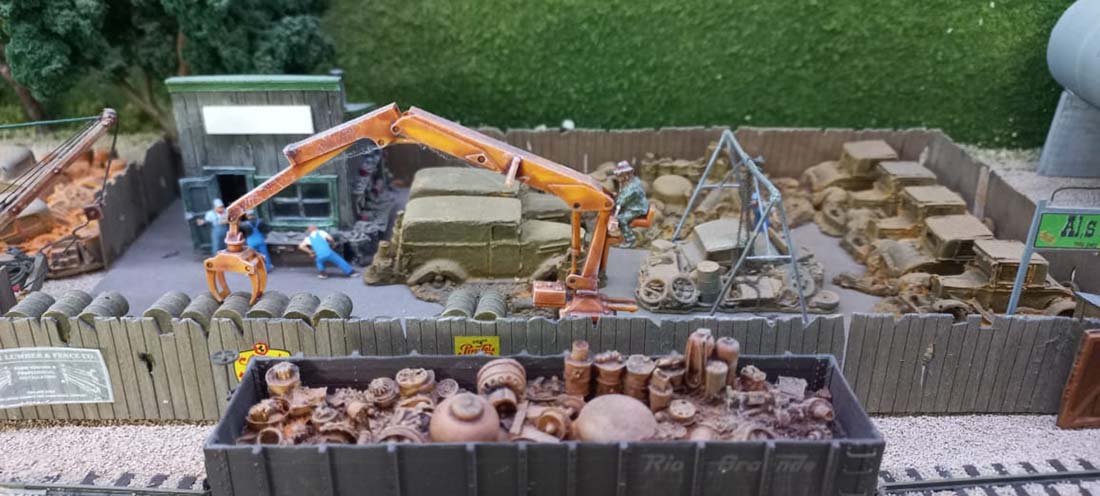
I am pleased with the mine operation. I wasn’t sure how it would look with the structure above and the actual mine below but I like the way it turned out.

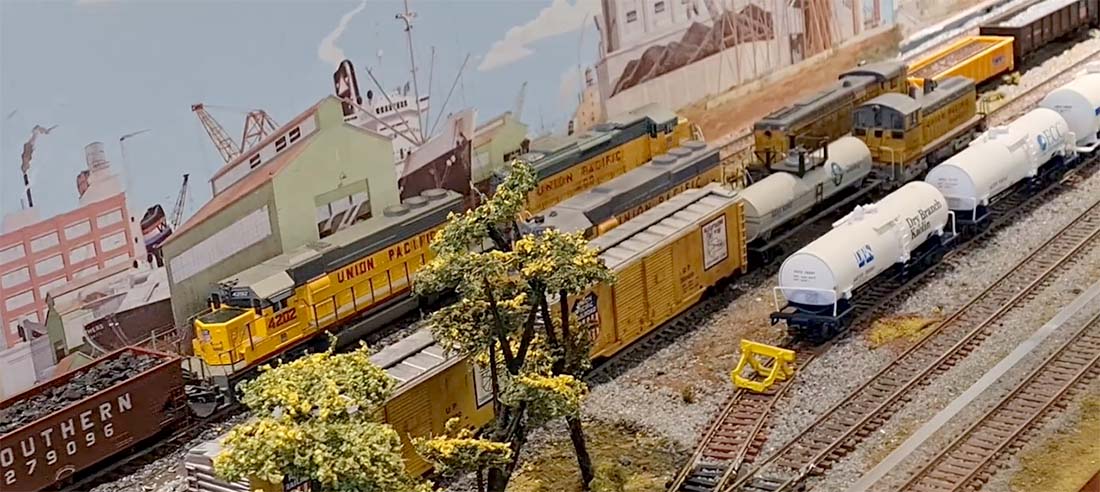
I built the ore boat and ore tipple out of my usual bunch of sticks and wood scrap but no matter how I tried I could not build an acceptable tug boat from scratch.

I finally bought a boat kit and made a tug boat out of it. The tires on the hull are rubber washers, most of the superstructure are bits and pieces from my junk box. The main cabin is a cut-down toilet paper cardboard roll, the door is a piece of tongue depressor (my favorite) with a grommet for the porthole.

I wanted to try lighting my structures so I bought a string of LED Christmas lights and use them to light the building interiors.

They look good in the dark but it was kind of a pain to wire all the buildings.

After seeing what the talented Dave has done with his lighting I have decided to add some street lights to my town. Got the lights but haven’t put them in yet.

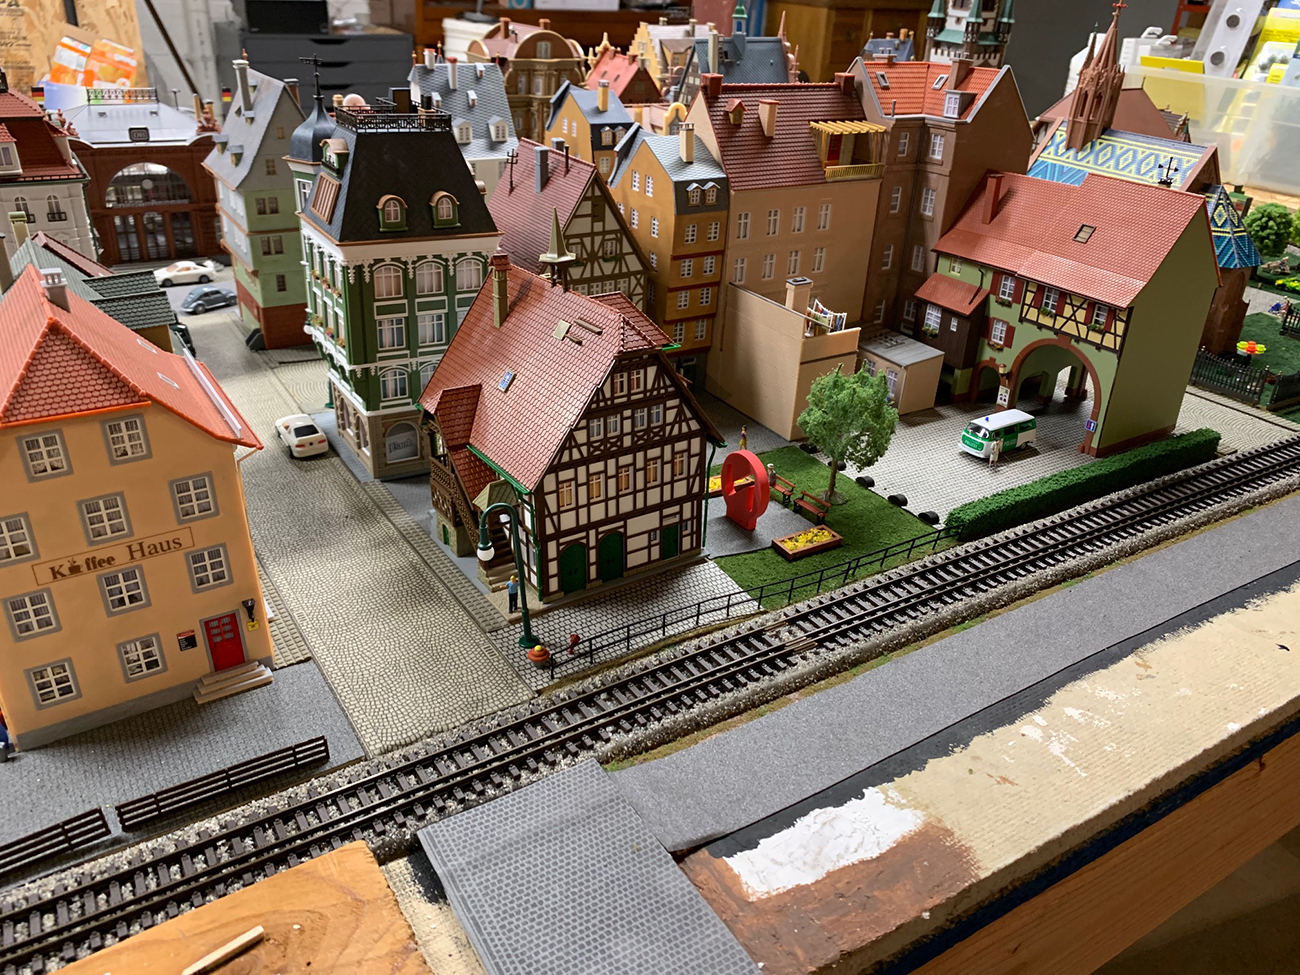
Speaking of buildings, can you see anything familiar about a couple of the houses in my town (hint-they are made from paper)?

I removed the gable on one of them and covered the roof to look like cedar shake and on the larger house I added wood trim to the doors & windows and added wood trim to the outside corners as well.

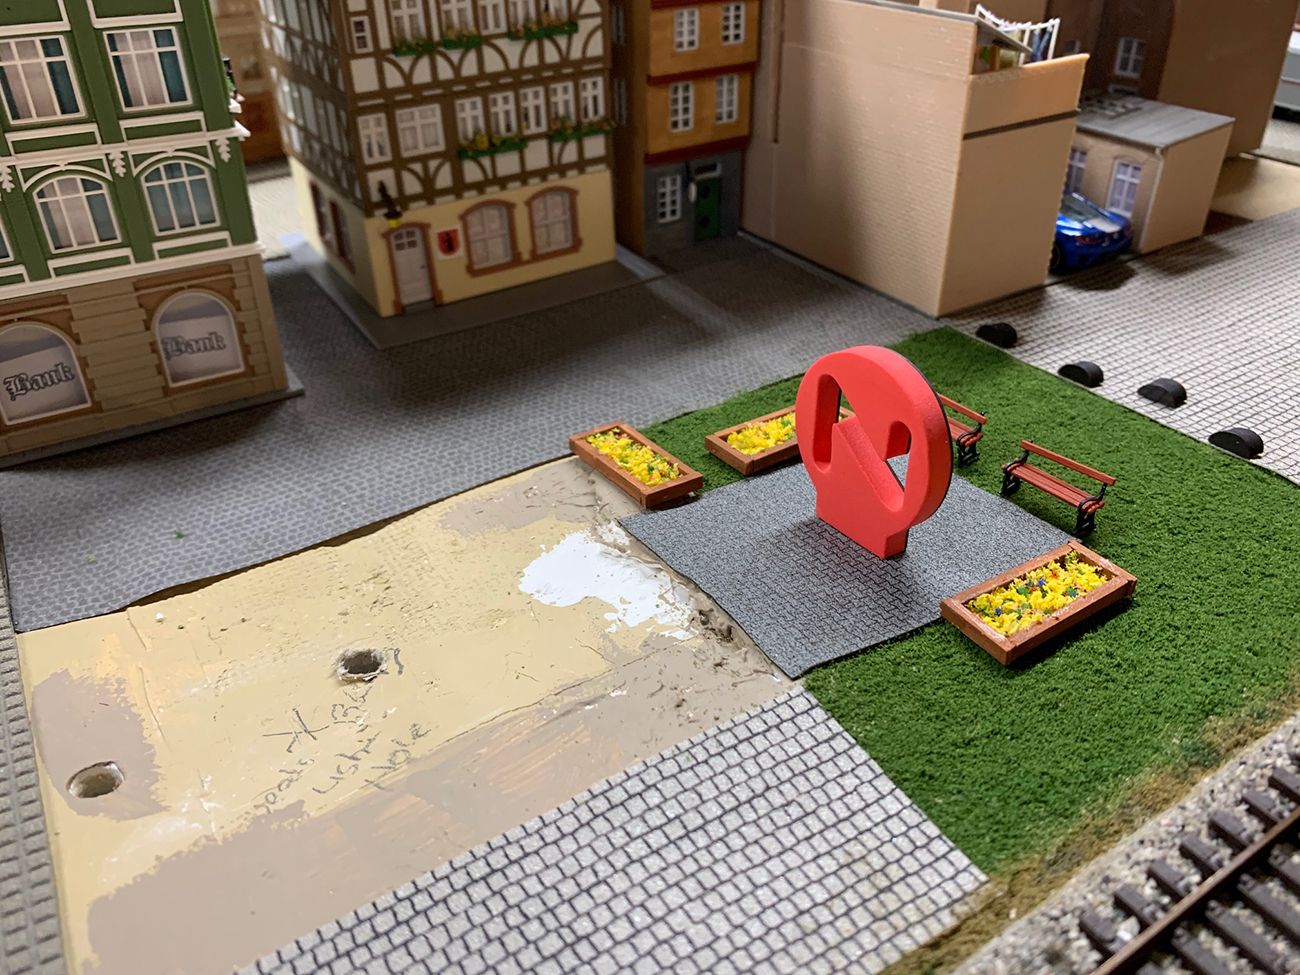
I have also added signs to my businesses named for my family members. Unfortunately, with 6 brothers and sisters and 10 grandchildren I have more names than buildings and some of these folks get a little testy if they don’t see their name on something.

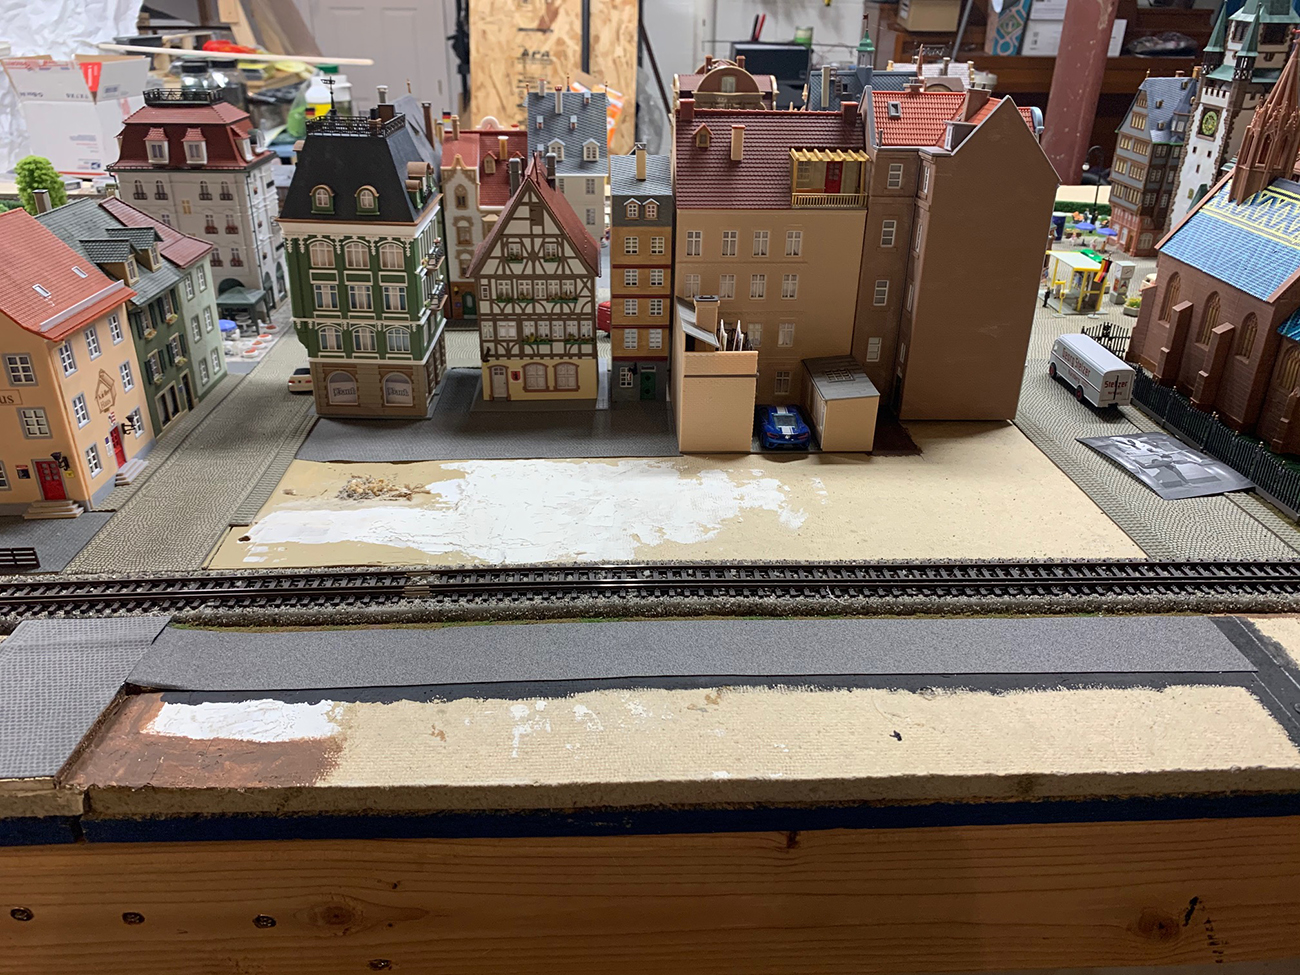
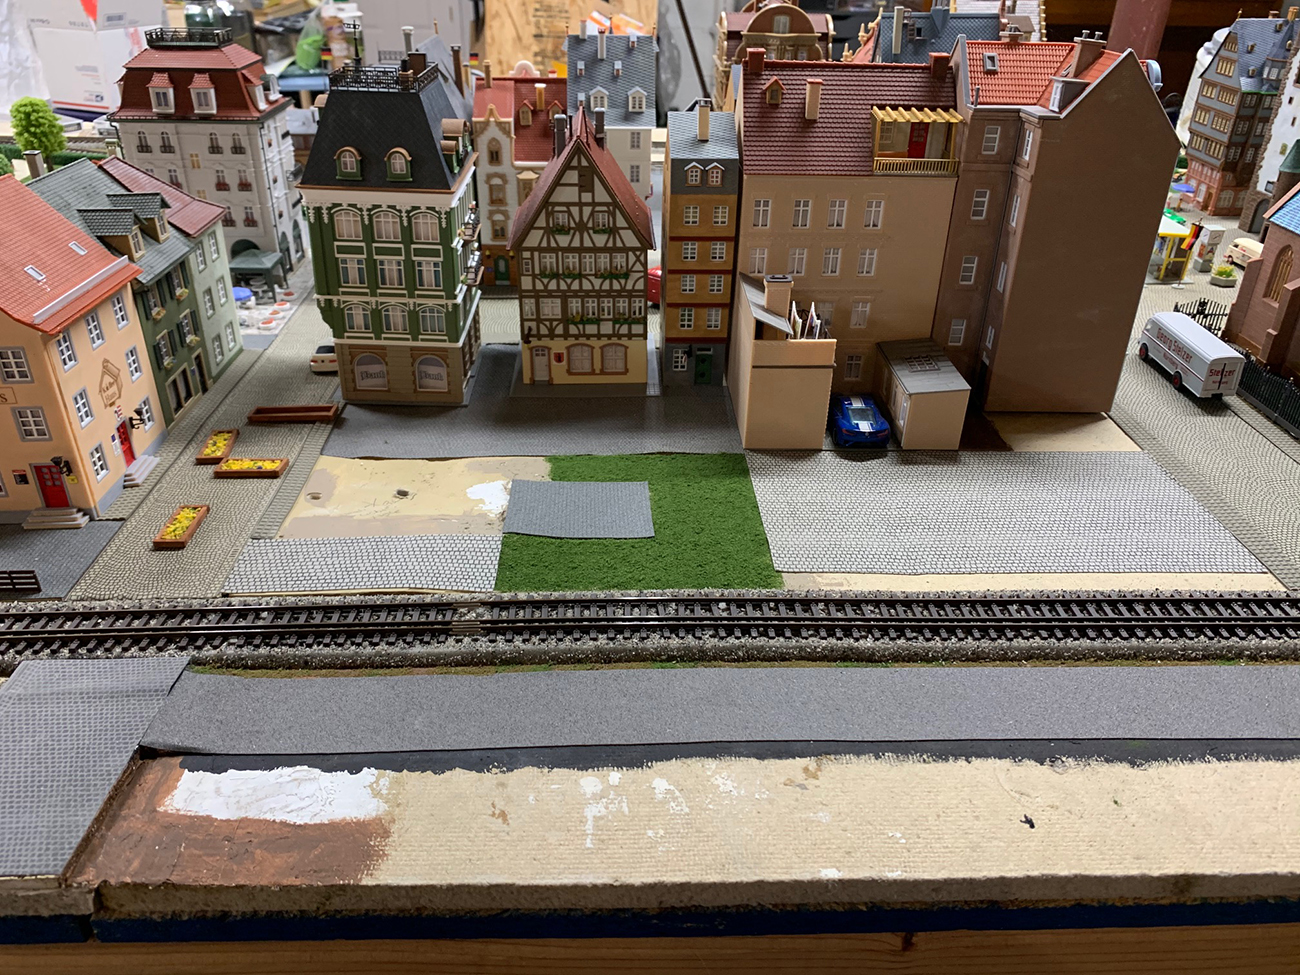
I still have not added the water to my waterfront, just painted the base blue for now. Same with ballasting the track. I always do that last after I finally decide where all my structures will be placed.

You must be careful to not glue down your structures so that they block your track when it comes time to ballast. I learned this the hard way.

Just an idle thought, the more I see the track without ballast the more normal it looks …..hummm!

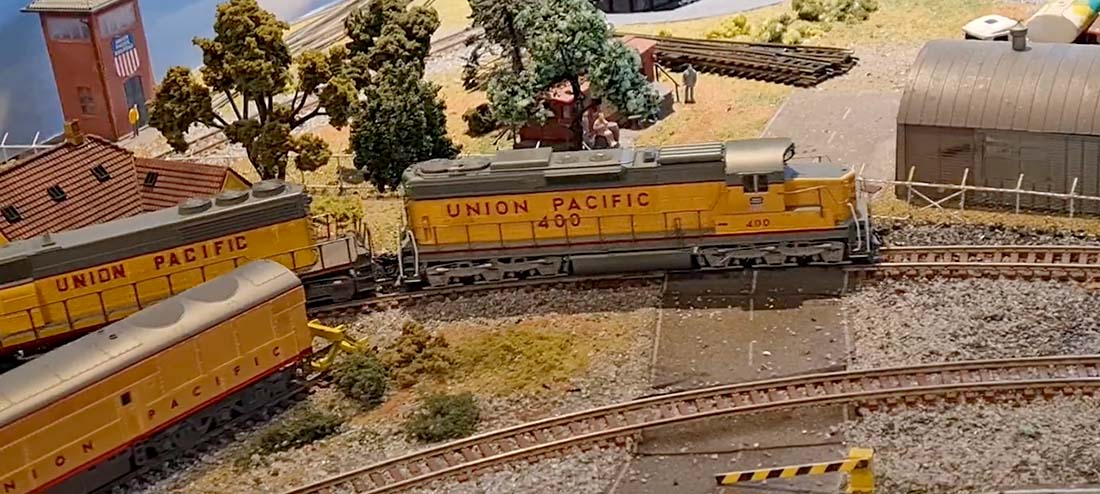
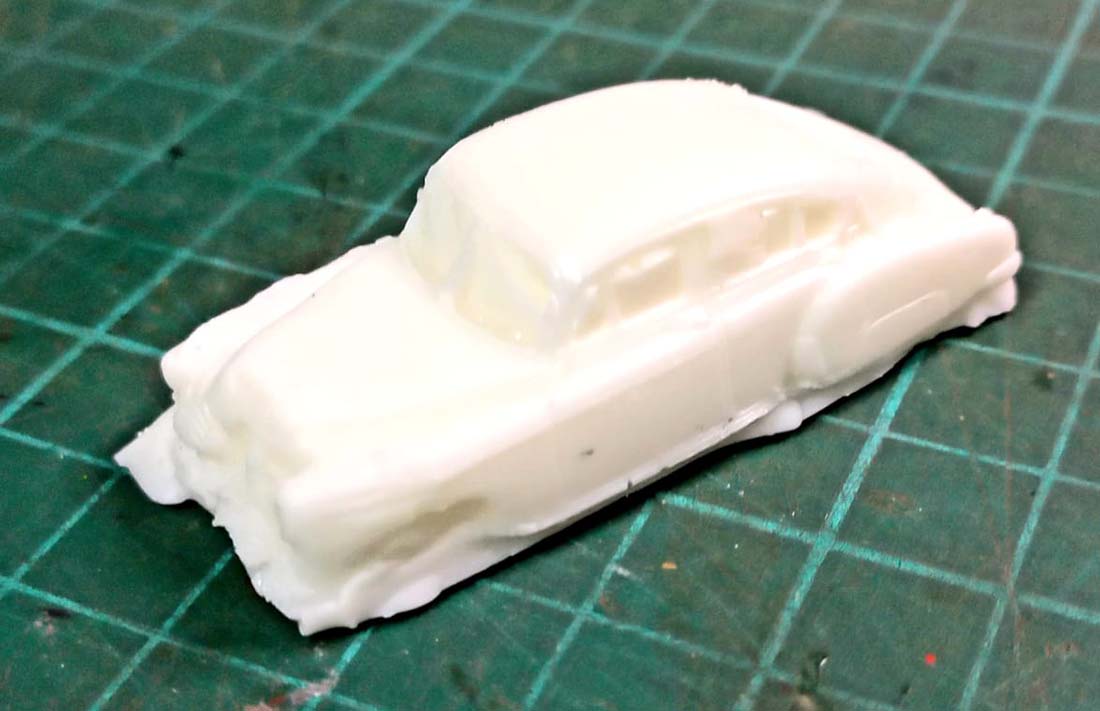
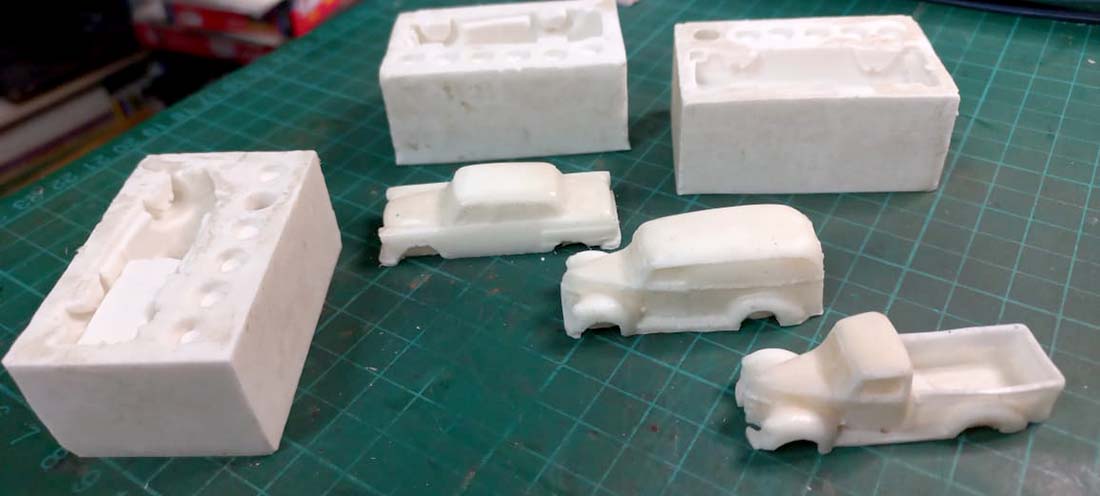
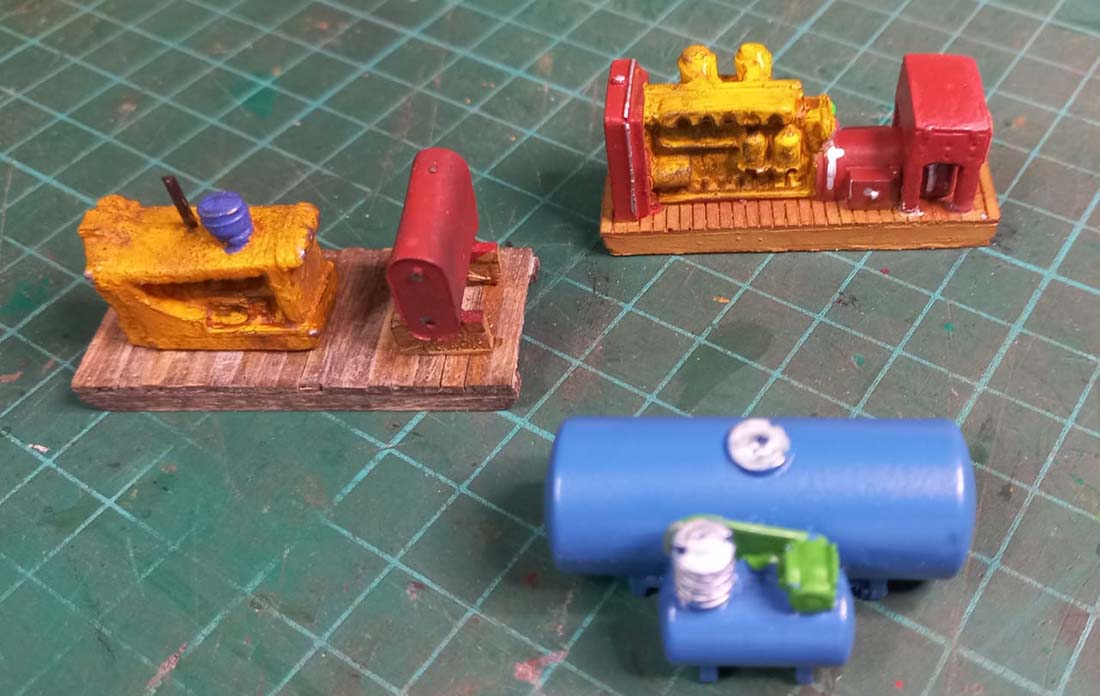
Most of the structures are now scratch built and I buy a few damaged ones on the internet and fix them up and/or use the parts to build other things.

The more I build the better I seem to get at it. For example, I got a building front, cut it in half and used the bottom to build a store and the top to build a fire station. Hands still shake a little at the most inopportune times. Seems mostly when I’m trying to glue something.

Bob”

north view model railroad

south view model railroad

model railroad sawmill


model railroad securing structures waterfront


You must be careful to not glue down your structures so that they block your track when it comes time to ballast. I learned this the hard way waterfront


A big thanks to Bob for sharing. Some good advice on model railroad securing structures – ballast sticks to anything…

That’s all for today folks.

Please do keep ’em coming.

And don’t forget the Beginner’s Guide is here if today is the day you start on your own layout.

Best

Al

PS Latest ebay cheat sheet is here.

HO scale German trains

Rob has recreated his vacation with his HO scale German trains and layout:

“I’ve been a fan of your blog for several years, and have learn so much from the contributors. I look forward to opening my email each day to see the wonders you send forth.

I’ve been working on my Murren and St. Goar Scenic Railway since I returned from a trip to German and Switzerland.

I wanted to recreate views and moments from that trip in HO scale German trains.

I’d not done any railroading since I was a teen back in the 1960s, so it’s been a real experience relearning everything.

t’s encouraging to read posts of others who have questions and made mistakes we can all learn from.

My submission shows a small addition to my city (based on Freiburg, Germany) three streets off the Main Avenue.

There was a block of empty space left over from other building installations. I’d debated what to do with it for some time, and finally decided to just tackle the space with basically what I had on hand.

Our recent stay in place orders here in Michigan have provided many extra hours of time to ponder and work on train projects.

I tend to work on my layout in an organic fashion, and have found that I greatly admire those modelers who can build a layout with all those yards, mainlines and switches.

I’ve also learned that I’m not very good at that part of the hobby.

What, it turns out, I really like is doing building kits and creating landscapes for the train to run through.

Your blog has reinforced that there is no “right” way to do model railroading, and that ideas can come from any source.

Attached are several pictures showing the progress of the city block addition from start to finish.

German trains station

View from the main station looking back toward to area where the new block addition was added. All the city buildings are lighted for night effect.

european railway

The block as it looked before I started. The backs of the buildings on the facing block provide the background. I added a narrow road opposite, next to the tracks as a first step.

european railway

I first added some grass for a small park which is to set behind the building on the block corner. Then I added stone paver sections to create a courtyard as seen in many German cities behind buildings. I found, and assembled a building kit that allowed a drive through from the side street into the courtyard to anchor the other end of the block.

european railway

I built some simple planters, added benches and found a sculpture piece for the park. My youngest daughter teaches first grade so she has many craft and classroom items that can be adapted to the layout. In this case the sculpture is a throwaway piece from a lettering kit.

Next I added some people, a tree, a hedge and a fence next to the tracks. These were all left over parts from other scenes on the layout.


Then I added the two buildings, one at each end to enclose the block. One building I already had built, but did not use for a different scene, the other was purchased to allow the drive through into the court yard.

View of the completed block.

Wwith the recent article on how to finish the edge of the layout causing some discussion, I decided to try adding buildings across the street on the other side of the tracks. I purchased a set of kits for those half facade buildings that one puts up against walls. Only I don’t have any walls so I just placed them on the table edge and put a backing board behind them so they won’t fall off.

I colored this row of buildings based on those I saw in Innsbruck on my trip to Switzerland this past summer. The middle building on the block is make up from leftover parts from the other kits in the set, and allowed me to fill the space completely.

I hope your readers fine them interesting and even useful.

Rob, Murren and St. Goar Scenic Railway, USA”


Now on to Cassio.

We know he’s a man of few words – but that’s just the language barrier.

His pics and video does all the talking:


A big thanks to Cassio and Rob.

That’s all for today folks.

Please do keep ’em coming.

And don’t forget if you want to get going on your very own layout, the Beginner’s Guide is here.

Best

Al


PS Latest ebay cheat sheet is here.

Model railroad scenery ideas

Brian’s been in touch with an excellent post on model railroad scenery ideas.

Have a look at what he’s done;

“Hi Al,

I have been making silicone moulds and resin castings for much needed detail around my layout.

If you are short on model railroad scenery ideas it’s a great way to fill a corner of your layout.

Herewith photos and descriptions of how and what I used for this process. I have been asked before on your site on how I make the castings and what I use.

I want to stress here that I make the moulds and castings for my own use only. I do not sell any of them as that would be illegal and a copyright infringement.

Here goes. (Some of the photos are not the best quality as they were taken before I had a decent camera).

This photo is of one of the scrap yards I have on my layout showing a lot of cast vintage vehicles glued together.

I am planning a third scrapyard for my layout. They generate a lot of shunting, deliveries and collections from them. Hence the gondola car in front.

model railroad scenery ideas

Here are the products that I use, silicone and it’s catalyst. Mixing instructions are on the labels. It is normally by weight and ratio – 100:10. This is the silicone product.

Below is the resin product. Mixing ratio is 1:1. When purchasing this resin product, ask about its expiration date as they do have a shelf life.

Next, I select the parts that I want to male moulds of and select a suitable tub to use. I stick the parts to the bottom of it using “blue-tac”.

From here, I fill a jug with water, pour it into the mould above to the depth that I think would be sufficient, then measure the amount of water, usually in millilitres and that will tell me how much silicone I need for the mould. (No wastage of the silicone)

Below is the tub filled with the correct amount of silicone covering the parts underneath.

After approximately 5-6 hours of curing, depending on the weather, the silicone can be removed from the tub and the parts are easily removed.

Here are the moulds in use with resin poured in them and after approximately 15 minutes, the parts can be removed and the moulds are ready for making more.


The resin turns white after curing.

Below is an HO scale V8 engine block on a pallet that I also made a mould of and used lots of the castings in and around the buildings on my layout.

Below is the V8 block out of the mould. (Excuse the terrible photo)

Below shows a size comparison with an HO scale figure.

A generator set casting, right is the original and left, the casting before painting.

Top is the original and the finished generator casting set below it.

Below is the start of the painting process. Will later be weathered and rusted up.


Out of the mould and needs trimming.

Almost finished.

The above vehicle was moulded in this old photo slide box.

The advantage of using this silicone is that no mould release agent is needed either in removing the mould from its box or the part from the mould. The parts do not need washing after removal as there is no residue on them.

This casting of a small compressor is only 12mm long.

Below is the mould for a building that will be placed on the side of a bigger building.

Below is the raw casting out of its mould.


I have been making silicone moulds and resin castings for much needed detail around my layout.

Here it is painted, weathered and placed next to a workshop.


I have been making silicone moulds and resin castings for much needed detail around my layout.

A few more different castings to show what can be done.

A footnote – do not worry about using painted products for moulding as the silicone does not damage or remove the paint. (The original generator set used above is a perfect example).

Again, I must stress that these moulds and castings are expressly for my use only and are not sold or given away.

I hope that this article has explained how I arrive at all the finer details around my layout.

Brian – the HOn3 guy in Knysna RSA.”


A huge thanks to Hall of Famer, Brian. Clever stuff.

Hope you enjoyed that as much as me, I never would have guessed in a million years that’s how Brian makes his scenery.

That’s all for today folks.

Please do keep ’em coming.

And don’t forget the Beginner’s Guide is here if today is the day you start on your own layout.

Best

Al

PS Latest ebay cheat sheet is here.