Ken’s been in touch with his model train track bridge update:
You all know how much I like seeing a layout come to life:
“Thank you for all the great tips and advice, I have included pictures and a dialog of my progress since beginning my new layout in September.
I now live 2 hours away from Guadalajara, grew up in L.A. Calif. and after the service moved around a lot and now am retired in Mexico.
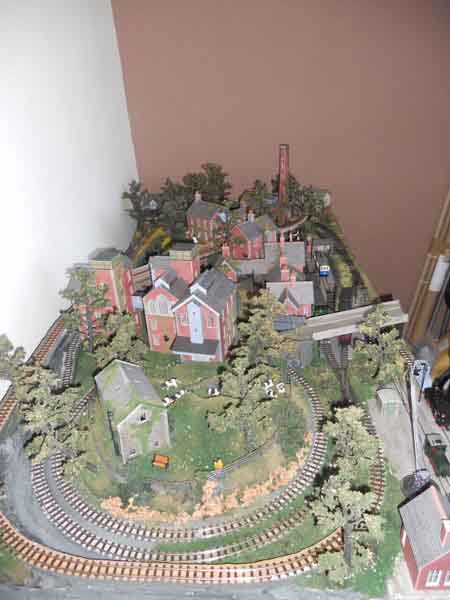
My new layout begun last September, it occupies a space of 13 feet by 13 feet.
It has been almost 20 years since I last had a layout, that one was in a basement room that was 30 feet by 30 feet, it never got beyond track laid and operation but was fun.
I am determined this time to get as complete as possible, this however now has some challenges as I now live in Mexico, and some things we take for granted as always being available just aren’t here or are so expensive as to be prohibitive.
With this in mind I started, the bench work is made from ½ inch plywood, the reason for this is simple, solid lumber costs more and is not kiln dried, so prone to warp and shrinkage.
I started by cutting up 2 sheets into 3 inch strips, these for the legs and bench framing, the legs are L shaped, the joints are glued and screwed together.
The bench work is L girder in design, again all joints are glued and screwed together, also in assembling the bench work I planned on 4 sections that could be separated as we are contemplating a move to another city and do not wish to destroy what I have.
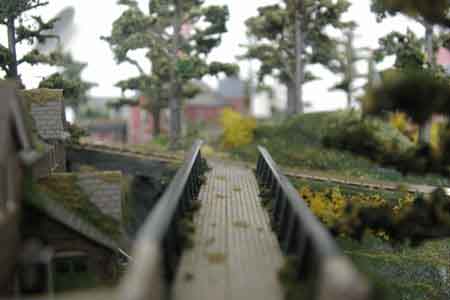
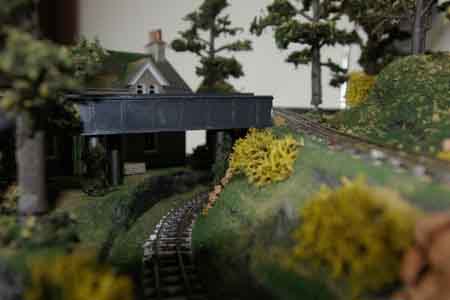
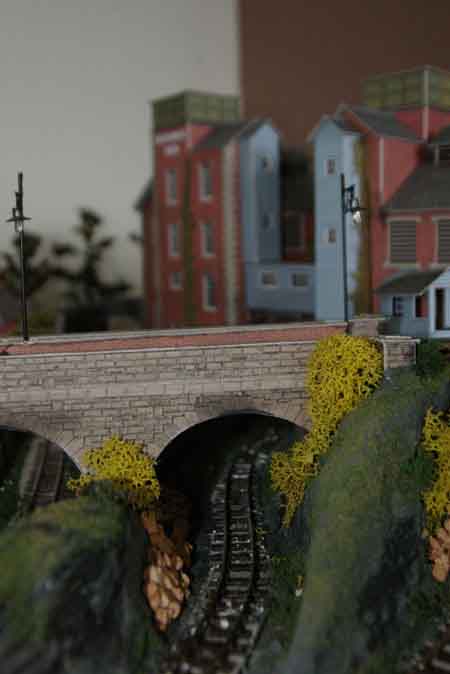
The only part that remained from my previous layout is a bridge that I hand built as a removable bridge.
After 20 years three moves and subsequent time in storage it was in sad shape, this became the first project, rehab, that is done except new paint.
Then where to place it, the design of the layout and the length of the bridge made the choice easy.
I needed a way into the center of the layout and so one corner became the bridge central.
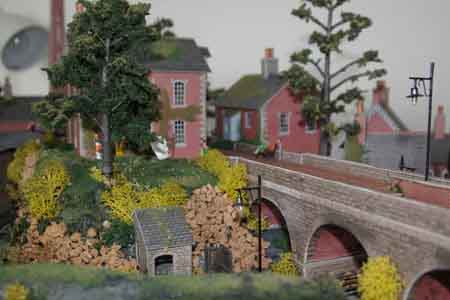
The main track concept is a main loop around the entire layout, this required a double track bridge, the bridge, and then up and down ramps to the main level.
Also there is a coal mine incorporated with its own trackage, this would also require another bridge, and then there is a loop on the main level connecting everything that needs a bridge.
The 2 remaining model train track bridge designs have not been decided as yet mainly because as I go I think of different ways to do things, such as a lift out section with trestles.
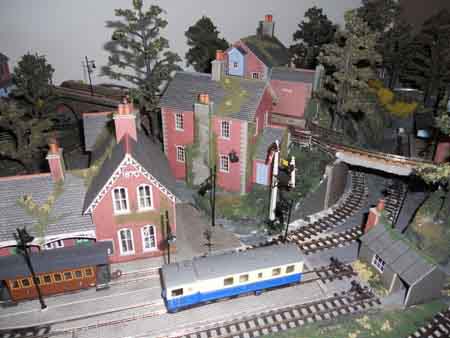
These first pictures show basic benchwork completed.


Here the bridge is seen, this is the location it will be in, the height above the bench is 8 inches.
This section of the bench is 4 feet across all the rest are 30 inches.
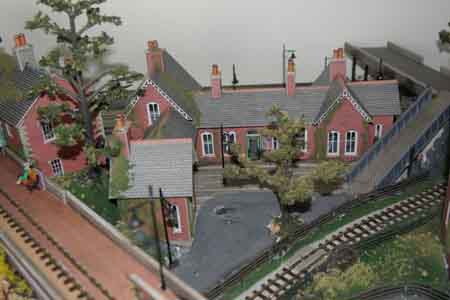
This is the location of the coal mine, here I am working on the track layout. I have numerous switches from before, number 5 and 6, left and right, plus some Atlas that a friend gave me, these plus what track I still have I set to work.
I lost count of the variations I tried till I finally arrived at this one.
The considerations were, being able to pull empties in, un couple, run around, and push into appropriate track, number of tracks, length of tracks thus dictating length of train.

The first of many designs. I find it easier to lay things out full scale.

Final design, the sub road bed base is construction fiber board, after putting it down I ‘painted’ it with a mix of white glue and water, firmed it up and stopped the fuzzing.
Then after trying all the regular methods of fasting the track and visiting several hardware stores, and told every time, no, senor, I don’t have that, I resorted to a silicone glue and now all track is glued in place. After all the mine track was laid and I was admiring my work I made a nasty discovery, I had left out the un coupling magnets. Trust me I will not make that mistake again.

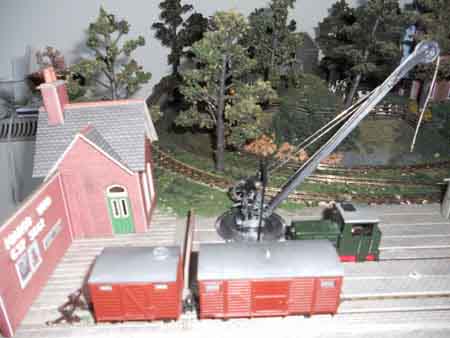
Here are the cars that make up the mine consist. The purple cars are from Tyco, that I have modified to meet my needs, I chose these cars because they have operating bottoms, and my plan is to have an operating mine loading cars and a point of drop off, the wife has suggested a coal fired power station.
The Shay is from NWSL, I bought it in the early 70’s, and plan to use it as the main motive power for the mine. The name on the cars is that of my daughter.
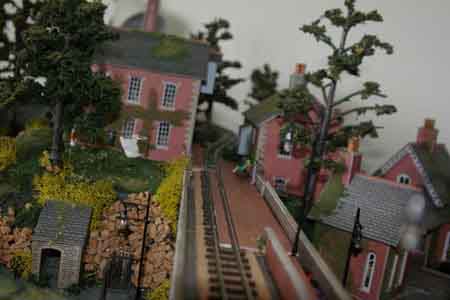
The pink insulation foam board is the base for the scenery.

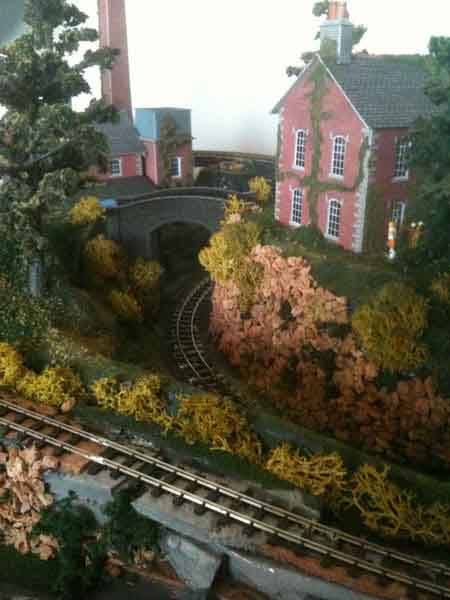
Here I’m beginning work on the upper level, I had to make the road bed, I used the fiber construction board, cut on a table saw, 2 inch width, then beveled 35 degrees.
Then for the curvable pieces I used a band saw to cut diagonal cuts, all done at my local carpenter shop, they are friends of mine, in fact I helped them get and set up the shop. I create quite a cloud of paper fiber dust every time I do this.

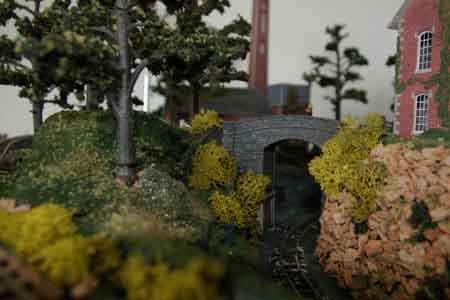
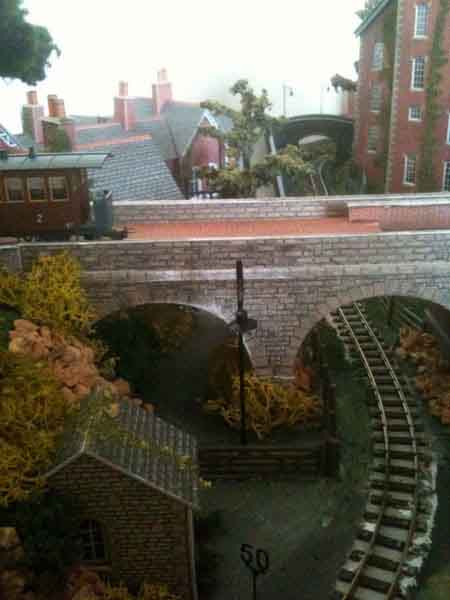
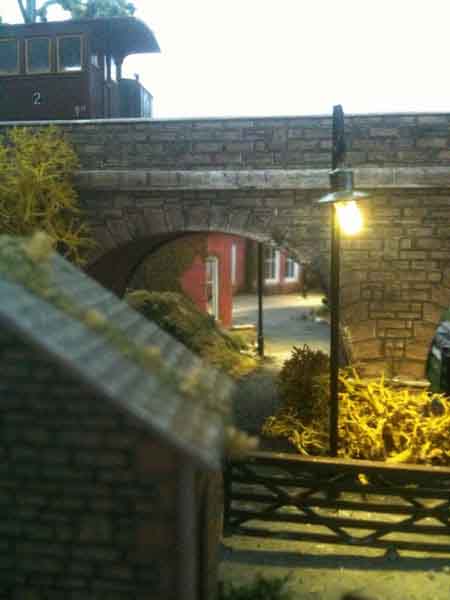
Here you see the tunnel for the mine track under the main upper line, also what will become a turn table.
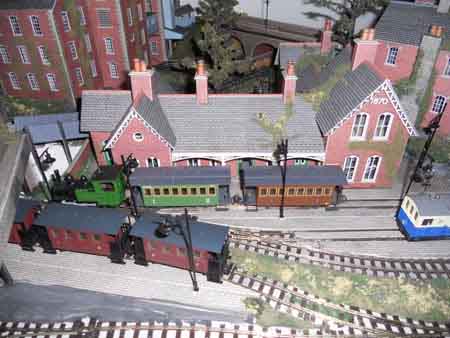
After I was congratulating myself on such a brilliant job laying out the mine track I realized I had no way of turning the loco’s around, so I came up with a turn table and then an engine shed for the loco’s also needed a track for car repair.

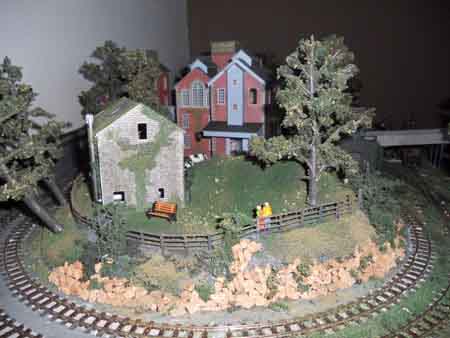
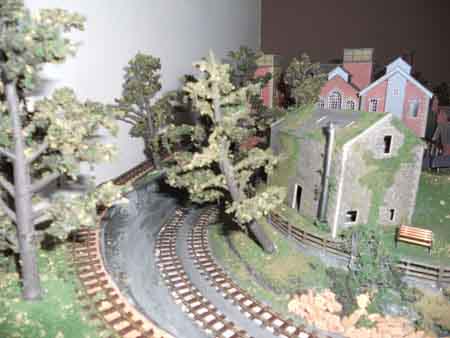
Here is the first attempt at what will be rock walls, I am using drywall compound and clothes dryer sheets over the insulation board. I got the idea for the sheets from an on line blog, works great and there is no cracking. In the background to the right is the ‘concrete pad for the engine house.

My tunnel portals are hand made from ¾ inch plywood, cut with a saber saw, installed using silicone glue, coated with drywall mud, sanded, and painted. May not be the ideal but it is what I came up with.
Did I mention the only hobby shop is a 2 hour drive from where I live, and if he does not have ‘it’ in stock, it takes a month for ‘it’ to get here, plus it is twice the cost of ‘it’ in the US, and it does not matter what ‘it’ is.
Also no liquid items can be shipped in, so alternatives need to be found, be creative, or plan a shopping trip to the US.

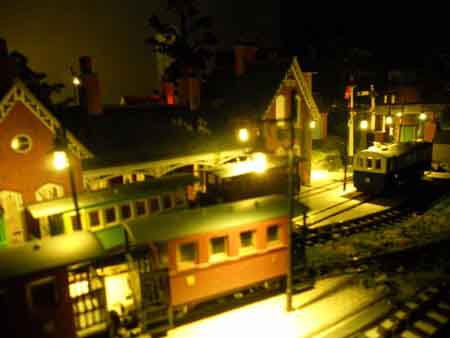
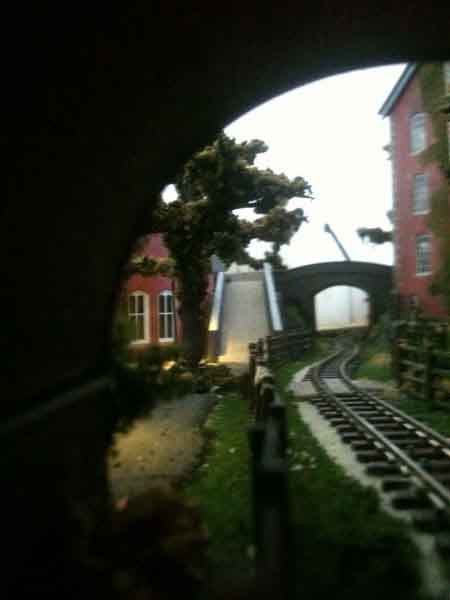
The tunnels 1 track, 1 road and the road, why you may ask are all the cars and engine still there when I am working on the messy scenery.
Good question. I don’t really have a good answer, I do know however that all will clean up and work fine.
All the mine track and locomotives are straight DC, there will be an interchange point where the cars will be left and taken over by loco’s in a DCC system.
Ken”
A big thanks to Ken for sharing his model train track bridge update.
John’s post on his model train bridge springs to mind after reading Ken’s.
That’s all for today folks.
Please do keep ’em coming.
If you’d like to share something, just hit reply to any of my mails to get in touch. I’d love to hear from you.
Don’t forget the Beginner’s Guide is here if you want to get going on your own layout.
Best
Al
PS Have you had a look at the new ebay cheat sheet yet?