Building O scale train layout

Lawrence has been back in touch with the progress on building O scale train layout.

Here’s what he’s been up to:

“Al

An update to my O scale layout and some info on projects not on the layout.

First, I wanted to replicate the elementary school I attended grades 1-7 in Cherry Valley Massachusetts. The problem with that is that it was torn down over 30 years ago.

After a year of digging in the memory of two of my sisters and myself. I started on the project.

I know it is a brick building with doors and steps on the front and both sides. A two-story building that had the first, second and third grade on the first floor.

The fourth, fifth, sixth, and seventh grades on the second floor. A large hallway separated all the grades side to side and front to rear on both floors.

What size to make the rooms? We remember the older students were in five rows, front to rear. And there were 5 or 6 students in each row. Then up front was the teacher’s desk. That means they were relatively large rooms. The assumption was made that the rooms on the first floor was the same size.

And we knew that it was an old building when my father attended the school in the late 1920’s. The first and third grade teachers not only taught us but also my father, LOL they let us know that many times. All buildings in Massachusetts have steep roofs because of all the snow we get.

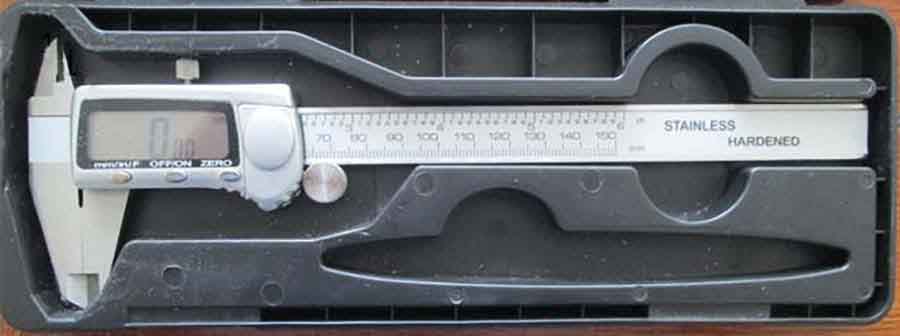
Not to put that data on paper. Using the enclosed conversion chart, I drew a top-down view and a side view (doors and windows in place) on paper in actual O scale. Sorry I did not think of making pictures as I went.

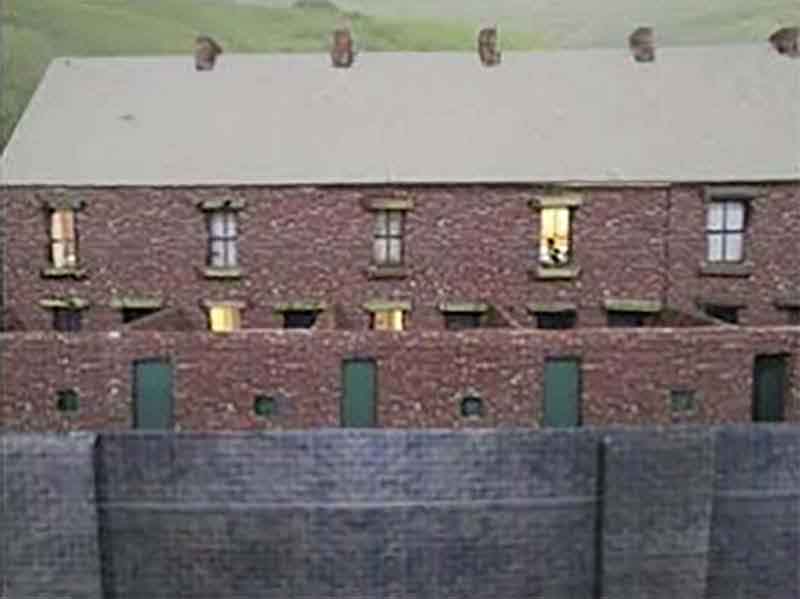
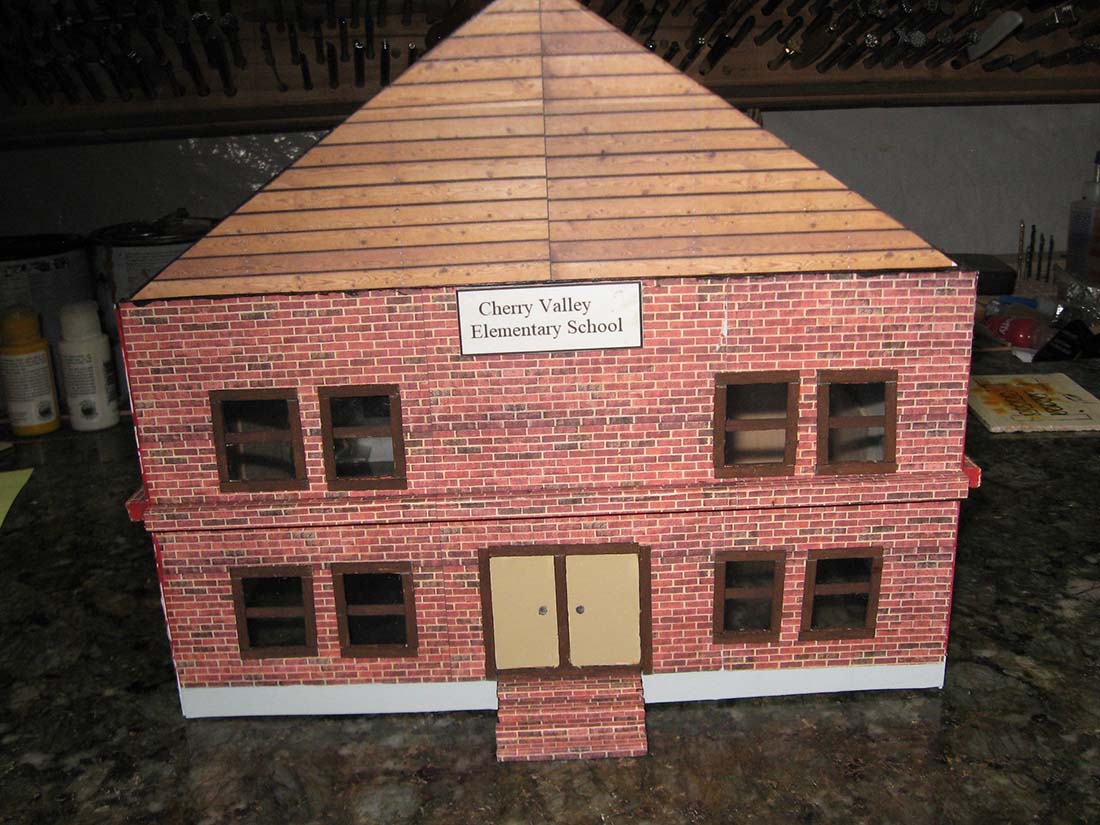
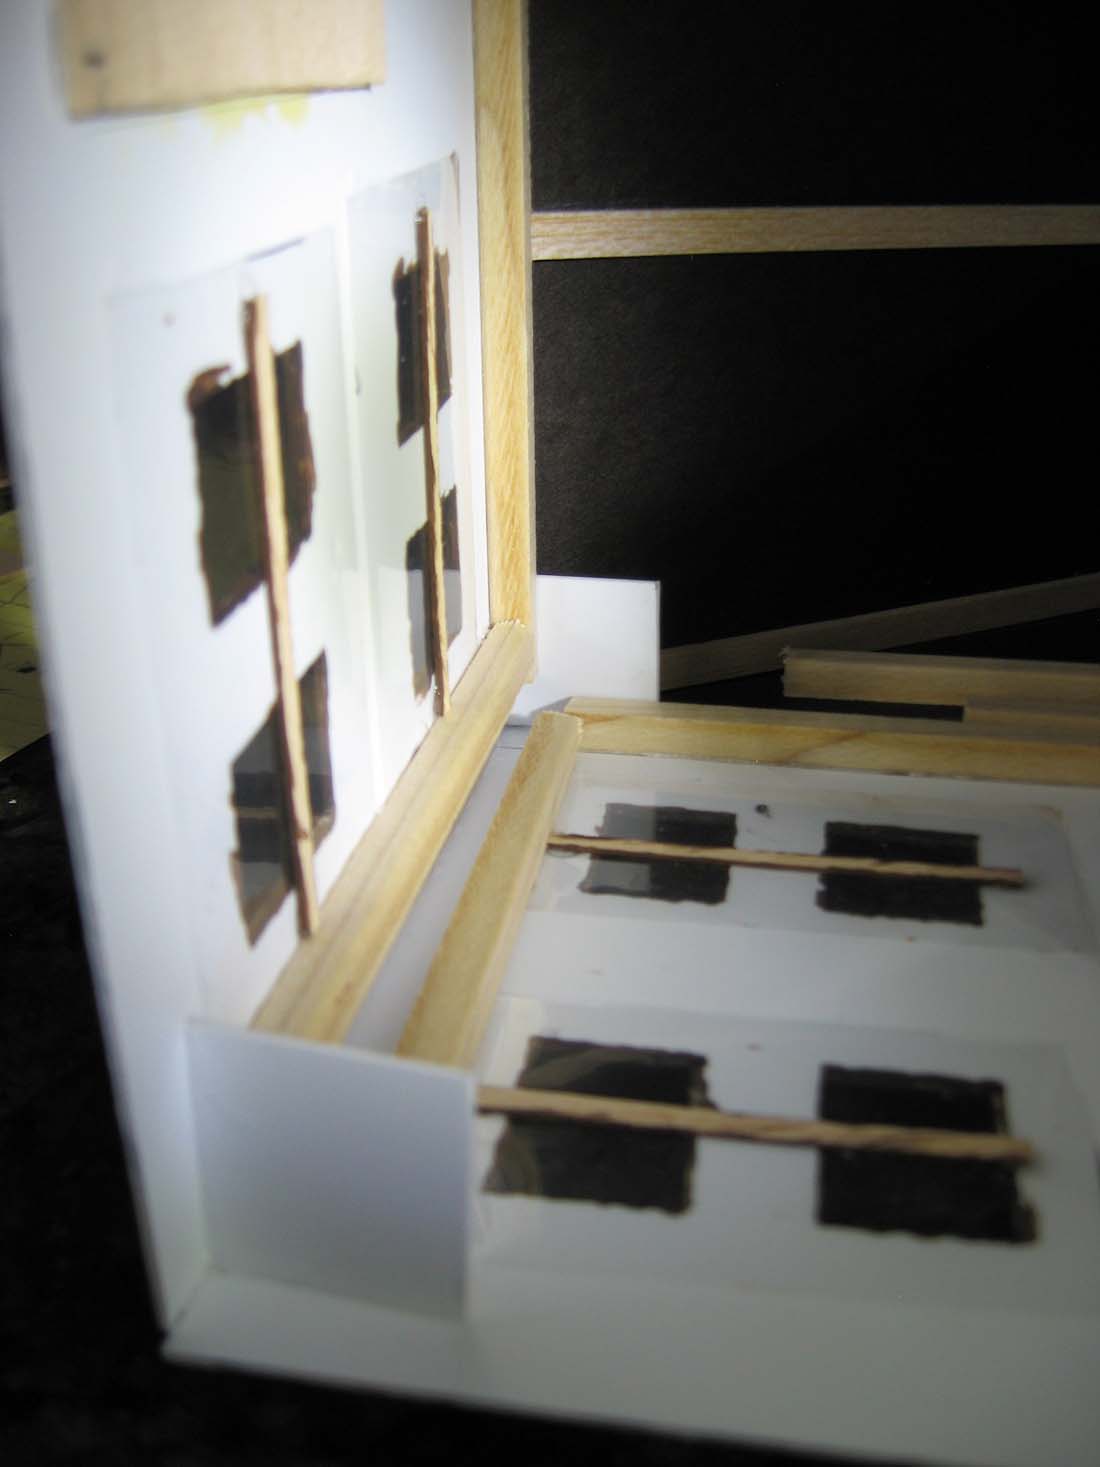
From the paper I copied the layout onto 0.04 styrene sheets and cut them out. Glued a printed brick wall onto all four sides. Glued a clear plastic piece for each window with a 3 mm wood strip (for the window pane).

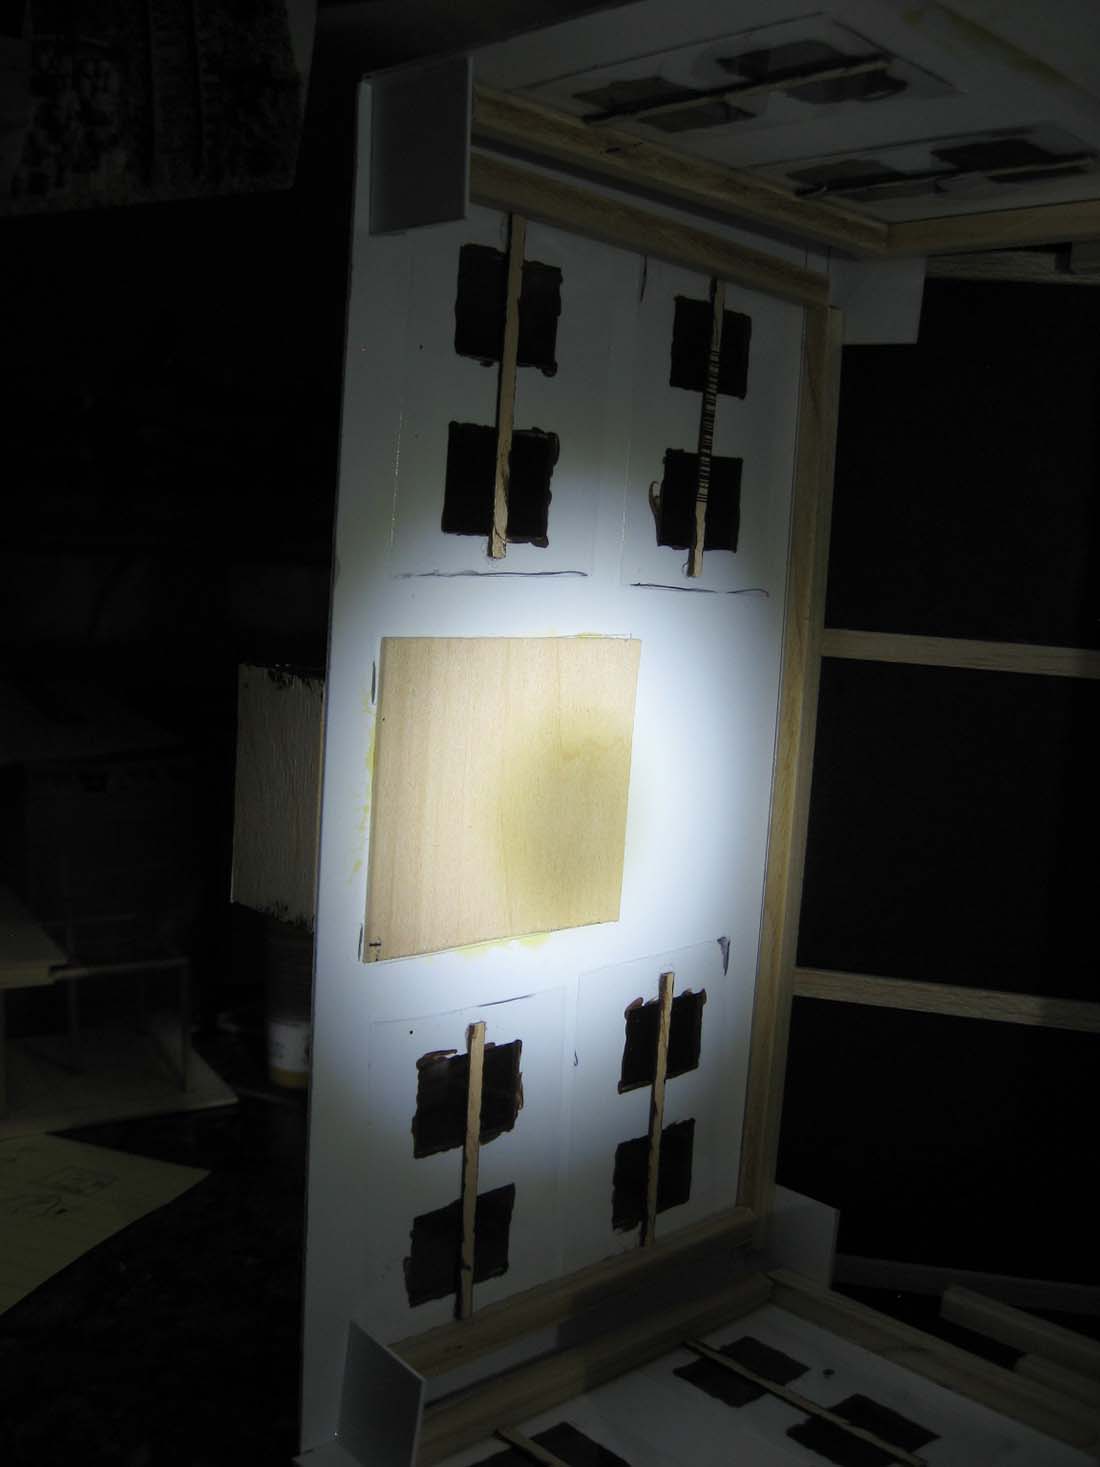
Added 3 mm strips around each window and doors. Added one quarter square strips vertically and horizontally to ensure the styrene stays flat. The stairs are layers of balsa wood and covered with the printed brick wall paper. I used Elmers wood glue on all the above, this did substantially better then CA glue to keep the items blued together.

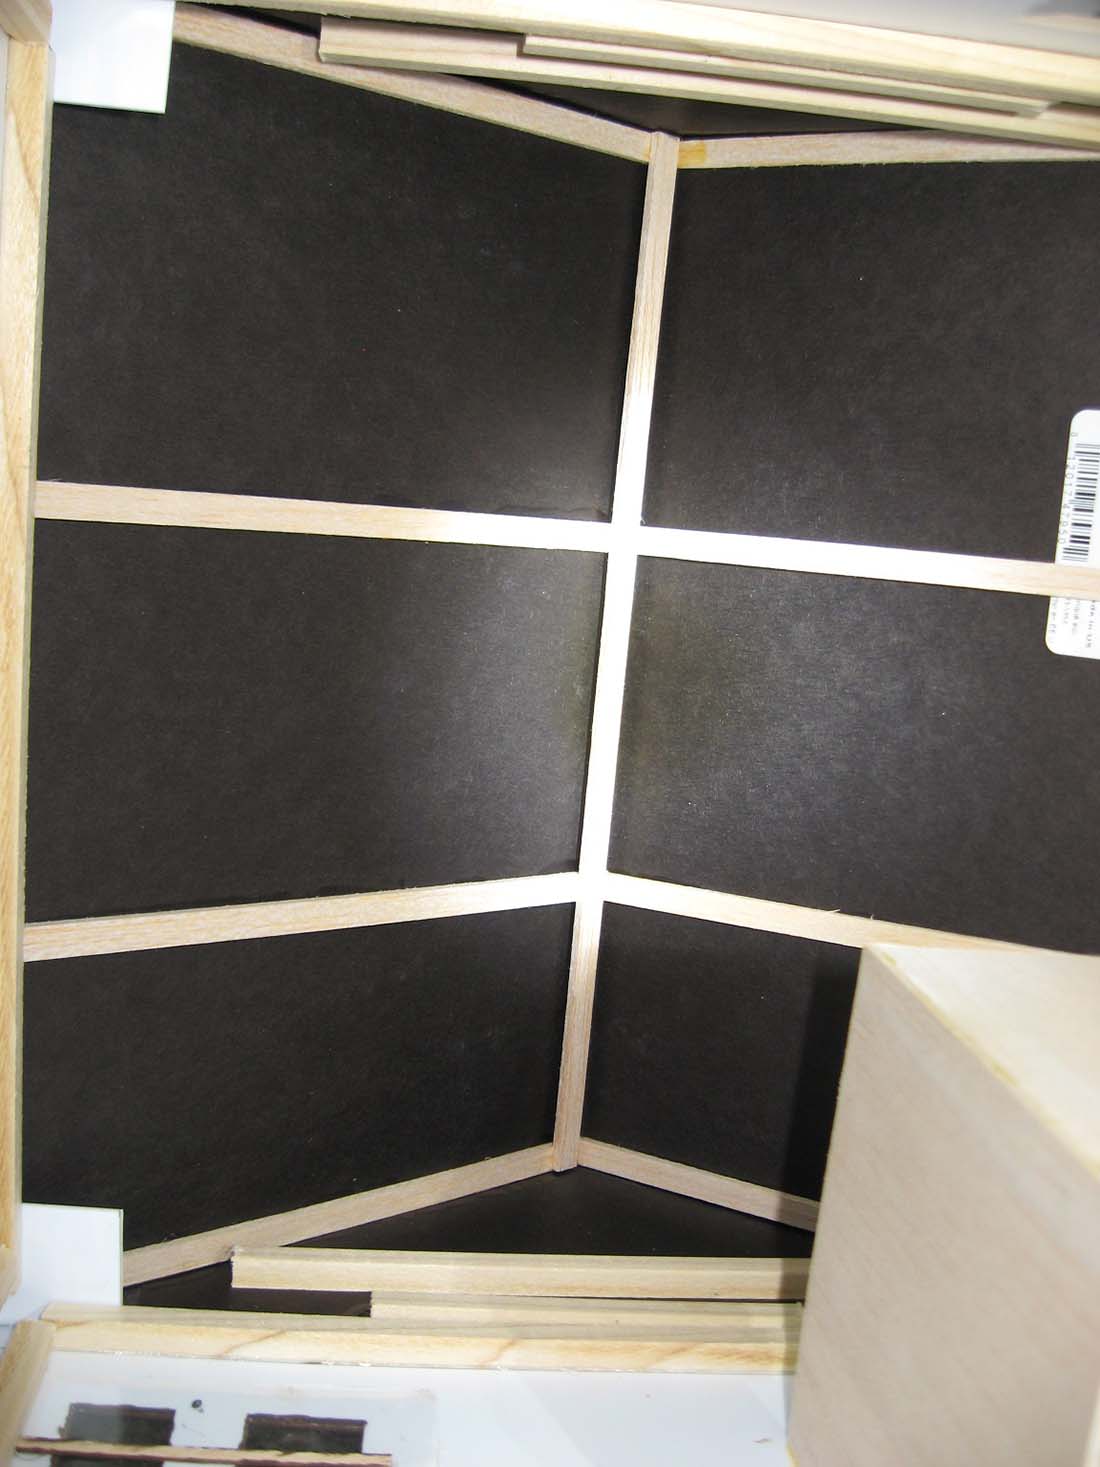
The sides were held together with magnetic corner clamps to apply the styrene glue. I also added one-inch square gussets top and bottom of each corner to prevent future warping, shown in the picture. The roof gussets were put in place (next picture) and then the roof added.

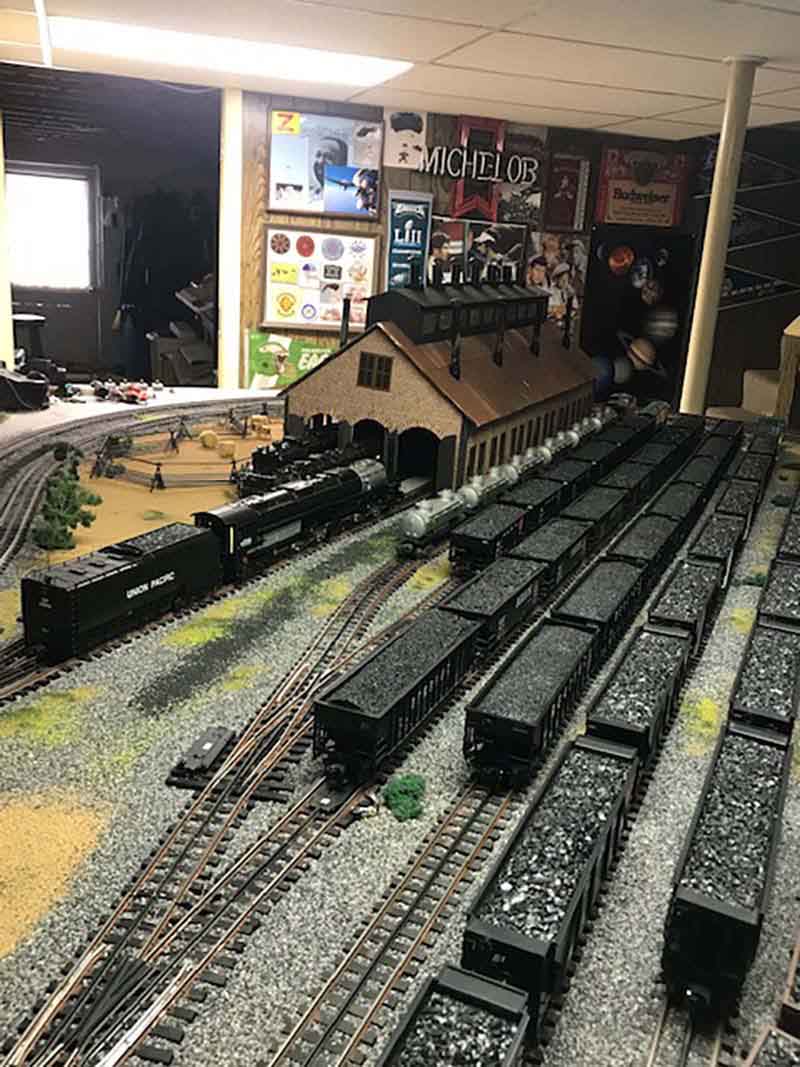
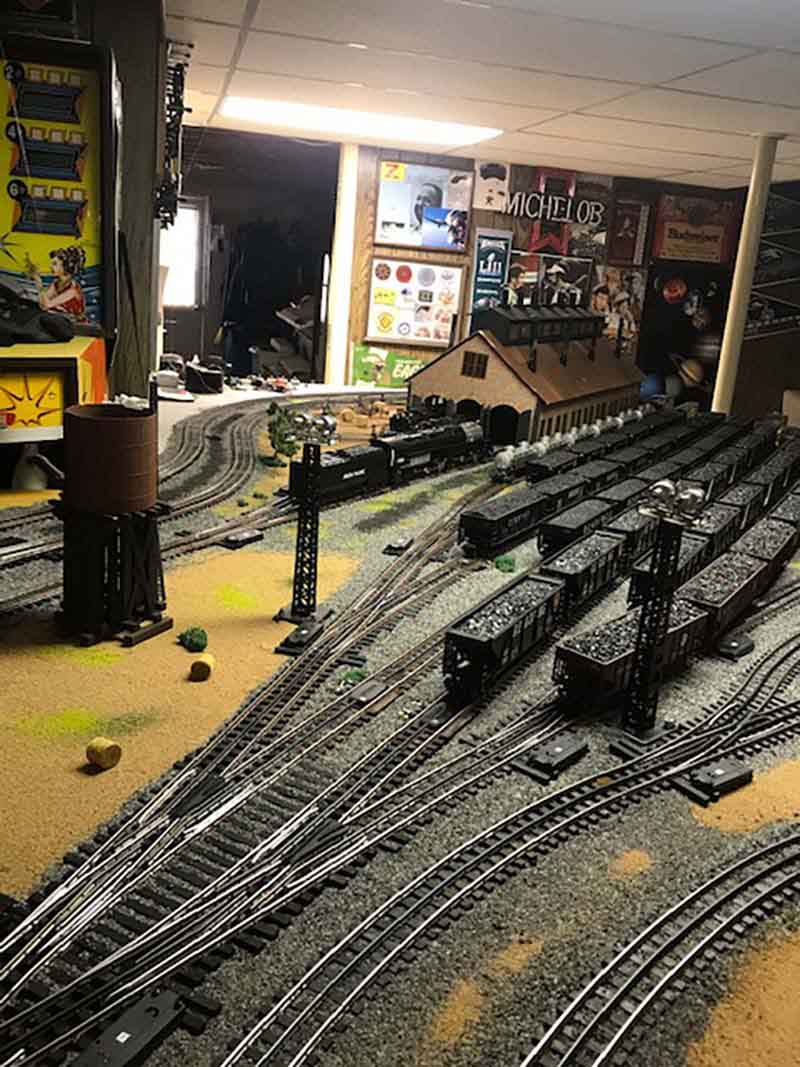
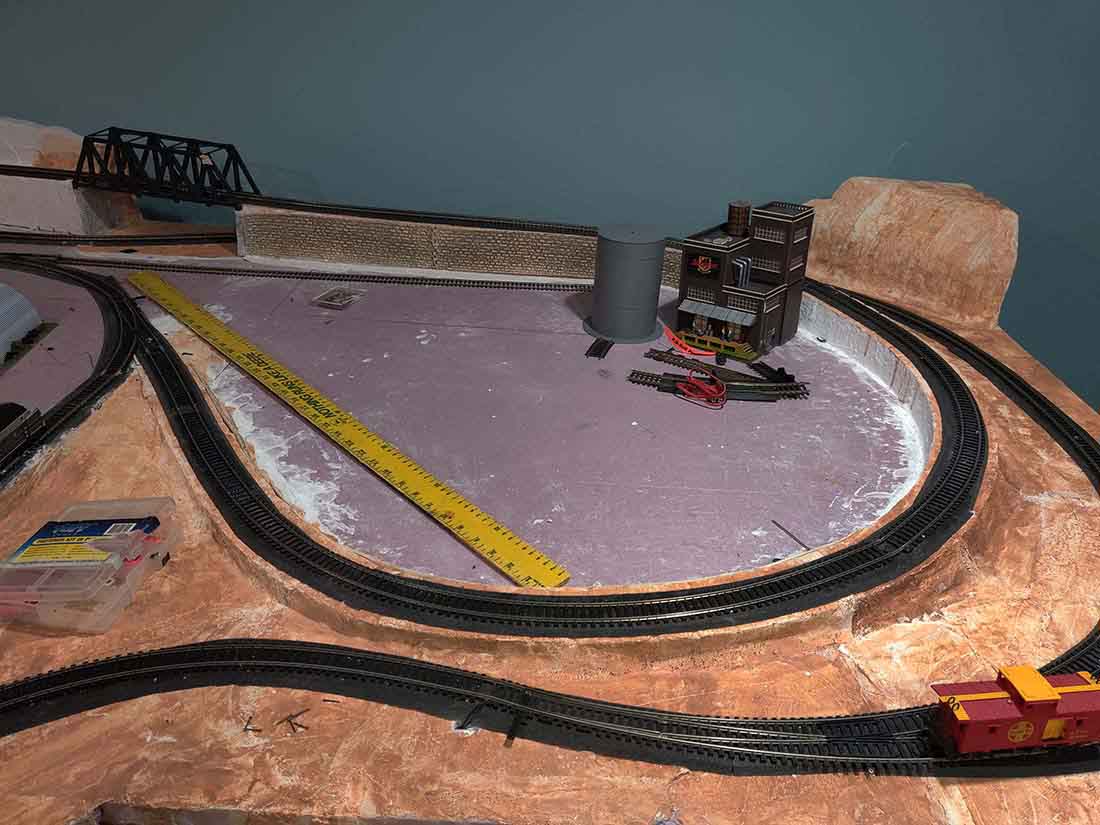
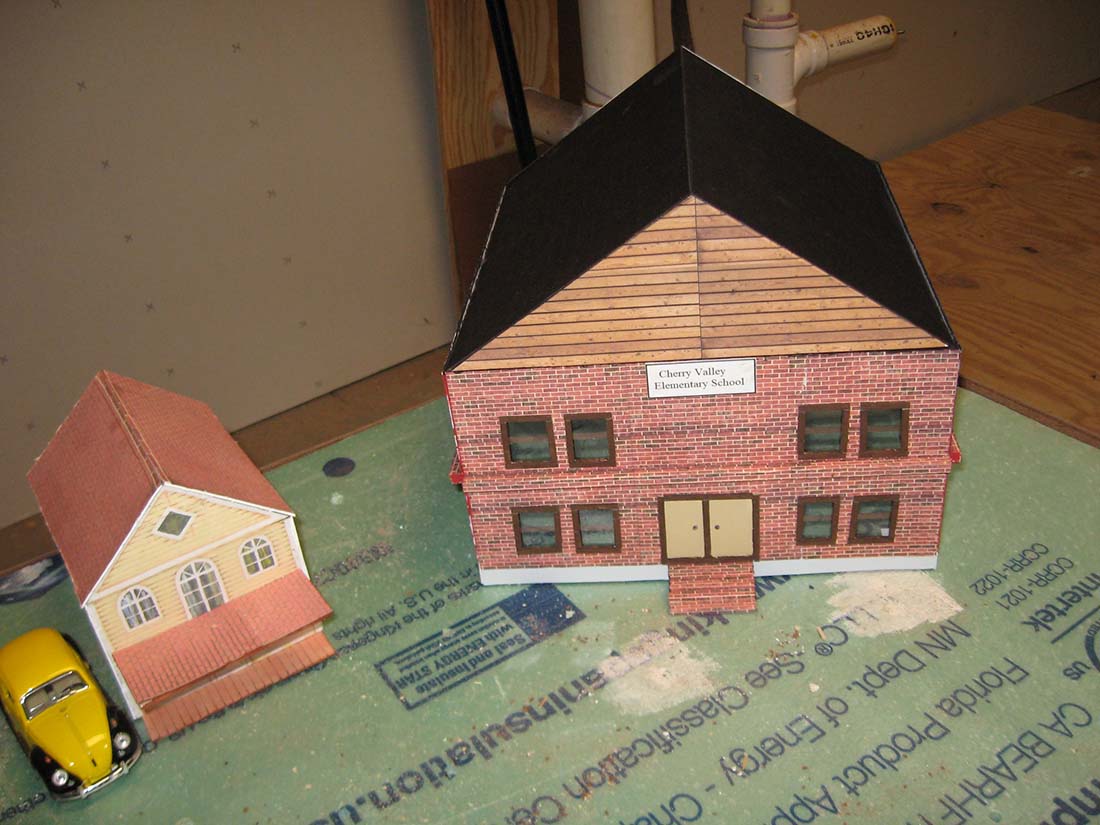
The second picture shows the school sitting on the layout. It looks big but taking measurements in comparison to the other O scale buildings on the layout the sizes match. The second picture is a close up of the school. The next pictures show the side wall with the bracing, the roof from the inside and the corner gussets.

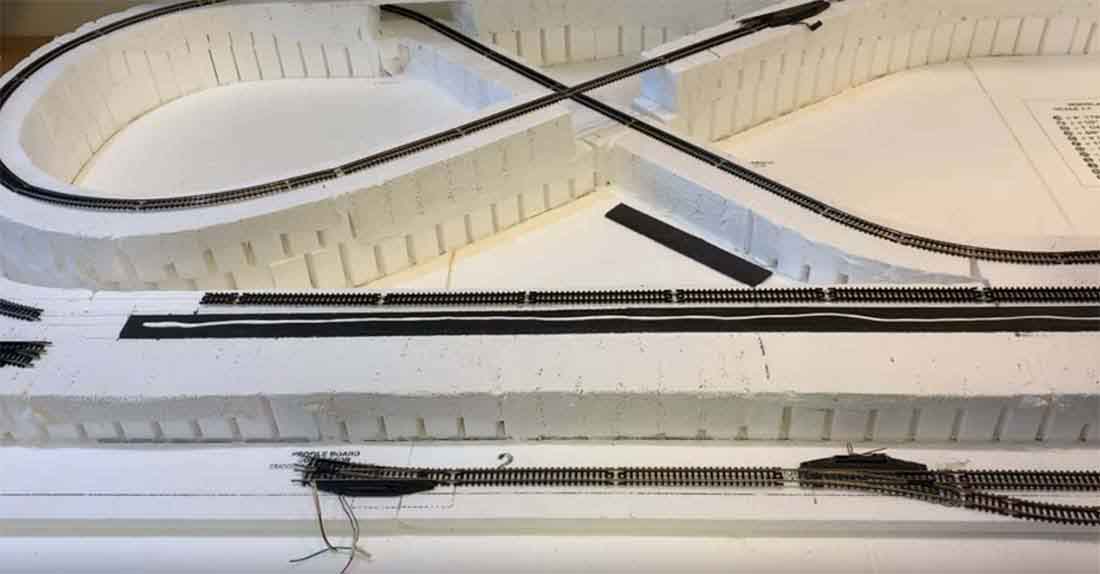
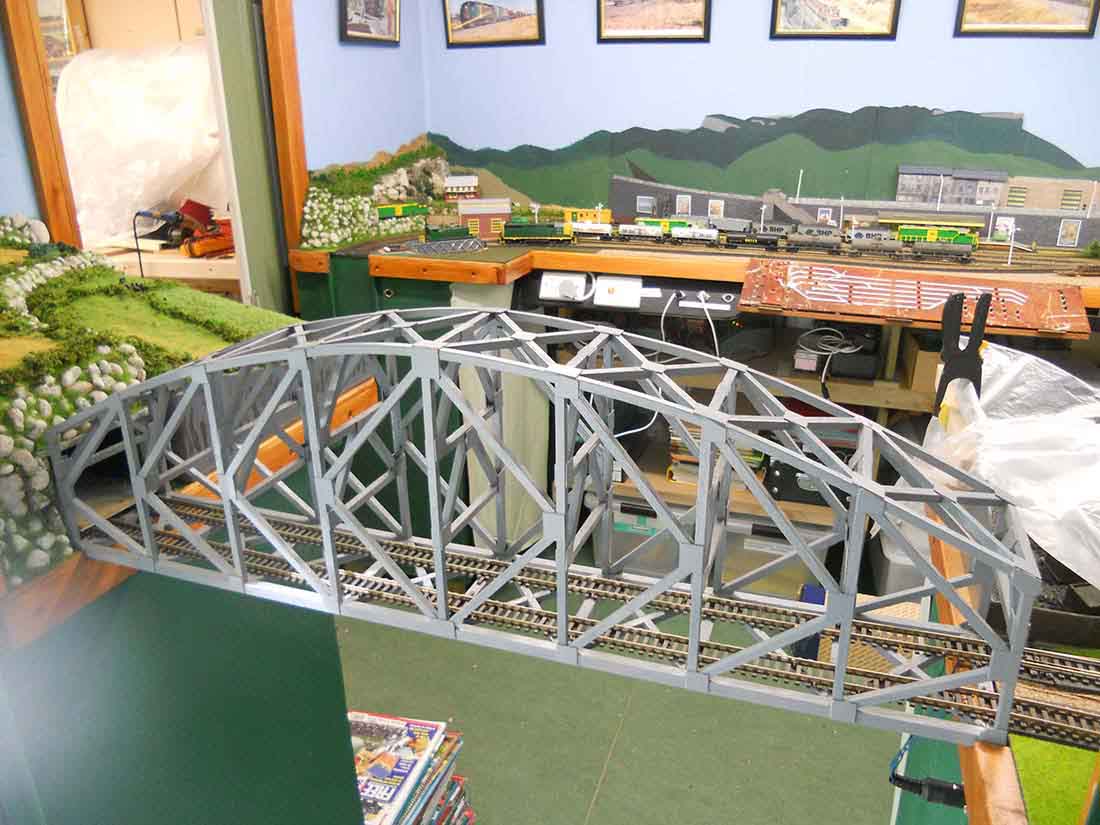
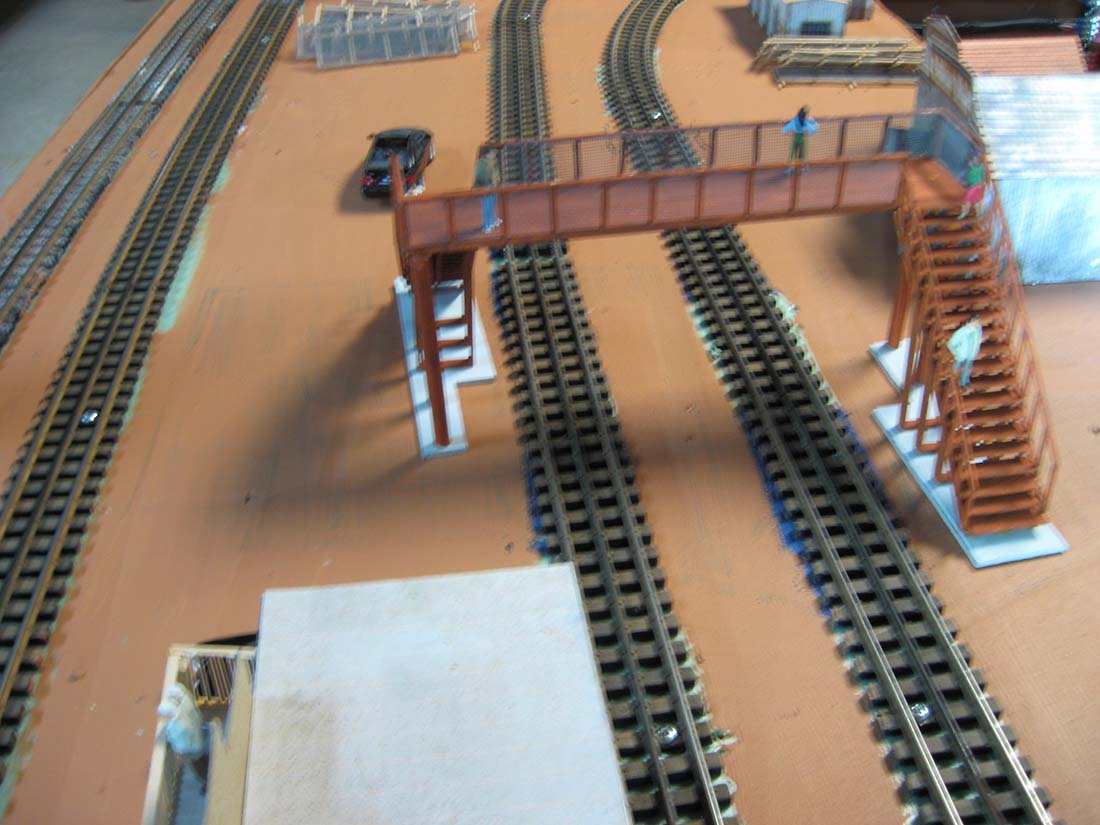
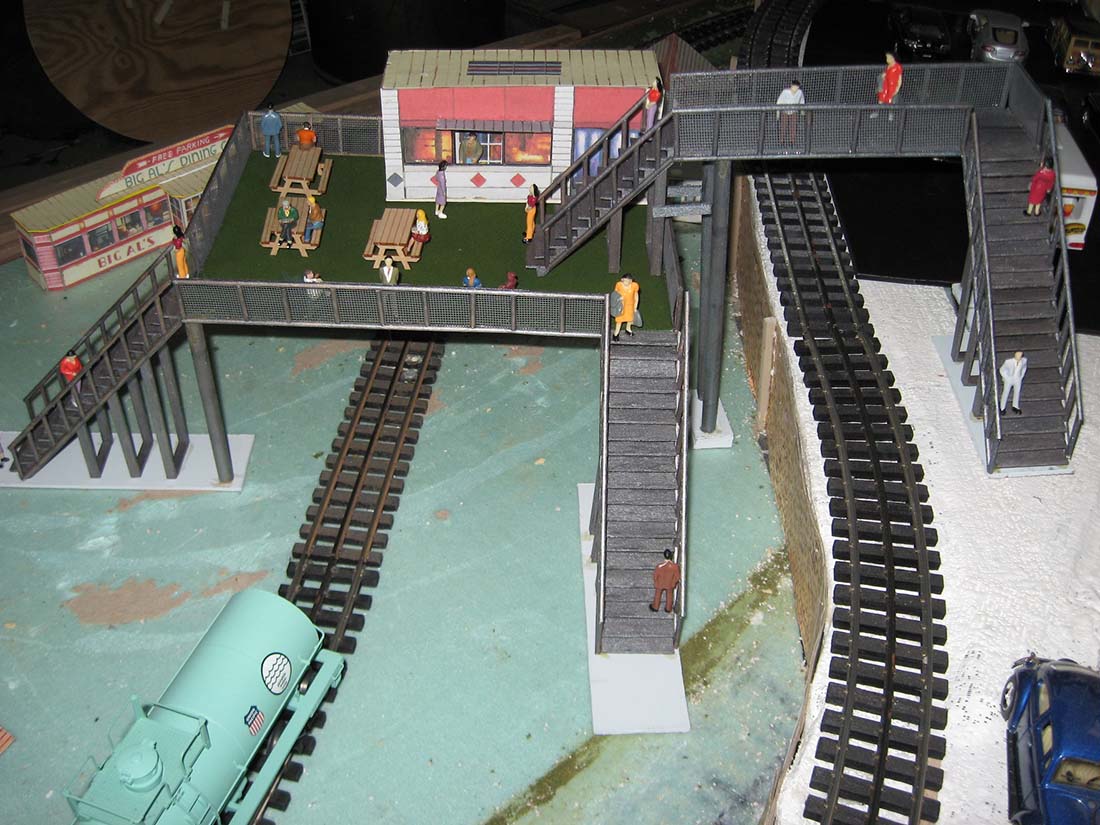
The next two pictures show the finished product of scratch built pedestrian crossovers. One is over two tracks at the same level. The other one is over two tracks where one of the tracks is raised up four inches. I did buy a kit that shows how to make staircases in O scale. Only used the kit to draw the pattern to get the proper step and rise of the staircase.

Now to get off the layout. Herein are two items associated with trains that have nothing to do with working on the train layout.

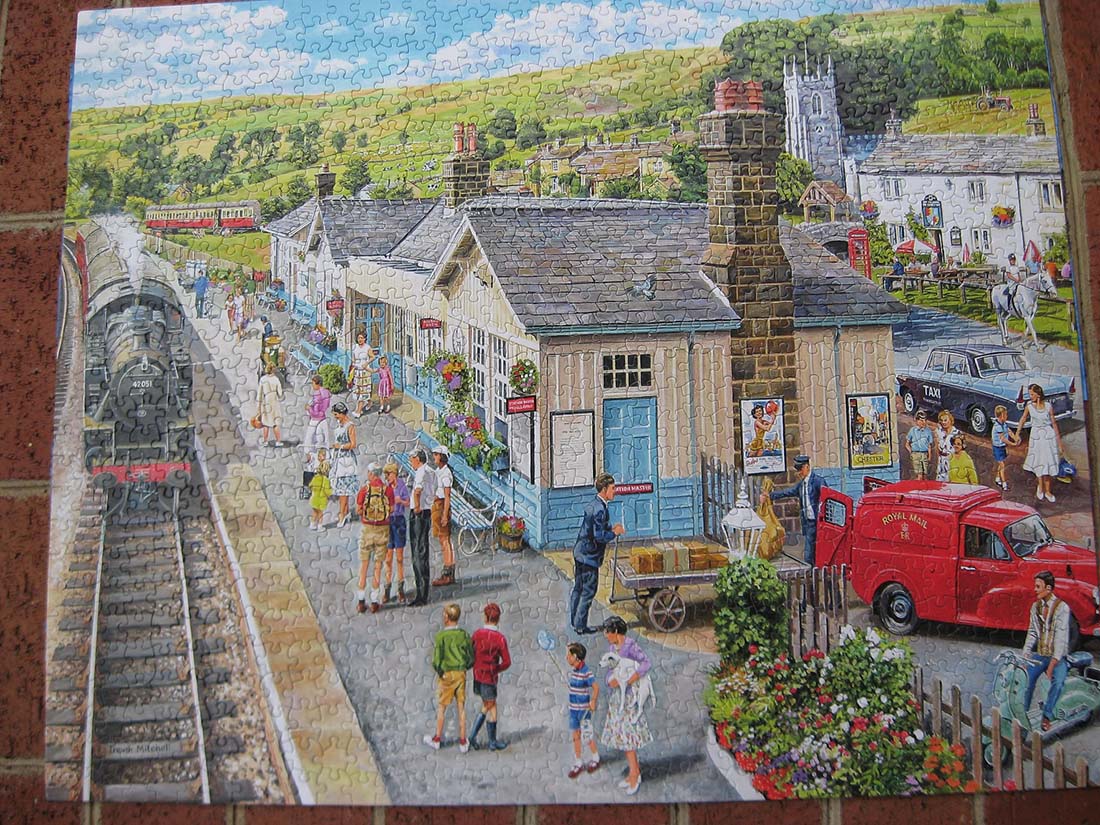
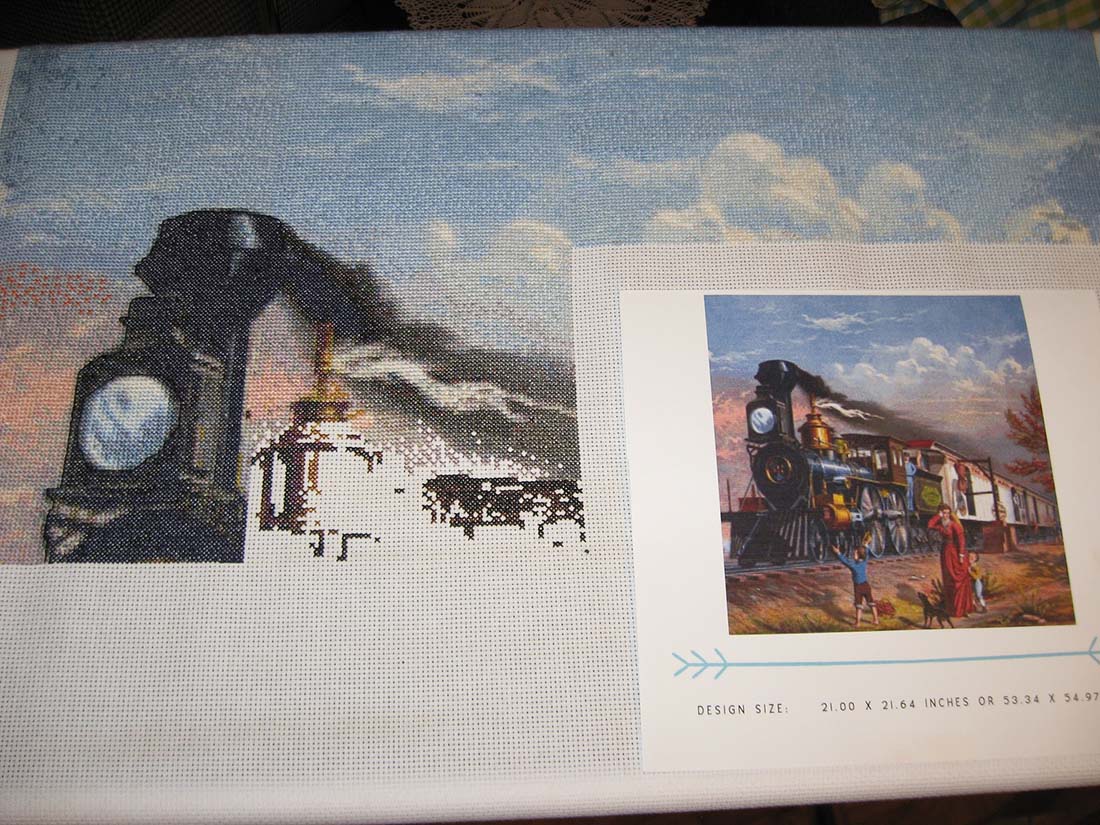
I have seen lots of puzzles of trains. Enclosed is the train puzzle that I just finished. I have six more on display in my train room. I also saw a cross stitch picture of a train. I had to have it so now I am in the process of sewing it, also displayed here. If you want something you just have to get out and do it yourself.

I not only want to thank Al for all the work he puts in to get all these layouts to all of us. But I also want to thank each and every one you that sends the work and information into A for the enjoyment of all of us.

Lawrence from Madison Virginia”

Building O scale train layout

Building O scale train layout

Building O scale train layout


A big thanks to Lawrence for sharing his building O scale train layout.

I thought the idea of adding his school to his layout was a fun project – he sounds like he’s enjoying the other stuff too. And that’ what it’s all about.

That’s all for today folks.

Don’t forget The Beginner’s Guide is here if you want to start on your own fun.

Please do keep ’em coming.

Best

Al

PS Latest ebay cheat sheet is here.


Denny’s 20×12 O scale

We’re carrying on with the theme of ‘a man of few words’ today, starting with Denn’s 20×12 O scale.

“My oh scale layout with all Ross track and Switches 20 x 12‘

Denny”

O scale 20x12 coal freight model railroad

o scale 20x12 model train coal freight

O 20x12 scale coal hopper

“Al,

Here is my second construction video on the layout I am building.

It’s the second video in a 7-part series discussing my construction of the N-Scale Scenic Ridge layout (from Woodland Scenics).

The series is aimed at a beginner model railroader, but there are a lot of hints for those with more experience.

This video has four main sections:

1) covering the track risers with plaster tape

2) installing the roadbed and track

3) connecting wire leads to 12 places on the track

4) tying all the leads together to the power pack

N scale wiring

Two feeder wires are attached to 12 sections of track to assure continuity of power.

N scale track join

The wire pairs all terminate onto a multi-point breadboard terminal block. Each pair is labeled for future testing.

n scale model railroad polystyrene incline

I appreciate all the kind comments from your viewers. They have encouraged me to continue with this construction series.

There was a question on what software I use. I use Atlas track planning software to layout the layout, Videopad to create the videos, and Windows 10 to edit the photos.

Thanks,

Dean from New Mexico”


(You can see Dean’s first post here.)


Now on to Steve, who has sent in the 2 things he couldn’t be without for making a layout.

This of course got me thinking – what would be the things you couldn’t do without?

“Thanks for the blog and the forum.

Three suggestions for modelmakers, two are things I wonder how I ever managed without, the third is something I haven’t used yet apart from experimentally but looks like it has lots of potential.

How to use a Vernier gauge was one of the few “engineering” skills I was taught in school metalwork lessons. That and filing – we did a heck of a lot of that!

For those who don’t know, a Vernier gauge is used to measure inside and outside diameters, lengths and depths with accuracy of fractions of a millimetre.

I found that my eyesight not being as good as it was meant that on the (admittedly rare) reasons I tried reading a measurement off my old Vernier gauge, I was struggling.

I replaced it with a digital one, which is very easy to read, can display metric or imperial, and express fractional measurements as conventional fractions or decimals. Not only is it easy to use, but now that I can actually see what my Vernier is telling me, I find that those rare occasions of use have multiplied no end.

I often use it to measure when marking out card or plastic sheet for scratchbuilt or adapted kits, to check wheel back-to-backs, check depth of holes I am drilling when doing baseboard stuff and so on.

I bought mine a couple of years ago from “A” certain large online supplier. Cost me about twenty quid ($25). The only downside is that the case is rather flimsy and one of the plastic latches broke almost immediately, but the case is still useable.

digital vernier

Another item which now falls into the “how did I manage without that” category is some stuff called “Black Tack”, which is similar to Blu Tack but a lot stronger.

It comes in metre-length strips about 2cm wide for around eight pounds, which sounds a lot, but you don’t need much for most jobs and it can be reused many times in the majority of cases.

Some uses I have found are fixing figures semi-permanently e.g. on a platform or on a loco footplate, acting as third, fourth of fifth hands when assembling awkward structures or soldering/gluing, fixing loco lamps so they can be removed without damaging the paintwork, “light-proofing” building interiors, holding down wires, tacking tiny screws to tiny screwdrivers, as holders for said screws when dismantling locos etc etc.

black tack for model railroad

Finally, a cheap source of LEDs is to buy one or more of the decorations designed to go inside empty wine bottles. These are incredibly cheap – I got twelve twenty-light sets, complete with switches and batteries for nine pounds.

The LEDs are about the right size to use as internal lights for buildings, ideally spaced for lighting adjacent small terraced houses in 4mm/3.5mm/2mm scales, but the wires are easily cut to allow for less lights in a string and/or greater spacing if you need it.

I was a bit confused at first because the outside of the supplied wiring looks and behaves as if it is metallic, but it was obviously insulated as the pair of wires was twisted together and touching.

The insulating layer – which might be ceramic, as often used on thin headphone wires(?) – can be carefully stripped away should you ned to add extra lengths of wiring. A resistor will knock down the brightness – always a sound idea to wire a resistor into the circuit when using LEDs anyway.

LED lights from bottle

lights for house model railway

I have tried the LEDs out in a few rooms of a small terrace of houses which I am putting together (based on a Smart Models terraced house downloadable kit, adapted for low-relief). When taking the photo I realised that there is a bit of light leakage at one point so that is another job for a bit of Black Tack!

Steve (SealionSteve on the forum)
Lincs, U.K.”

A big thanks to Denny, Dean and Steve.

It’s still wonderful to see your inventions and solutions even after all these years.

Please do leave a comment below if you’d like to share the tools you couldn’t be without.

And don’t forget if you want to start on your very own layout, don’t forget The Beginner’s Guide is here.

Best

Al

PS Latest ebay cheat sheet is here.


Arizona model trains

John’s been in touch with his Arizona model train layout.

I know many of you are men of few words – and that’s fine. It’s still good to see your layouts.

Let’s start with JW – a man of very few words indeed:

“My version of a Arizona 1920’s Tombstone and Southern railroad.

JW”

Arizona model trains

Arizona model trains

Arizona model trains

Arizona model trains

Now onto John’s:

“Hi Al,

As I visit this very helpful site often, I feel I should join the contributors.

First a little about myself, As senior citizen, am planning my third and last layout. This may or may not be built due to medical issues, but I am having fun planning it anyway. I have many radical ideas which I hope to incorporate in the 4m X 2 layout. Sorry about metrics.

I have recently moved to Canberra and have some of my old layout to incorporate in this new one.

Kind regards

John (John K)”

model railroad control panel

model train turntable

model train girder bridge

model train diesel loco bridge

model train sidings


Next on to Stephen:

“Alastair,

I started building your buildings, with the help of John, last year.

Like many of your followers, I started with O scale trains, had an unlandscaped platform when my children were young, but your site inspired me to “just get started”.

I purchased your Beginners Guide and it’s been worth every Penny – put coaster wheels on the platform legs so I can work behind my L- shaped 10x8x4 ft platform.

As you can see I’ve placed scenery on about a third of the platform, the mountain and town plus the industrial areas still to come.

The farm is growing barley and hops-to be taken to the brewery then the finished product will be enjoyed at the Brauhaus in town.

Thanks for your site to share ideas.

Steve, also in Ohio”

model railroad farm

model railroad track curve

model railroad dirt bike

model train freight

model train laying track

Now on to Eric.

“Hello Al Hope all is well.

I have attached a link of the lower layout with a steam loco pushing the rail cam.

Not much to say that I have not said in past post. I remember someone asking about

a run around the layout. So here is 3 min. of running.

Thank you

Eric The Firefighter St. Louis Missouri Area”


(Eric’s last post is here).

A big thanks to JW for sharing his Arizona model trains – and to Eric, Steve and John.

That’s all for today folks.

Please do keep ’em coming.

And if today is the day you stop dreaming and start doing, the Beginner’s Guide is here.

Best

Al

PS More HO scale train layouts here if that’s your thing.


Need buildings for your layout? Have a look at the Silly Discount bundle.