Barry has sent in a fab figure of 8, step by step for any model railroad.
Some of you will remember Barry from years ago.
Unfortunately the pics don’t enlarge but I still really enjoyed Barry’s pics and narrative:
“Alastair,
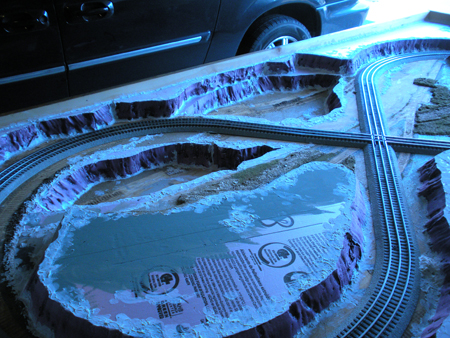
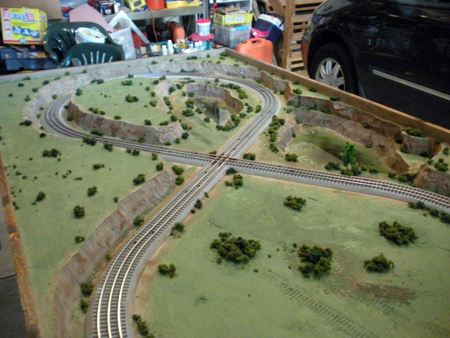
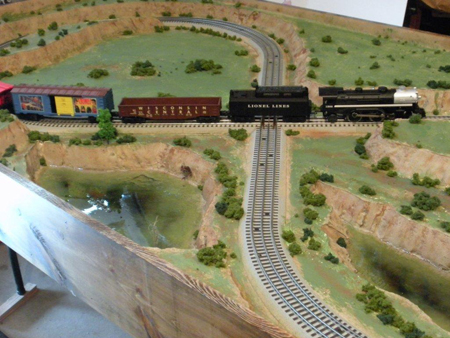
This is a Lionel “O” scale layout that I started a couple of days ago.
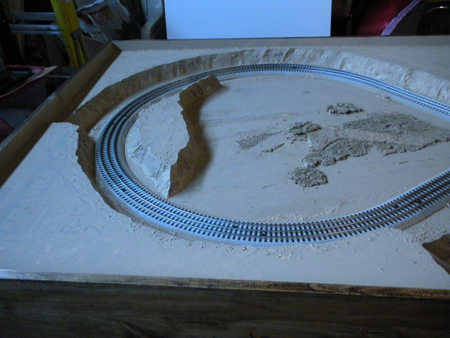
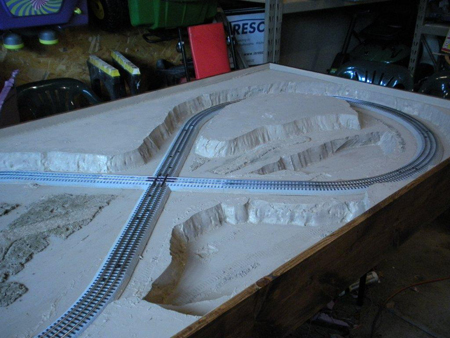
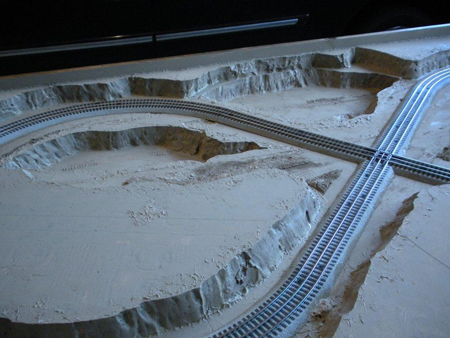
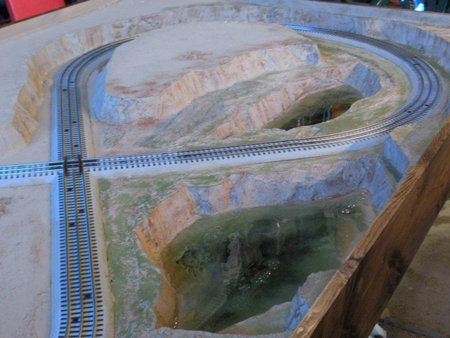
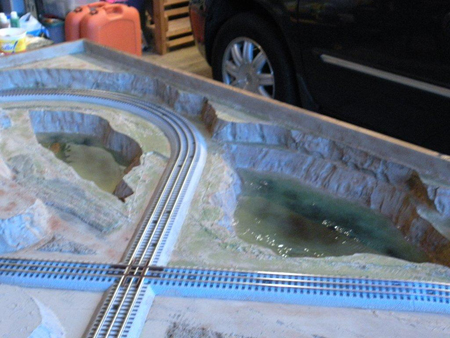
It’s a simple figure “8” with no sidings.
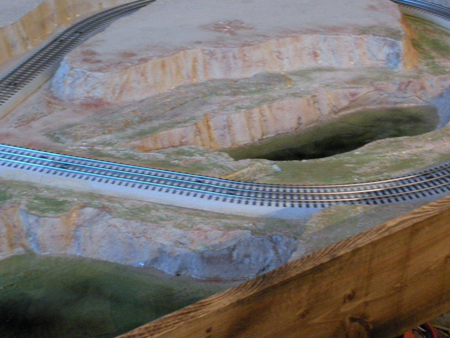
I’m doing the landscaping with 2″ pink high density foam house insulation.
There will be no buildings but (2) lakes and I will add schrubs and grass. I’m trying to keep it very low profile for easy protective storage.
I put fold away metal legs on it for easy set-up. I’ll be done in a few days and I will send you final pics of it then.
Regards,
Barry”
Making rock formations for my figure of 8 model railroad, step by step
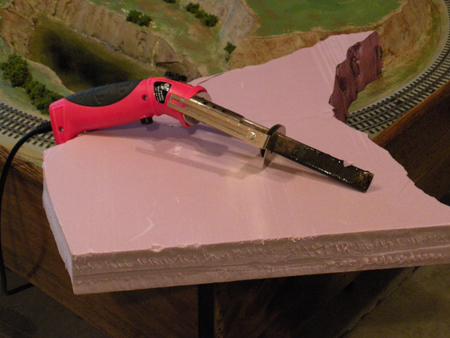
“1) Purchase a foam cutting “hot knife”. I think I bought mine from Home Depot for less than $20.00.
2) I use mine on the highest setting which is #6 on temp. dial.
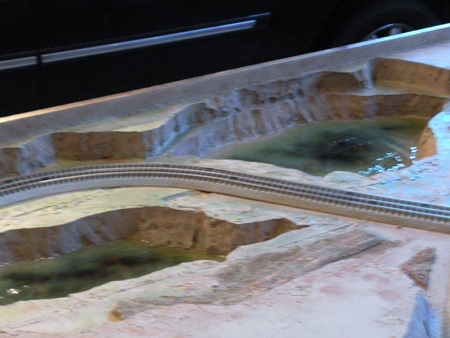
3) Just let the hot blade do the cutting with twisting and reciprocating motions and occasionally changing the angle of the blade to achieve an unevenly cut edge that I think looks like real rock formations.
4) You can use 3/4, 1, 1-1/2, and 2″ foam. This shown with 2″ foam and that’s probably the thickest my knife can cut through. (enclosed is a picture of the hot knife That I use)
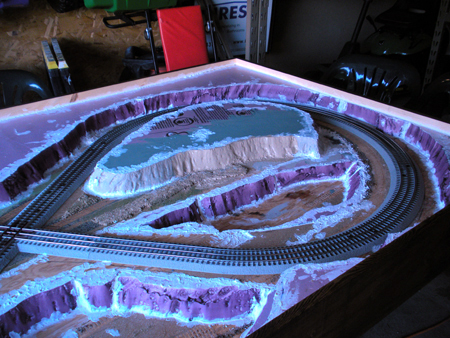
5) Caulk all the joints with painter’s caulk and let dry. Then paint the entire surface of the layout with a tan acrylic paint. (from Walmart or a crafts store—they are much cheaper than from a model train hobby shop)
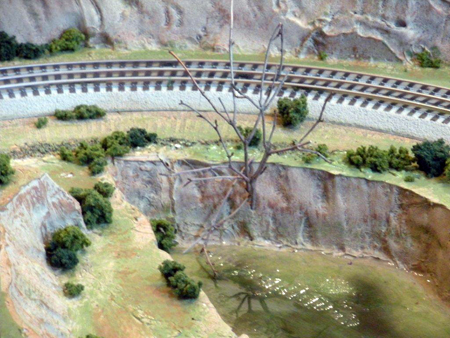
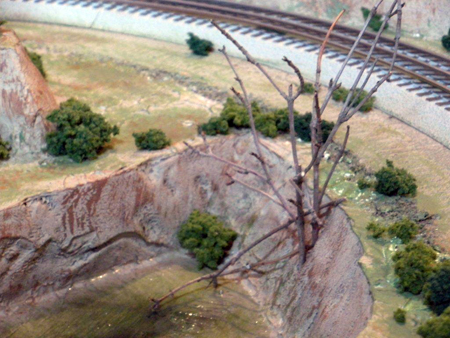
6) Then using a darker shade of brown drybrush highlights on the rock formations to create depth and perspective.
7) Then paint the lakebed with an olive green color paint leaving some tan color around the outside edges to simulate sand in the shallow water. Then I use a flat black spray paint with just a few short bursts to give the illusion of deeper areas.
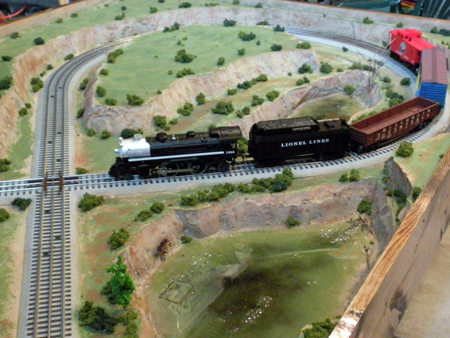
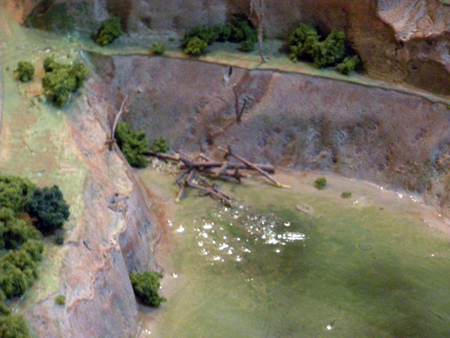
8) On this layout I only used a 2-part epoxy fake water from the crafts Walmart as I wanted the lakes/ponds to look like stagnant water instead of my normal ripples on the water created by the wind.
9) Last before the water is dry(approx. 24 hrs. add schrubs, fallen dead trees in the water and normal trees to the entire layout with white glue as desired.
I’ve enclosed (2) early stage pics showing the pink foam and the white caulk, (1) pic of the hot knife. And the rest of the pics are final results.
I also did not use foam grass on this layout to keep it more user friendly for the young operator.
Hope this help your readers to understand better and want to try it.
Regards,
Barry”
A huge thanks to Barry.
His earlier layout is here if you want to have a look.
It also reminded me of this post too: HO scale figure 8.
That’s all for today folks.
Please do keep ’em coming.
And if today’s the day you start your layout, the Beginner’s Guide is here.
Best
Al
PS Latest ebay cheat sheet is here.



Barry , thanks for all the good ideas you provided. I like the detail in your layout. .Much of it looks so real. Great job.
Nice scenery , looks very realistic.
Great beach scene the turquoise looks so real .
i love the figure eight layout. It’s so countrified. I love the scenery. It’s as realistic as it could get. Great work on the layout!
Thank you – you make it look so simple. The result is very good – I think I’ll have a go!
Barry, I think that your ‘hot knife’ carving looks fantastic as well as the detail that you have added.
Brian – the HOn3 guy in Knysna RSA
Barry, I almost didn’t look at this post when I saw it was O scale and just a figure 8 layout. Luckily, I decided to have a look and was delightfully surprised by how much I enjoyed your photos and scenery tutorial. The final result is quite impressive and believably realistic looking. The only suggestion I have is that the lake and pond edges are very steep. A more gradual slope around the edges would make them look more usable by future fisherman and boaters.
I just had a nudge to take the city., farm, streets. and vehicles off my layout!. Lol Great work!
Ok Barry! Great job on the scenery for your figure 8 O-gauge layout. I like HO myself. But you created a lot of realism on your board. Thanks for the picture of your ‘hot knife’. I was not familiar with that item. What a n impressive tool for carving scenery!