Add grass to layout? John shows us how
Here’s how to add grass to your layout – a big thanks to John:

“Hi Al,

John Arthur here – I haven’t shared with you in a while and thought this might be a good time to get back in touch.

When I was last in touch, I shared how I made some homemade scenery materials from coir fiber and rubberized horsehair.

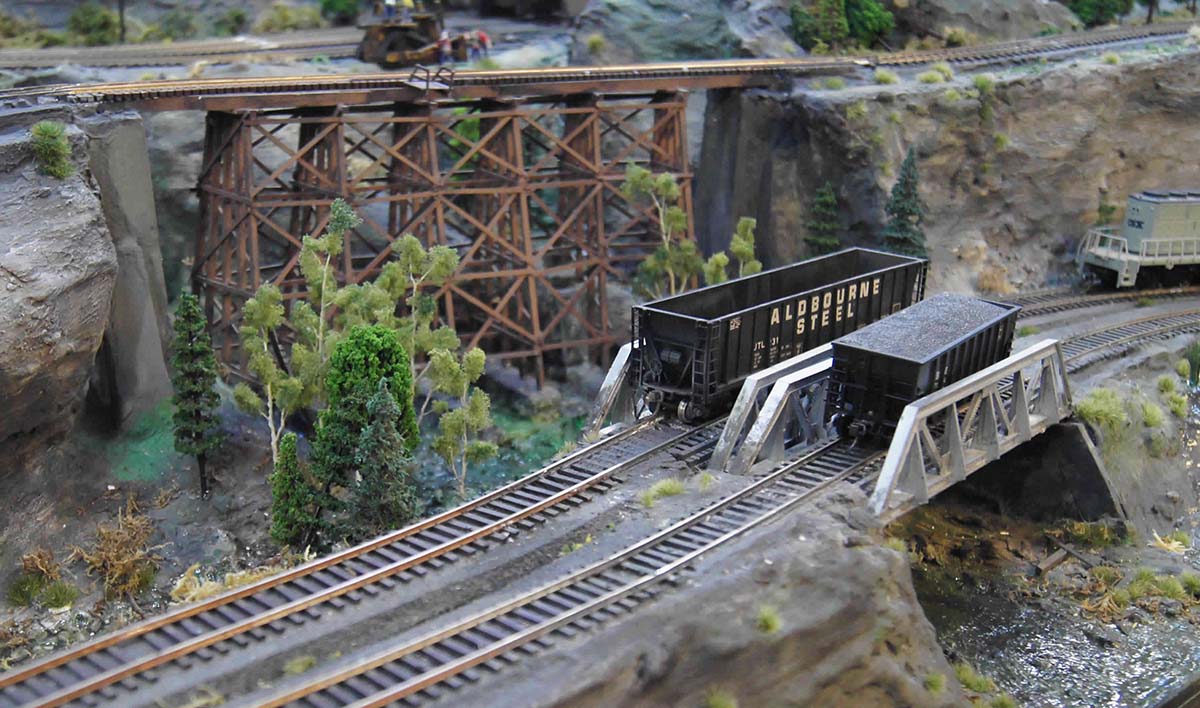
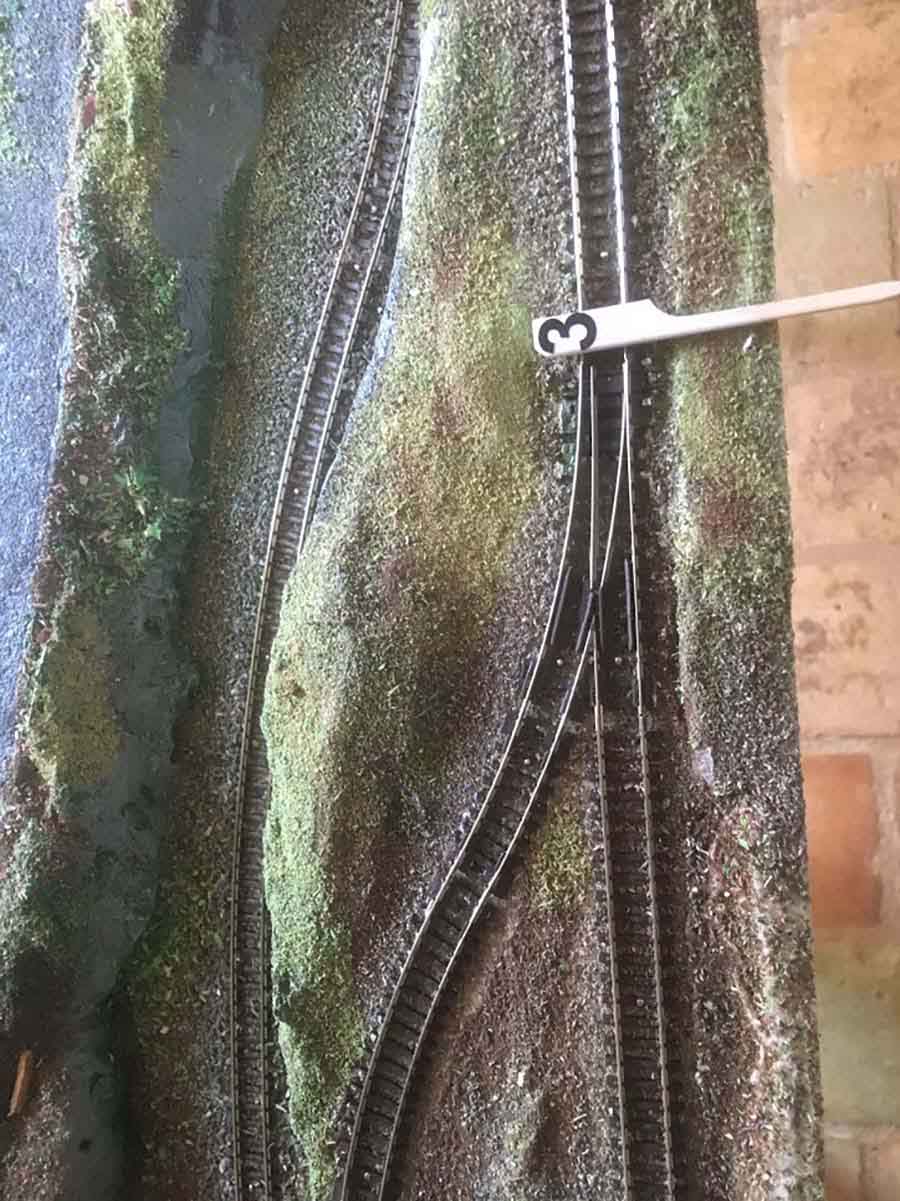
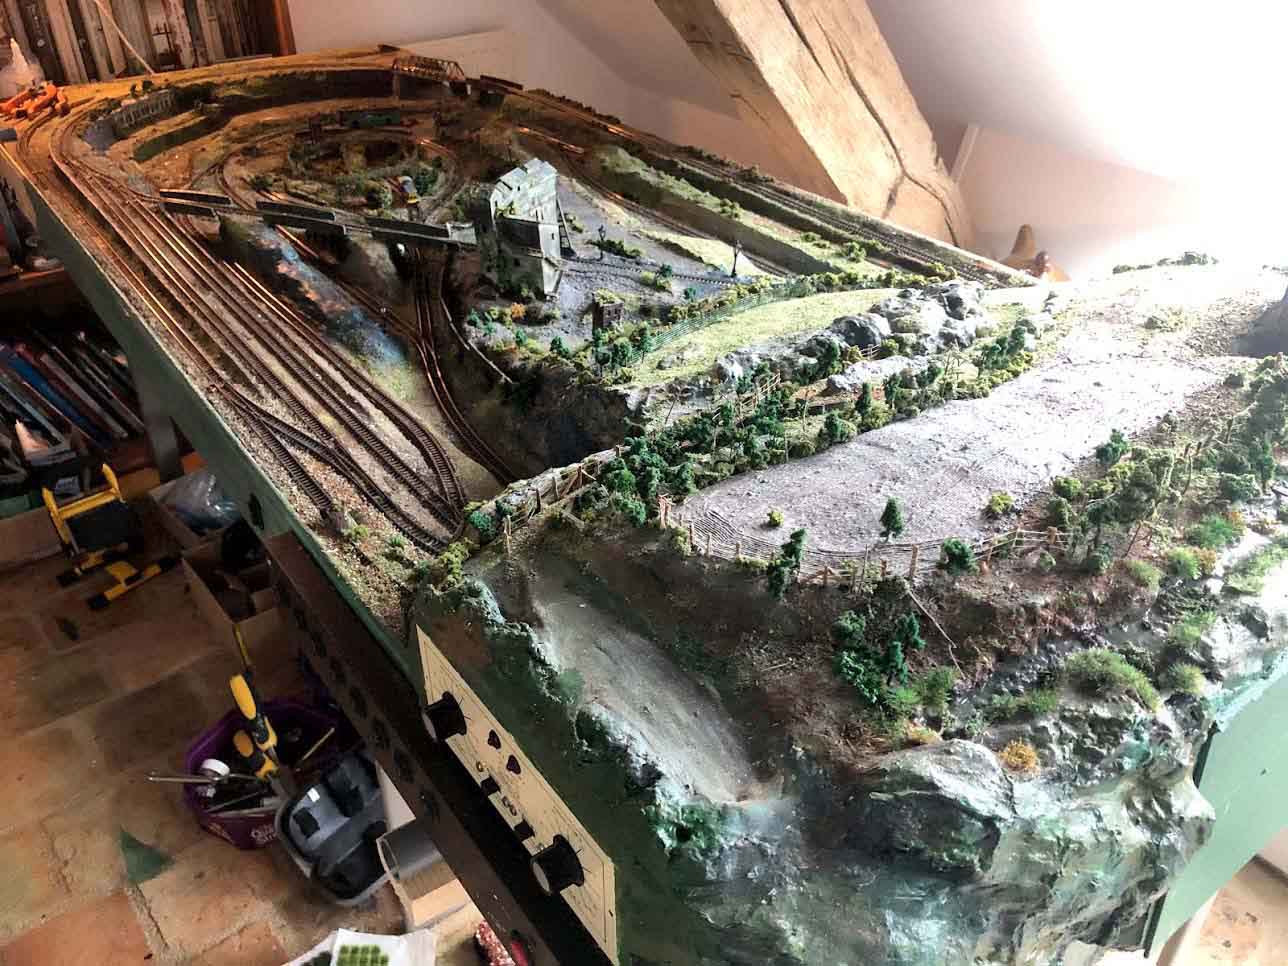
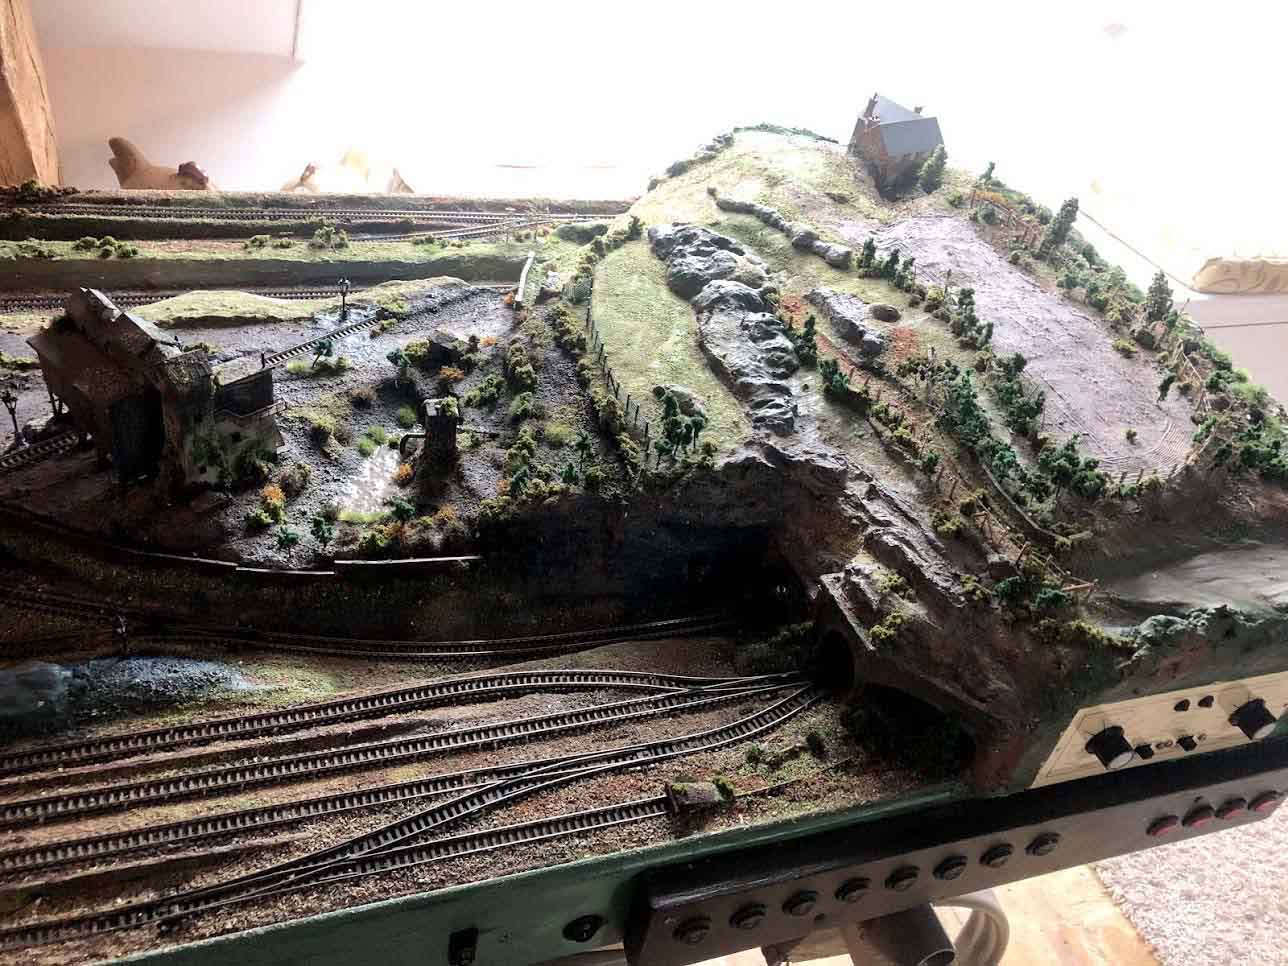
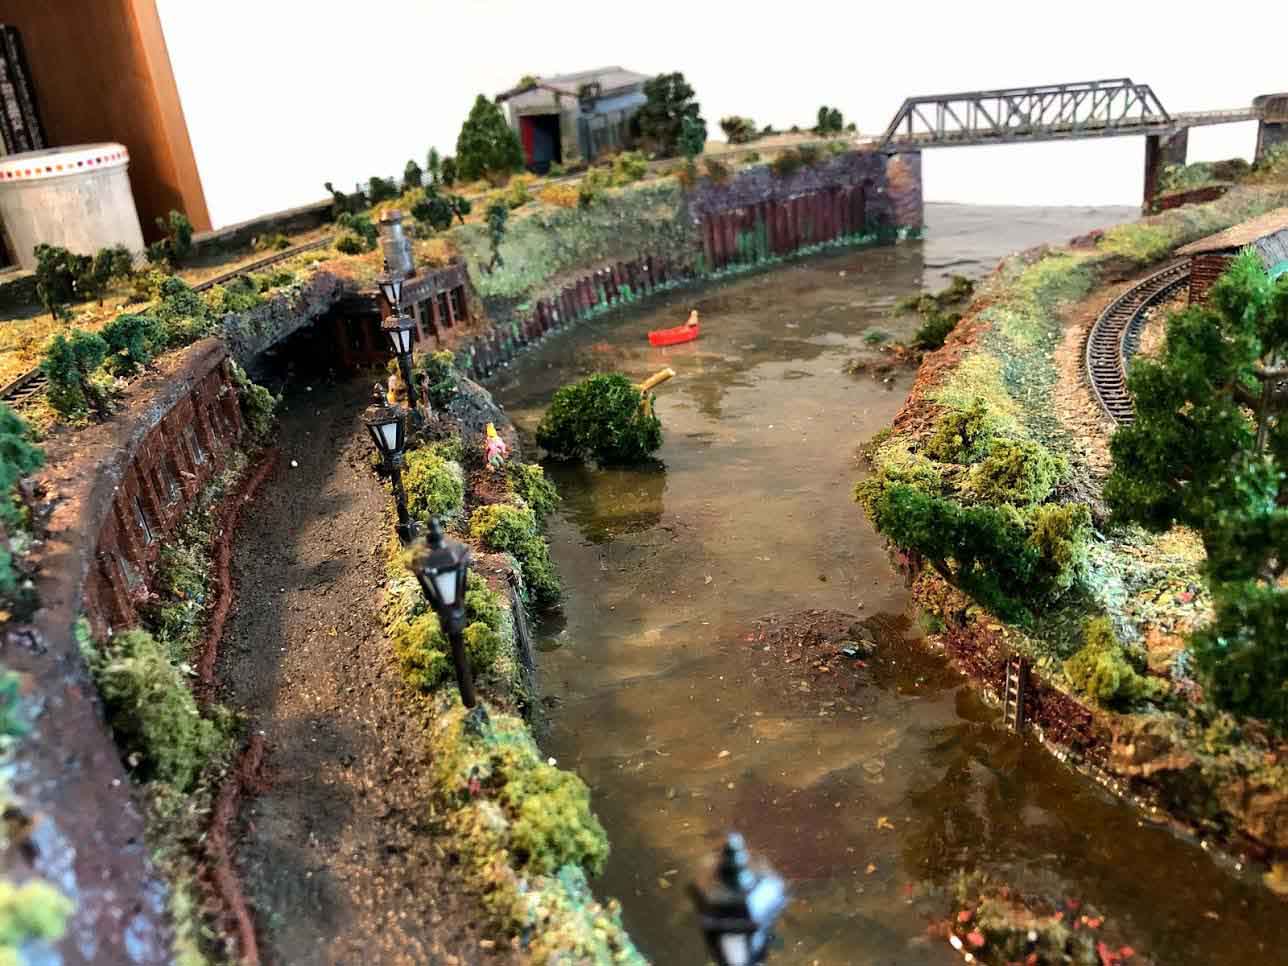
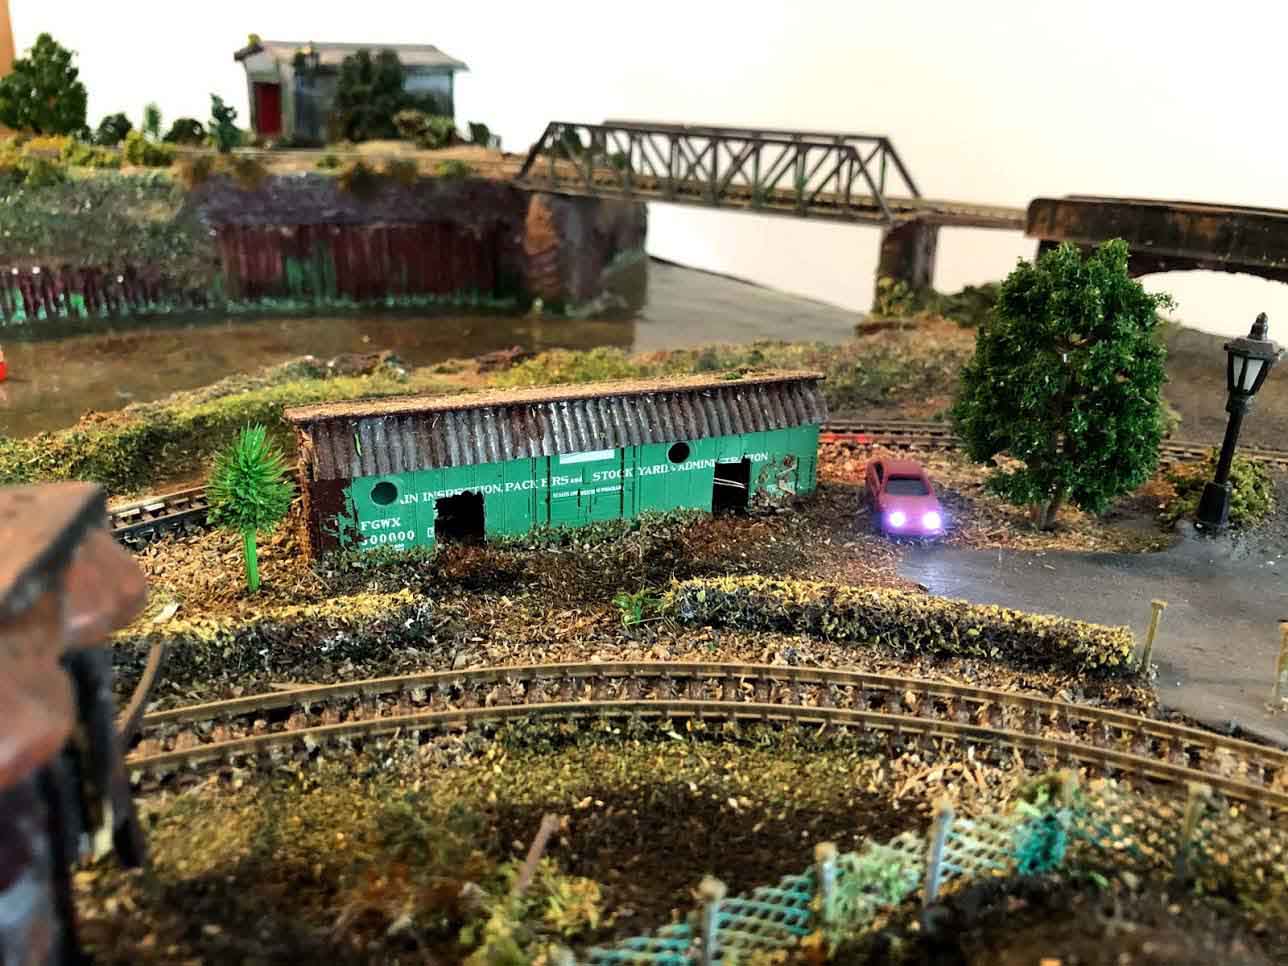
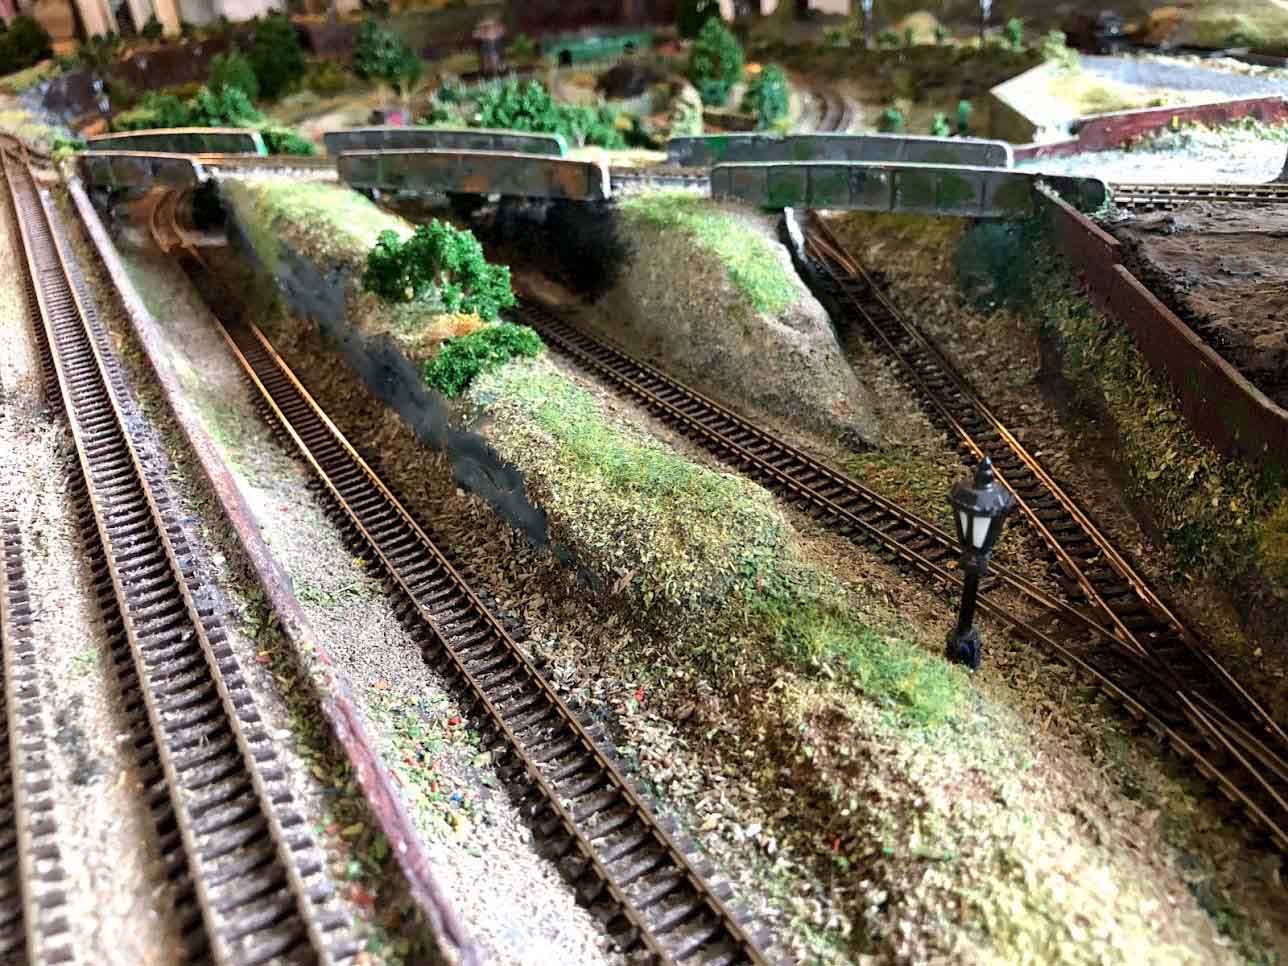
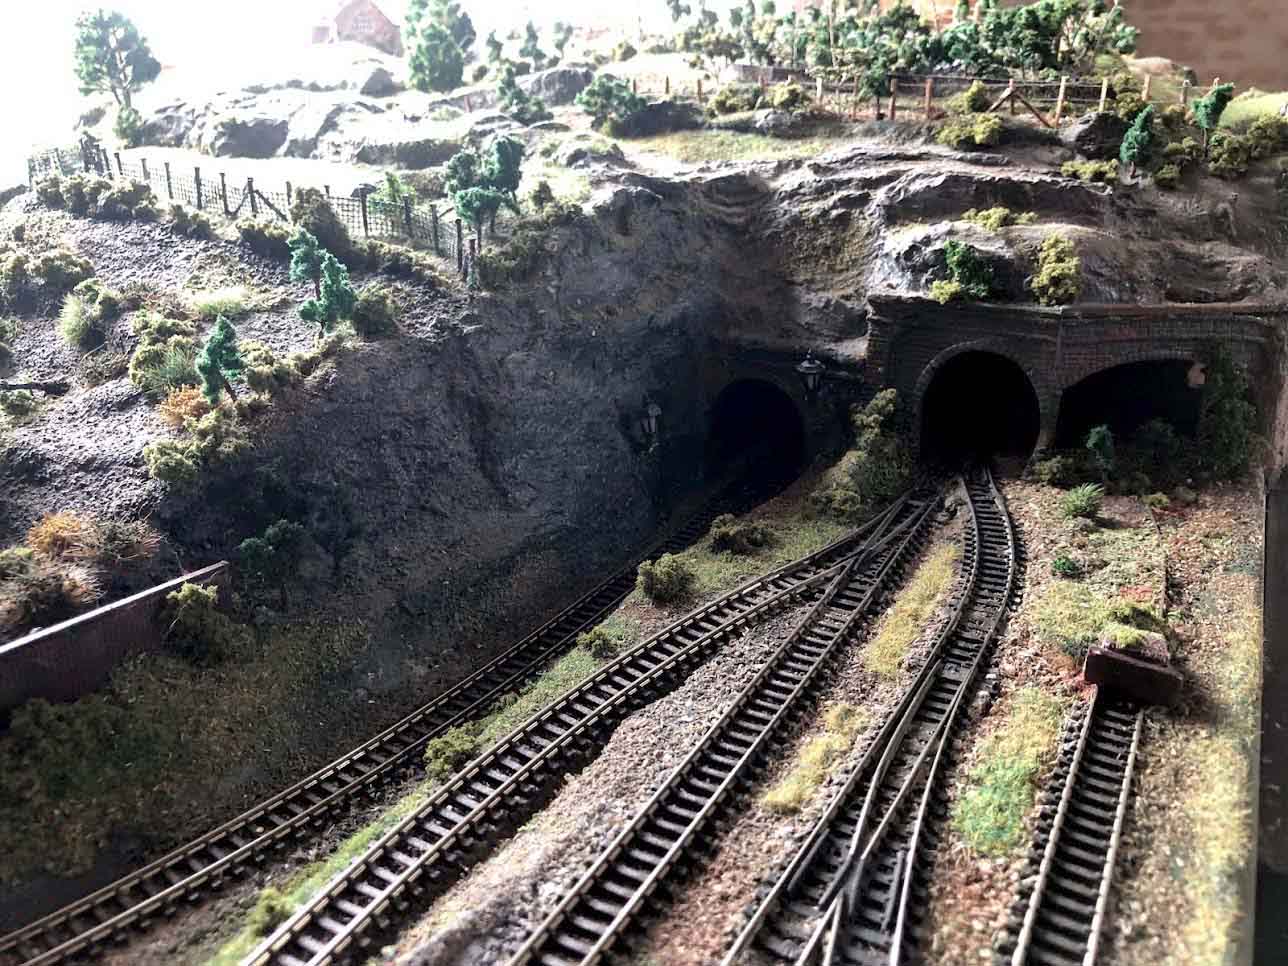
Working right next to that area, I recently added an open grassy scene with a creek passing under the tracks, the whole of which serves to visually separate the yard from staging and an industrial switching area.

I used a variety of materials including a lot of teddy bear fur, Heki wild grass, a little bit of Silflor pasture and lawn mats, Polak flower material, and scenery mats, grass tufts, and thicket materials from Martin Wellburg. They all help to add grass to your layout.

The trees I made are are SuperTrees, from Scenic Express.

I scratch built the culvert from styrene and brass pipe, and poured the creek with Envirotex resin over top of some river rock material and darker paint for deeper areas.

Below are some pictures of the progression and a video of trains running through the completed scene.

I hope you enjoy!

John”

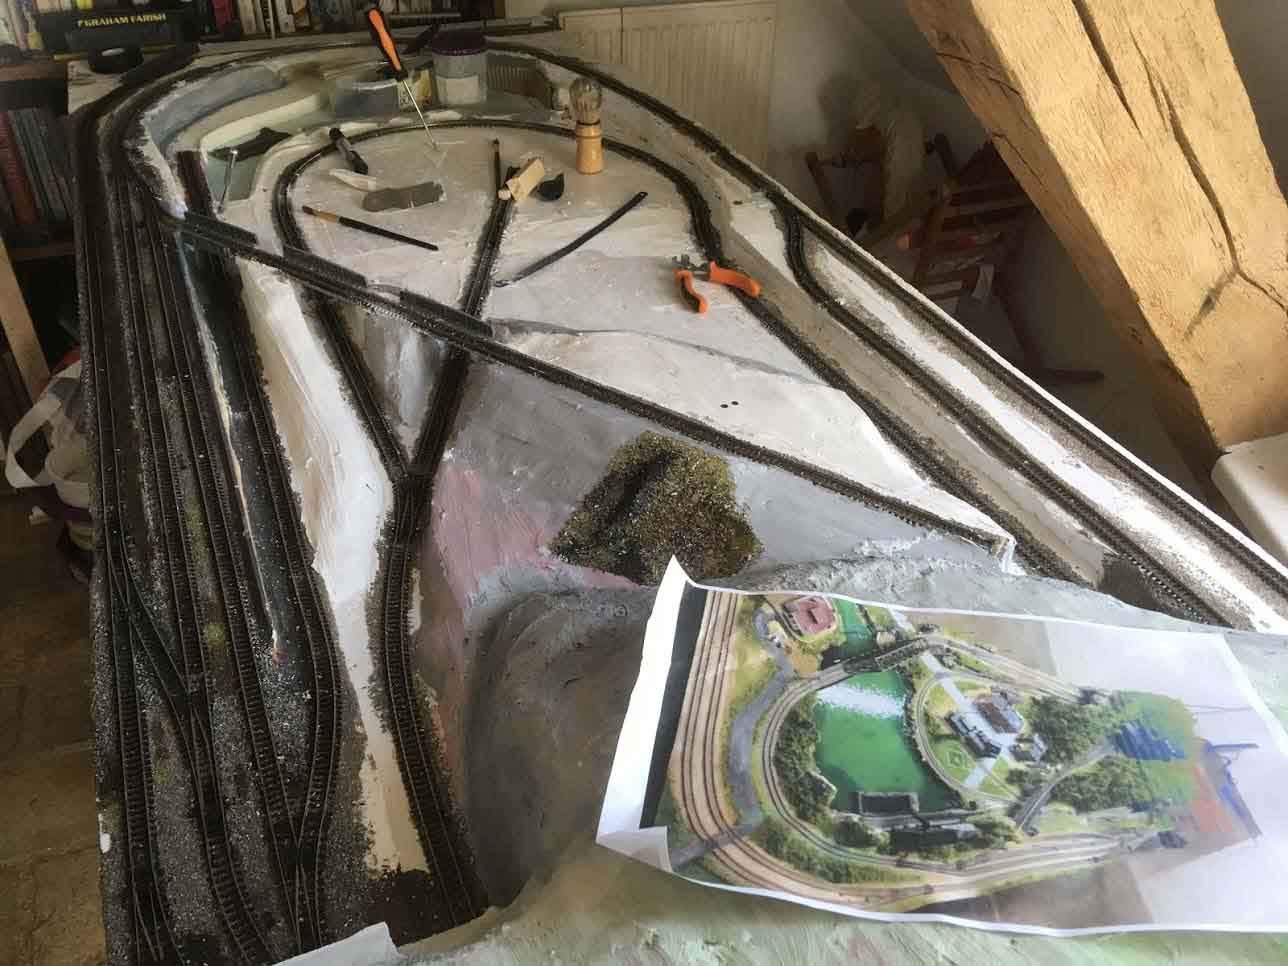
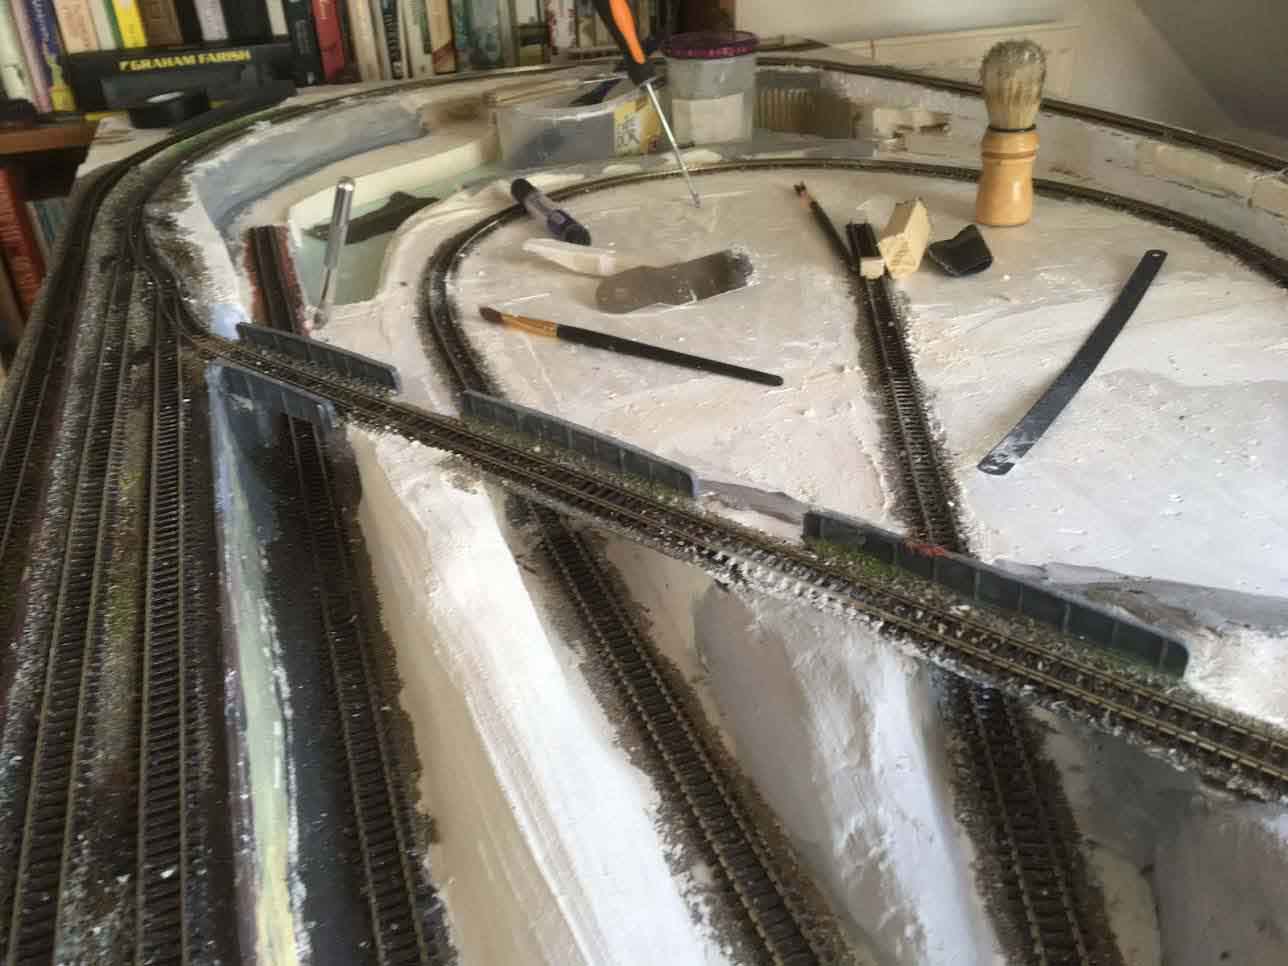
before adding grass to model railroad

add grass to HO scale

add grass to layout HO scale

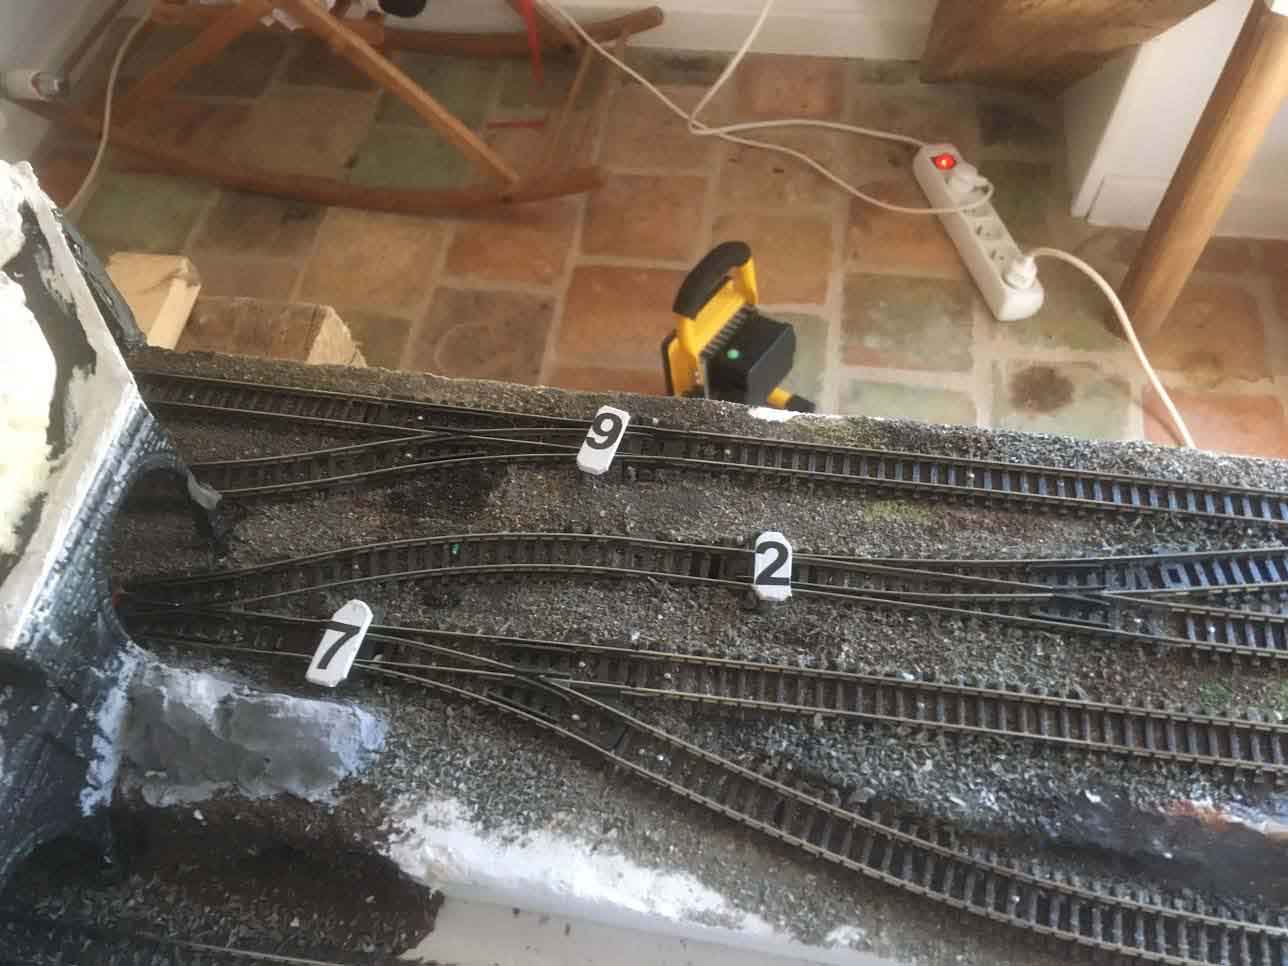
base color before adding grass

adding stones to ditch before grass

ditch in grass


added grass to HO scale with backdrop

HO scale model railroad backdrop


If you want to see John’s first post, it’s here (and there also a silly offer on that page – you can still grab it if you want to).

A big thanks to John – an excellent piece on how to add grass to your layout.

That’s all for today folks.

Please do keep ’em coming.

And if today is the day you get started on your layout, the Beginner’s Guide is here.

Best

Al

PS Latest ebay cheat sheet is here.

PPS More HO scale train layouts here if that’s your thing.


HO layout build

Richard’s been in touch with this wonderfully documented HO layout build:

“Hi Al,

Richard here from Tuttle, Oklahoma…

This is actually my 3rd HO scale layout, it consists of Peco Code 100 turnouts and flex track, set later than the transition era.

All buildings are kits that I weathered and assembled.

The scenery is 1inch foam boards covered with plaster cloth and painted… the favorite part of the layout is the drainage area from the mill pond.

The dam is a piece of 3/4” board with 3 holes drilled into and plastic straws inserted for the culverts.

The cascading water is cellophane tape painted with artist medium… then painted and detailed…

As far as rolling stock, it’s a conglomeration of eBay, local train shop, and wherever… lol

Anyway, here’s a few pictures… hope you’ll find it interesting….

HO layout build logging

HO scale steam train

HO train tunnel logging

HO scale loading platform

Construction began with 2×3 legs with a 1×4 L girder design with a 6 x 6 foot table size. Then topped with a 3/8″ plywood covering and 1inch foam board.

As you can see, layout of building cutouts were used to help align track and building layout. Now the cork roadbed was laid. Track was beginning to be laid starting with the turnouts.

HO scale bench

HO layout foam board

HO layout foam board


HO layout foam

HO layout foamboard

Ho layout foamboard

This next series of pics shows the buildings purchased… and the excavation of the dam and drainage area for the sawmill… the pond will later hold the logs that are unloaded from the railcars and will be recessed as if “floating” … as you will see in future pics.

Track has been laid using “spikes” only and then the foam board painted green for any missed plantings.

Ho layout tunnel

HO layout foam plaster

HO laying track

HO layout gluing track

Mountains are being built using 1″ foam board in layers by just using my imagination and random breaking and stacking. You see how the tunnel portal looks as if it’s built into the mountain….

HO layout foam mountain

HO layout foam mountains

HO layout plaster tunnel

More mountain construction… plaster cloth over the foam board… once dried, painted with a thinned plaster paris mixture… the tunnel really looks good in its new home

HO layout plaster tunnel


Now the best part of the build… the mill pond drainage area… as you can see the original creek was fairly deep so a dam was constructed along the rail line to utilize unloading of the logs…

HO layout creek mill pond

HO layout waterfall

waterfall

HO scale waterfall scenery

Mill pond drainage

HO layout waterfall

HO model railroad lumber

HO scale waterfall scenery


Mill pond drainage area finally completed

mill pond base color

logging train

On to the mill pond and sawmill…. started with excavating the foam from the mill pond area… poured in a thinned mixture of plaster paris and while still wet pushed in the logs to appear submerged and then once dried, painted the water a dingy green to simulate dirty mill pond water.

Then applied a gloss artist medium to give it a sheen appearance. The sign on the sawmill was printed on my printer and weathered. Trees have been added and many, many bundles of lumber stacks that had to be assembled.

laying track

logs lumber

HO scale laying track

HO layout lumber

HO layout sawmill

model railroad lumber loading platform

HO scale loading platform

HO tunnel sawmill

HO scale model railroad lumber sawmill


The lumber shed is a rail load out point along with truck loading. The tunnel portal shows signs of the older steam engines smoke stacks, which on occasion a steam powered climax makes an appearance.

HO scale logs freight

HO scale overhead view

HO scale steam train lumber

HO scale forklift

HO scale forklift

An overall view of the raw material side and the production and retail industry side separated by a backdrop

Well…. there’s the ole girl…. Steam powered climax and diesel powered F7

Well, Al…that pretty much sums it up… by the way… a new larger layout is in the planning stage…

Thank you for allowing me to share this endeavor… of just under 2 years in the making.

Richard of Oklahoma”

A huge thanks to Richard for sharing his HO layout build – what a layout and so well documented too.

Hope you enjoyed it as much as I did. Please do leave a comment below if you’d like to.

That’s all this time. Keep ’em coming.

And don’t forget the Beginner’s Guide is here if you want to get going on your own layout.

Best

Al


DCC N scale

Ray’s been in touch with his DCC N Scale:

“Hi Al,

Like so many, I have enjoyed your blog very much and have used so many tips and tricks from your readers.

It has been a while since I have sent you something to share, primarily since I am in the process of reconstructing 3/4 of my layout.

When I first took up the hobby 6 years ago I started with a 4 by 8 foot piece of plywood and had a blast building a N scale layout.

About two years ago, I also upgraded to DCC N scale which was a total game changer for me. I would add on to the layout piecemeal as time went on until the layout took up my entire basement.

The problem was my benchwork was a mess, because my carpentry skill is so poor and the benchwork never totally matched up.

So I decided to take down the entire section that you will see in this video and start all over.

I made sure the bench work was consistent and covered most of it with 3/4 in foam board.

I relaid all the track and made sure everything ran smoothly before I started the scenery. I then recreated all of the scenery, taking my time, making sure I captured the look that I wanted.

Again, a great deal of the tips and techniques I used came from your blog.

I have been doing this “rebuild” for approximately 4 months and have really enjoyed the process.

Since I retired a year ago, this project has helped me stay busy.

I will keep you updated as I finish the project (if we ever really finish).

Thank you for providing such a great service to us modelers.

Best,

Ray

Massachusetts”

DCC N scale

DCC N scale

DCC N scale

DCC N scale


Ray’s reminded me of Yale’s layout: N scale DCC.


Now on to Don:

“Hello Mr Lee,

I will introduce myself as an old fool, when you see my plan you probably will suggest the adjectives are inadequate.

I was married in the late 1950 s and acquired a few locomotives since then but never completed a layout..

Recently I had an opportunity to purchase a portable 5 by 20 foot DCC layout.

It was built on a 5 by 12 foot trailer with storage for an 8 foot extension. The trailer had a removable frame supported tarpaulin for highway travel.

Two men could assemble and disassemble it in about 20 minutes. An old guy alone much much longer !

I am in the beginning of making it into a rigid one piece structure with castors at each end so I can move it around at will. This will give me a 5 by 16 and 5 by 20 foot storage areas that I could use for additional fair weather divisions.

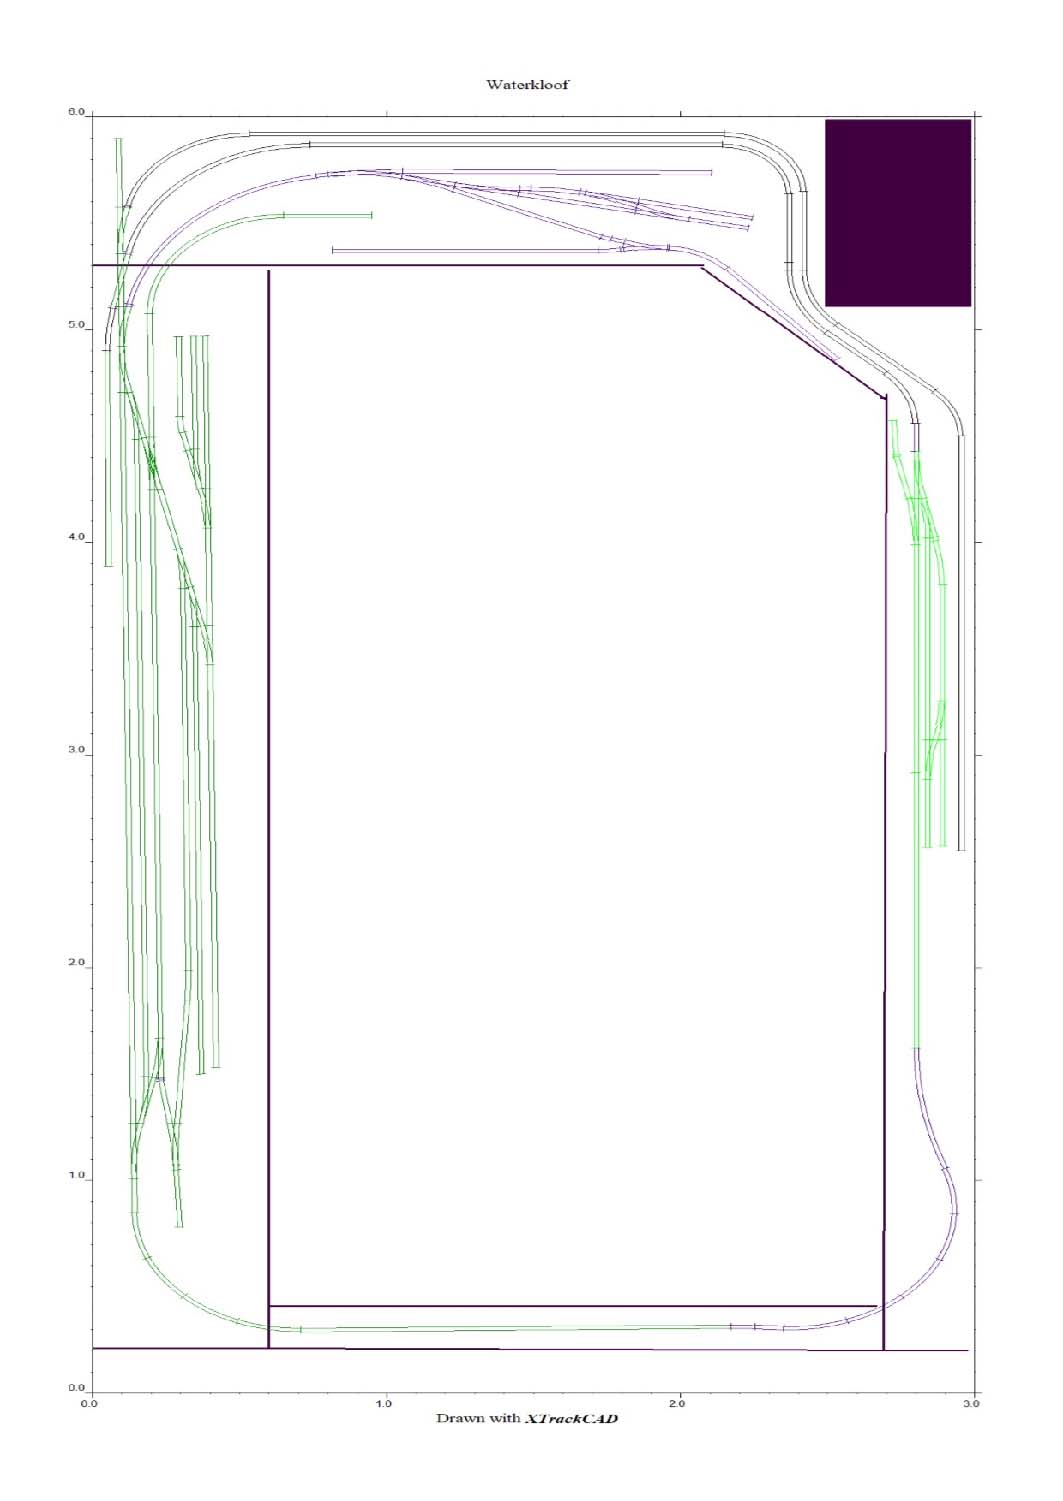
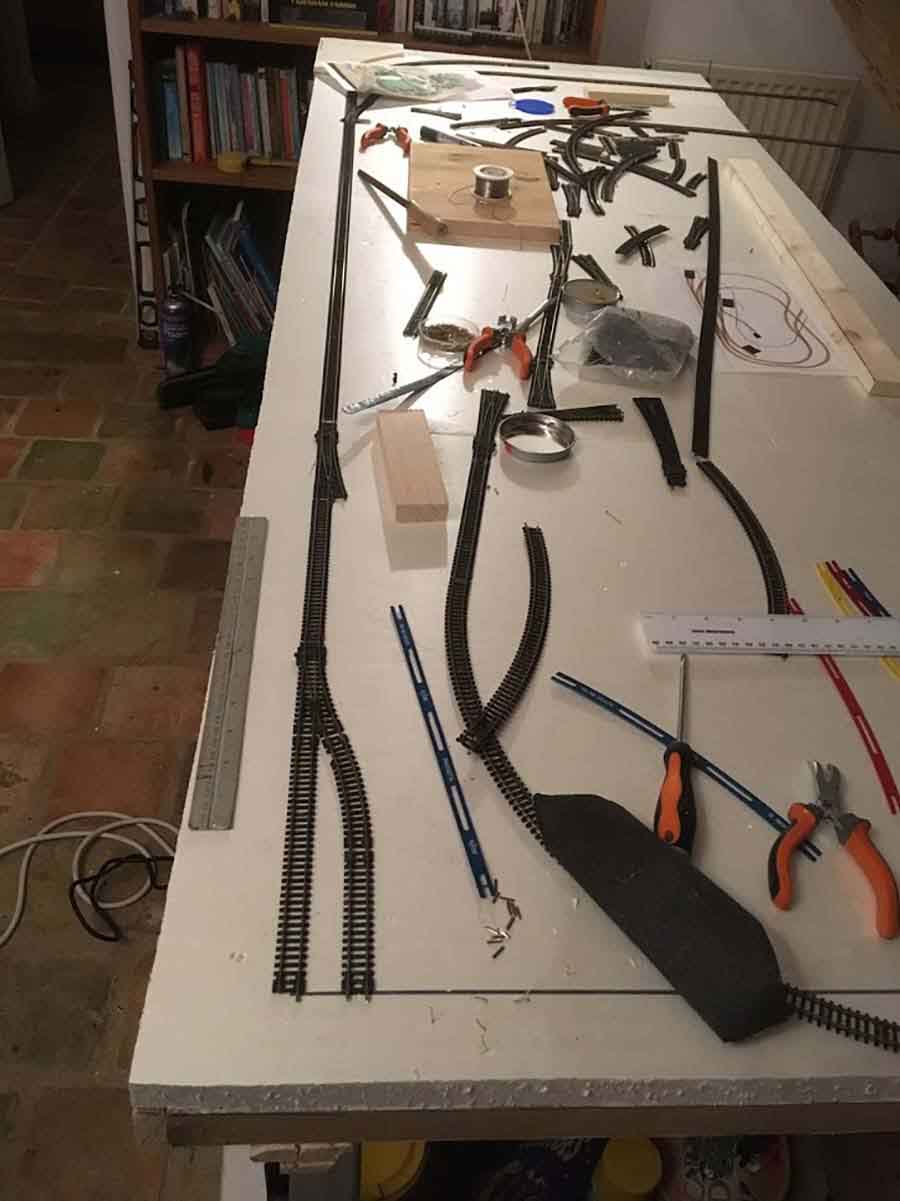
I have included a snapshot of current condition

If you feel your readers would be interested I would provide followup.

Donald”

Next, Ernesto has been in touch.

There’s bit of a langauge barrier, but like others, his pics do all the talking:

“I gladly share some photos of my model

Ernesto”

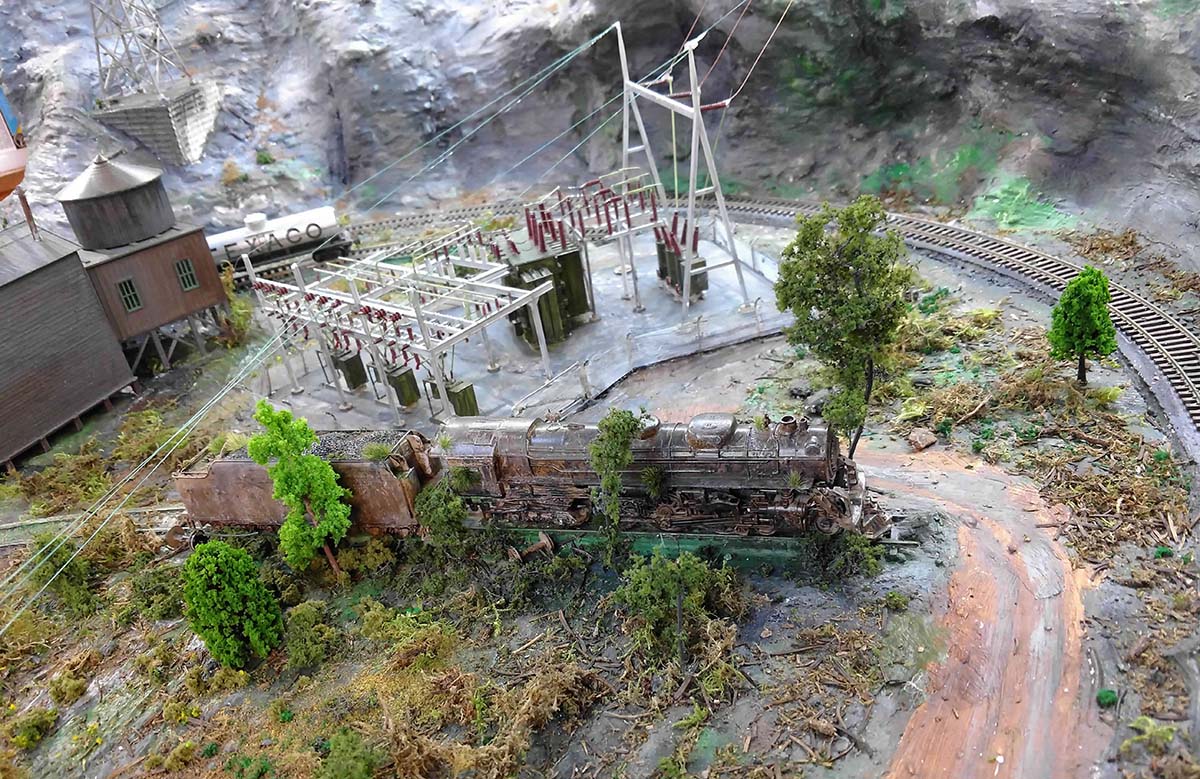
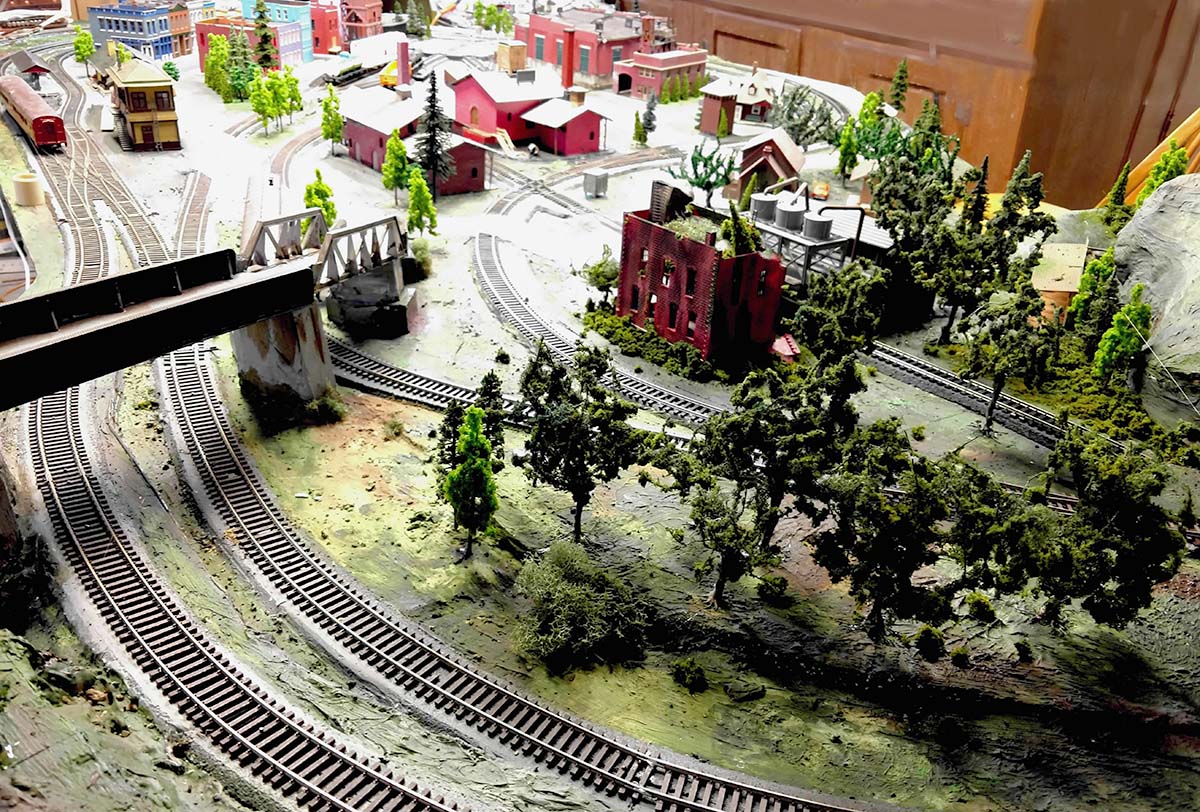
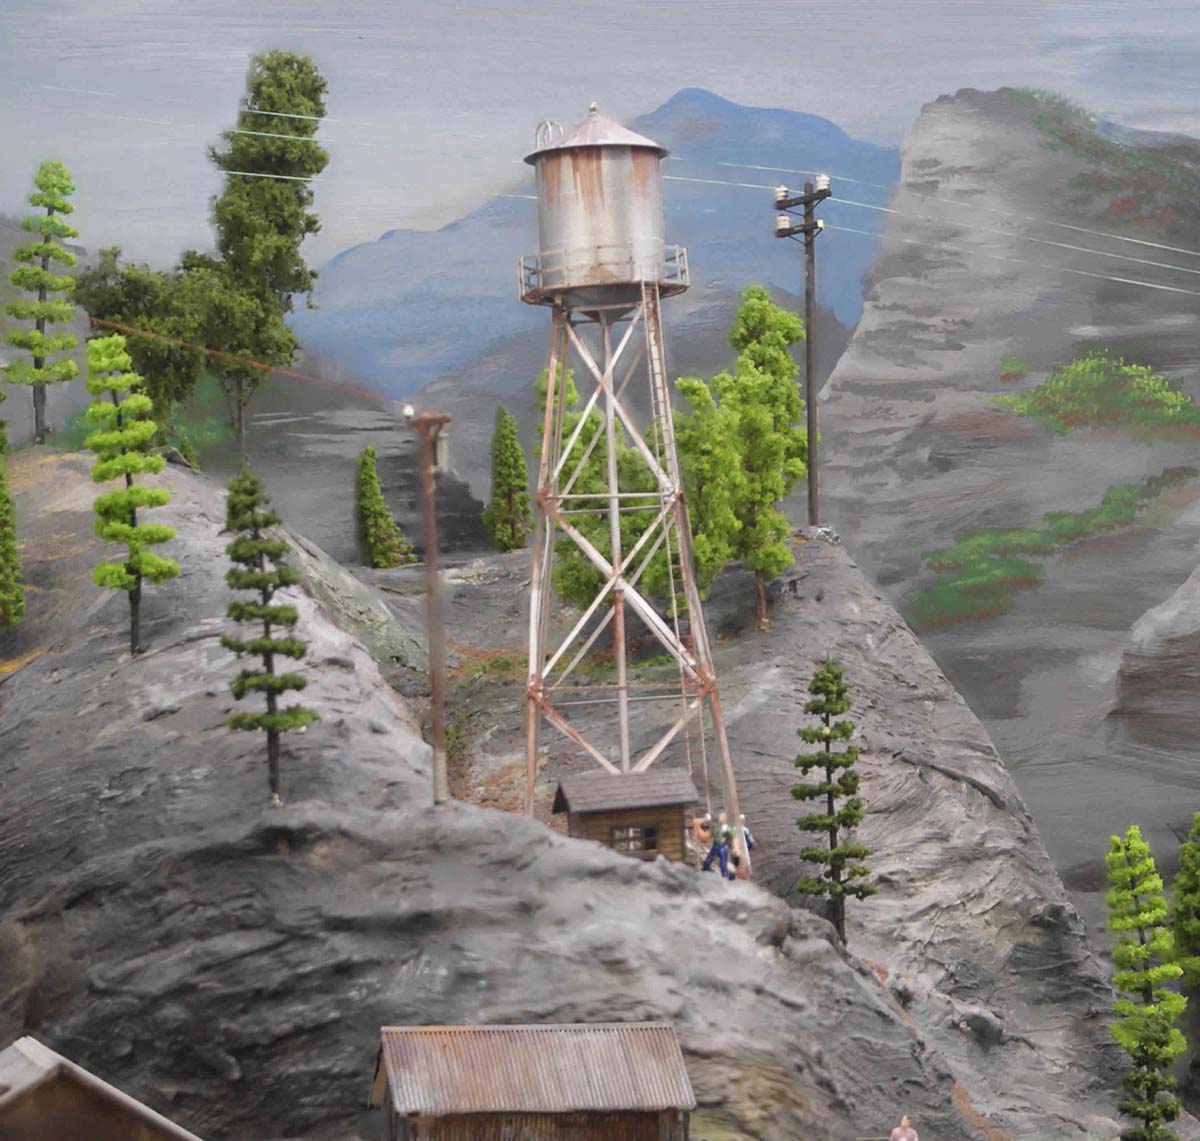
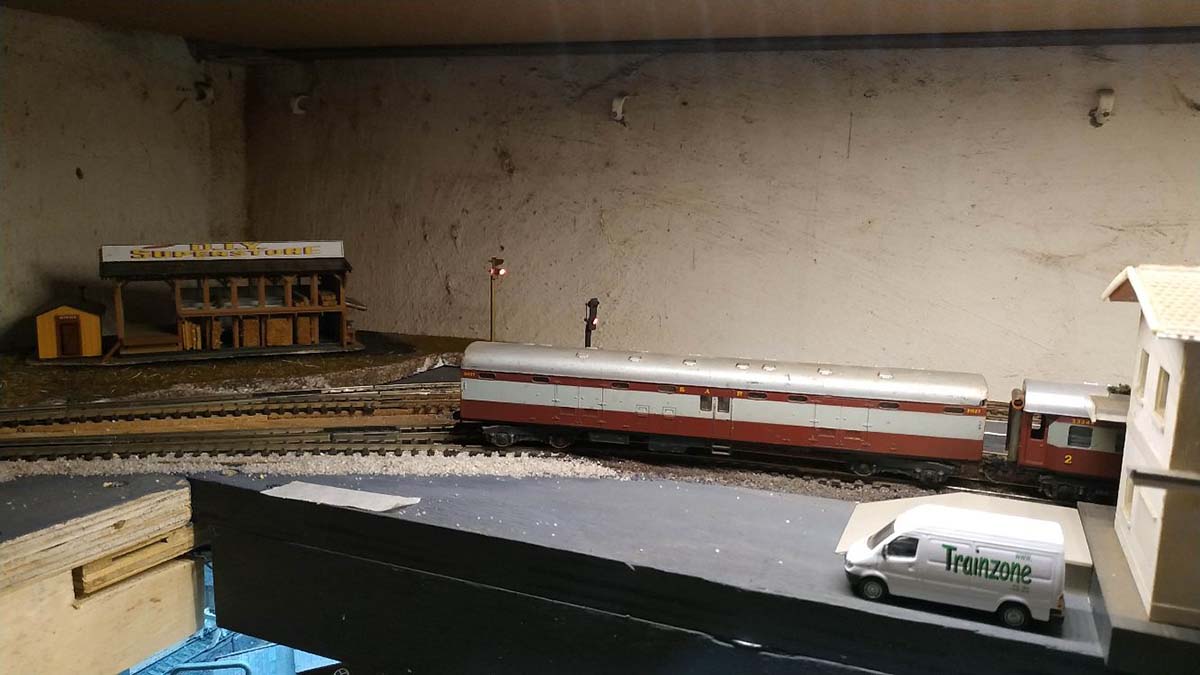
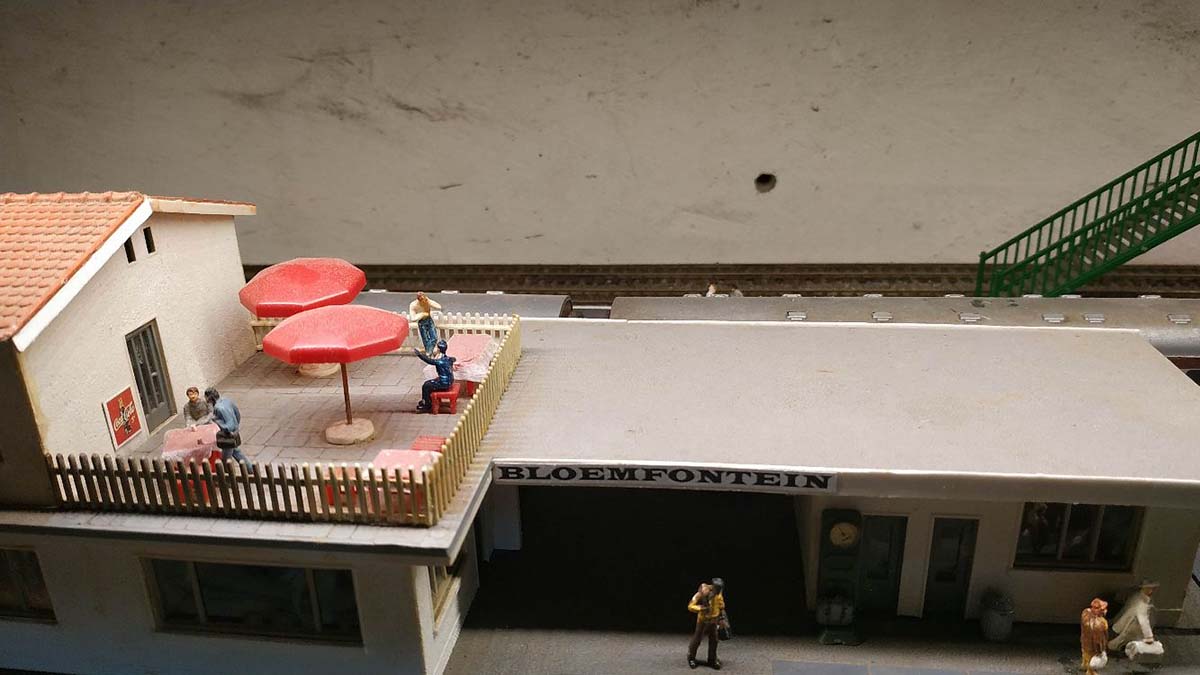
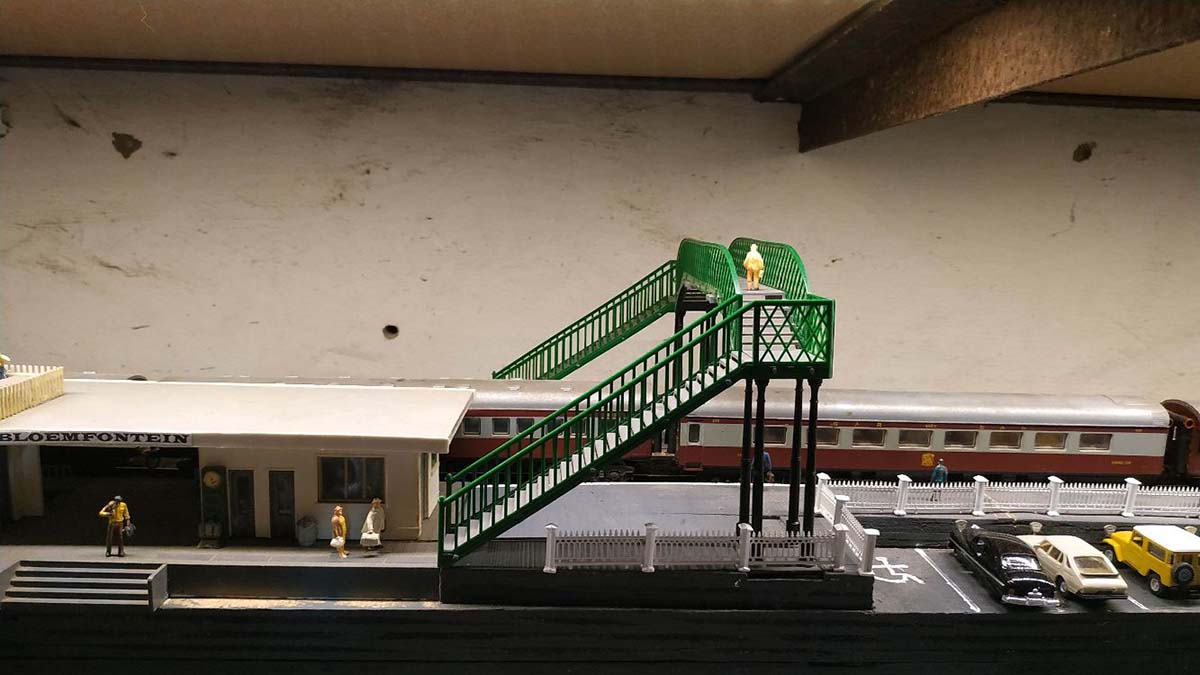
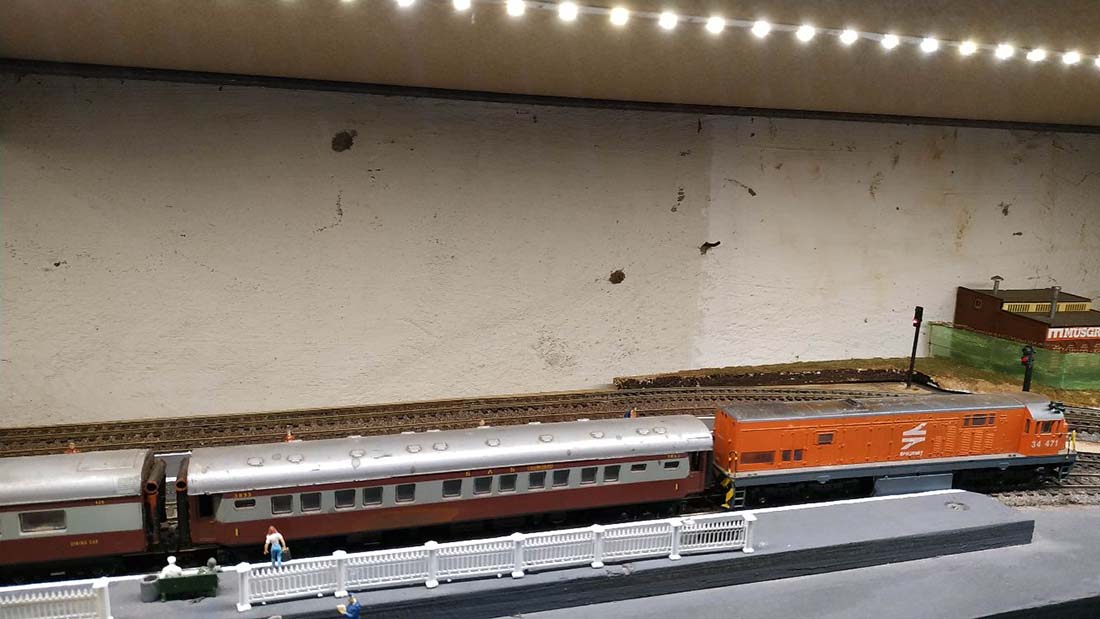
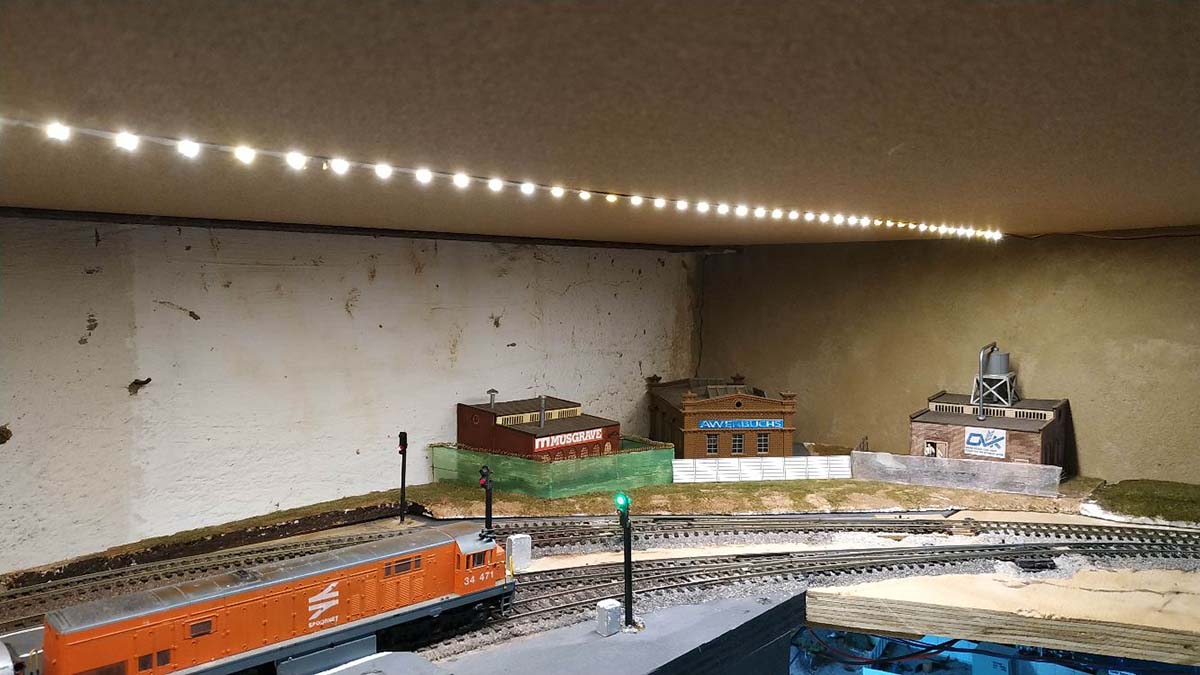
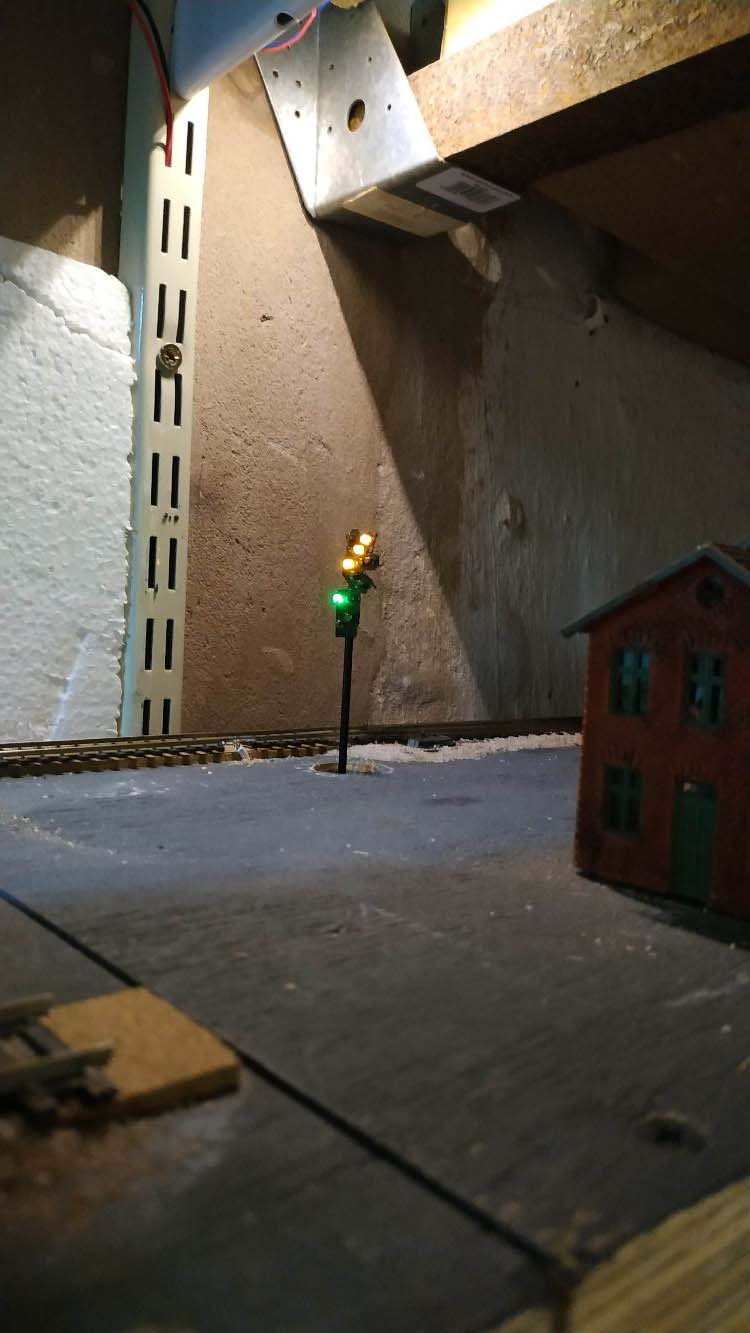
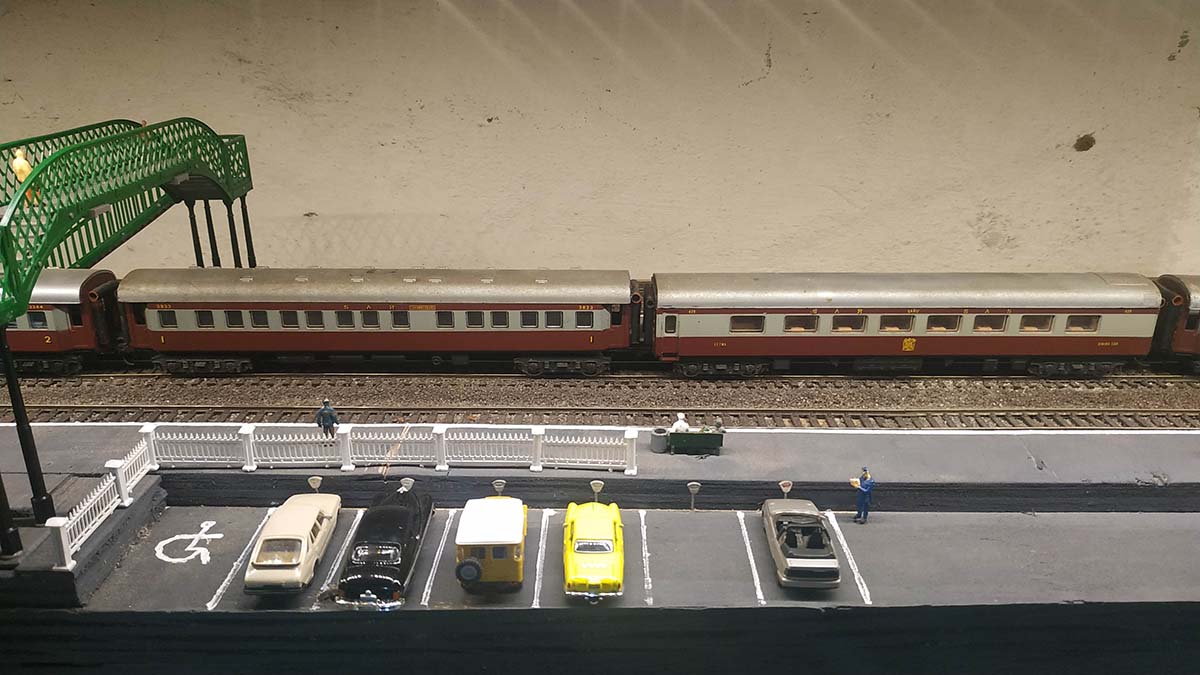
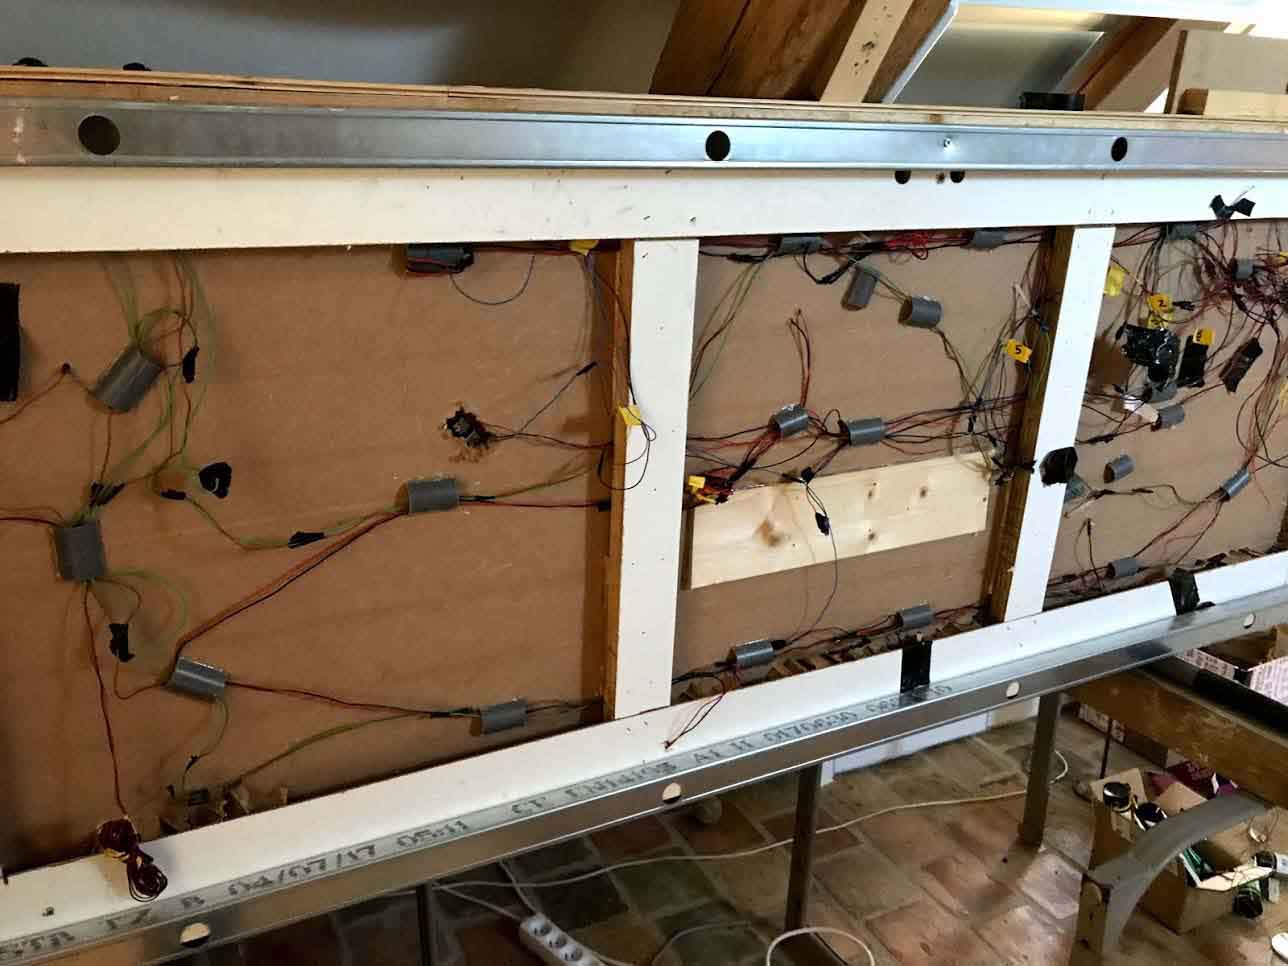
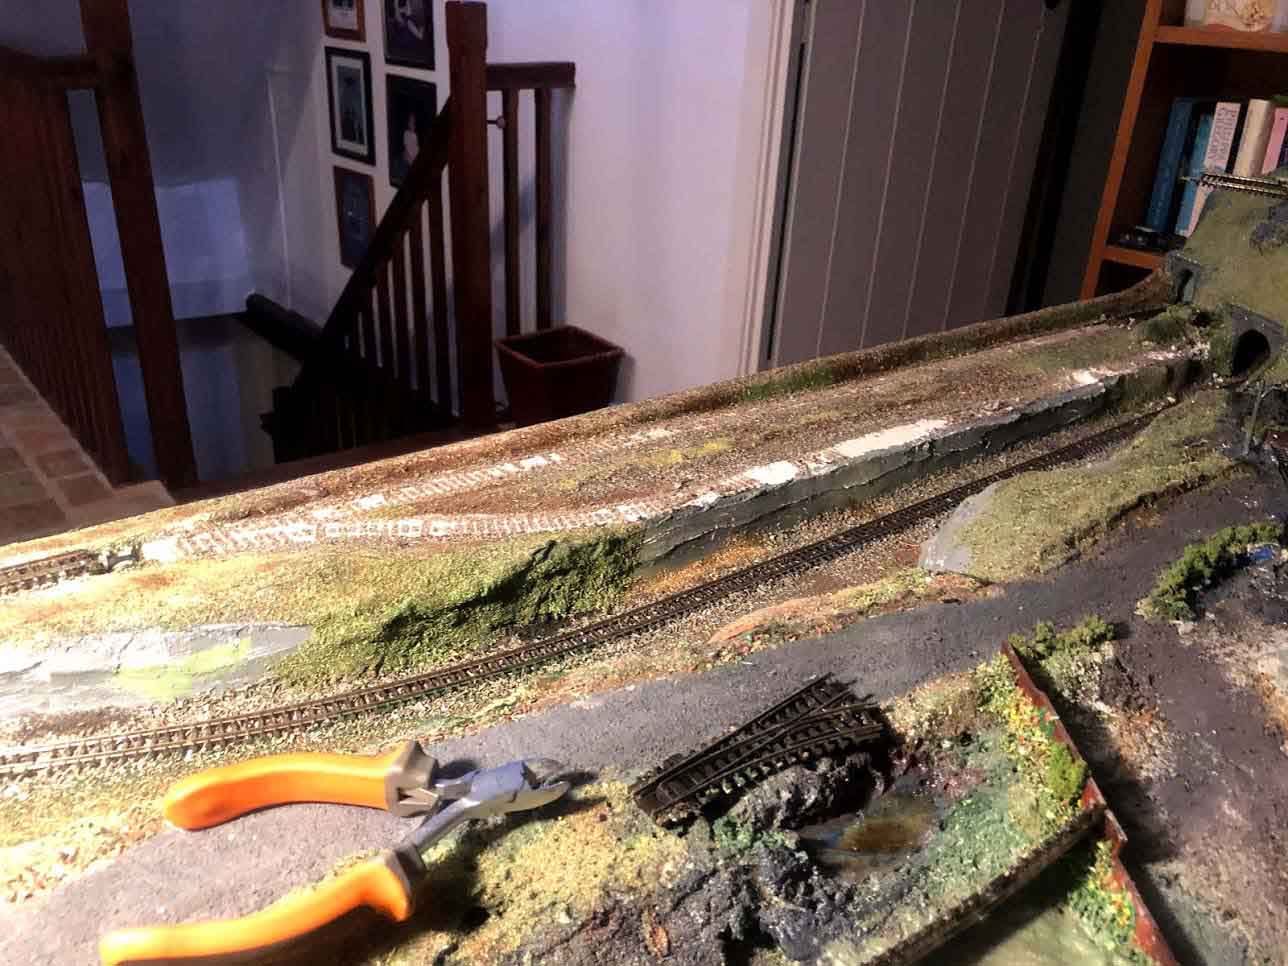
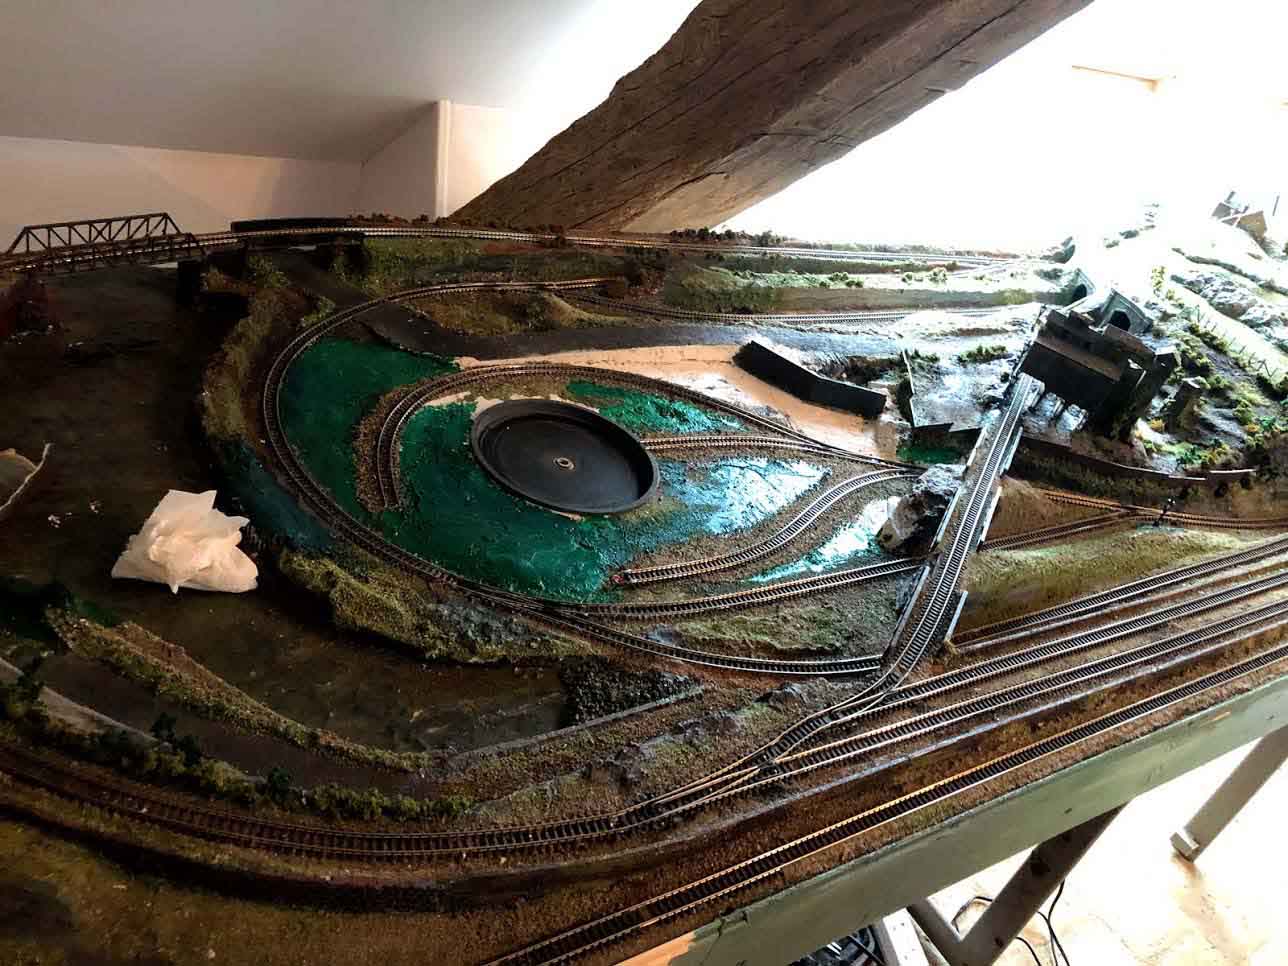
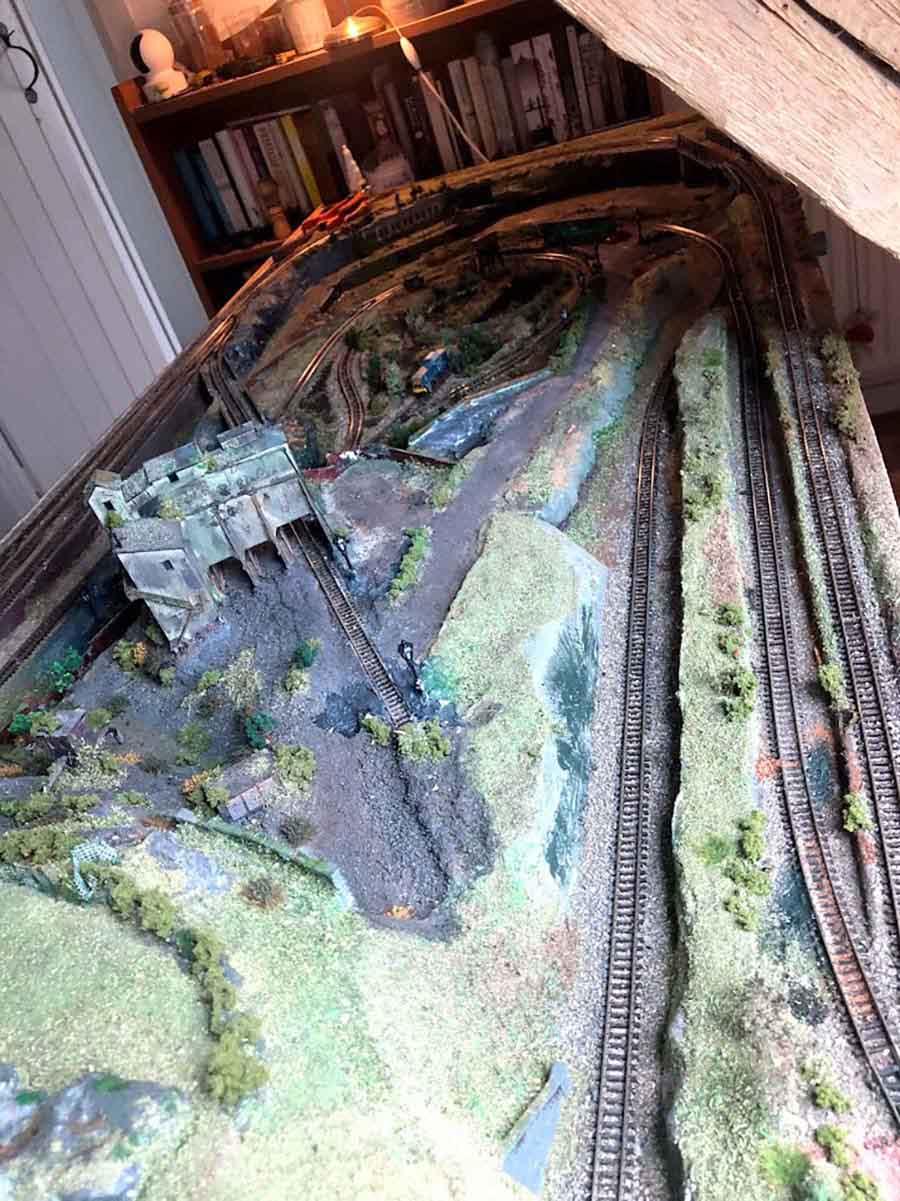
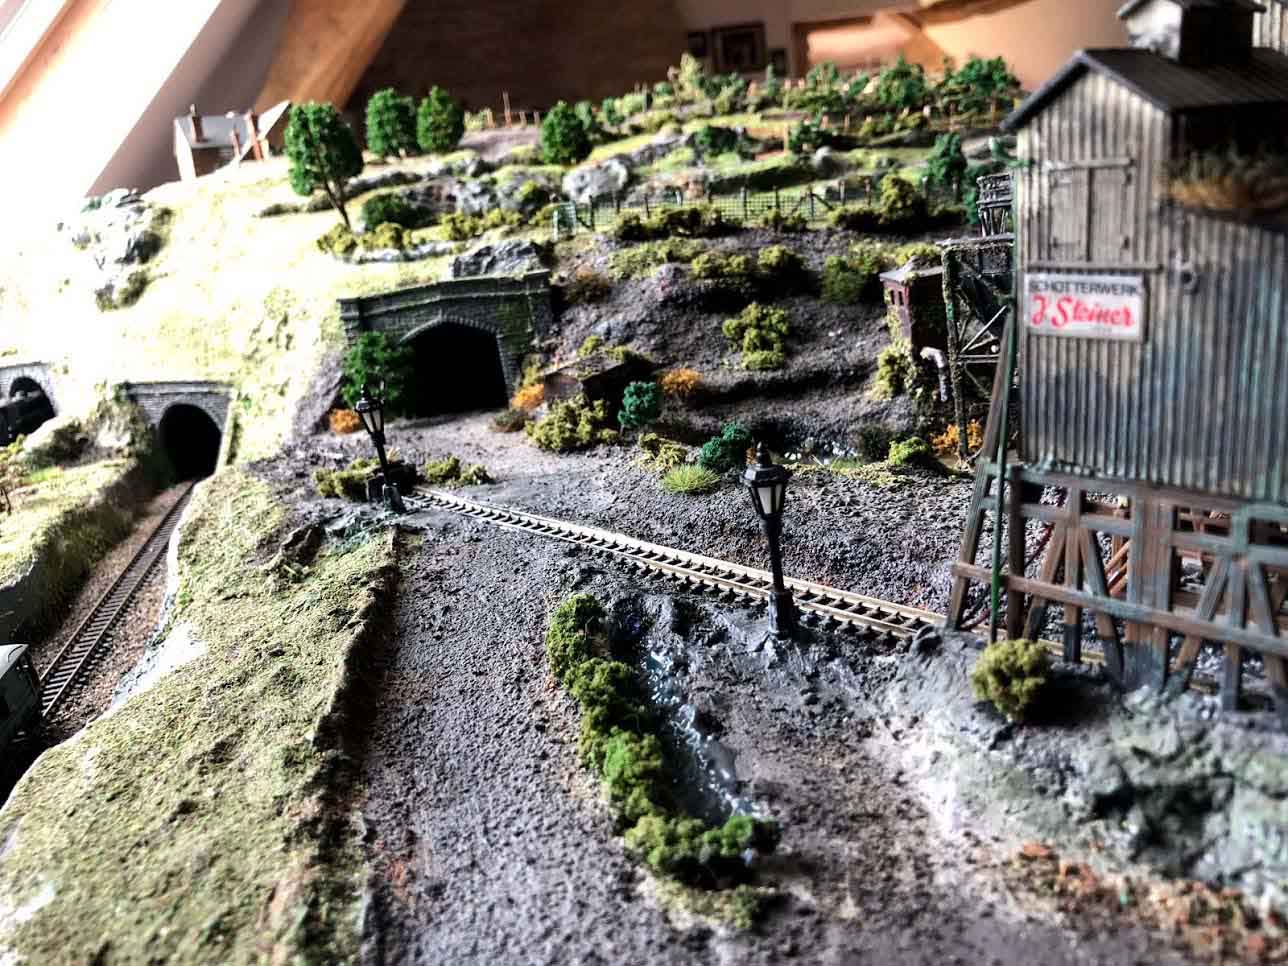
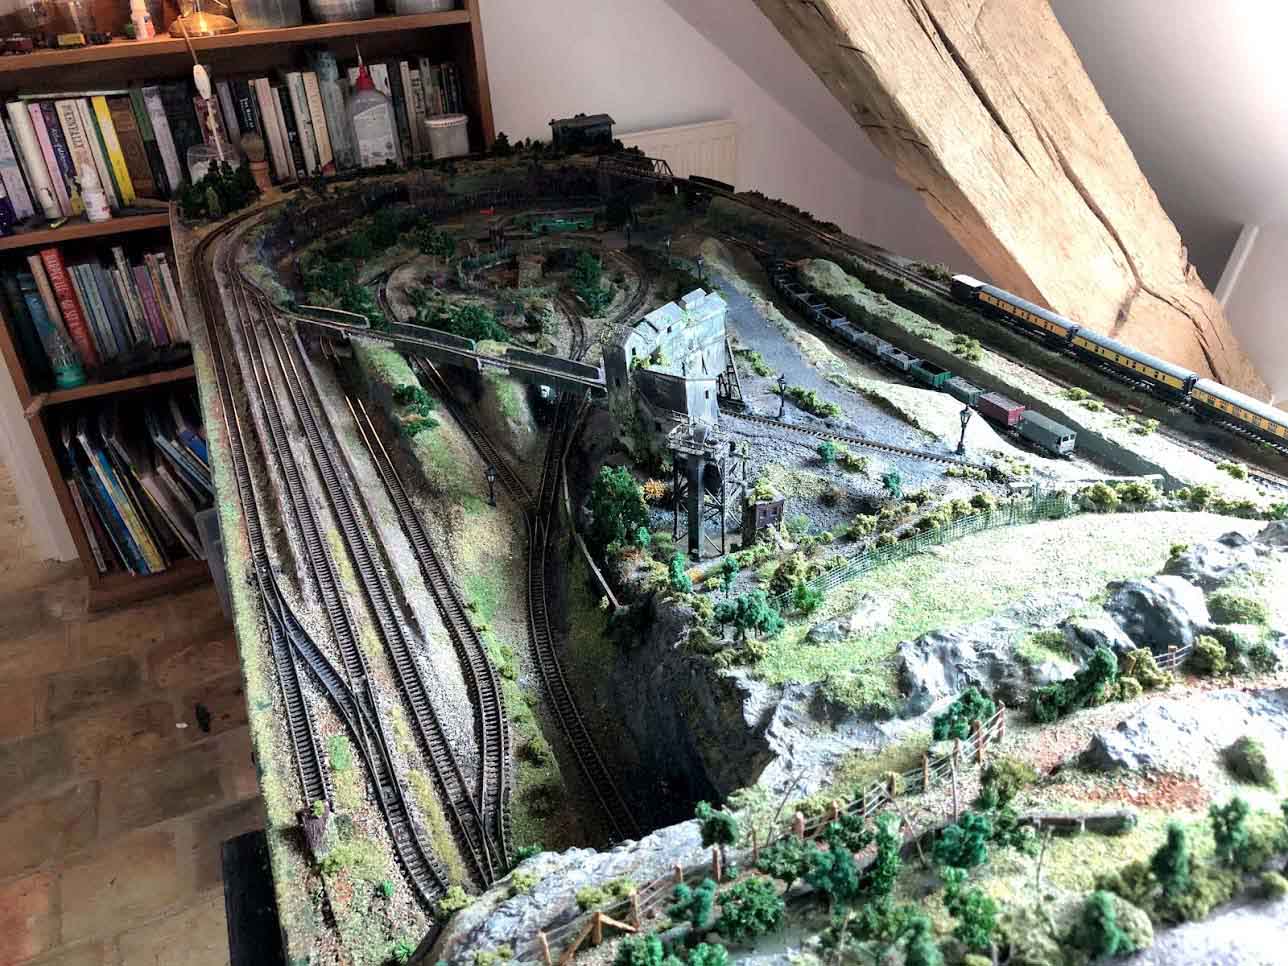
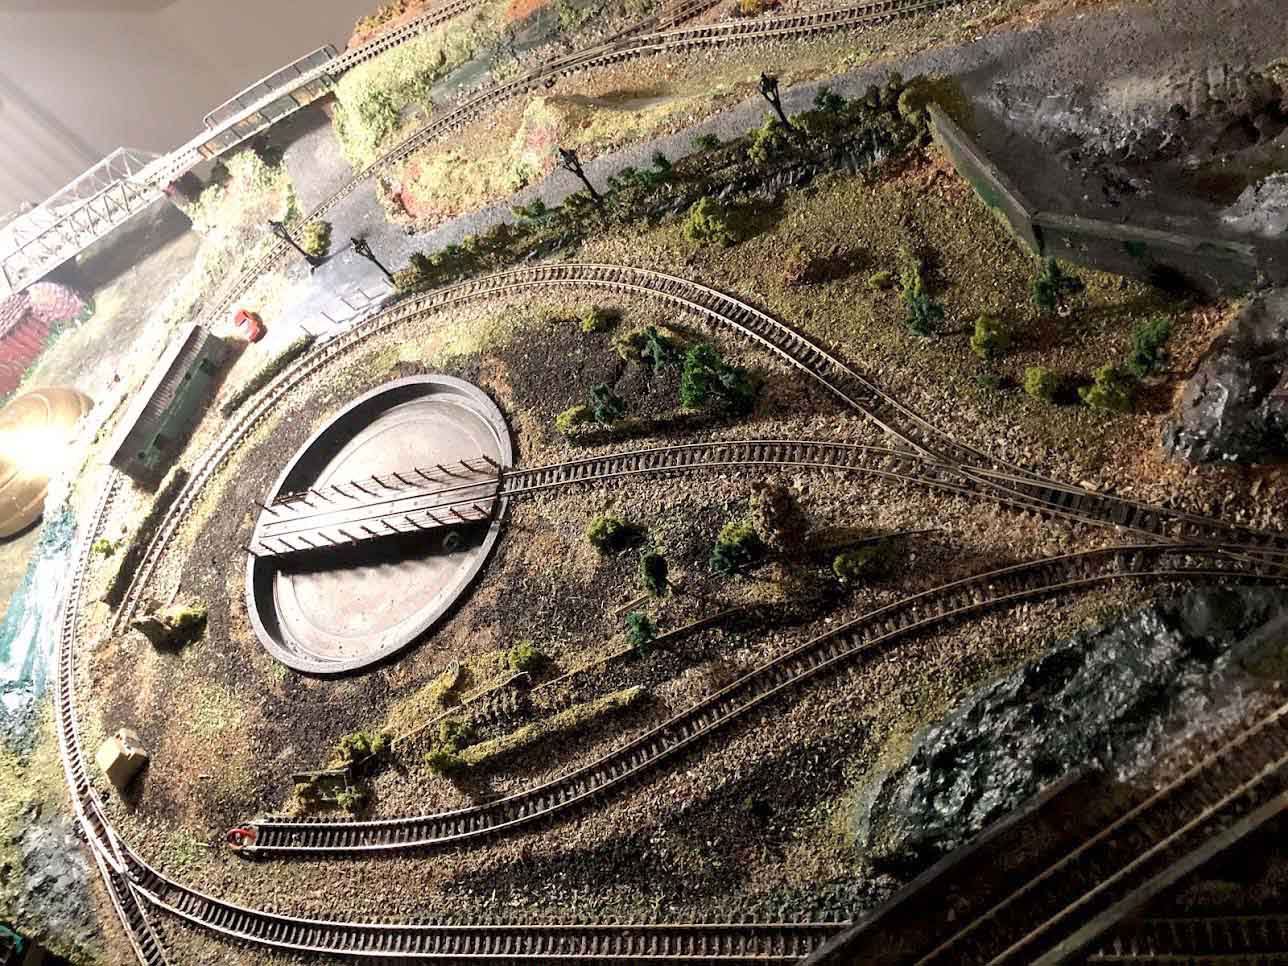
model railroad

model railroad

model railroad

A big thanks to Ernesto, Donald and Ray for sharing his DCC N scale.

Donald – yes we’d love to see more of your layout!

That’s all for today folks.

Please do keep ’em coming.

And if today is the day join in the fun, the Beginner’s Guide is here.

Best

Al

PS Latest ebay cheat sheet is here.

PPS More HO scale train layouts here if that’s your thing.


model train answers