Trains layout table – some advice

Rich has been back in touch with some advice on his trains layout table.

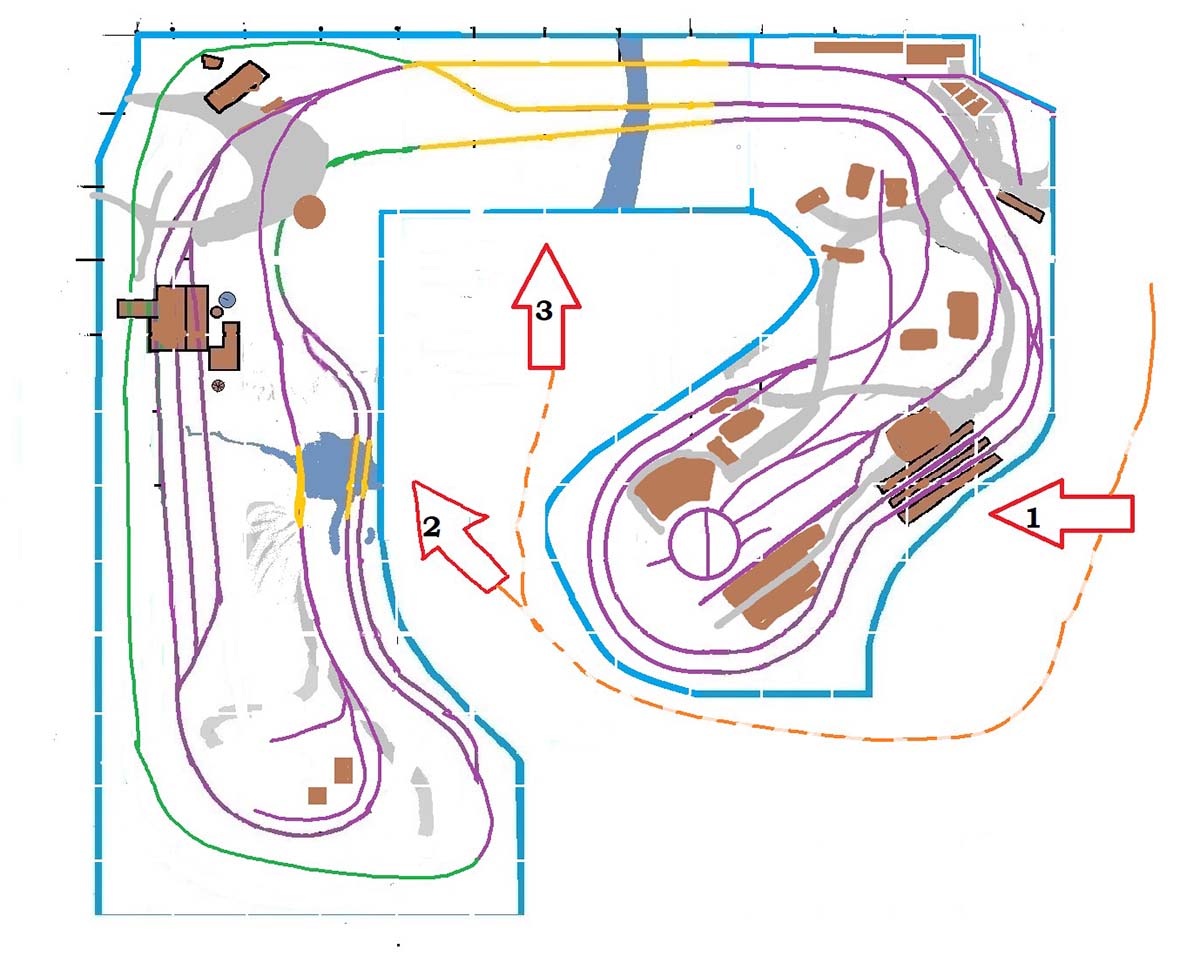
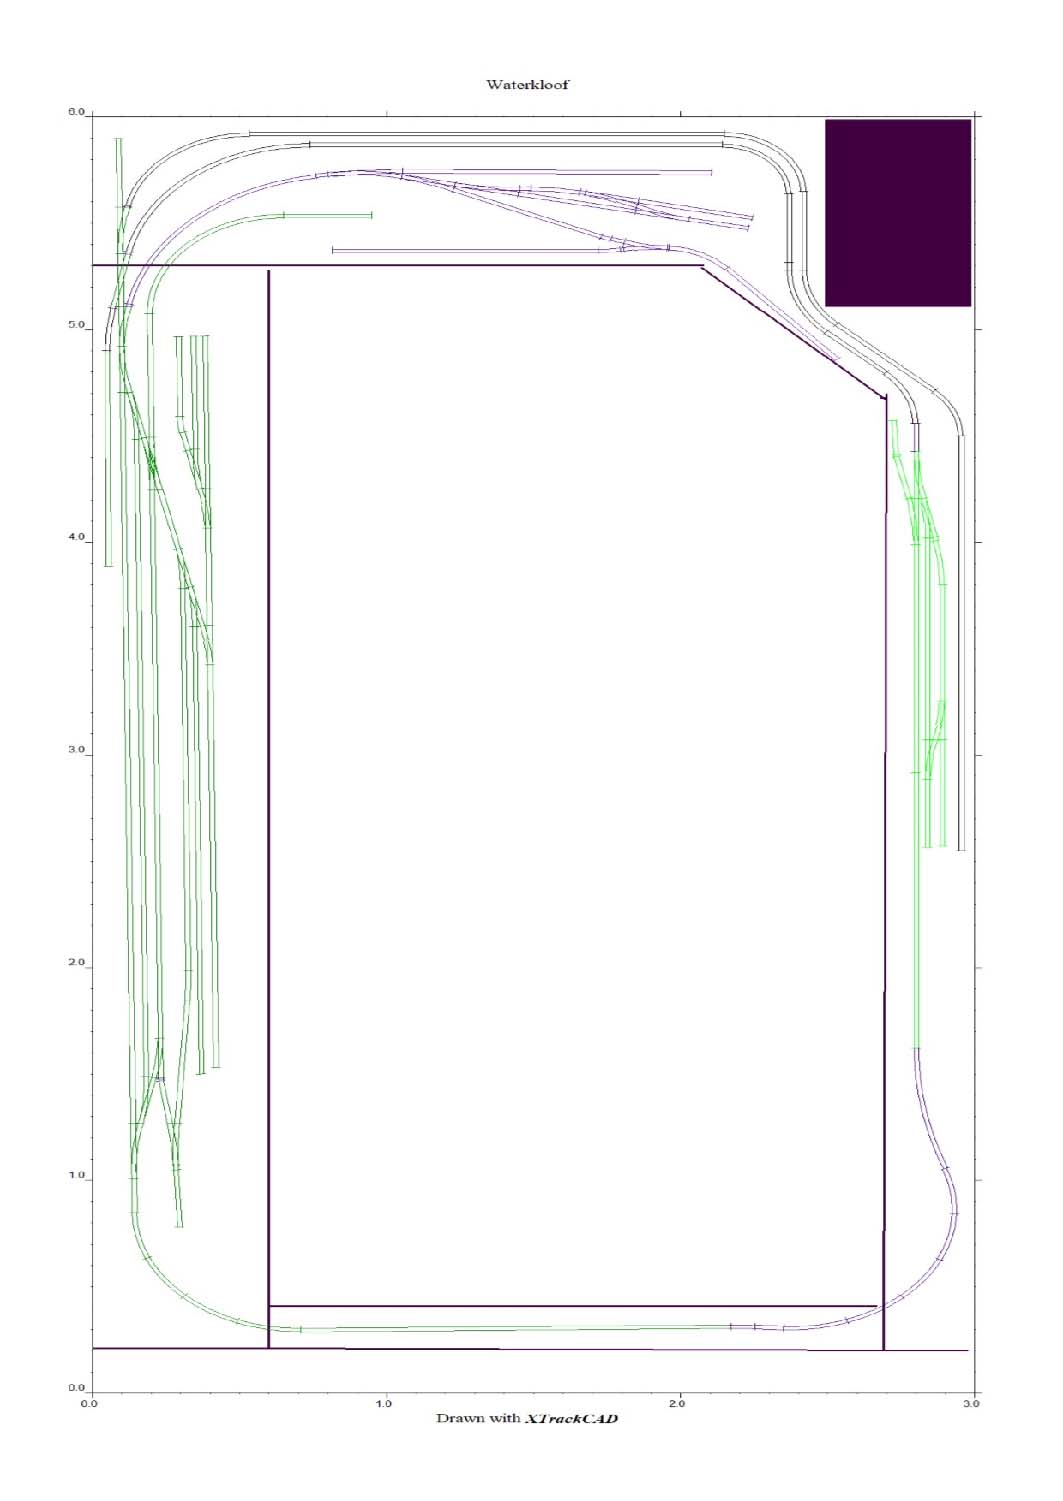
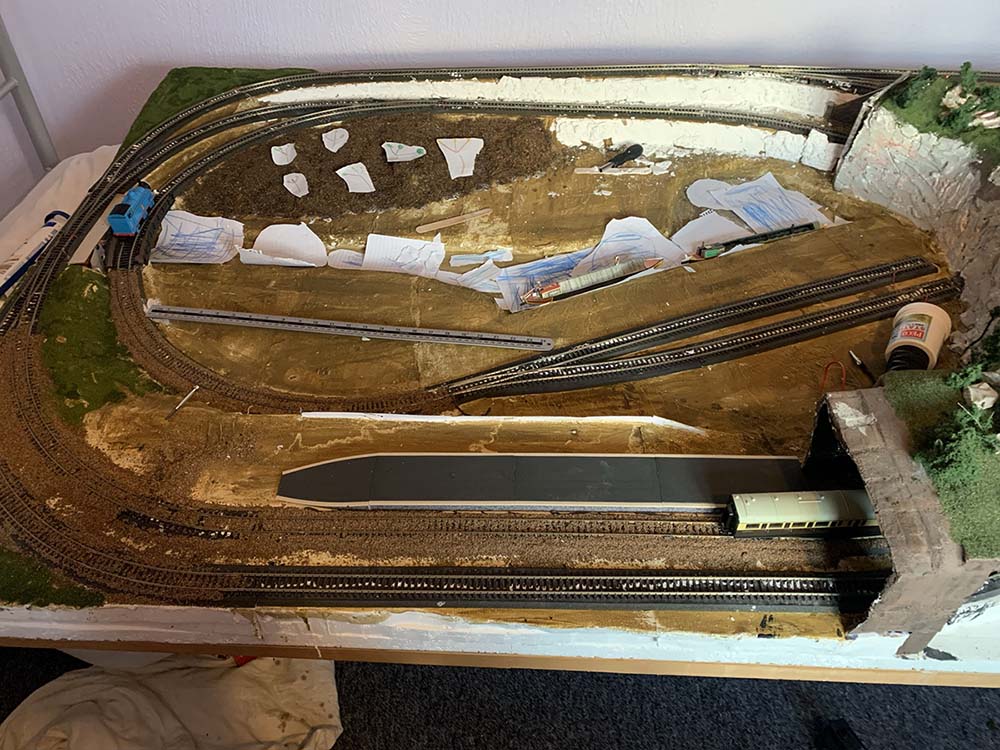
Before he got busy on the mountains and scenery, he ‘drew’ over pics of his layout so he could see where he would not access for any derailments.

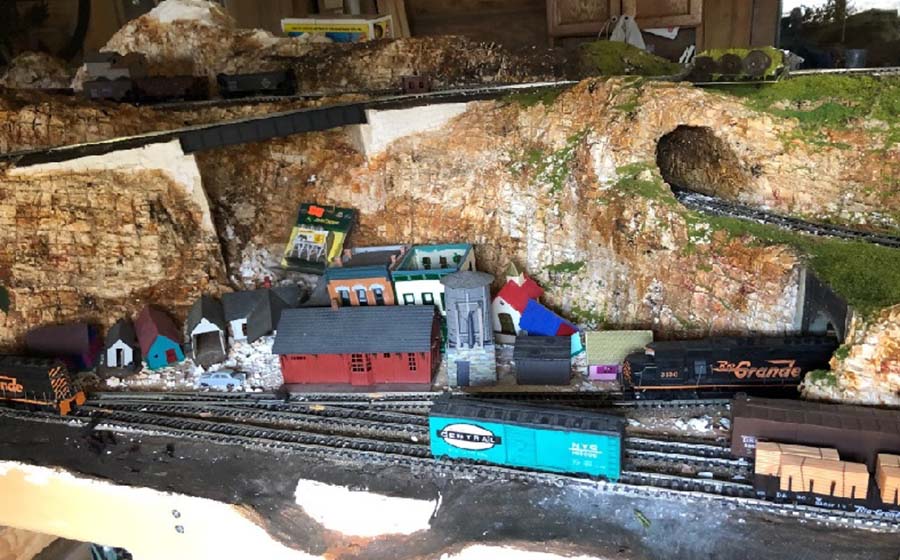
If want to see his ‘finished’ pics, they are here.

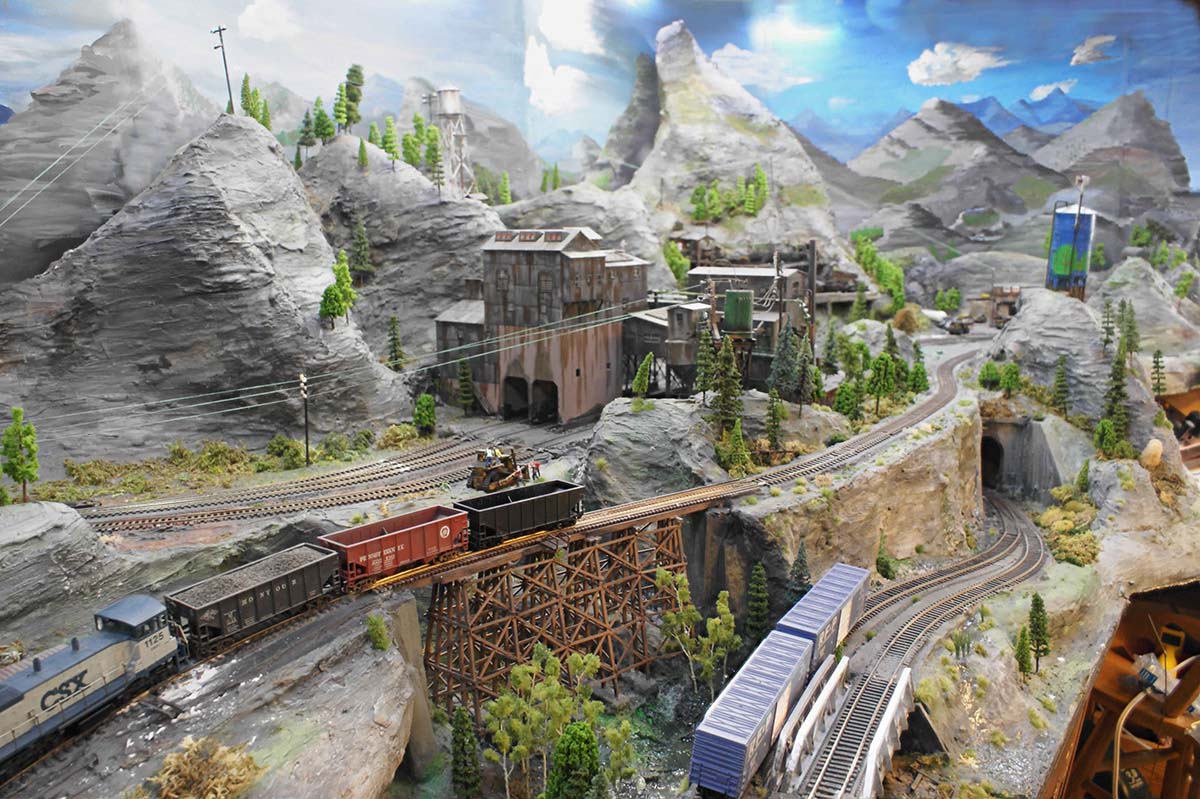
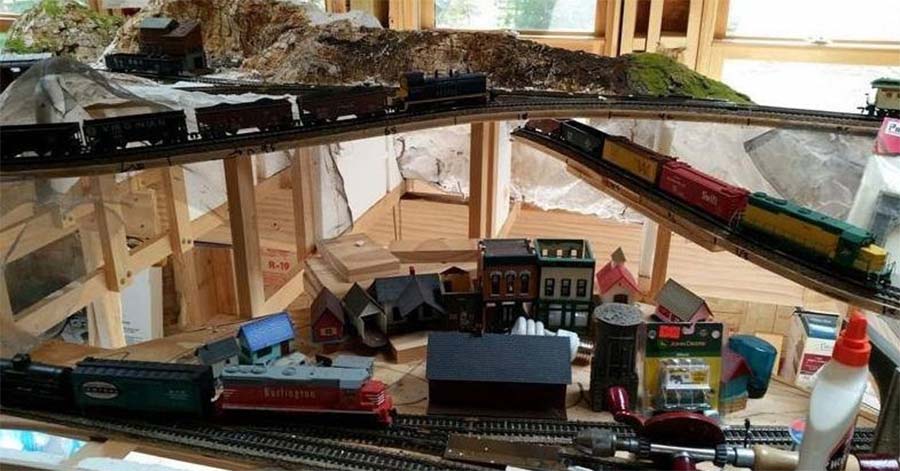
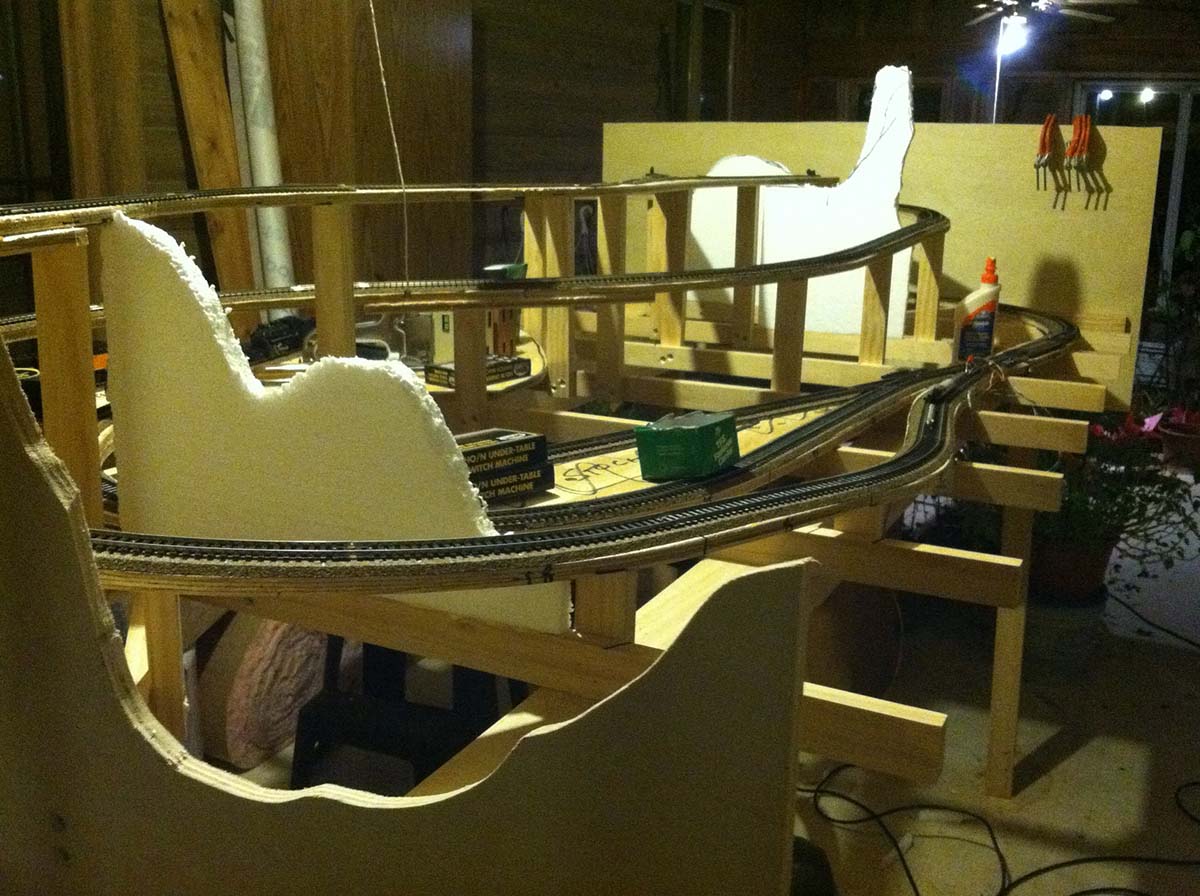
“Here is how my 4 x 8 looked while it was under construction.

Progress photos are never pretty but they give great insight in how a layout is built.

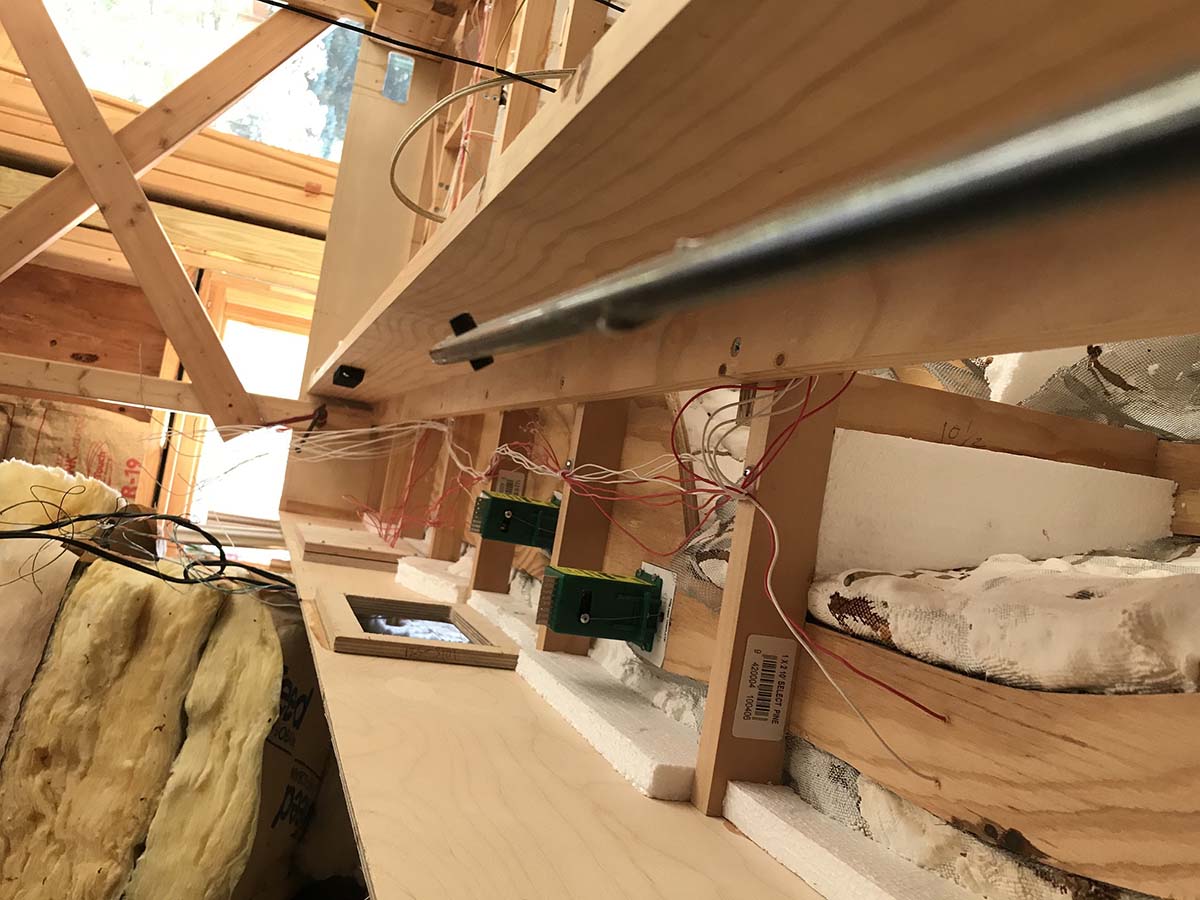
One question from the last time my 4 x 8 was featured was what happens when I have a derailment. Any type of open frame work will provide good access to the problem from below.

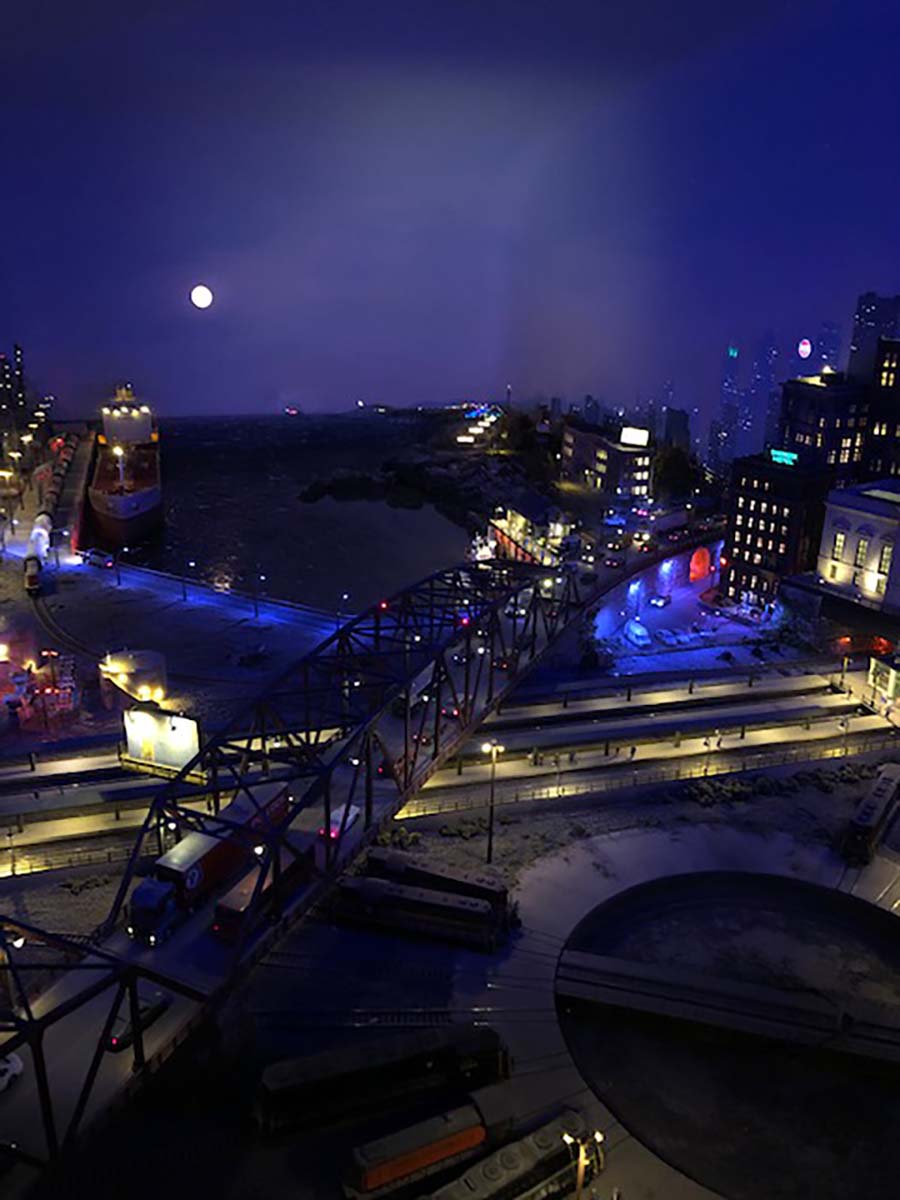
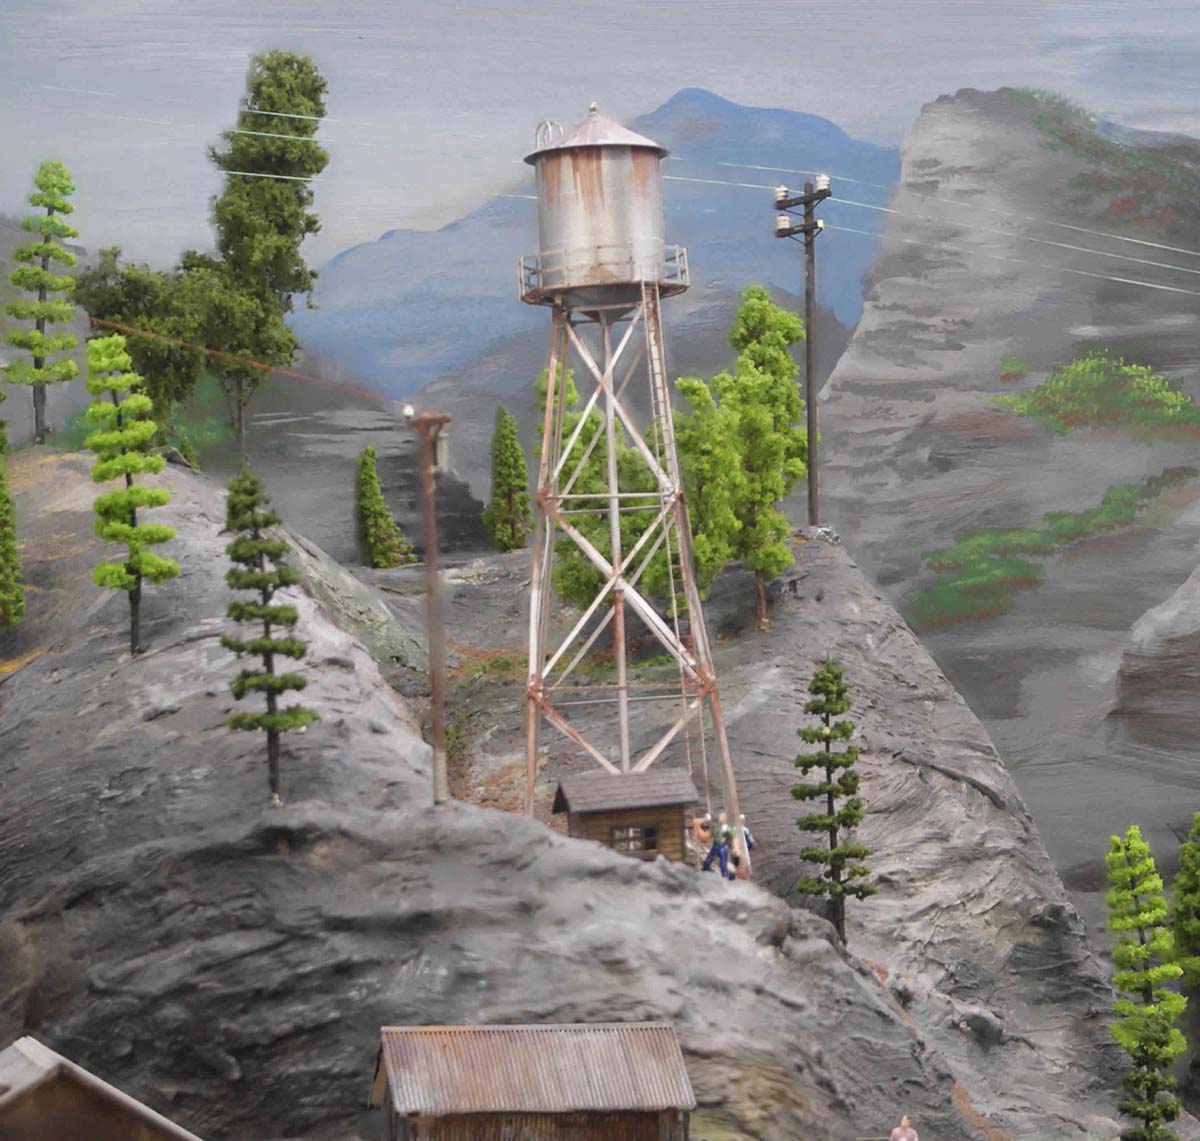
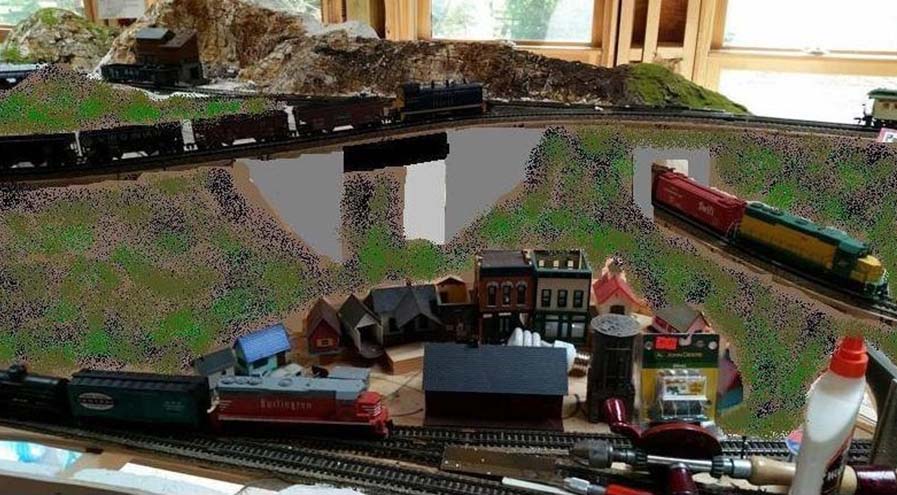
One technique I used was to draw over one of my photos to see what might be.

There was one spot where I was not sure on how it should look so I used the Paint program in my desktop to electronically build several versions of the same scene.

It took less time and money than actually replacing scenery I didn’t like.

The process was enjoyable and I was able to compare the different printed versions side by side.

I have used this technique several times while I designed my 3rd division railroad.

Just remember that this doesn’t have to be fine art. It is only a way to see and show others what is in your head.

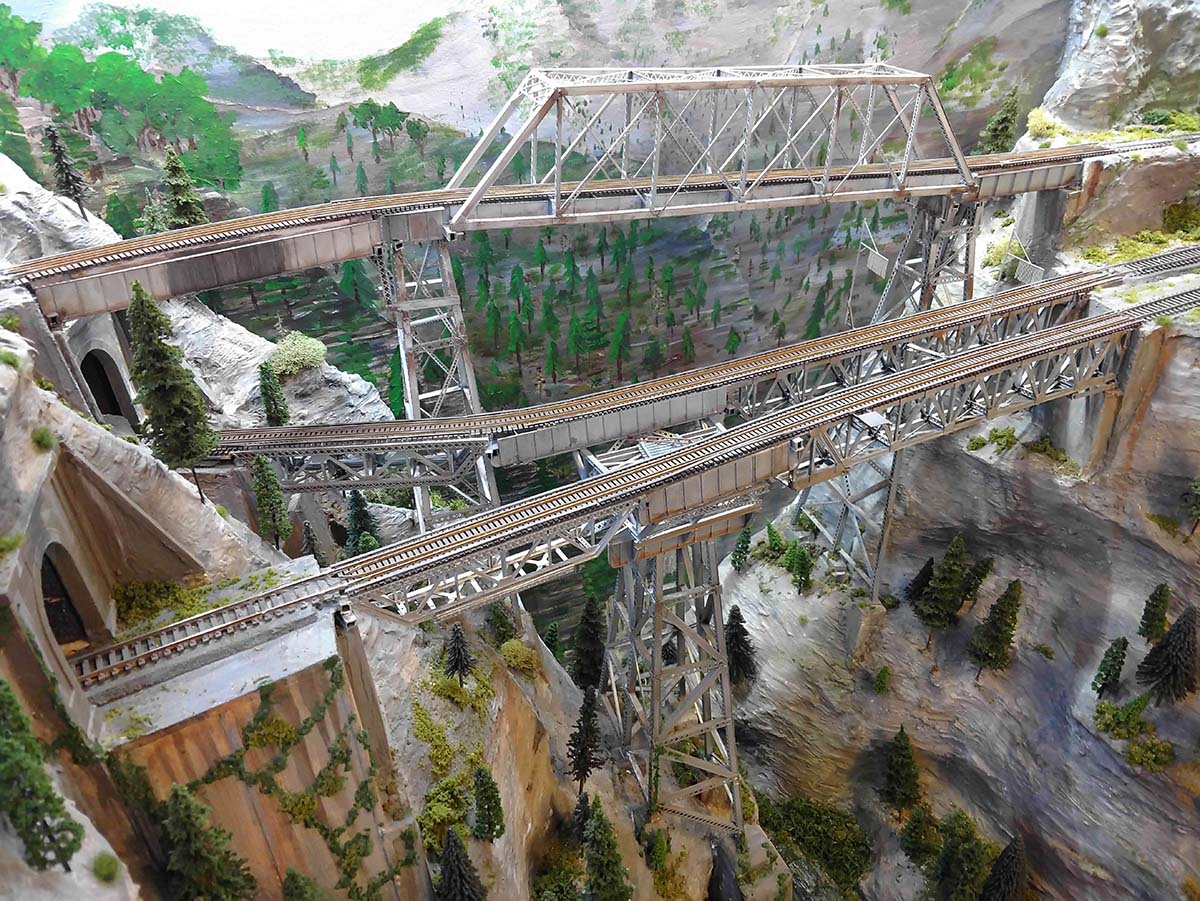
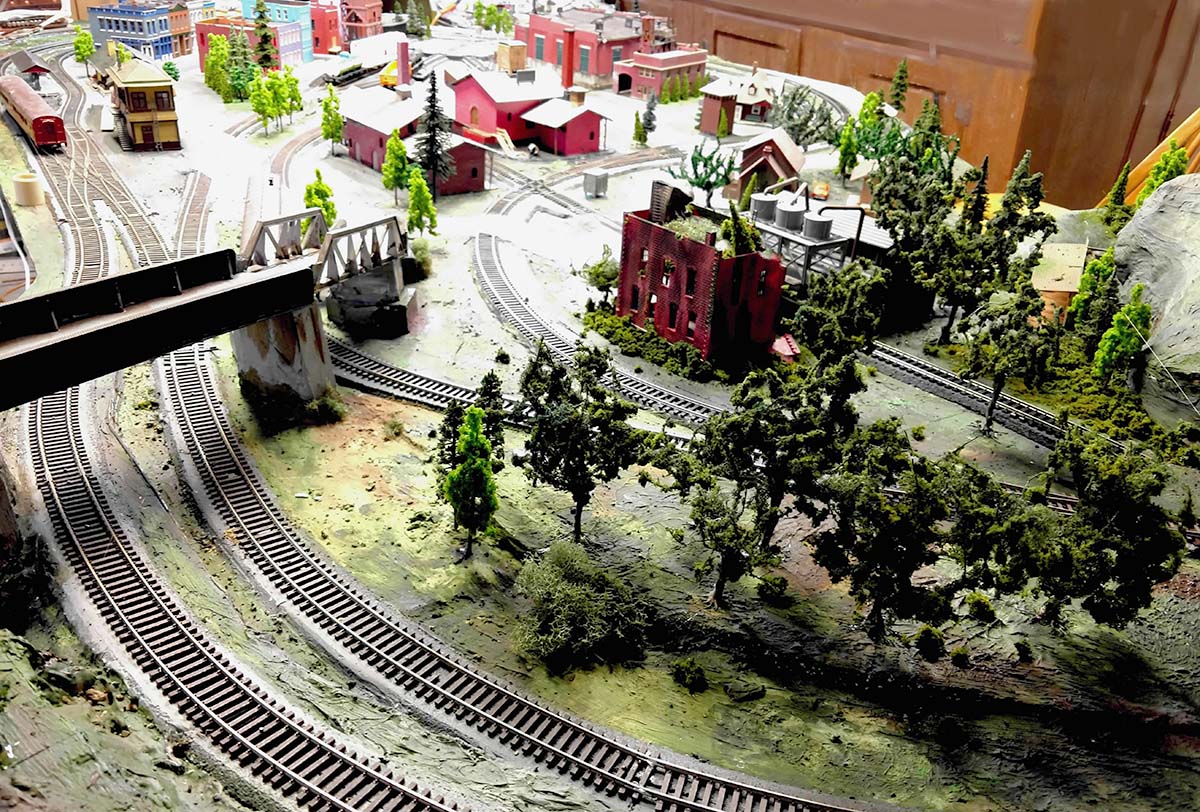
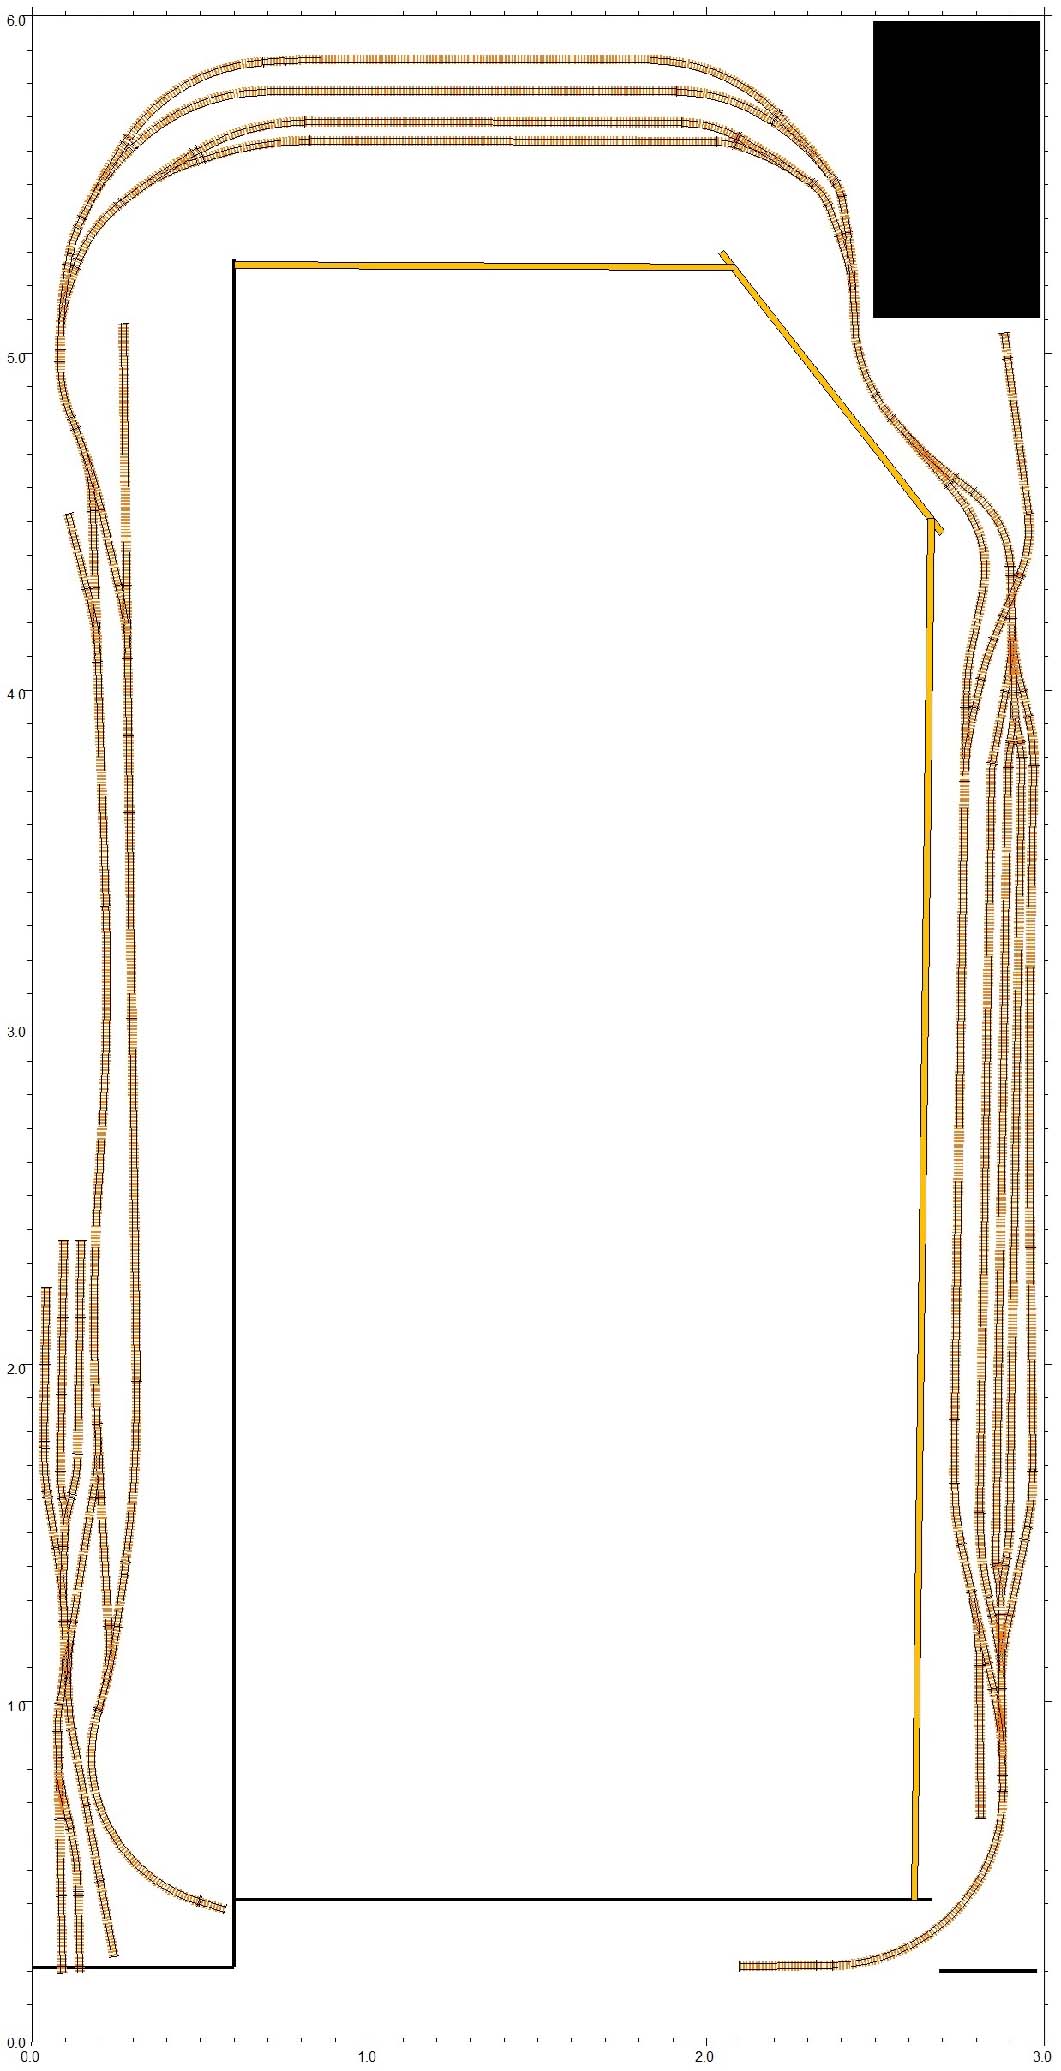
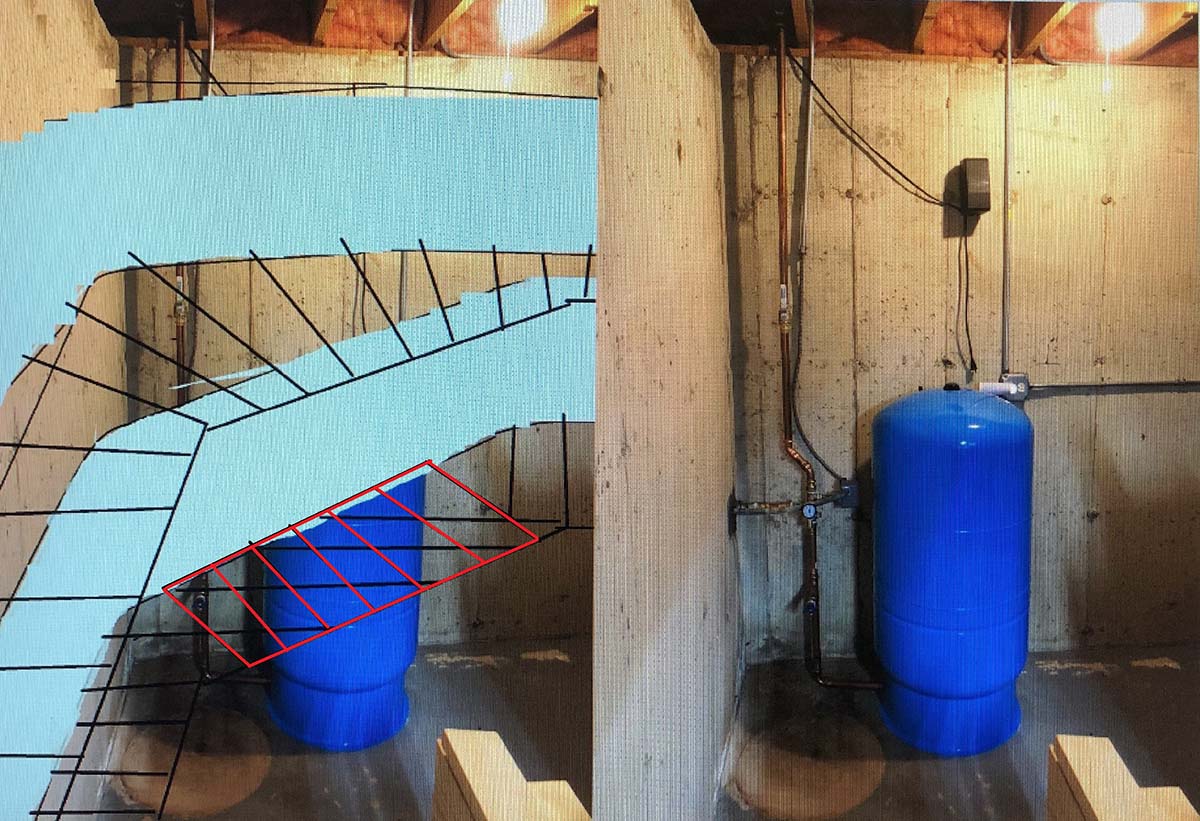
The last photo shows one idea for the double deck backdrops and framing for the 3rd division.

It is to be a very large model railroad so I want to have a clear build concept in place to get it running as soon as possible.

Rich”

trains layout table

trains layout table

trains layout table

trains layout table

HOn3 Well corner idea.

trains layout table

trains layout table


“Hi Al

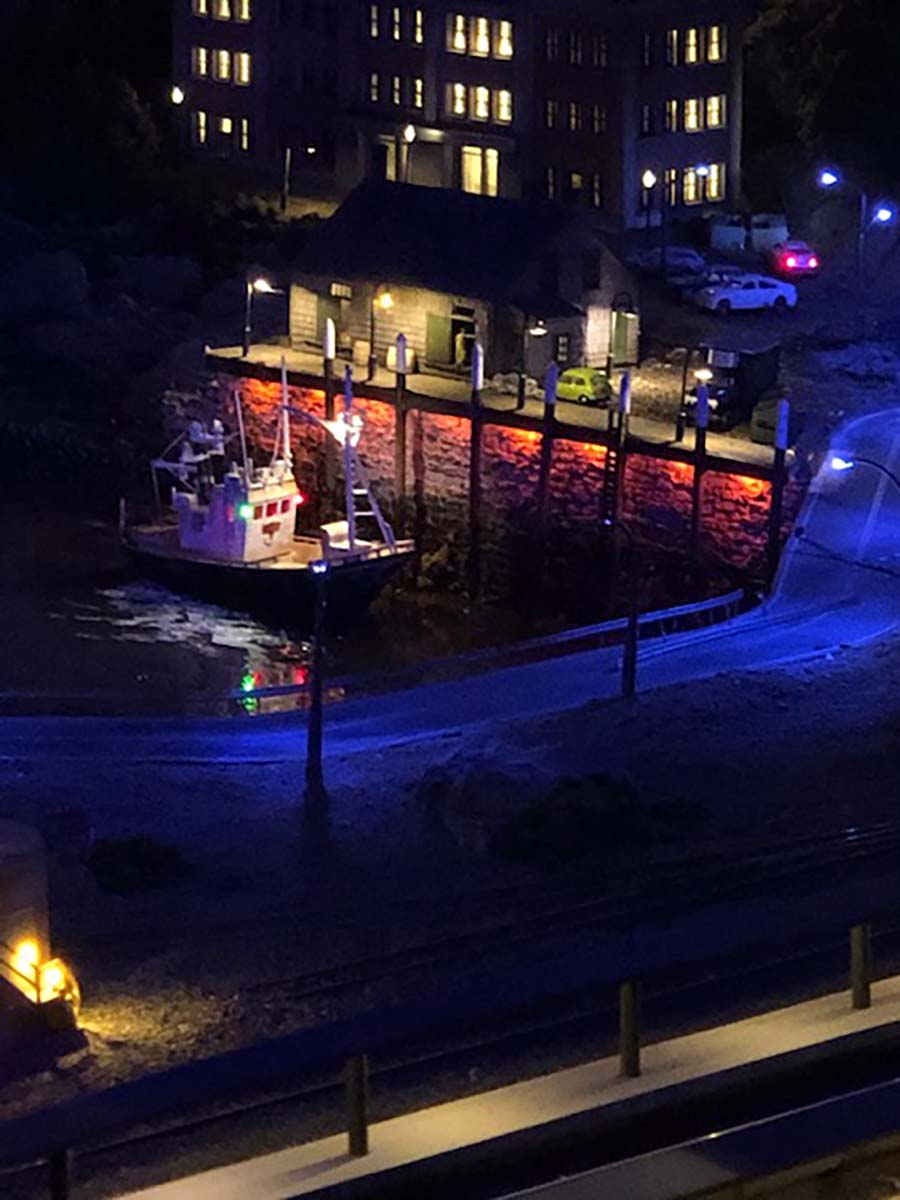
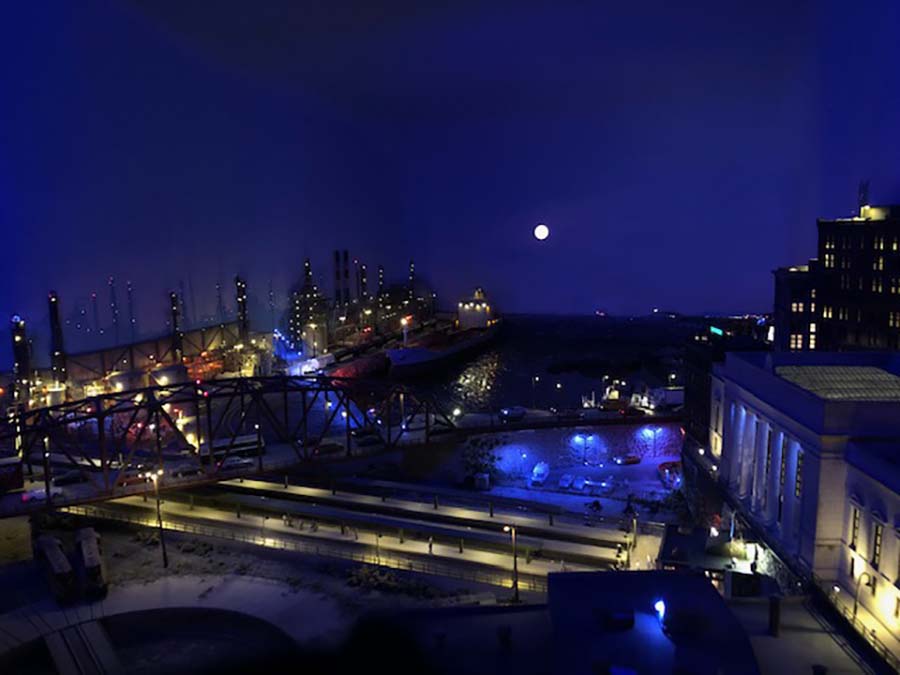
I am sharing some photo’s of my layout not to show that I have started my layout, or to report on its progress, but to share an experience that makes this hobby really enjoyable.

I have a 5 year old granddaugther, to whom I was explaining the layout of my model railway.

I mentioned that there will be a canal as a central feature. And I will need to create some water for it.

She decided to make some water by using blue crayon on bits of paper. She would go away and then return with more and more bits until the canal was full.

The magical bit was when I suggested that she could put one of the boats on her water, her eyes lit up.

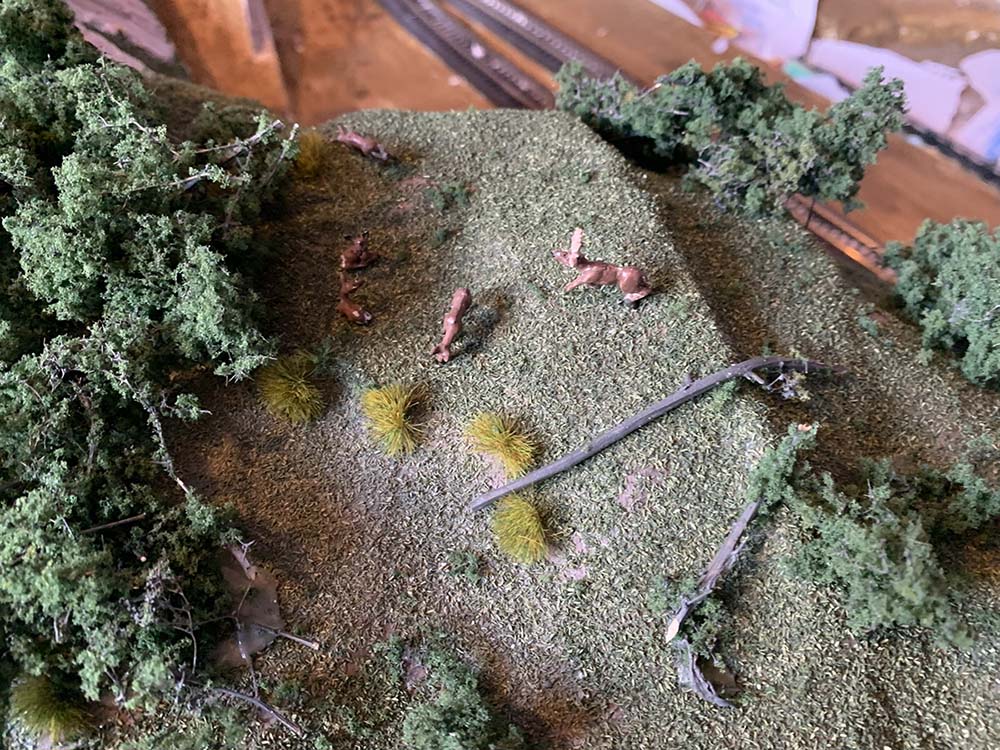
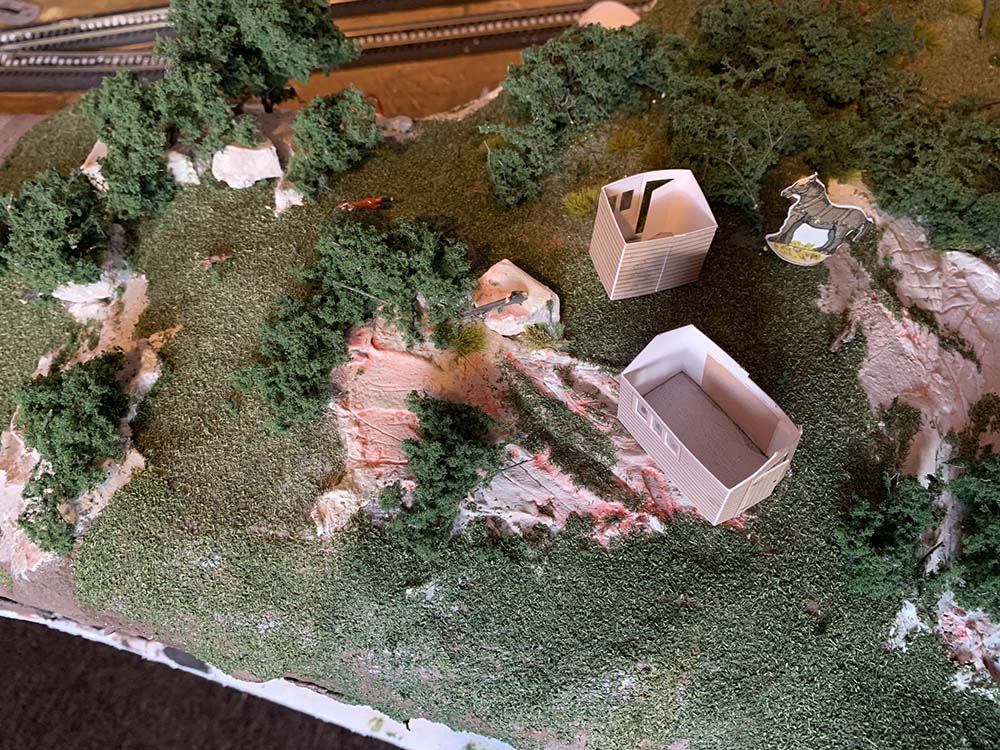
I then mentioned that I am going to make some trees for the layout and thus I now have trees.

I have also been adding some Langley animals which I paint and add to the layout and without telling her.

When she does find them she comes down very excitedly and drags Grandma up to show her.

Sometimes the magic is not only the layout.

By the way I have no idea how the sheds got there.

regards

Derrick”


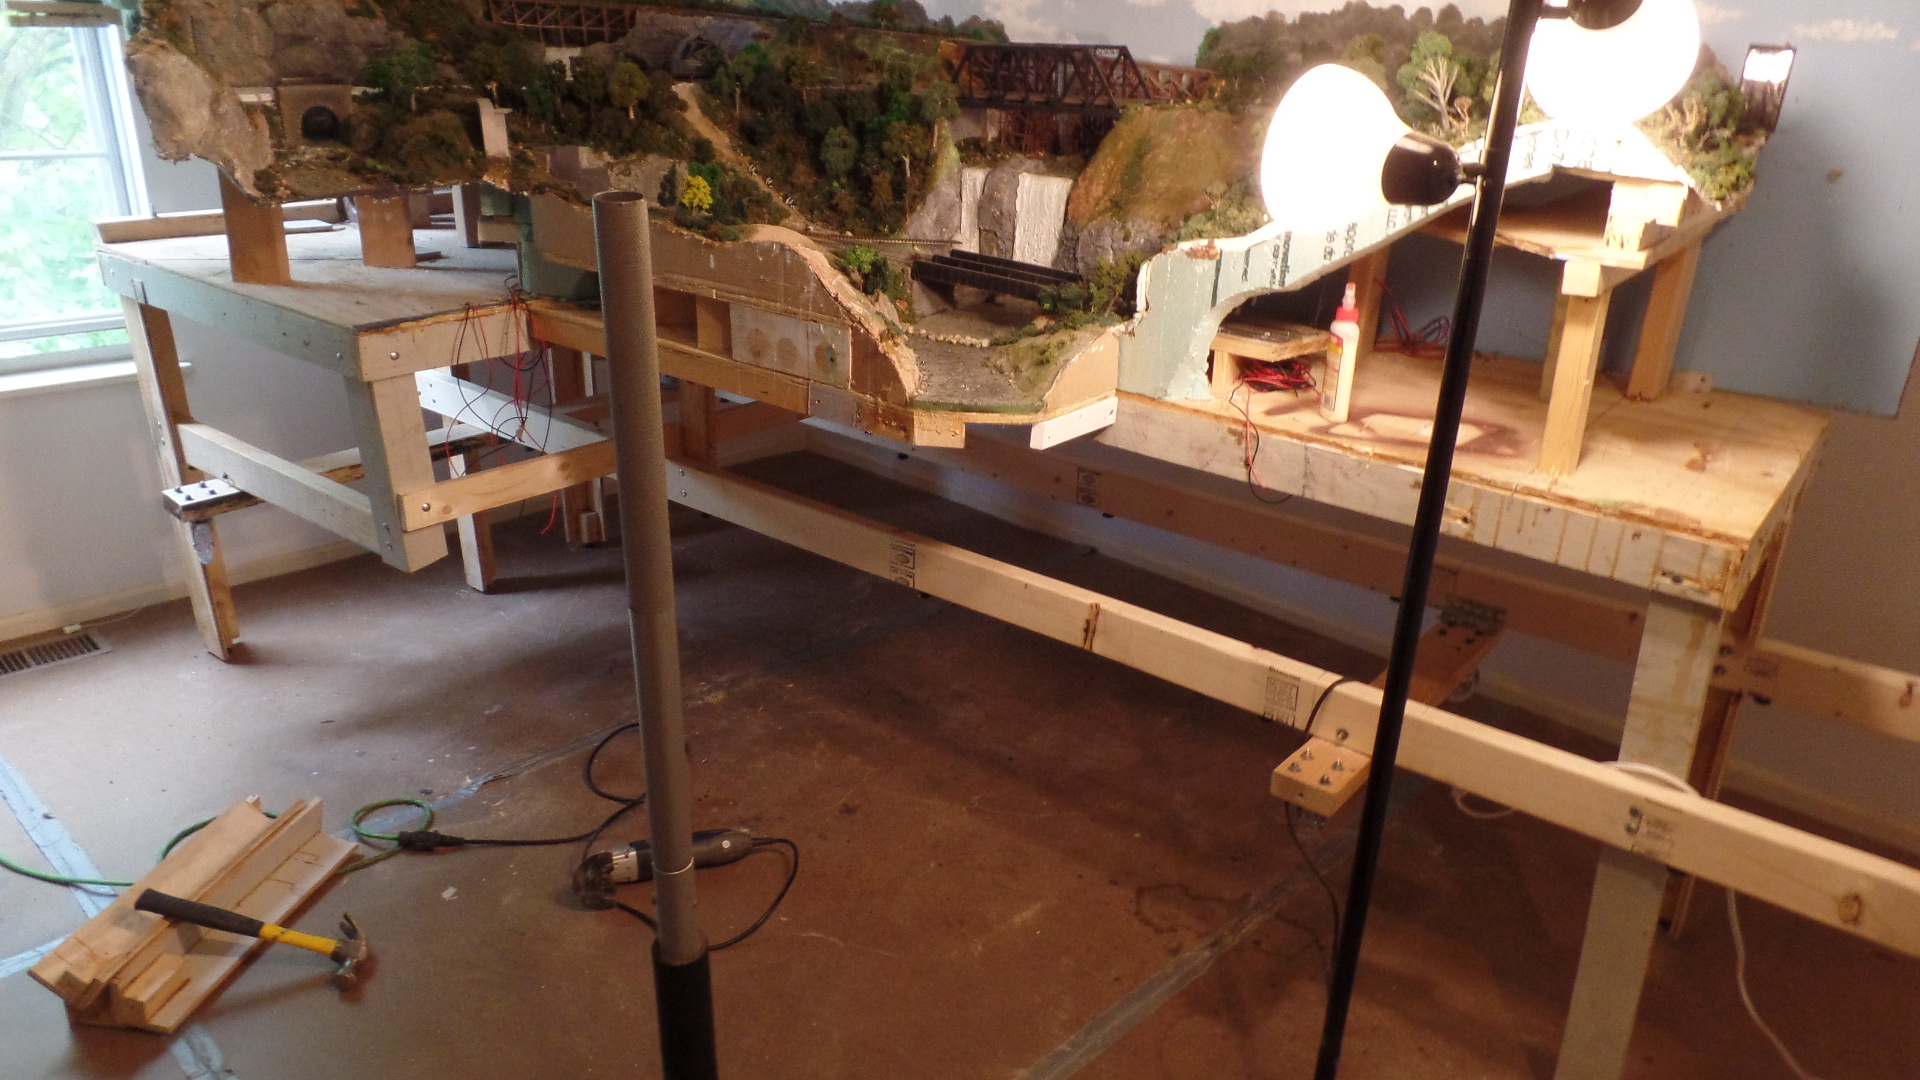
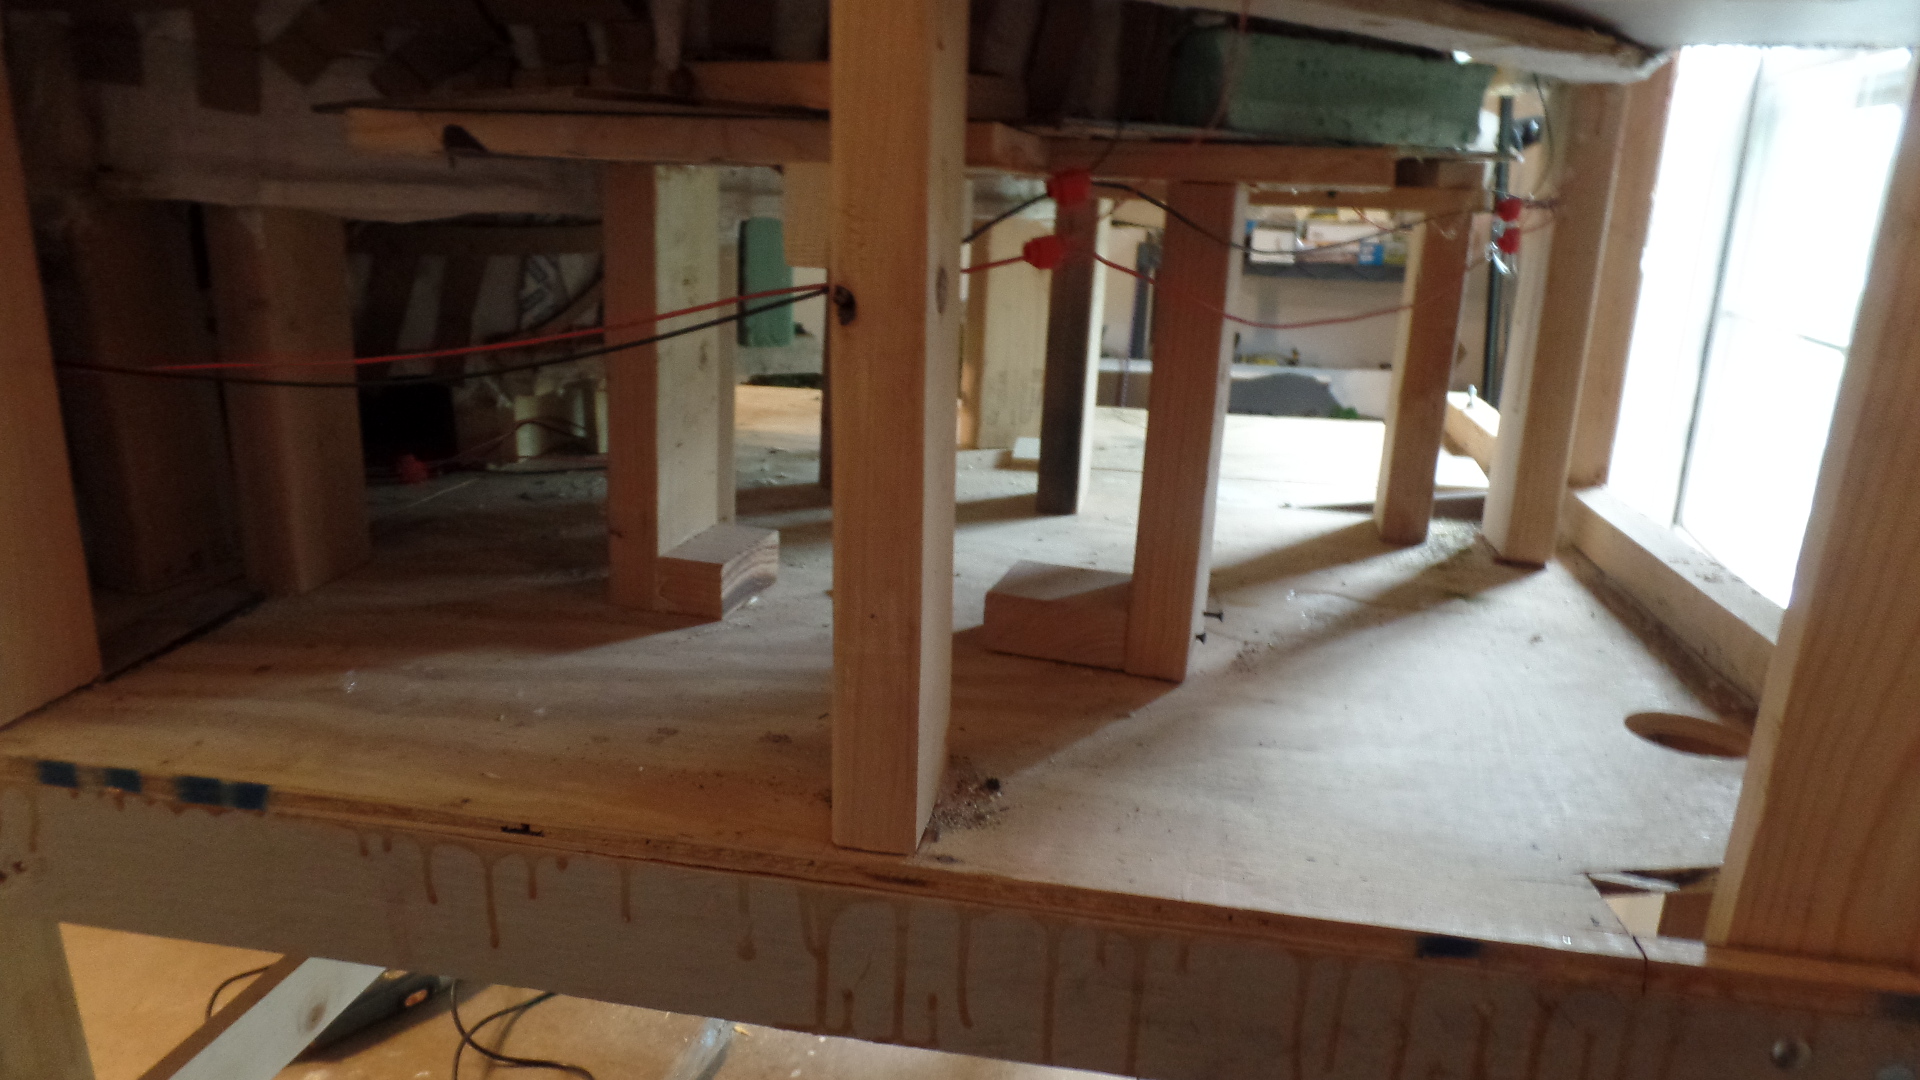
“I thought I would give you an update on the progress of dismantling my layout.

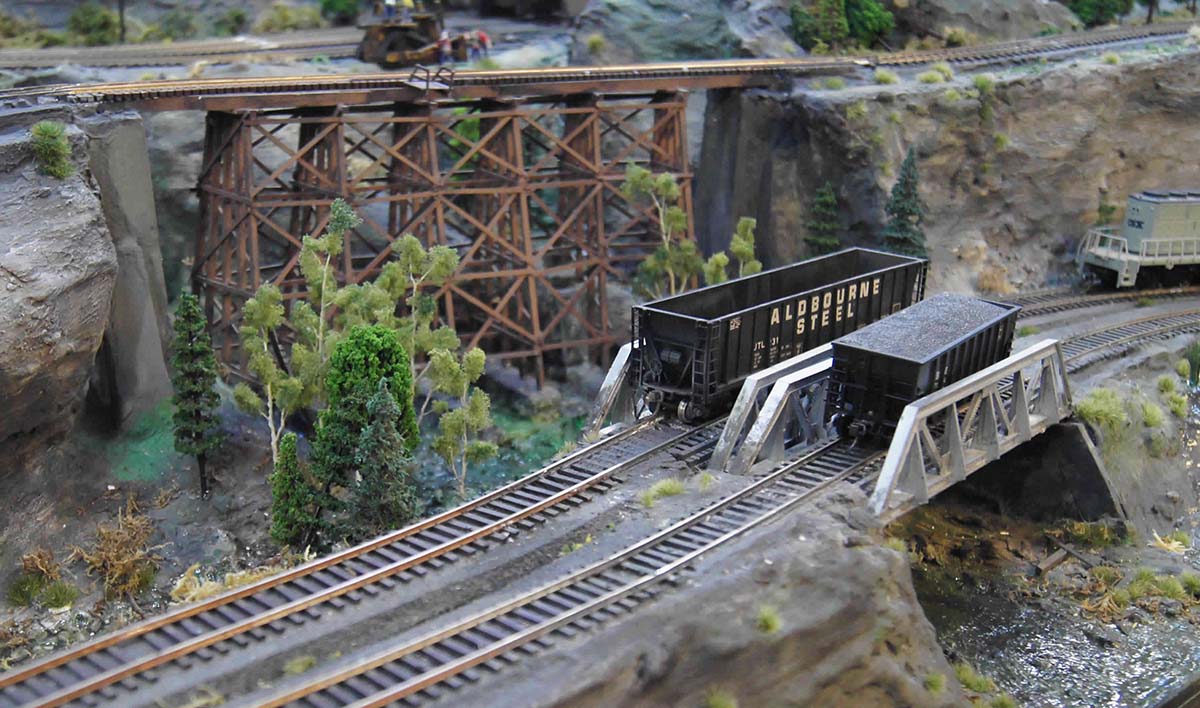
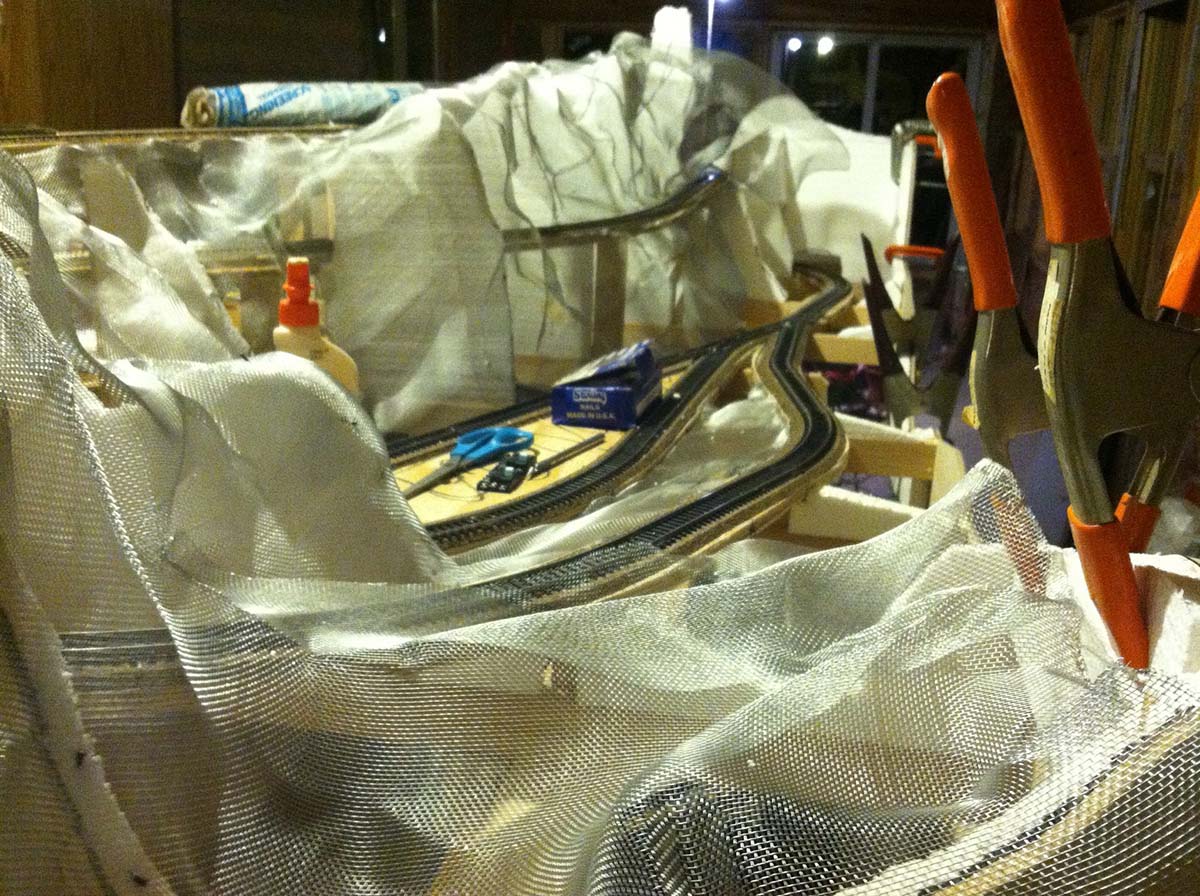
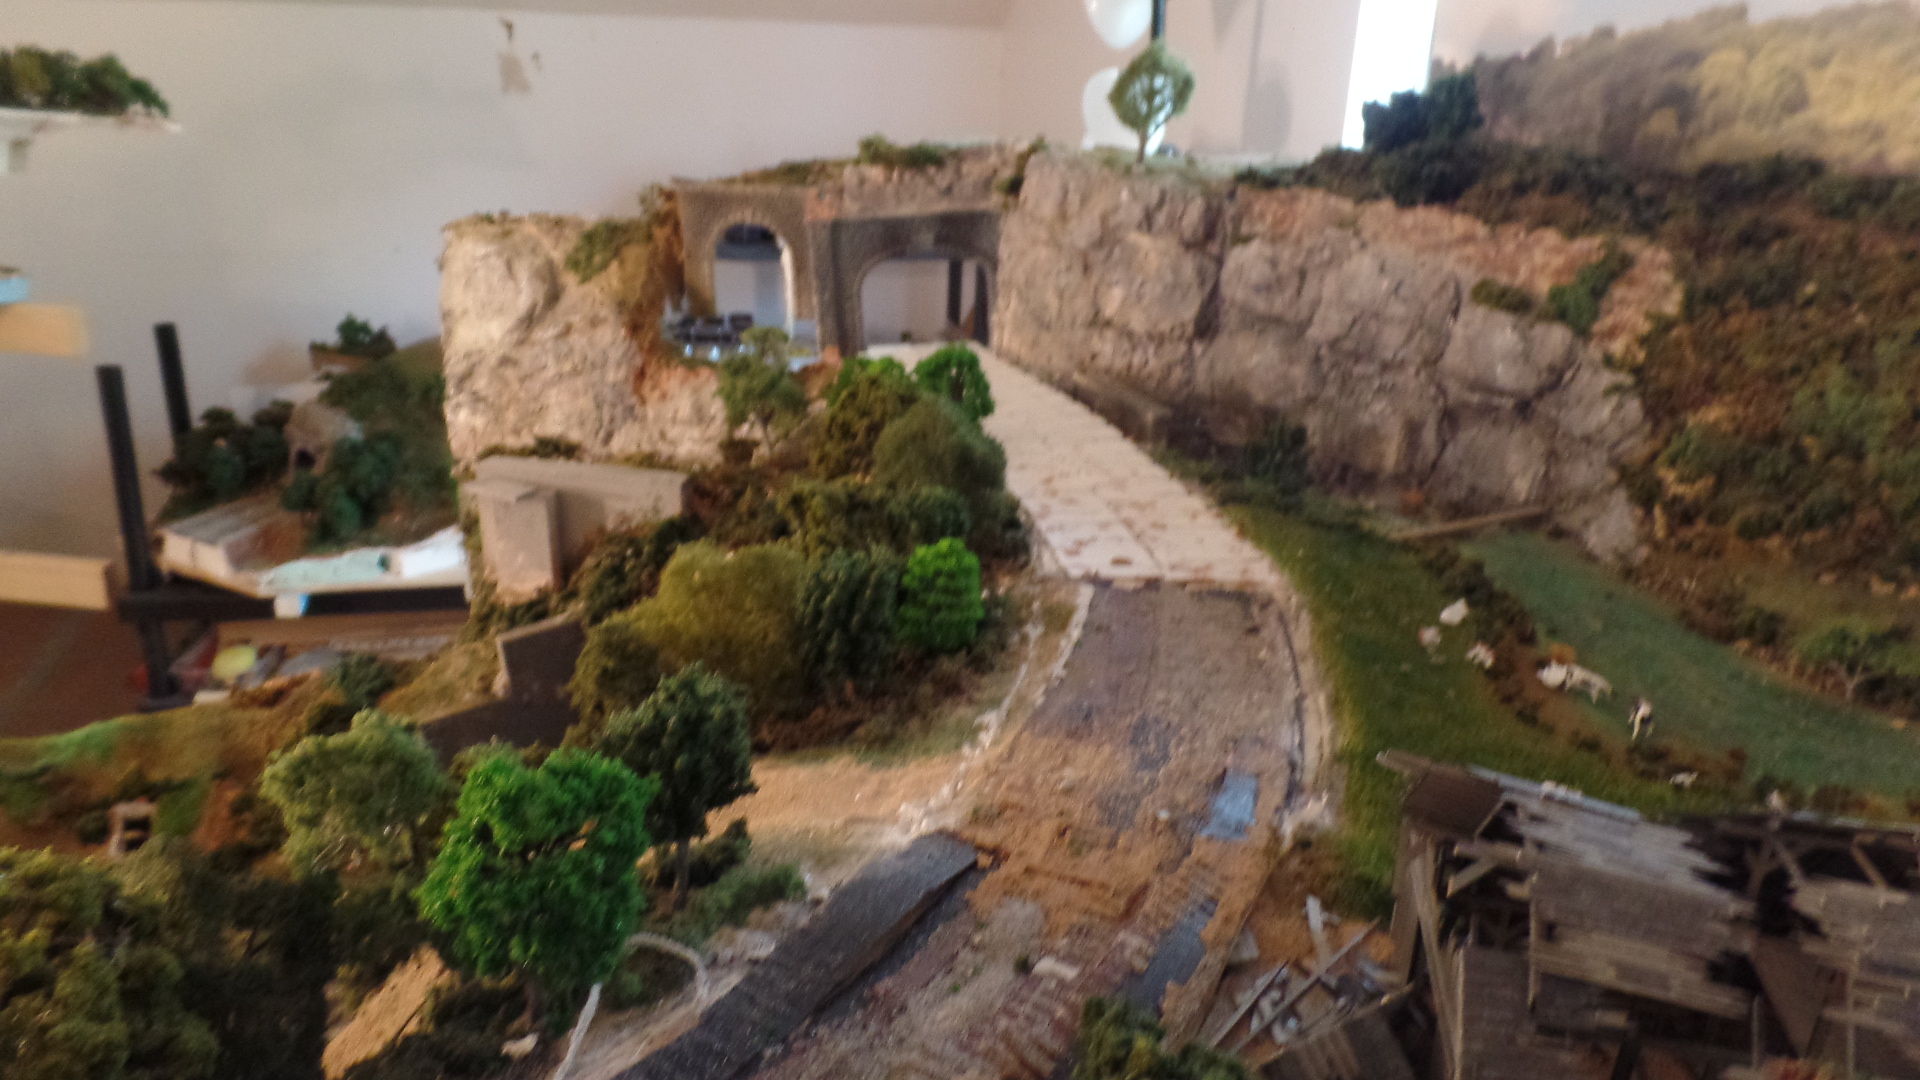
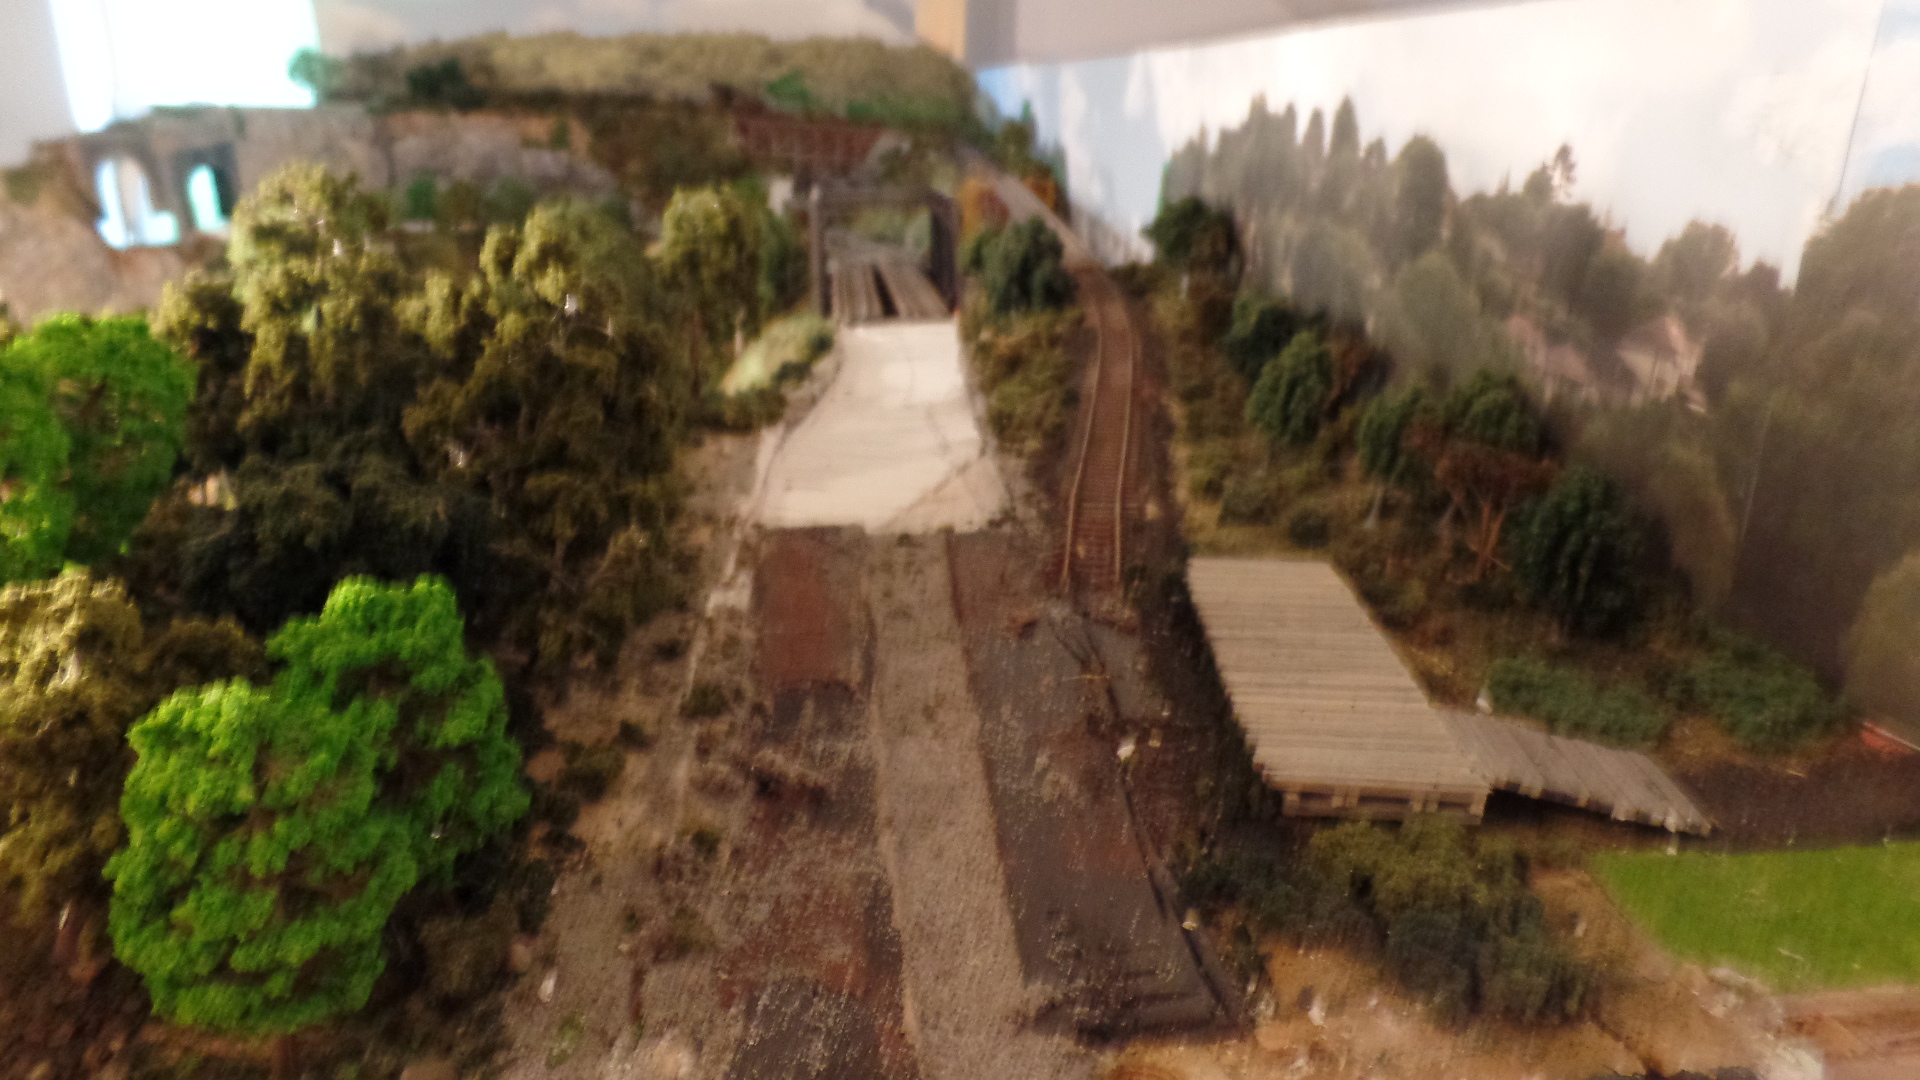
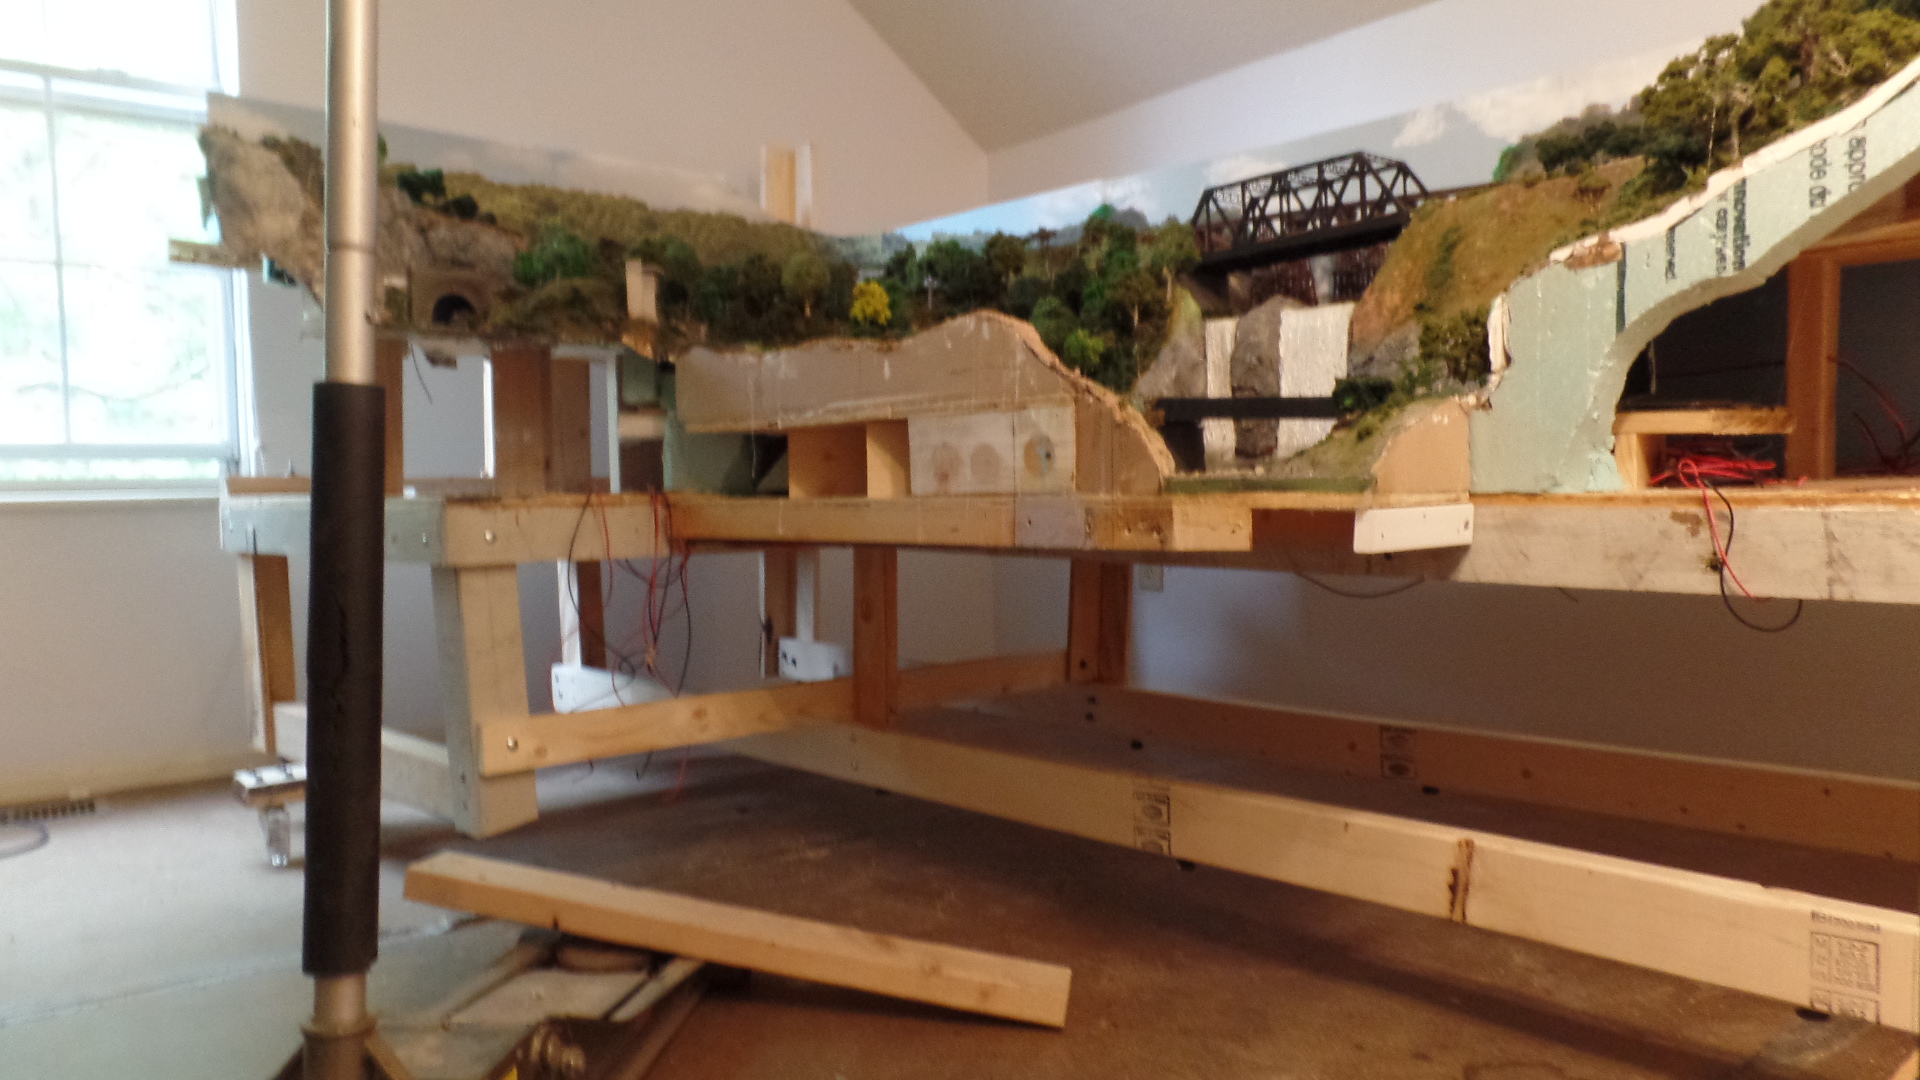
Here are two pictures showing why you should use open gridwork not tables for mountain scenes. It is not easy to work on or repair a scene after scenery is applied.

It is hopeless to save track if it has been glued down. Since plaster cloth was used over risers, I was able to pull it off. I also added a riser backwards to reduce the slope.

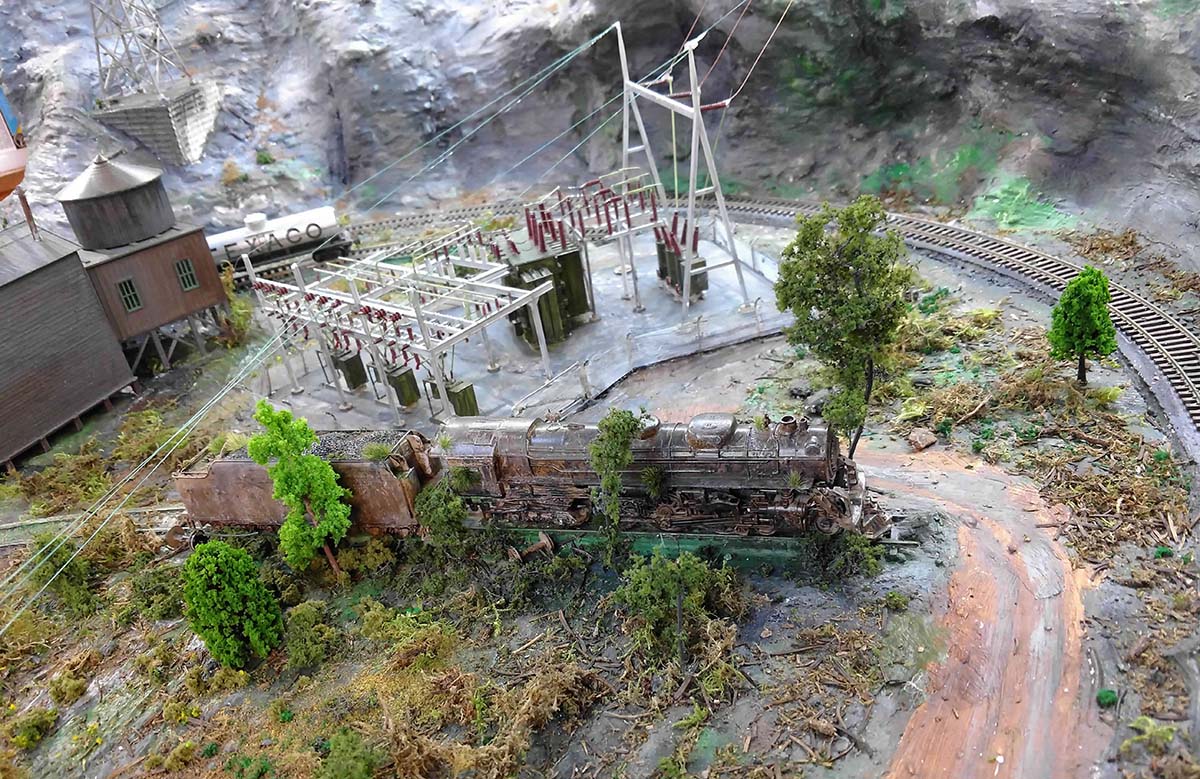
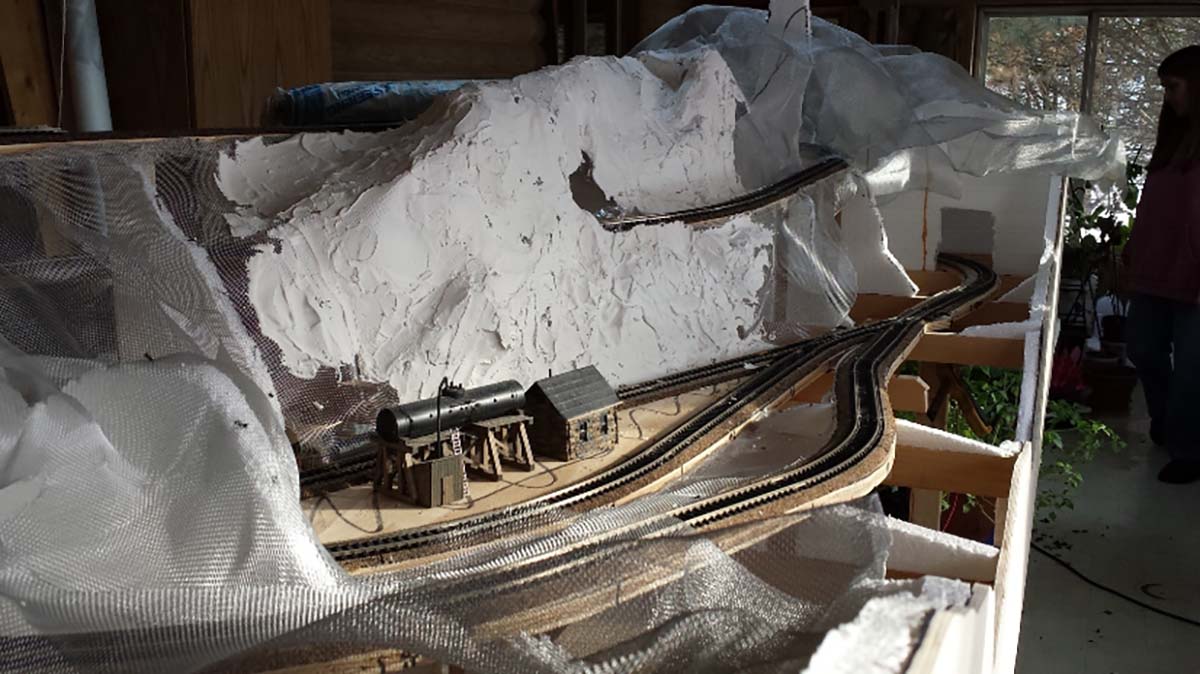
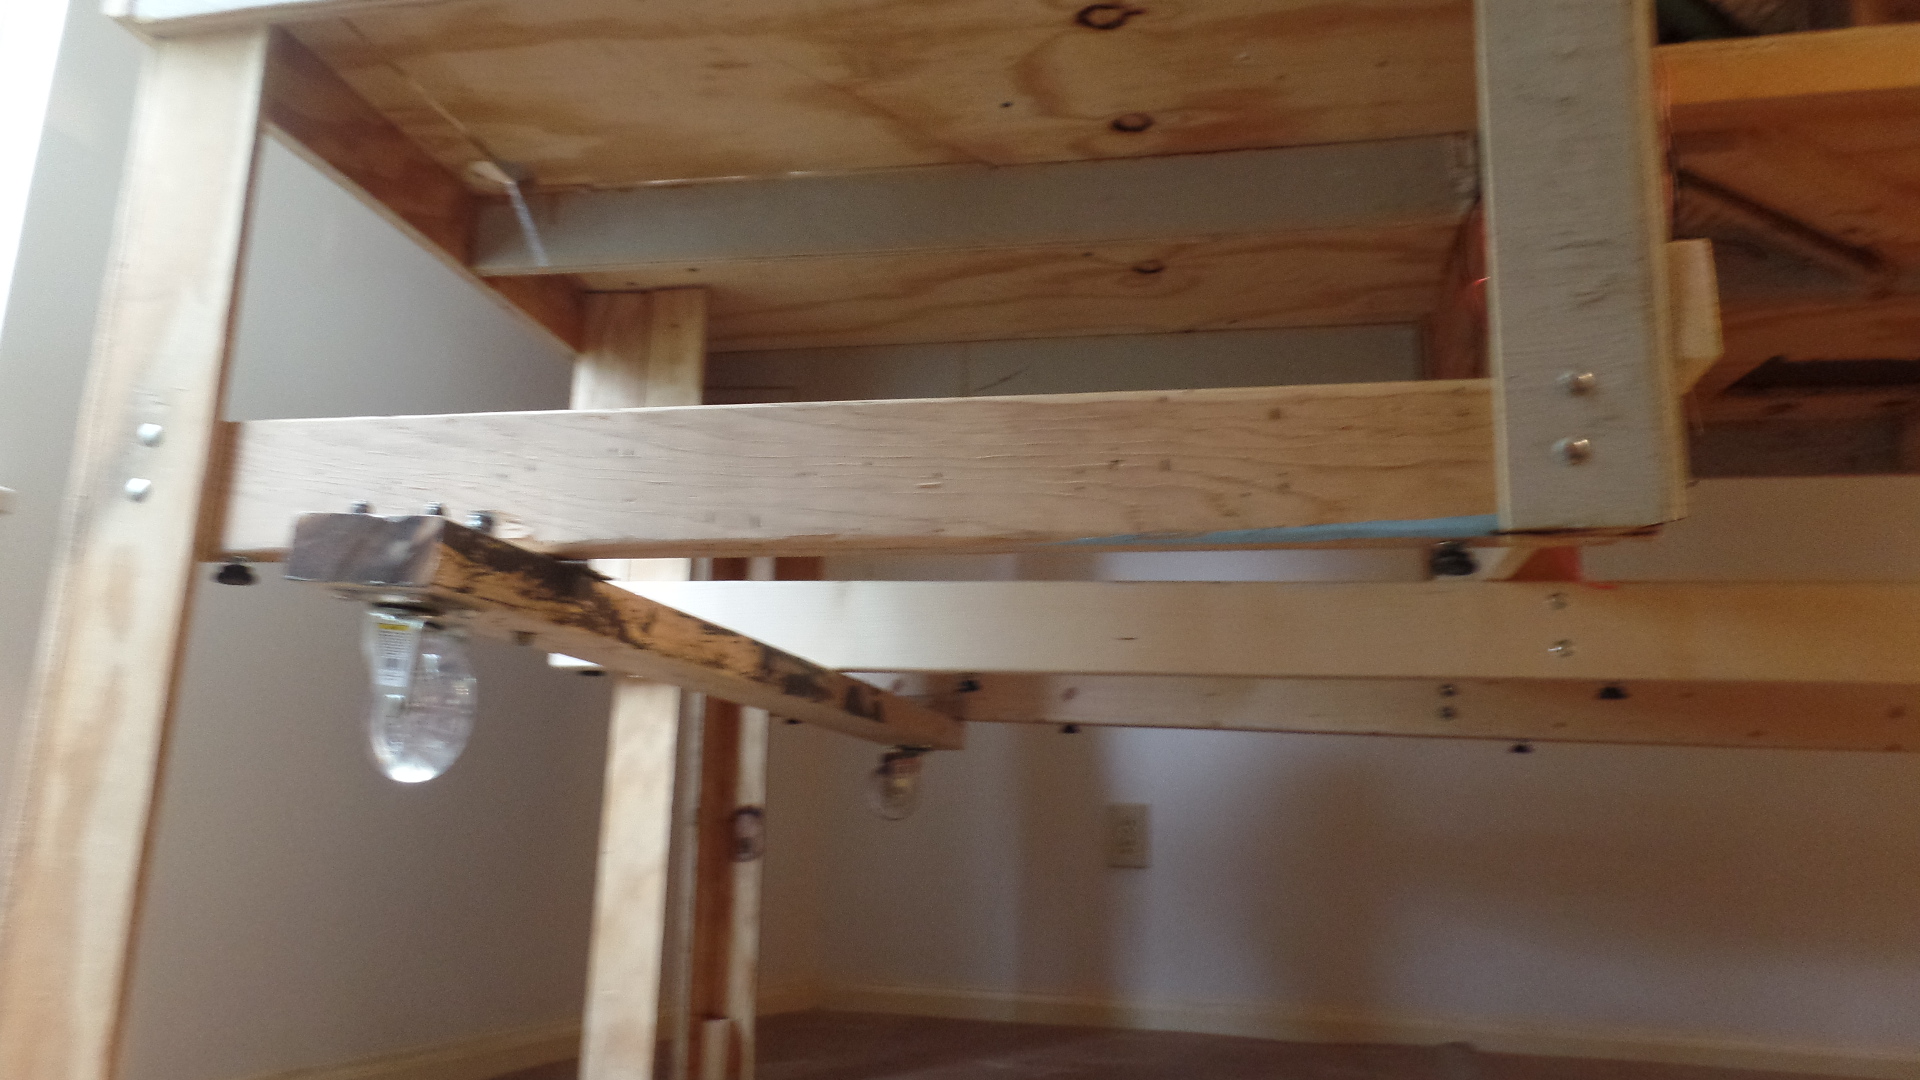
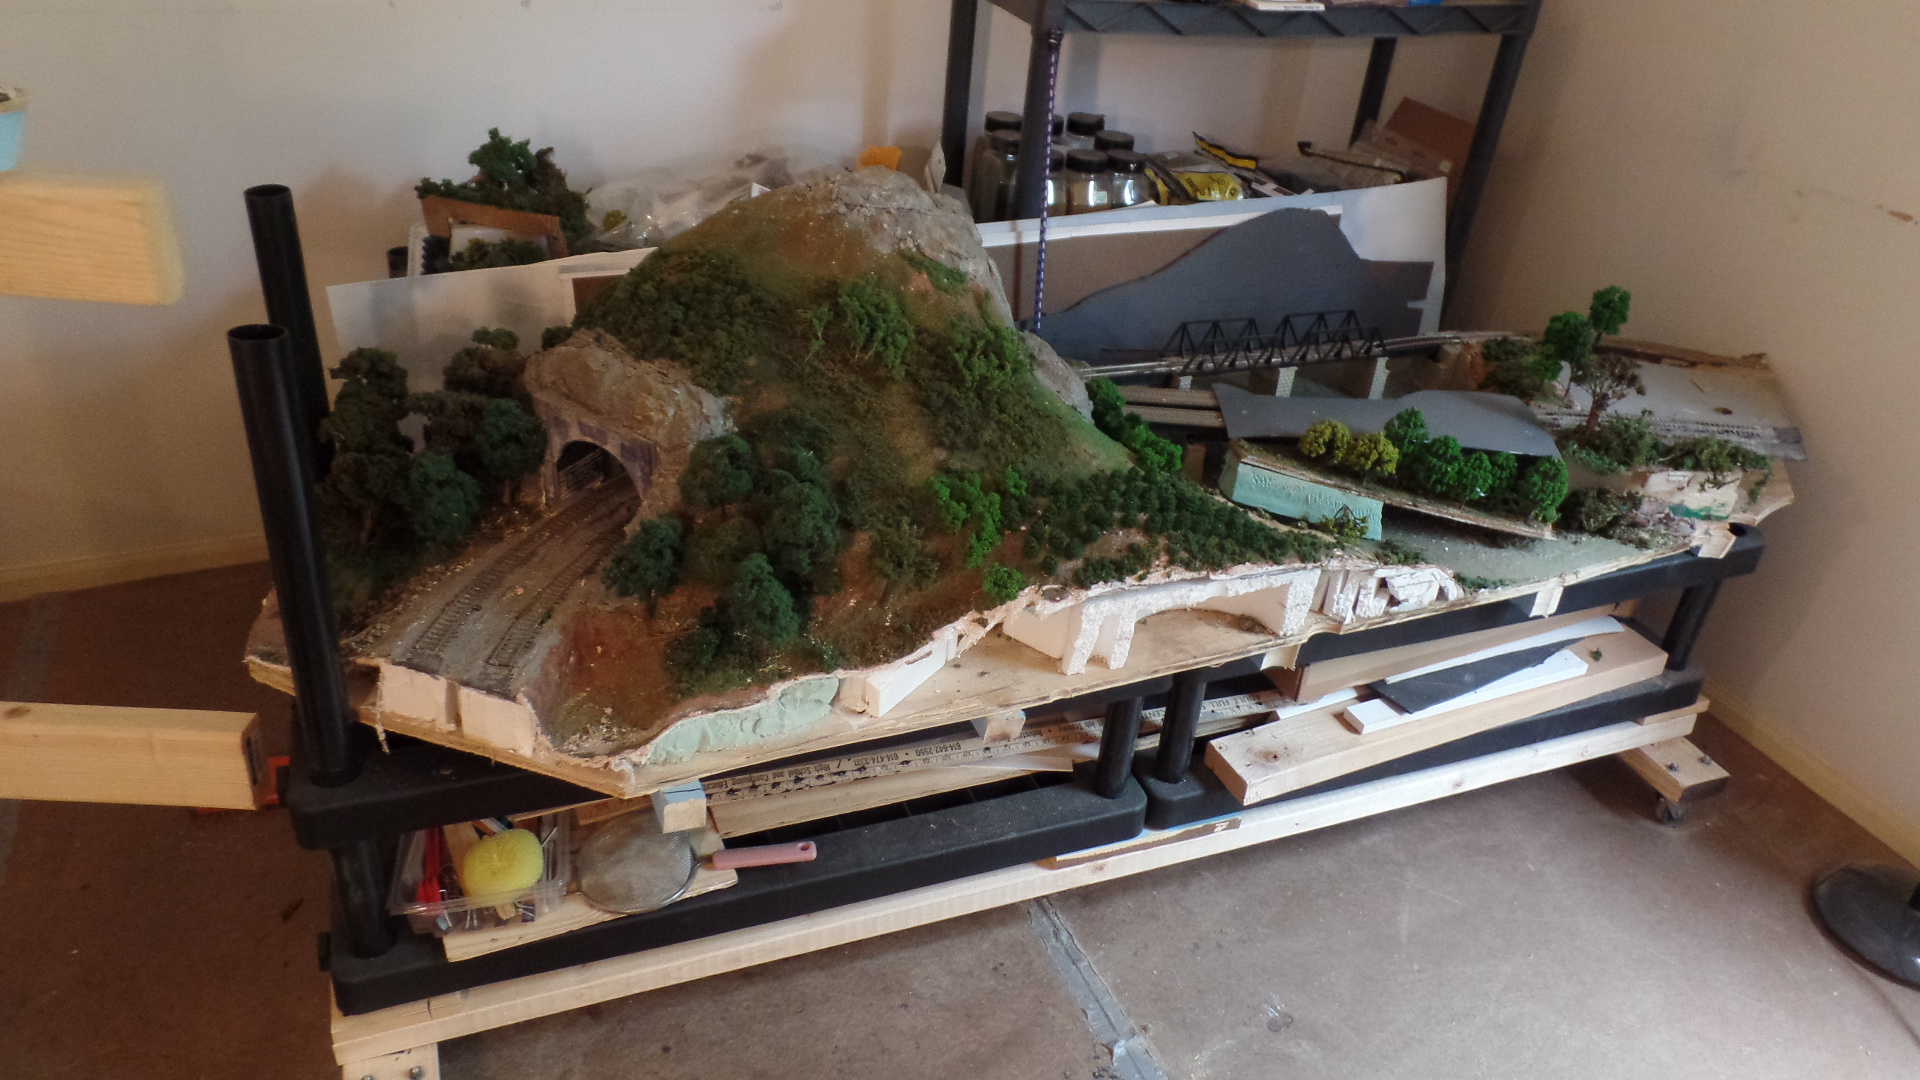
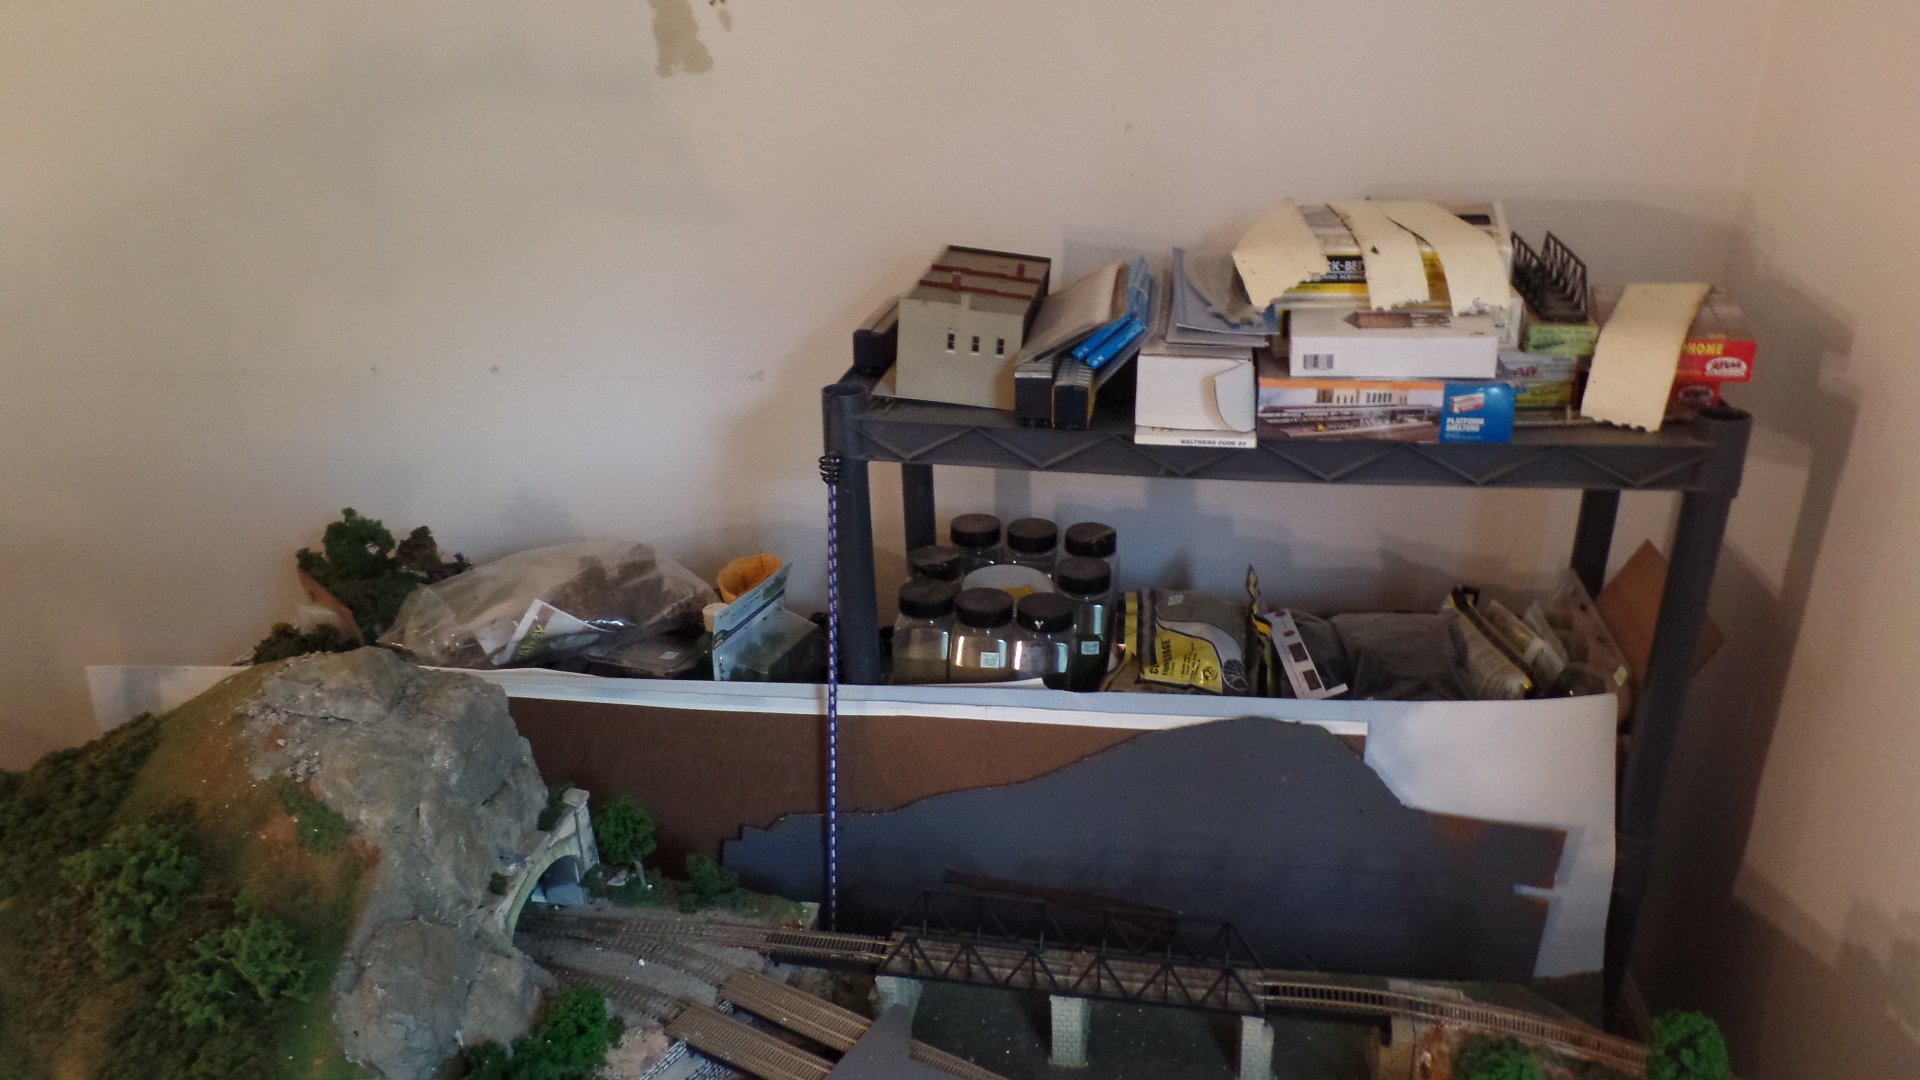
There were scenes that I could save and structures. Everything was mounted on roller tables. Three tables shown.

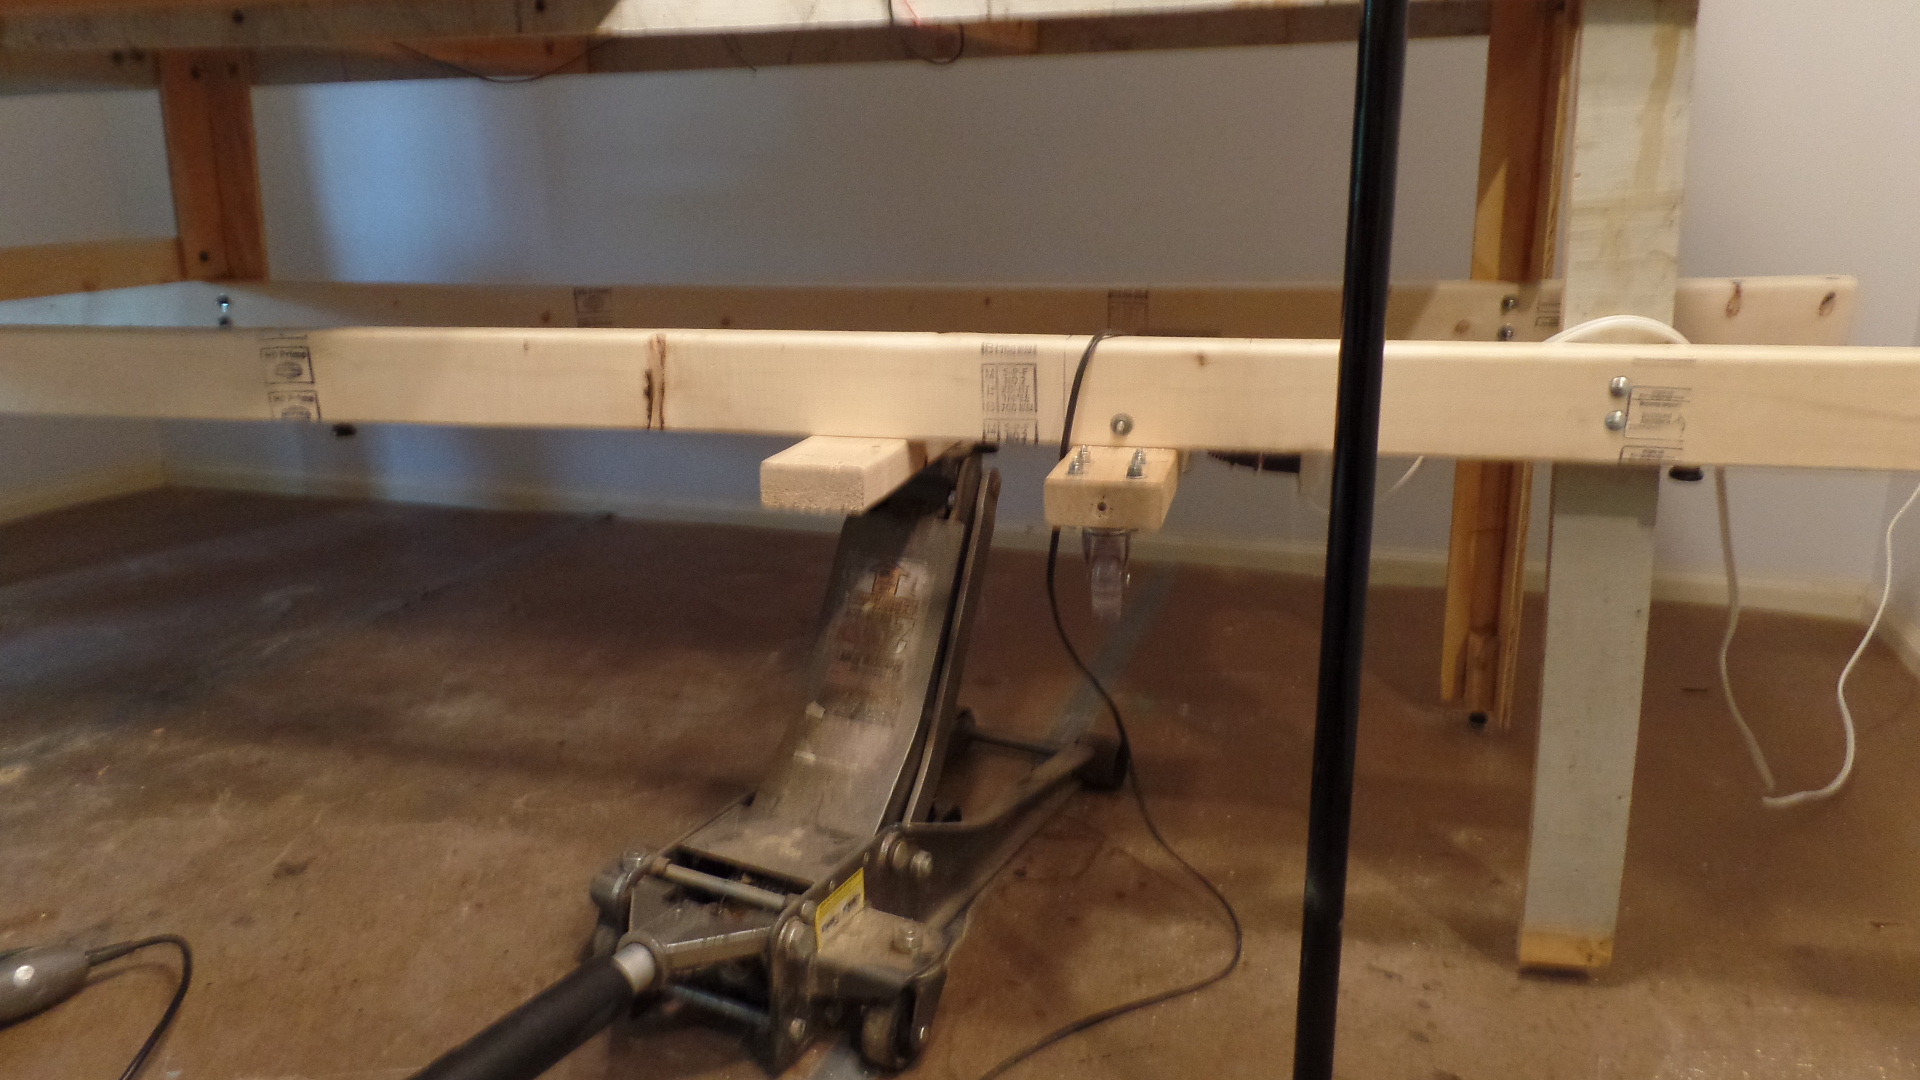
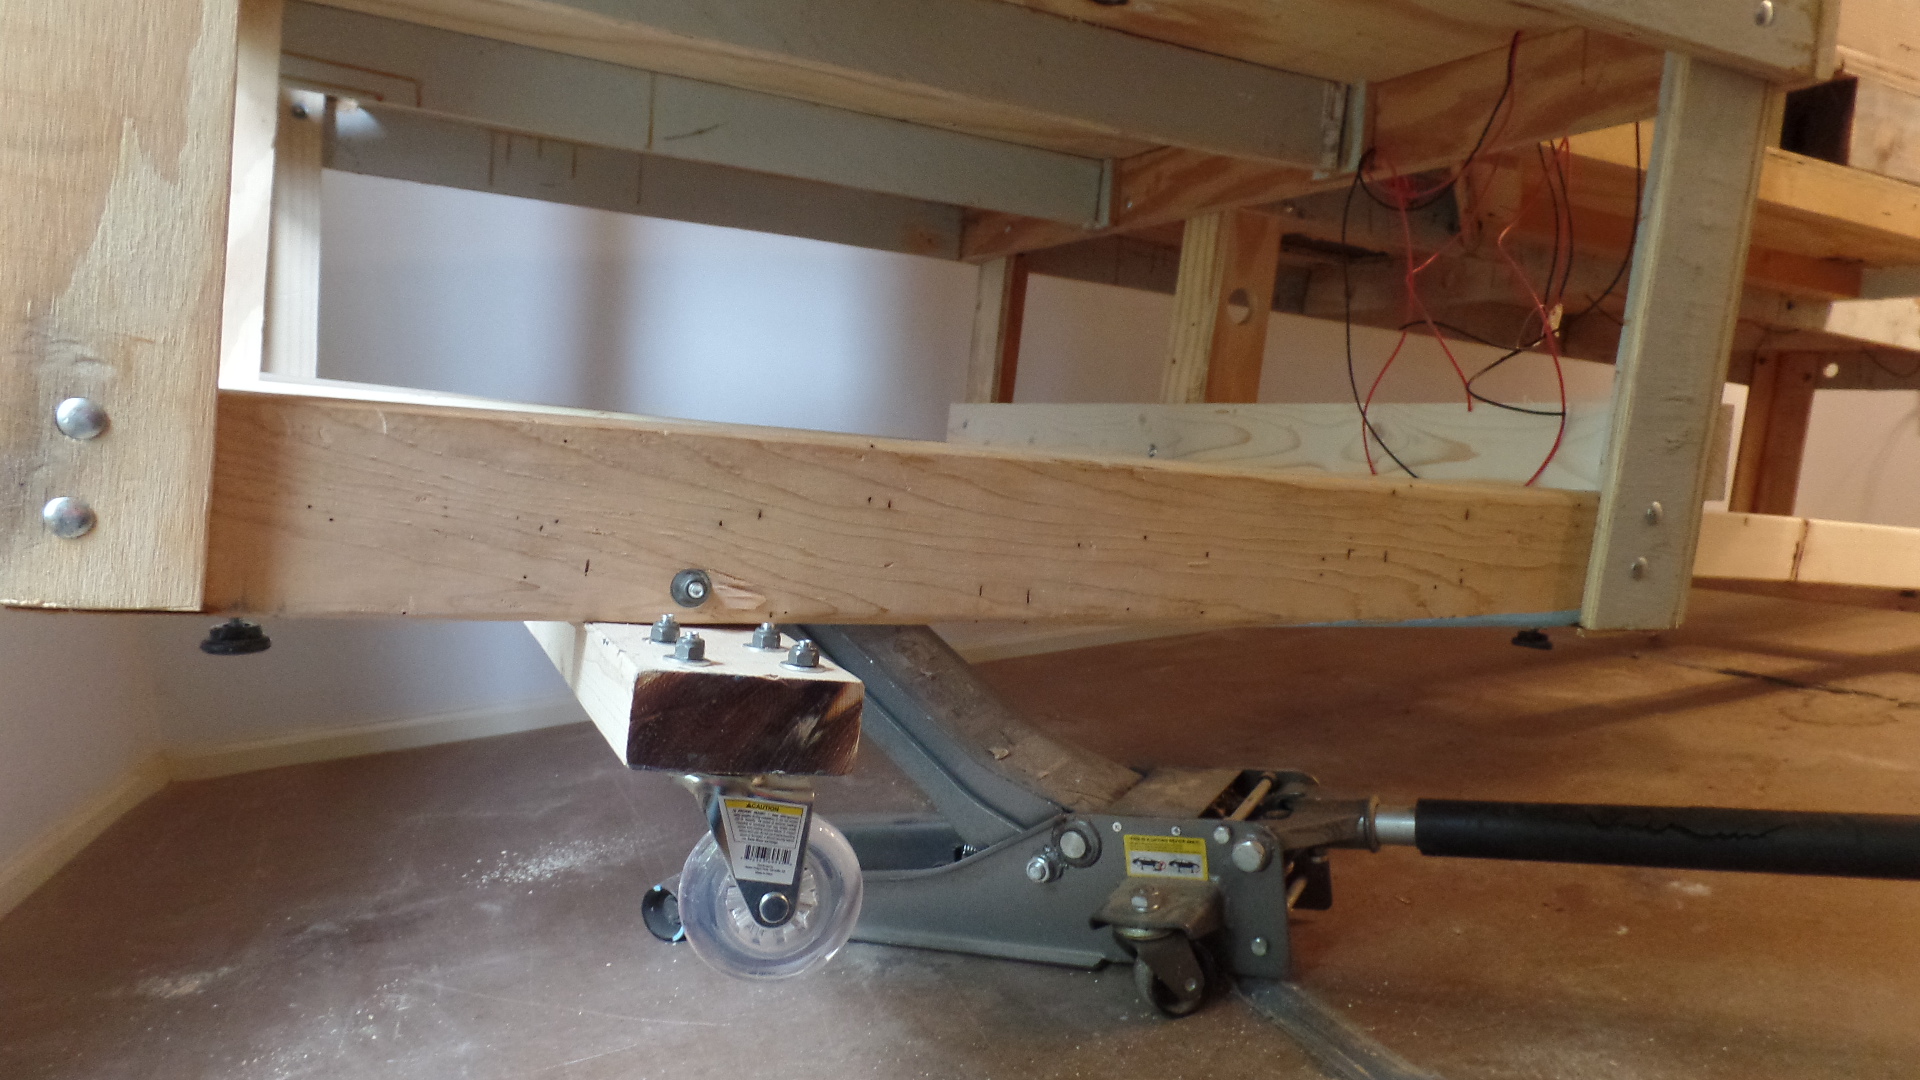
One table was saved. It needed to be lowered for the new bylevel plan. Casters were added. then the legs were shortened. A car jack was used to support and lower the table. Adjustable pads were added. The window shown was blocked before. The new plan will not block it and allow light from it.

Now that everything’s on wheels a new floor will be installed, and then I will start the new layout.

Don”

That’s all for today folks.

A big thanks to Rich for sharing his before and after pics of scenery on the trains layout – and to Don, Derrick too.

Don’t forget the Beginner’s Guide is here if you want to get going on your own layout.

Best

Al

PS Seen the latest ebay cheat sheet yet?


N scale LED lights

Fred’s been back in touch with his N scale LED lights scene.

I think it looks absolutely stunning, so if you agree:

“Hi Al –

Sorry I didn’t get back to you – got distracted.

I’ve been pressed into service getting our house re-painted, gardens weeded and planted, and that sort of thing.

Now that most of my layout is done, I plan on nibbling at detailed improvements and embellishments during the cold season.

Having made my excuses, here are a few more pics.

All the best,

Fred”

N scale LED lights

N scale LED lights

N scale LED lights

N scale LED lights

N scale LED lights

N scale LED lights

Stunning stuff from Fred as always.

I know I’ve said it before, but I’m still going to say it.

It’s always the layouts with a theme in mind from day one that turn out the best.

Fred’s layout is quite small, but because he was clear about what he wanted to model and why, it’s an absolute stunner, regardless of its size.

If you missed his last post, it’s here.

In my mind, there’s only one thing more important than having a theme for your layout, and that’s making a start.

Now on to Hall of Fame member, Dave:

“Hi Al,

just uploaded a video showing some very reasonable priced trees that I have added to the layout.

To make use of the old ones which were far too bright, I have show how to change them by just spraying with a tin of spray paint, which has transformed them in to something I can now use

Regards

Dave”


A big thanks to Fred for sharing his N scale LED lights layout, and too Dave.

That’s all for today folks.

Please don’t forget the Beginner’s Guide is here if you want to get going on your own layout.

Best

Al


Model train scene

John’s been in touch with how he builds each model train scene to create a visual ‘journey’ around his layout:

“Hi Al,

I thought I’d opine on a subject that is sometimes overlooked as we build our miniature railroad worlds.

My article here is on “focusing” or “guiding” our visitors to a scene.

A little background. In the real world as we visit a park, take a walk in the country, or amble through a museum, most of us will not remember in any detail 90% of the day.

On the way home as we look back at our adventure, we’ll remember specific parts of the day’s journey. Very little or at best most is not pinned to our memory.

So then, what made the memory flashbulb go off? The scene had something to draw our eye and hold it long enough to imprint a memory. Museums are expert at this, we don’t remember the hallway to the dinosaur bones, but remember the bones.

On my layout, I’ve tried to have 3 places where my visitors “take in a scene” as shown in the schematic picture.

In model building we often take great pride in the details of the model, place it on the layout and then have to mention those detail labors of love to our visitors as they are drawn to looking elsewhere.

In the pictures I have attached, I have taken from the perspective of the persons visiting my West Virginia mountains, and try to show how I’ve worked to stage the scenes.

Obviously since we are looking at the HO world from what would be equivalent to a helicopter window flying some 500 feet or more in the air, one will see a larger scene than if we were walking along the road in the real world.

That means some manipulation of space is required. I try to present the whole scene, then as one gets closer, mini-scenes of the total.

If my visitors are interested in details, such as in the “old mine” picture, I try to have some holes in the trees or places to look past the building to see those details. In the case of the old mine, I made a “funnel” in the hills to draw the eye past the new mine to the old one.

If I want to create focus, and I can, I provide extra light on a place, as shown by example the picture of my electrical sub-station. Each model train scene should ‘work’ on its own.

Since I’m modeling mountains in the coal mine sections, I have the advantage of adding details on levels. The picture of the old water tower above the mines supplying water to them is an example of elevating the scene to a different level, as is the picture of wooden bridge which is lower and more in the foreground. Going from eye level and continuing downward, I modeled a canyon under the bridges which drops to just 3” above the floor.

Most of what I have here has been sent in before in articles Al has been kind enough to post, but I thought I’d try to add a new perspective to what we do as we build our models.

I’m happy with the way this layout came out… but some of the radius of the turns are too tight, so I can’t run many of the locomotives and passenger equipment I’d like to have as part of the running environment.

So I’ve been slowing down on “new” construction as I’m going to be moving the layout to a new location. (groan) Starting in a month or so, I’ll be sawing the thing into pieces which I can move from the basement of the house to the top floor attic, some 3 floors (and 5 doorways!) up.

First job is to finish the upstairs room, put down a new floor, get lighting and power where I need it, paint walls and ceiling for background, and add some baseboard heat.

I hope to document the work on what will be very likely my last layout!

Regards,

John From Baltimore”

model train scene

model train scene bridge

model train scene mountains

model train scene bridges

model train scene mine


model railroad sub station

HO scale town overview

HO scale water tower

A big thanks to John for sharing how he creates each model train scene on his layout.

If you want to read his last post, it’s right here.

Now on to Henry – his last post is at the bottom of this one:

“Hello Alastair,

In response to some of the comments asking for a track plan, here are the track plans for both the upper and lower levels.

The two level will be connected via a linear climb along the two long walls of the garage, as I have no space for a helix.

I also include a link to a youtube video of a passenger train around the bottom level of my layout.

Thank You

Henry”


That’s all for today folks. Please do keep ’em coming.

And if you want to make a start on your own layout, the Beginner’s Guide is here.

Best

Al

PS Seen the latest ebay cheat sheet yet?