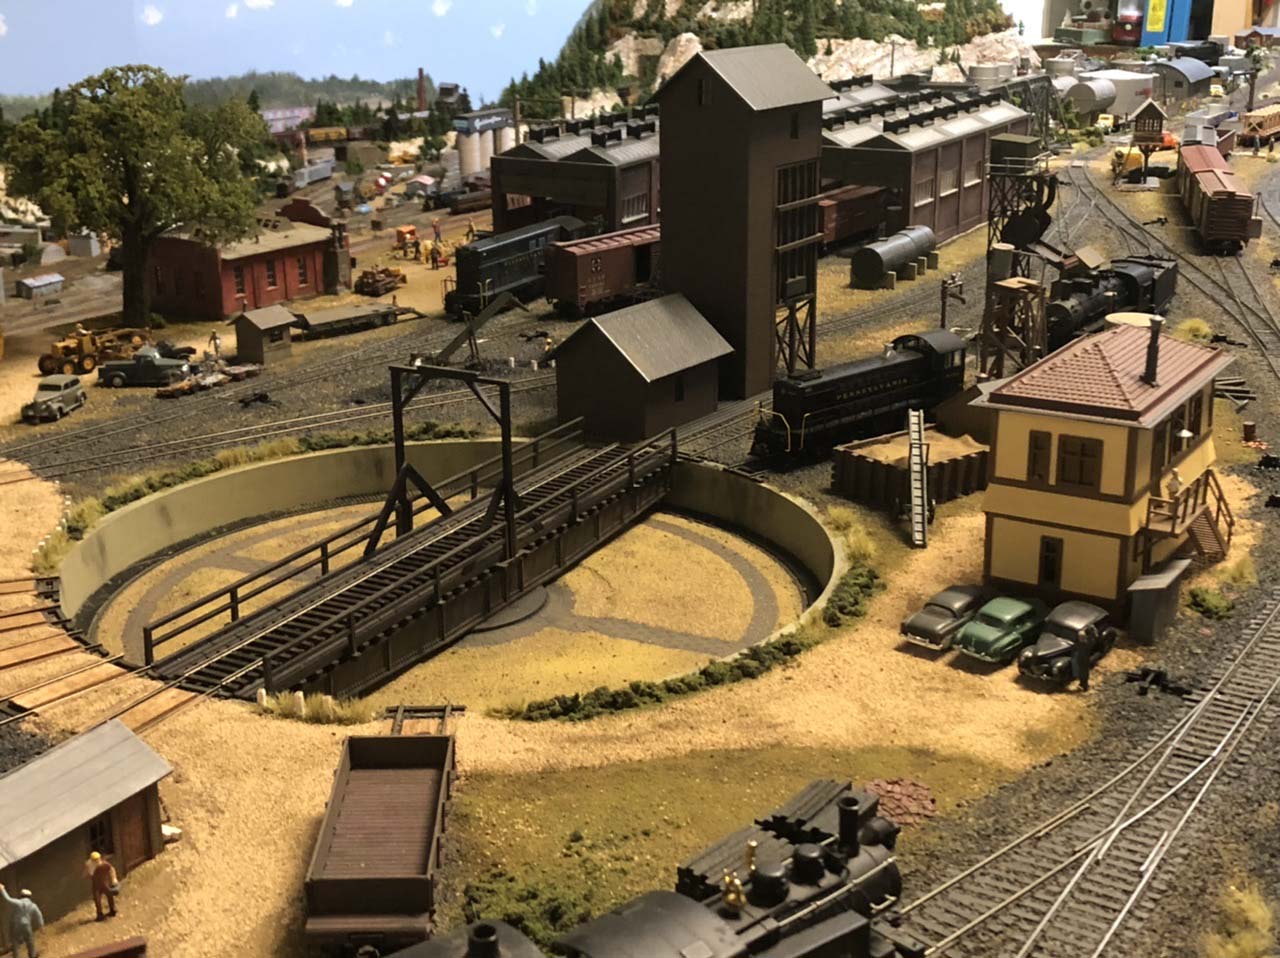
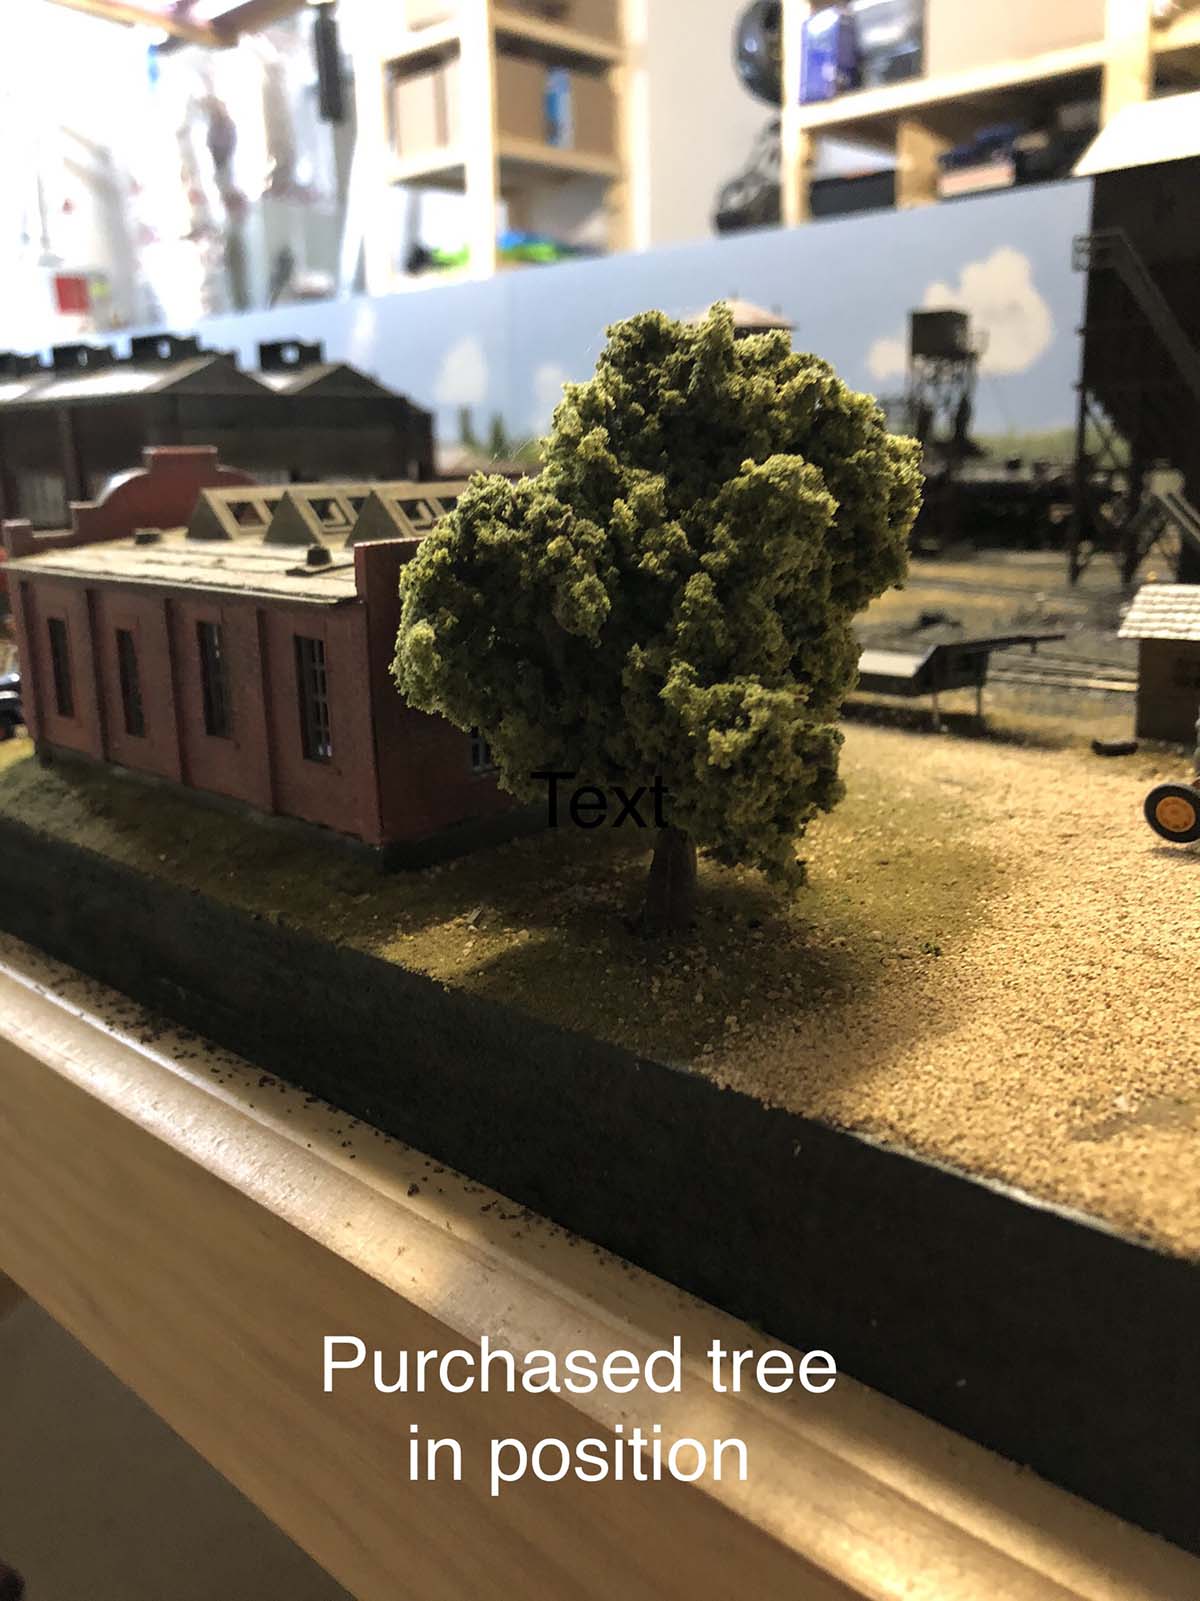
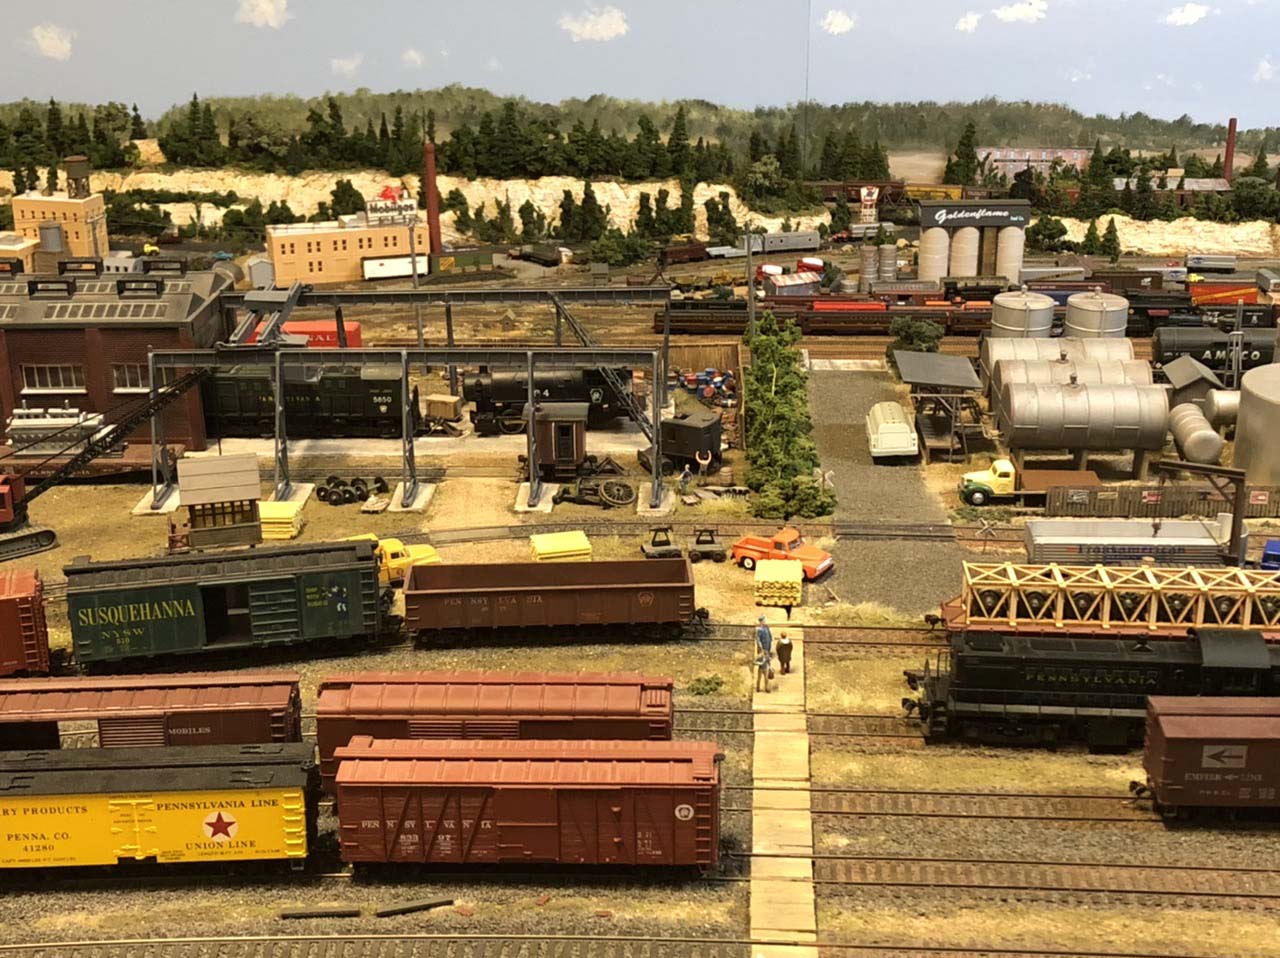
Dick’s been in touch with his TT scale layout.
And sometimes the backstory behind a layout is just as enjoyable as an update:
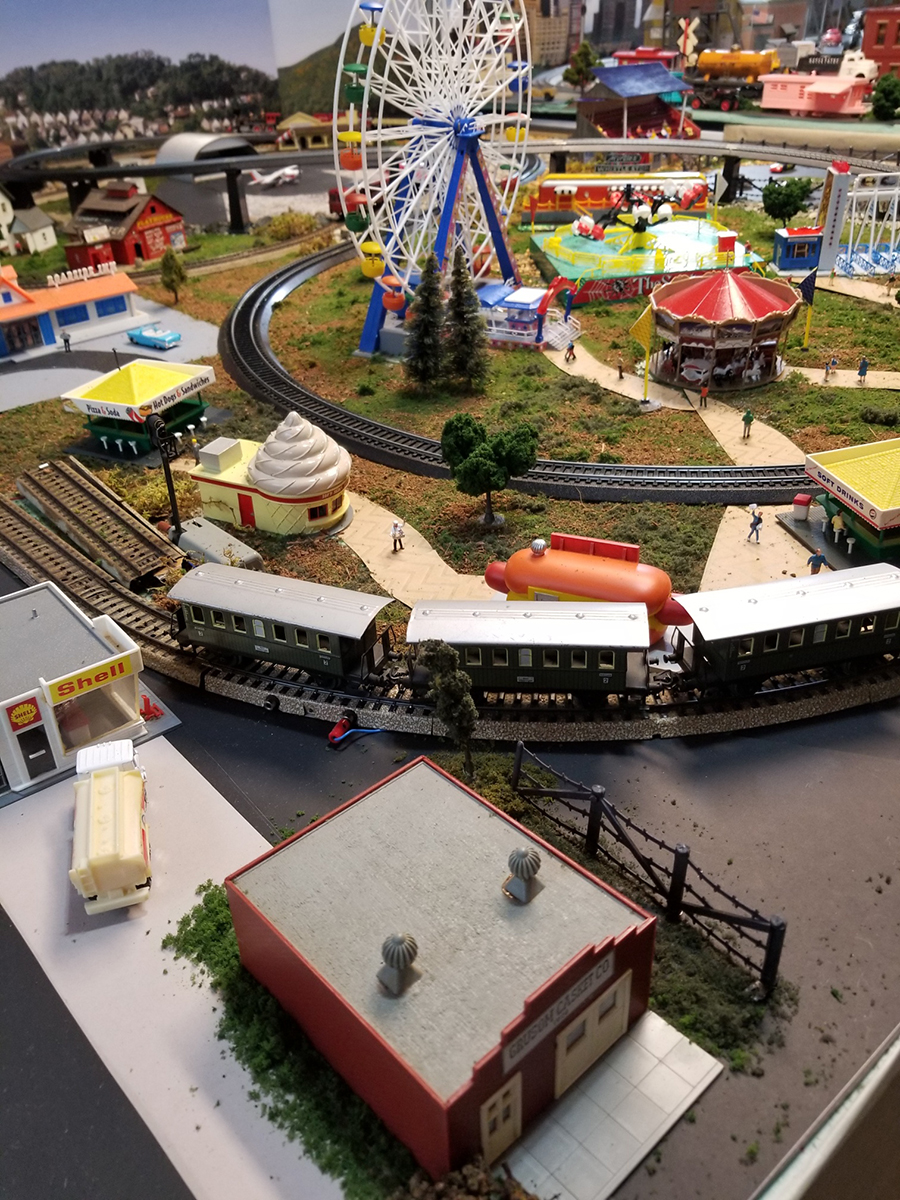
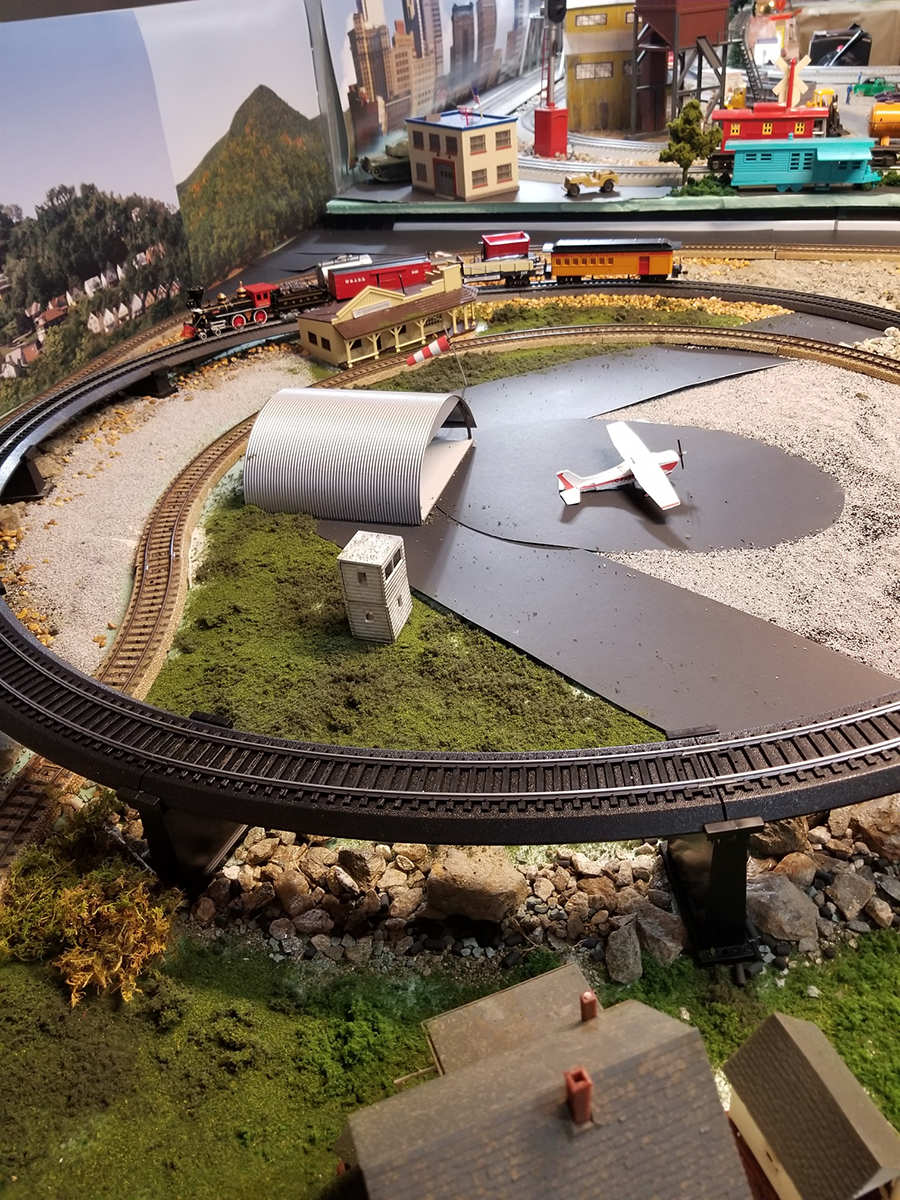
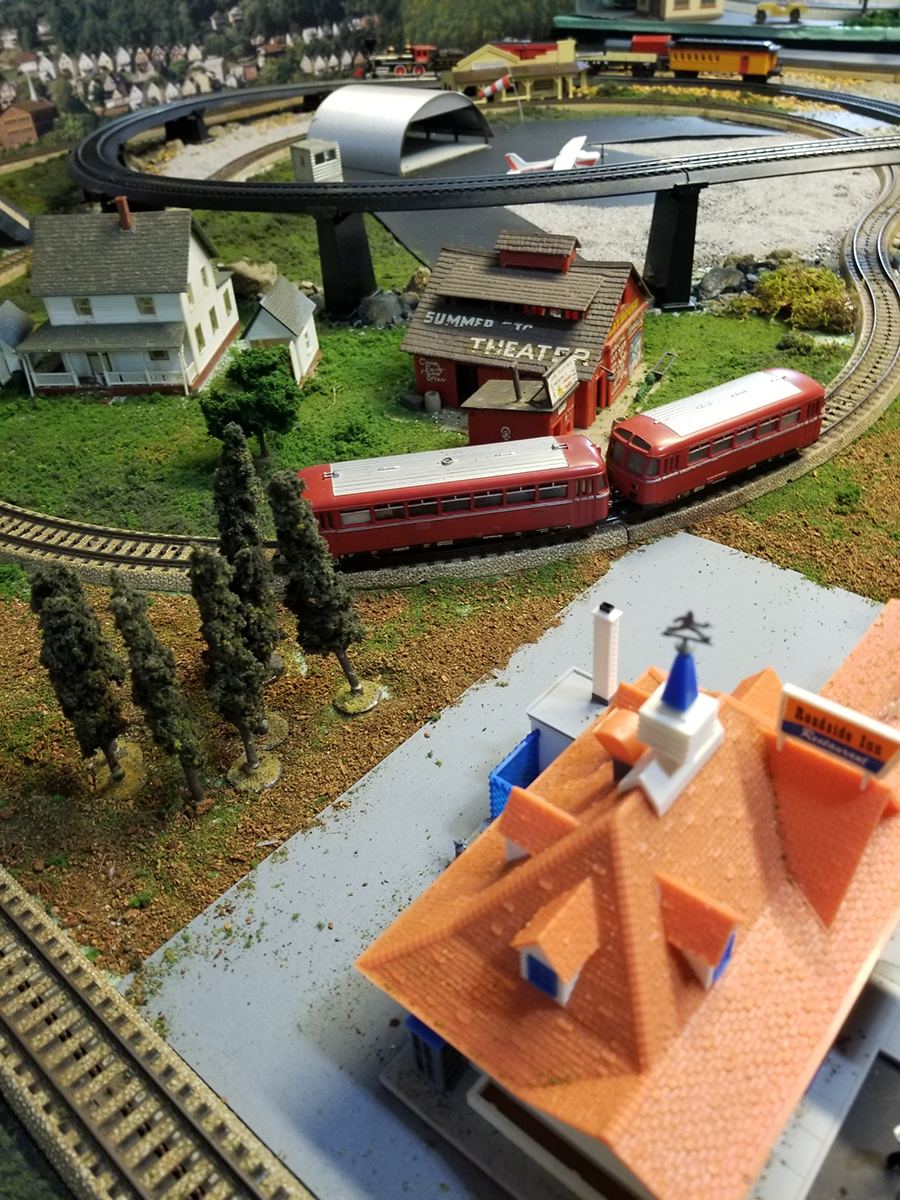
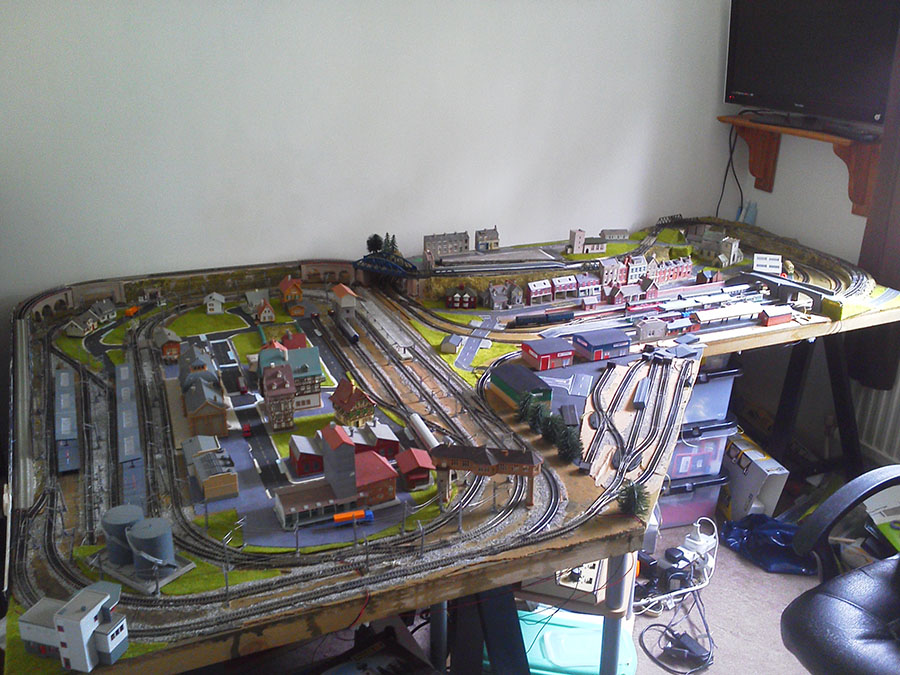
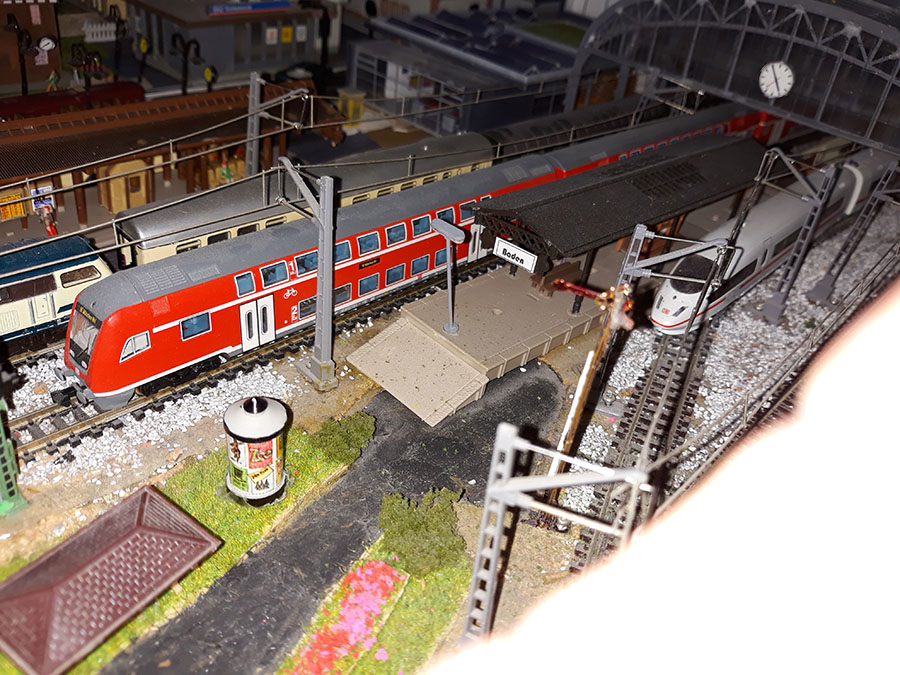
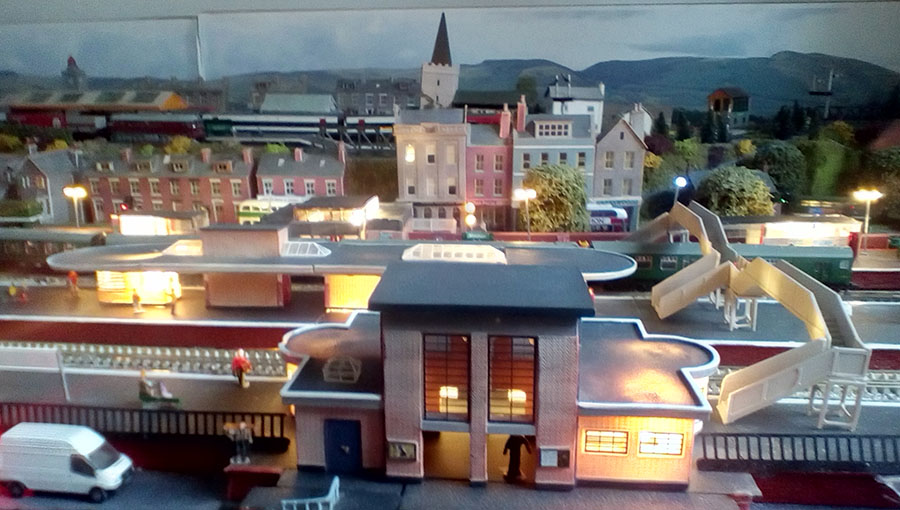
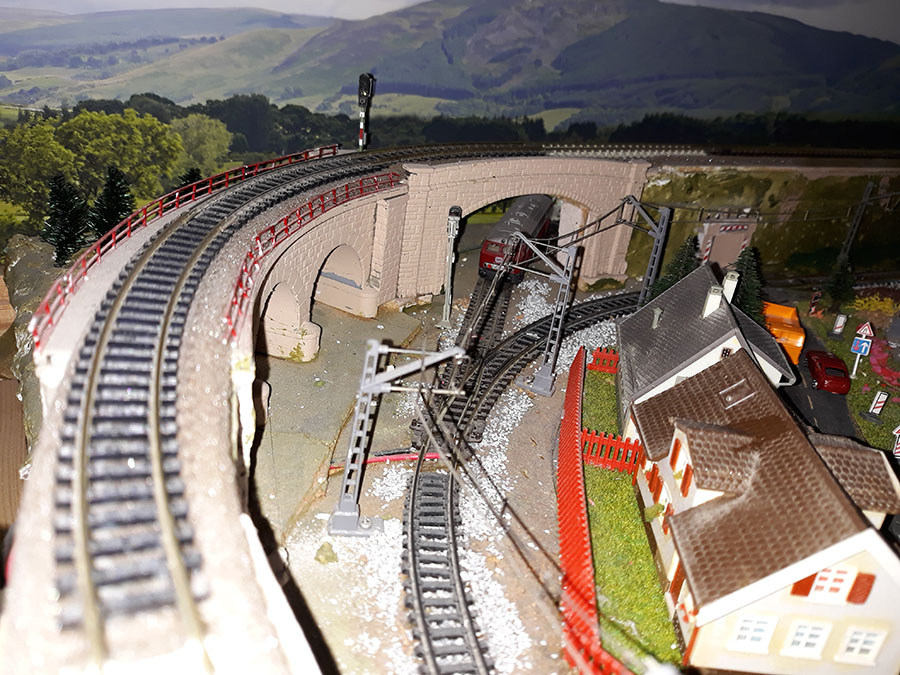
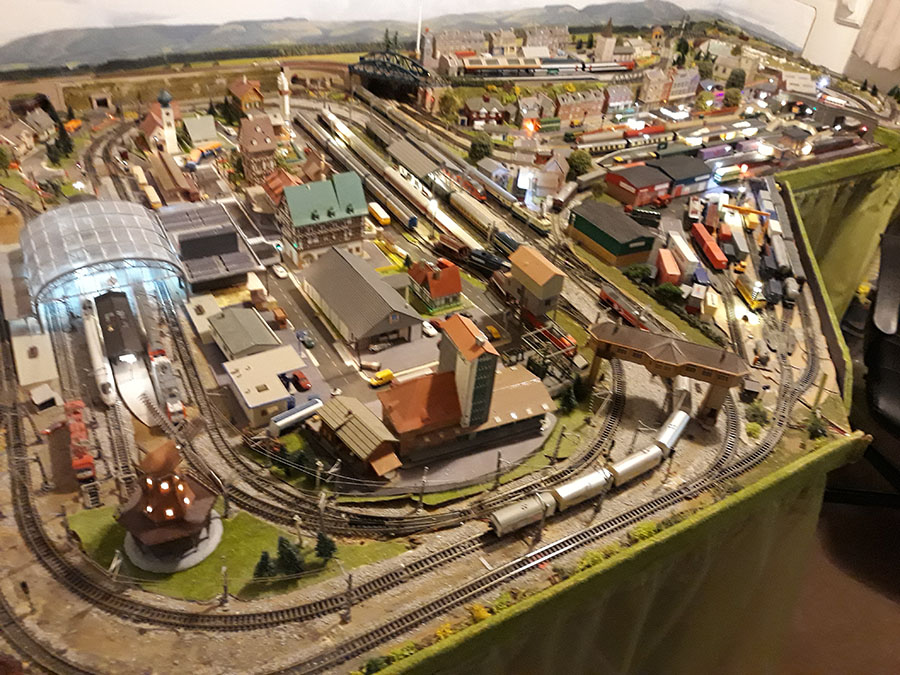
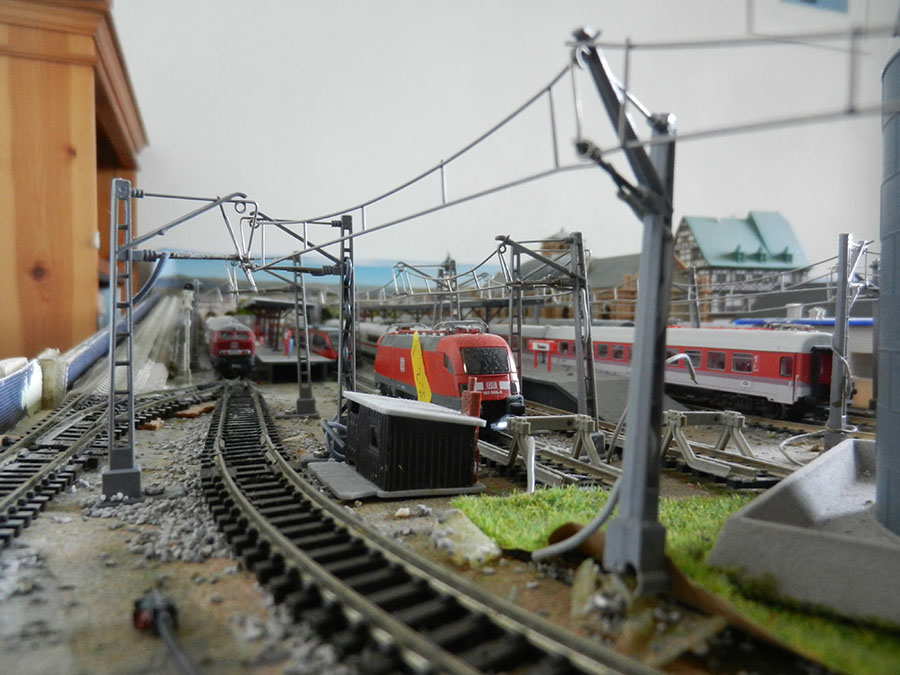
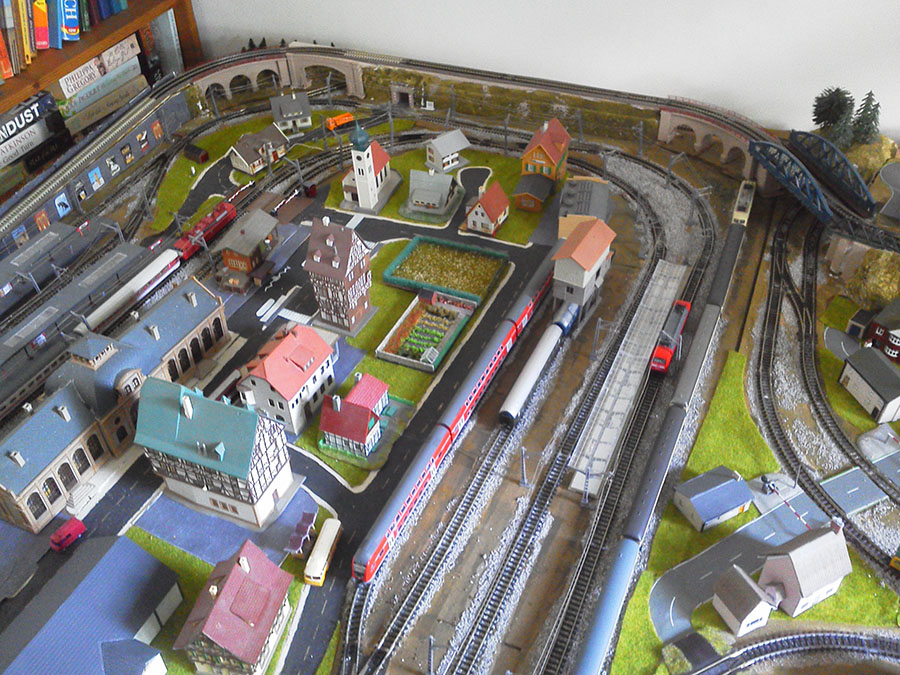
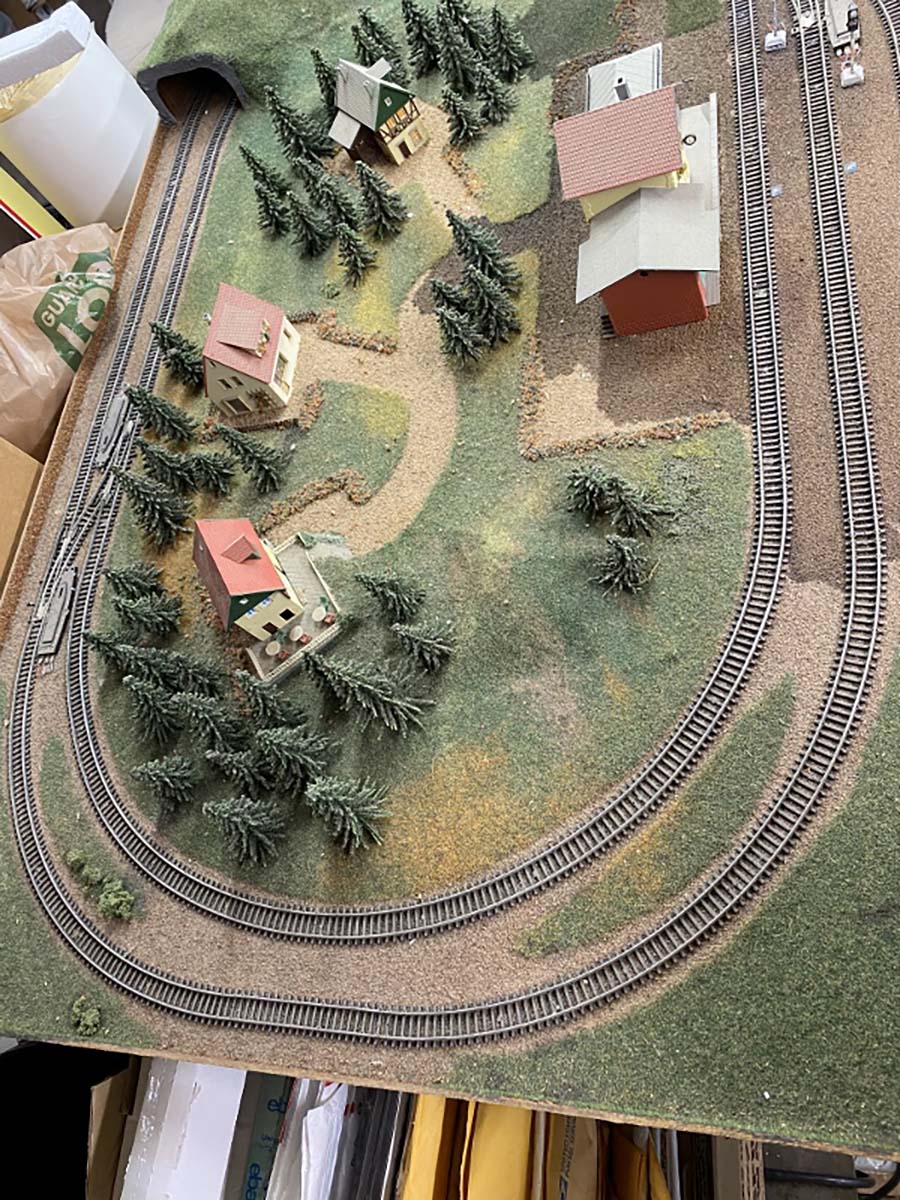
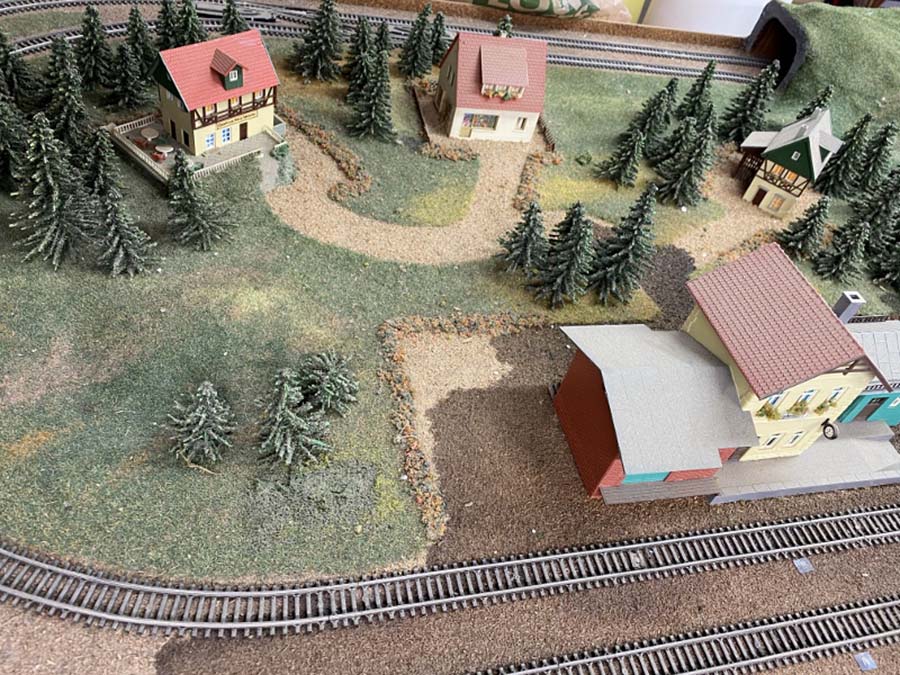
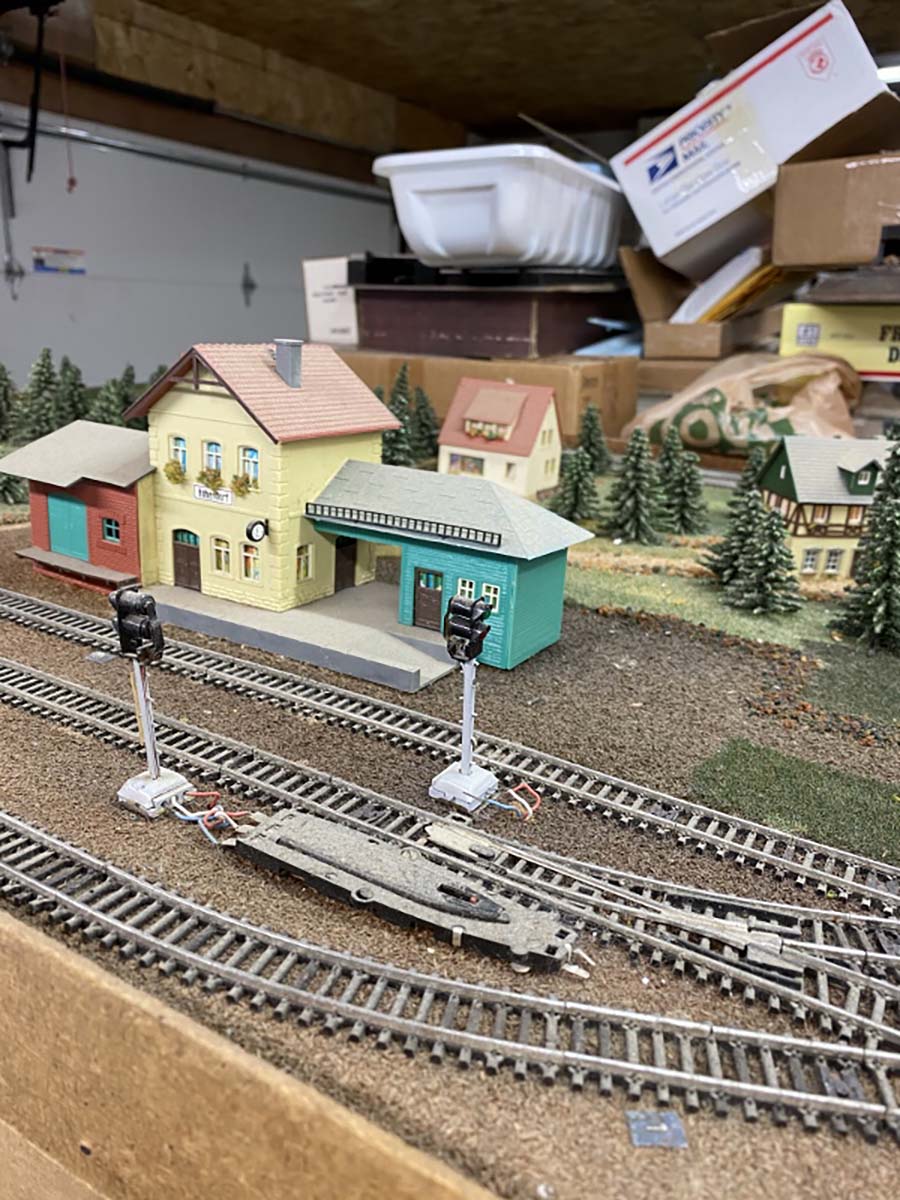
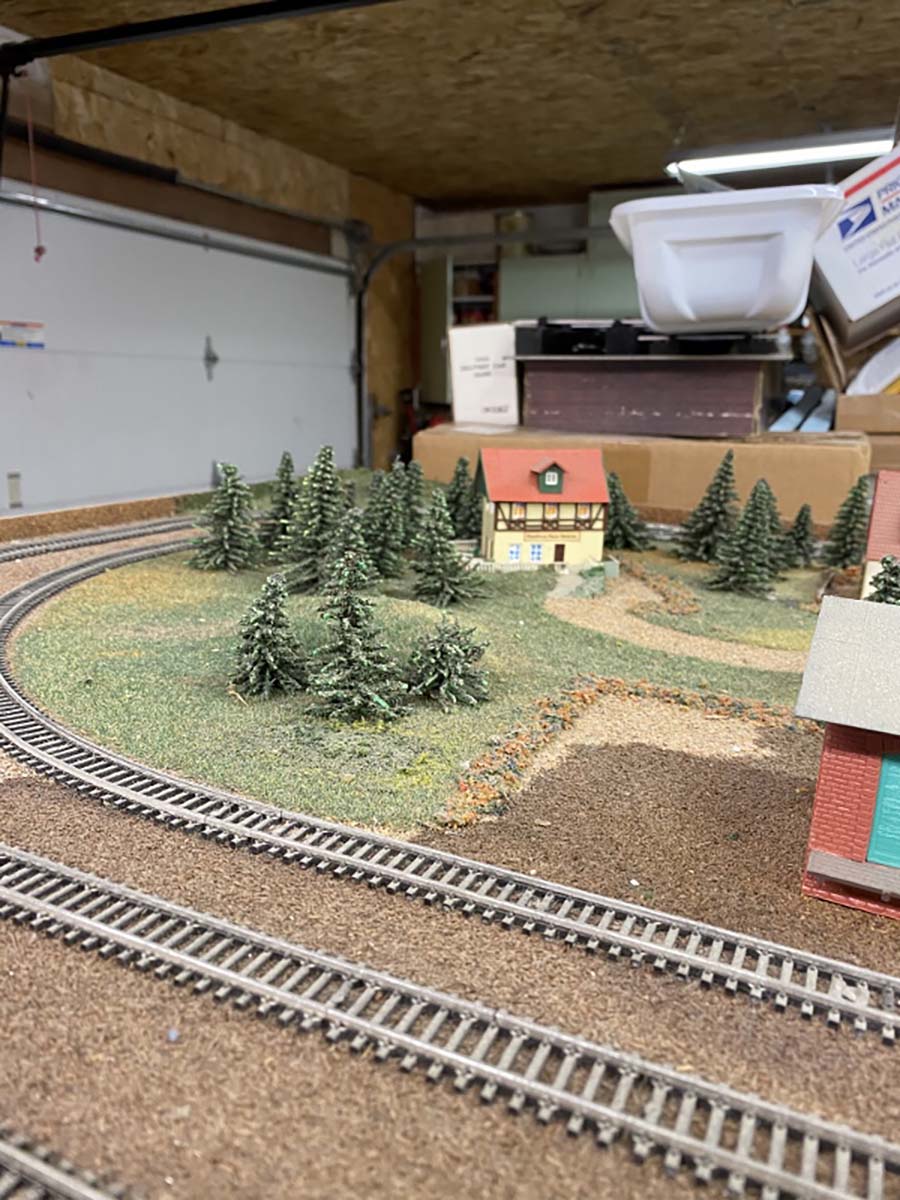
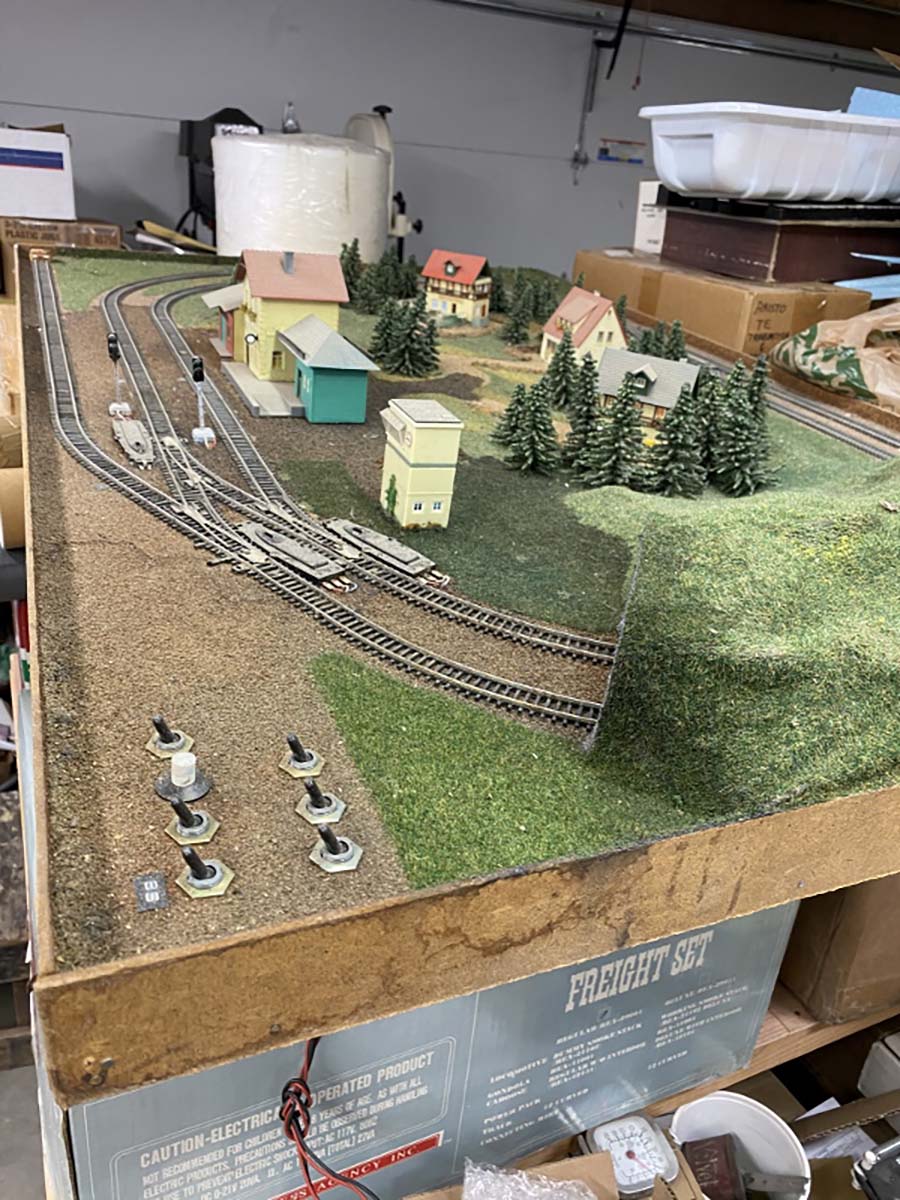
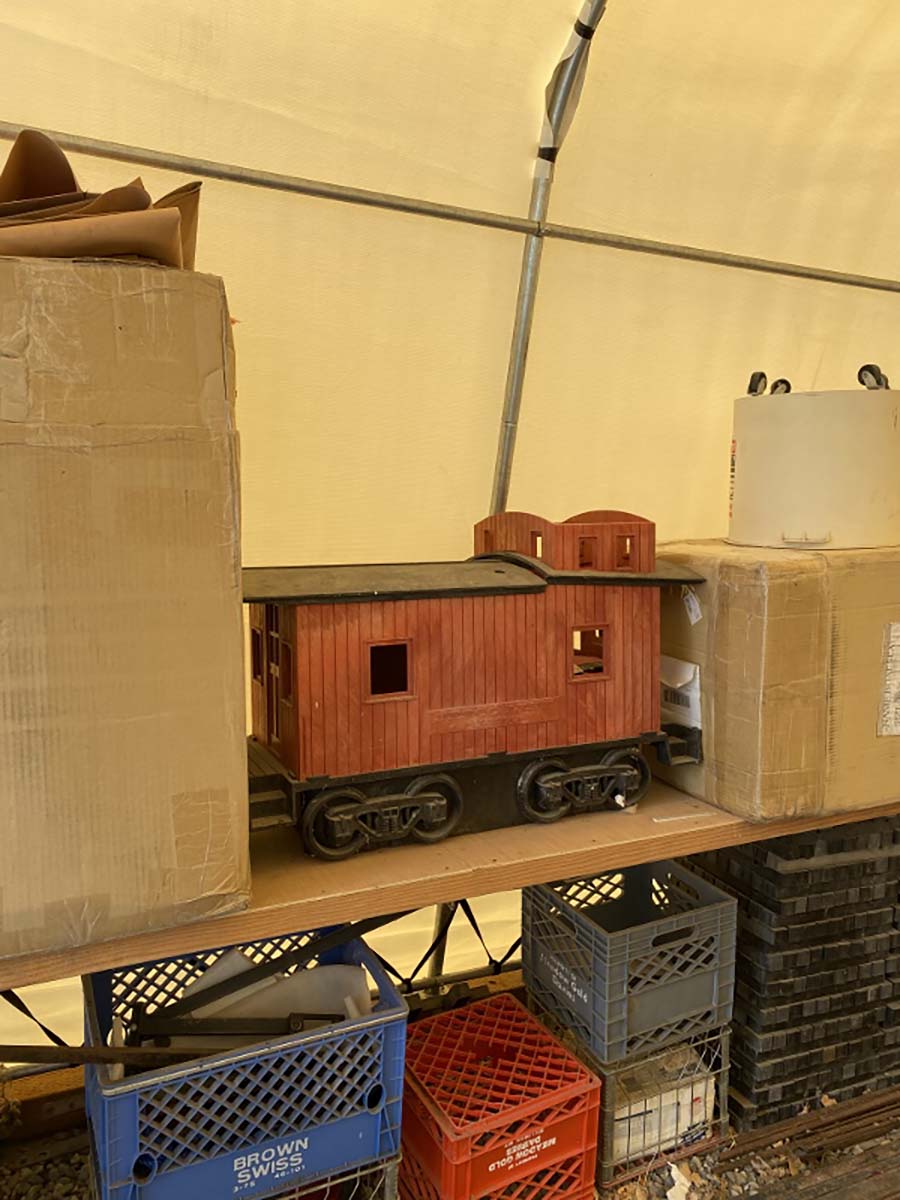
“Al here is my very special prebuilt TT scale layout.
This layout was given to me if I would drive 550 miles one way to pick it up which I did.
A very sweet older lady and her husband were in the military in Germany. This was well before the Berlin wall came down. They would go over and buy TT scale trains periodically and had bought this pre-built layout.
After retirement they came back to the states and settled in Aurora Colorado.
When her husband passed away she had a close friend/relative help her sell the lot.
I bought several pieces of rolling stock when one day she said she had this layout and did not know what to do with it, she thought she would have to toss it, I asked her if she would hold on to it for a month so could come and get it which she did.
Though the track is very dirty right now it is in running condition and very nice.
Does anyone know who might have offered these layouts pre-built like this?
Thanks Al
Dick”


You’d have to really love trains to drive 550 miles to pick up an old layout.
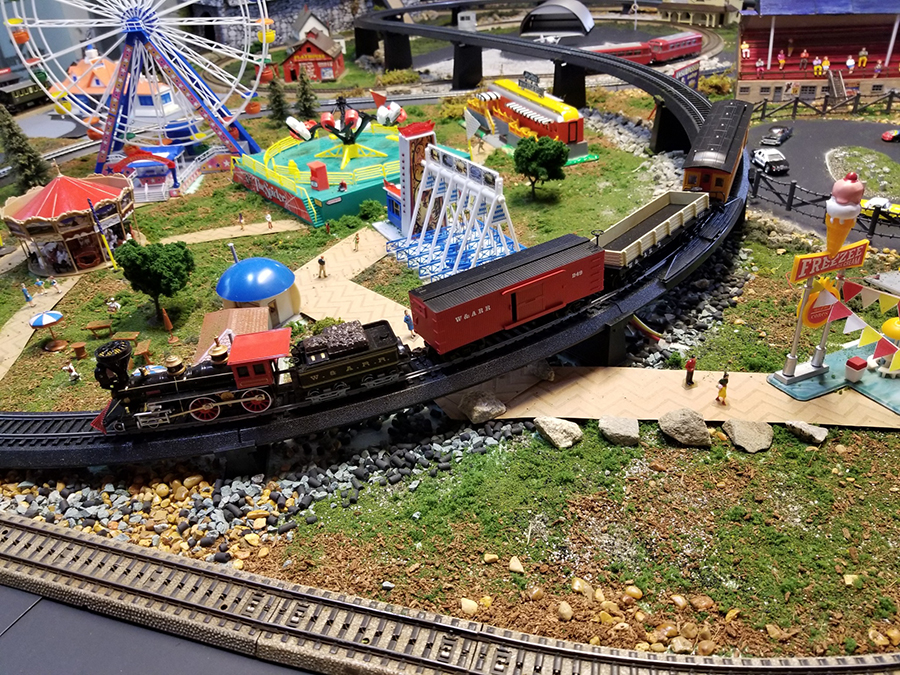
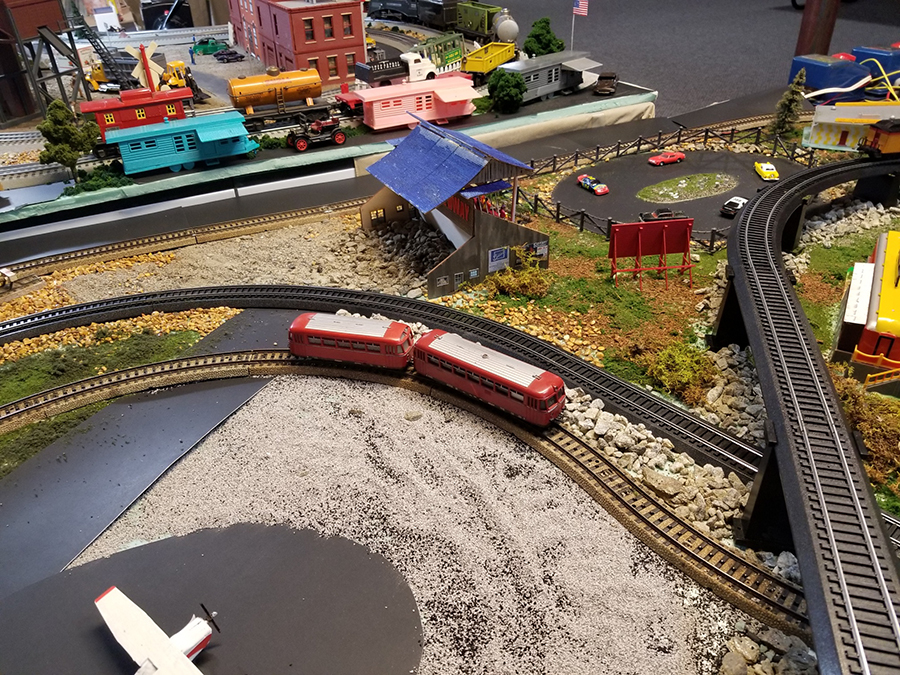
And fortunately Dick does. He also sent in pics of his garden too – and another great back story too:
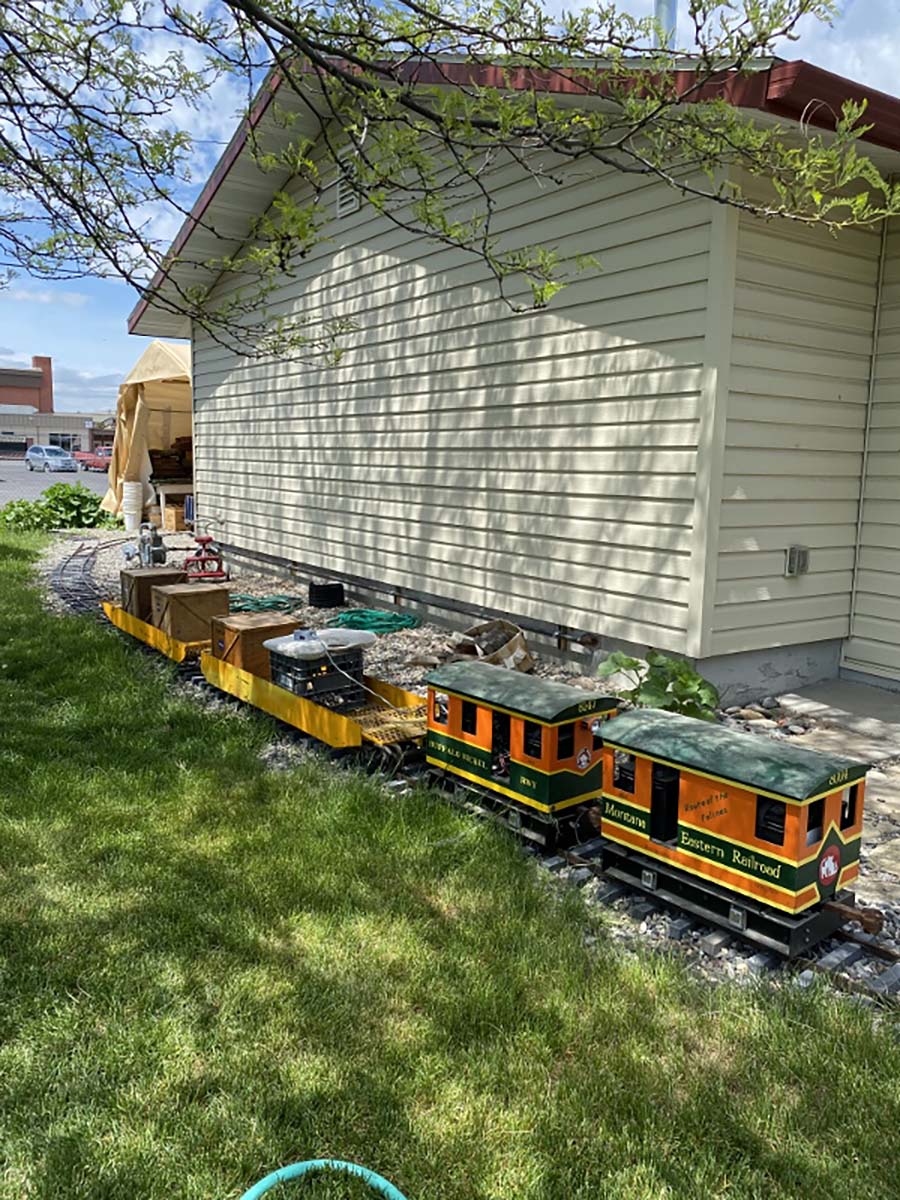
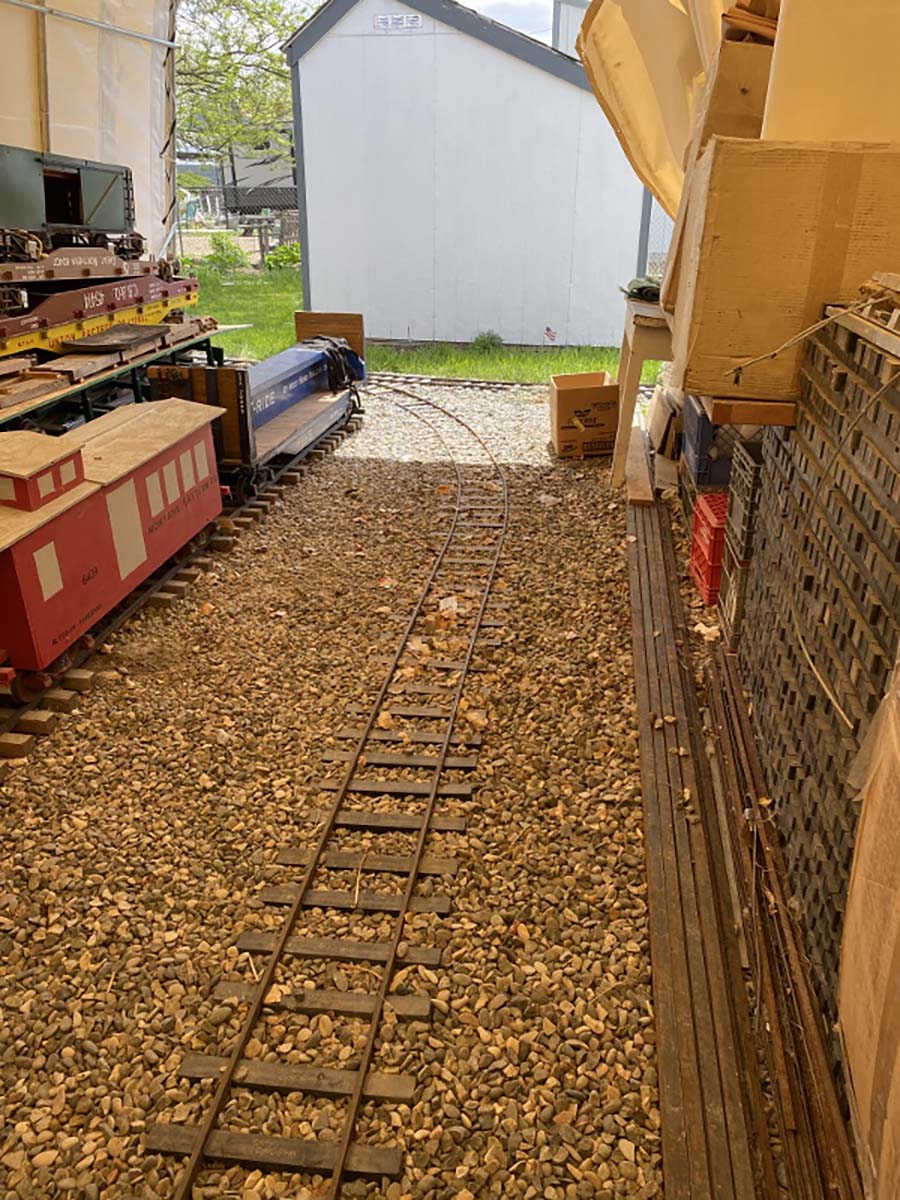
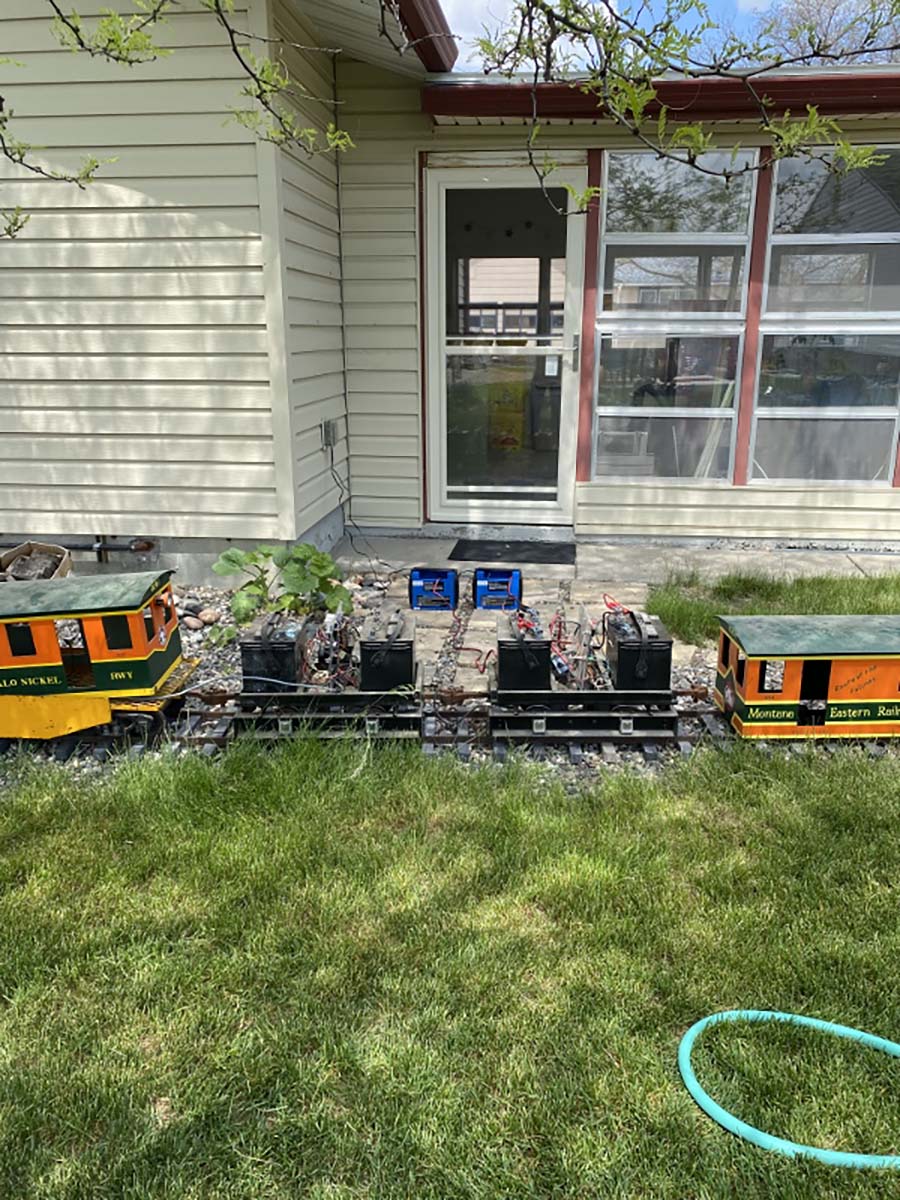
“With Spring here, I have brought out the riding train to charge up batteries, get the track gang out to pull weeds and level any rails that need it and regroup the ballast where needed.
In two weeks I will turn 80 years old and I am in good shape for the shape I am in.
Body is not as eager as the brain is to do “stuff’. But do what I can. I now have a new right shoulder which is doing well.
In 2003 I began building the M. E. RR while on chemo fighting a very mean cancer.
Survival was not real good but we made it. This event pushed me to do what I had always wanted to do and that is to build a riding scale railroad in the backyard.
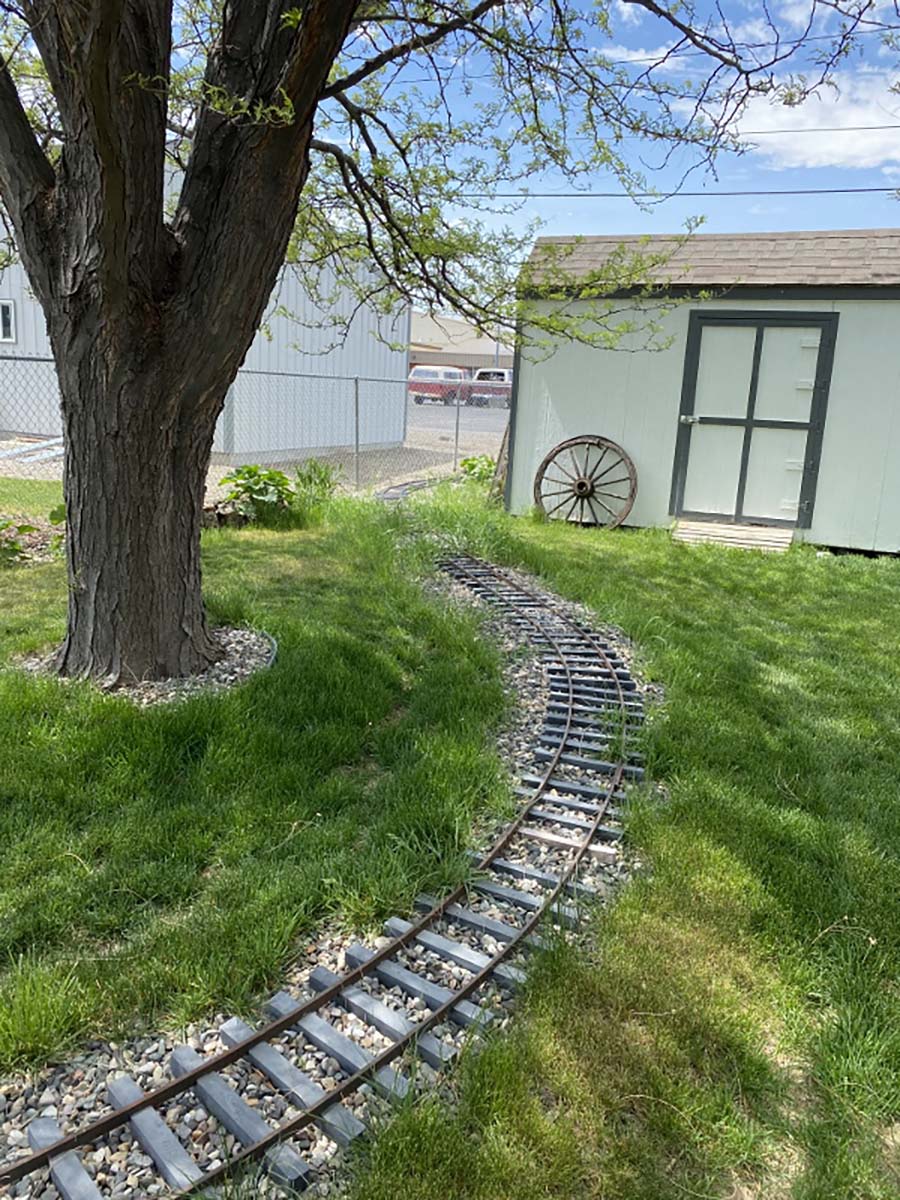
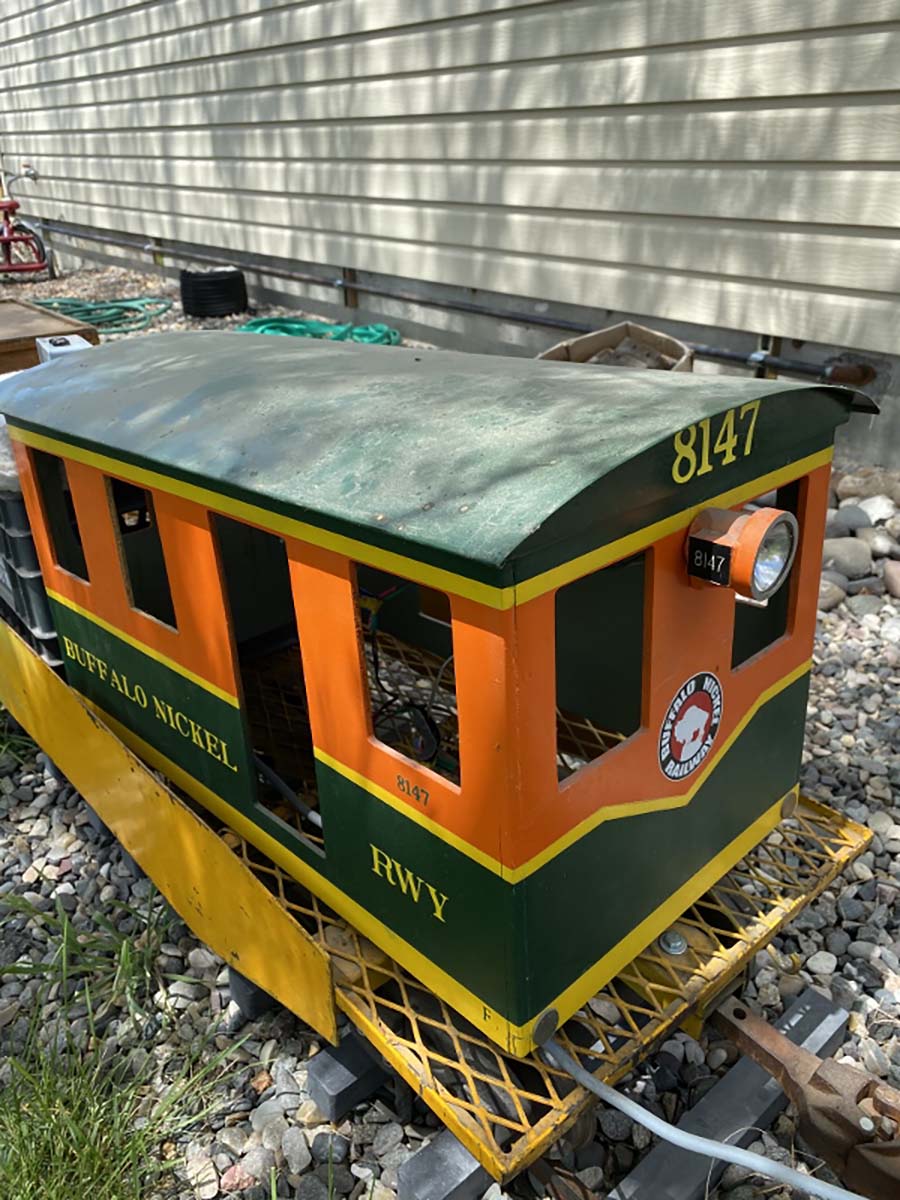
I chose 7.5″ gauge 1.5” scale trains.
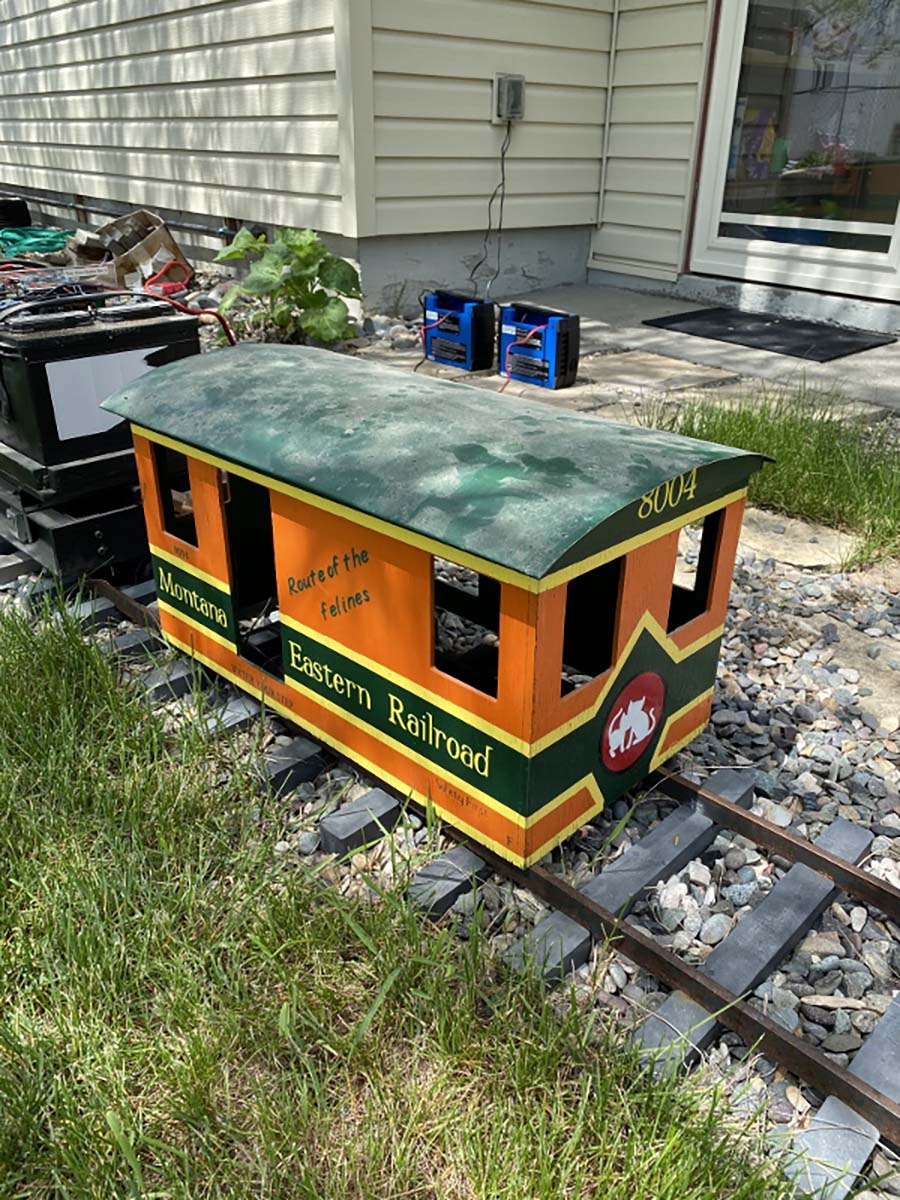
I built two Plum Cove Studios Phlatt cars first, I had to wait for trucks for some time. Then next came the very first commercially available box cab electric from Plum Cove studios. A very nice rig with lots of power with a motor on each axle.
With our riding railroad, we have train parties each year weather permitting. Usually the last party may be for Halloween.
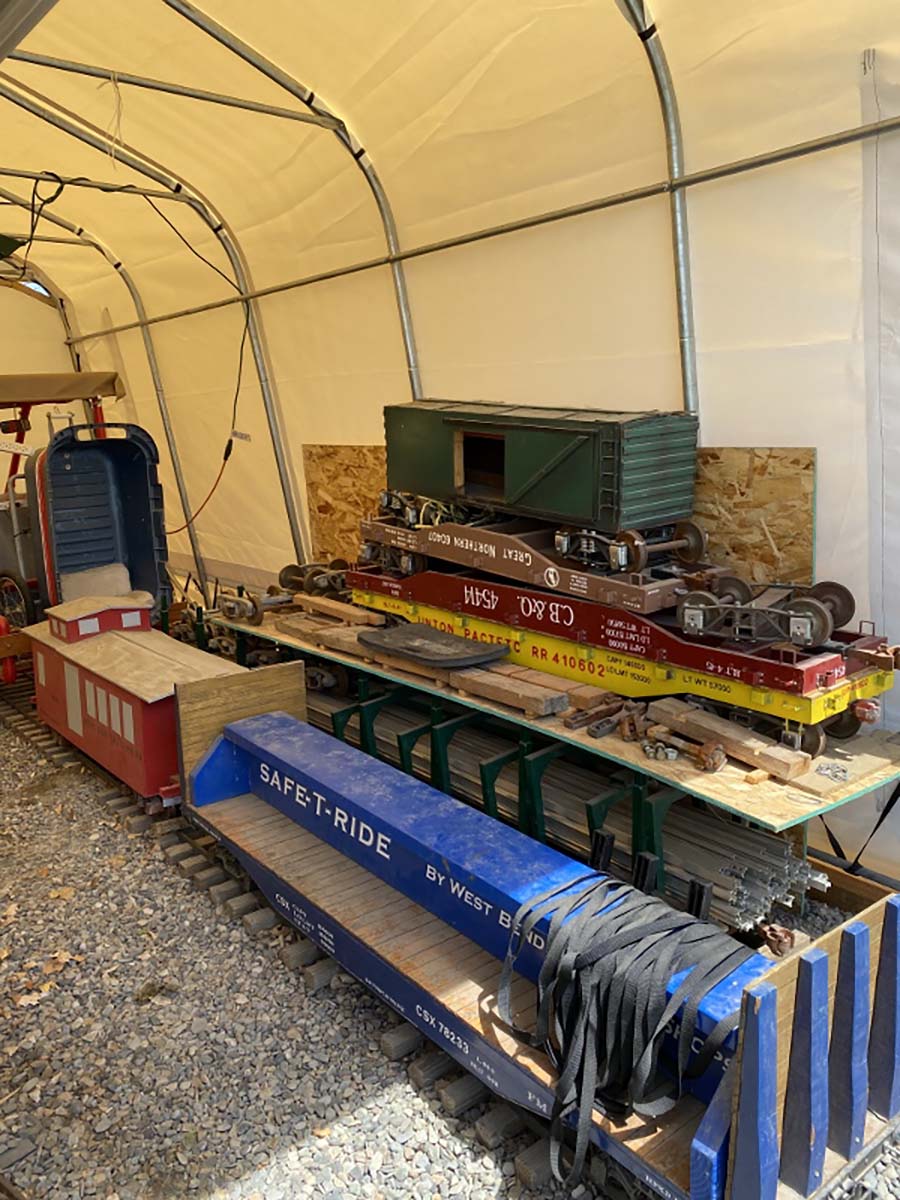
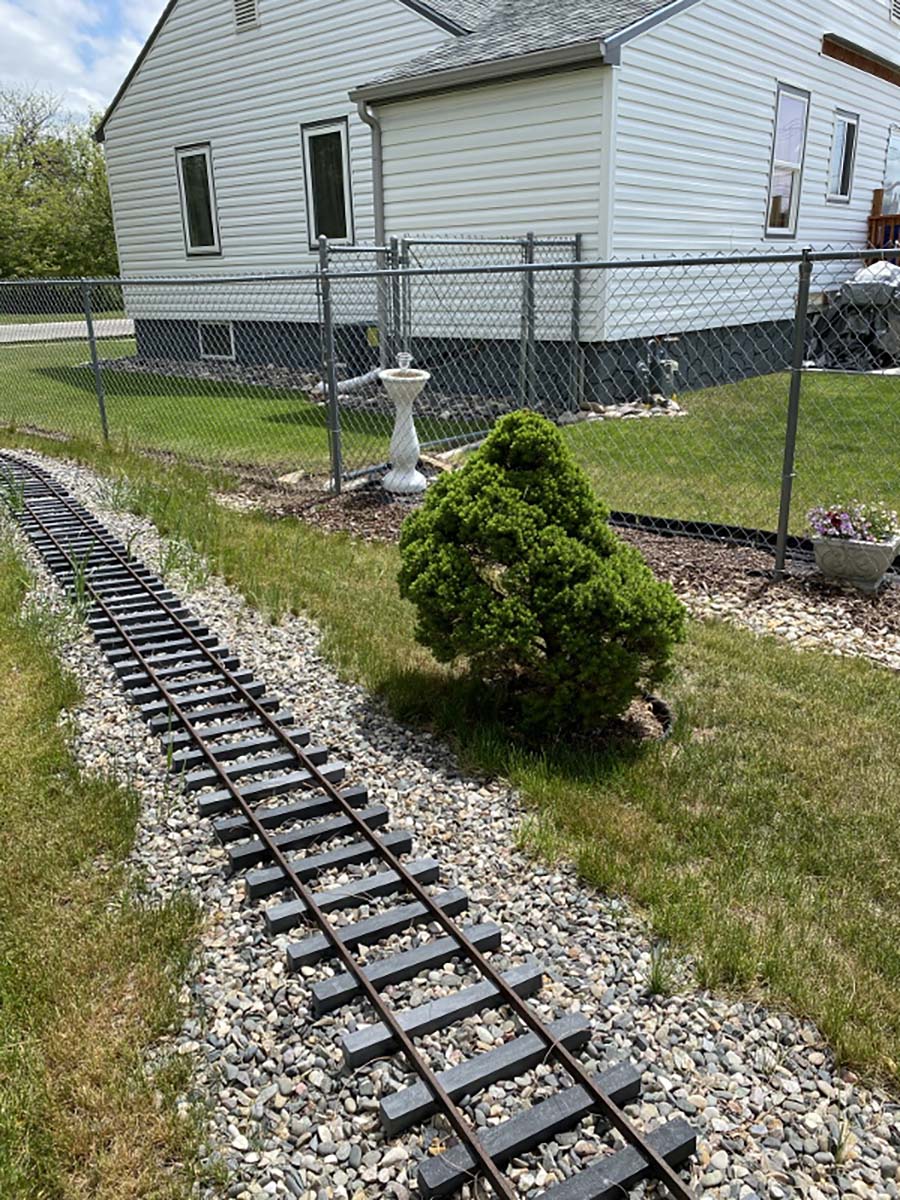
The track is groovy track, that is….flat bar set in tie slots. It has been very satisfactory now for 18 years. Contrary to what I was led to believe, I have no wear on my wheels.
Later came another Plum Cove boxcab so now we MU the two electrics.
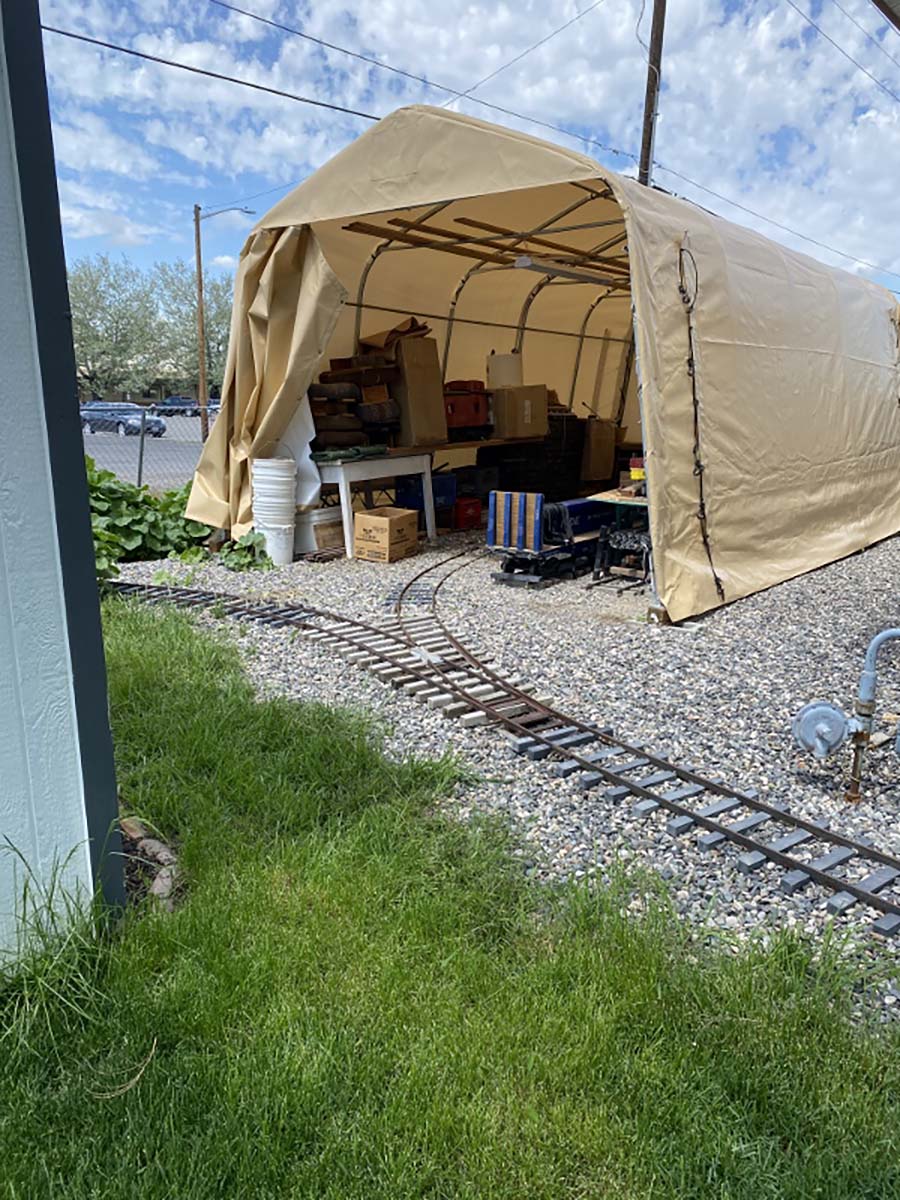
As you can see, I need to spiffy up everything after the winter dust has settled on all my rolling stock. I have built one turnout so far to go into the train storage garage.
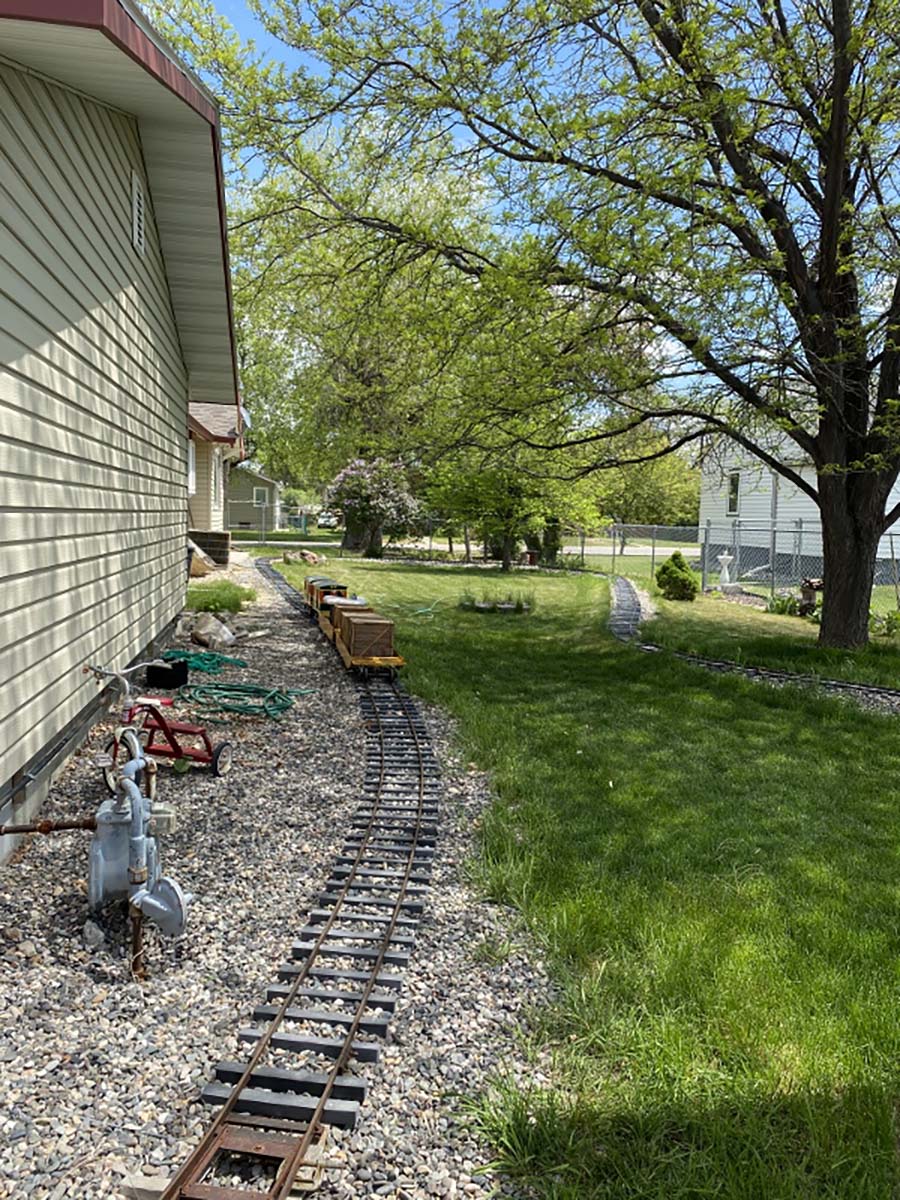
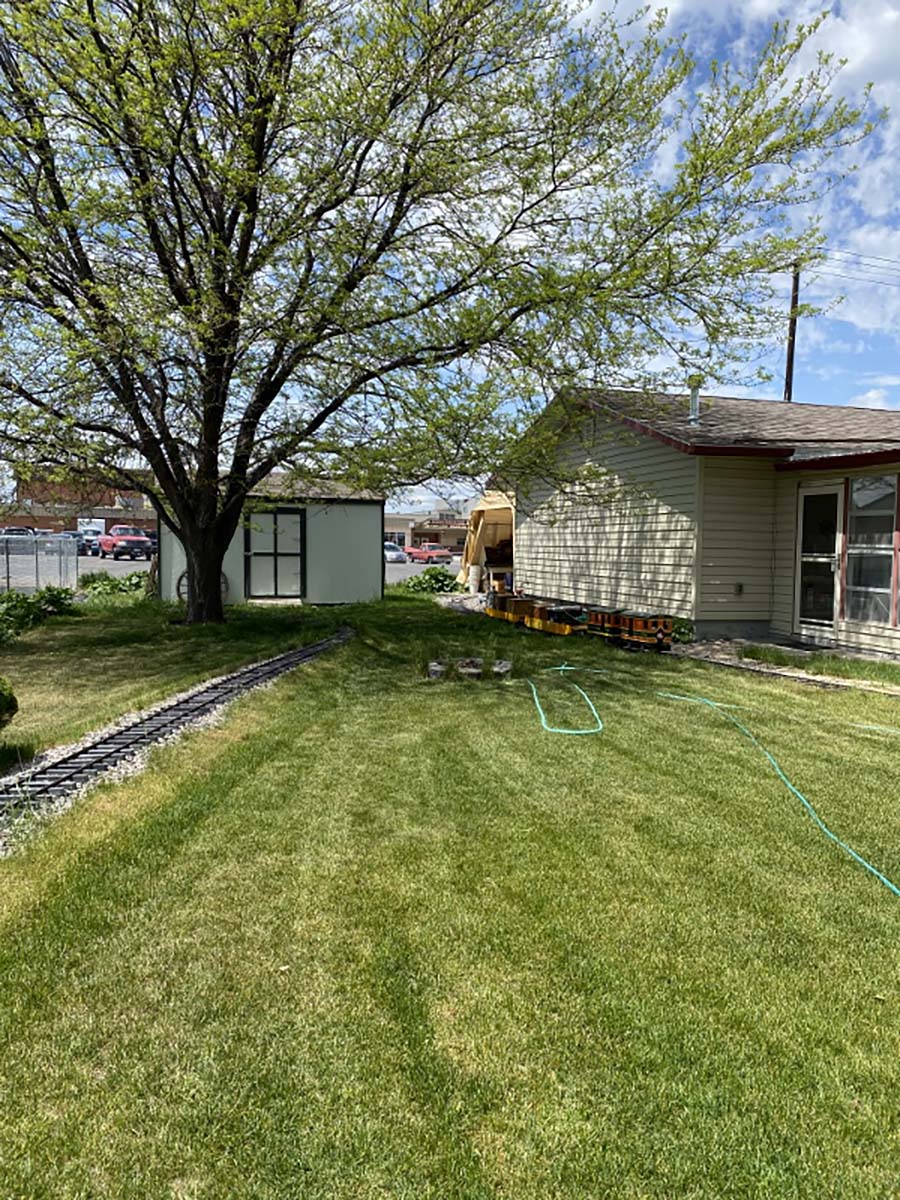
The mainline is only about 240 feet plus the line into the garage. The mainline is shaped as such to add interest.
There is a small grade to climb and is a bit of a thrill to go around the high bank. I also have bought new folding boat seats to install on the flat cars and well cars.
A picture of the dwarf pine is “Harry” named after Harry and the Hendersons.
Because there once was the Montana Western RR, I chose to name this RR the Montana Eastern, only to find out a few years later there really was a Montana Eastern RR owned by James J Hill of Great Northern fame.
Of all my trains and layouts I’ve built, this has been by far the most popular with folks around here.
I have about a 1000 feet of rail with the true rail profile along with 4 more turnouts to build yet. My roundtuit file is full of projects.
I hope this article and pictures might stir some out there to build their outdoor RR which actually can be done without getting a second or third loan on their house.
We have gathering a lot of good memeories involving this railroad.
Sincerely
Dick”
A huge thanks to Dick for sharing his TT scale – and his 7.5 gauge too.
Just goes to show, you can enjoy any scale.
Both of his posts show in spades there is so much more to this hobby than just trains.
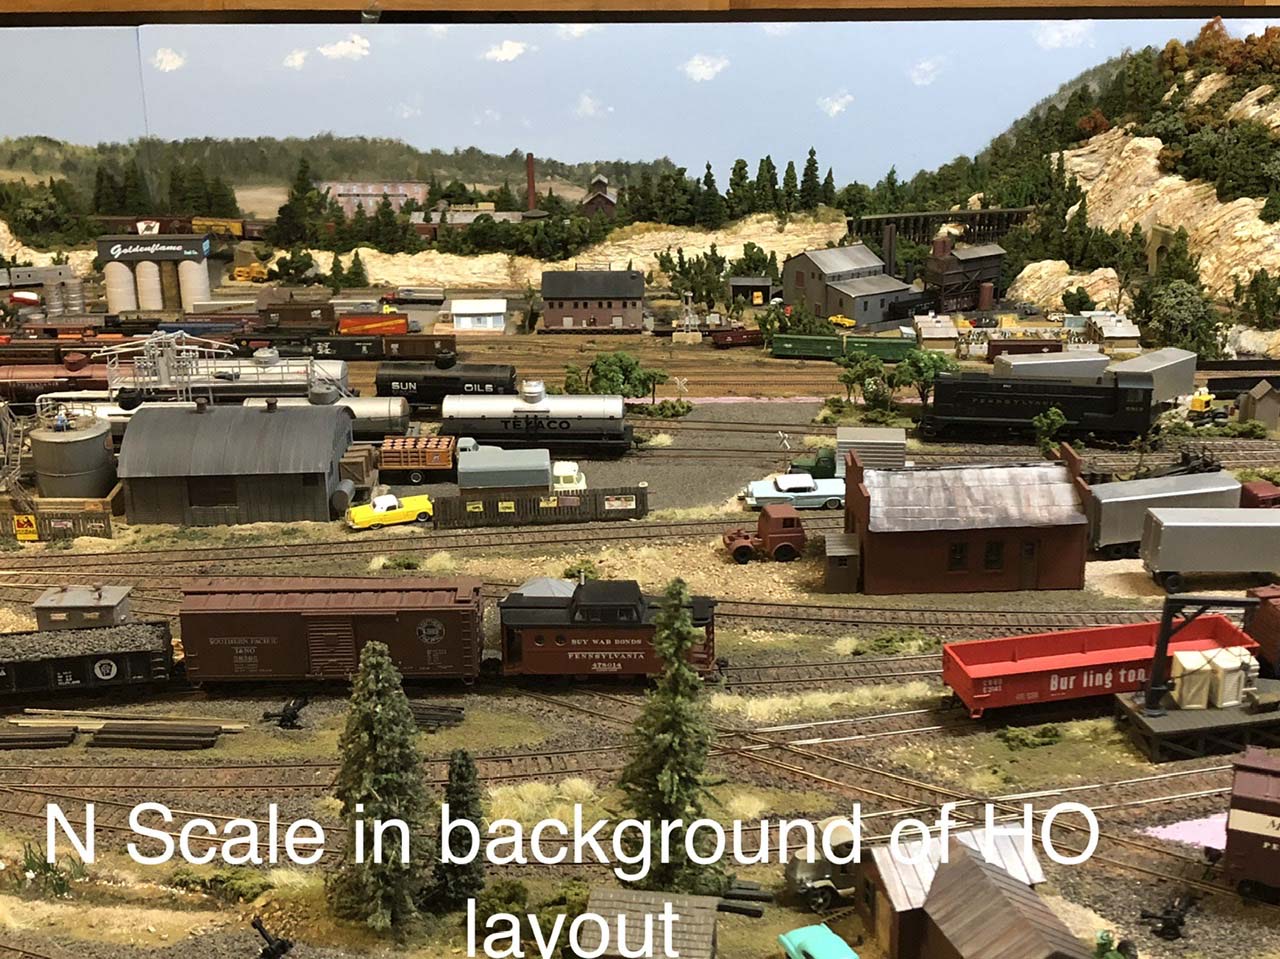
That’s all for today folks from Dick, but tomorrow I’m going to share his N scale.
Or you can seem more from Dick now on his hall of fame page.
Please do keep ’em coming.
And if today’s the day you start your layout, the Beginner’s Guide is here.
Best
Al
PS Latest ebay cheat sheet is here.