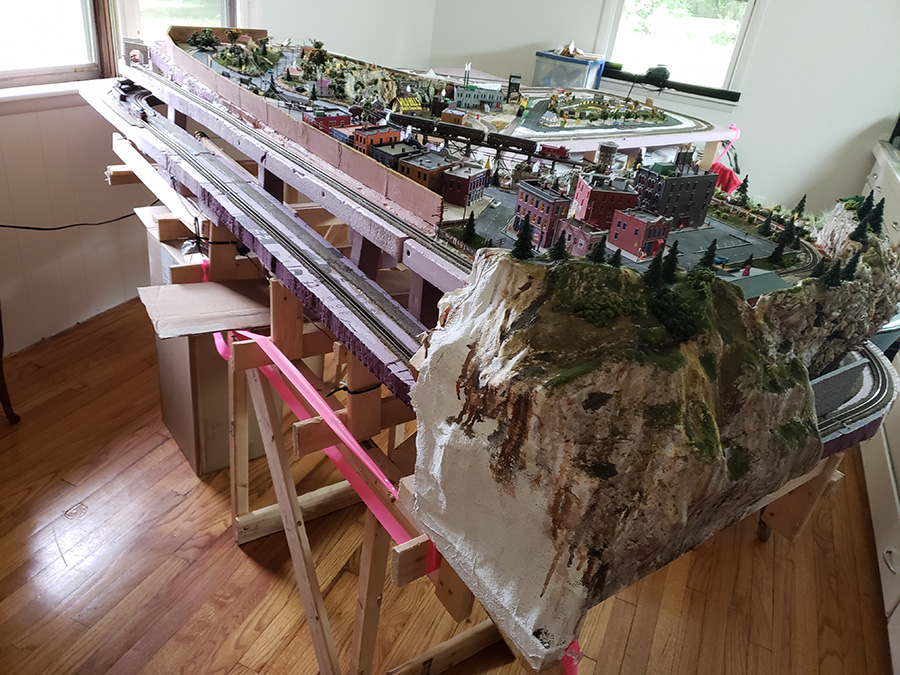
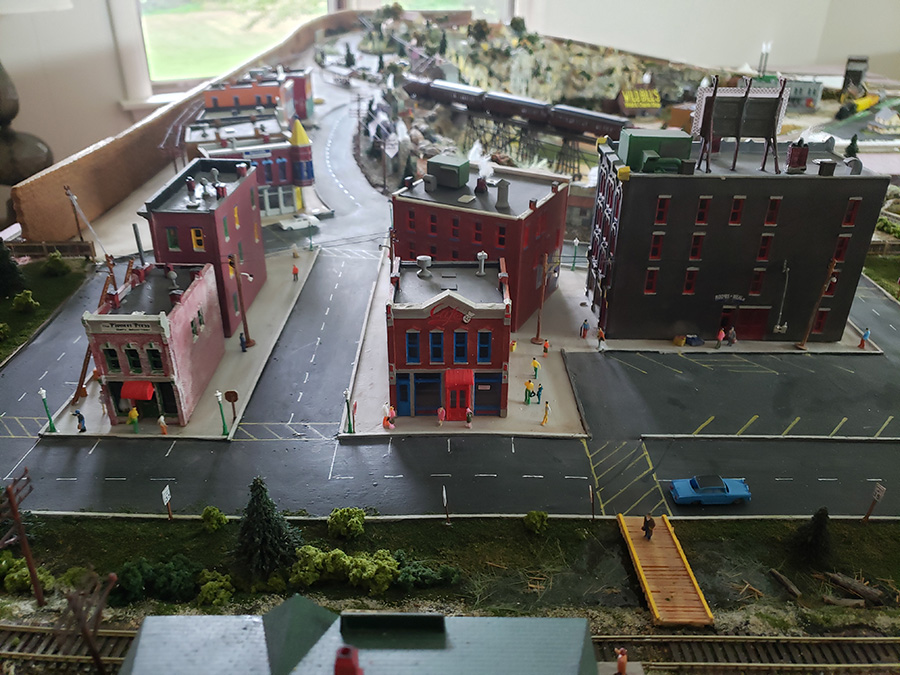
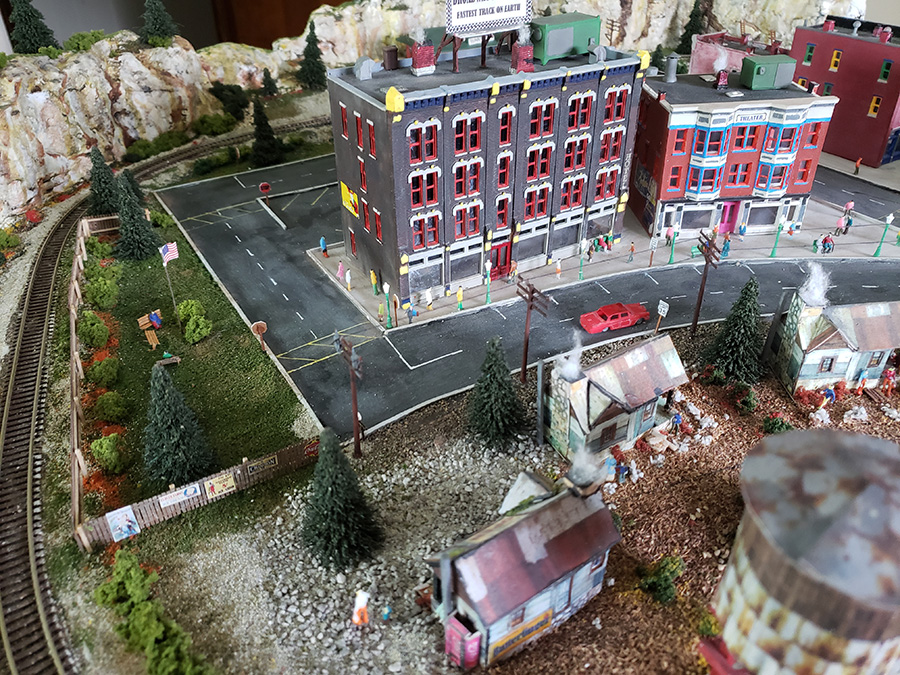
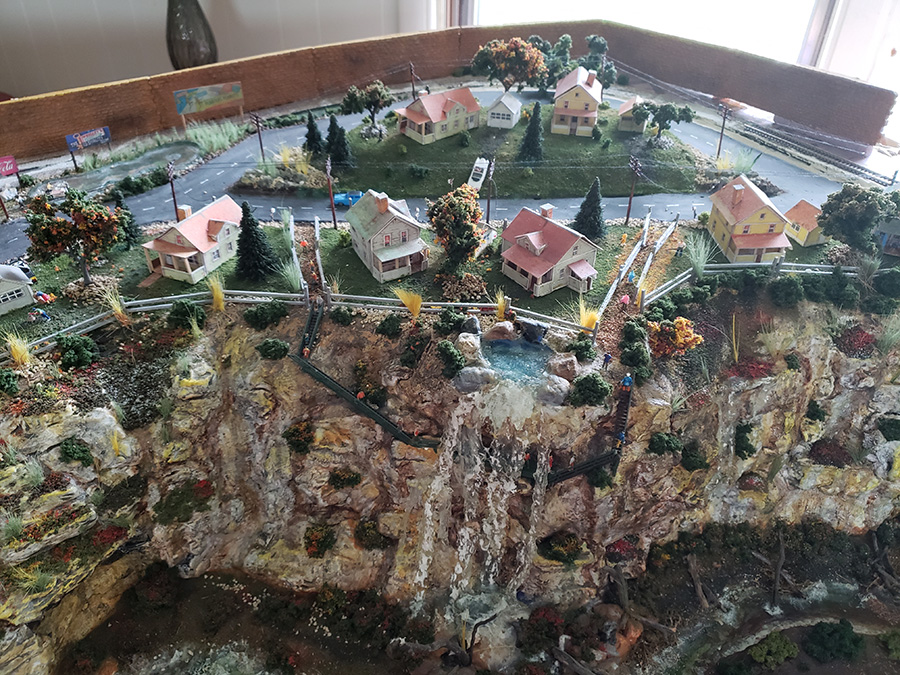
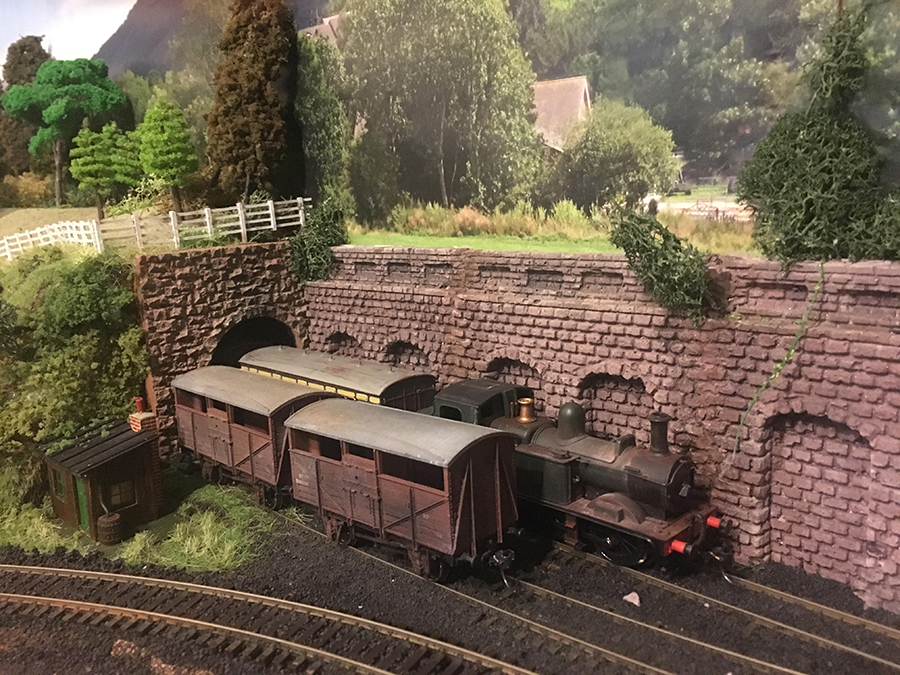
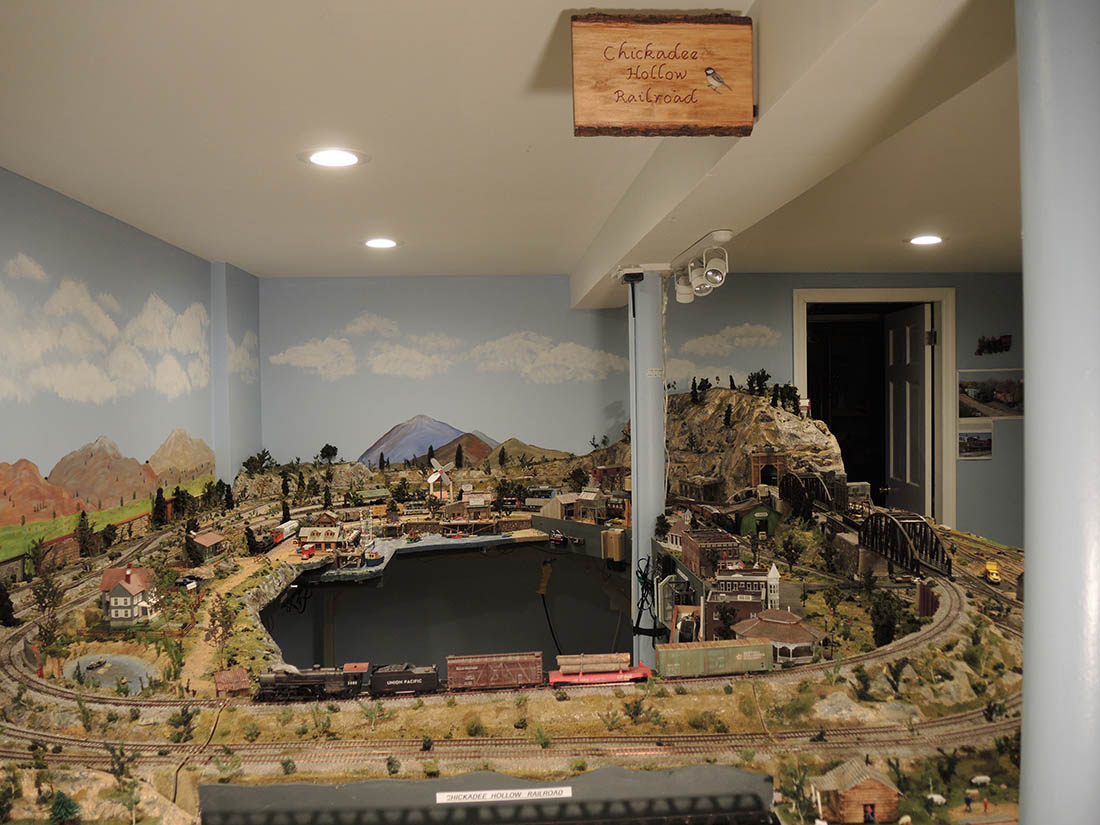
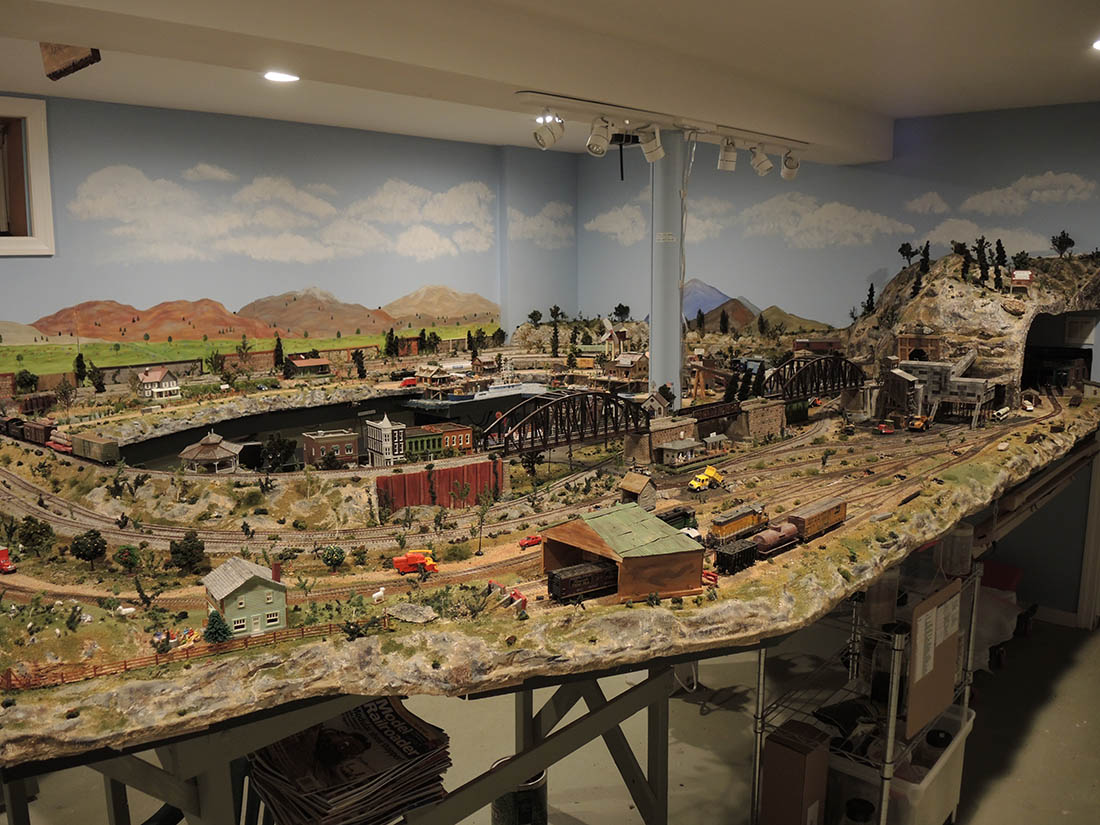
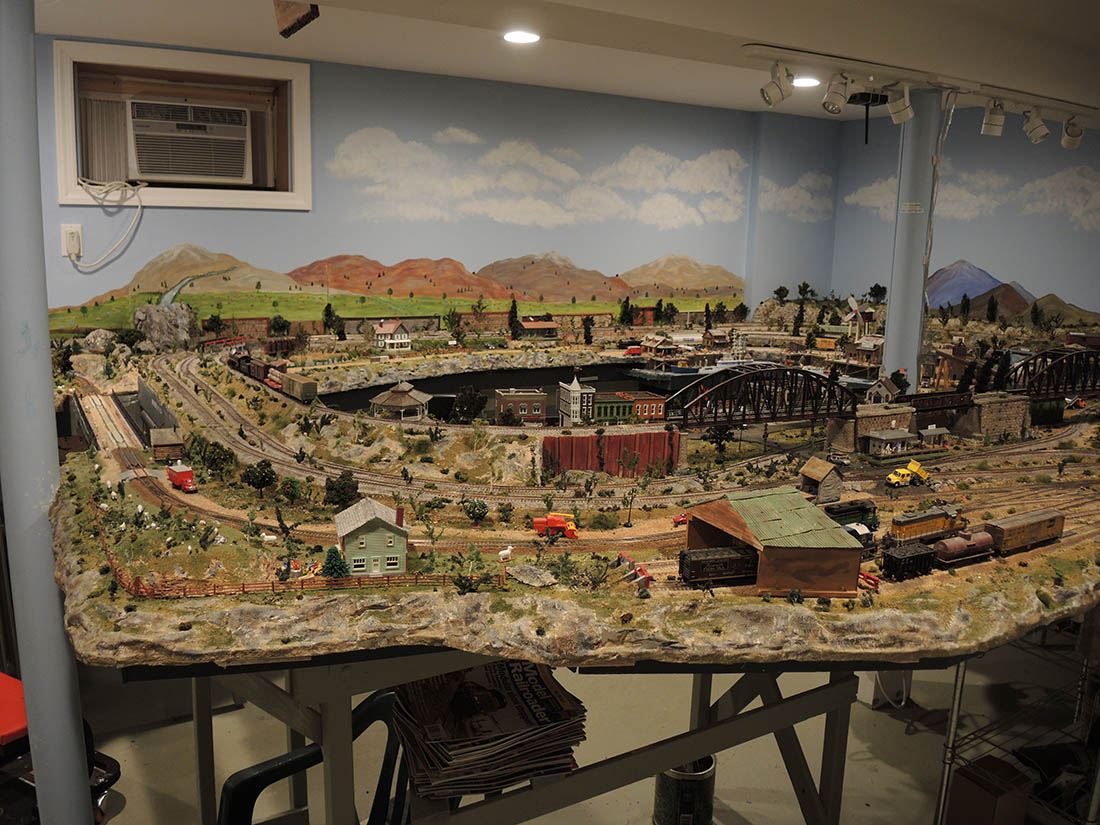
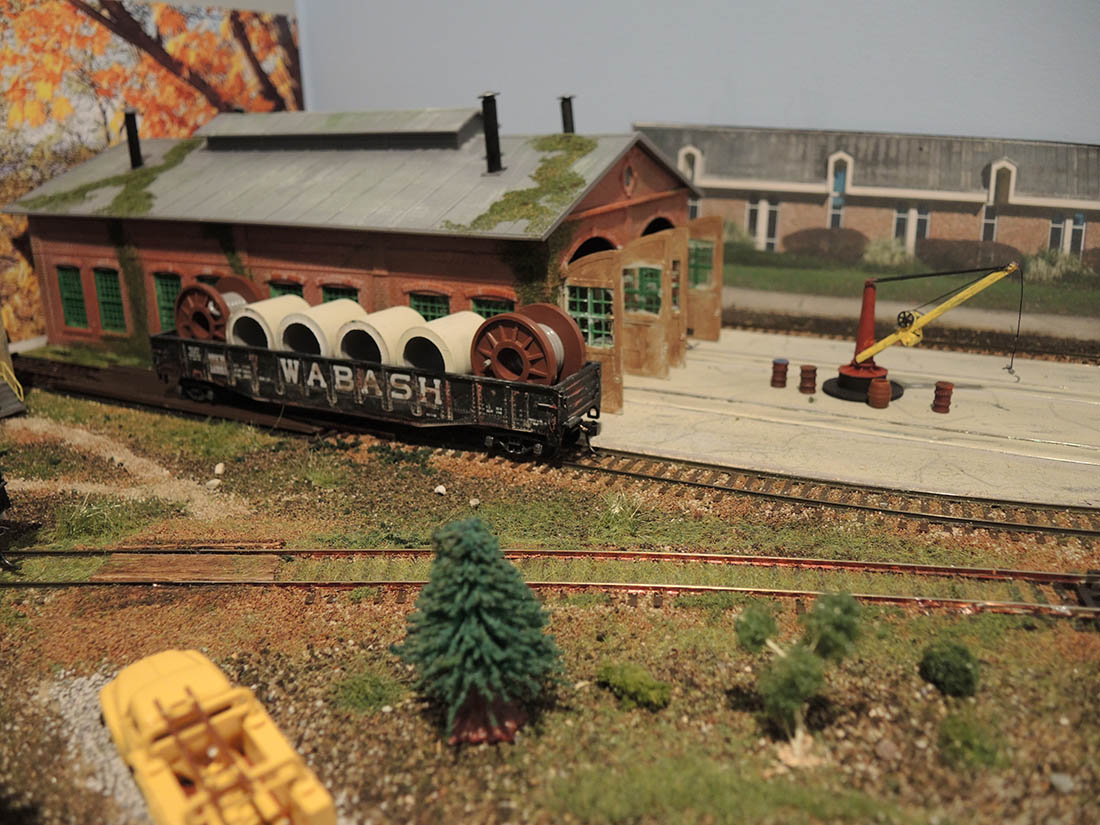
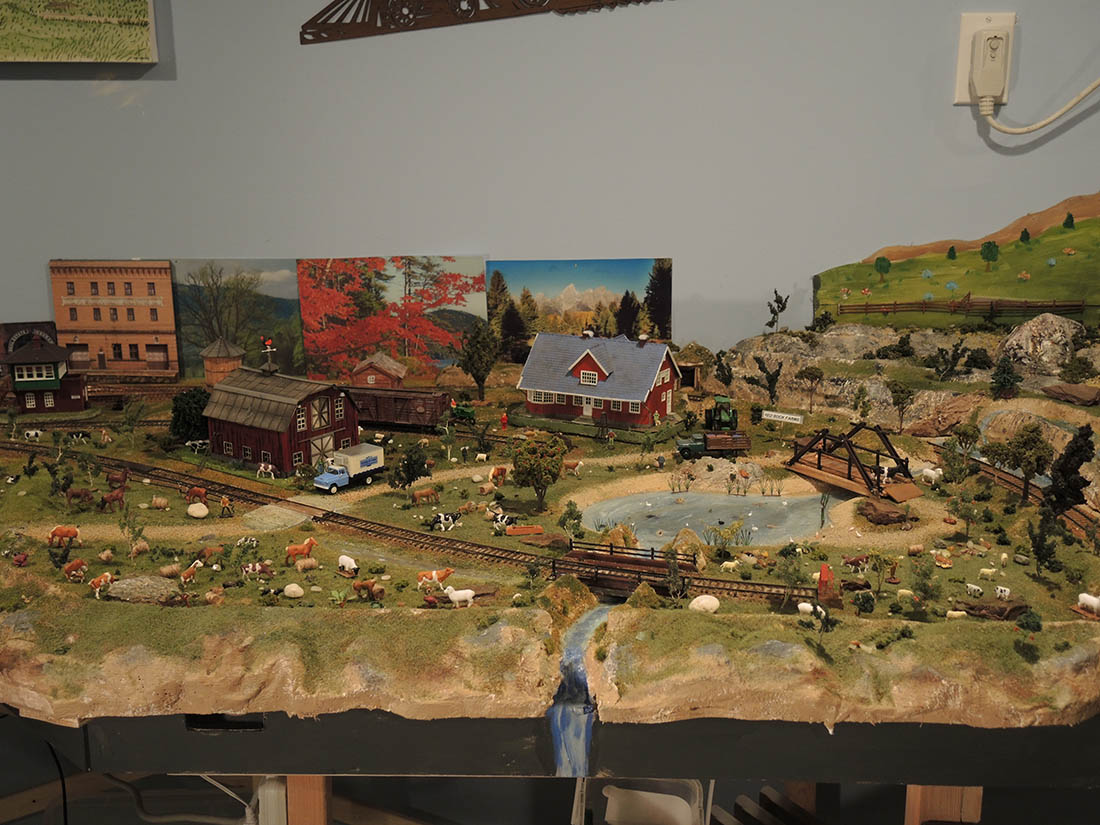
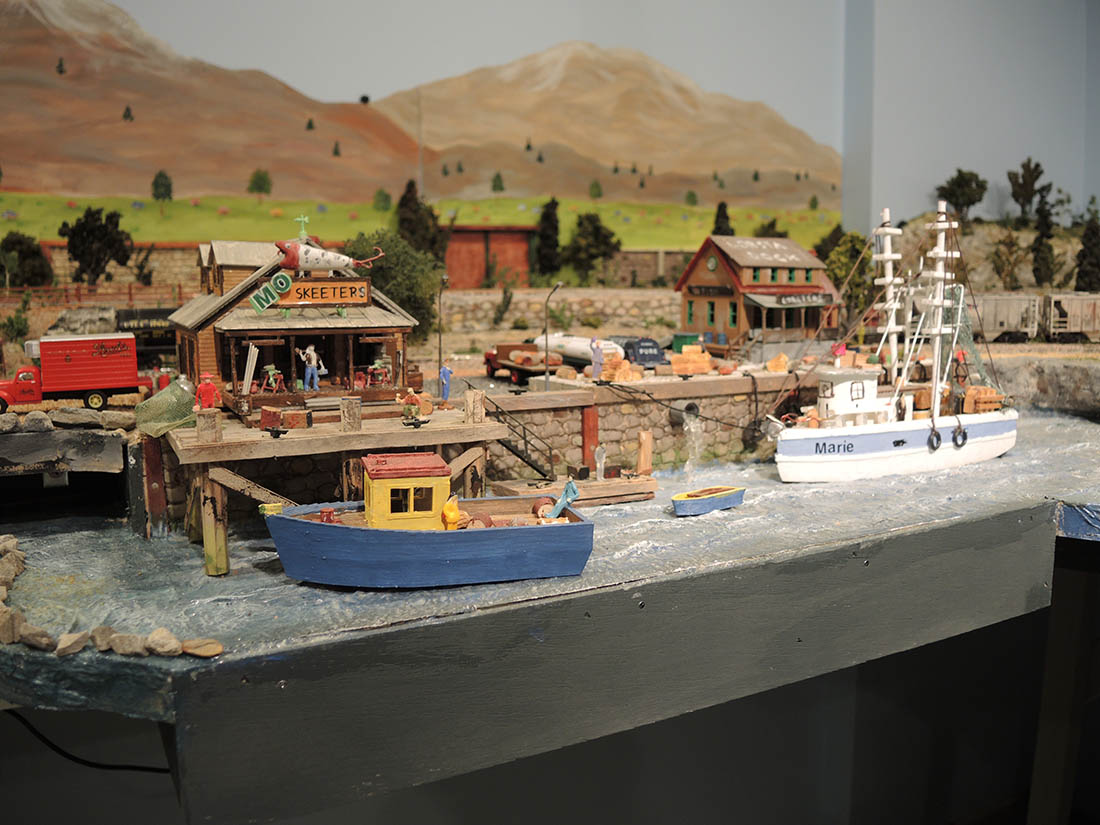
Fred’s been back in touch with his stunning N scale harbor scene.
You’ll remember his stunning layout as soon as you see it.
He hasn’t sent in a narrative, but if you want to get up to speed, his last post is here.
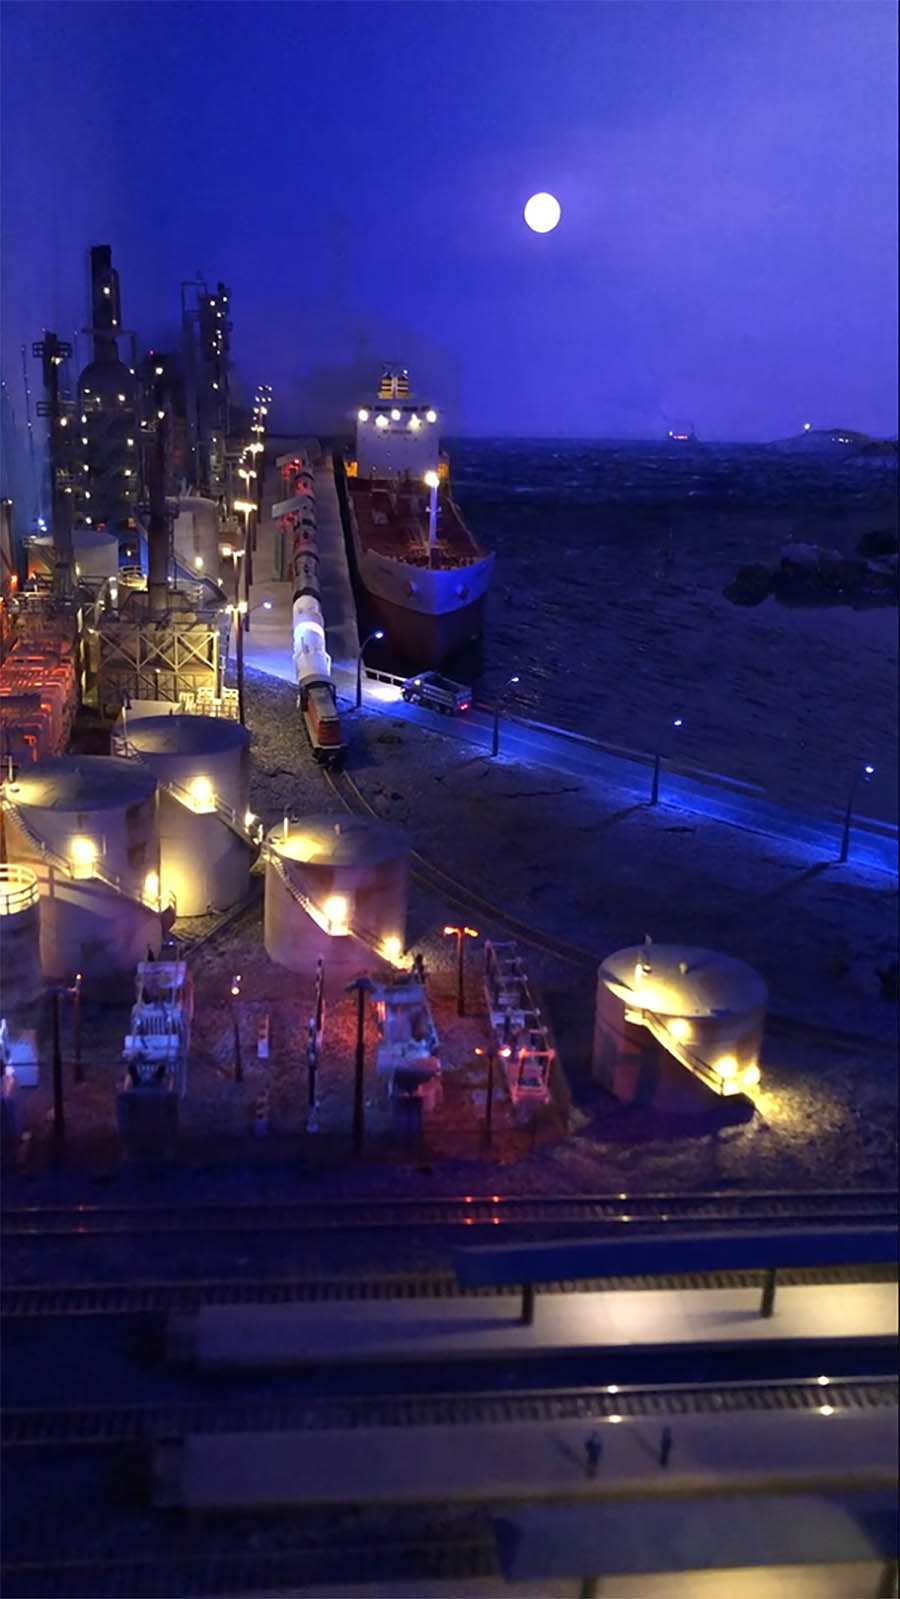
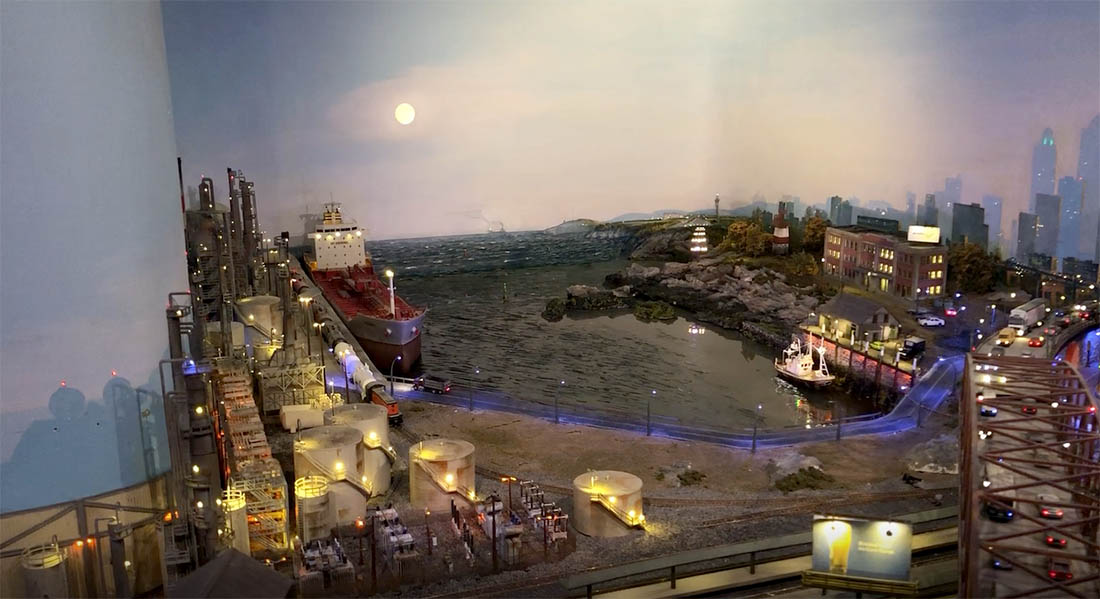
A big thank to Fred for sharing his N scale harbor pics. I can’t wait to see more!
Now on to Robert, who has sent in a good piece on something I’m always going on about: making a start.
“I have been working on a humble N gauge layout that serves two purposes.
It puts a train around our little Christmas tree, and the rest of the year there’s a mountain in the center with a lighthouse on top for the grandkids to amuse themselves with when they visit.
The whole thing sits atop my stereo cabinet. The layout had to be compact and lightweight.
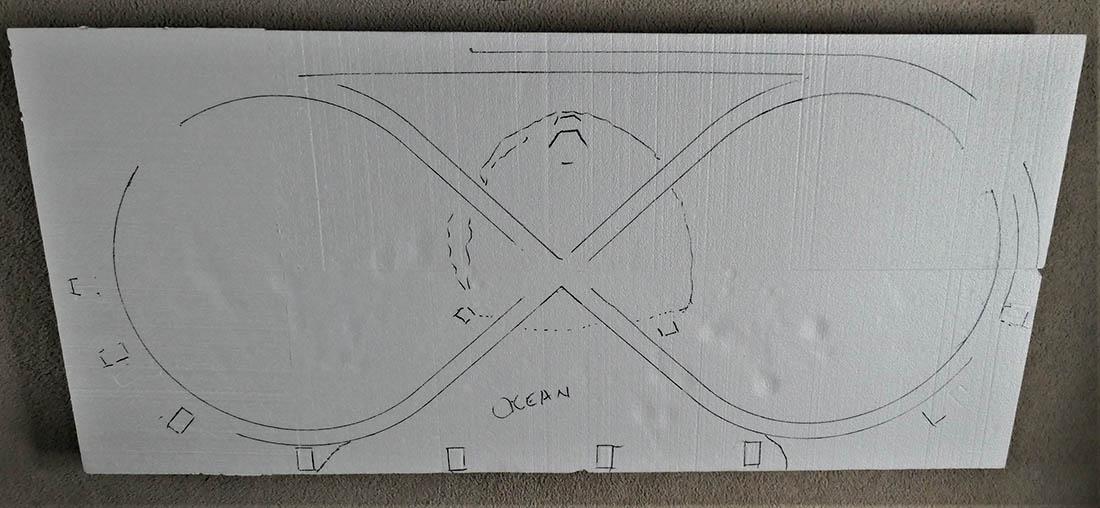
1. I started with Styrofoam insulation sheets. I used low-temperature hot melt along the edges to fuse the sheets. The finished foam base is about 2.5 by 5 feet. I outlined where the tracks would fall and sketched the position of the mountain. The inside track is a figure eight, and the outside is an oval with a trestle in front.
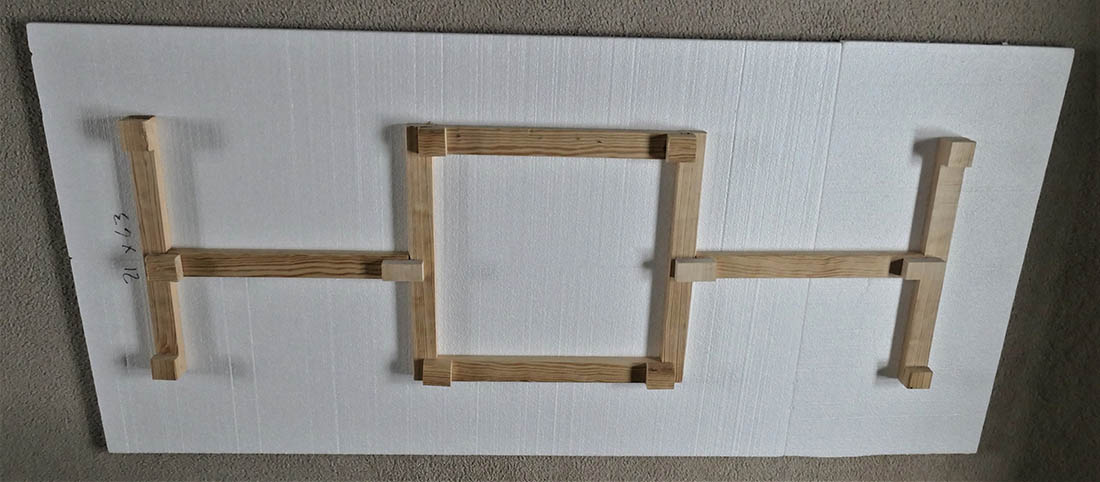
2. I braced the Styrofoam with furring strips and added squares of furring strips as standoffs to provide space for wiring.
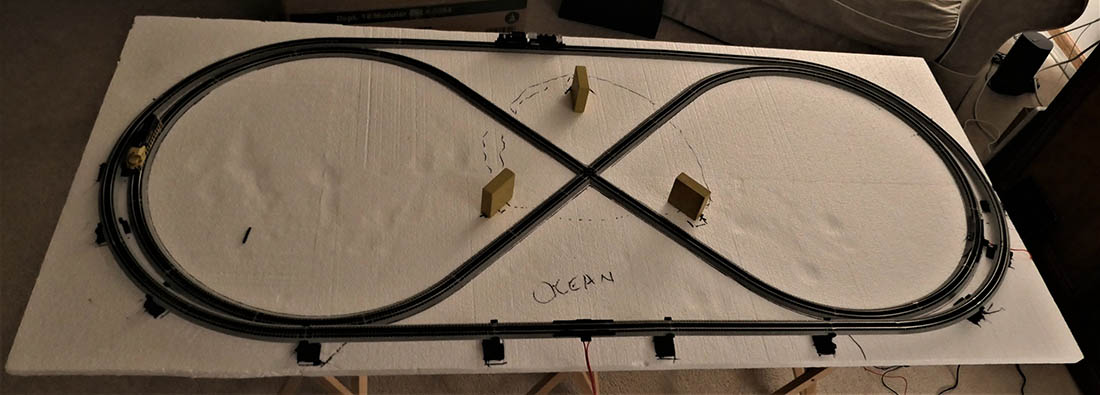
3. Next, I laid the track down, proved it with the trains, made adjustments, then glued it down using Loctite Power Grab construction adhesive. The three blocks in the center serve to hold the Christmas tree legs. They also serve to define the outside shape of the mountain.
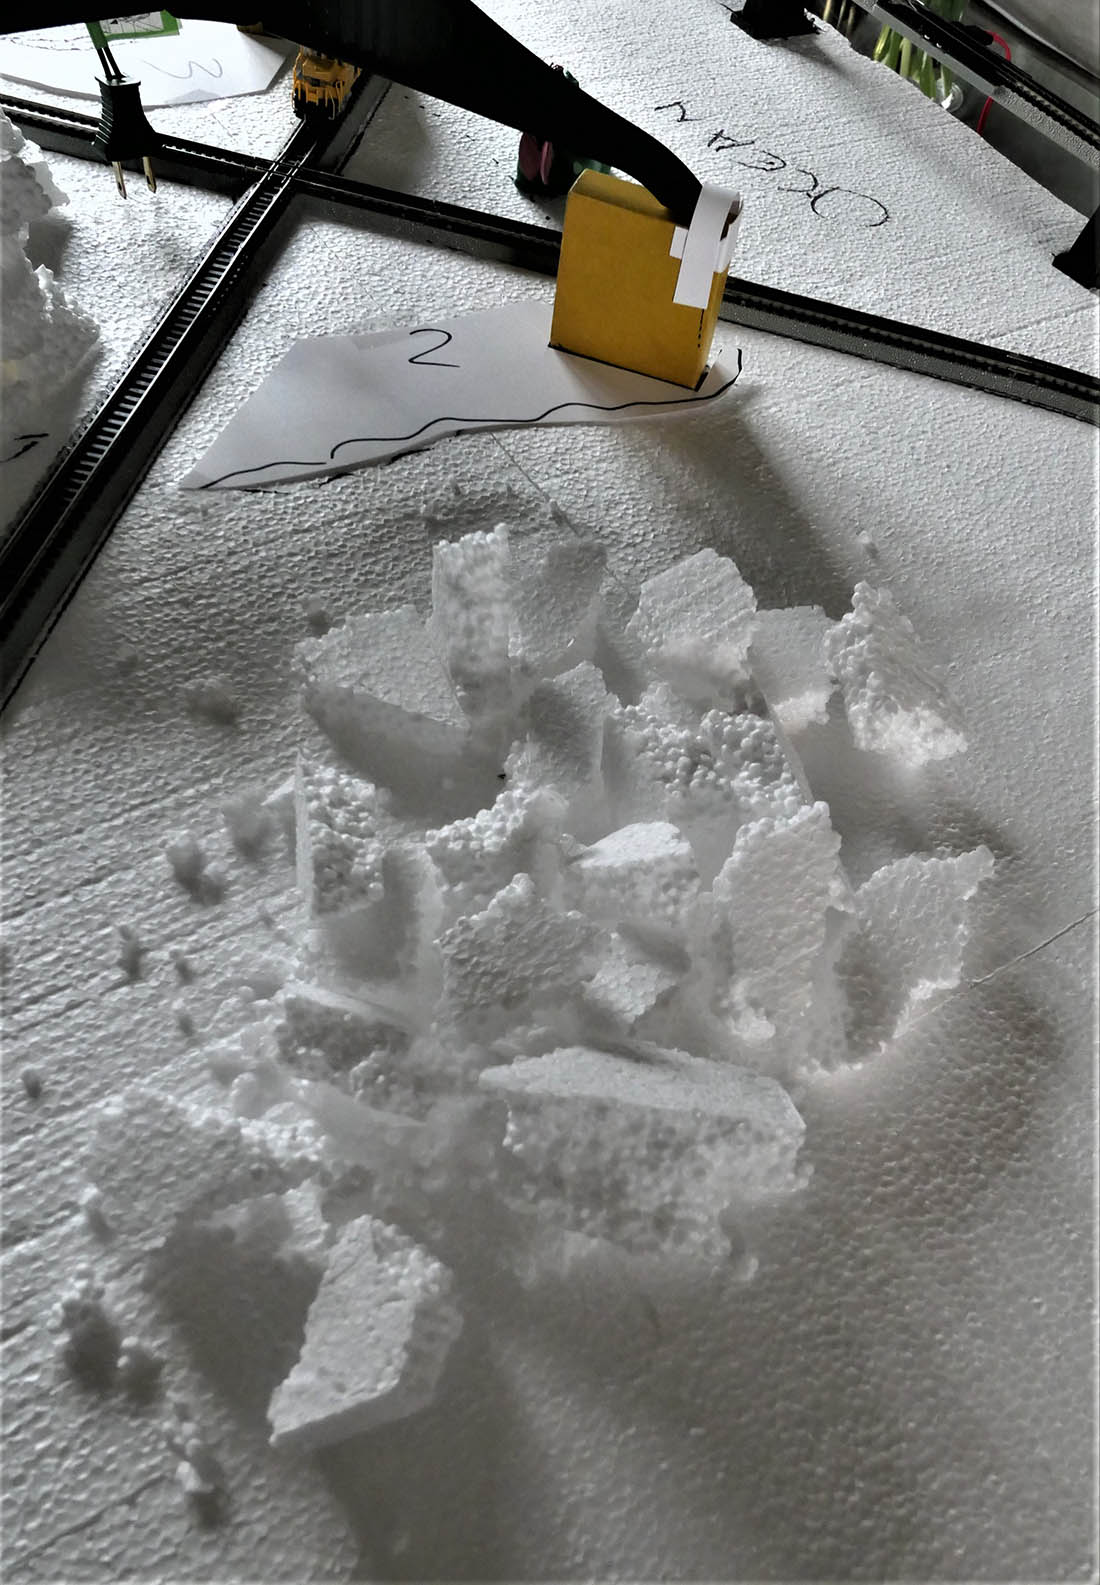
4. I outlined the shape of the walls of the mountain on cardstock, then broke up chunks of Styrofoam and used them like building blocks, gluing them with hotmelt on top of the cardstock outline. Notice the shoe I made from cardstock to hold the foot of the tree. I did this for two of the three legs.

5. Here you can see a partially completed wall. I numbered each of the wall outlines so I would not confuse where each one went. I then sculpted the wall with a razor blade and covered it with tissue and diluted white glue to make it appear more like rock.

6. After outlining the locations of the walls, I used diluted white glue and toilet paper to add texture to the tunnel floor.
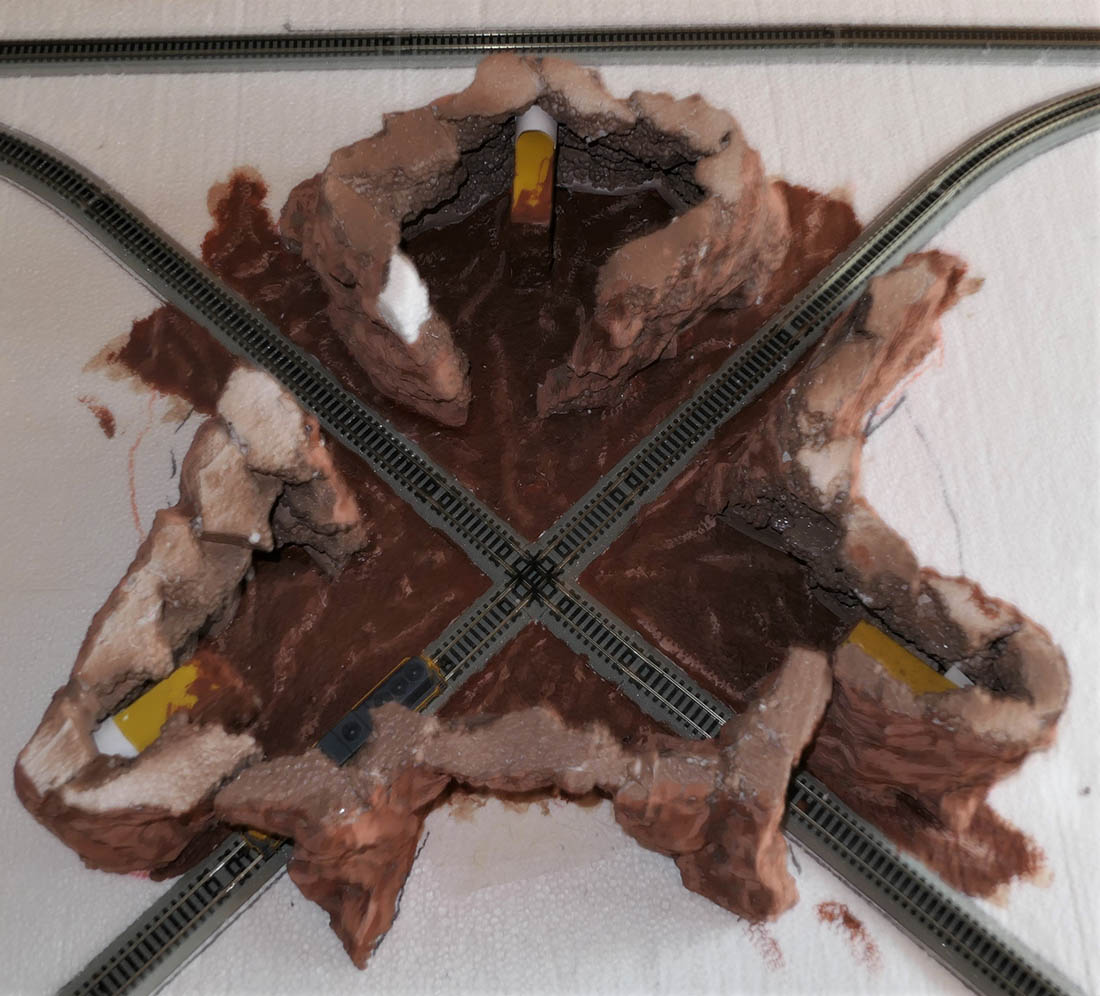
7. Here is a shot of the painted cave floor with the mountain walls glued in place.

8. Next, I cut foam for the tops of the entrances and a center piece for the top of the tunnels or cave. The entrance tops will be glued in place while the center piece is a friction fit.
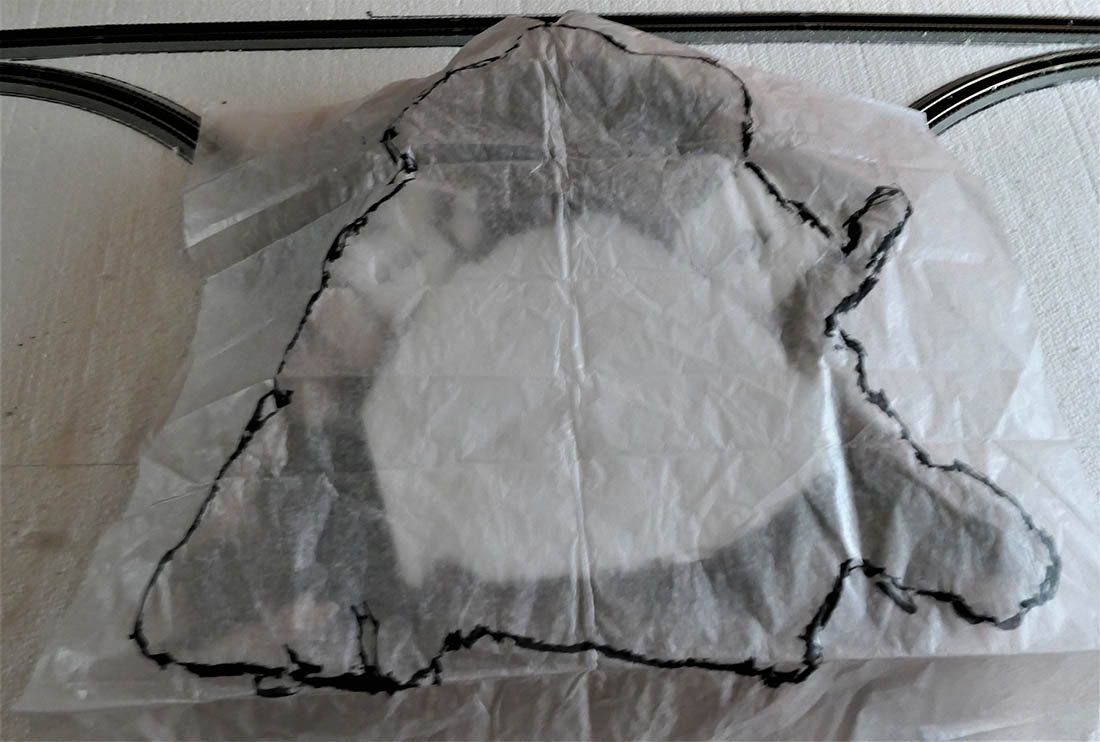
9. I used tissue to trace the outline of the mountain walls and then cut a sheet of foam to match the tracing.
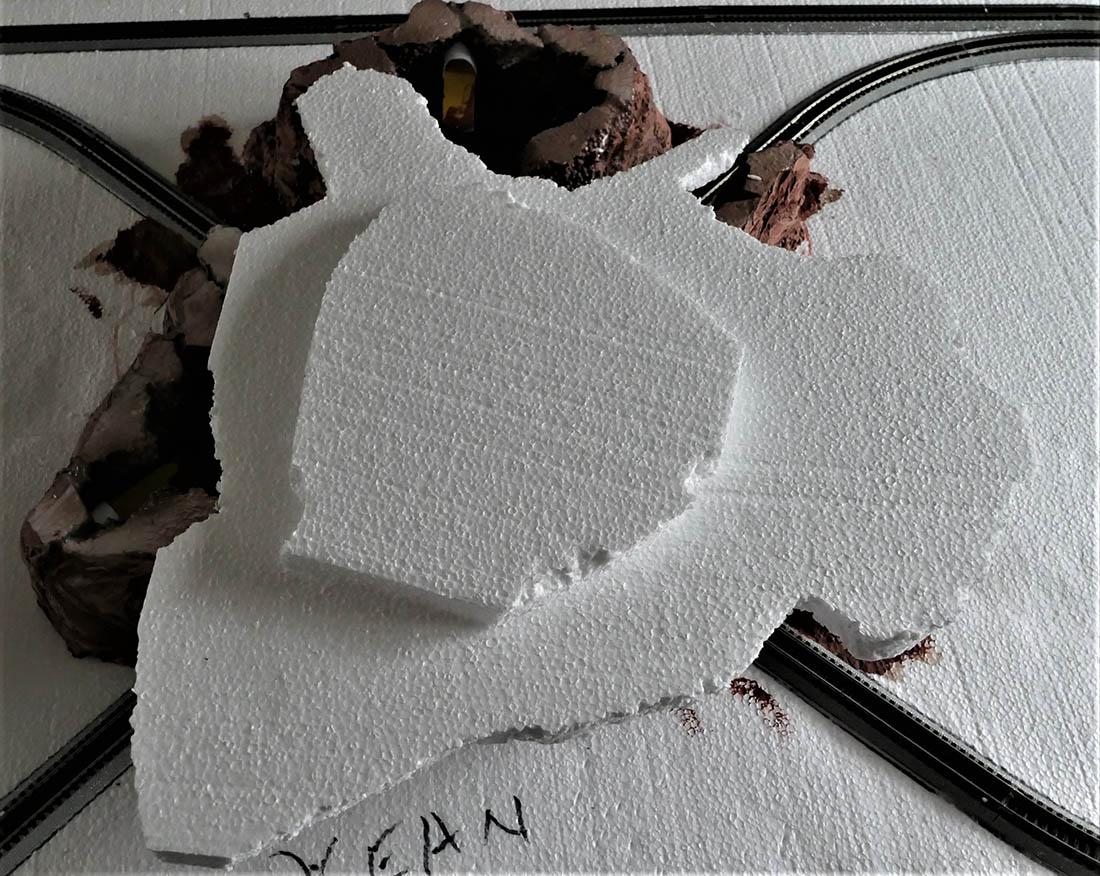
10. The piece that fits inside the mountain is then glued to the piece that serves as a base for the top of the mountain.
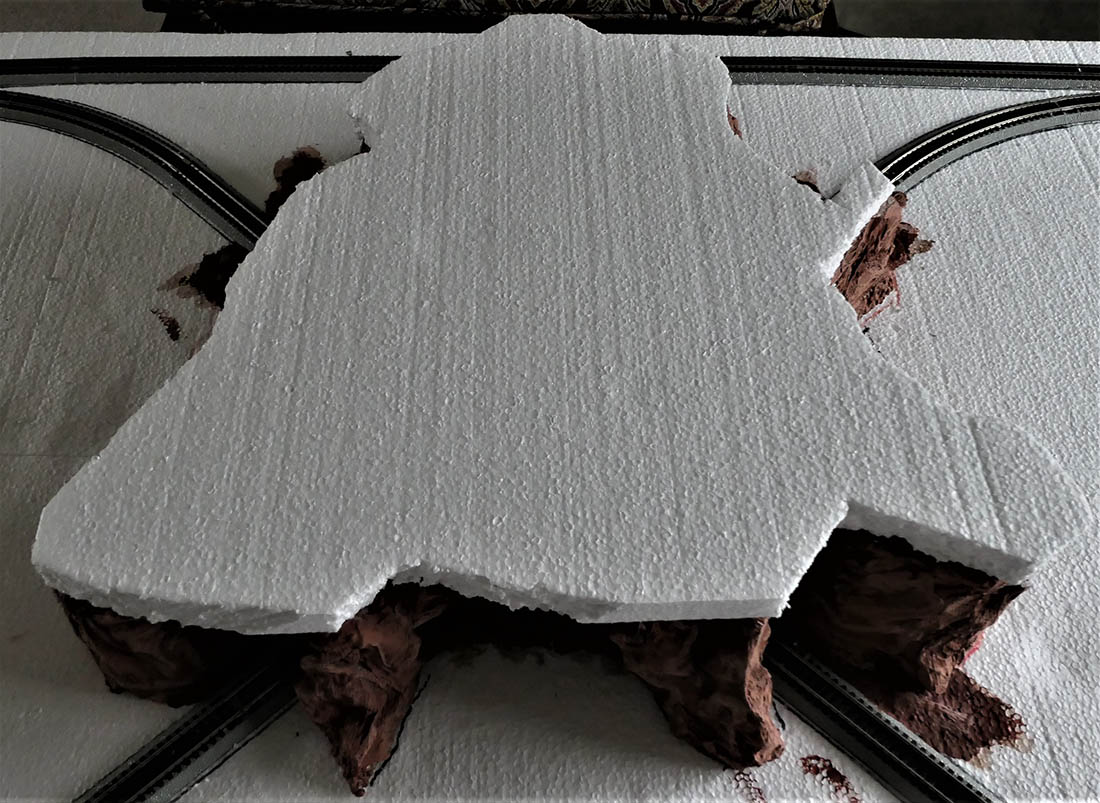
11. Turn the piece over and it fits snugly into the mountain base.
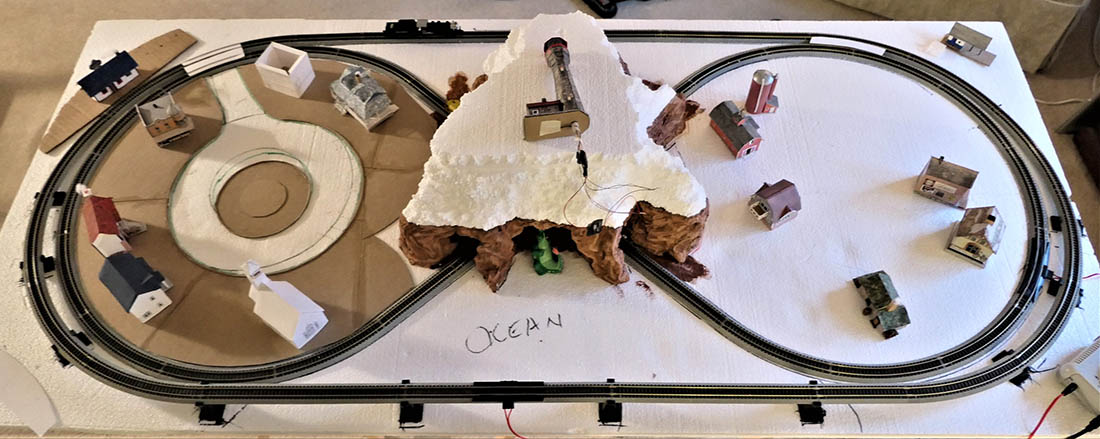
12. I built up the mountain top and prepared it for the lighthouse. The village to the left is Sunnydale, and the village on the right is Forest Falls. Pete’s dragon Elliott is sitting in his cave, anxiously awaiting his apples and a cocktail by the beach. Sunnydale, a happy little cul-de-sac, will have a gondola ride to the top of the mountain.
Much more to do…
Robert”
A big thanks to Robert and Fred.
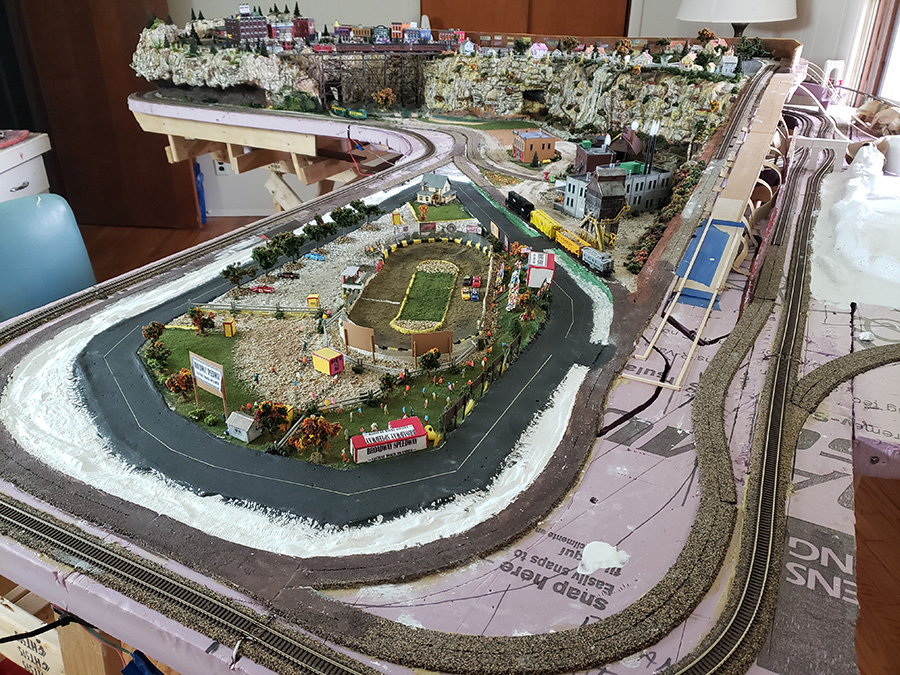
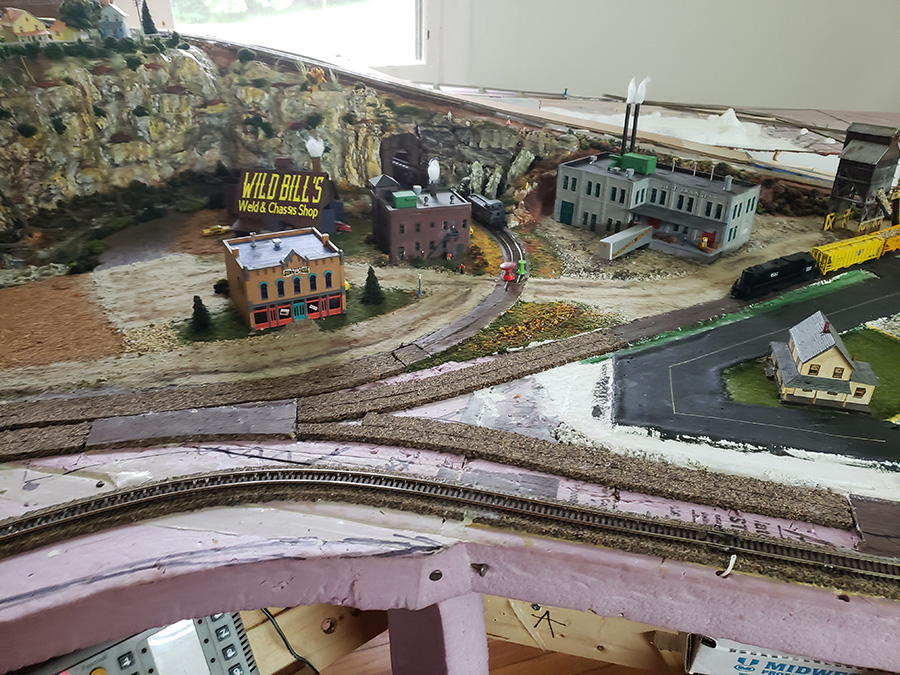
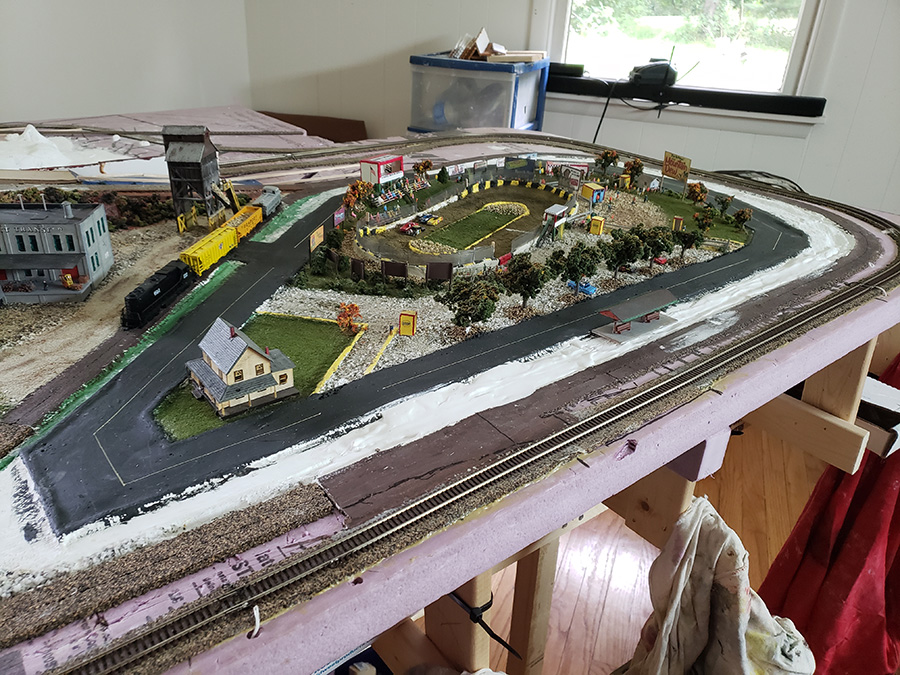
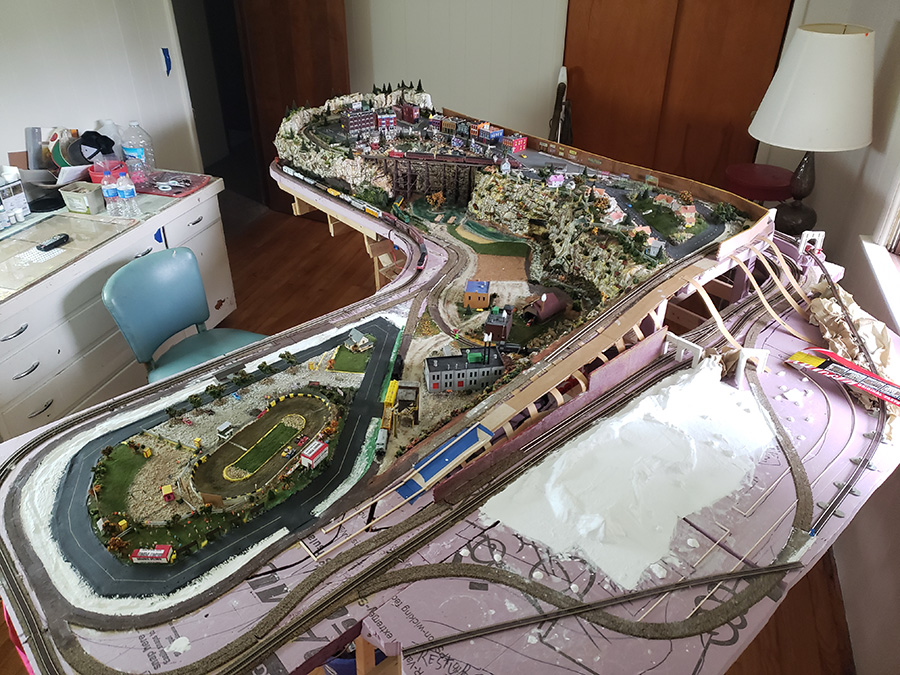
Today’s post really does show both sides of a model railroad.
It’s hard to think that at some point, Fred’s layout looked something like Robert’s.
Nothing happens without making that start.
And if today’s the day you start yours, the Beginner’s Guide is here.
Best
Al
PS Latest ebay cheat sheet is here.