Graham’s been in touch with his N scale train layout:
“The story starts back in the mists of time when the Smiths managed to produce two boys, much to my delight as it was the excuse I wanted to resurrect the OO scale Triang train set that I’d kept from my youth.
Everything was stored in a blanket box in my old bedroom at my parents. I quickly got planning permission and work started in our (very) small spare bedroom.
It was a simple oval with a couple of sidings. I rebuilt the station and scenery helped by a much larger budget than my pocket money from the ’60s.
It was a belter, the scenery was made to the best examples in the magazines and the rolling stock cleaned and engines fettled and it ran a treat.
If only the boys were interested. They weren’t.
Then we moved house and I had to cut the layout in half to get it out of the bedroom and down the stairs. It then went into the loft in the new home ‘while we settle in’.
After a few years I went freelance and the loft was converted into my office. The forgotten railway was put into the eves and as far as I know it’s still there.
We’ve moved back to Leicester now but I couldn’t get it out with knocking a hole in the wall, that was now part of the office, as the access doorway was too small. I still have the trains, and some newer ones….
So, into the 21st century and a growing collection of N Gauge engines and wagons, collected in a hope of building a more mobile layout for me.
The boys grew up with computers around the house and their careers have followed that route and they now have boys of their own.
The good news is that the grandchildren love coming over to see the trains, even if they are quite young.
Now to the story of the ‘new’ layout. A lot of the stuff I’d bought already had come from Ebay, and the like, and it occurred to me to look for a layout to do up rather than start from scratch.
I ended up with a professionally built layout mounted on an office table, approx 5ft x 2ft6in, for not much more that the cost of a new office table.
The downside of it was the 140 mile round trip to get it. What is it with the next generation? I bought it off a man with a young family but he wasn’t at all interested in keeping the layout that his old man had left to him.
Originally it had been built on a commercially available print stuck onto the table and all the houses etc. were built from card kits supplied with the ‘plan’.
The guy who was selling it had already stripped the buildings and anything else that was stuck to the table and sold them separately. This didn’t bother me as I would probably have binned most of them anyway. Only the track was left and I had a plan.
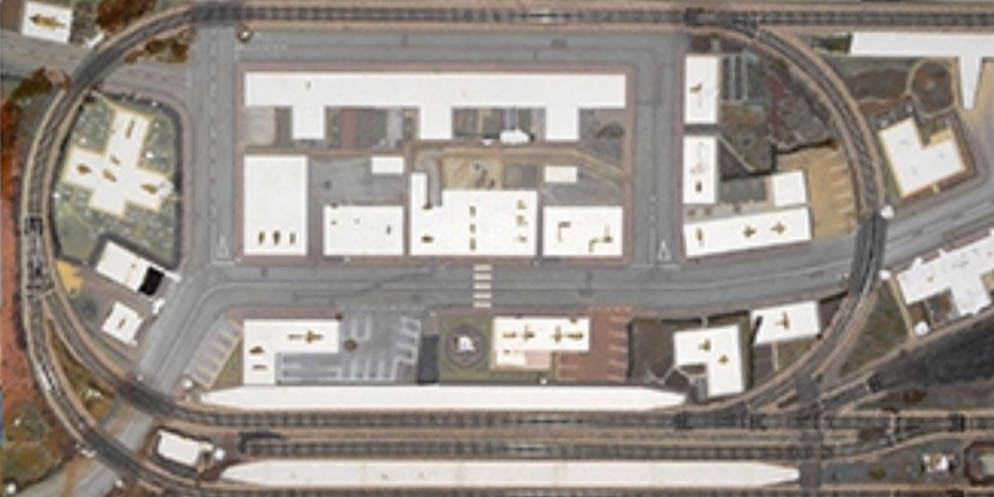
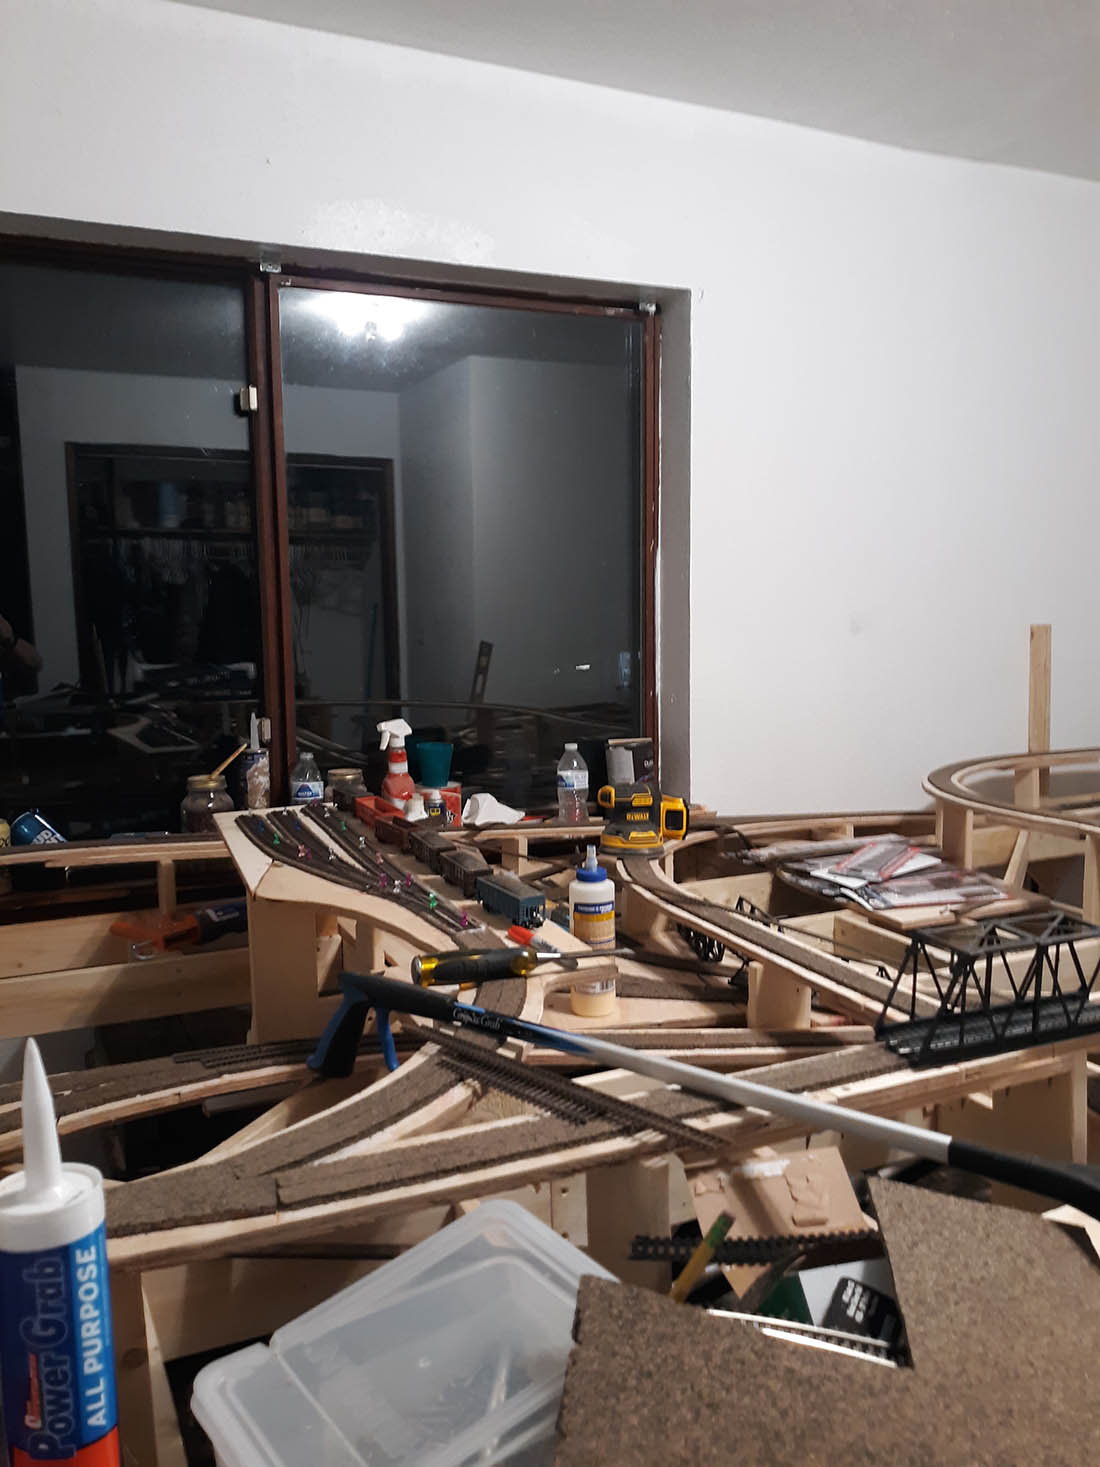
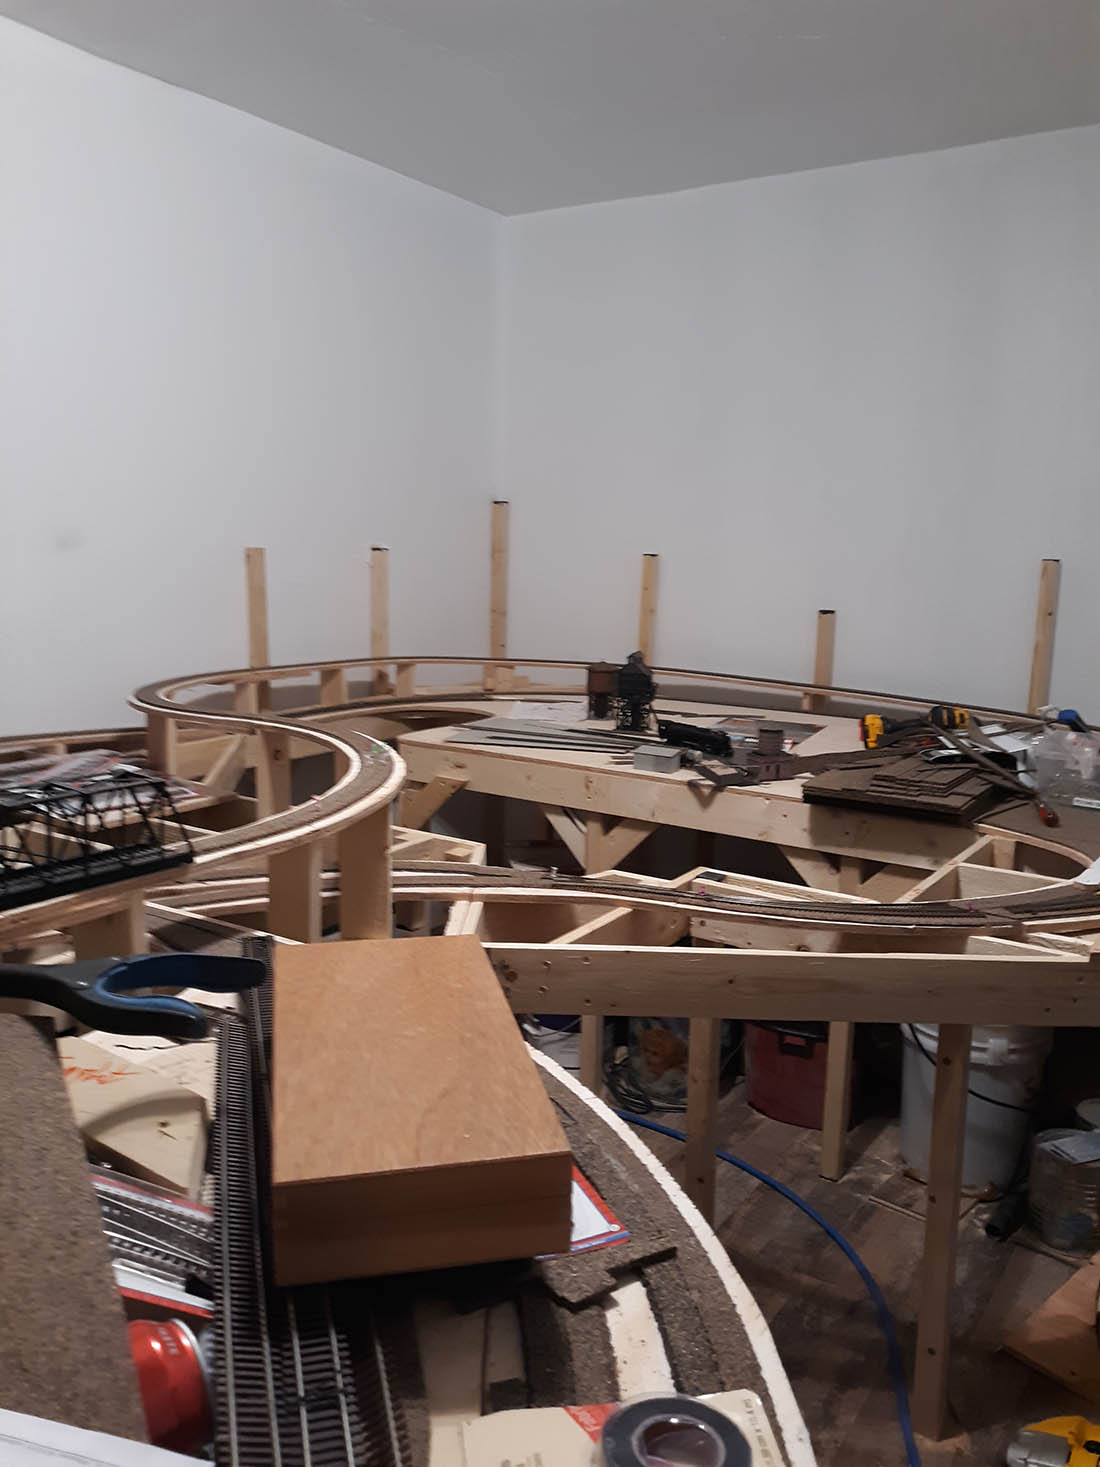
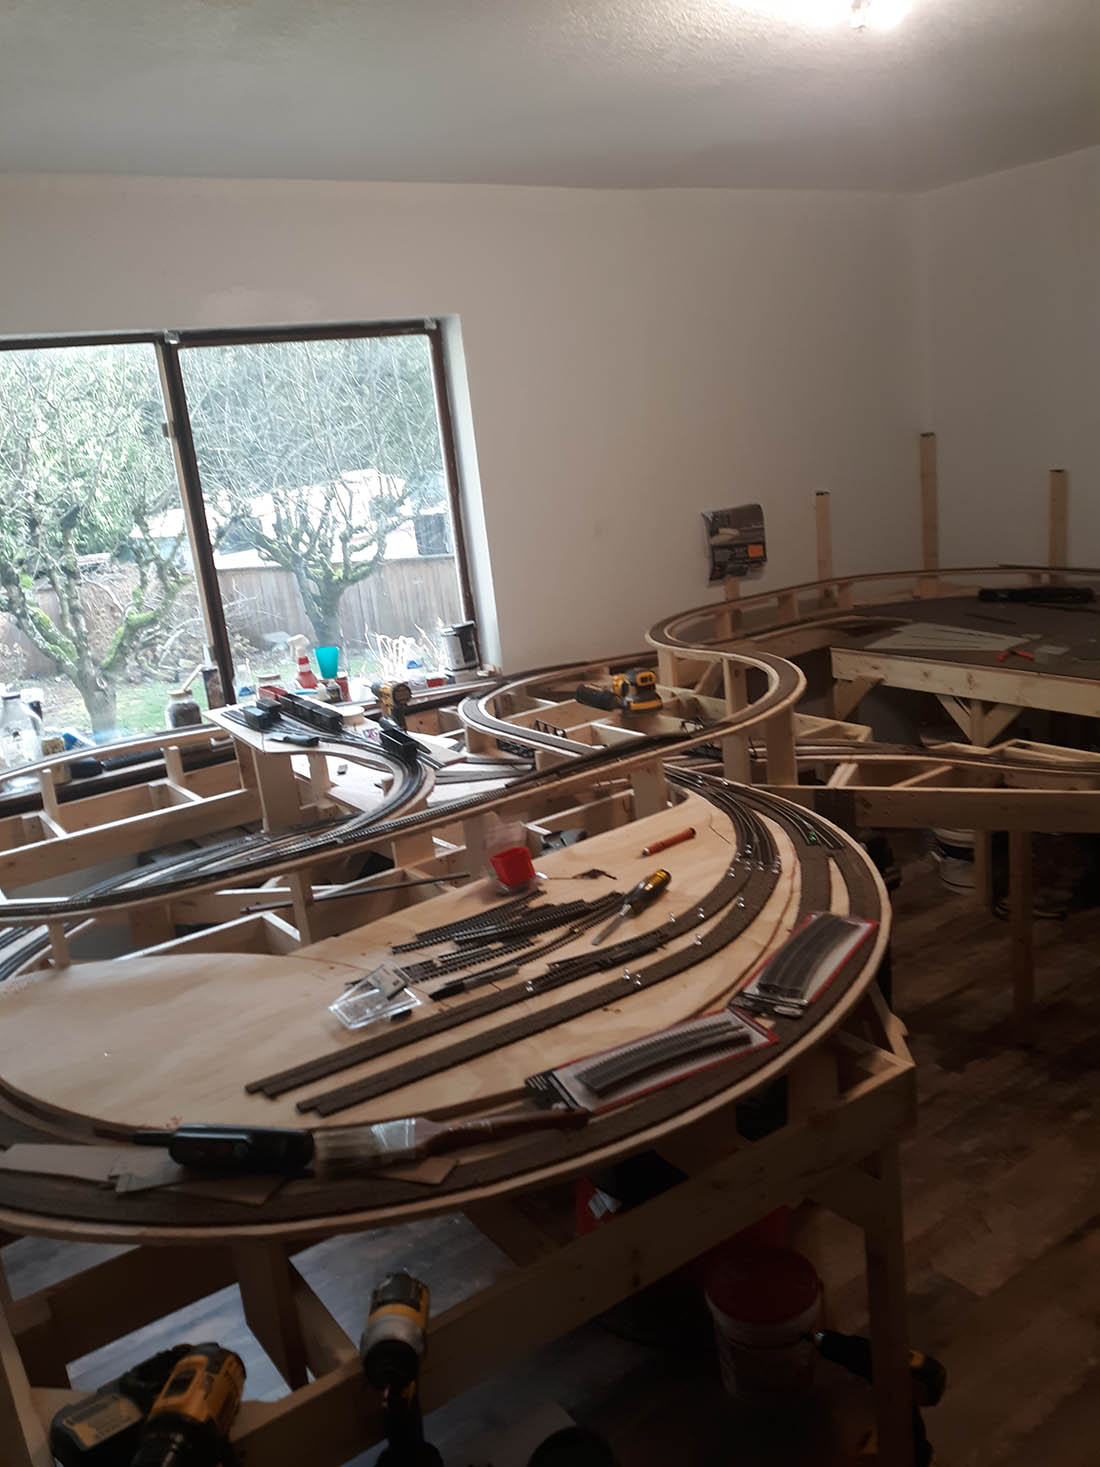
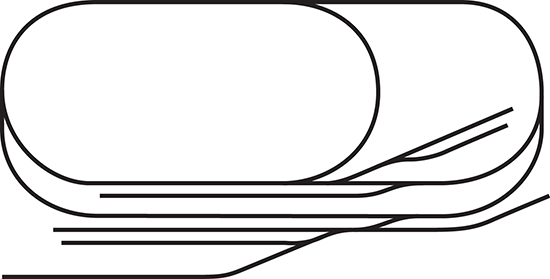
The bare table and track as it came out of the back of the car….
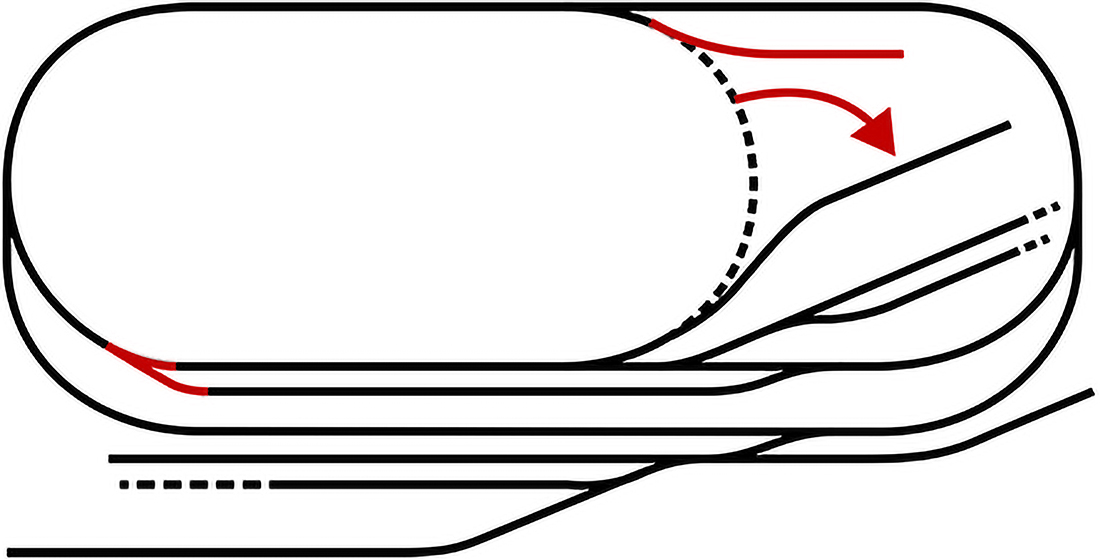
… and a clearer layout of the original and the small mods I made.
I didn’t like all of the railway layout as I wanted to make more of an industrial reference on it.
I added motors to all but one of the points (switches I think they’re are called over the Atlantic) and small home made solenoid magnets to act as decouplers (I’ve fitted DG ‘Type A’ couplers to all the stock – a fiddle and a pain in N gauge, but great when you get them set up).
They’re also hard to see, unlike the bulky standard N gauge couplings.


Watching trains go round in circles and stopping at the station is only interesting for a short time. I got the couplings so that I can change engines and play at shunting without having to get up and lean across to uncouple things.
The controls setup in the corner of the layout shows where the uncouplers are on the track, they are the coloured push buttons that power the solenoid magnets set into the track.
I took photos of all the wagons and made small ‘playing cards’ from them. The game is to shuffle the cards and then ‘deal’ 4 of them in line.
You then have to shunt the wagons in the goods yard to create a goods train with a guards van at the rear and then hook an engine from the engine shed onto the train and drive it around the layout.
Other ‘games’ are to deliver the loaded coal wagons to the siding behind the engineering factory and deliver/collect the products at the front of the factory.
The latter one isn’t as simple as it sounds if you want to run a passenger train around the layout.
The difficult bit is shunting the load you’re delivering while collecting one and not getting the guards van stuck. You have to remember that the layout is a good old 12v DC job and not one of the newer AC and computer controlled jobs. Life wouldn’t be so much fun if everything was dead easy 😉
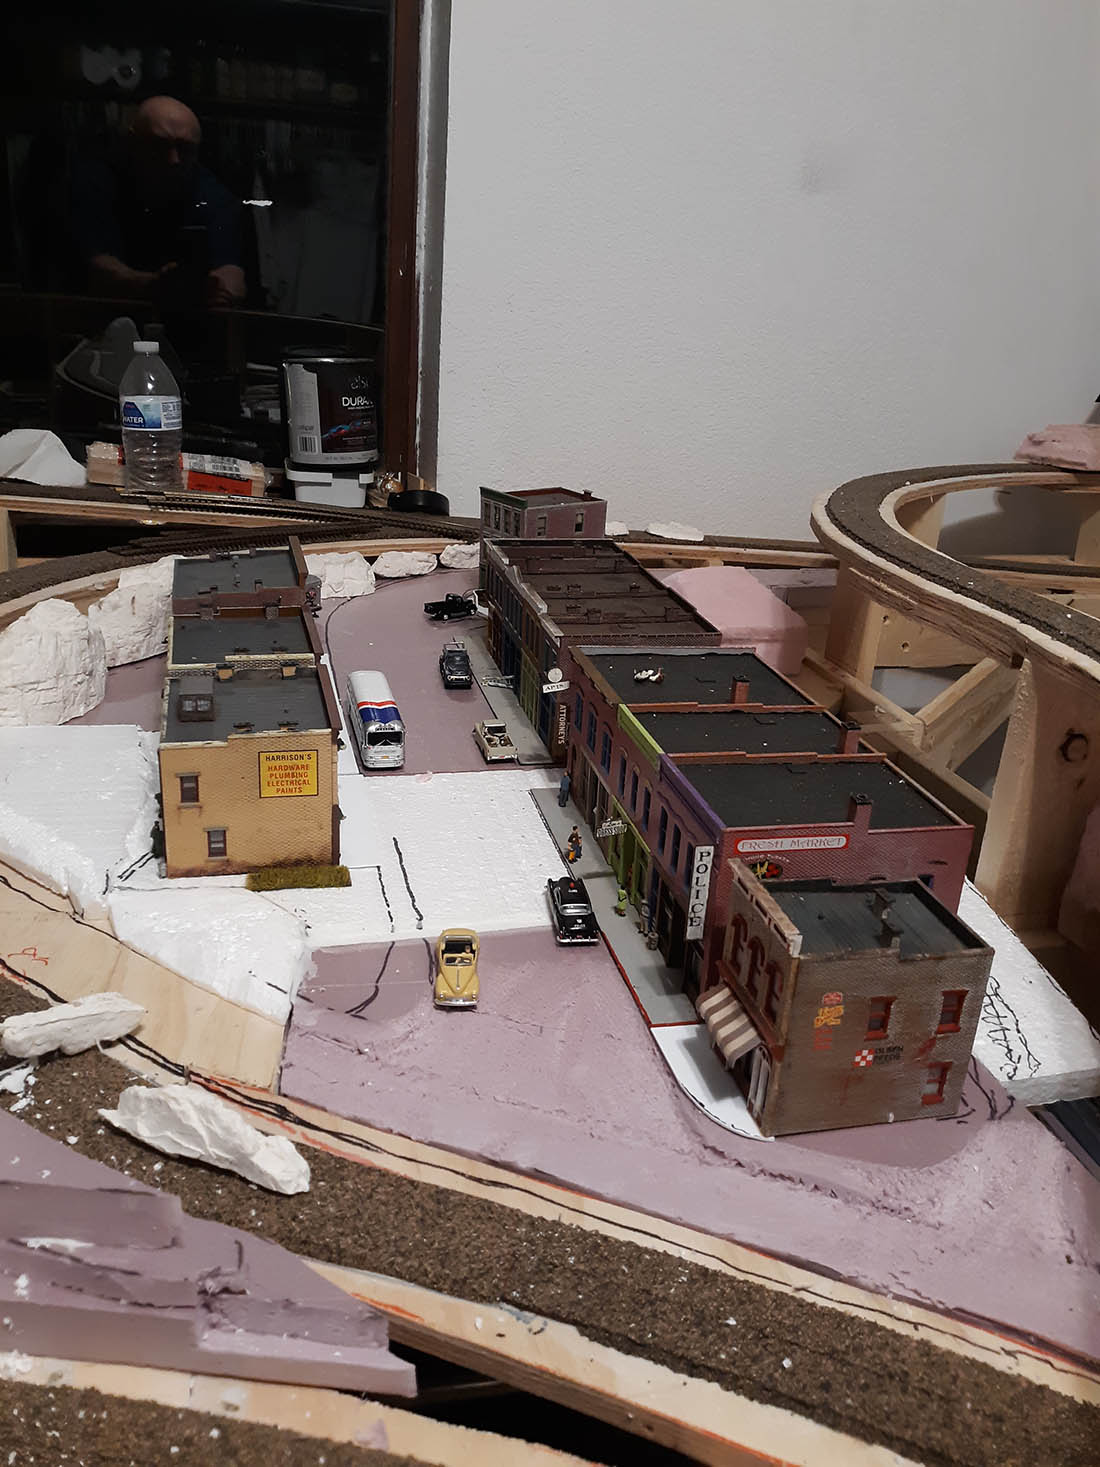
The buildings are mostly Metcalf card kits and stuff I’d got off Ebay, and the trees and foliage are out of a plastic bag from China, where else?
The large tree at the end of the terrace by the station was made from a bunch of grapes. First step, eat the grapes. The stalks were dried over a few weeks and the foliage is the spongey stuff you can get from the model shop. I’m not sure that it’s the best way to make a tree – but it’s quick and easy.

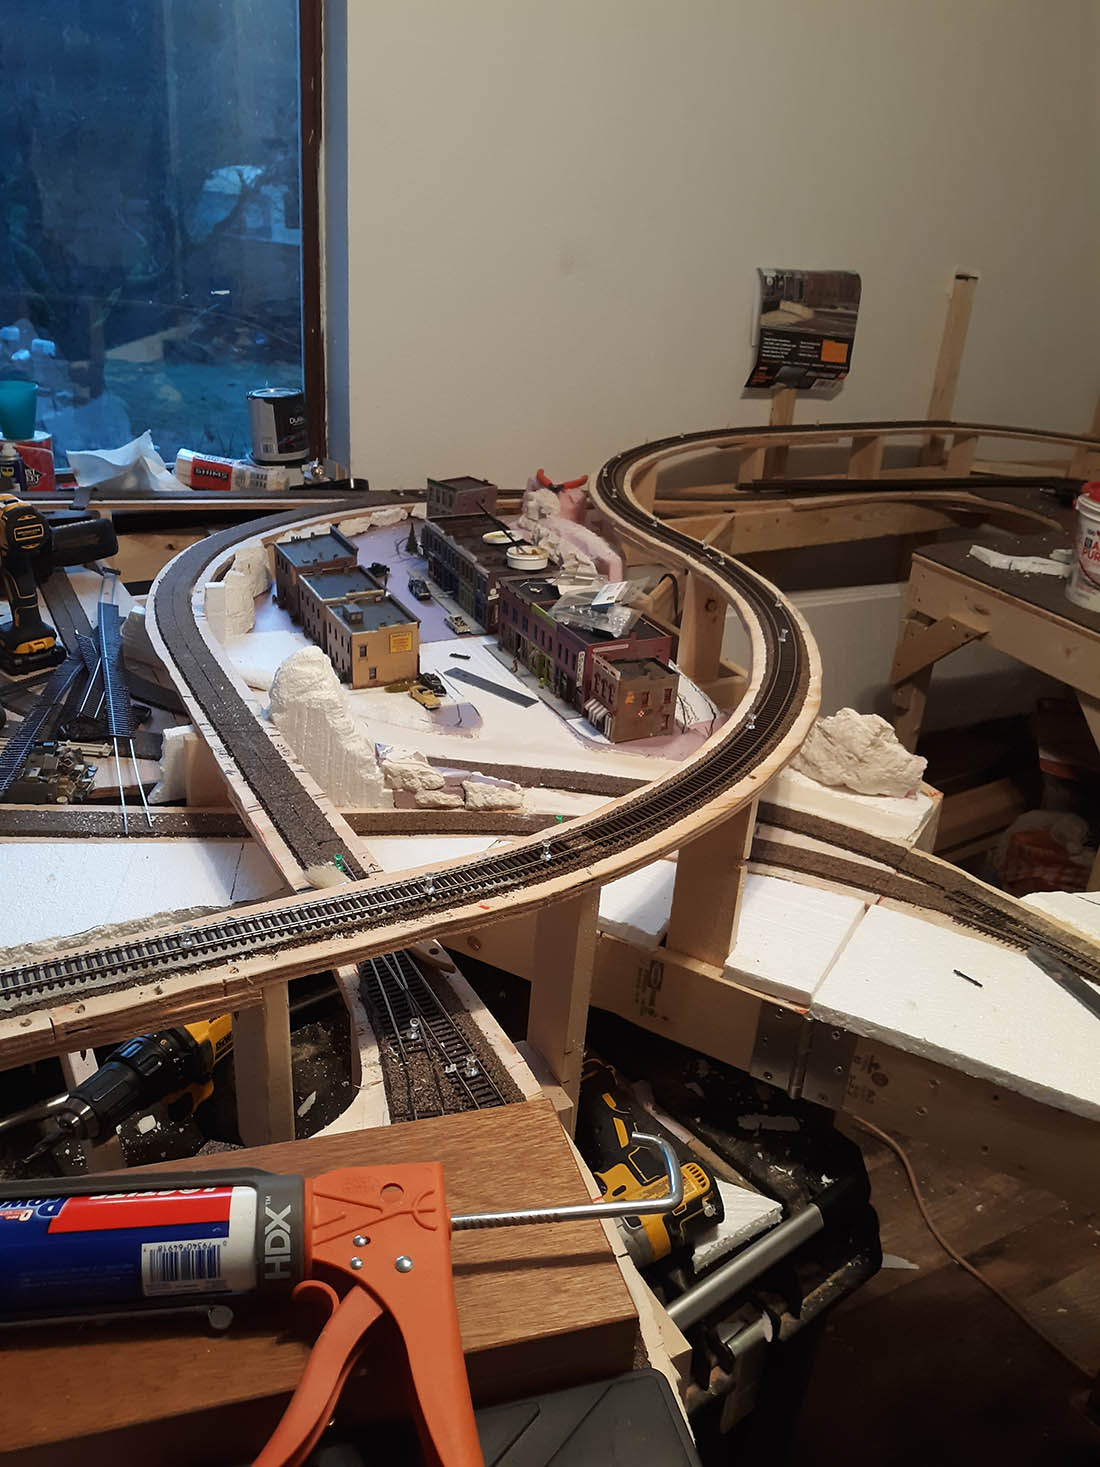
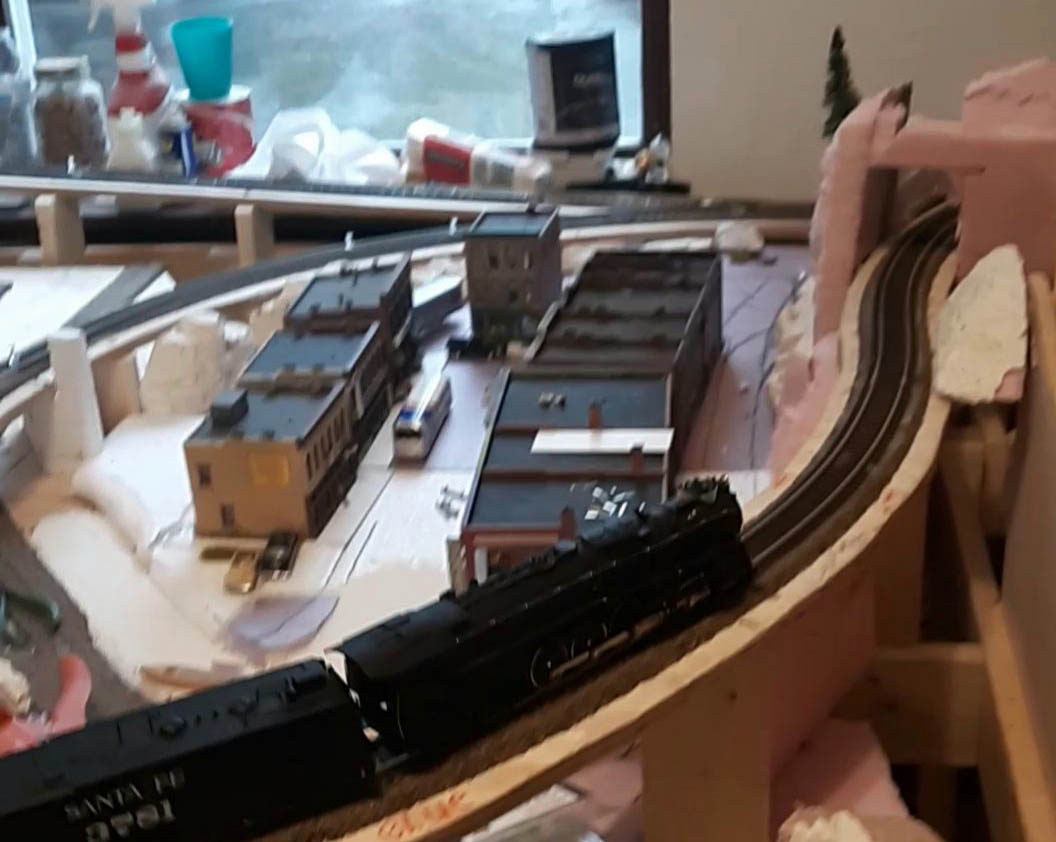
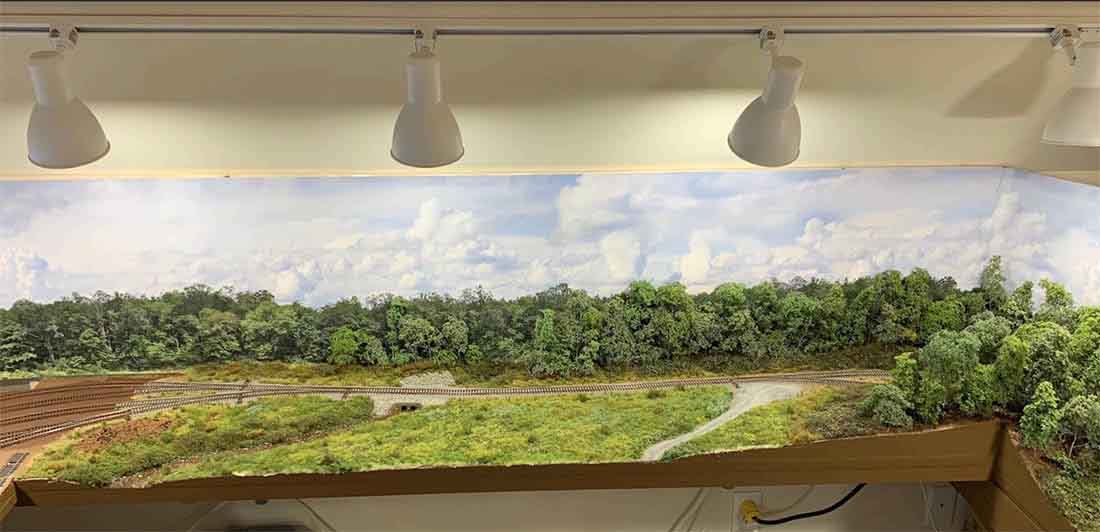
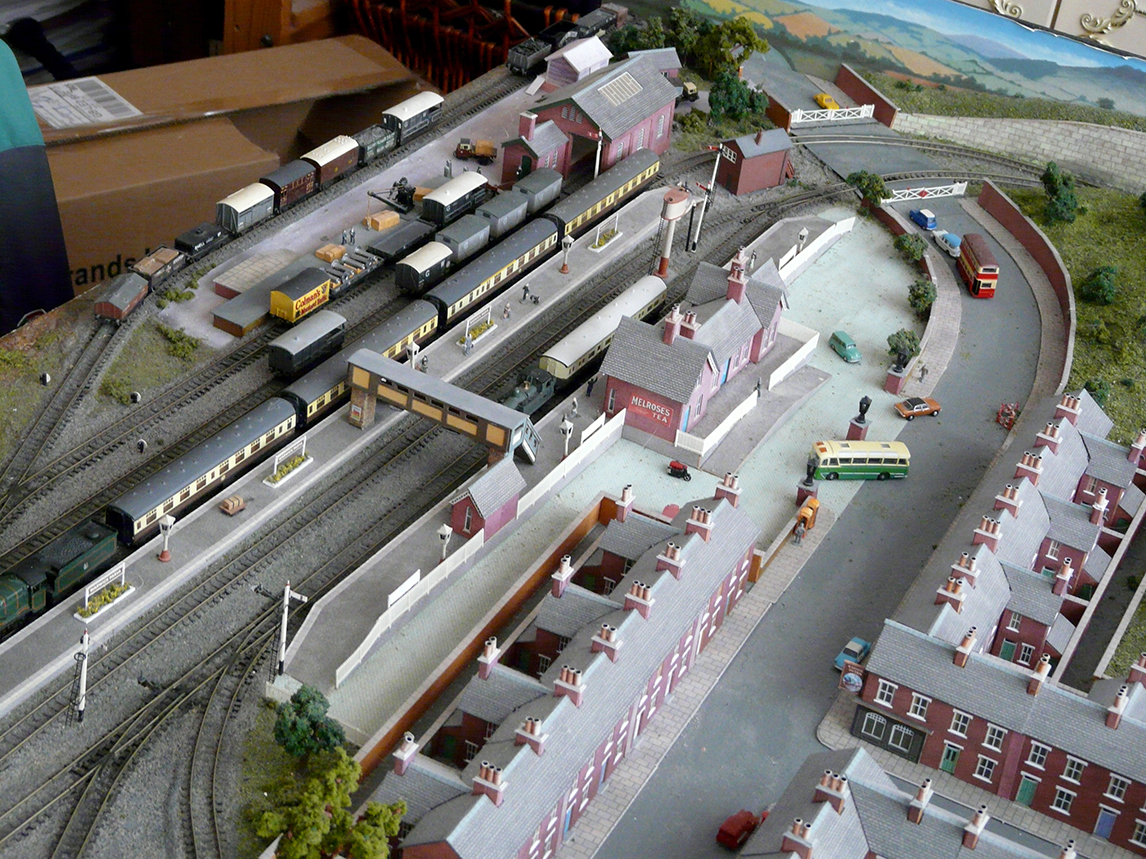
The overview of the finished N scale train layout. The background scenes are original and will be replaced – sometime.

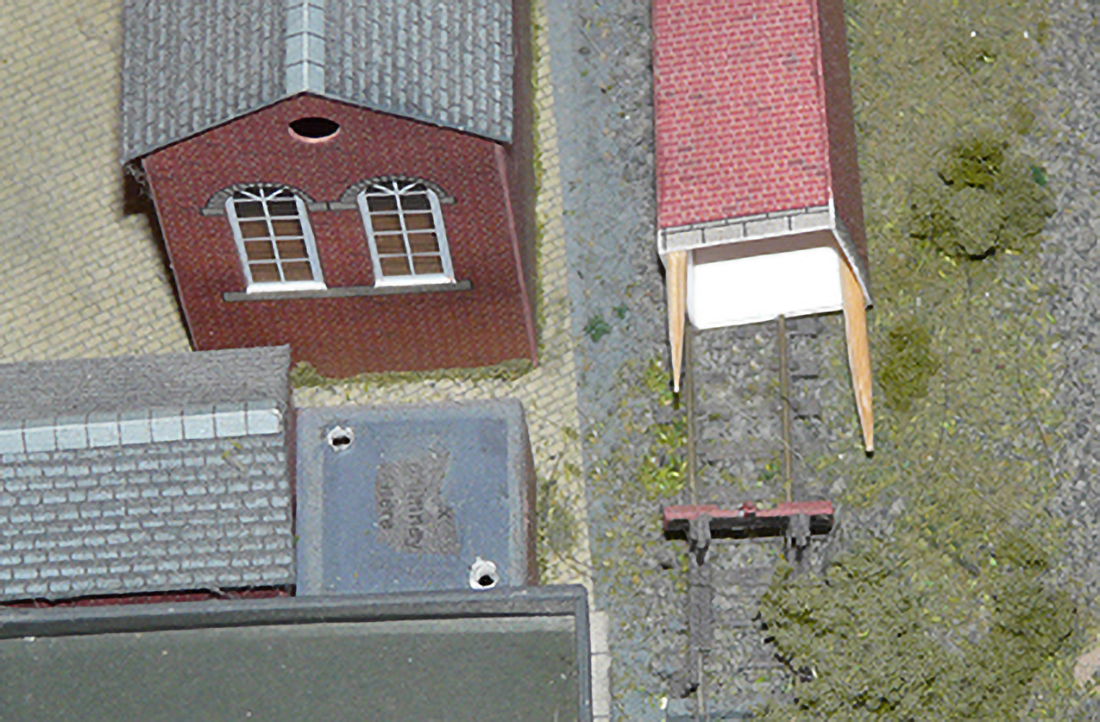
An early photo, before the rolling stock was weathered. The shunting signals at the bottom of the picture mark the location of the uncoupling magnets, the main line ones are in line with lampposts on the station.
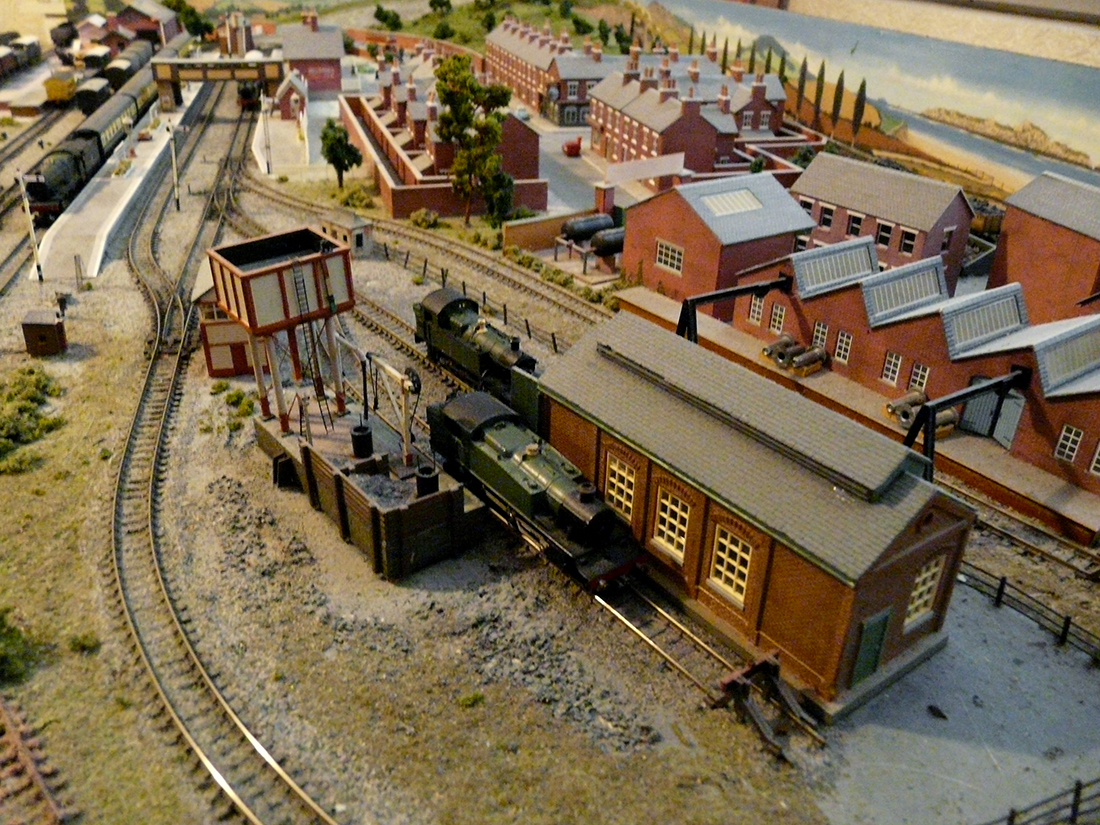
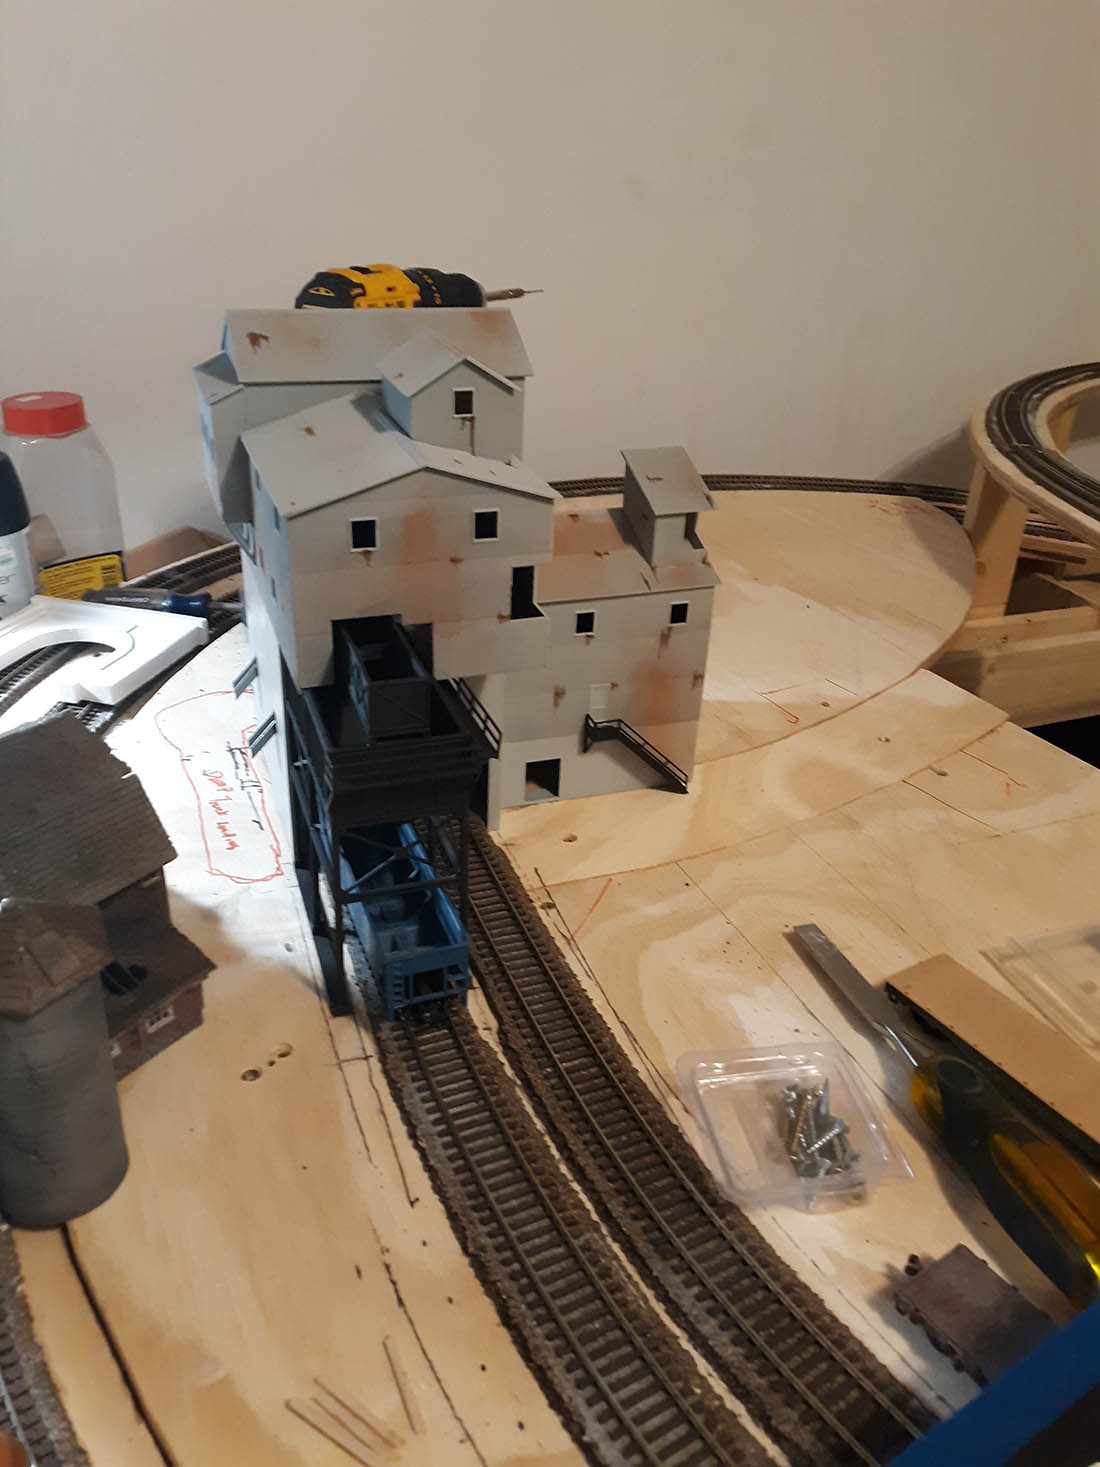
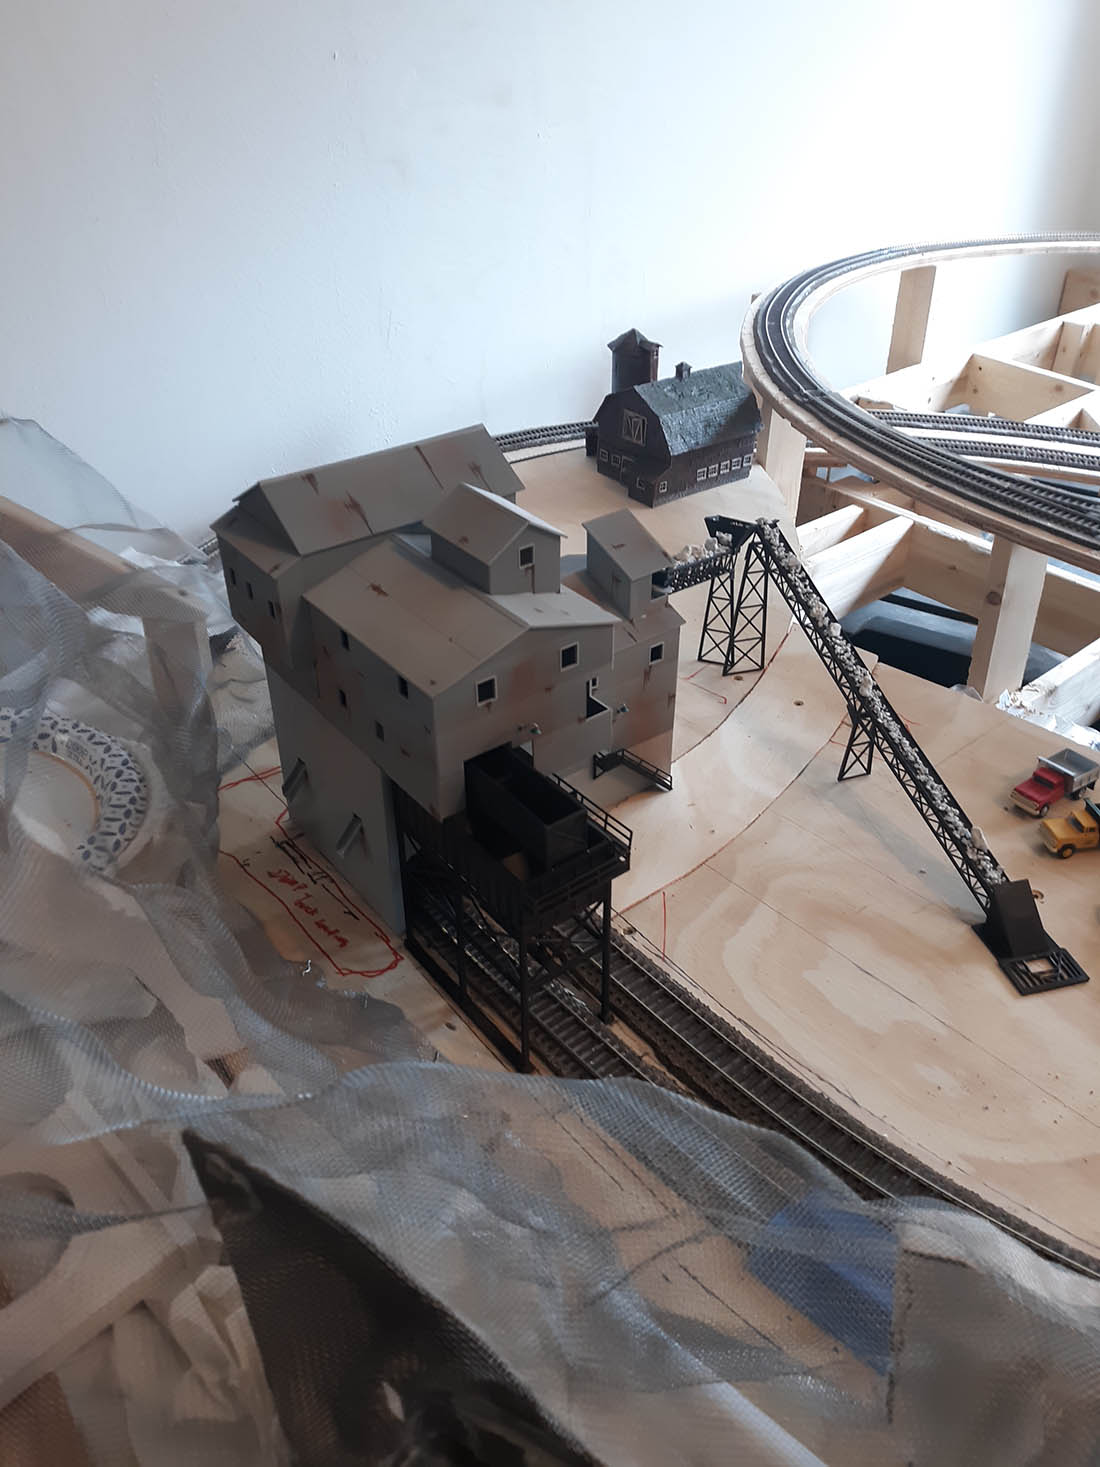
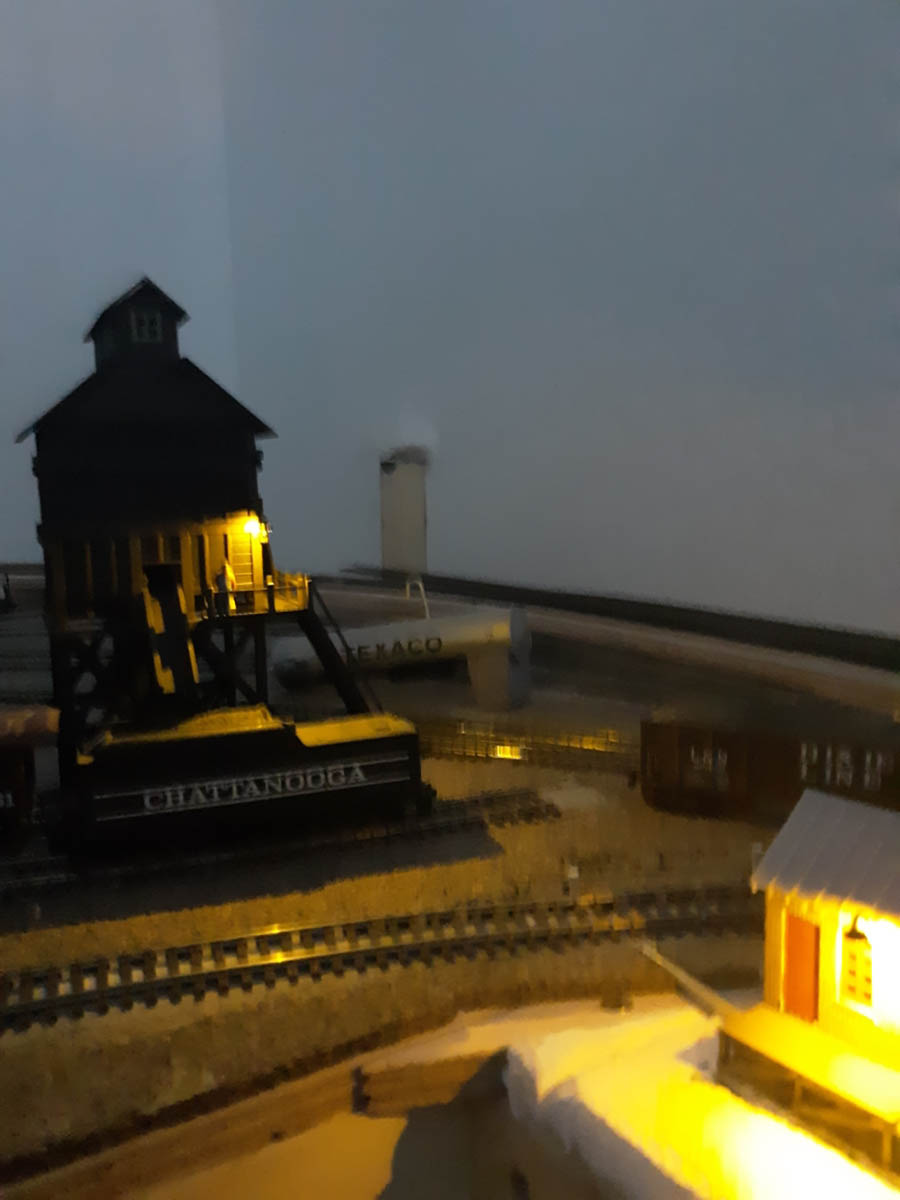
Engine shed area. The water and coaling plant was a Ratio kit, the shed was ready built when the vendor put it in an envelope to send it – I was expecting a box! Fortunately it wasn’t smashed, just more like it’s original kit format. Pay peanuts and you get monkeys I suppose, one of the risks with Ebay (not worth arguing for what I paid, it was pennies).
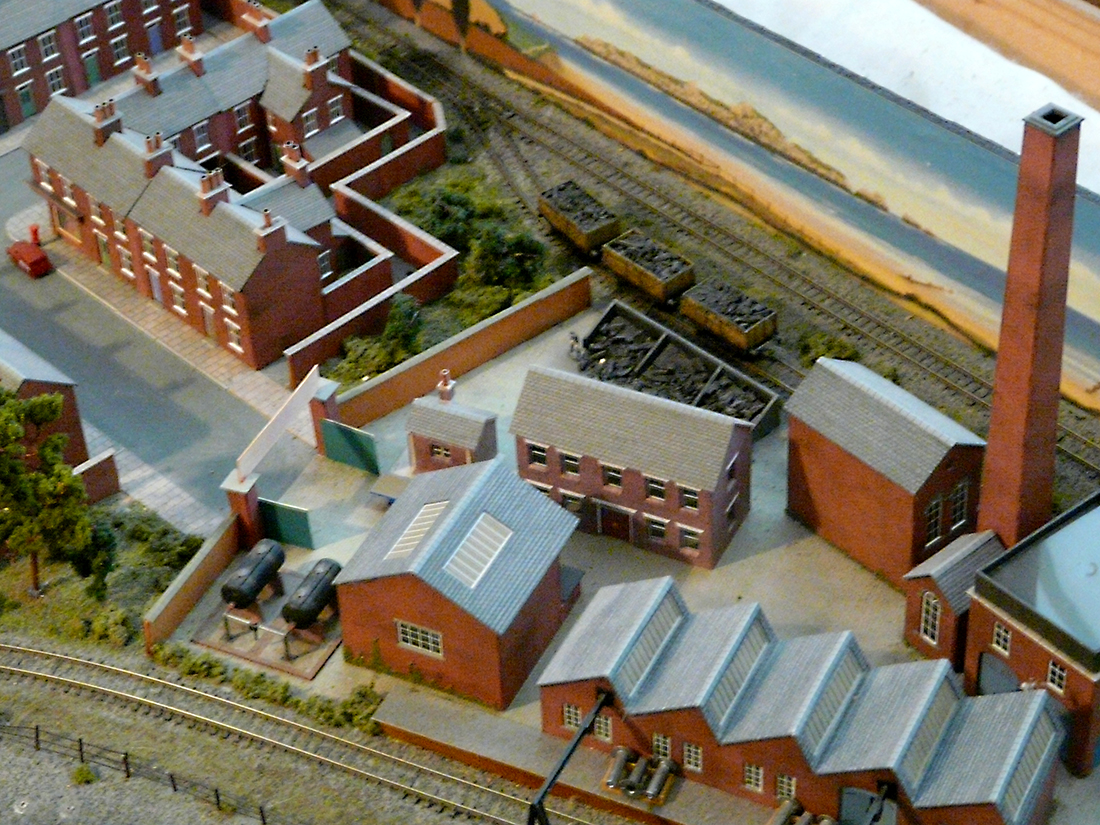
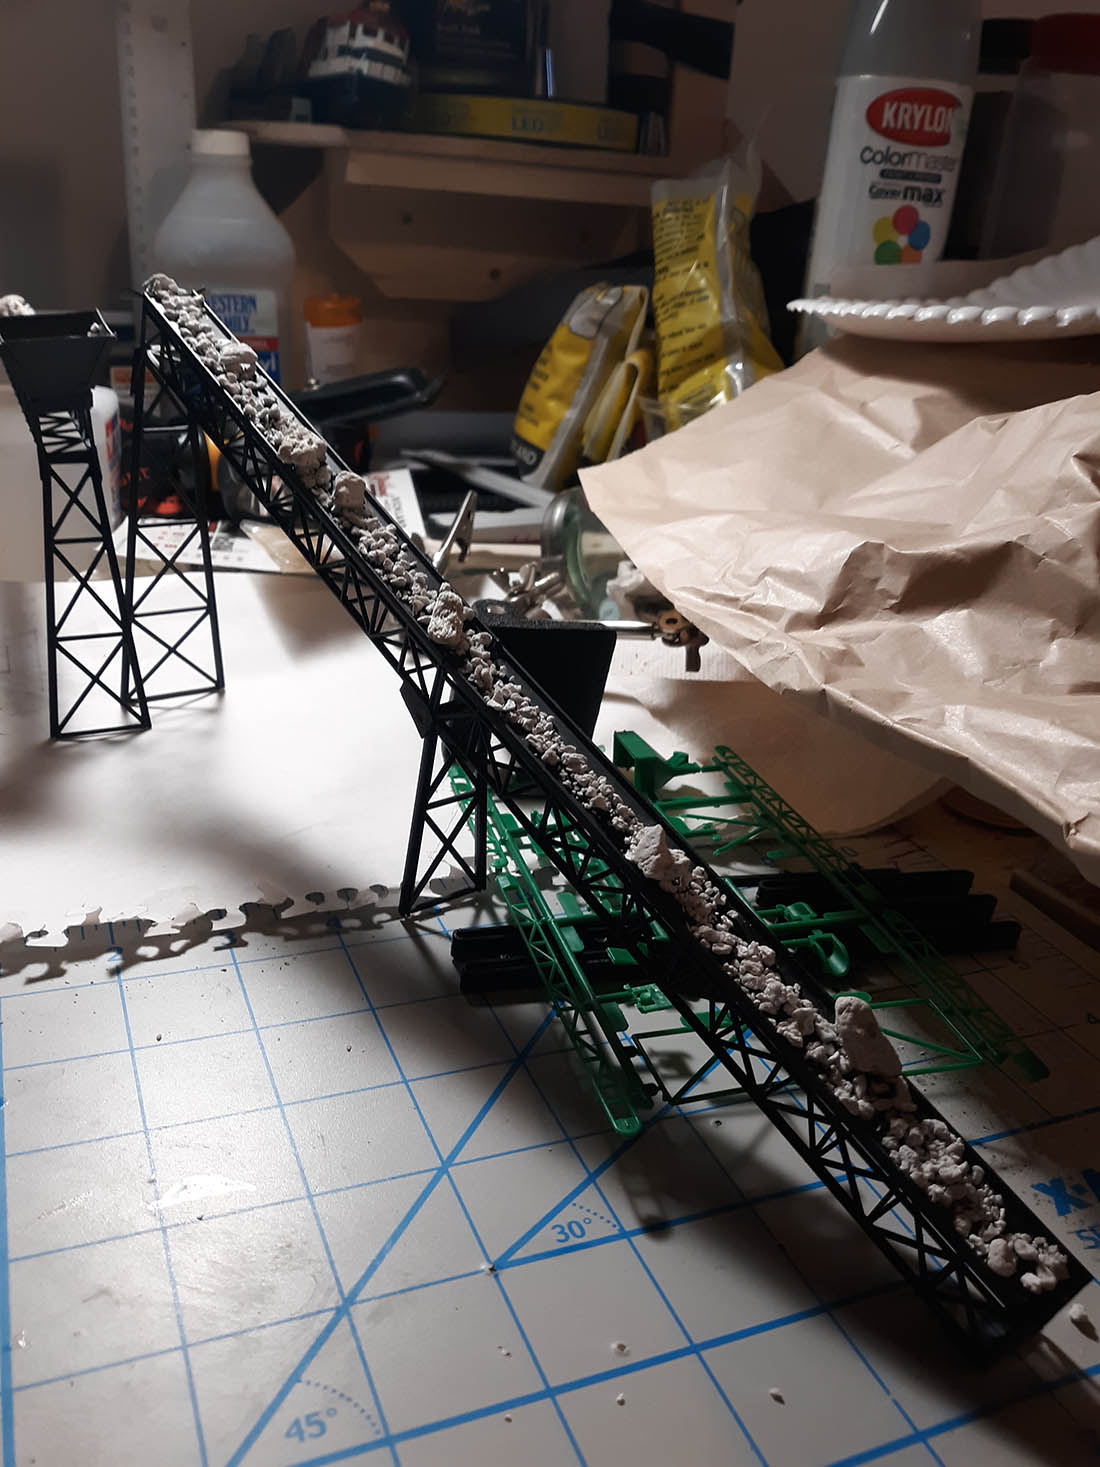
Factory coal bunker, with a fresh delivery in the siding (in dirty wagons).
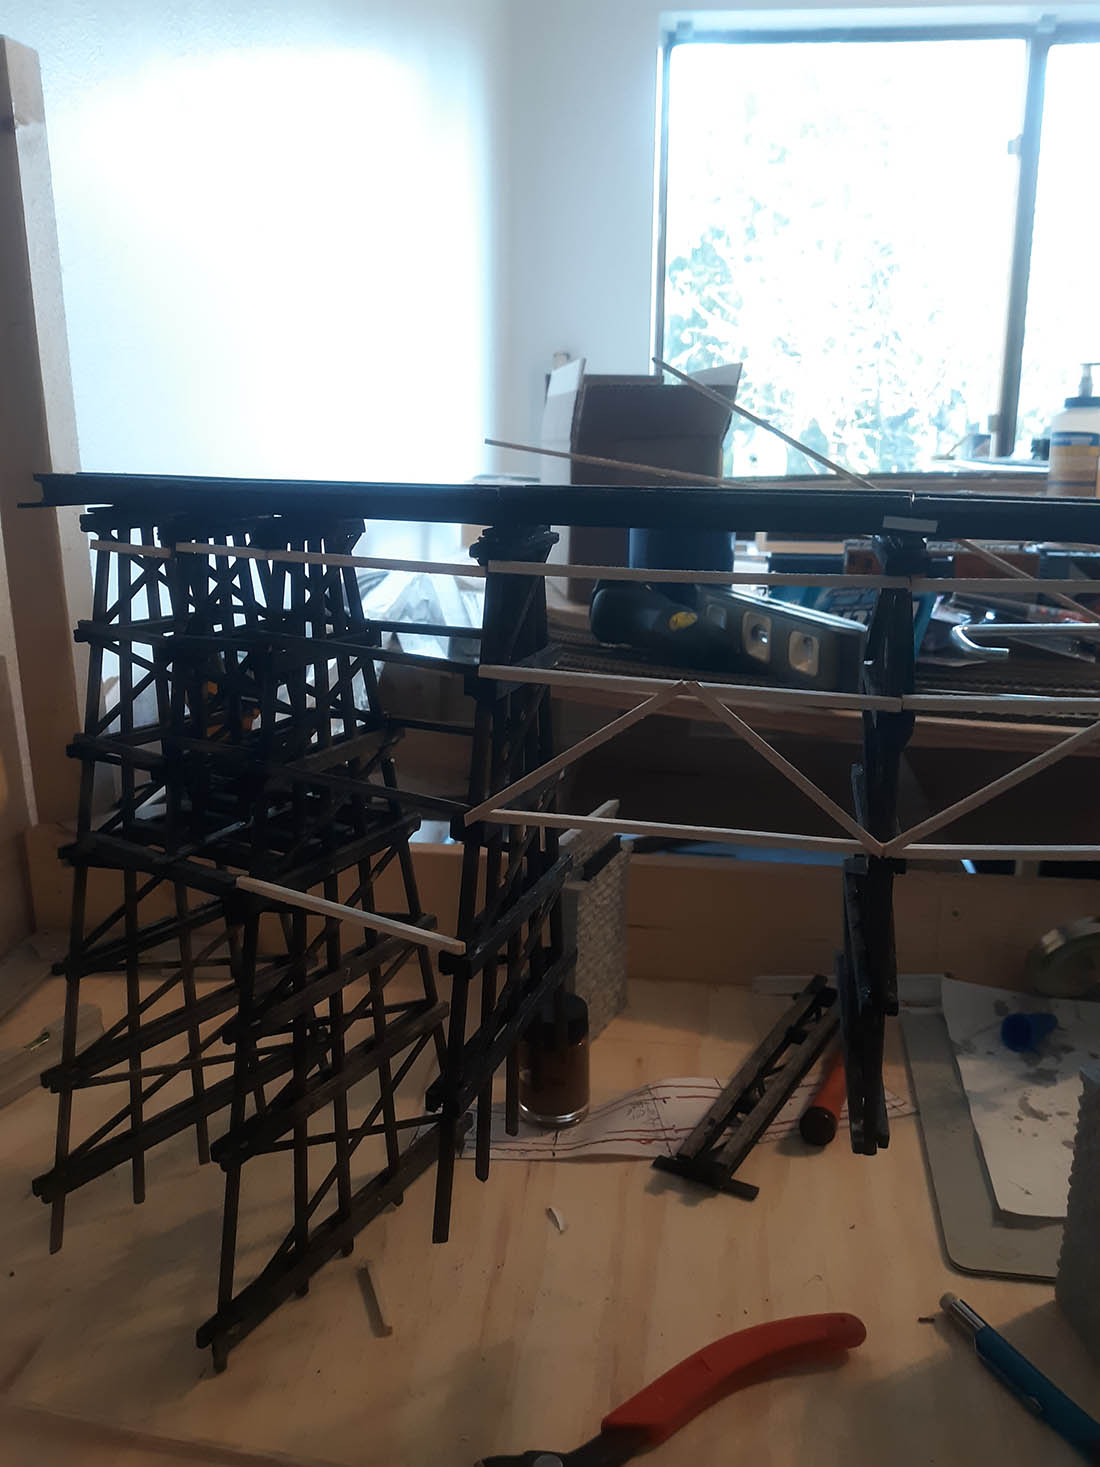
Most of the factory was from a Metcalf kit. The chimney is very tall and vulnerable so I drilled the holes in the brick base and glued 2 cocktail stick halves in the chimney. If knocked it just falls over but is stable when up. If I’m working in that area, or moving the layout, I just take it down and lay it on the track.
Front view of the station, the shunter has been busy making the train at the edge of the layout to be collected by its engine.
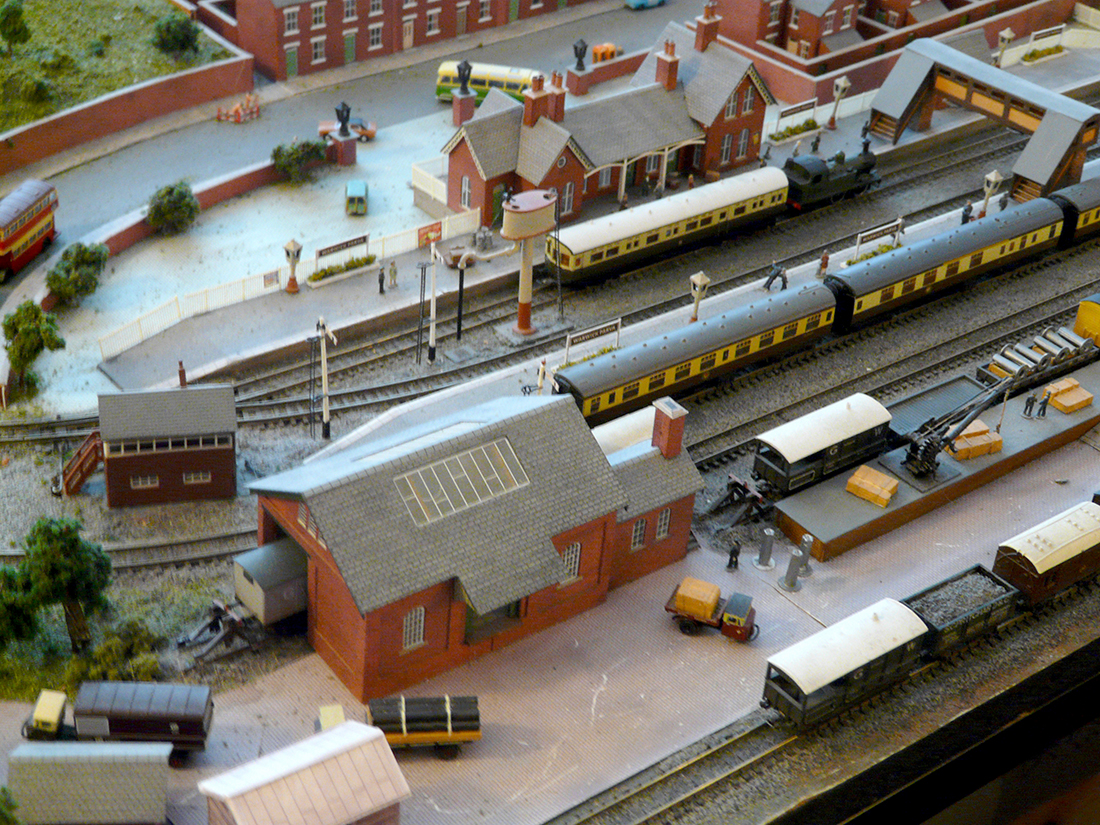
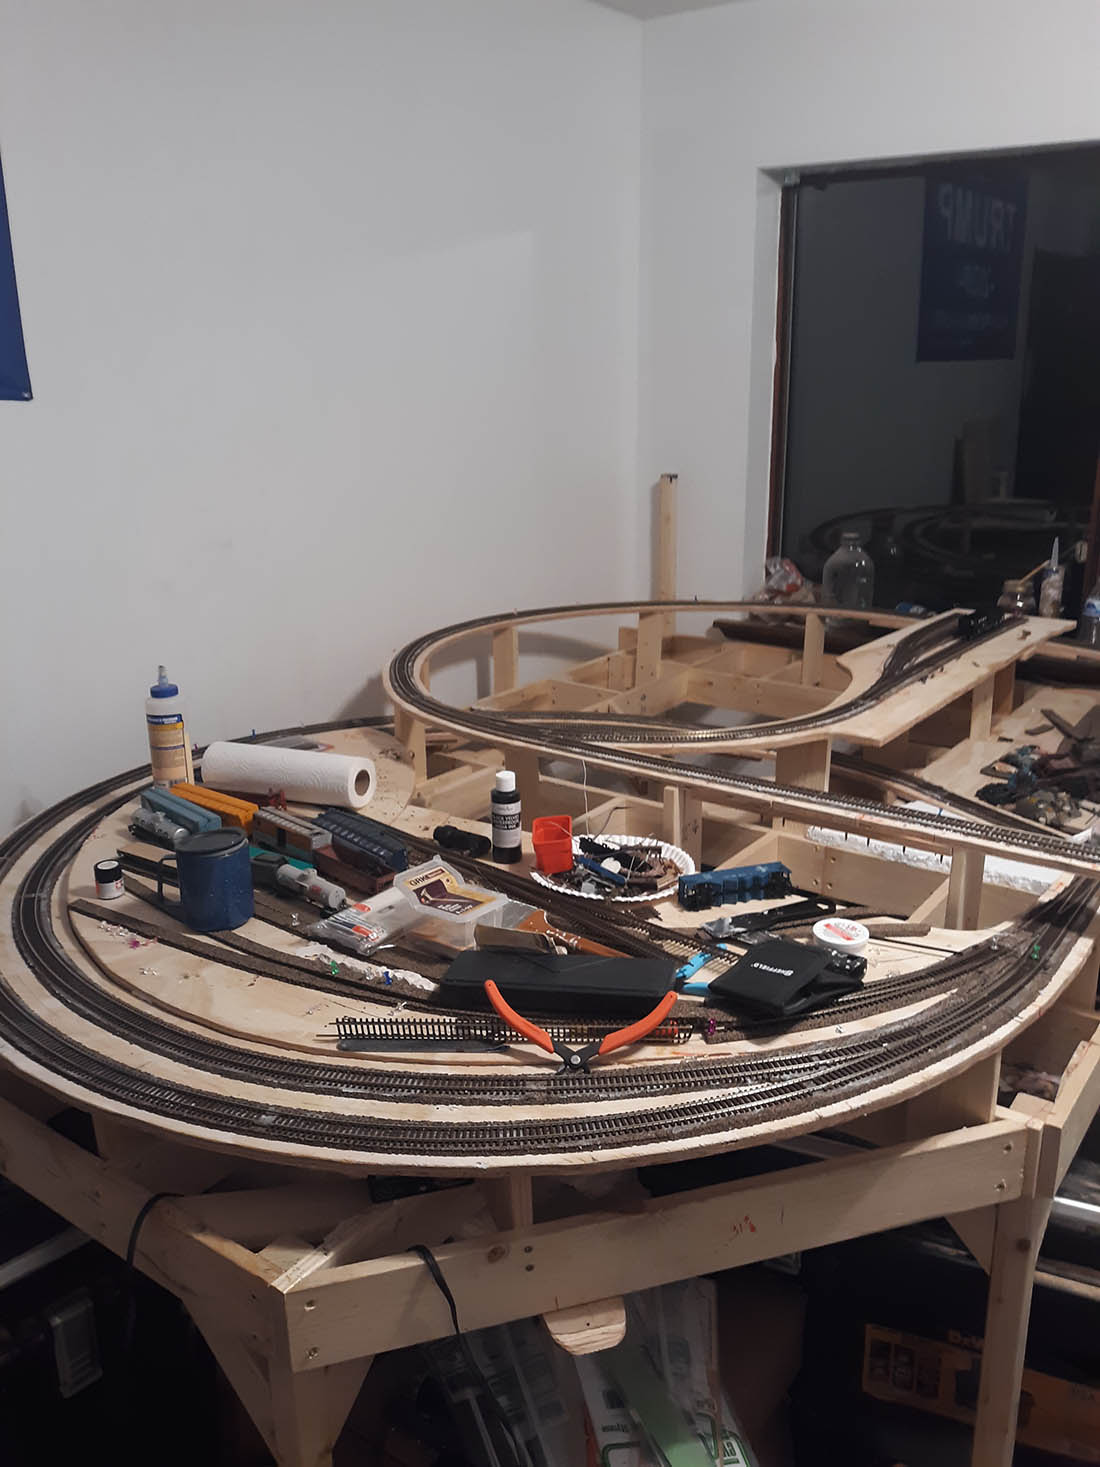
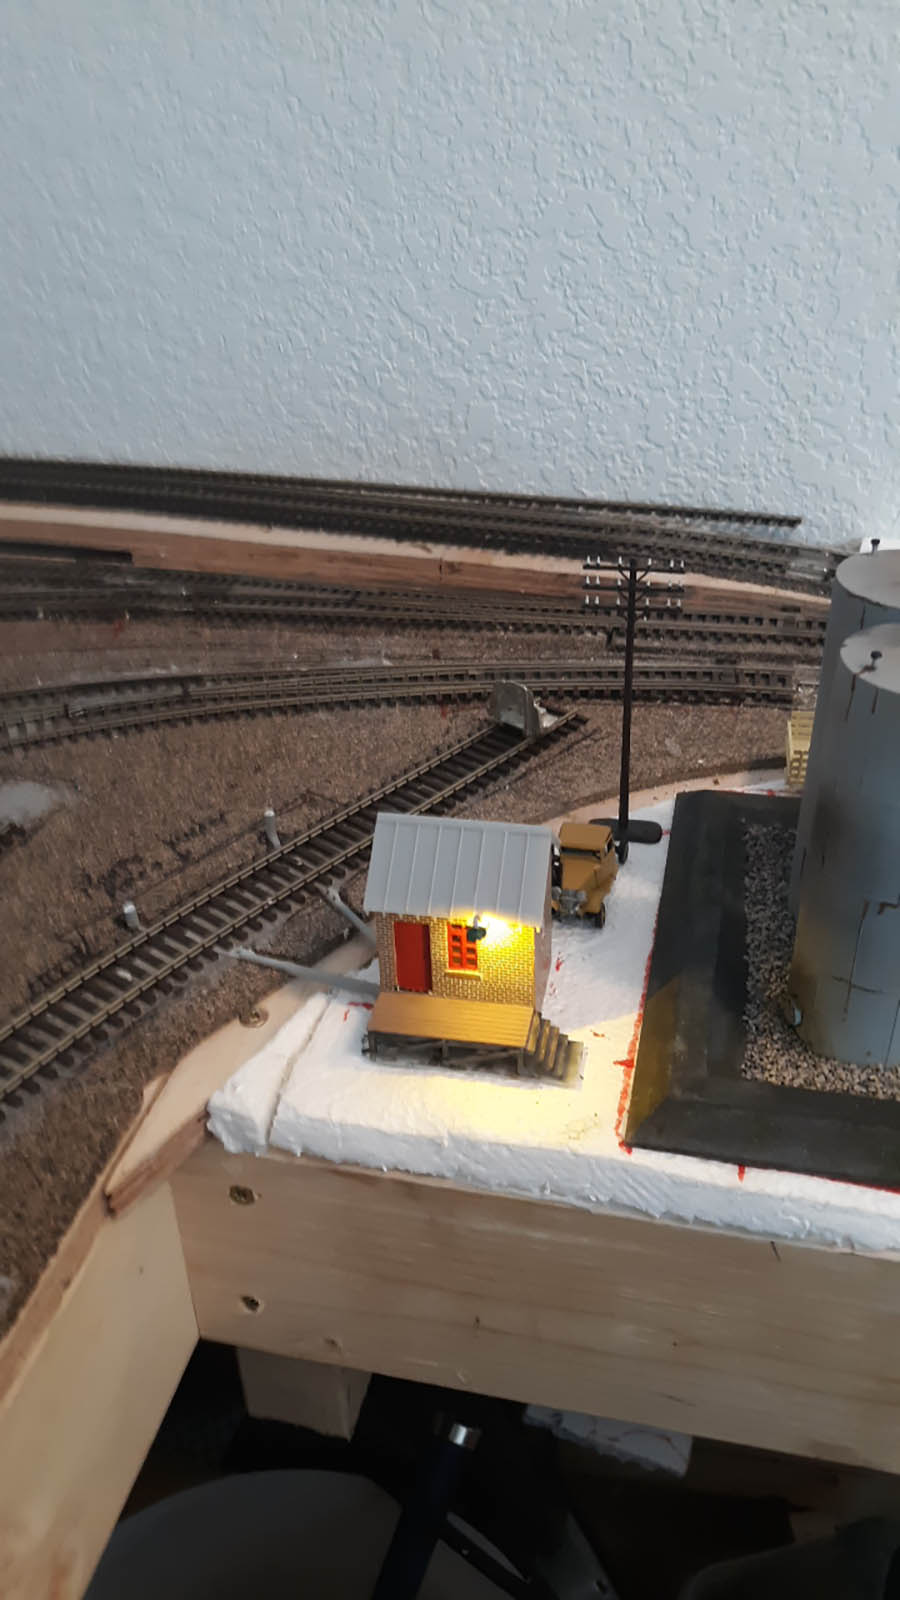
Reverse view over the N scale train layout, goods yard.
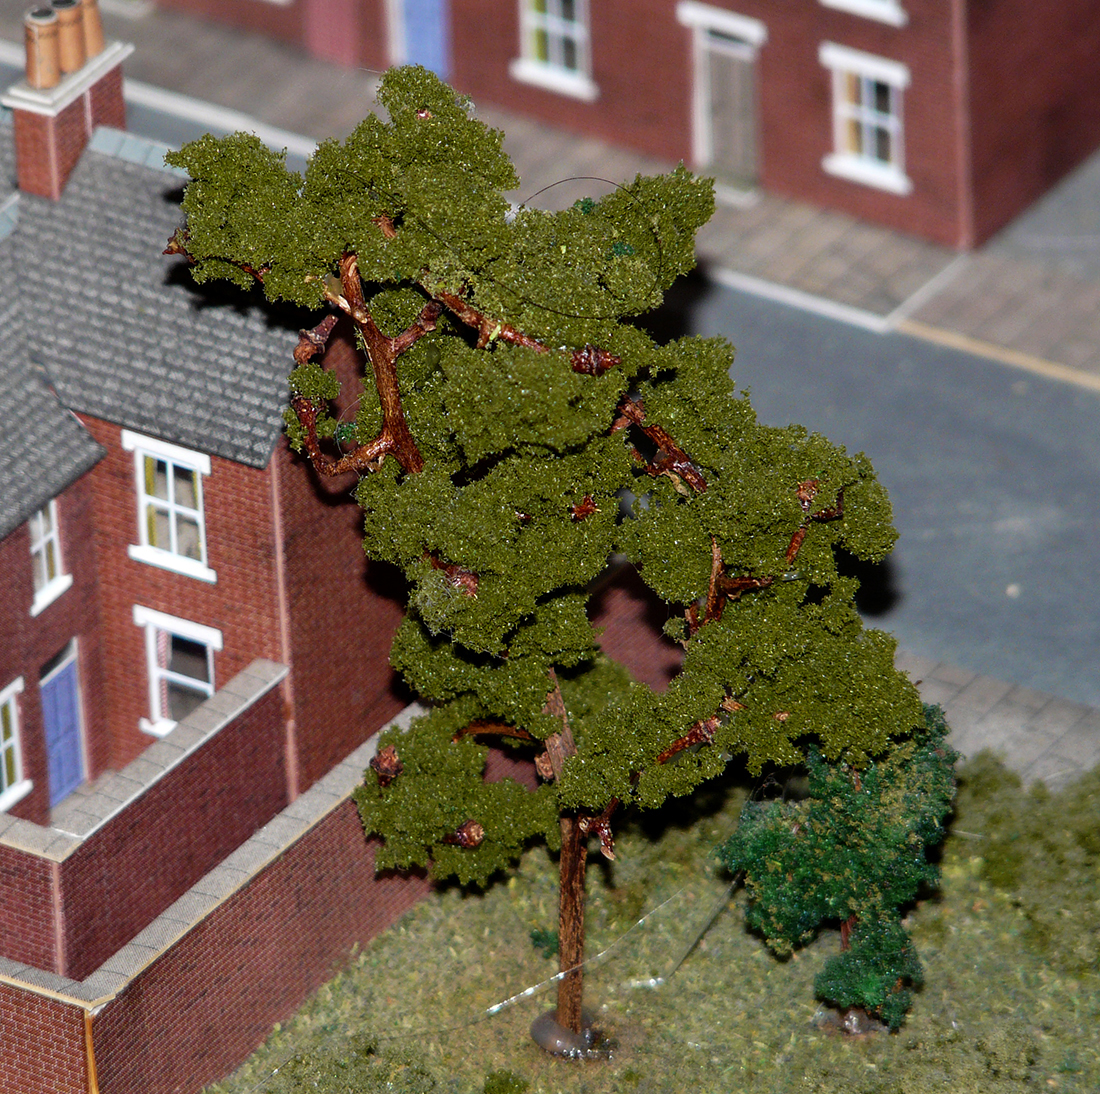
Experimental tree made from a dried grape stalk and the usual sponge vegetation pieces. Once they were glued on I sprayed them with cheap hair lacquer and sprinkled difference grass powders on the sponges.
A quick and easy (and cheap) way of making larger trees for the foreground. Not great if you really wanted an oak or elm, but to me a tree’s a tree.
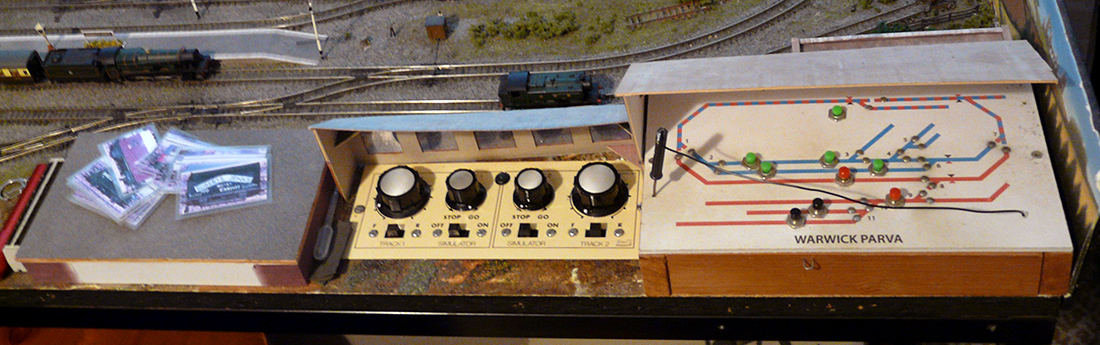
The control area. The small box holds some bits and bobs, mostly for cleaning the track. On top are the shunting cards. Next is the controls for both tracks and then the points and uncoupling switches console. The building frontage is so that the locals don’t find out that their trains are run by giants 😉
I’ll stop now as this missive is dragging on a bit but I’ll be happy to cover any of the stuff mentioned in another ramble if you mention it in the comments section.
Graham”
A big thanks to Graham for sharing his N scale train layout – his story is a familiar one: the kids grow up and leave, and the void is filled with a layout!
Please do keep ’em coming.
And don’t forget the Beginner’s Guide is here if you want to start on your layout. Don’t let the start stop you!
Best
Al
(Here’s a load more N scale layouts if you’re after those).
Need buildings for your layout? Have a look at the Silly Discount bundle.