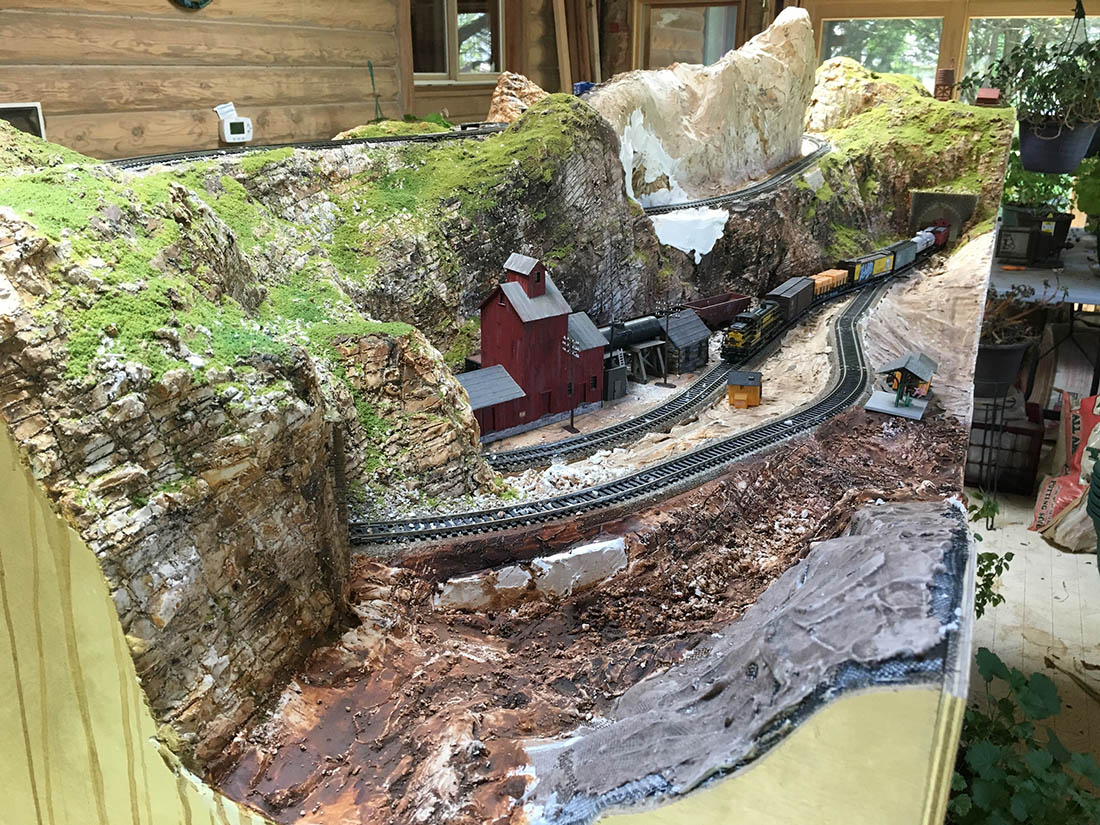
Richard has been in touch with his Atlas N scale track 4×6 layout:
“Alastair, I’m a new subscriber and your email was the first one I opened.
You suggested that your emails are thin on responses so I thought I would send pics of my N Scale layout.
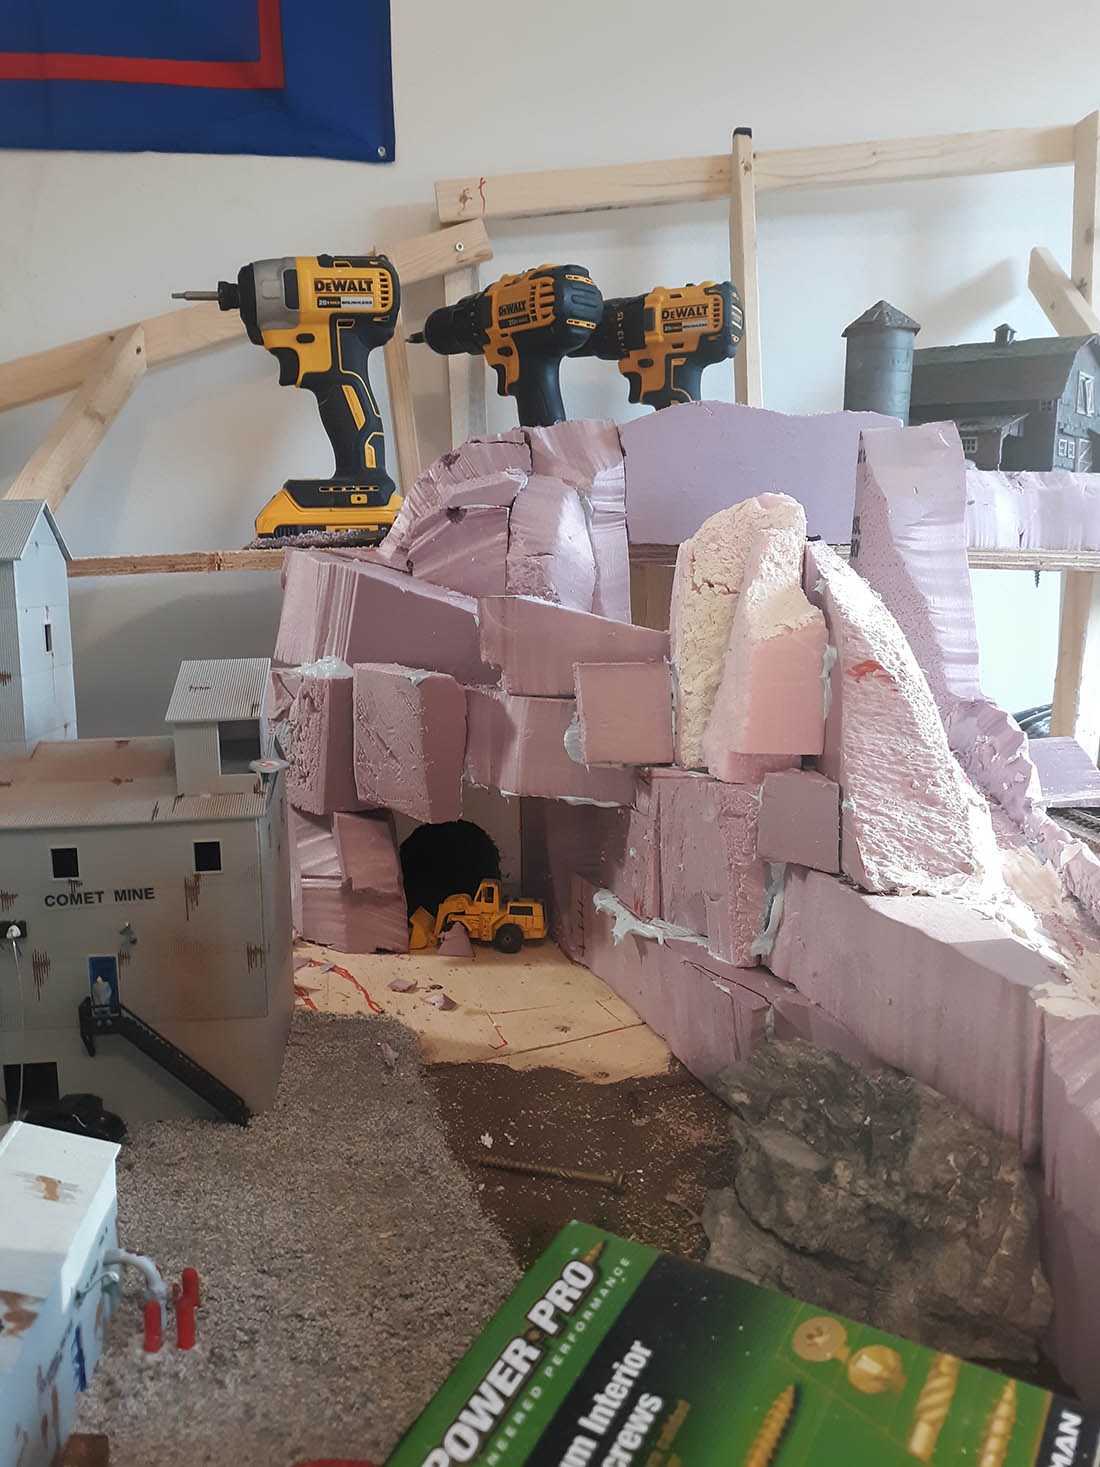
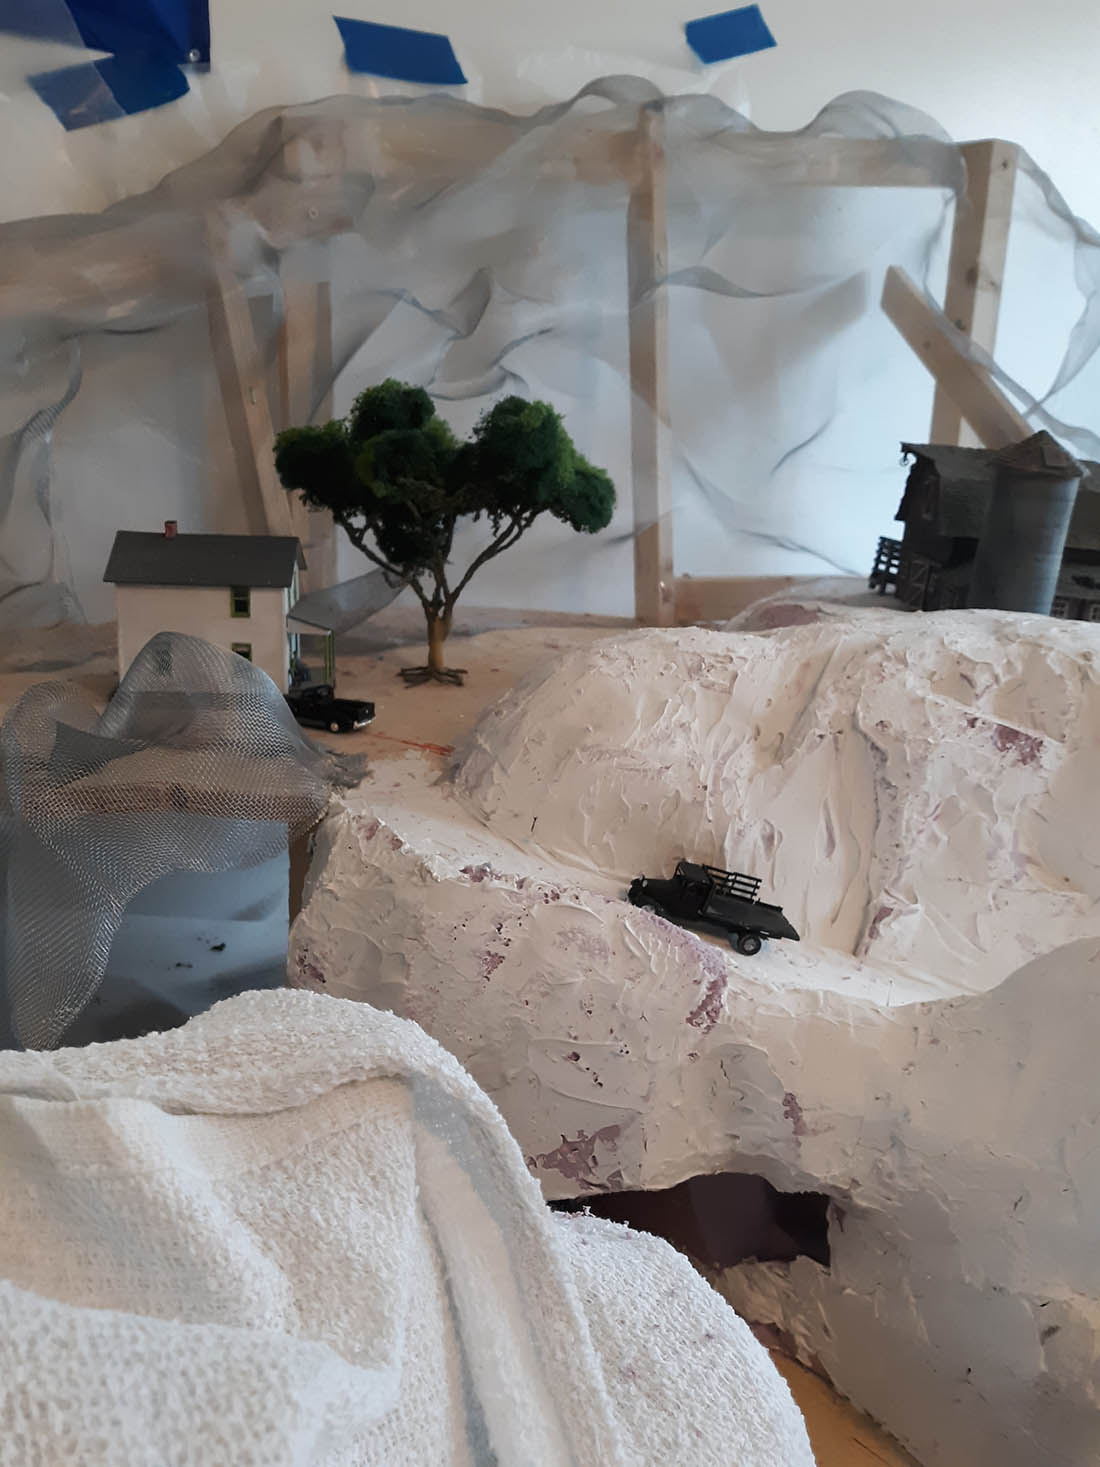
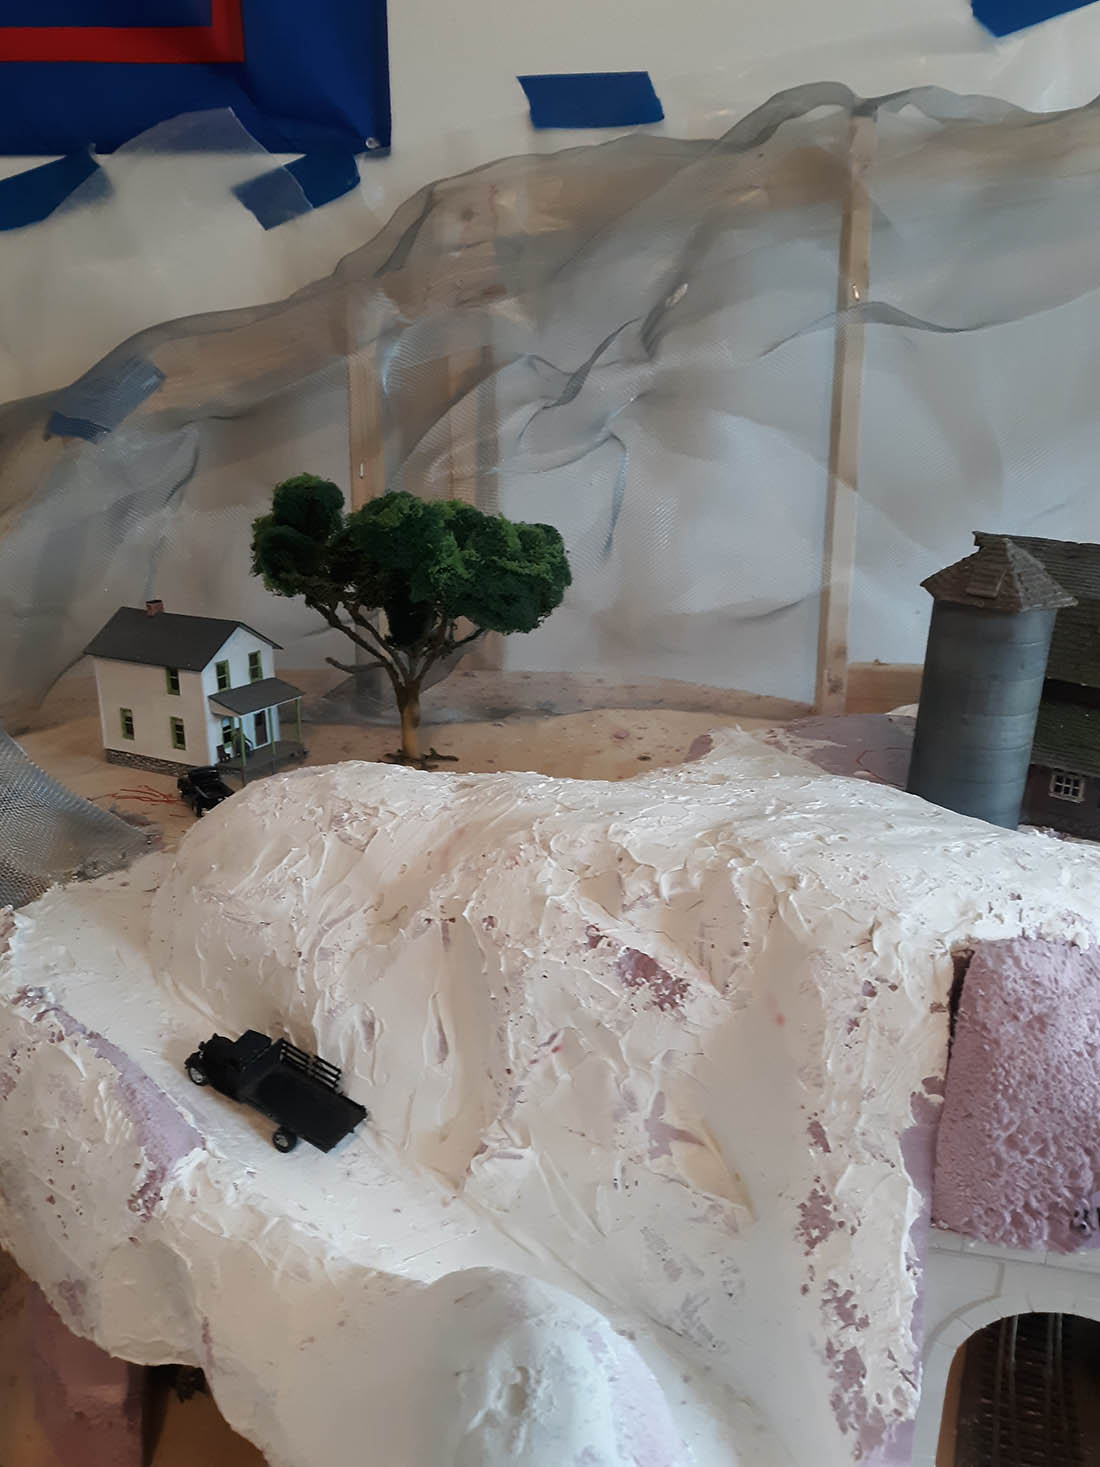
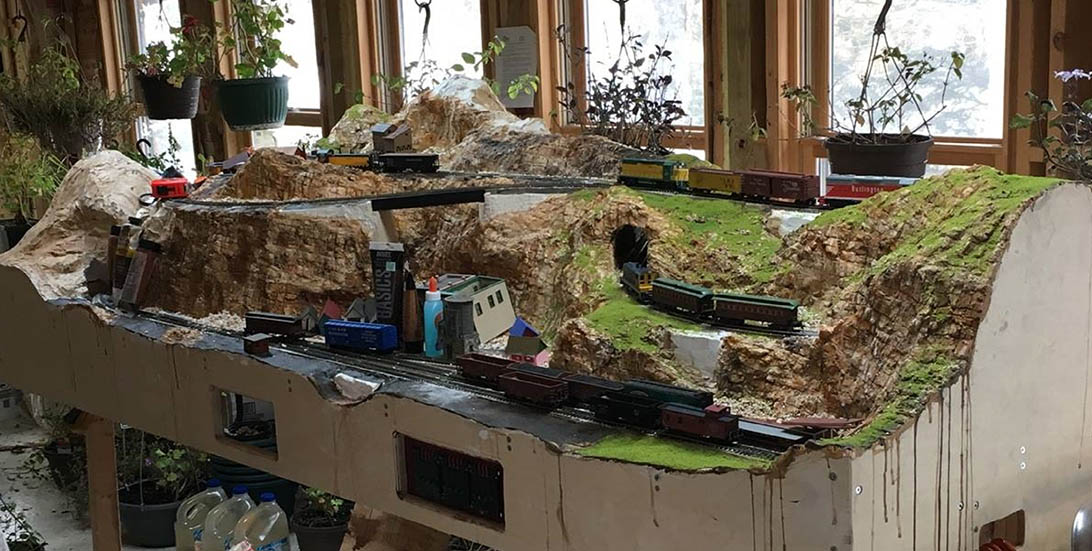
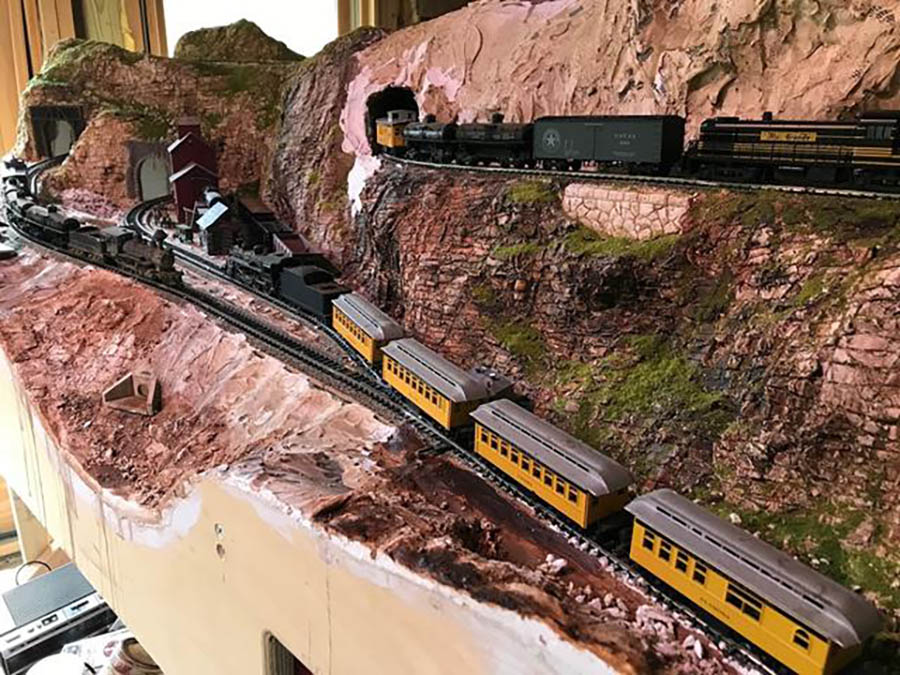
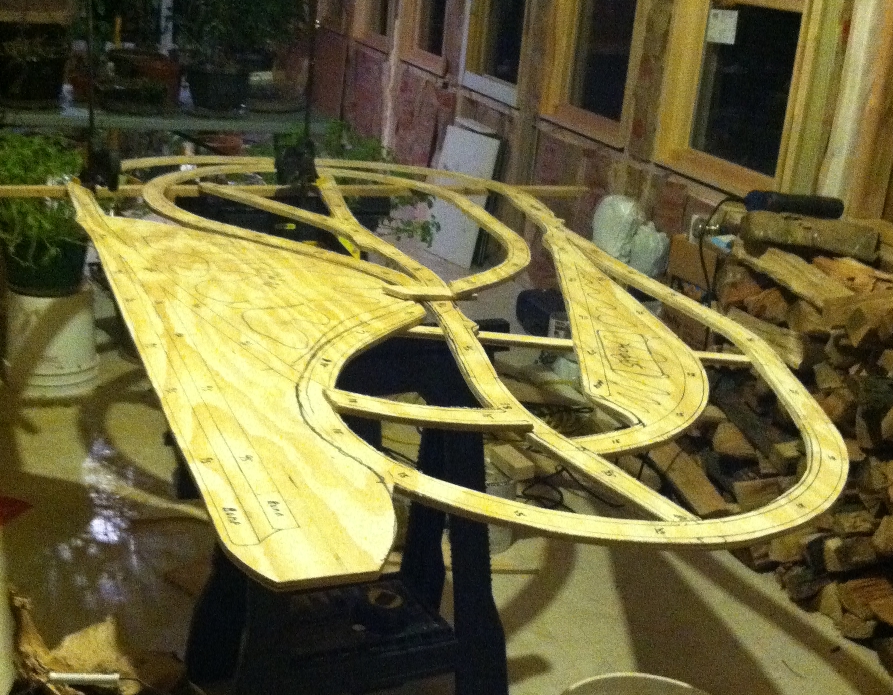
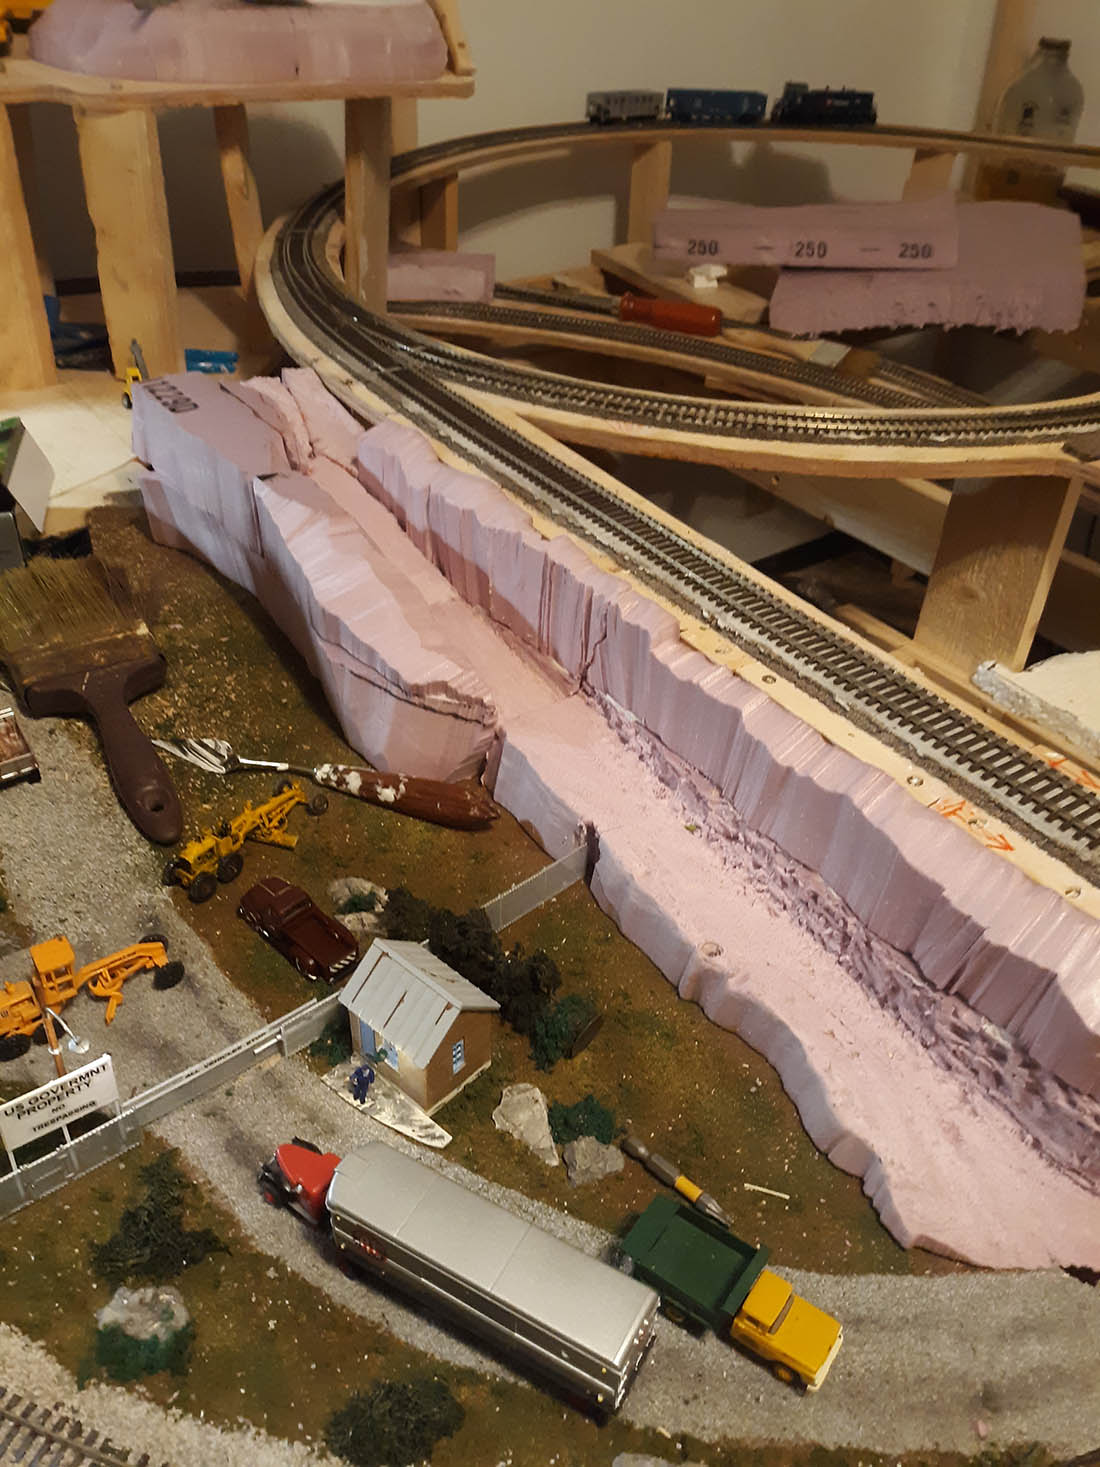
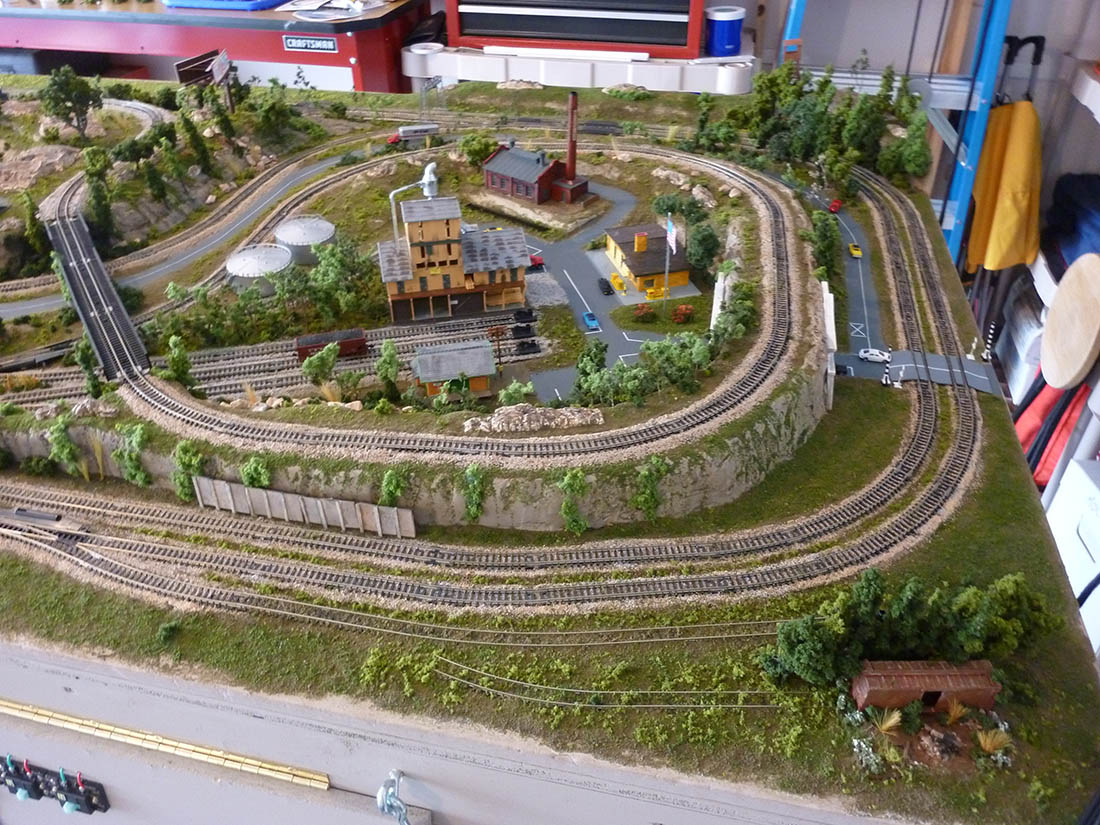
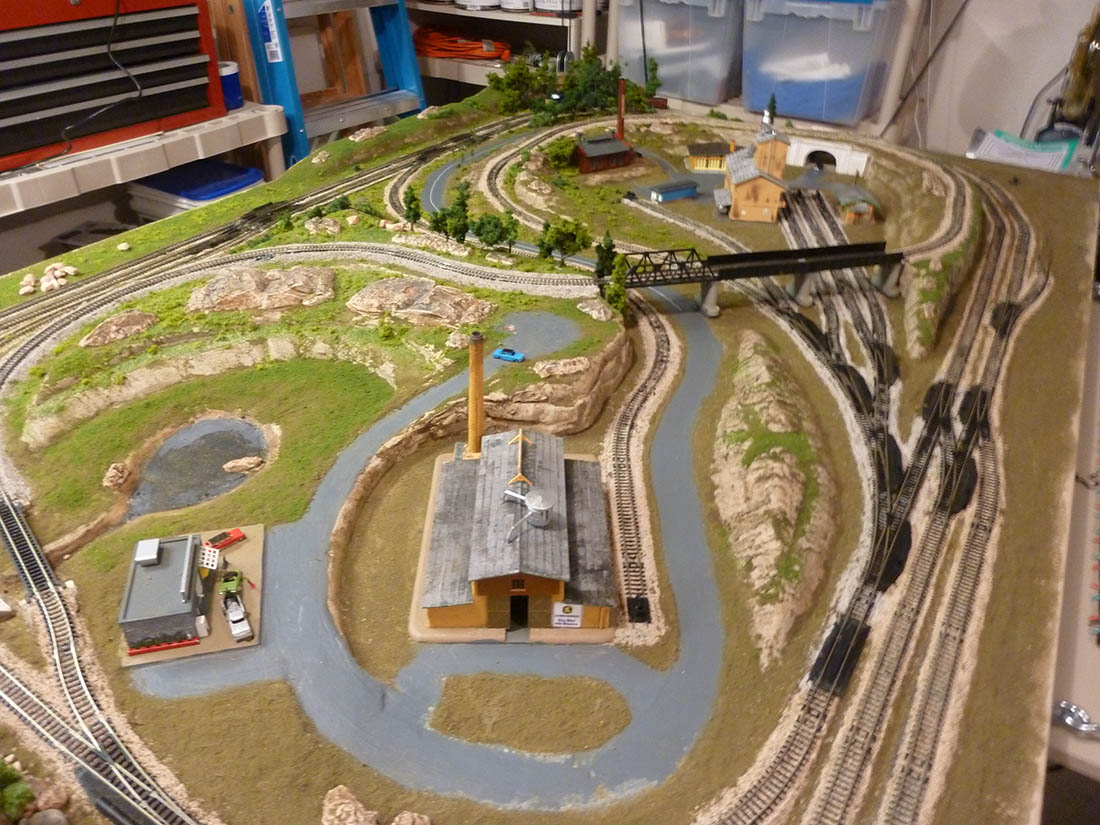
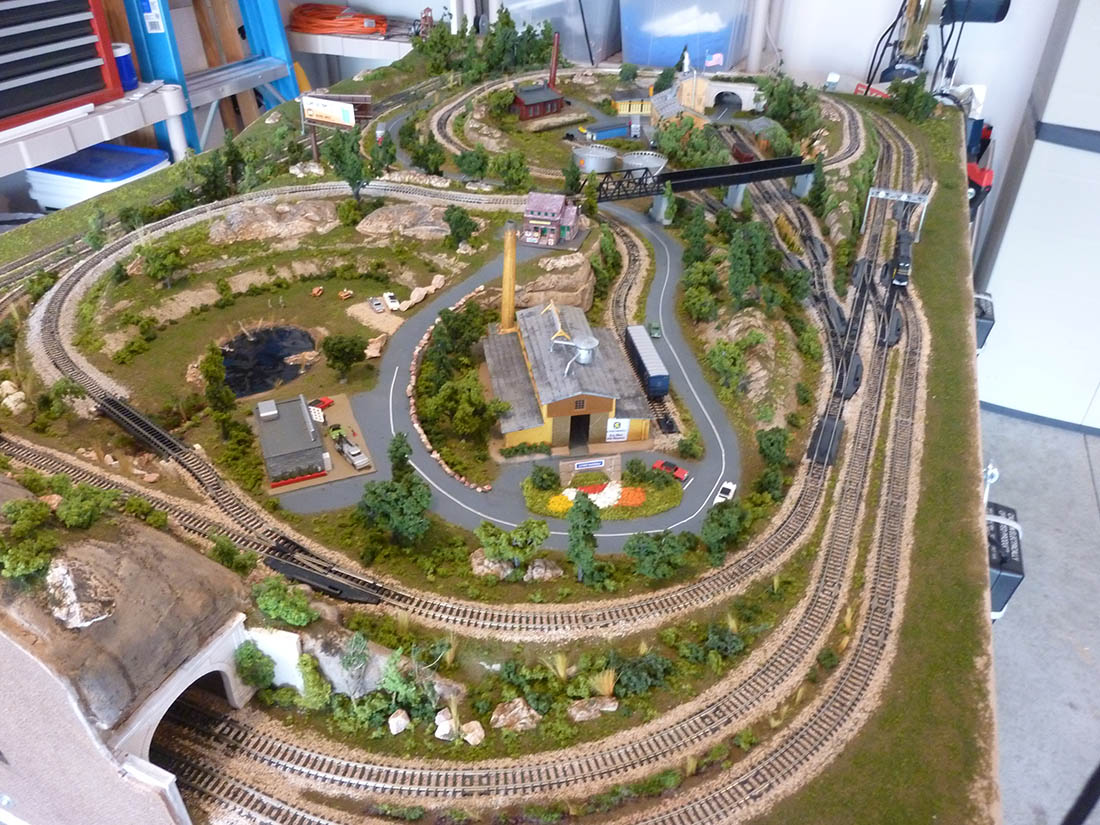
It is a modification of Atlas’ N59 layout. I added an over and under to it and lengthened it. Overall size is 4′ x 6′.
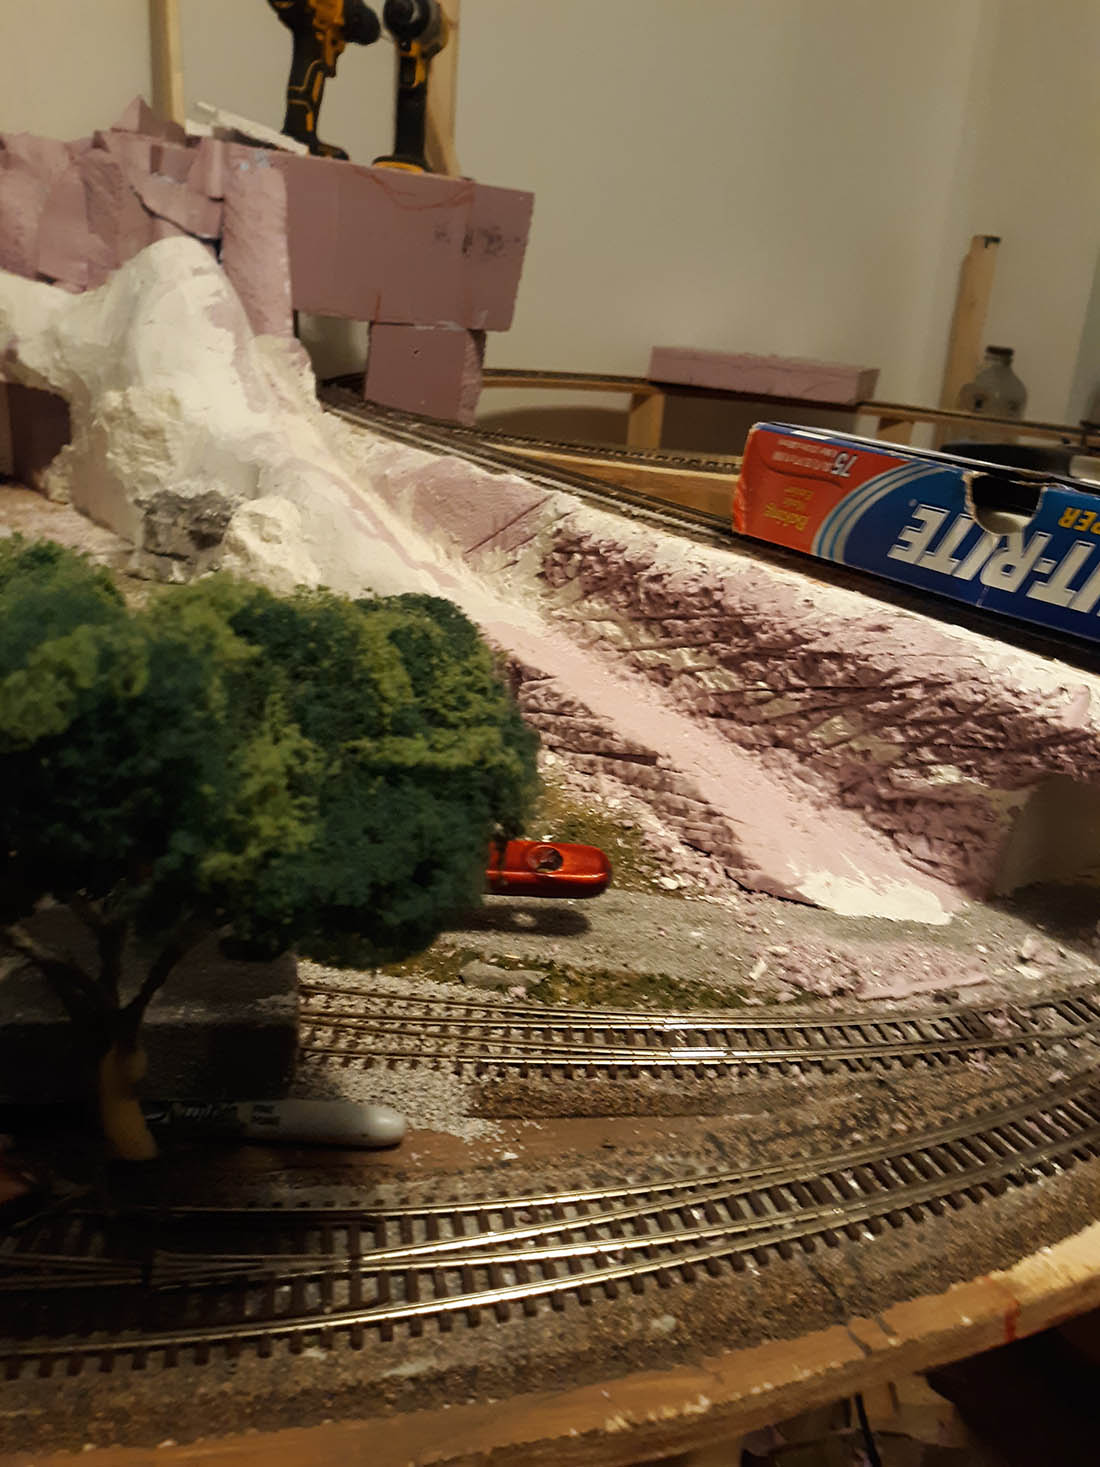
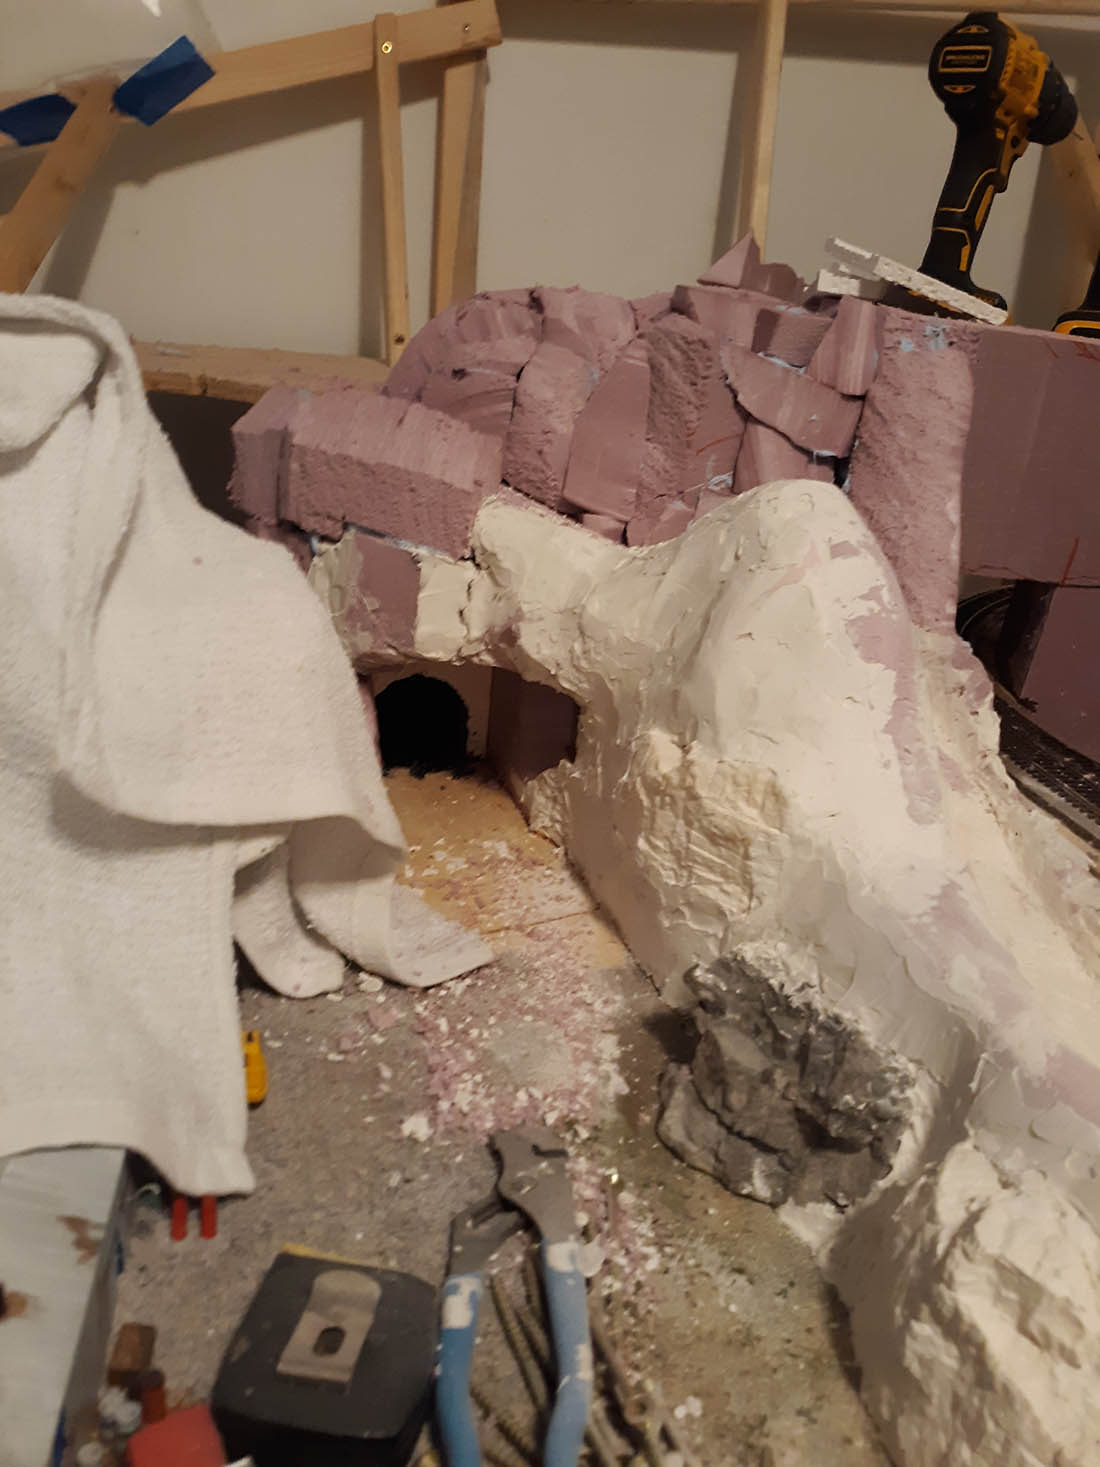
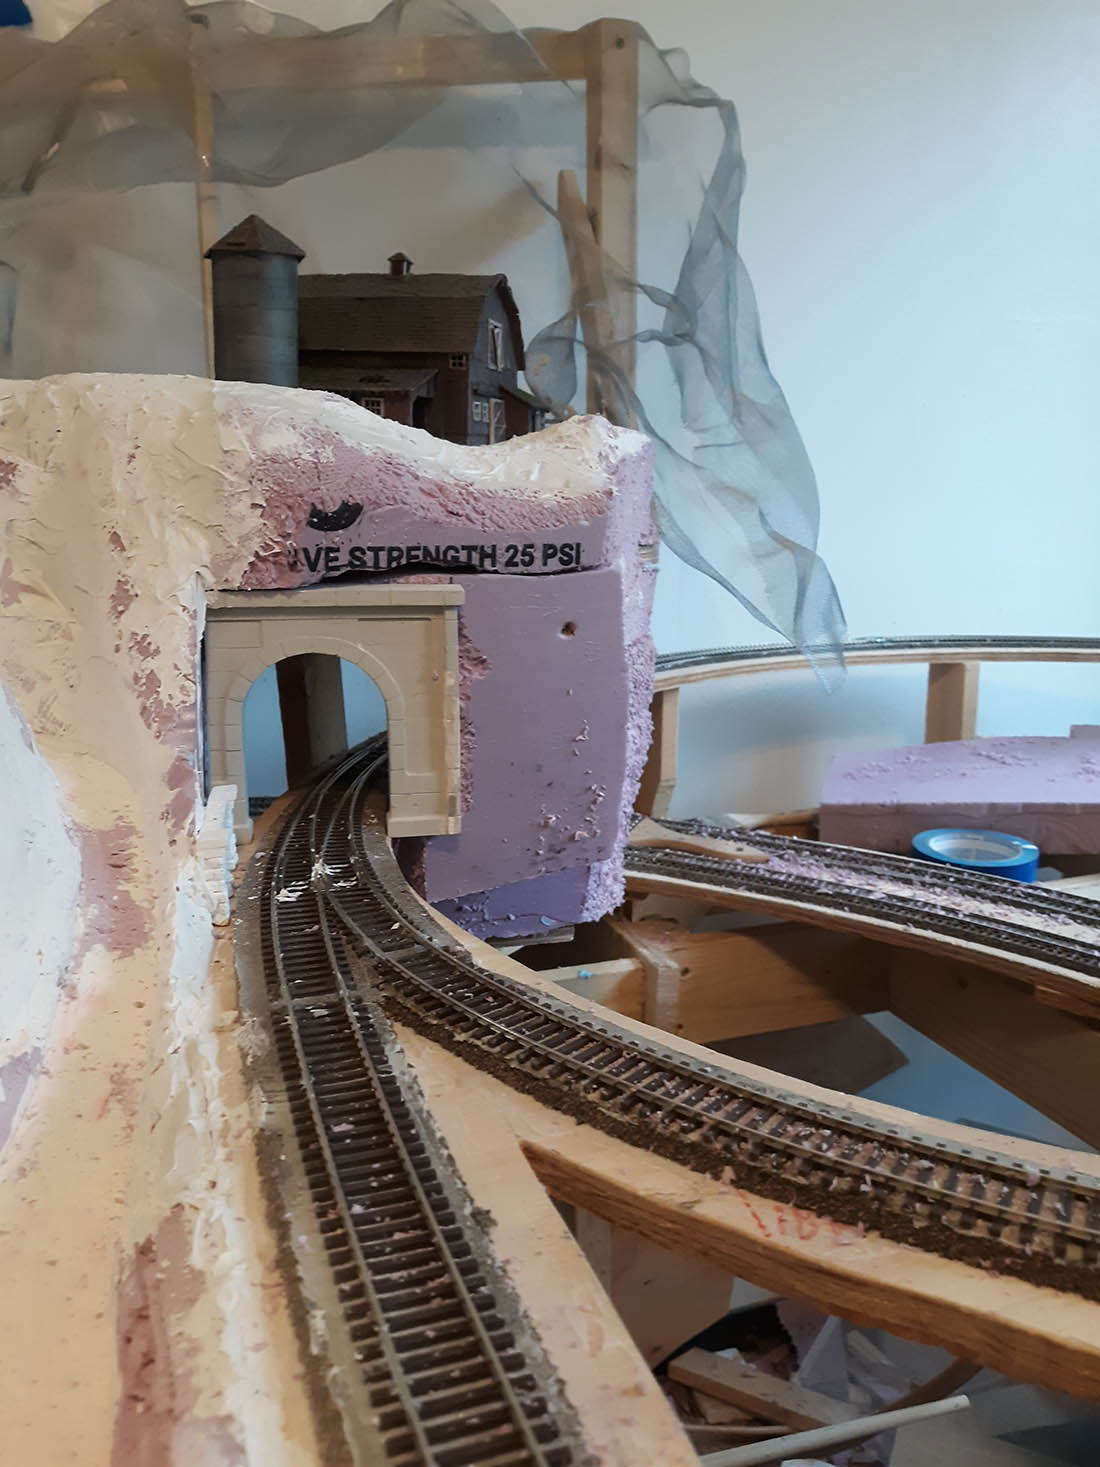
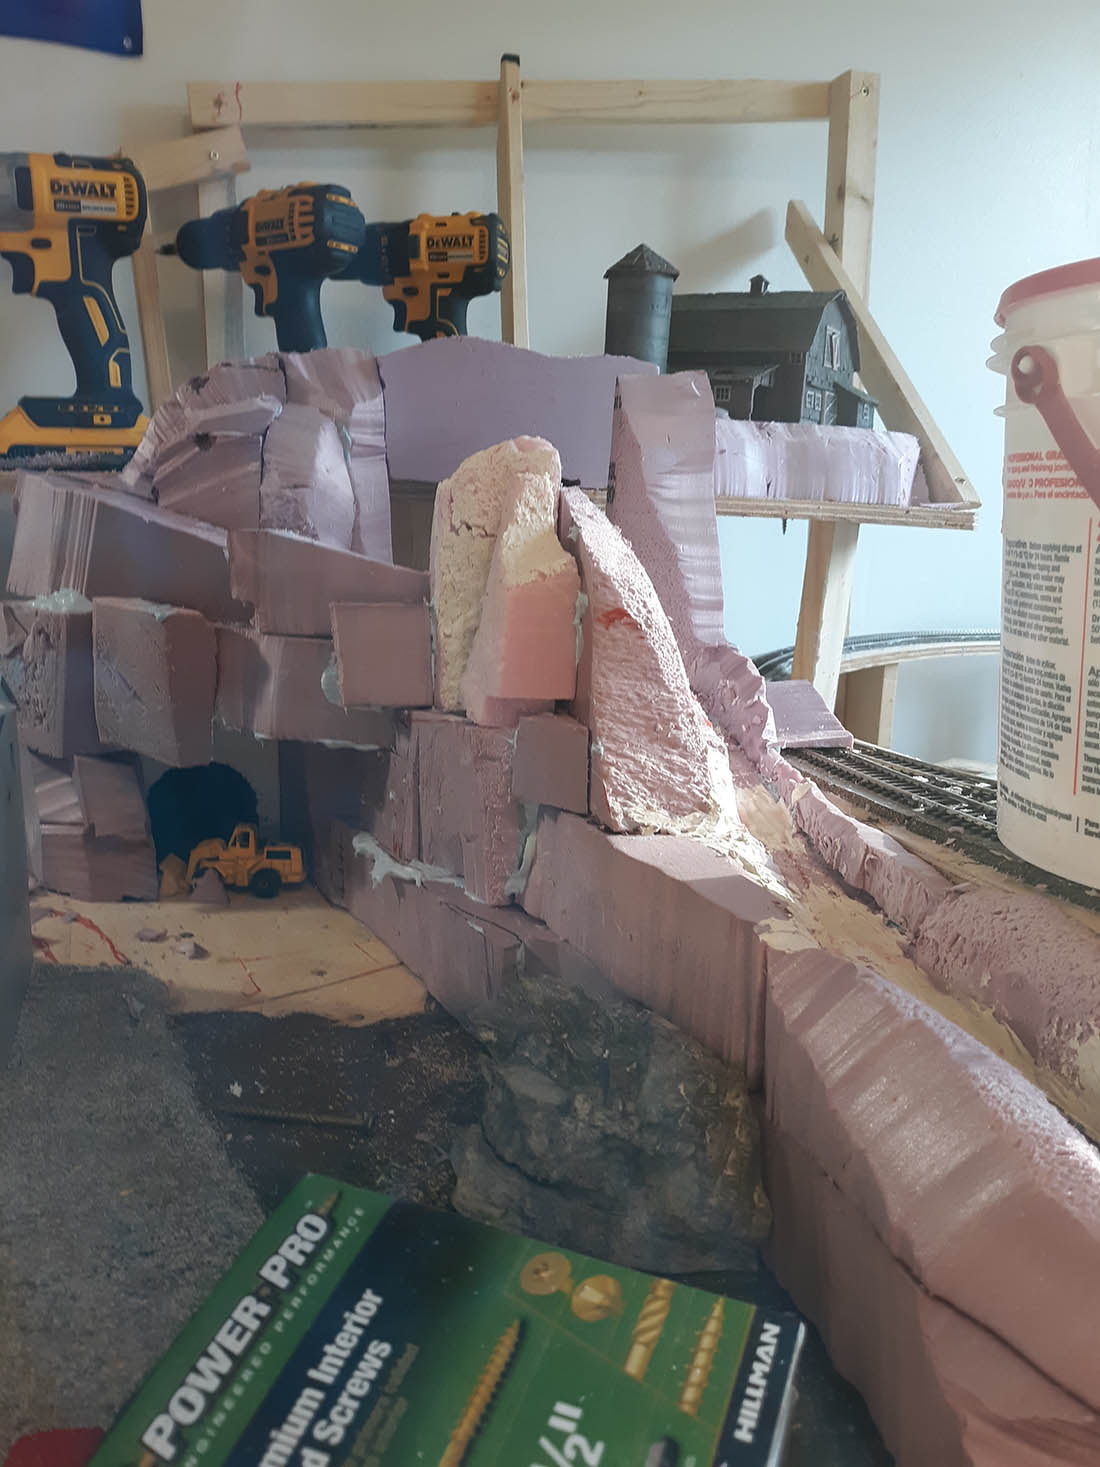
It’s constructed on a plywood base topped with 1” pink insulation foam.
I never had room in my home for the size of layout I wanted, so when I retired, I sold a car and replaced it with the model train layout I have been waiting to build for over 50 years.
The base rests on saw horses, but stability is really with the bicycle hooks and hoist that allows me to raise and lower the layout when needed.
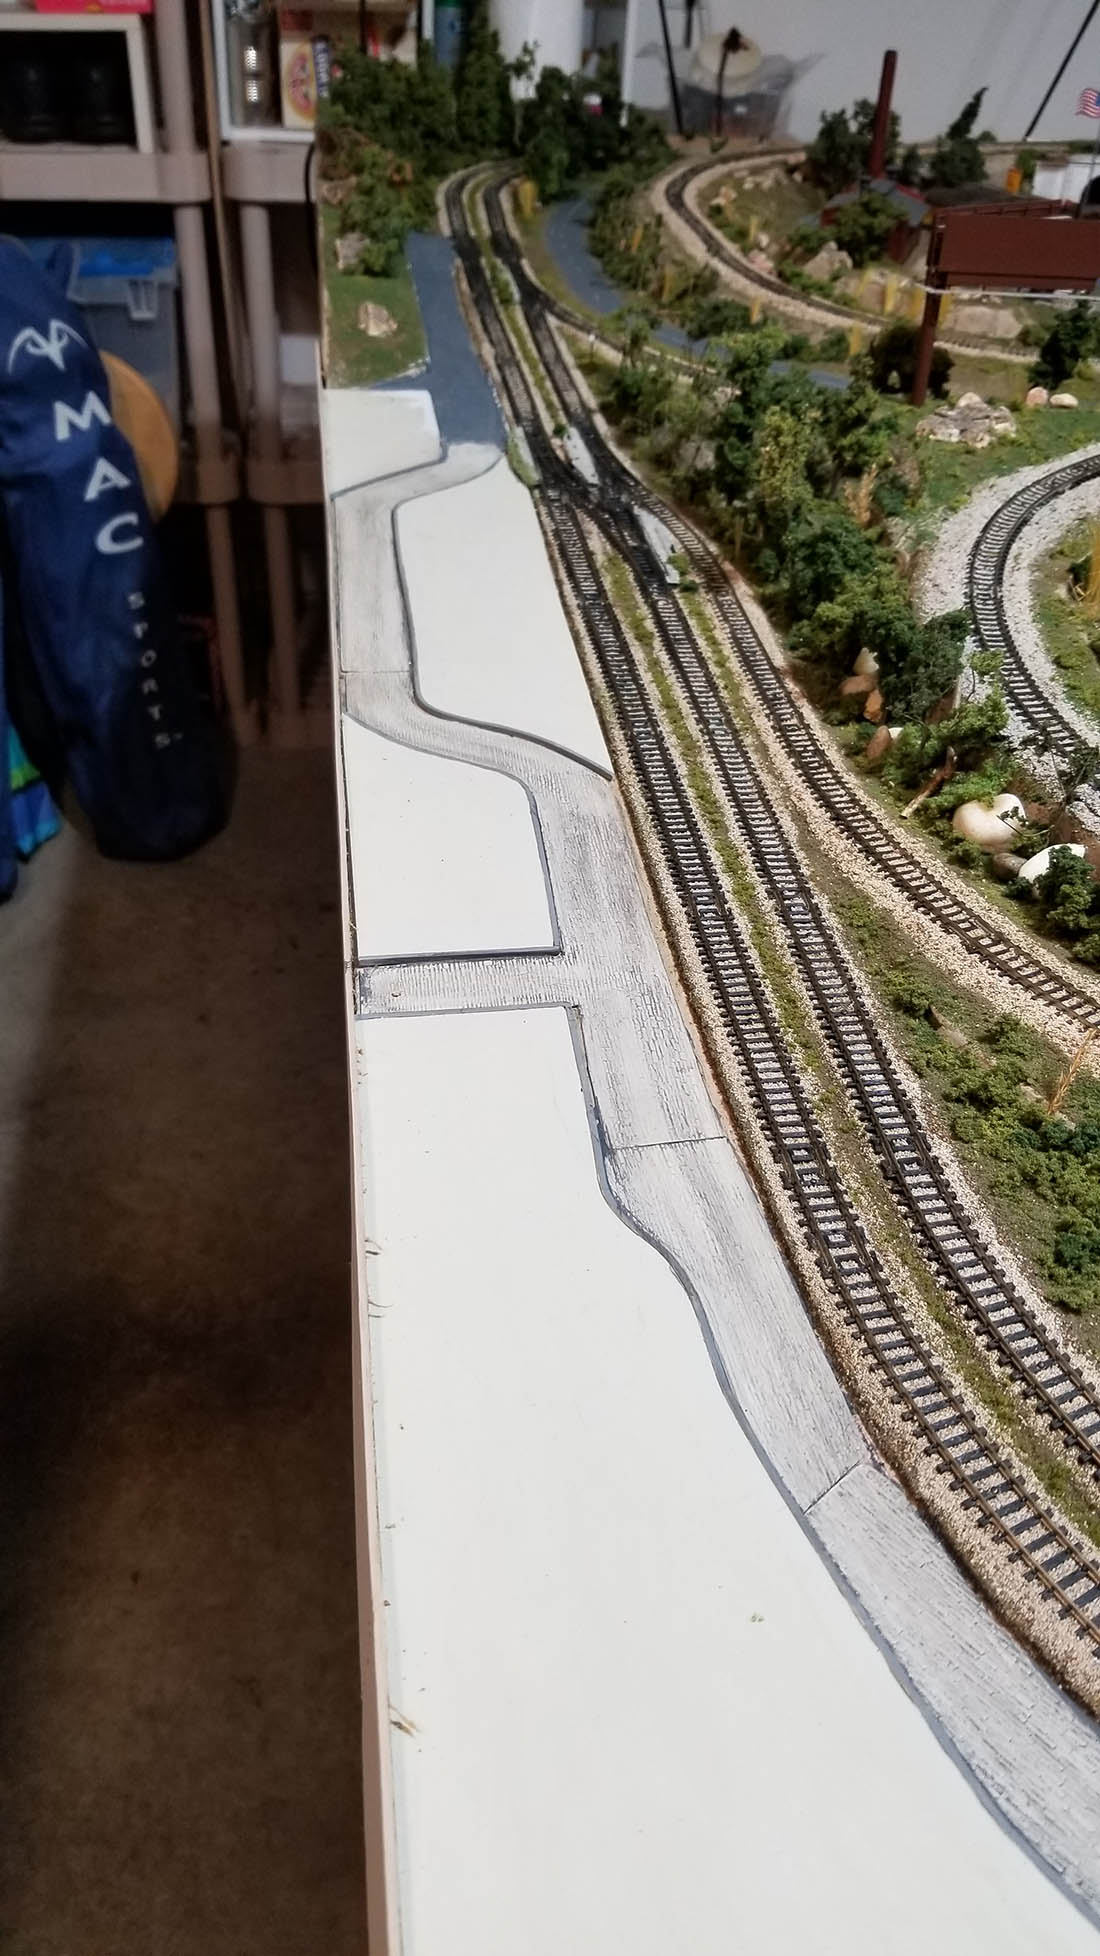
I am now adding a downtown area with train station because I bought a Pennsylvania Railroad GG1 locomotive and four passenger cars. I grew up in Trenton, NJ and rode many times on the old Pensy line to New York City and Philadelphia.
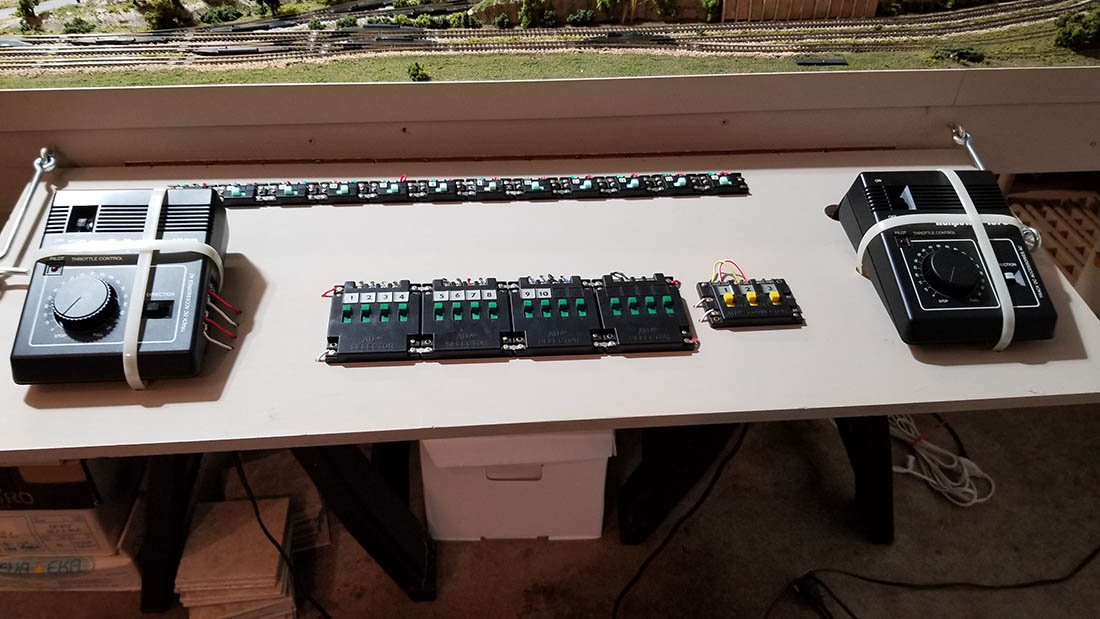
Because my garage is neither heated or A/C’d, I’m limited when I can operate and further construct changes. Corrosion is a suspect in some of my electrical problems.
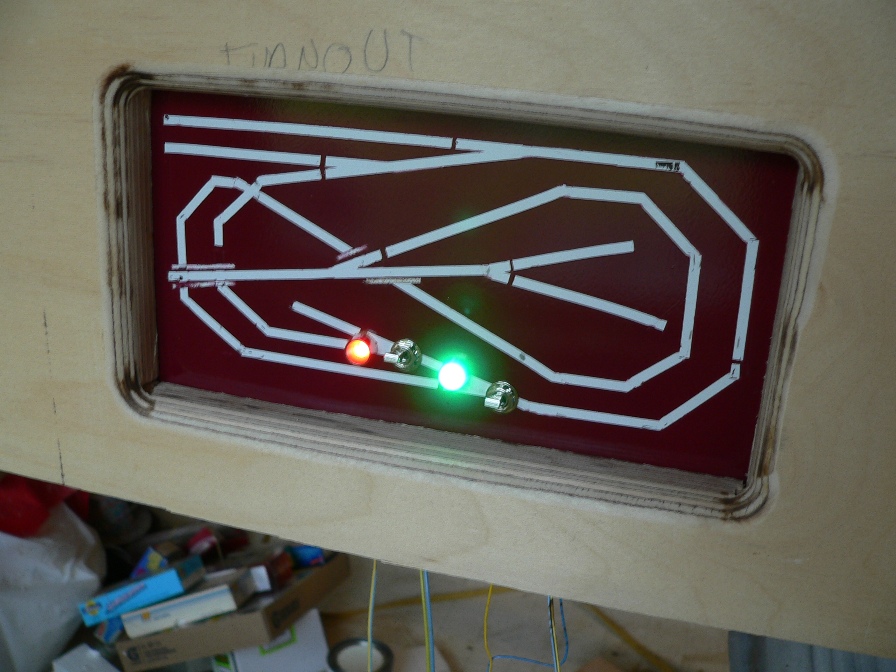
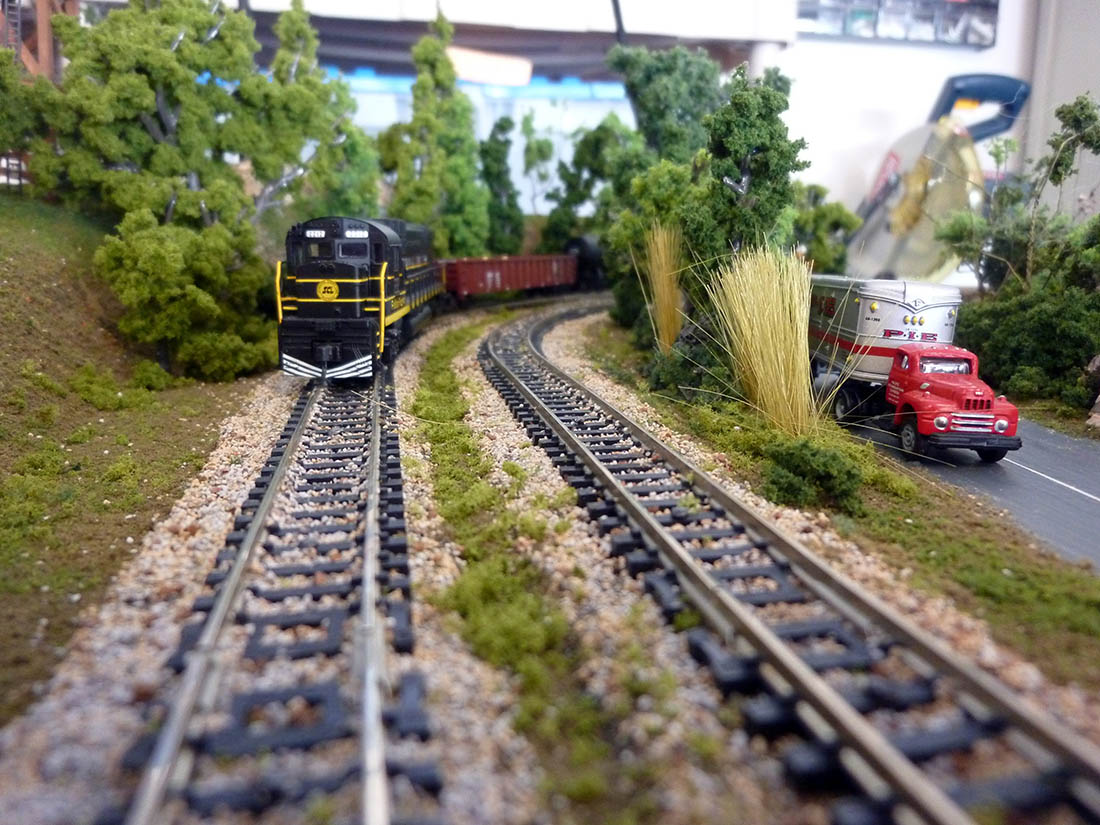
A defective switch control and now a suspected selector is waiting for me to solve my most recent problem that did not exist when I left the layout to “winter over.” I can easily run two trains and even a third, switching cars in the yard, when I don’t have any electrical problems.
Some of the points of interest not readily visible in the pics or had not yet been added are:
1. Hobo camp
2. Ranger tower
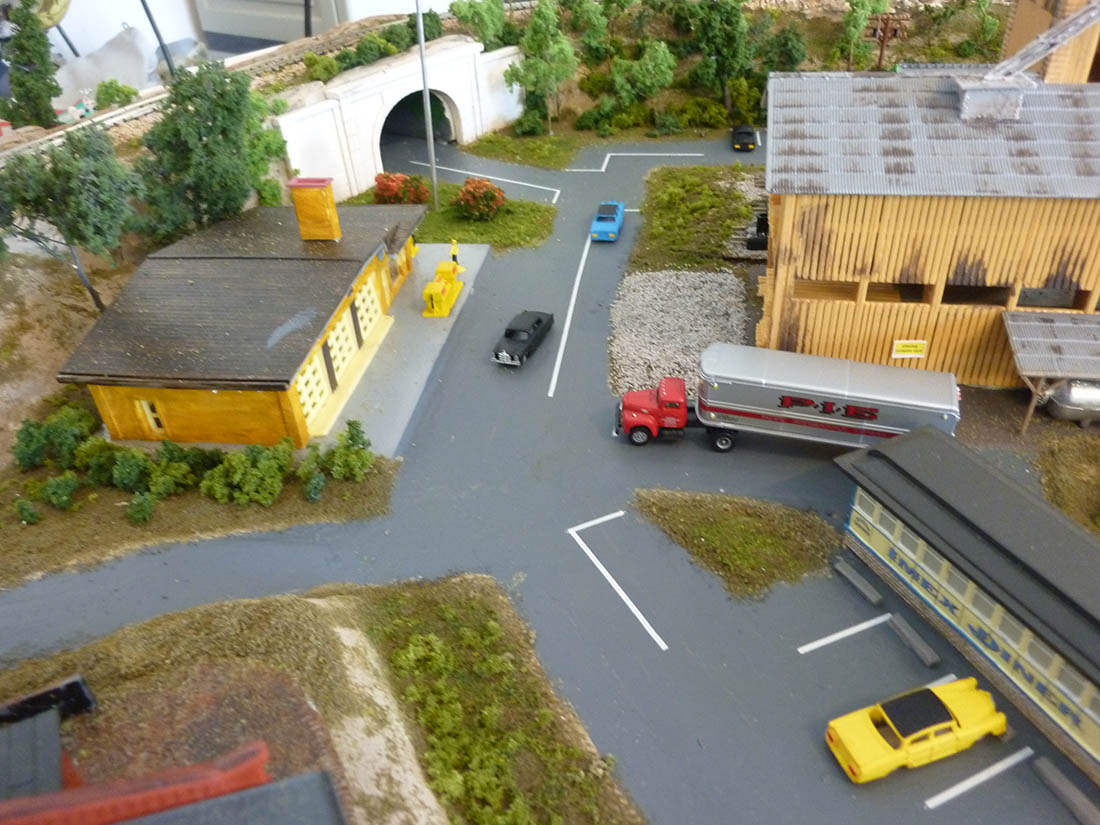
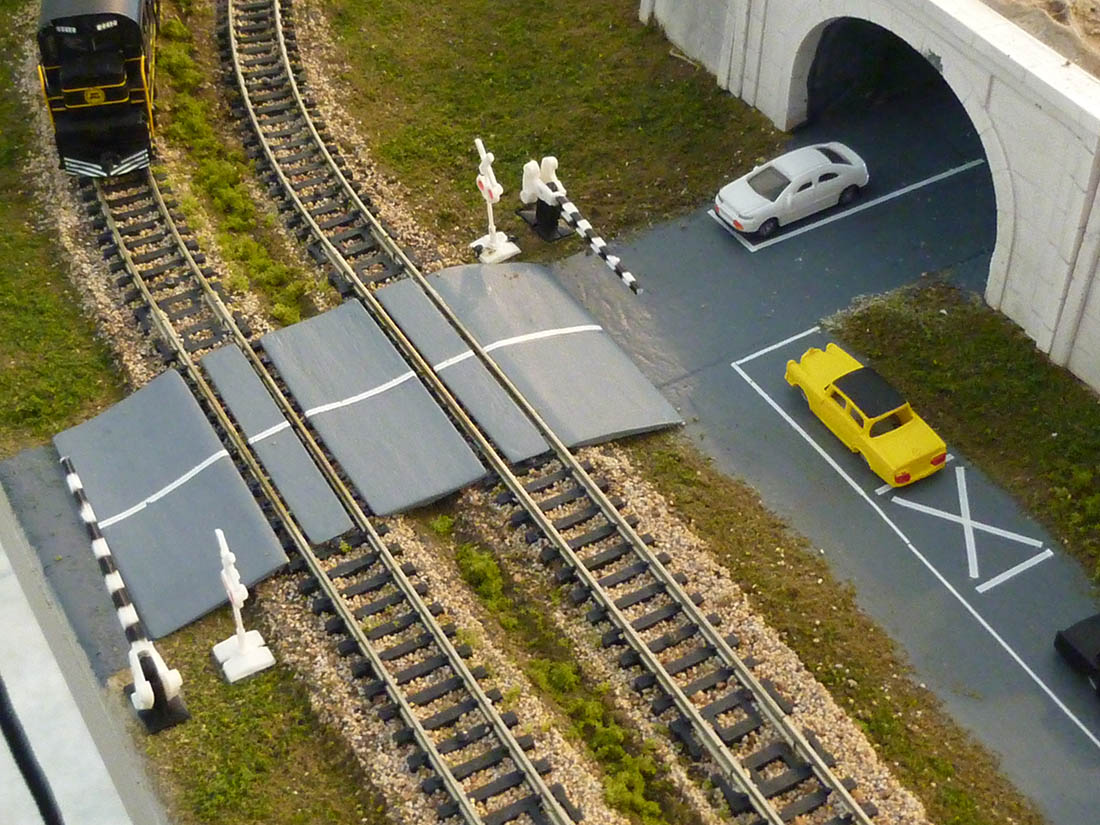
3. Detailed railroad crossing
4. Business district
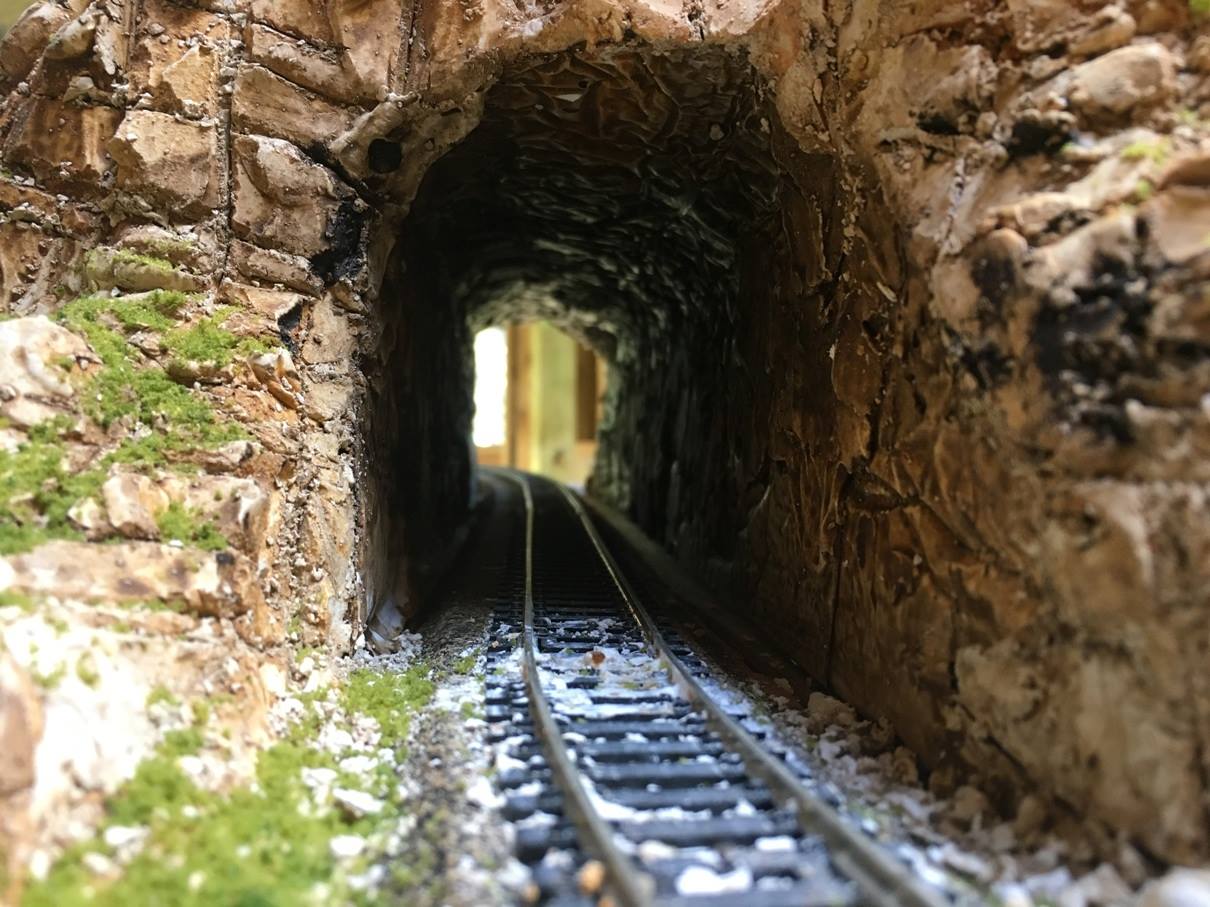
5. Water flows into the lake from the mountain and under the tracks. (My young nephew insisted on a tunnel and a mountain to mimic “Stone Mountain” which is a granite outcropping in the Atlanta GA area)
Model railroading is a fun creative hobby, I have enjoyed for the past 10 years. I’m a 70+ senior who had a small HO layout before I left my parent’s home. It disappeared into the bedroom of a nephew never to be seen again.
Richard
Kennesaw, GA”
Now on to Marvin:
“Al,
Wonder if you might consider an offbeat item for your blog.
Petticoat Junction was an American sitcom in the 60’s that was spun off from The Beverly Hillbillies and Green Acres. I assume these shows might have found life on the east bank of the big pond.
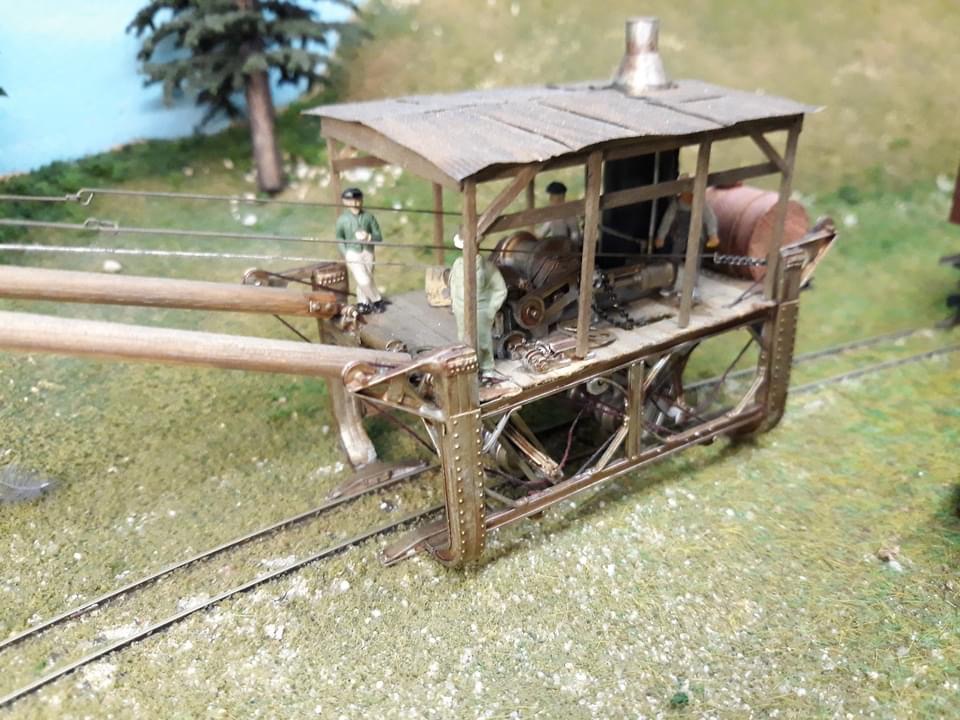
Petticoat Junction featured the Cannonball, a steam train that stopped at Hooterville.
The train has appeared in many movies and TV shows, most notably Back To The Future, Part 3, and is still running a scenic route in California.
What is missing is why the locomotive and tender are labeled “C&FW”, and the shows creators didn’t bother to keep the documentation.
The “C” could be Chicago or Chattanooga, and the “FW” might be Fort Worth.
Thought maybe that someone in your huge network might know for sure what C&FW stands for.
Marvin”
I did ponder over posting Marvin’s question, but then I thought, “I’ll bet someone knows” – so who can help?
And a big thanks to Rich for sharing his Atlas N scale track.
There’s one line in his narrative that I loved:
“…so when I retired, I sold a car and replaced it with the model train layout I have been waiting to build for over 50 years”
That’s what this hobby is all about!
I do love a layout with a theme. Perhaps another good example of this is John’s HO scale mine layout.
That’s all for today folks.
Please do keep ’em coming.
And if today is the day you get started on your layout, the Beginner’s Guide is here.
Best
Al
PS More HO scale train layouts here if that’s your thing.
Need buildings for your layout? Have a look at the Silly Discount bundle.