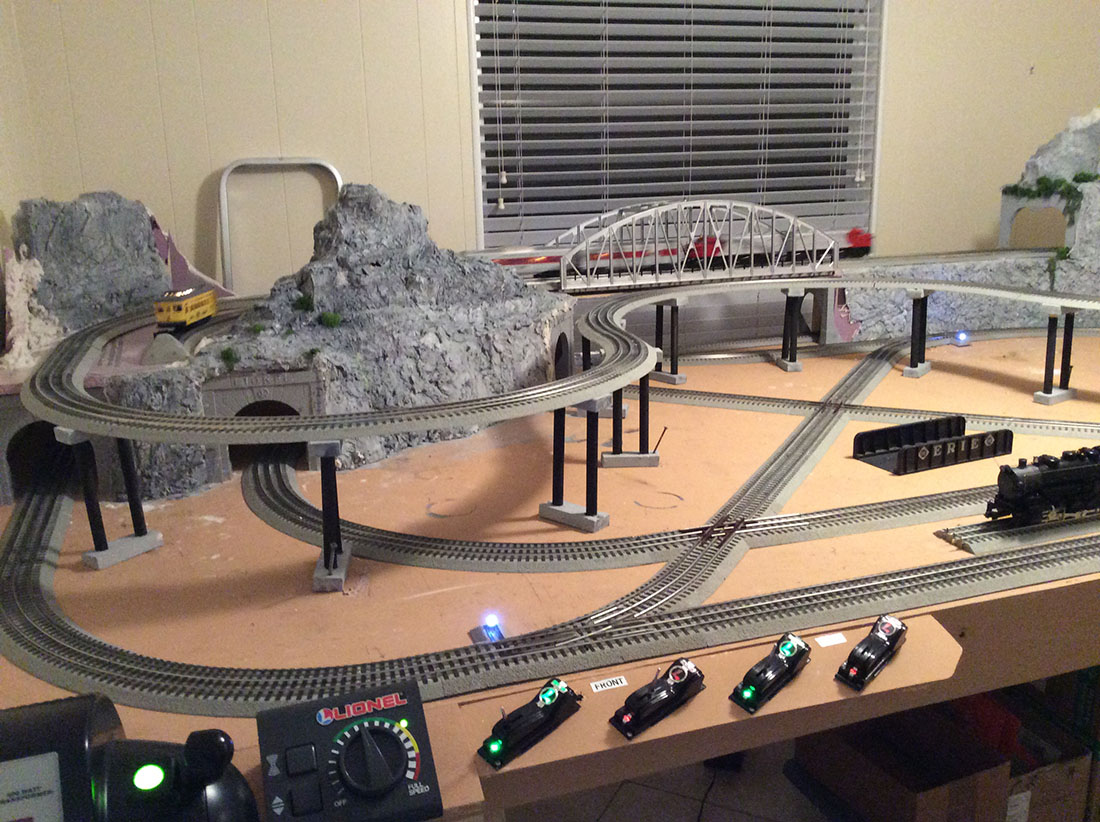
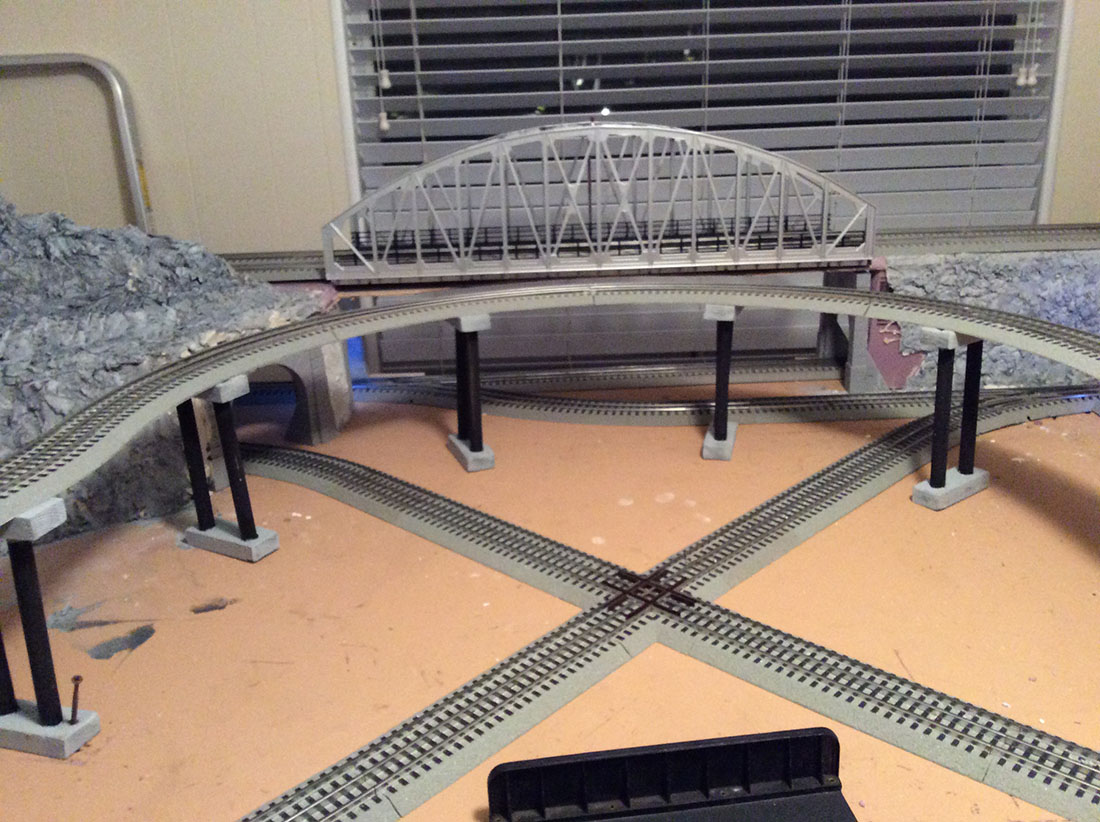
Daniel’s been in touch with his Christmas train layout.
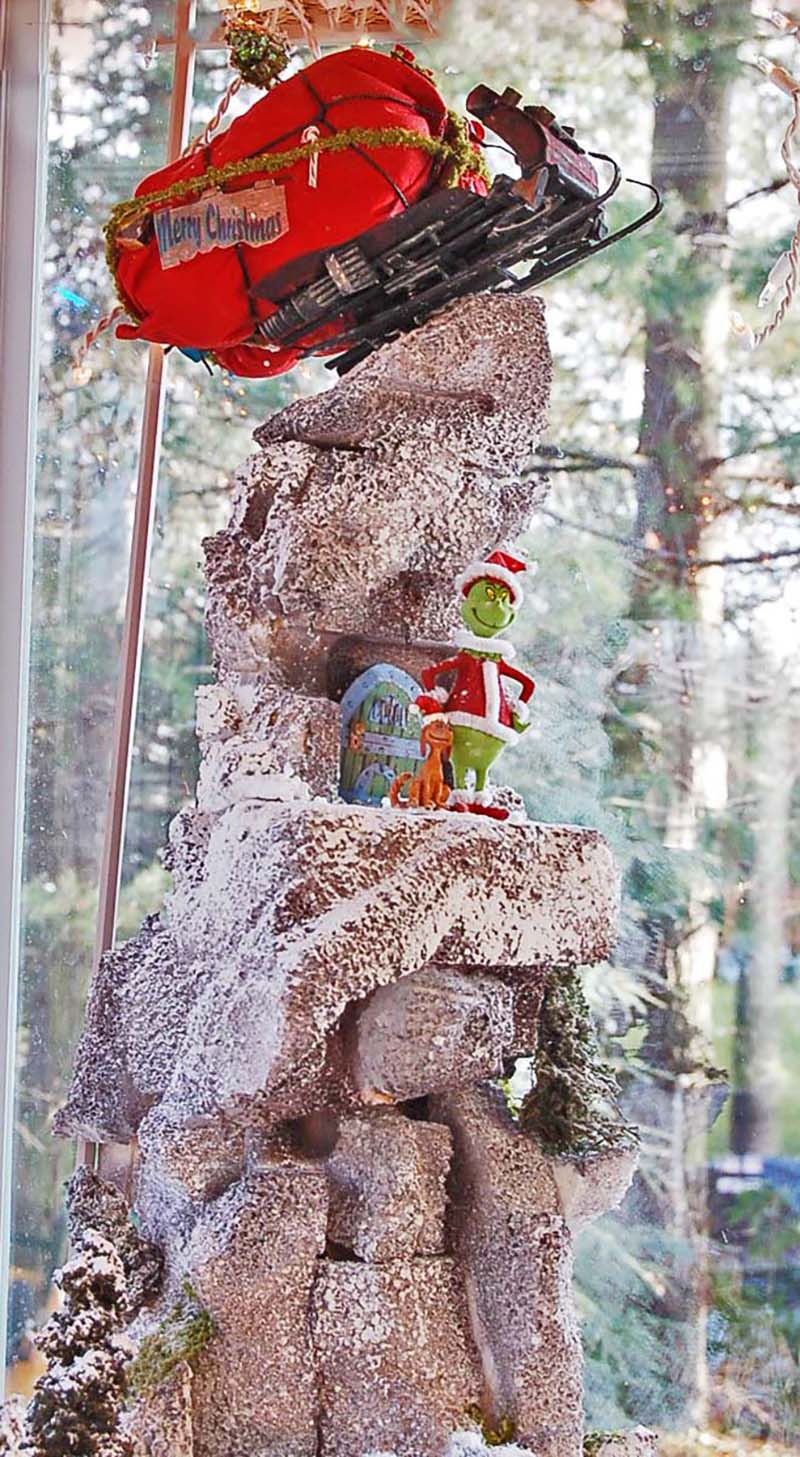
(and don’t miss Gordy’s Grinch pic below too – loved it).
“1955 was to be a tipping point in our family railroading experience.
As I was only 8 years old, I had no idea about this, but Doug, my 14 year old brother, was wiser in these things, especially since he knew that the deep well of our parent’s art deco wardrobe could hold wonderful Christmas treasures.
For decades I only knew part of this story, but my brother told me the rest of the story a few years ago at the last time we were together, but I had no idea about that, and maybe he was wiser on that as well.
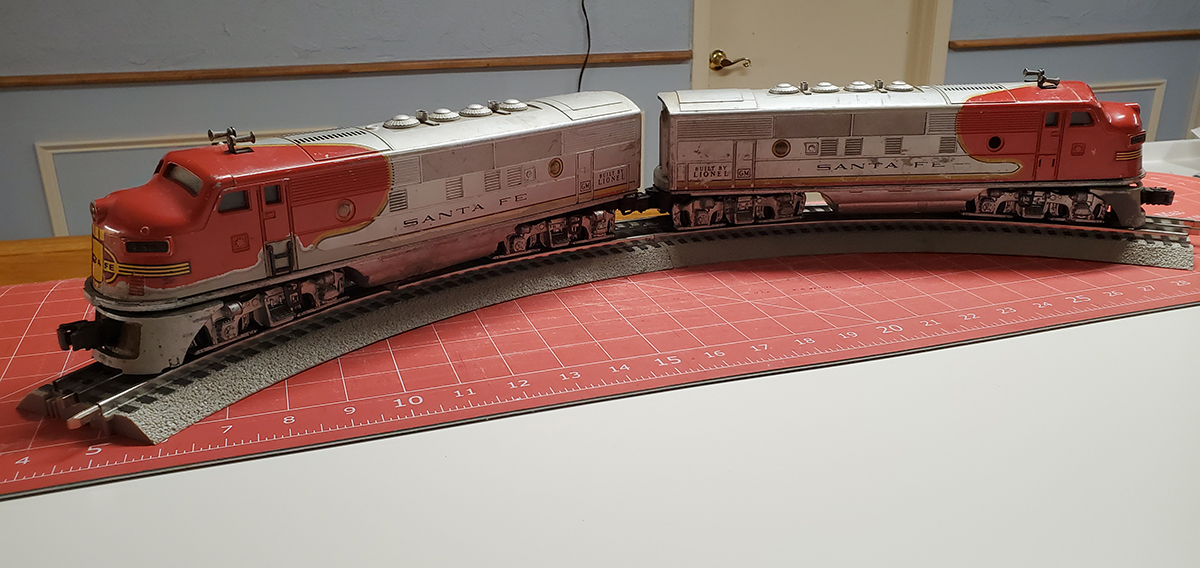
In the late fall of 1955 Doug started scoping out the favorite parental Christmas hiding places, and in the wardrobe he made a marvelous find. A Lionel O gauge F-3 double A unit Santa Fe locomotive, one A unit powered, the other A unit a dummy.
As there was only 1 set, he assumed it was for him, the older son. He said nothing about his find this due to my focus on Santa.
On Christmas morning, at first light, we awoke our parents (I doubt that they had actually fallen asleep) to see what Santa had brought.
My dad was a minister in Salem, N.J., and the Christmas season was very full of church activities, so Christmas Eve preparation left very little time for sleep.
Tradition held that we could not go down the stairs until dad had checked it out and that the tree lights were turned on.
When we came down the stairs, our usual temporary train platform was set up, the gifts were assembled and staged, perhaps as magically as if Santa had done it himself.
My folks anticipated a special Christmas, so they set up the church’s Wollensak reel to reel tape recorder. I did not pay much attention to that as there were gifts to open!
During his tale of that Christmas my brother told me he was anxiously awaiting opening his gift, but as it happened, I was told to open a long square ended box that was quite heavy.
When the gleaming red and silver Santa Fe slid out of the box, a seismometer could have registered my brother’s heart dropping. “I was totally disappointed,” he told me. The folk’s must have realized this so they quickly directed him to the box that held his Santa Fe.
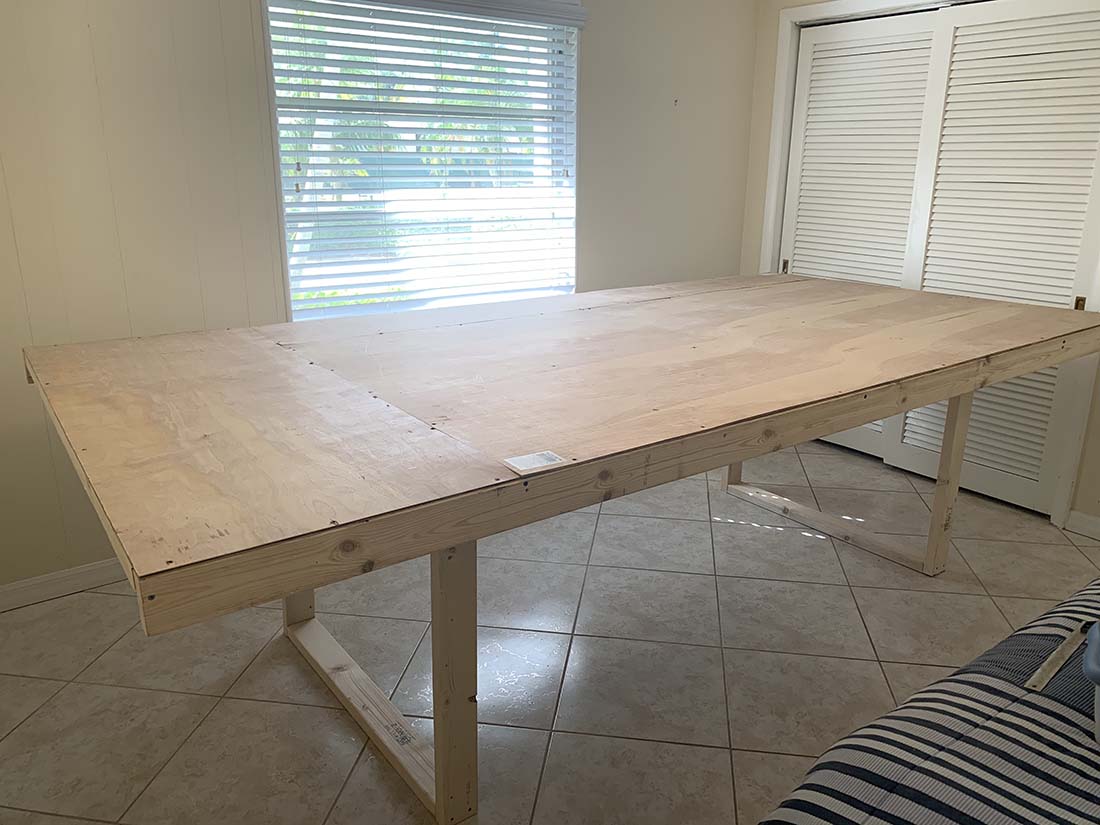
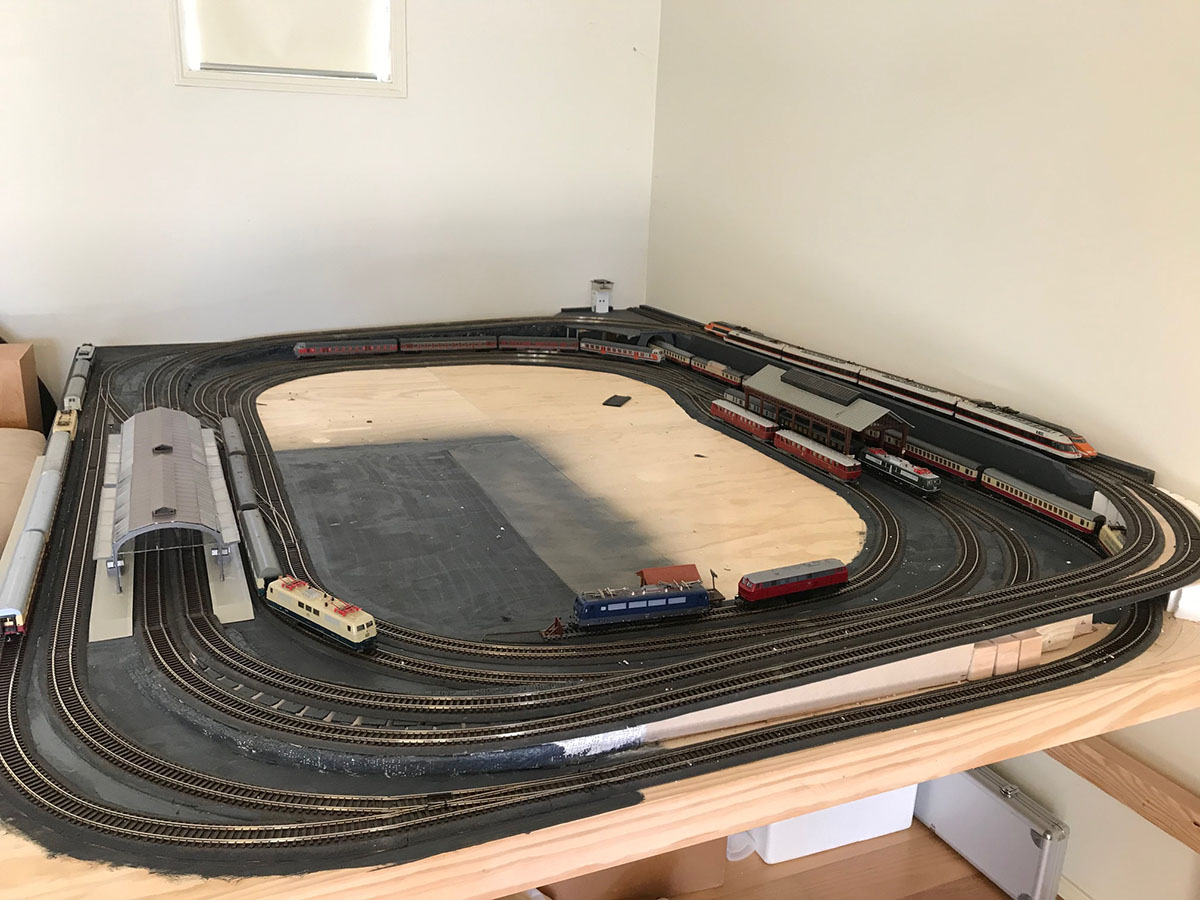
That was to be the last year for the temporary Christmas layout, as we were now into it big time. A permanent layout was set up on the 3rd floor of the Victorian parsonage, only to be moved and enhanced 9 months later in a move to Haddon Heights, N.J.
As we made our way to our new home, the very last item attached to the back doors of the moving van was our train platform.
Many Christmases have since come and gone, with my own sons and grandchildren, but my recorded yell of delight, “Look Doug, a Santa Fe!” still rings in my ears.
Daniel”
Now on to Gordy for his Christmas train layout:
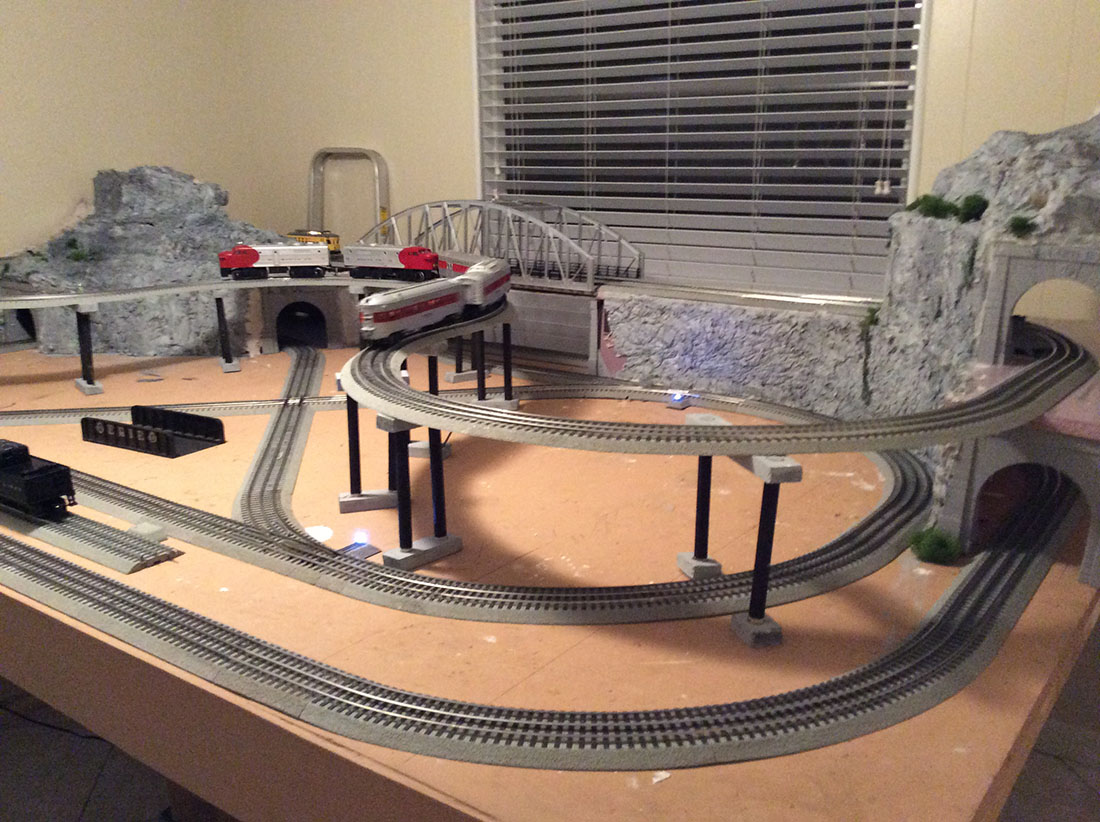
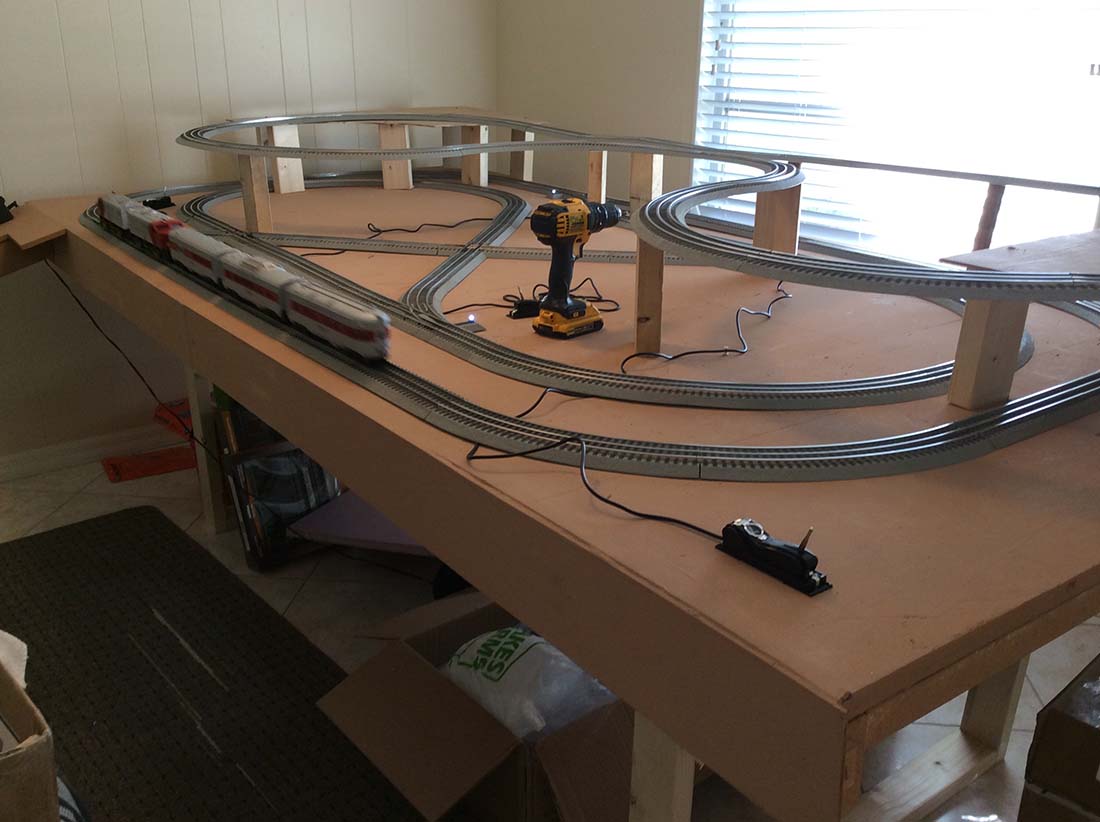
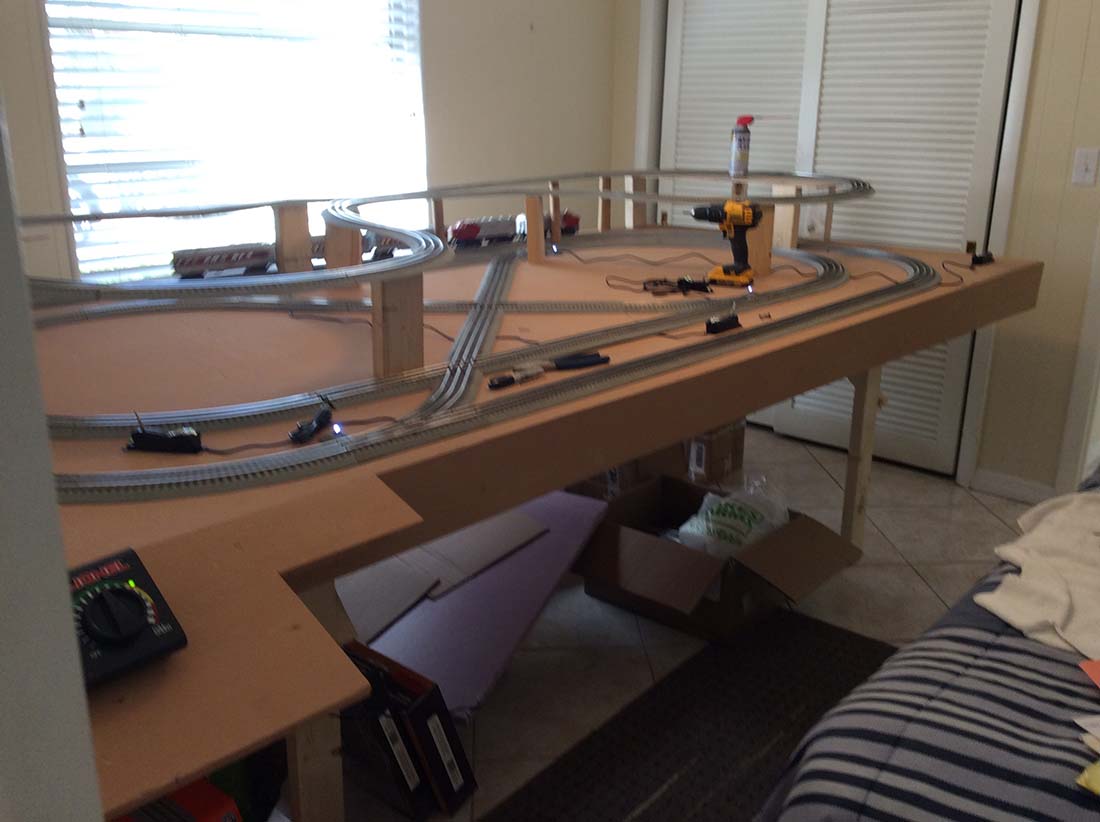
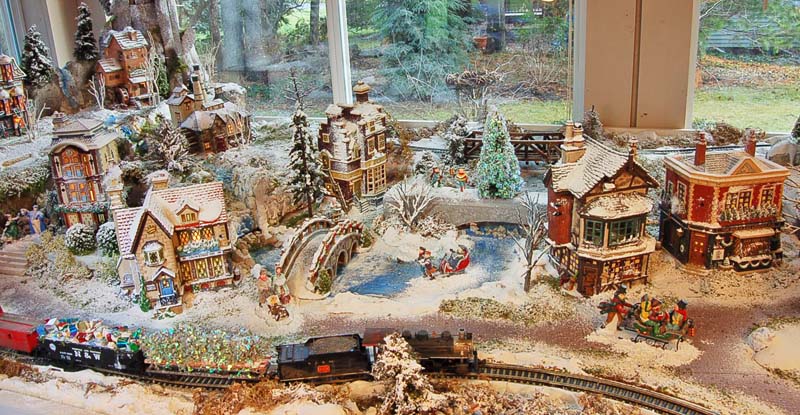
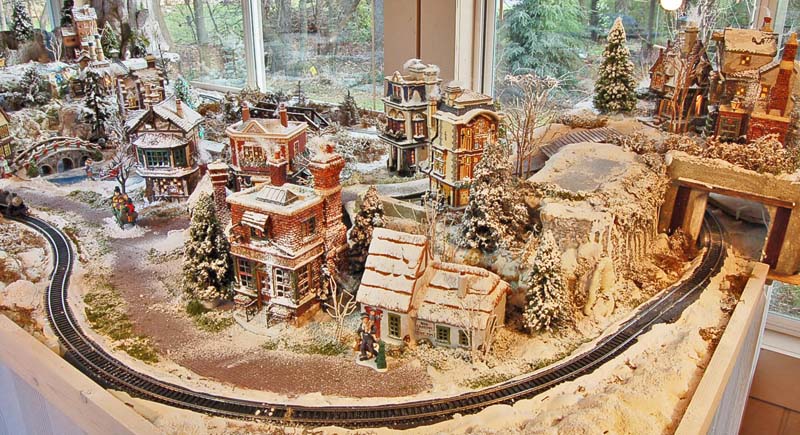
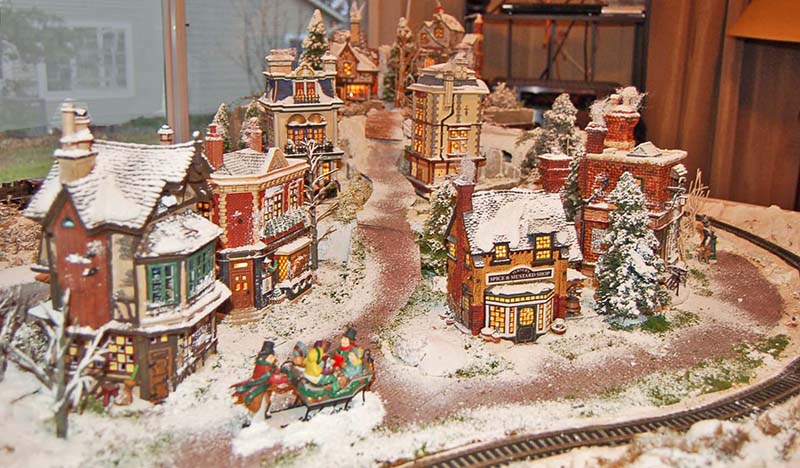
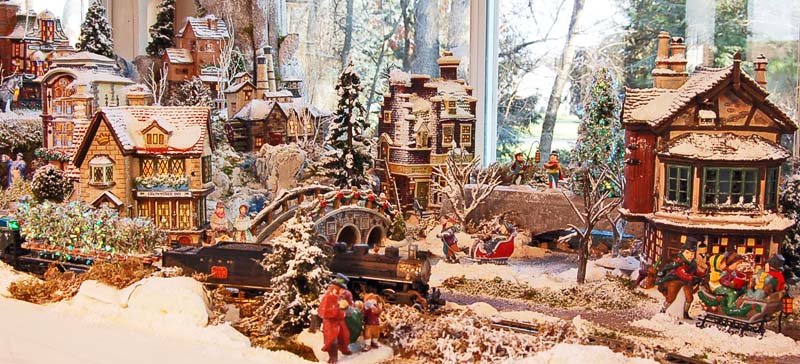
“Good Morning Al… Gordy here and I had an HO layout in my basement, which was fine, but I also had a collection of the Dickens Village houses & figurines which we put up each Christmas.
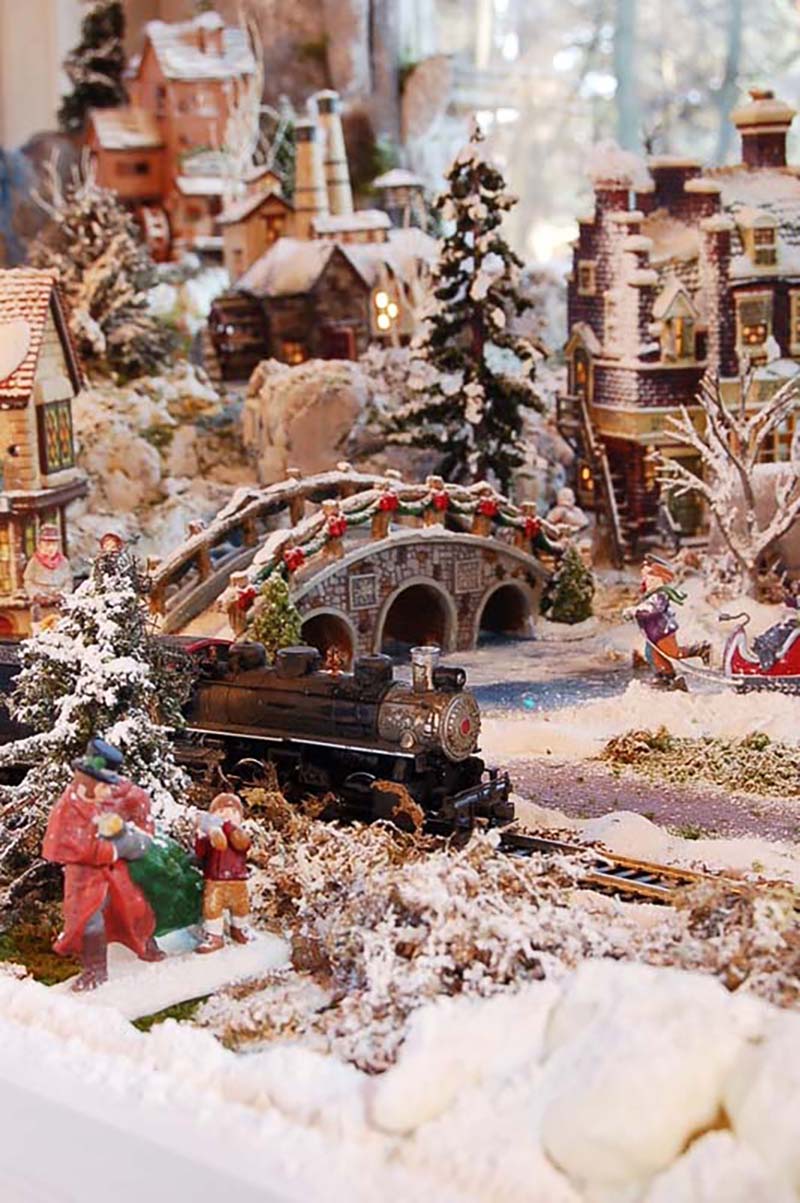
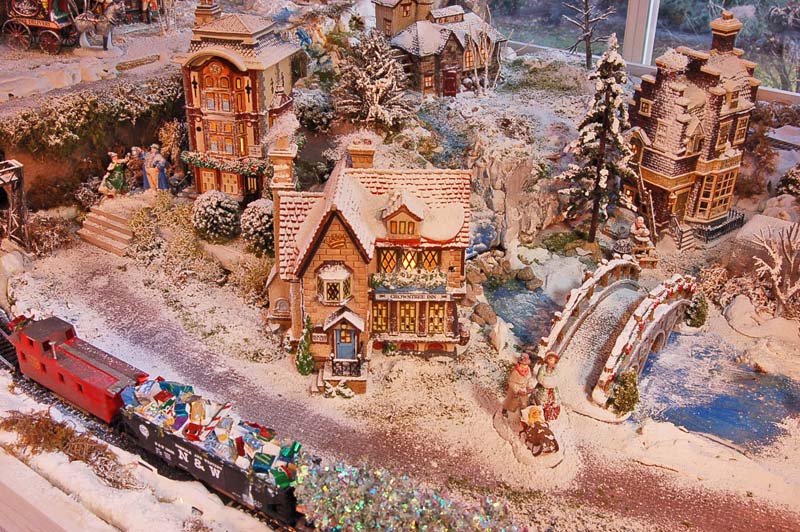
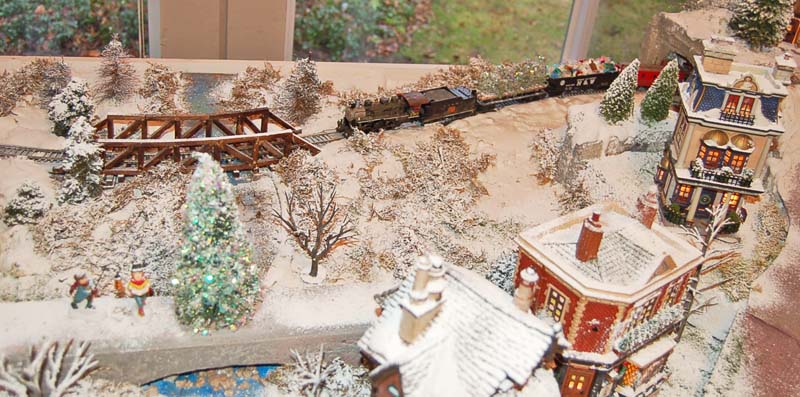
So I decided to combine them and I made a Dickens Christmas HO Railroad layout….
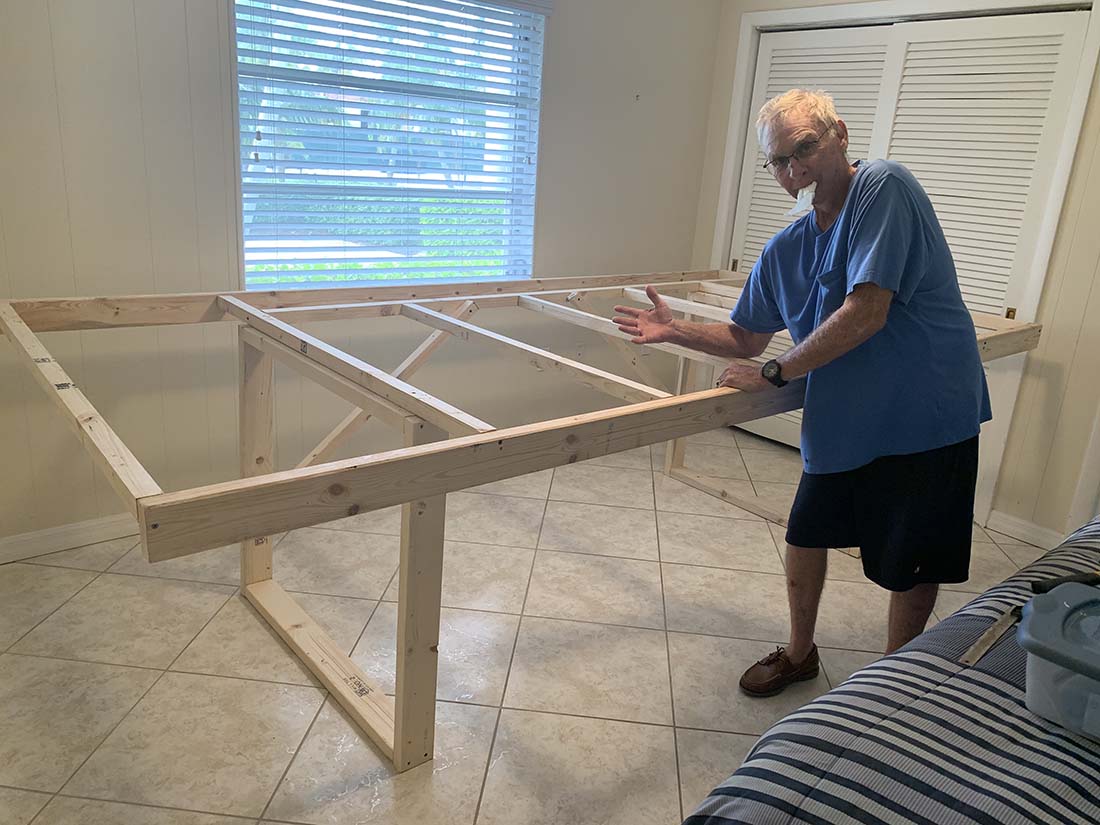
I am now RVing and have a fifth wheel and I am now putting it up in my RV basement. The layout is 4′ x 8′ so it just fits.
By the way the Grinch’s sled was made from scratch by wood & paper etc. Hope you get this OK, Looking to hearing from you….
Gordy, Naples, FL”


A big thanks to Gordy – and to Daniel for sharing his Christmas tree train layout, I did enjoy his Christmas tale. Loved that he’s stil got the loco.
If you have a Christmas story that you want to share, please mail me or leave a comment below.
More Christmas layouts here.
That’s all for today folks.
Please do keep ’em coming.
And if you want to stop dreaming and start doing, the Beginner’s Guide is here.
Remember, it’s the start that stops most people.
Best
Al
PS Don’t forget the latest ebay cheat sheet is here. Still updated daily.