The talented Dan has been in touch again, this time with how to make model trees for a train layout:
“Trees are an important part of many layouts. My Santa Fe layout required mostly pine trees where needed.
Of the 6 other layouts I have done, all required trees. Lots and lots of trees.
Here I will show how to make masses of trees in a timely manor. The concept is to have trees that look convincing and not take a lot of time to do. Sedum is a natural in accomplishing this task.
Sedum, sometimes called Everlasting (Autumn Joy is often called Stone Crop because it grows among stones), is a perennial plant and very hearty. The florets make the crown of the tree.
If you have followed any of my posts, you will find Sedum trees in all of them except the Santa Fe layout.
The process is very easy and rather quick. STAY UNTIL NEAR THE END OF THE PROCESS TO SEE HOW TALL TREES NEED TO BE. Your mind knows trees. A suggestion of trees and how tall they should be is perception.
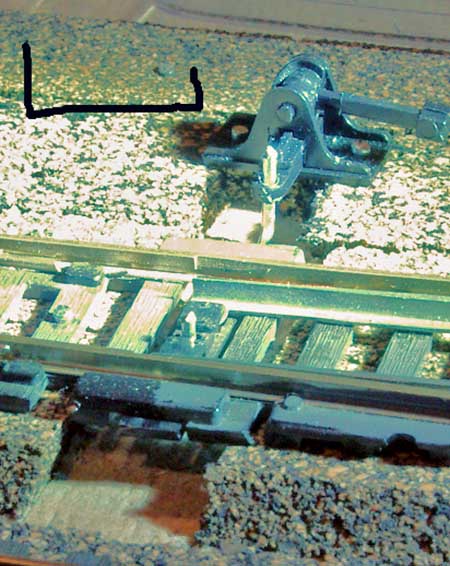
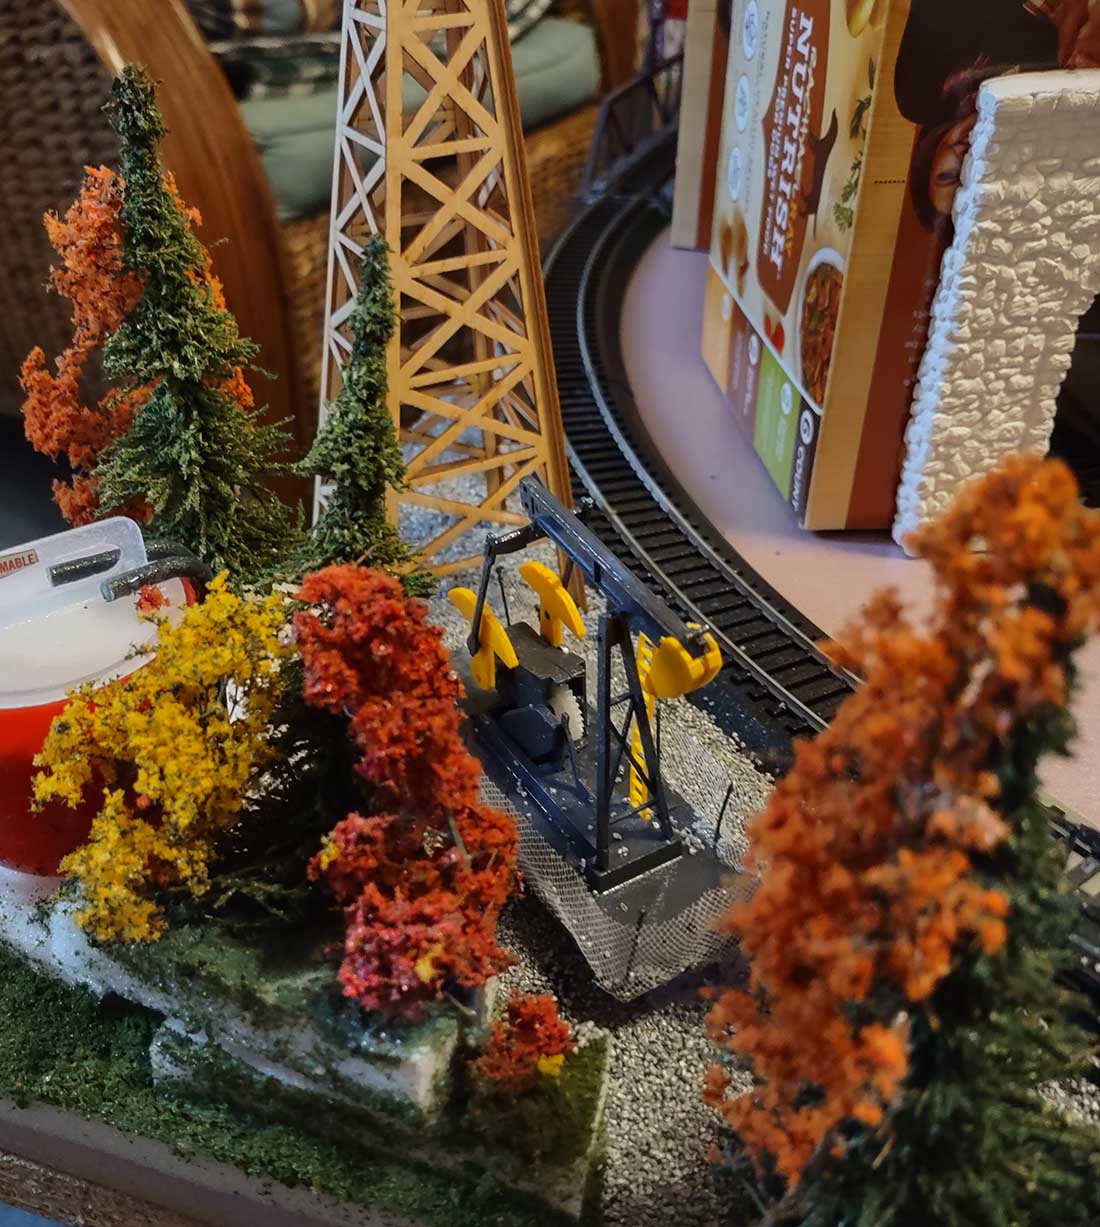
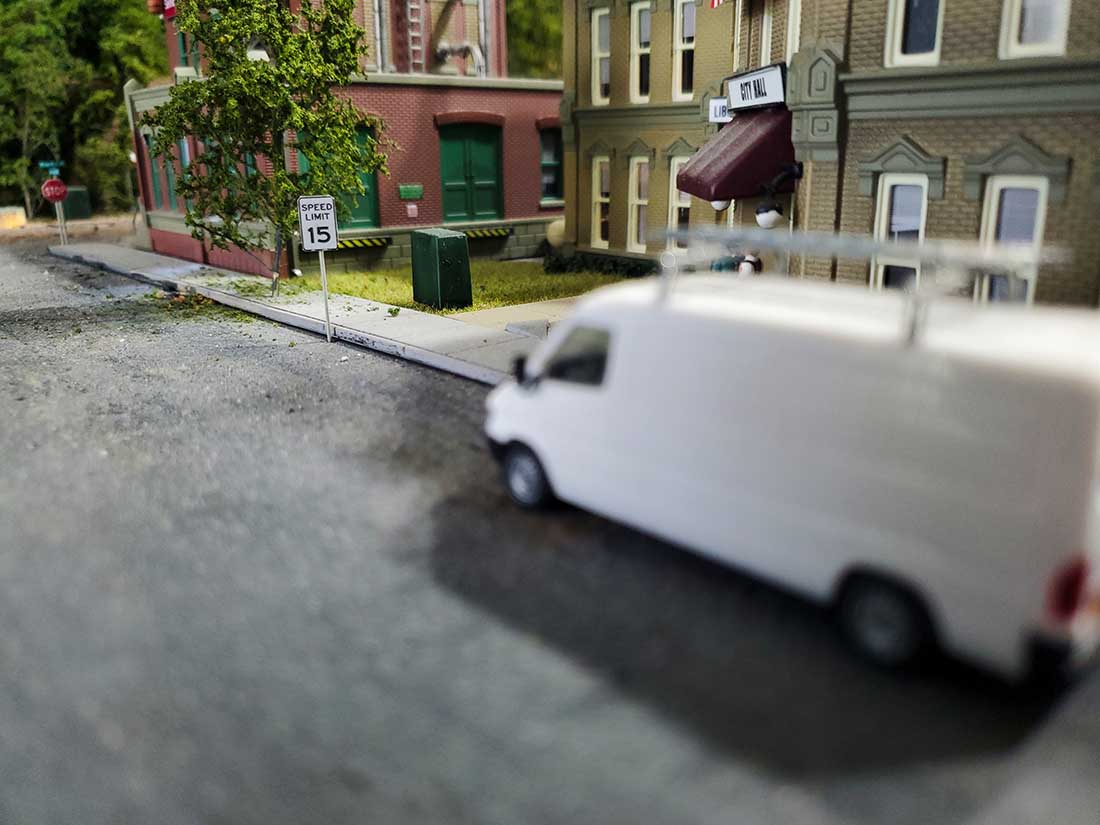
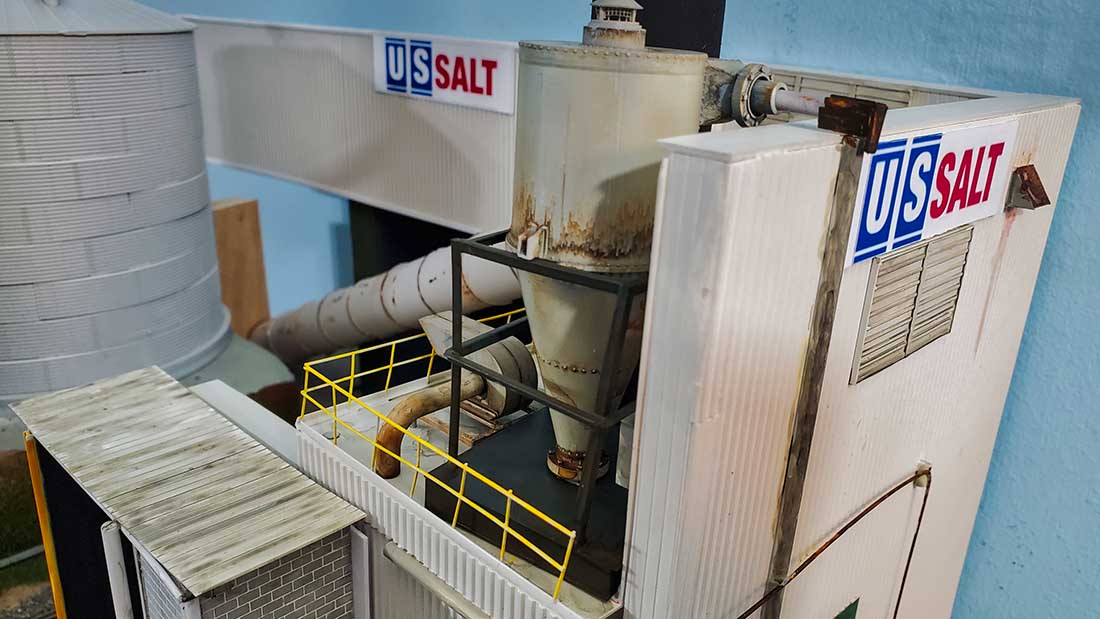
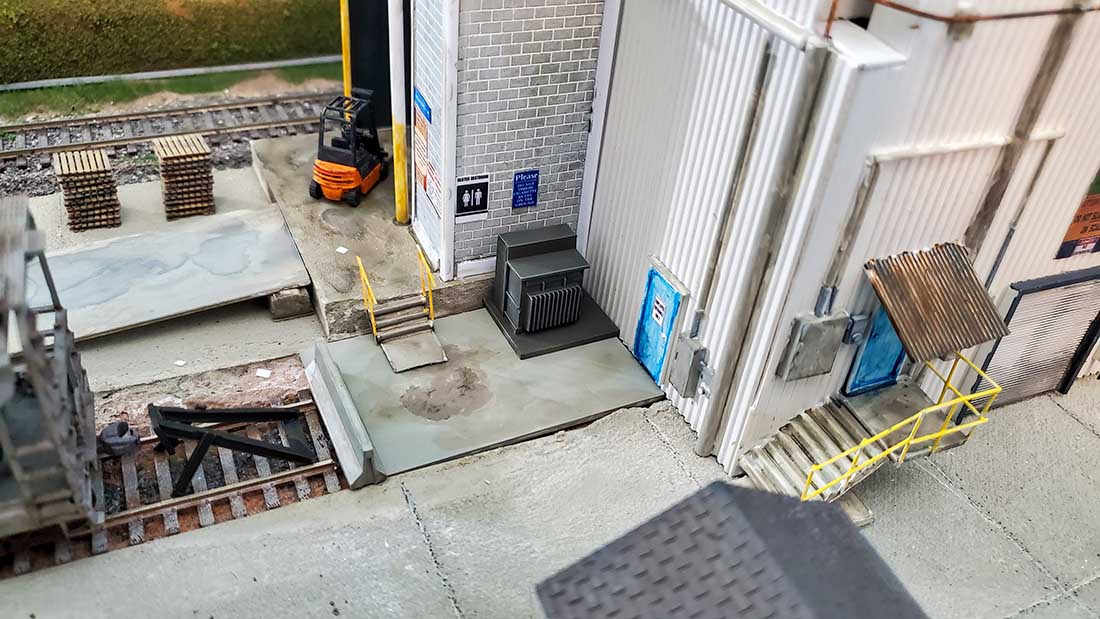
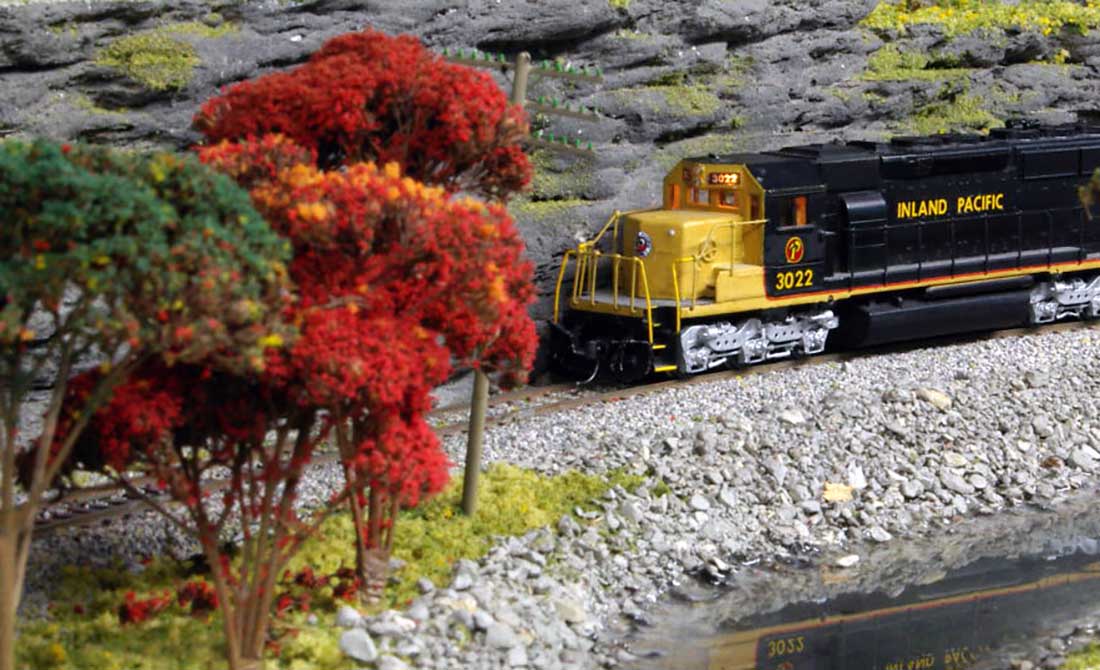
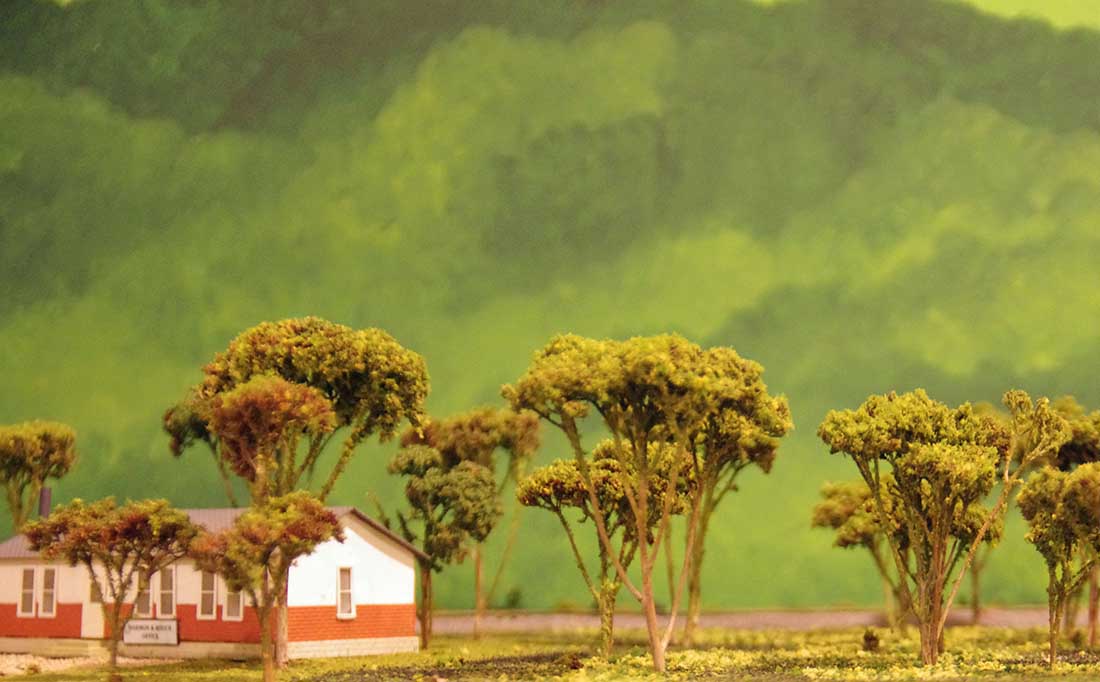
In photo 11 note that you can still see the train. On this layout there is a stretch of track that is near the front of the layout. I put in what those of us call “Green Tunnels” because of the lush vegetation along the tracks. This kind of tree allows the viewer to see through the tunnel and see the train.
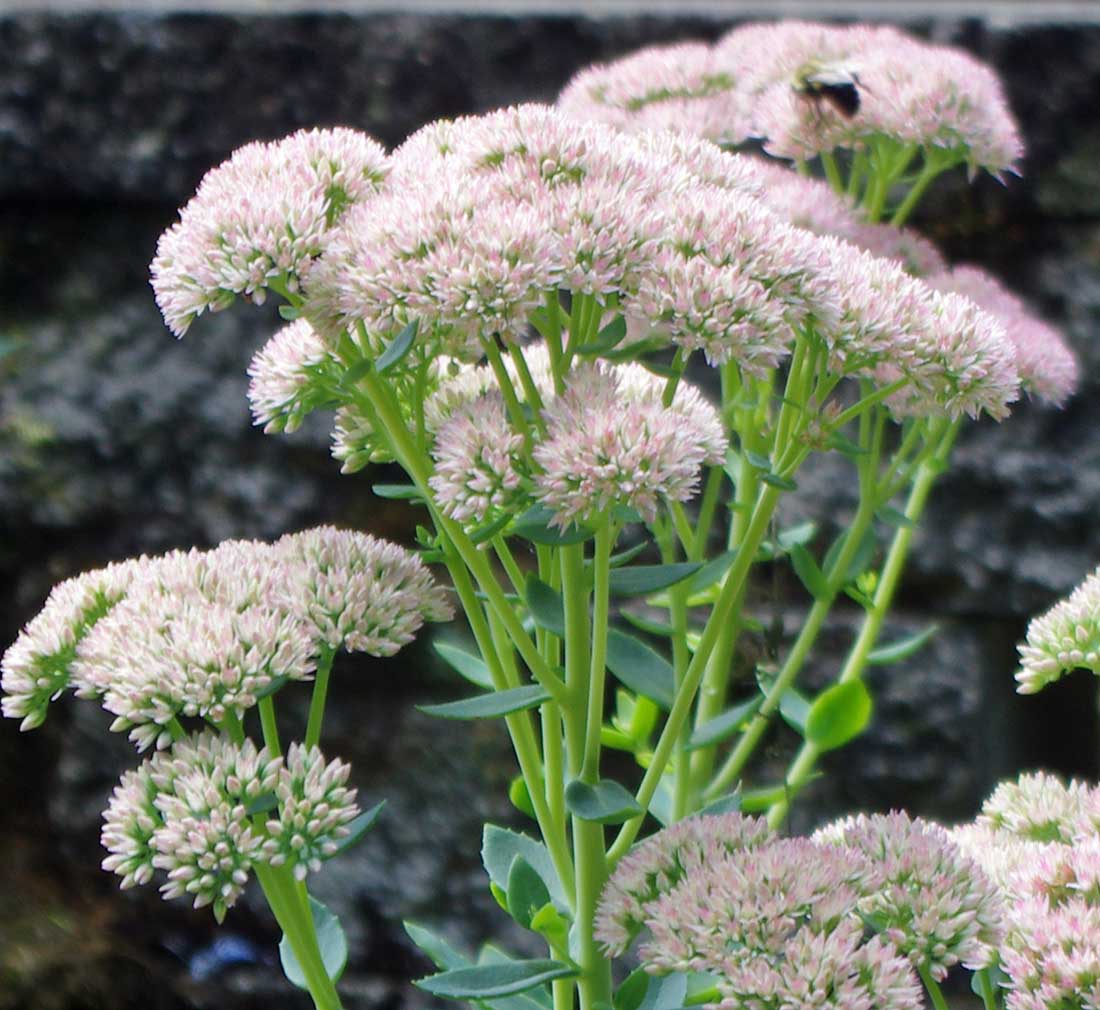
Sedum has a whitish-pink look during the growing season.
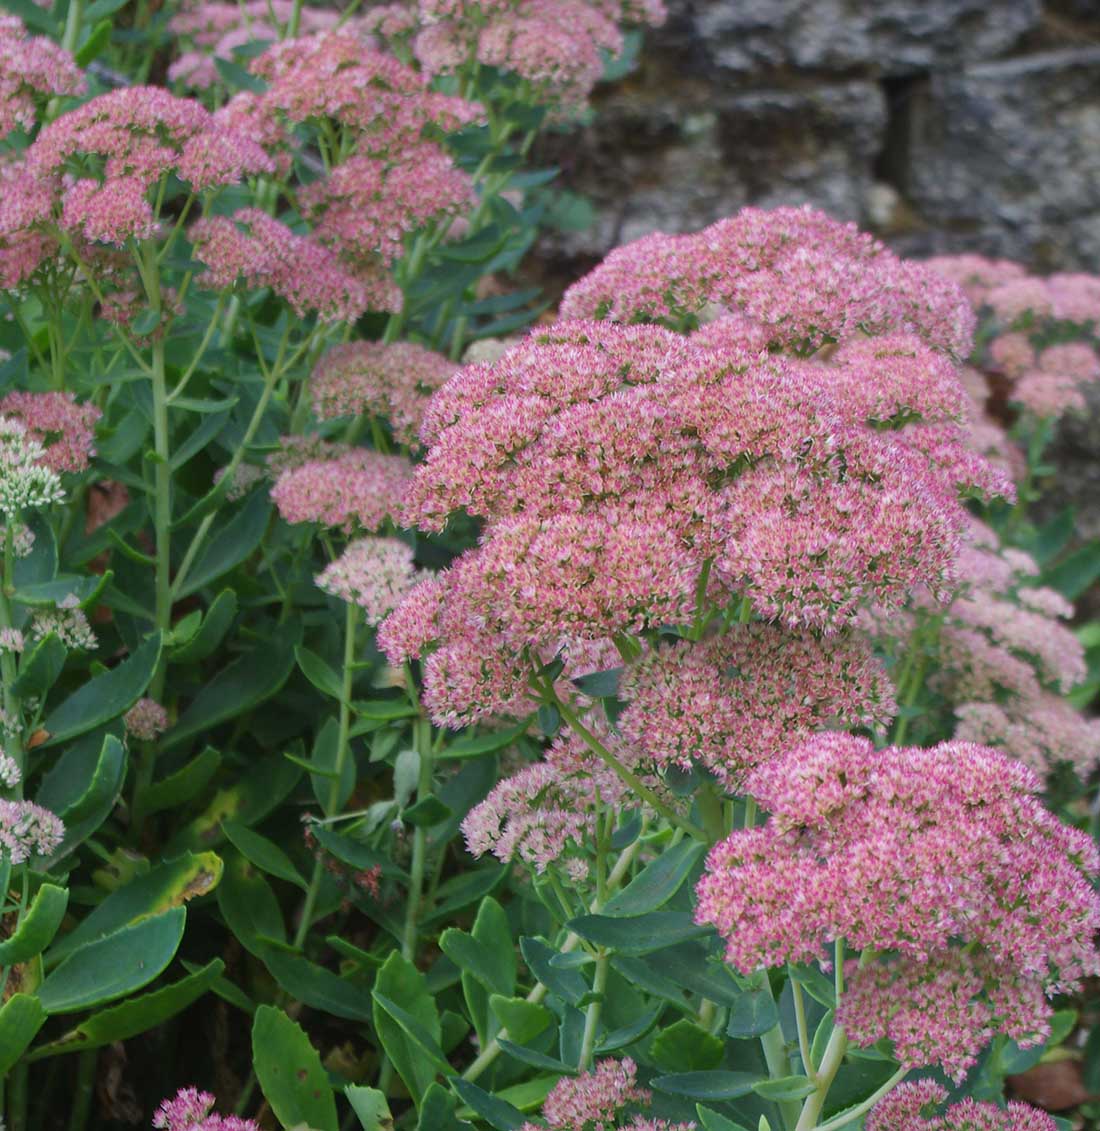
This is the fall look.
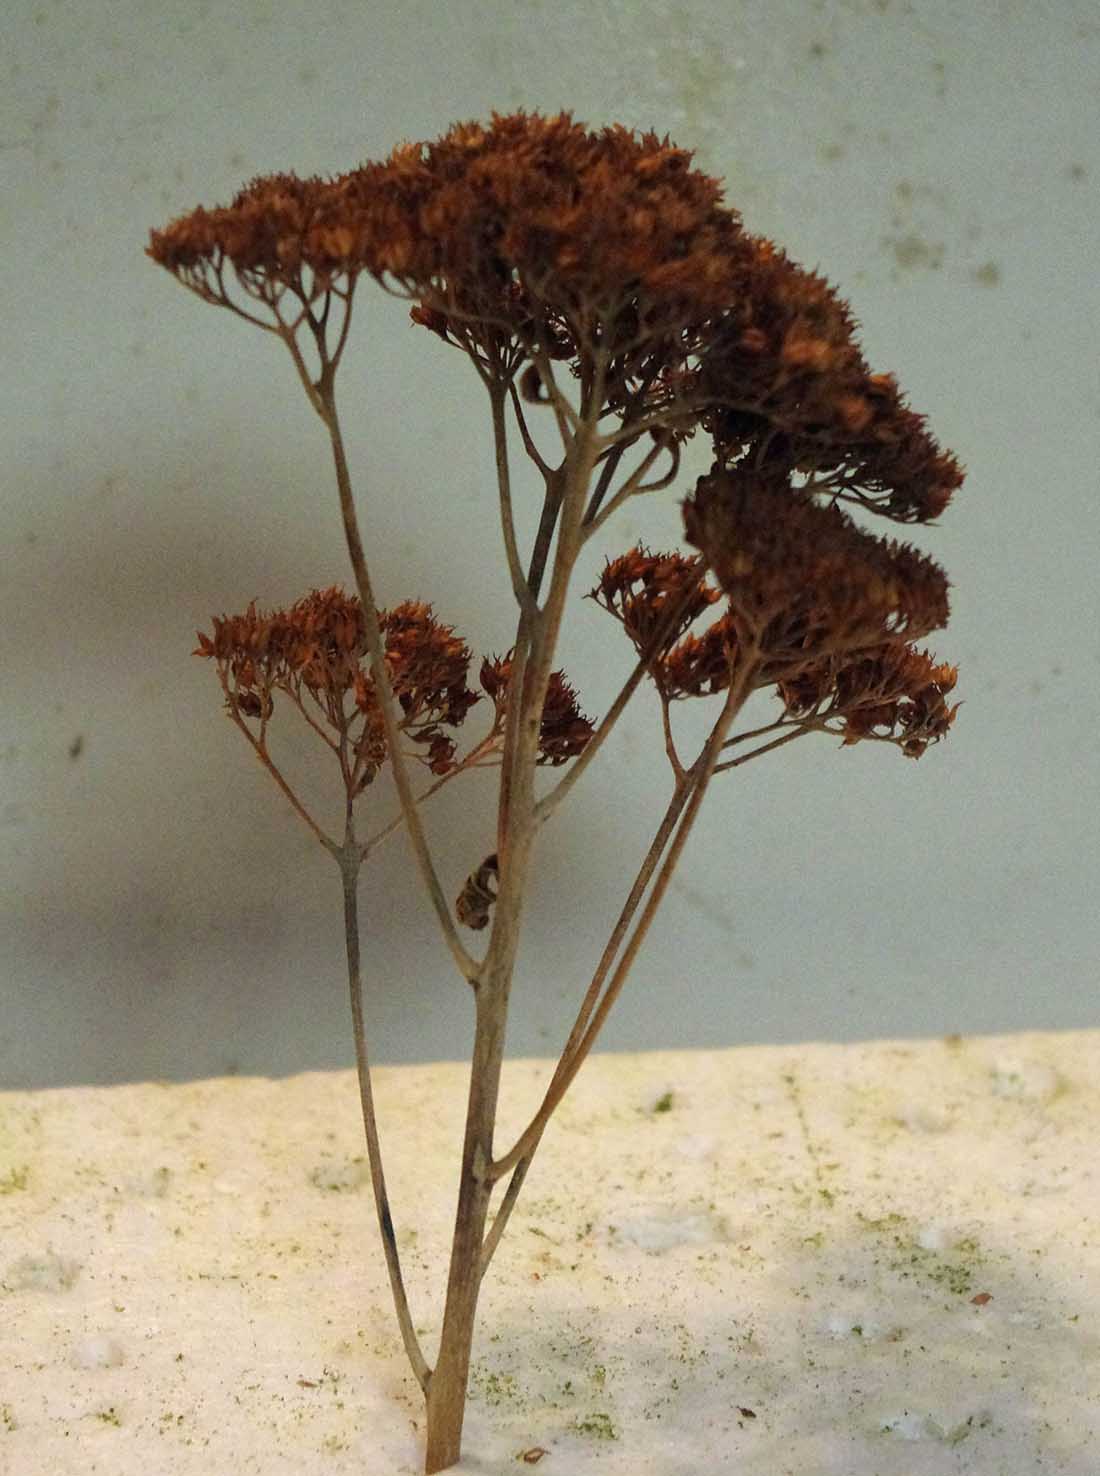
One reason people like Sedum is once the flowers die they over winter like this and the stems stand up to our winters very well. During the snows the tops have a white look among the red. Very attractive…..lets begin making the trees.
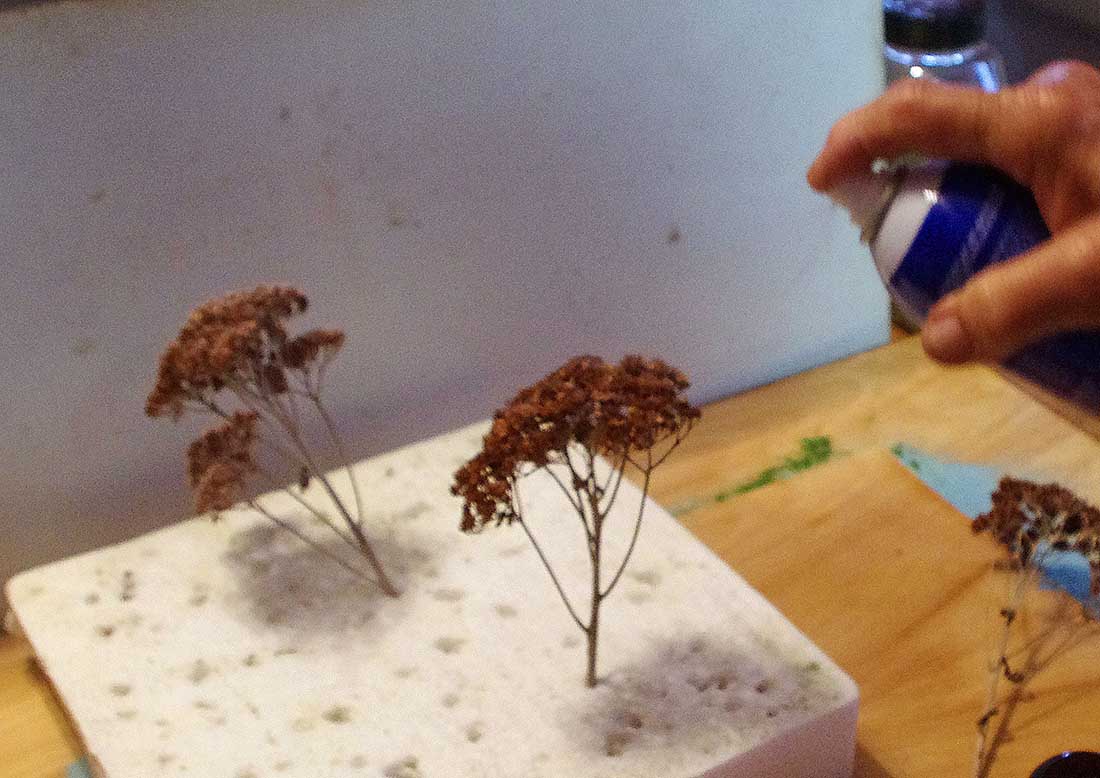
Spray glue on the flowers.
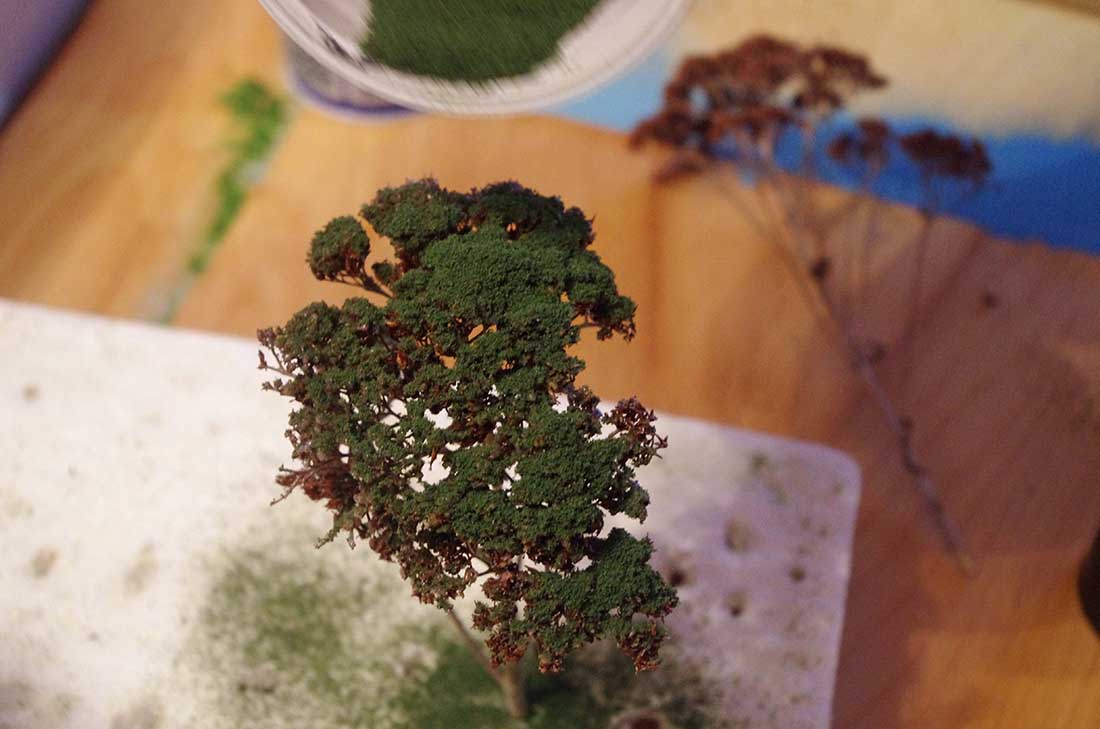
Sprinkle fine ground foam over the glue. Choose what ever color or blend you want.

We use a piece of block foam to hold the trees while getting “dressed” up.
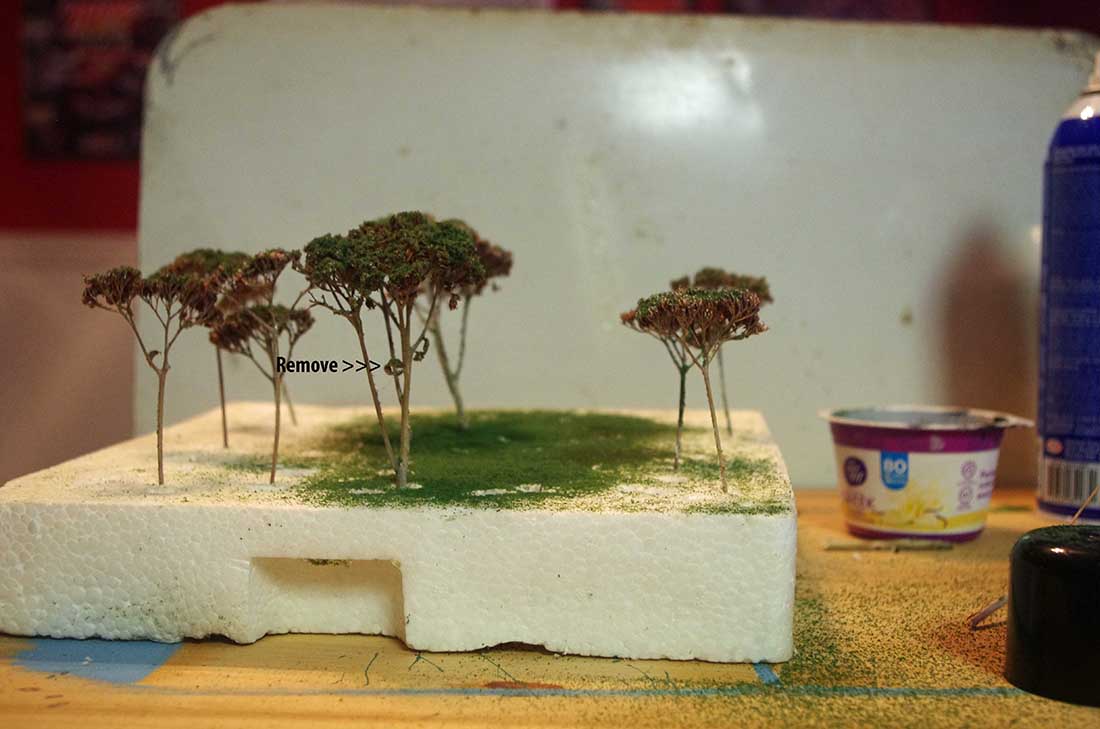
There are some small pieces that can be removed as marked.
You are done! Now plant them as needed. Examples:
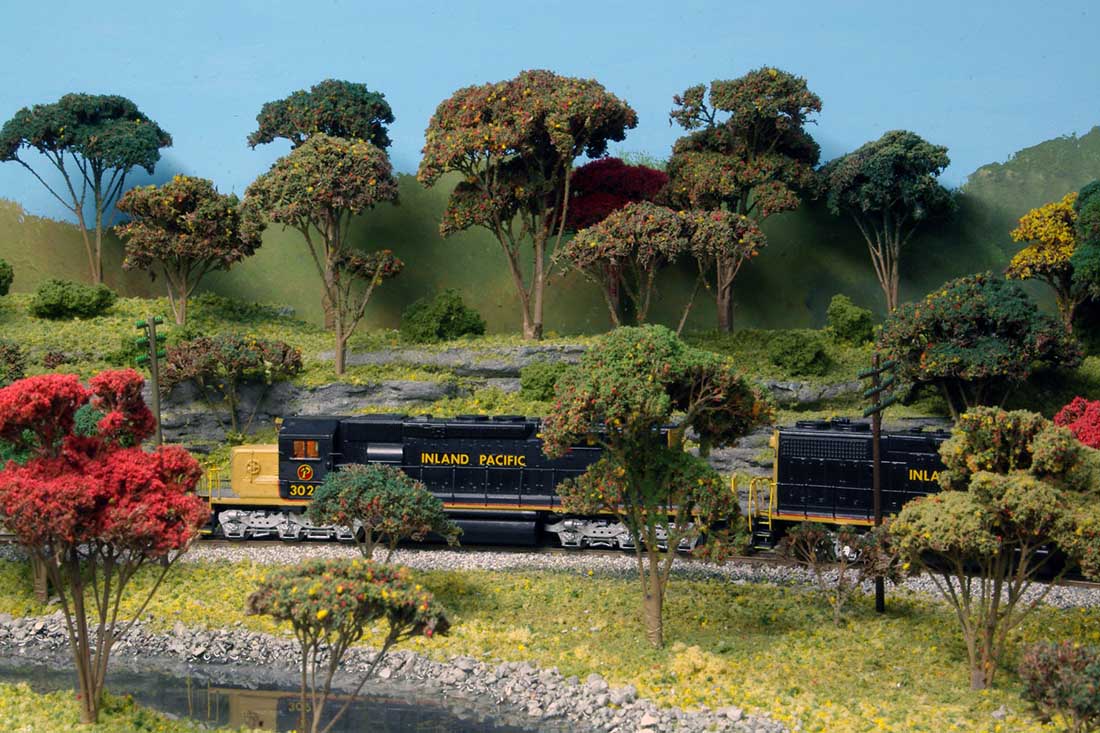
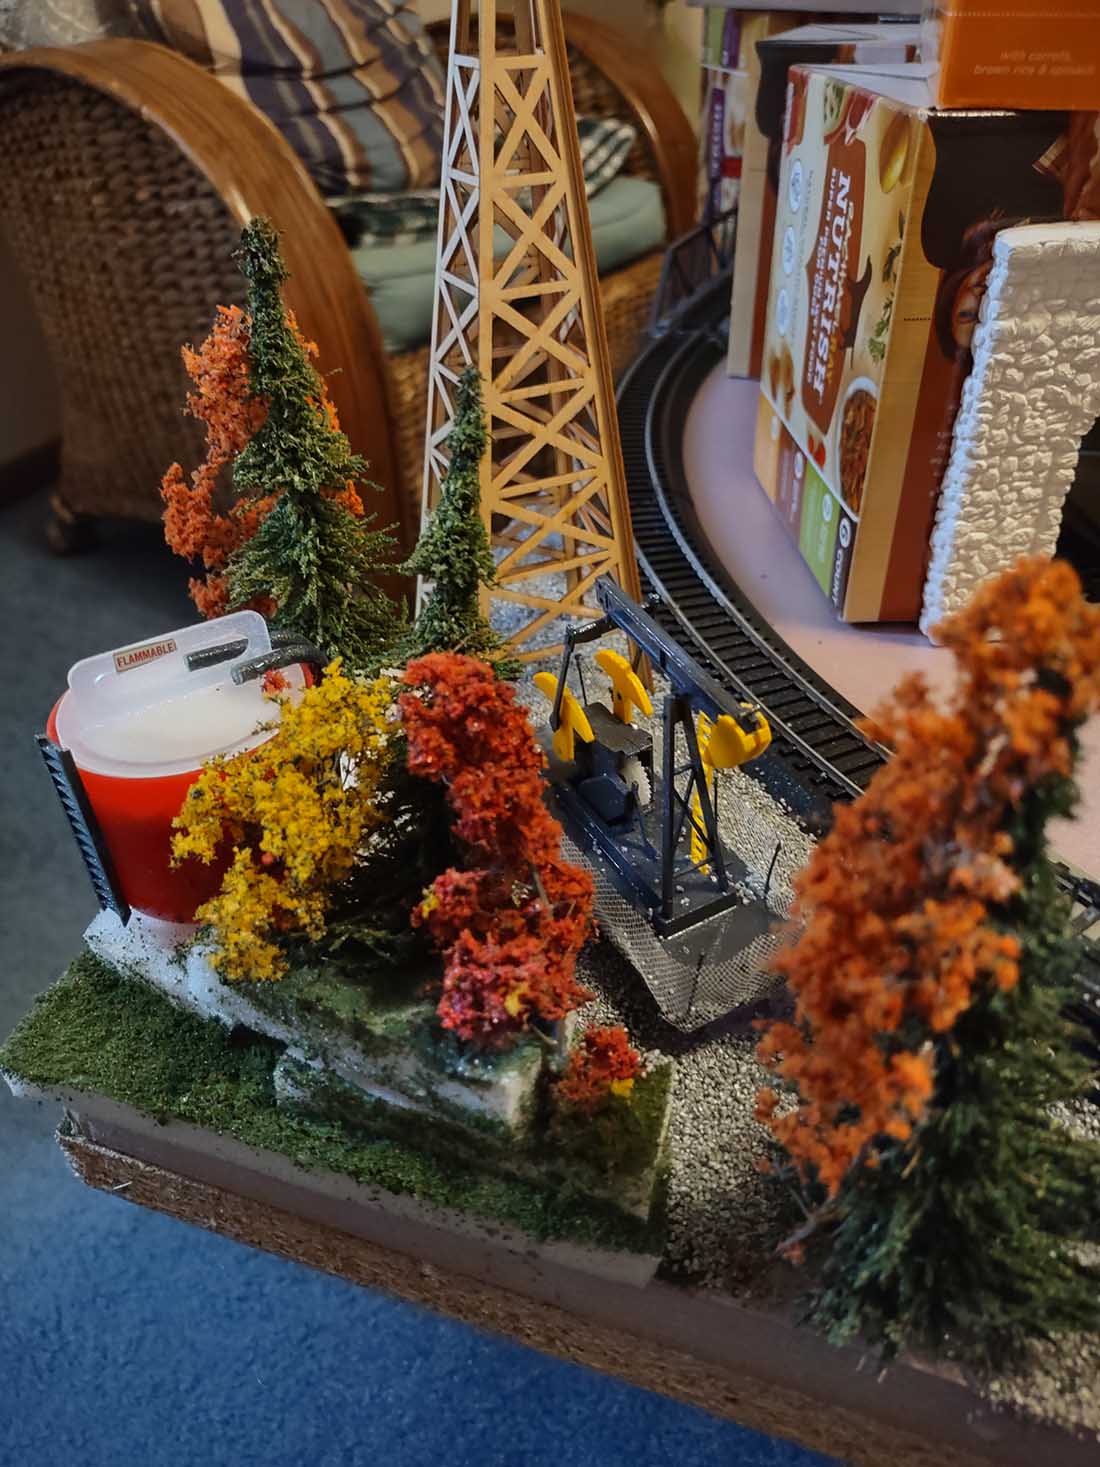
This owner wanted fall colors for his trees. Before you say “the red tree is too red…many of the trees here in Indiana and all across the Midwest will have trees just this red. They are just turning now October 9.
Here I have put several of the Sedum trees together to get a more group look. Look very carefully at the red tree and see that we used florist’s tape to hold them together. This is the only layout I used the tape.
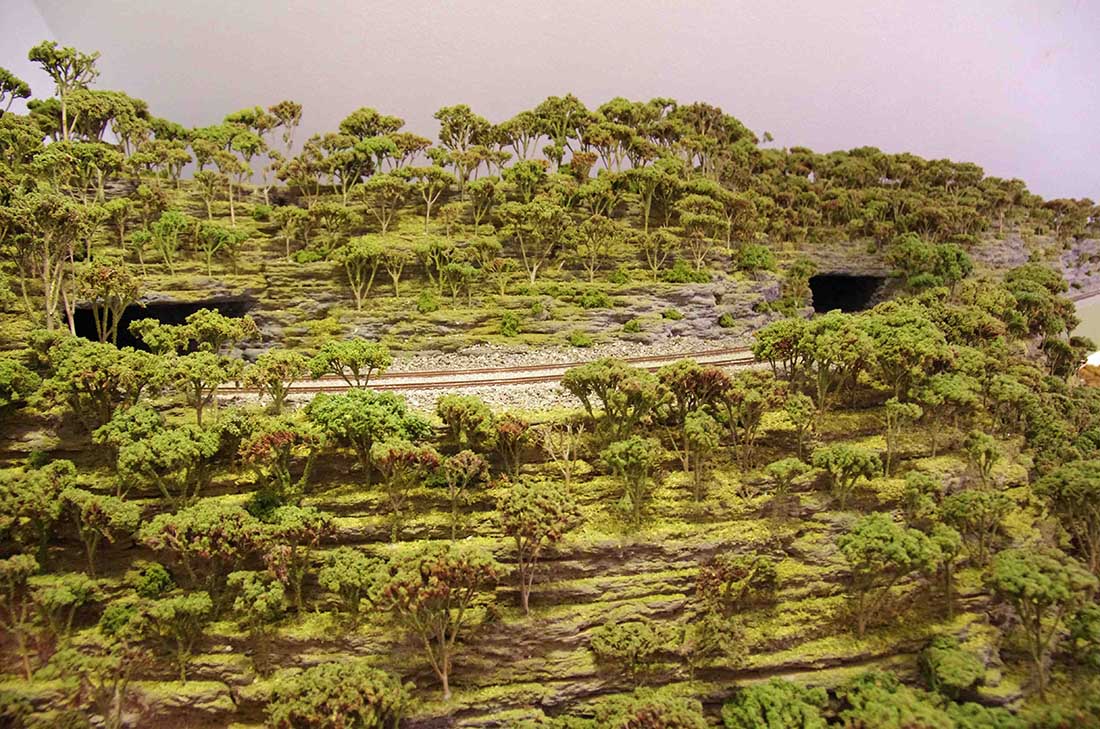
Hiding a helix with a tree filled hill.
The trees are “open” enough to see the train and yet are convincing trees.
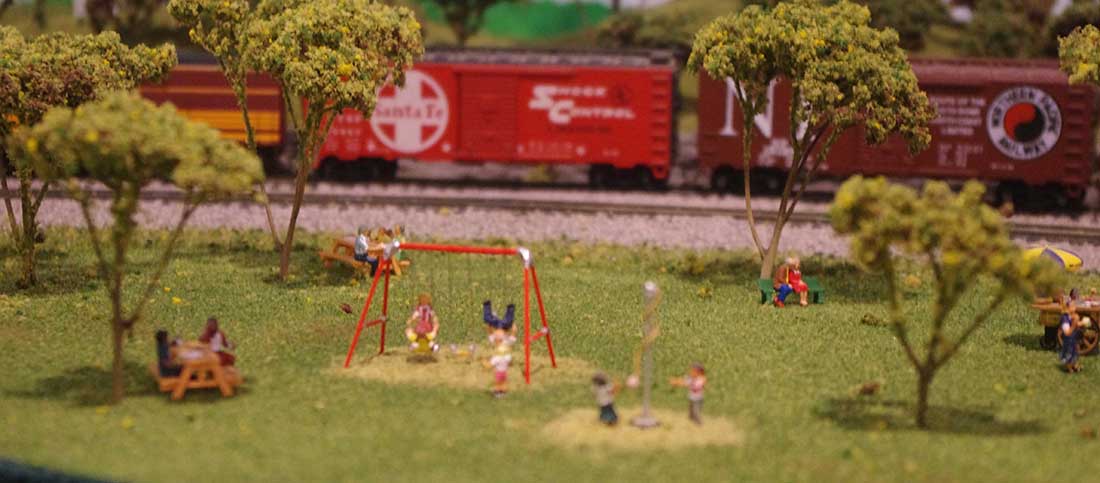
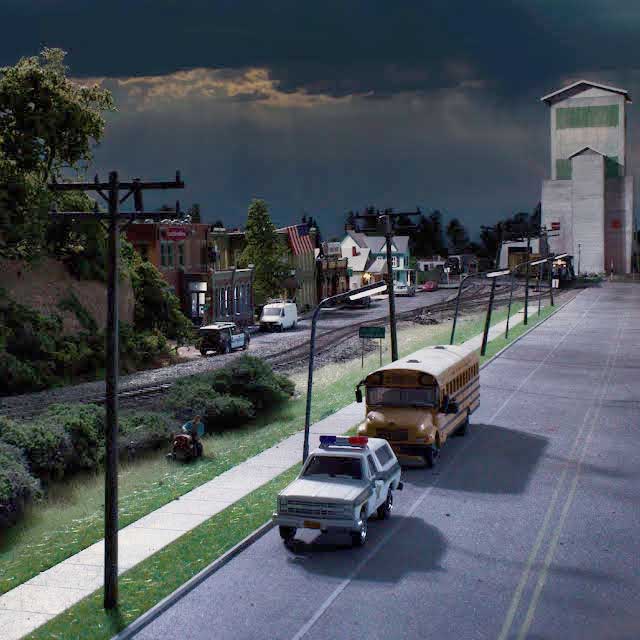
A park.
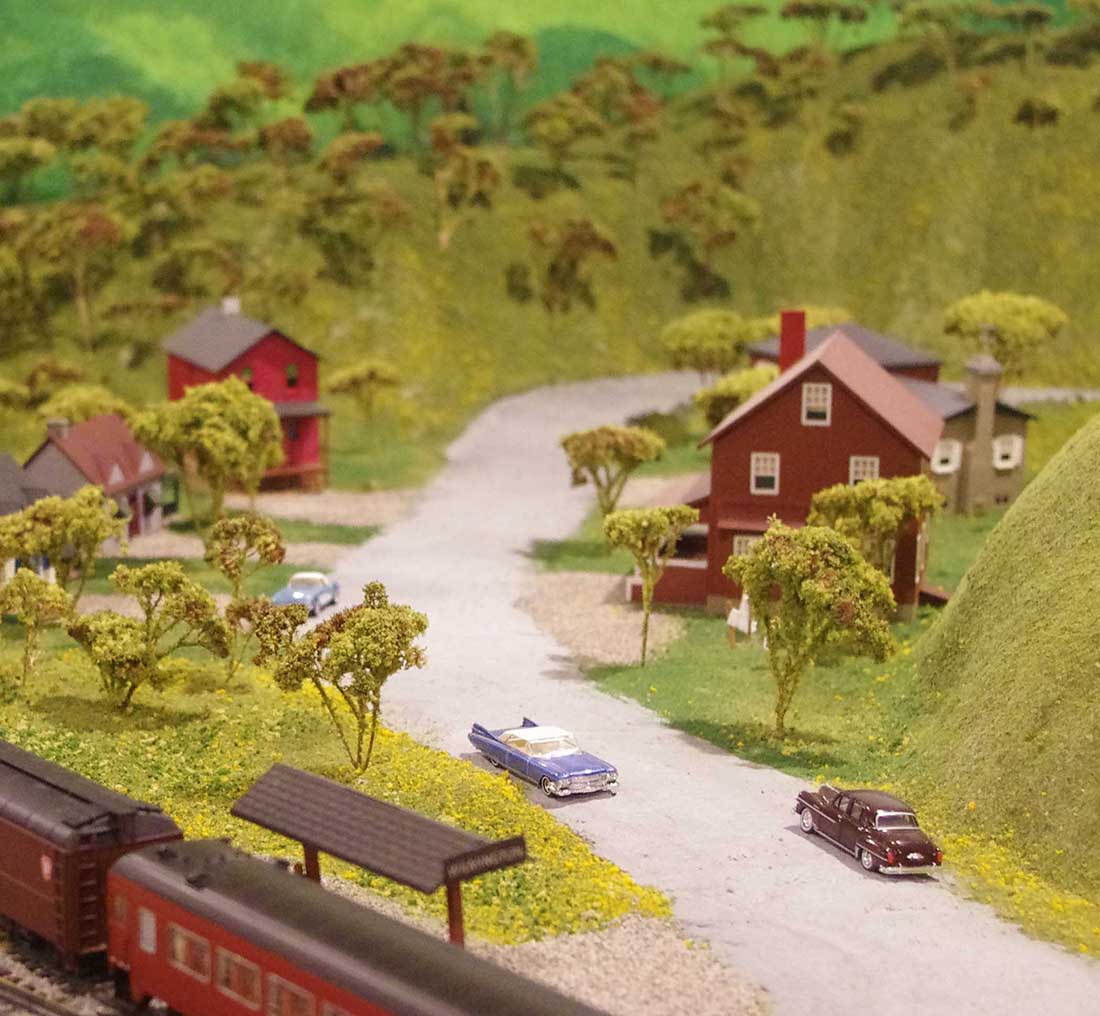
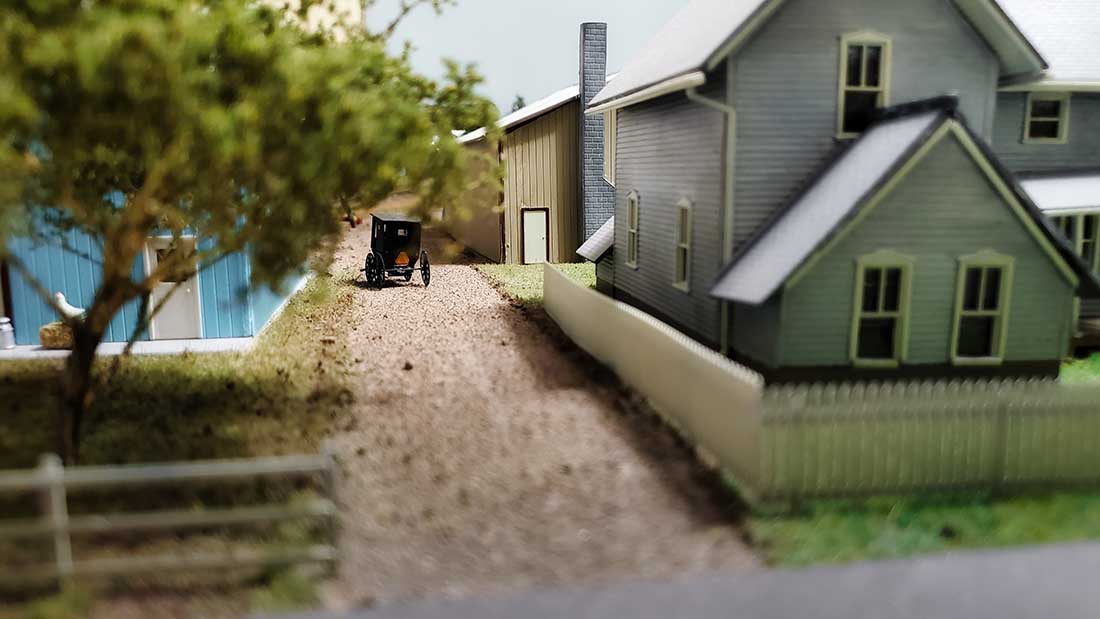
Around houses.
How tall should the trees be? That is the question.

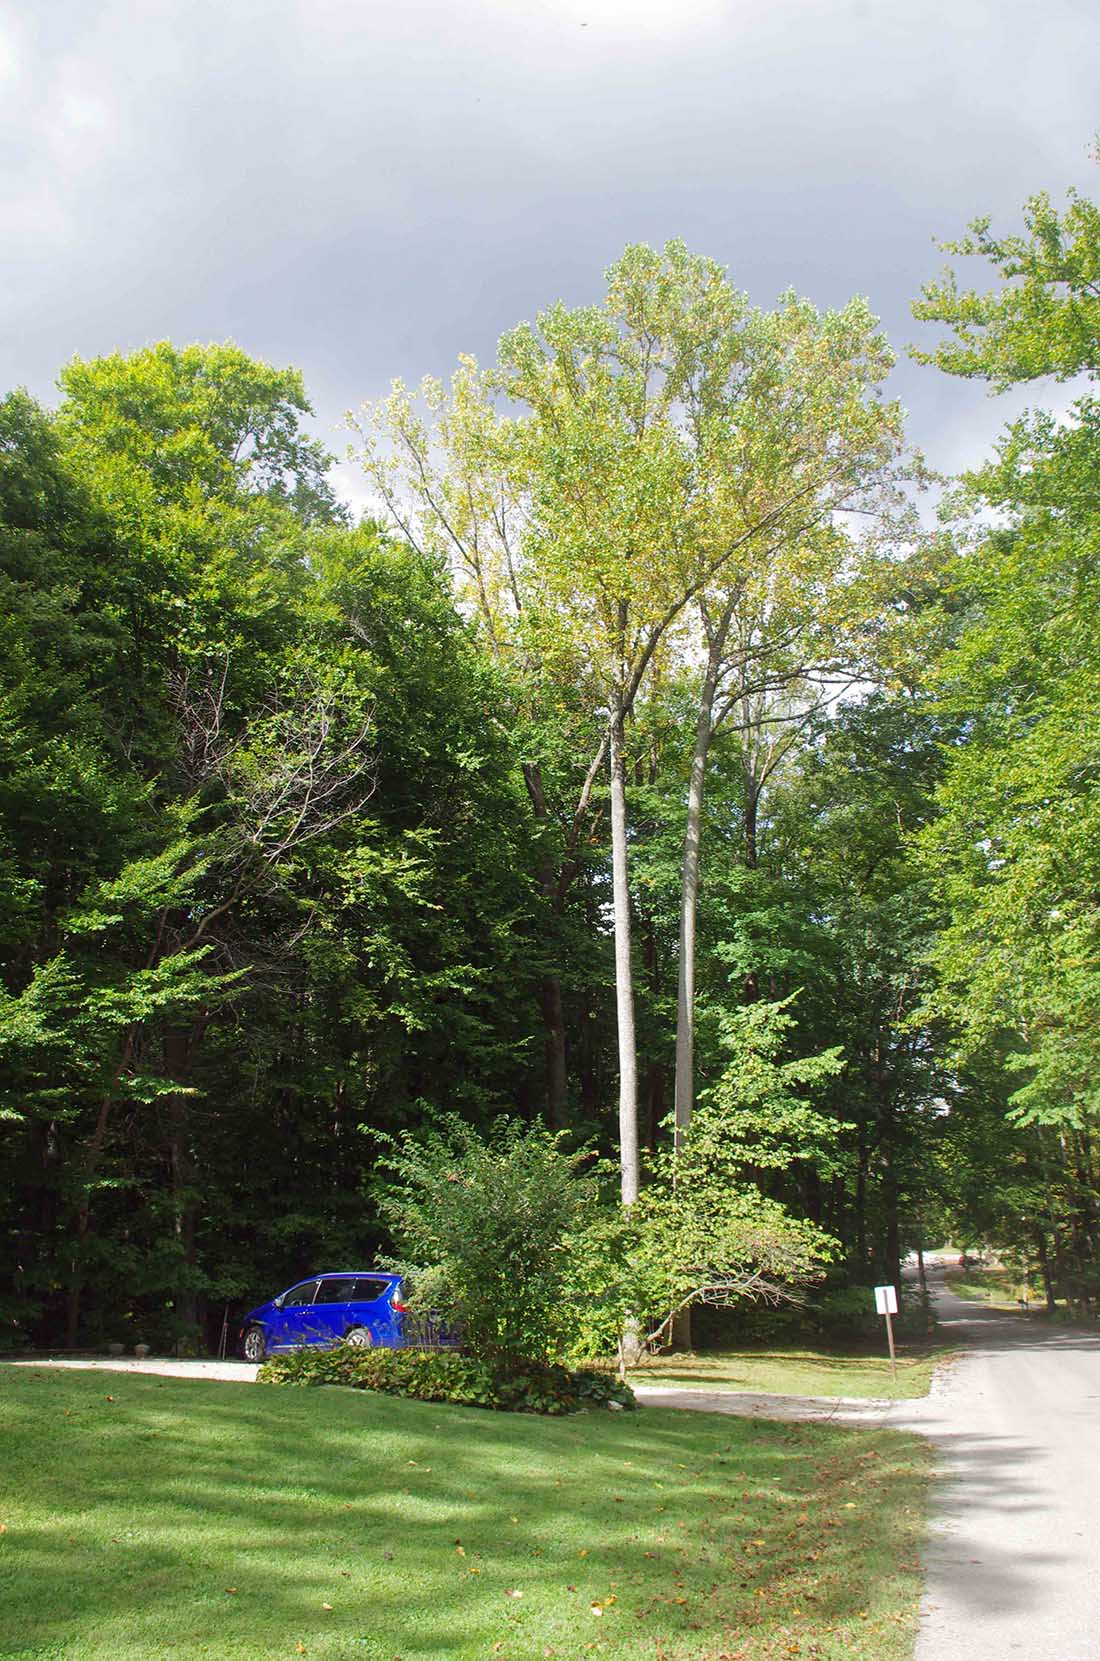
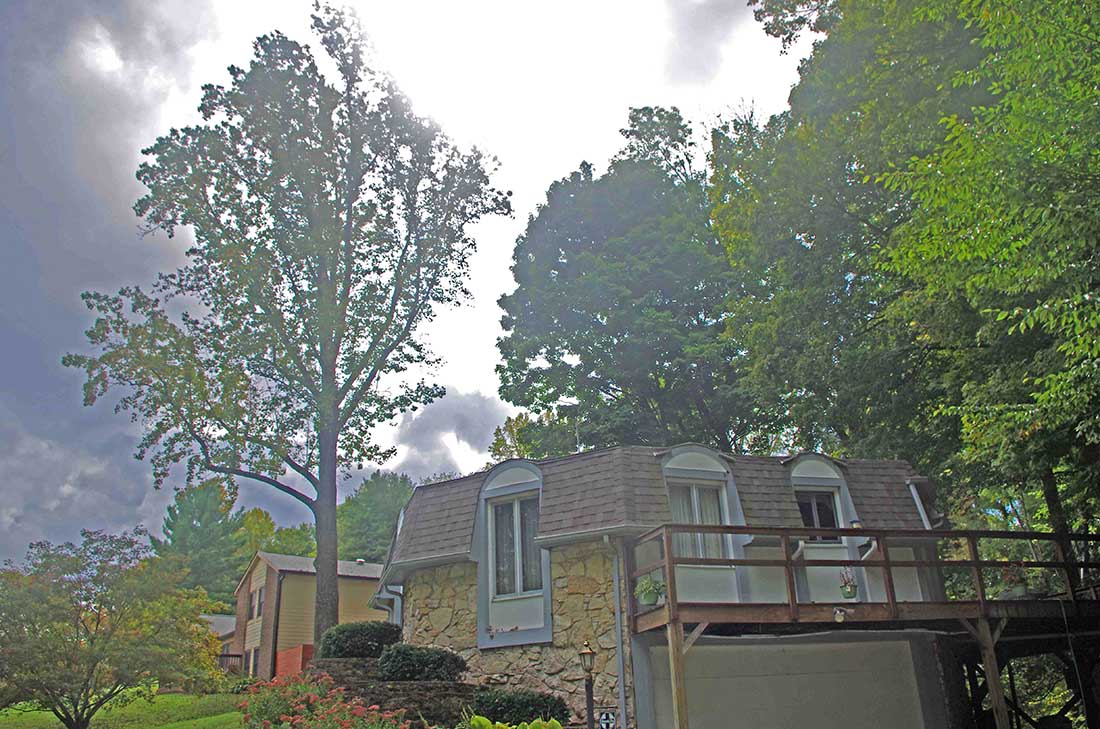
Trees around my house. These trees are all 85 feet or taller. I know because I had to have several cut down and and they charge by the foot.
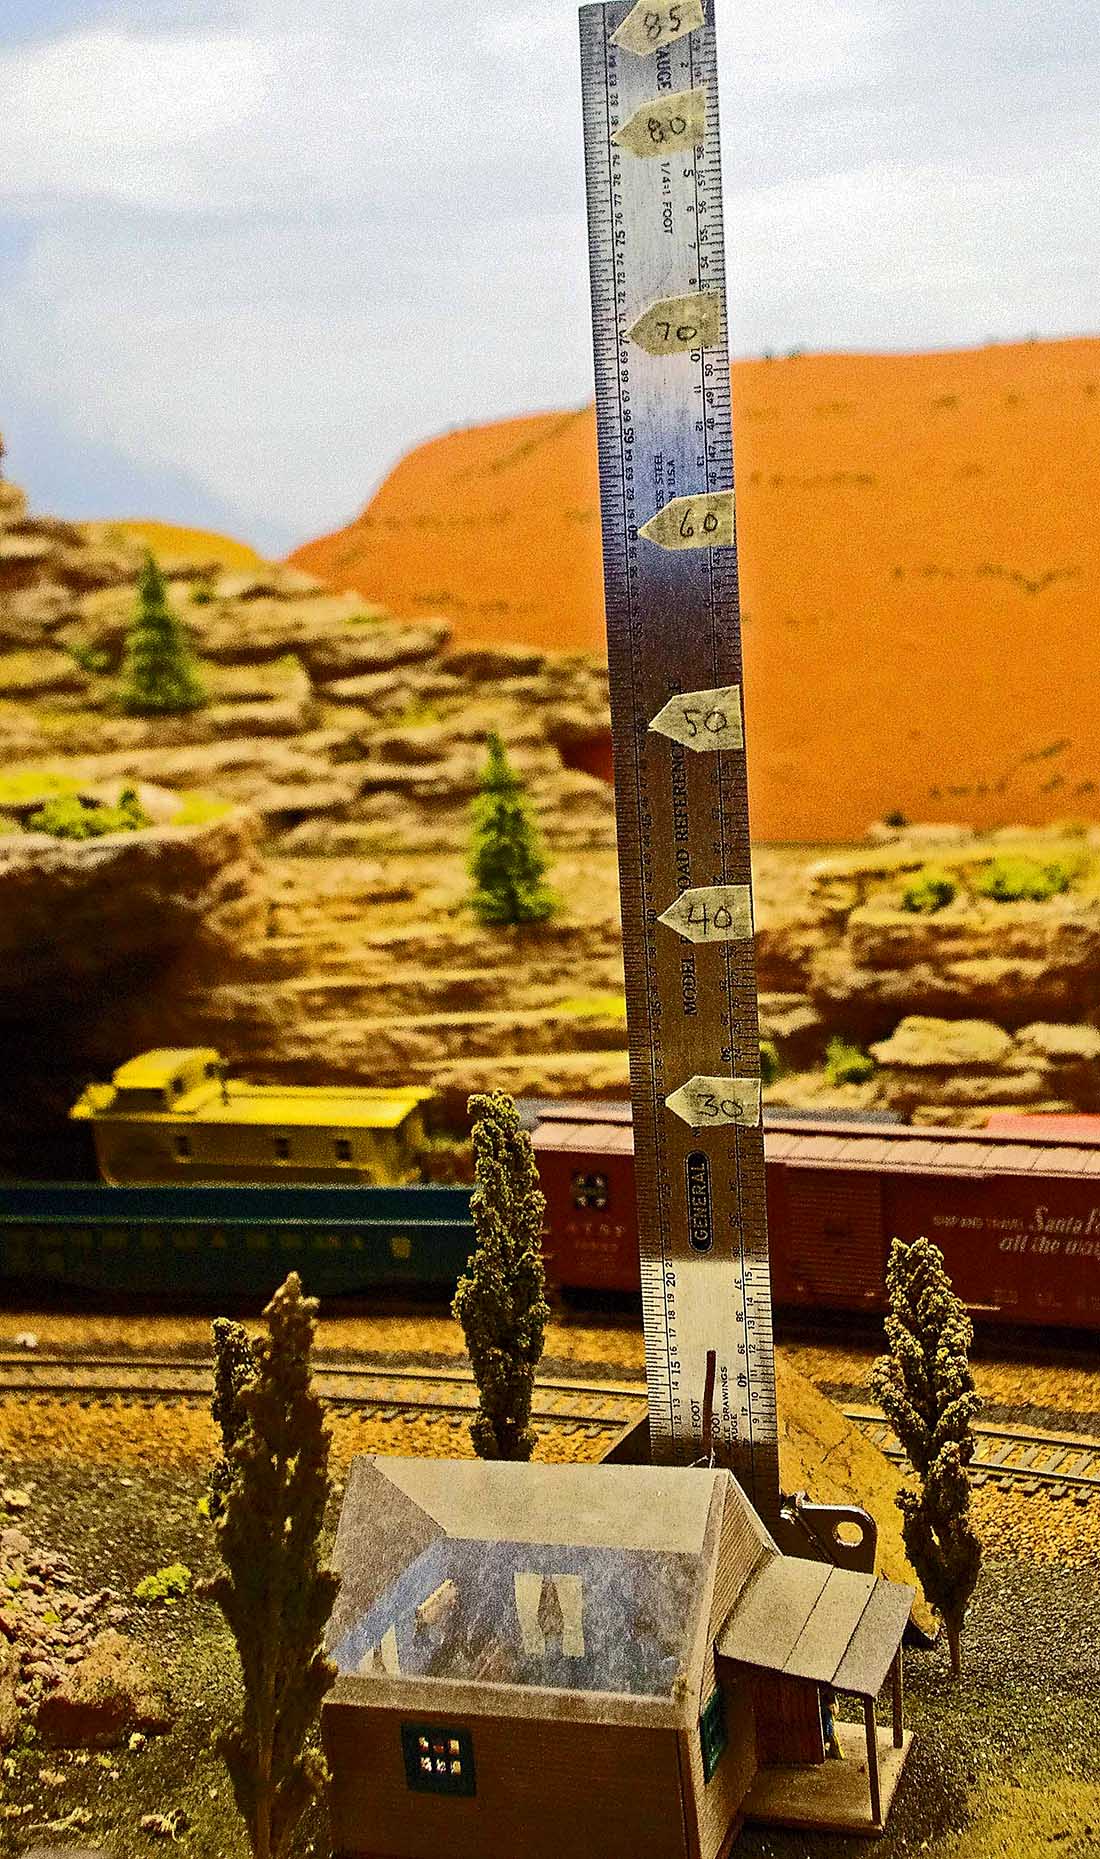
Here is an HO scale ruler. It is marked off as follows: 4″=30′, 5 1/2″=40′,7″=50′, 8 1/4″=60′,9 3/4″=70′, 11 1/4″=80′ and 11 3/4″=85″ the length of a standard US passenger car.
The trees do not need to be too tall to be effective. If I had a model house and “planted” my prototype 80+ foot trees they would overwhelm the house I wanted you to see.
As I said earlier, your brain takes care of the idea of a hill side of trees or surrounding a house and do not need to be full scale size to be a good look.
Santa Fe Dan”
A big thanks to Hall of fame Dan for sharing his take on how to make model trees for a train layout.
There’s quite a few fantastic scenery posts on the blog now. Here’s a few of them:
That’s all for today folks.
Please do keep ’em coming.
And if today is the day you blow the dust of your old locos and find some track too, the Beginner’s Guide is here.
Best
Al
PS Latest ebay cheat sheet is here.
PPS More HO scale train layouts here if that’s your thing.