Steve has been in touch with his Hornby Thompson coaches:
“Hi Al
I have read a lot of discussion of the Hornby Silver Jubilee coach sets and how unrealistic they are.
I did think of buying a set to go along with the ‘Silver King’ that I purchased last year but they usually sold at very inflated prices.
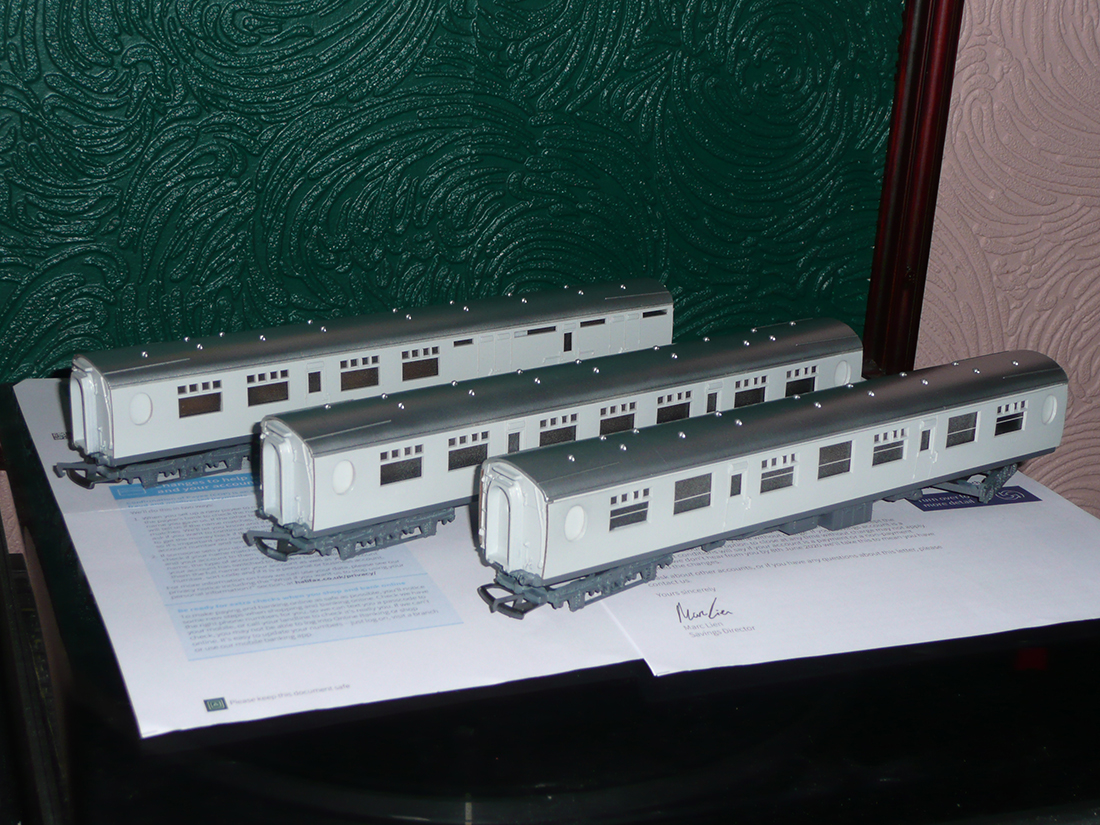
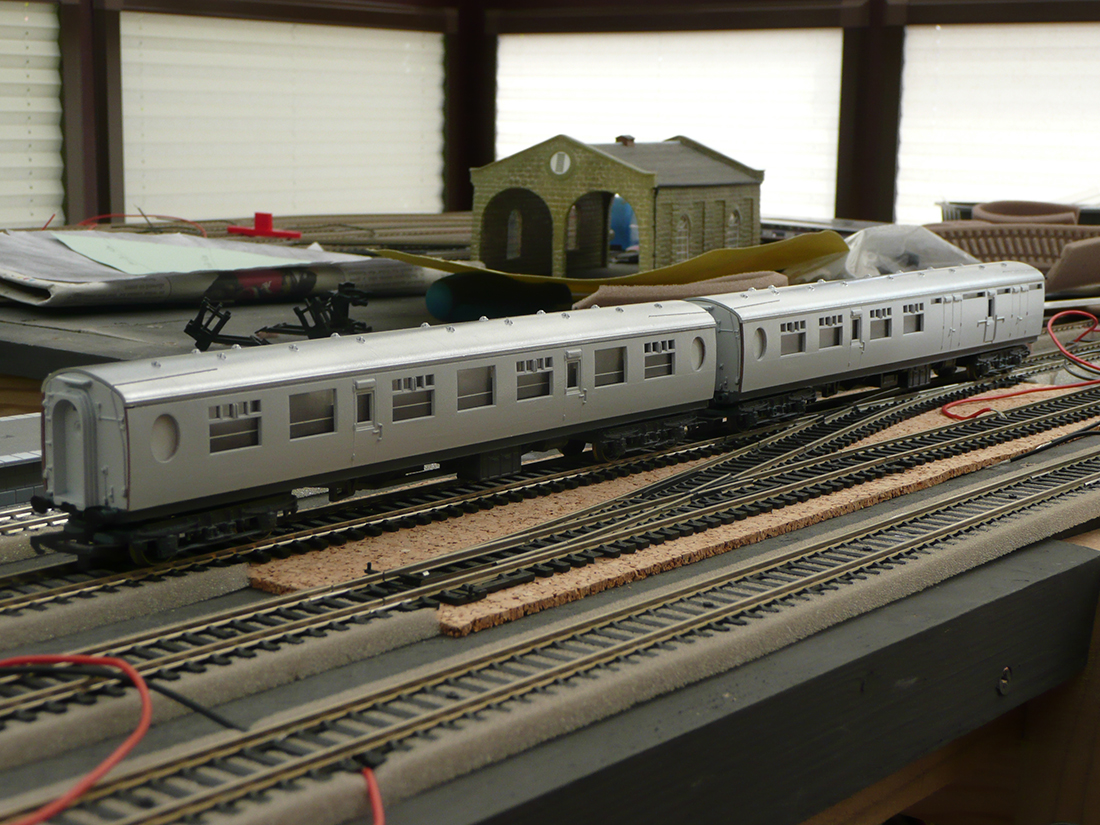
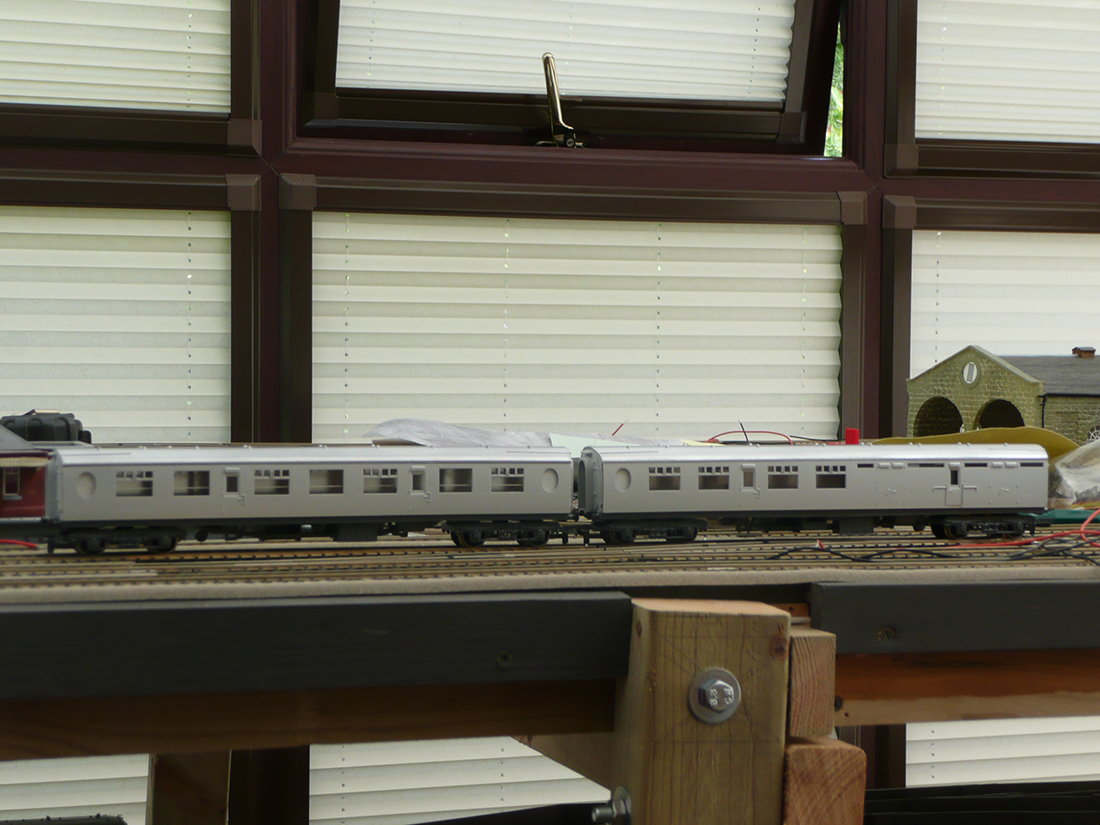
A couple of weeks ago I purchased 3 Hornby Thompson coaches for 99p each (+postage!) on Ebay.
They are quite easy to dismantle and probably would have made one complete coach from the unbroken parts.
I decided to repair a coach side, a roof and the delicate parts of the bogies. I also needed some new buffers and coach wheels to replace those that were missing.
All 3 coaches are near completion. I am just waiting on the delivery of a set of coach wheels and some more buffers.
I am please with the result even though they are not that realistic compared to the actual Silver Jubilee coaches.
One day I might venture into building some of those articulated coach sets!
Steve”
“Hi Al;
I read your posts every day and have to tell you, there are some very clever model railroaders out there. I really enjoy the tips from all who contribute.
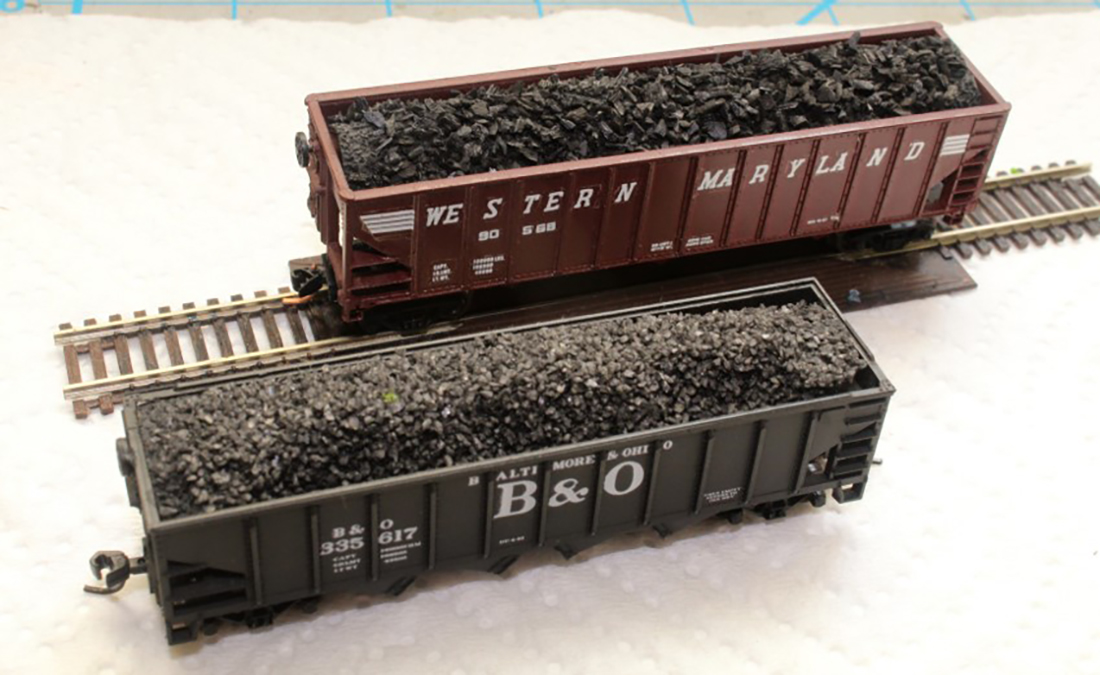
I have a little something that may be worth something to someone. I make my own N scale coal loads, here’s how I do it.
First I take a piece of sandpaper, cut it to fit inside the hopper, paint it black and sprinkle some real n scale coal on top. I think it makes a pretty convincing load, It’s quick, easy, and inexpensive.
Chuck M. USA”
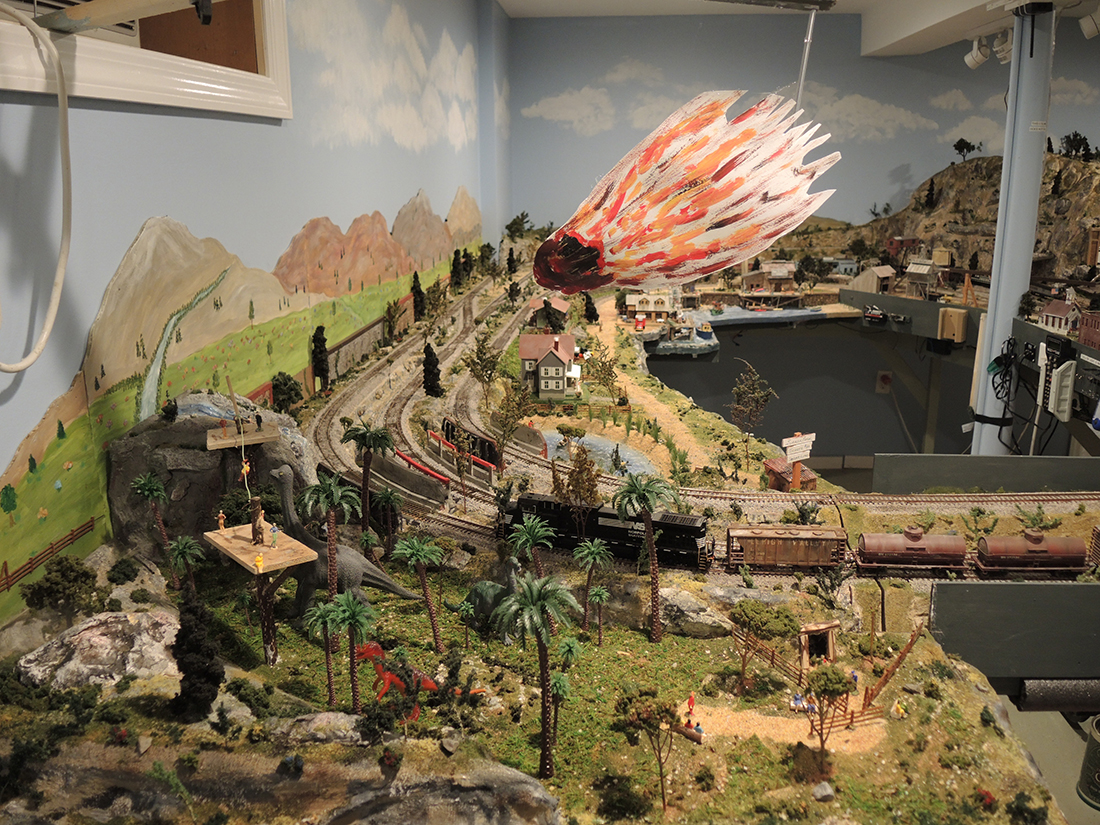
Now on to Paul who has thought of a fun way to annouce his ripping up part of his fab layout, which you can see here.
“Hi Al,
It seems that an asteroid is coming and my Jurassic Adventure Park is right on the path to destruction. The demise of the dinosaurs is imminent. I guess I will have to put the land to better use so over the next few months I will expand my layout to make use of the new found area.
Paul”
That’s all for today folks.
A big thanks to Steve for sharing his Hornby Thompson coaches. And to Chuck and Paul.
Please do keep ’em coming – I’m running out of stuff so if you have anything to share, now’s a great time.
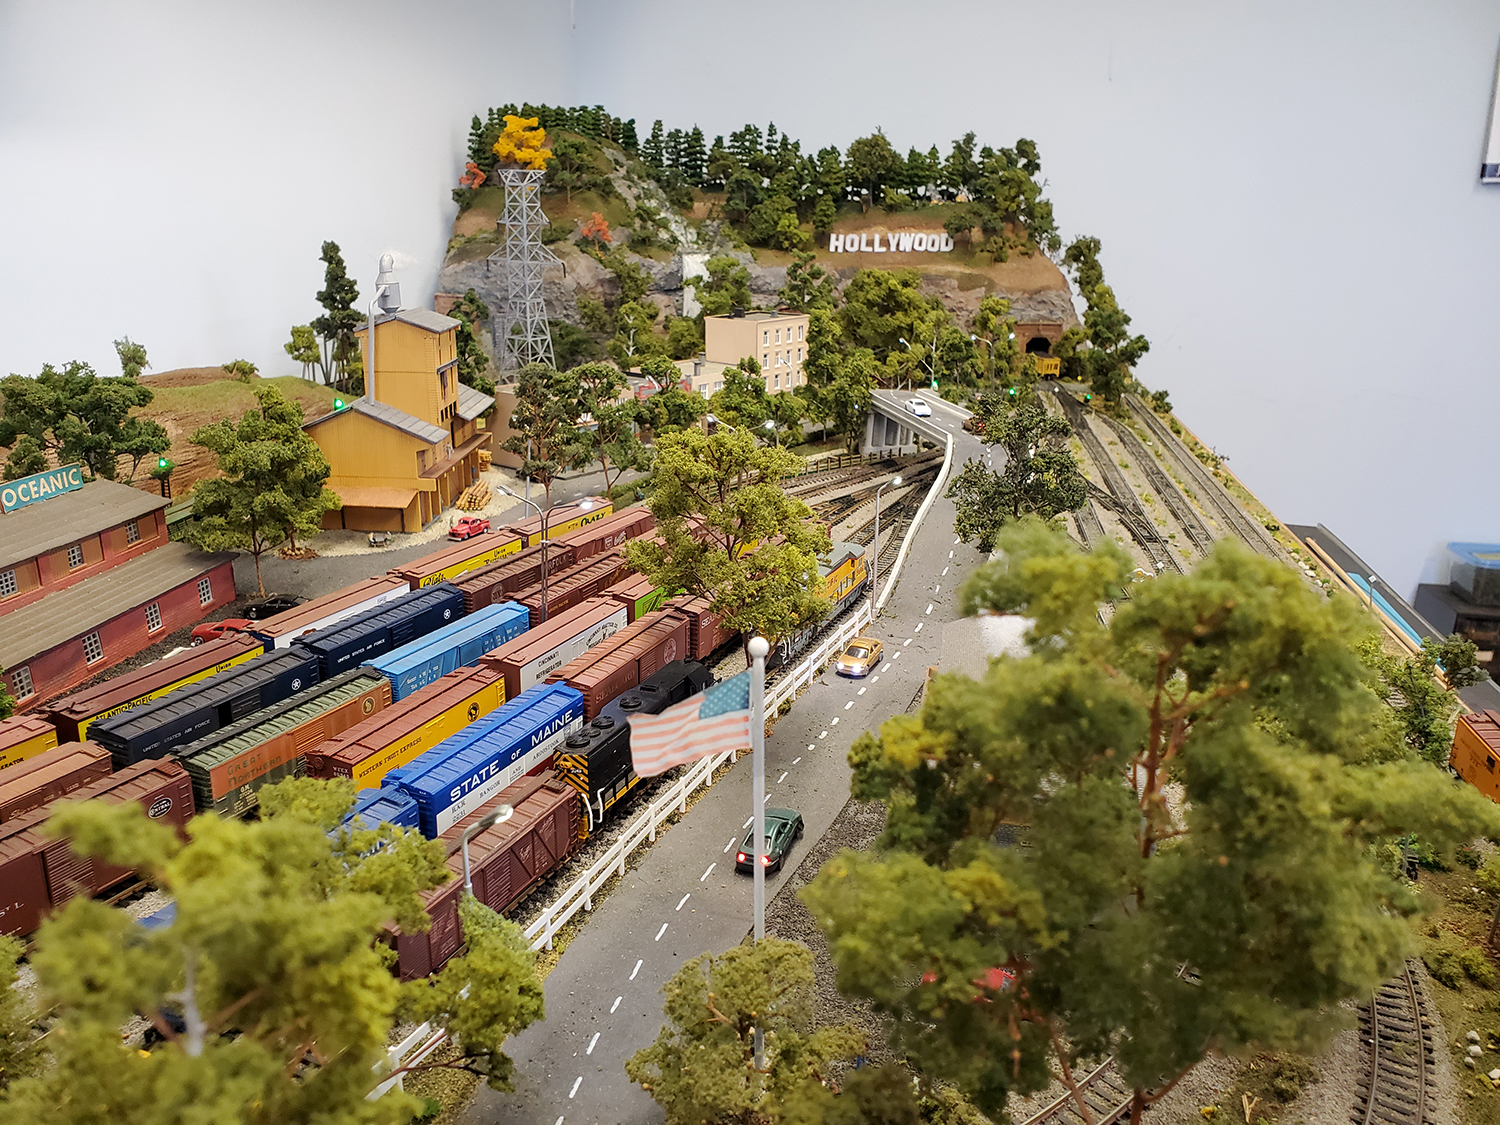
It’s been quite a while since I sent in photos of my layout, several years by my count, so I don’t know if you remember.
I’m a retired aerospace engineer with a small N scale layout 32×64.
I kinda stopped working on the layout a while back as I was doing a lot of sailing and flying, but I sold my homebuilt airplane last summer after 20 years of flying it, and the sailing slowed as well.
So since I was cooped up, I gravitated back out to the shed and went back to work on the layout.
I had just recently gotten back to the hobby after 30 years and it all started with your Beginners Guide. You may recall I termed mine a ‘test layout’ since I originally built it in a hurry to test out ideas and new materials in getting back to the hobby after so long and it sort of grew from there.
With the advent of DCC and all the low cost microelectronics I was hooked, (re-hooked). Having all the unwelcome COVID-19 shutdown time, and to forestall boredom, I think I made enough trees to reforest the Sahara (in N Scale of course) and I didn’t really expand the layout at all, just kept adding people, trees and Arduinos, sigh. I still consider enlarging the layout to go all around my 8 x 14 foot shed, but I usually just sit quietly till the feeling subsides.
I have gotten into Arduino and Raspberry Pi projects and right now I’m working on a crossing gate system using Arduinos. I need to find an old fashioned doorbell with the arm and coil for the sound, but they are becoming quite rare.
I use a Raspberry Pi to compile and download my Arduino code, so my shed is a computer room as well as a train room, but it keeps me from going mad… I think… The layout itself has 6 Arduinos beneath, controlling the main street traffic lights, campfires, arc welder in the factory, hotel room lighting and several other tasks as well as controlling the 17 turnouts on the pike.
I will end up using two Arduinos to control the crossing gates since they don’t multitask well, but at a cost of $2.50 ea US I can afford to be generous with my distributed processing. After 25 years of writing code for inertial guidance systems, it’s fun to play with these things. I was retired for over 5 years before I discovered them and my coding skills were getting pretty rusty. It’s coming back, sort of….
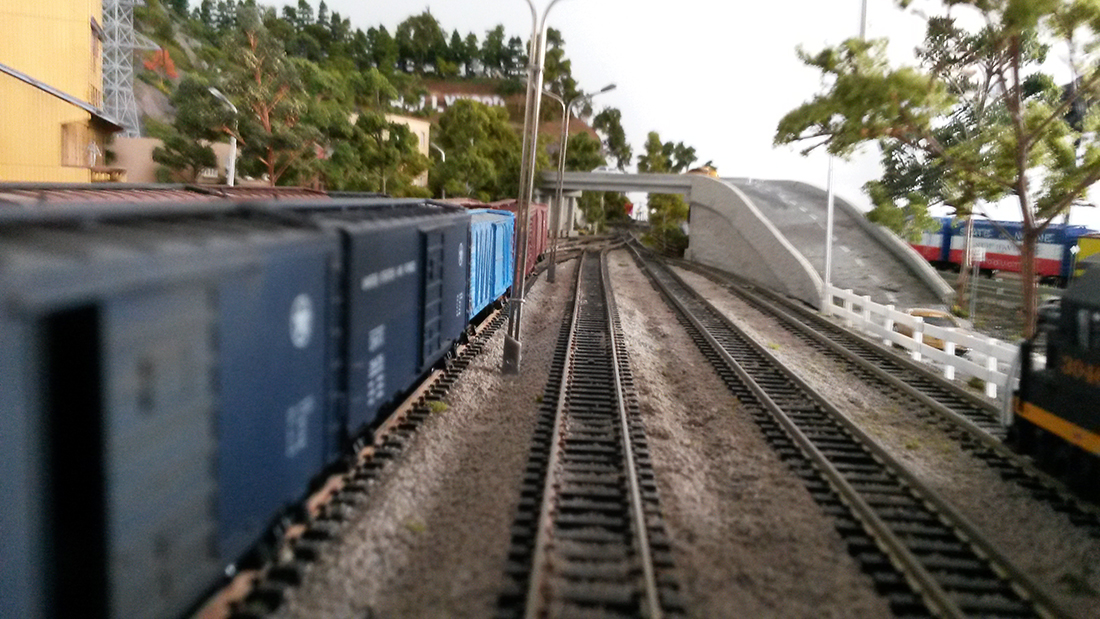
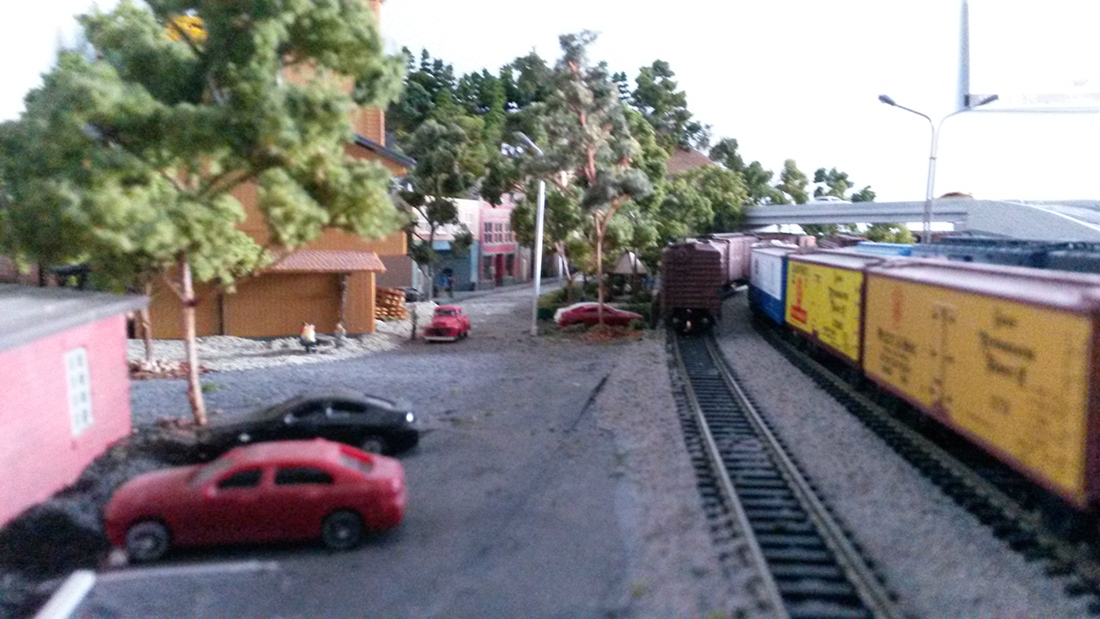
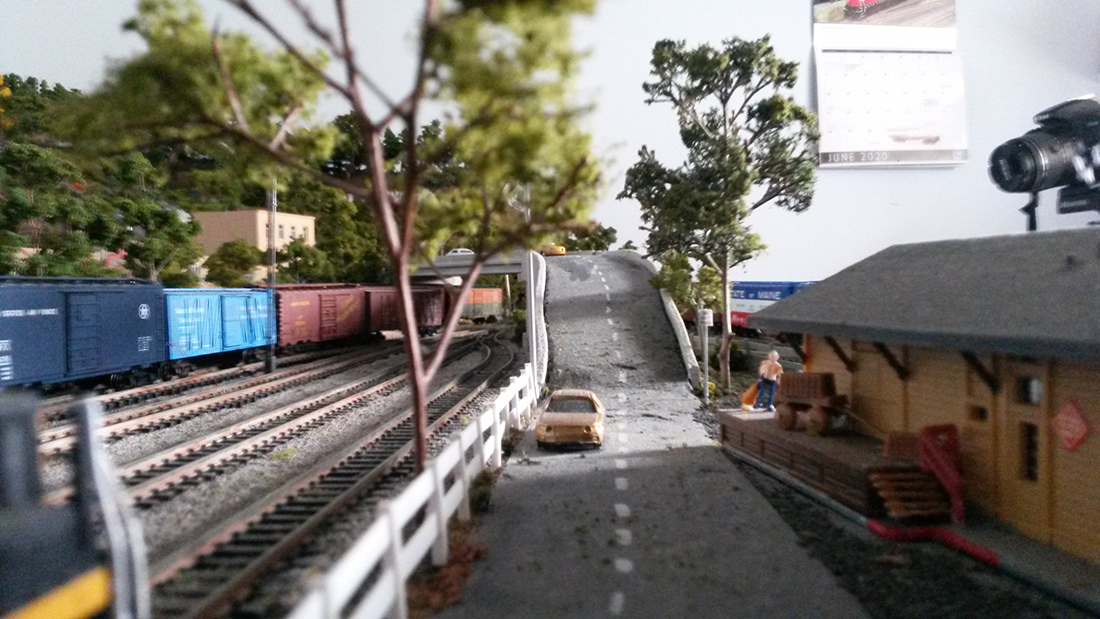
It’s been so long since I sent those photos I don’t even remember which photos I sent and I don’t think that article is on line anymore, so I’ve attached a few photos I’ve taken recently which I’m sure won’t be duplicates. I may send them in several emails since I don’t know how much the web will tolerate.
Keep up the good work and stay healthy.
Sincerely
Harry”
A huge thanks to Harry for sharing his N scale layout 32×64. Loved the narrative just as much as the new pics. Stunning stuff indeed.
And I’m only human – when people say kind things about the Beginner’s Guide, it really does put a smile on my face.
Now on to Kim:
“Hi Al. here is an idea for police strobes, emergency strobe, warning, or even a end of train device.
I tied into the mini power strobe that was there. It would destroy the board if I tried to remove it so I tied into it. I added a foot long wire with no power lose. I am using the rechargeable battery that comes with it and can recharge it. Will last a very long time strobing. or can use a rechargeable phone battery say 2.7 volts doesn’t take much power so don’t over power it with high voltage.
The PC board came out of a mini helicopter. So if you find them in garage sales cheap buy them. If you don’t have strobe lites on your train and want them and don’t want to hook to a decoder or isn’t any decoder think about using these boards. Small anough to fit into a Hoscale car or truck. So when I garage sale picking will look out for these toys. I am sure I can tie into the board to operate mini 2 servo’s say for a crane or something. another junk idea.
Take the led and add a very very tiny bit of solder on the tips of the led. Dont over heat the led – be fast. If you look carefully you see I put one post to the resistor and the other post to the mini led that is on the board. Sort of tie into it.
The tiny original led will be left alone as it would destroy the board trying to remove it. Just tie into the tiny one. When you go to solder the led be fast at it when tying into the led or you will over heat it. I removed the tiny battery that came with it to attach a few longer wires for power.
Max power should be 3 volts or burn the board or blow something. The board came with two other led’s one on each side that I unsoldered as I didn’t need them. Hope this helps
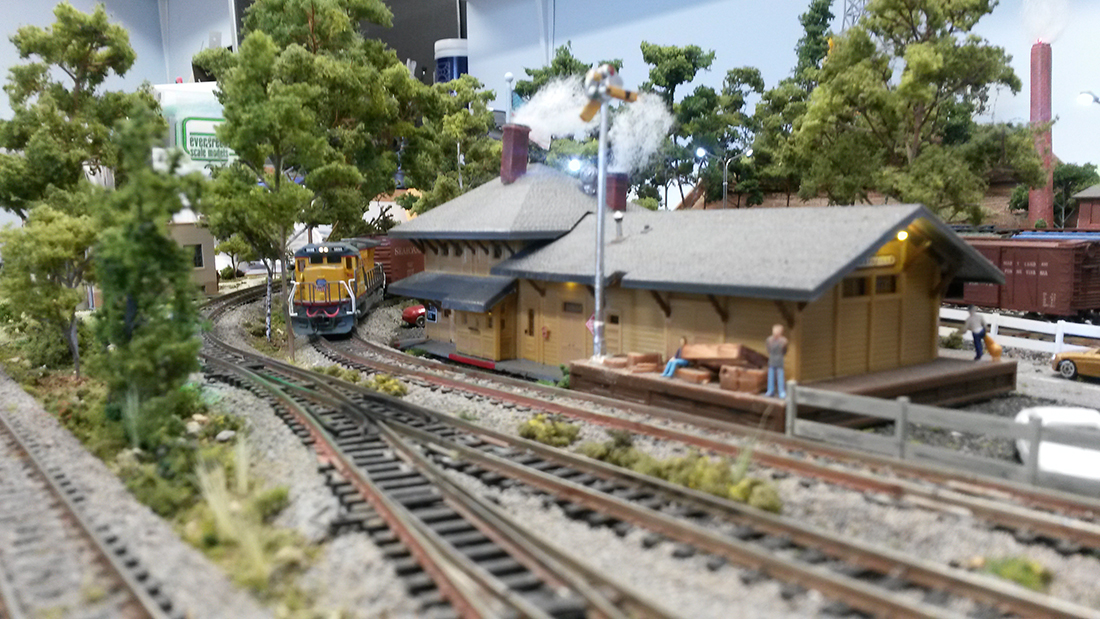
Fred’s been in touch with his Flying Scotsman model train:
“Hi Alistair,
As a follower of your posts for the last couple of years, I thought I might show you my progress, so far, having been given a “Flying Scotsman” for my 70th birthday, two and a half years ago.
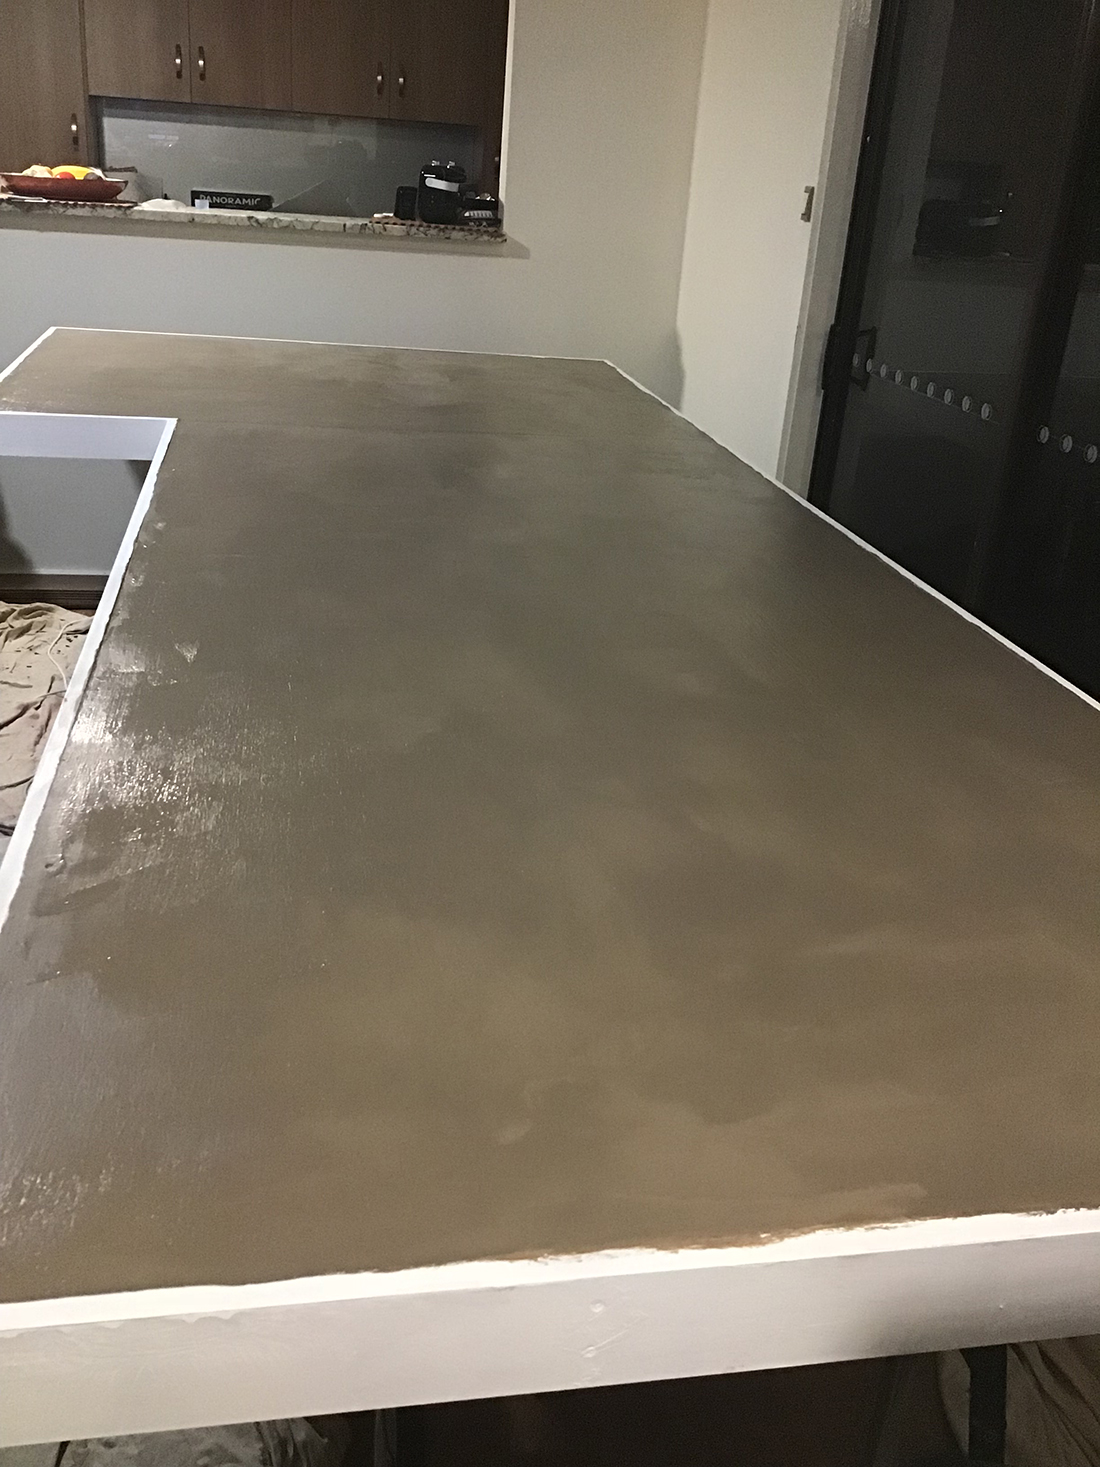
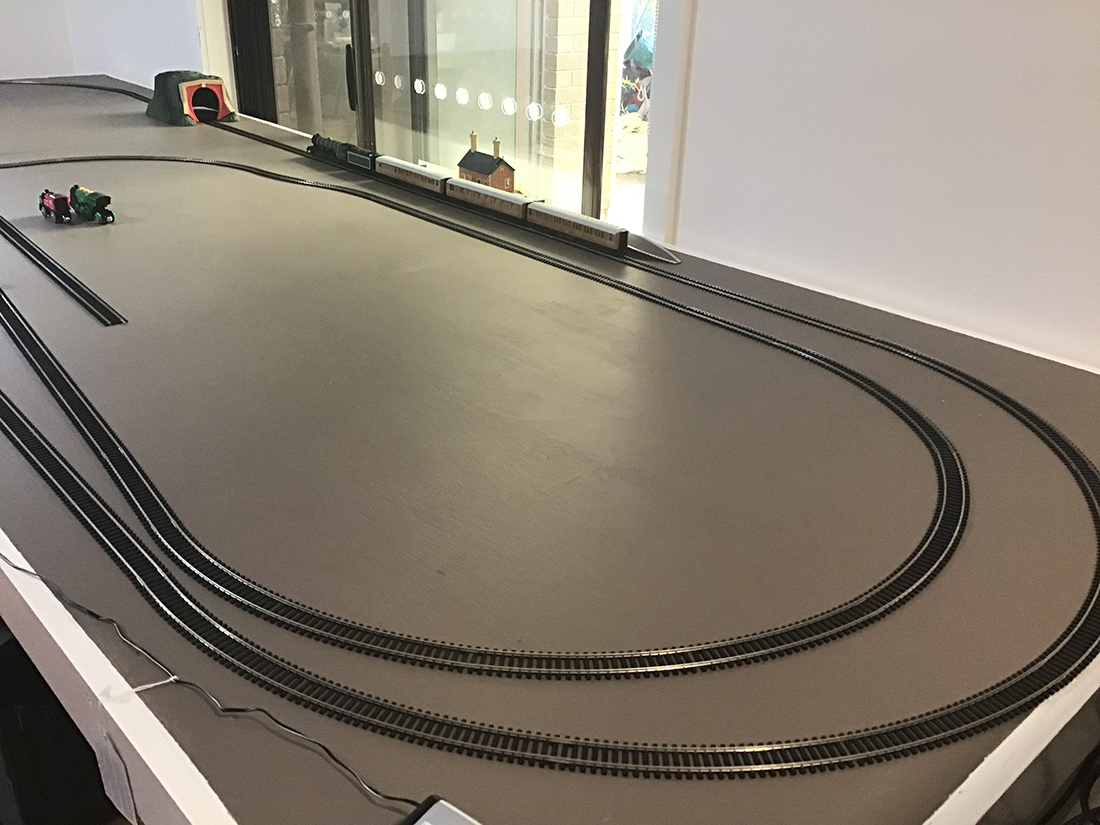
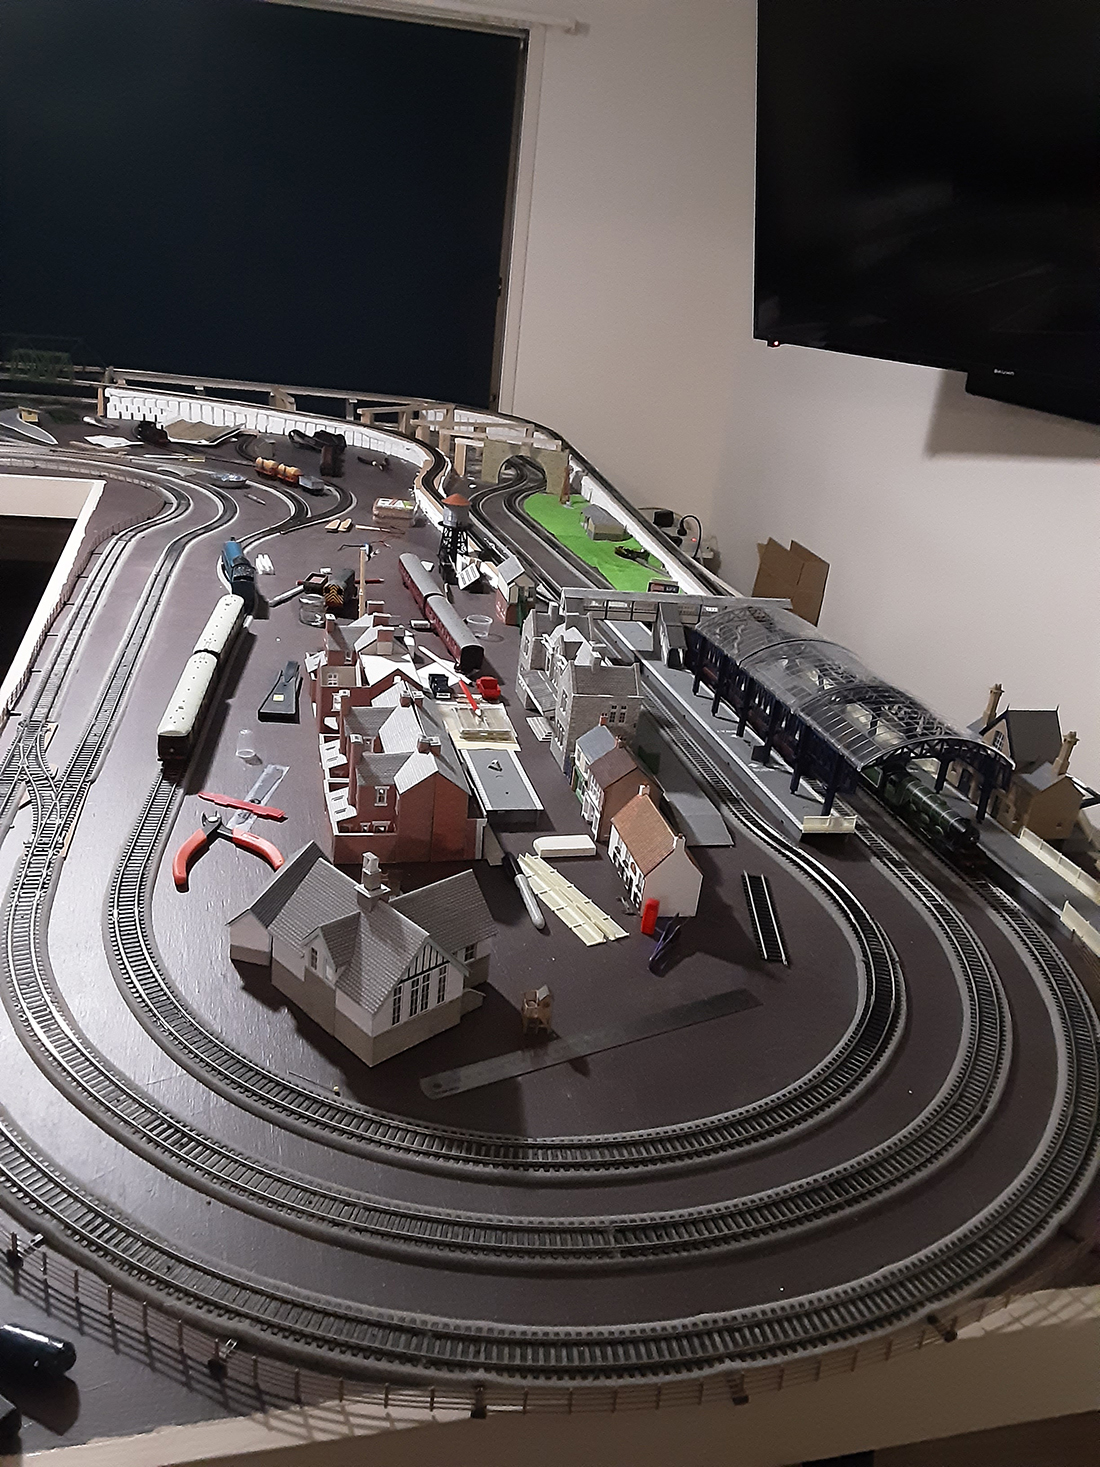
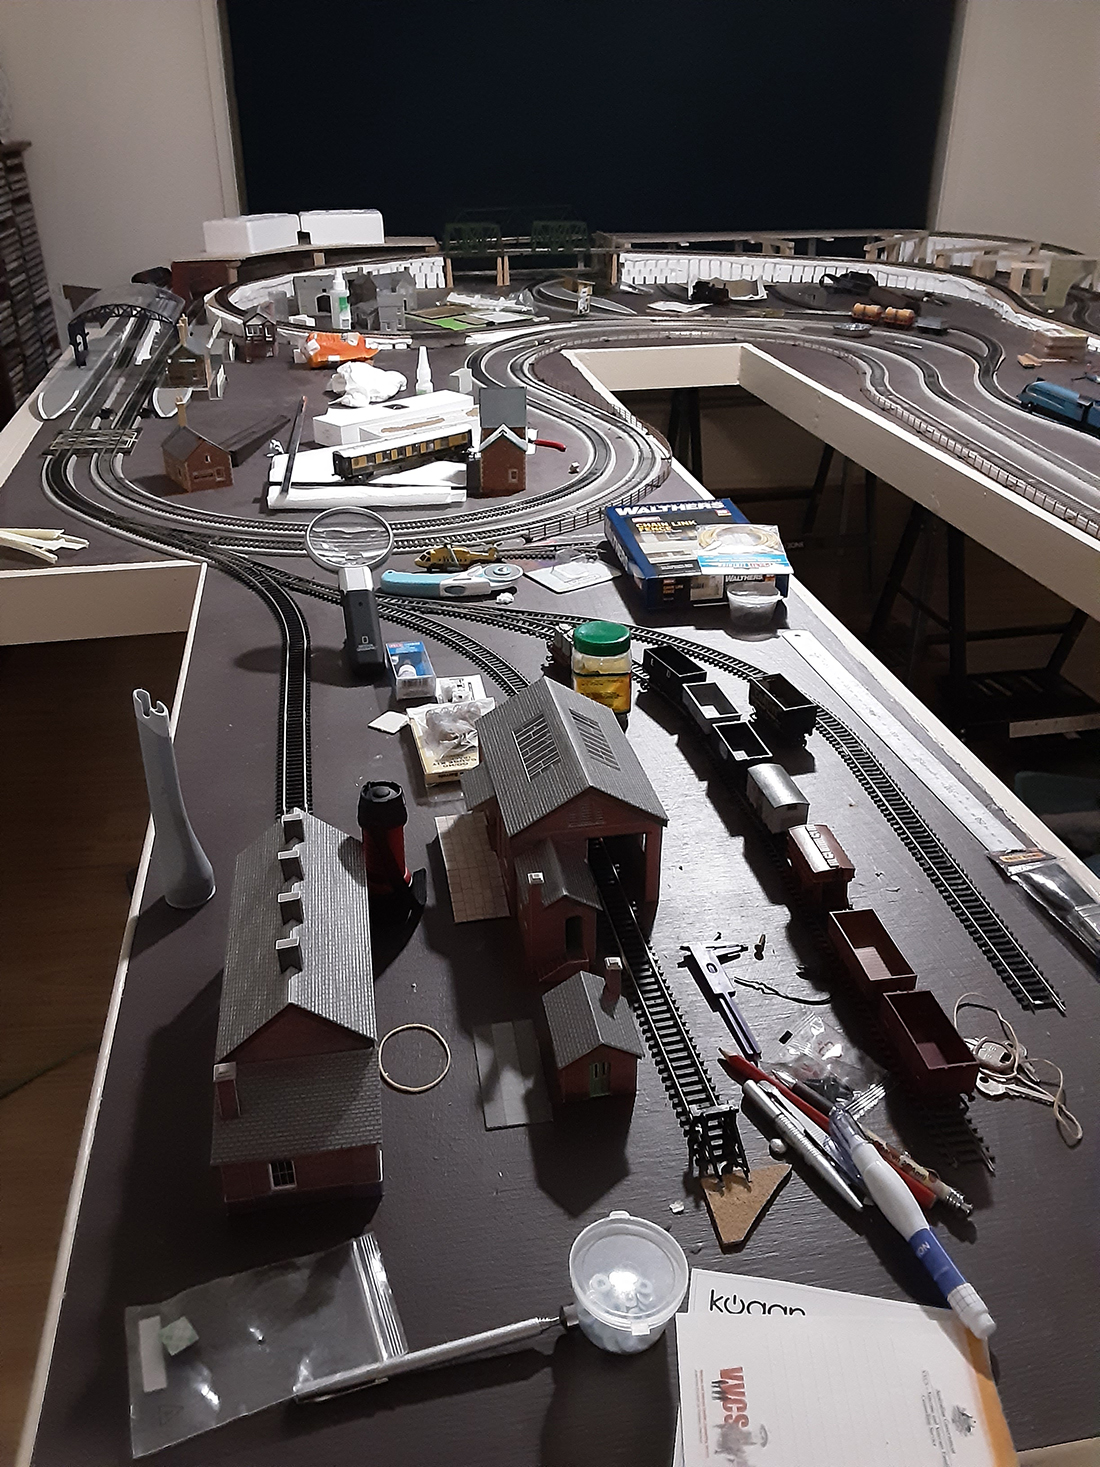
I started up with a blank canvas building a L shape in the family room of our Adelaide, South Australia home. After a year, I realised that the space wasn’t big enough, so I convinced my wife we need a “sea change” and moved to Victor Harbor, again in South Australia which had a room just the right size for a larger set up, so dismantle what I had built and start again in our new home.
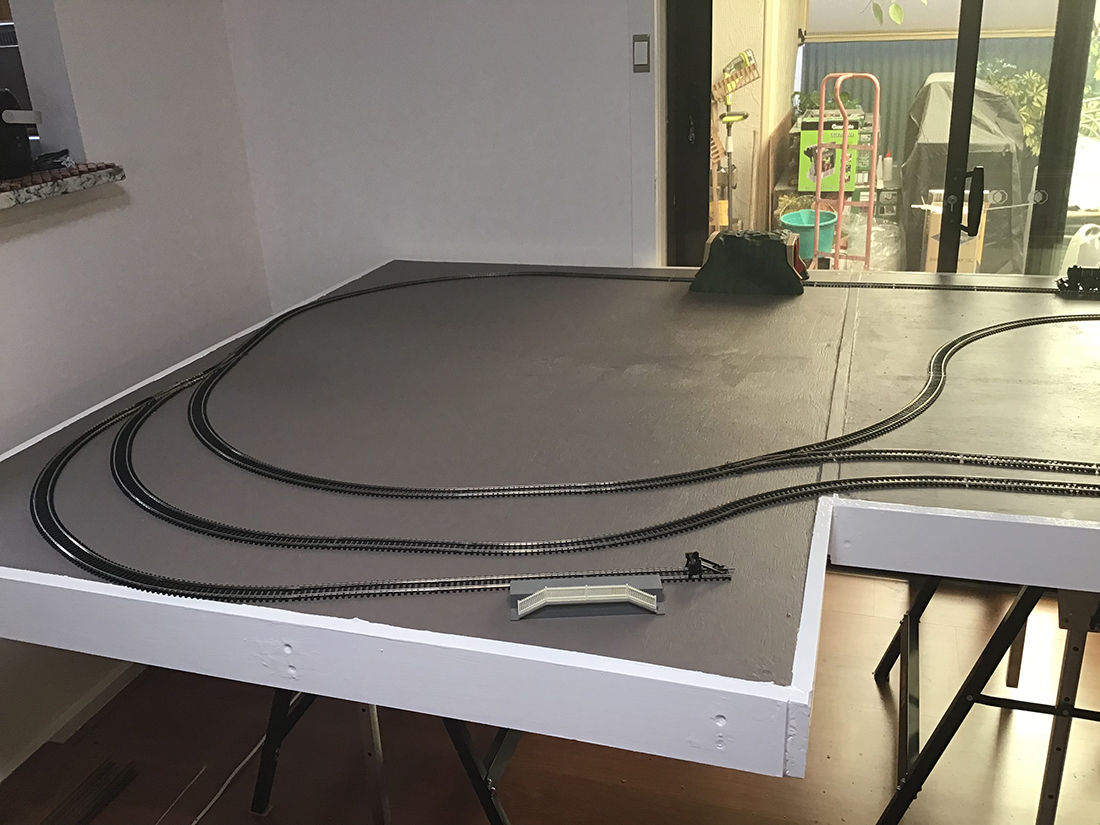
This time it is a U shape, with the sides made up with 8 feet X 4 feet sheets and the bottom (or top – depending how you look at it) measuring 9’ X 4’ and a 1’ walkway in between. I bought a stack of Aldi Multi-purpose supports when they were half price, made the frames with 3×2 structural pine and the board is Marine ply.
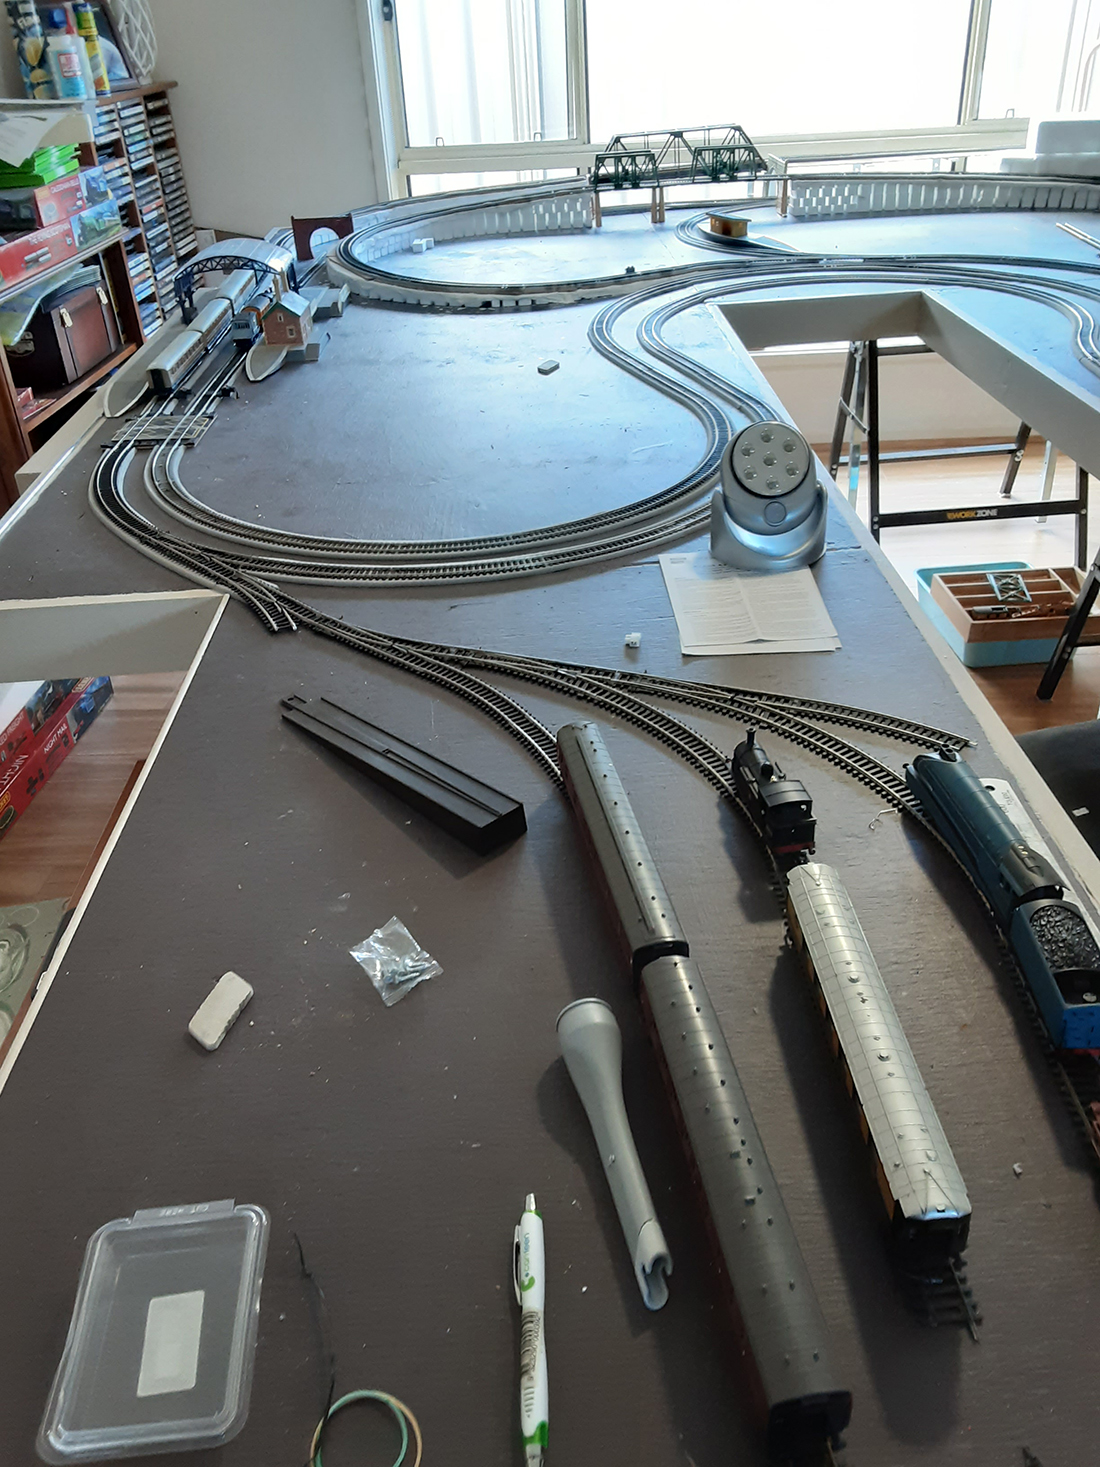
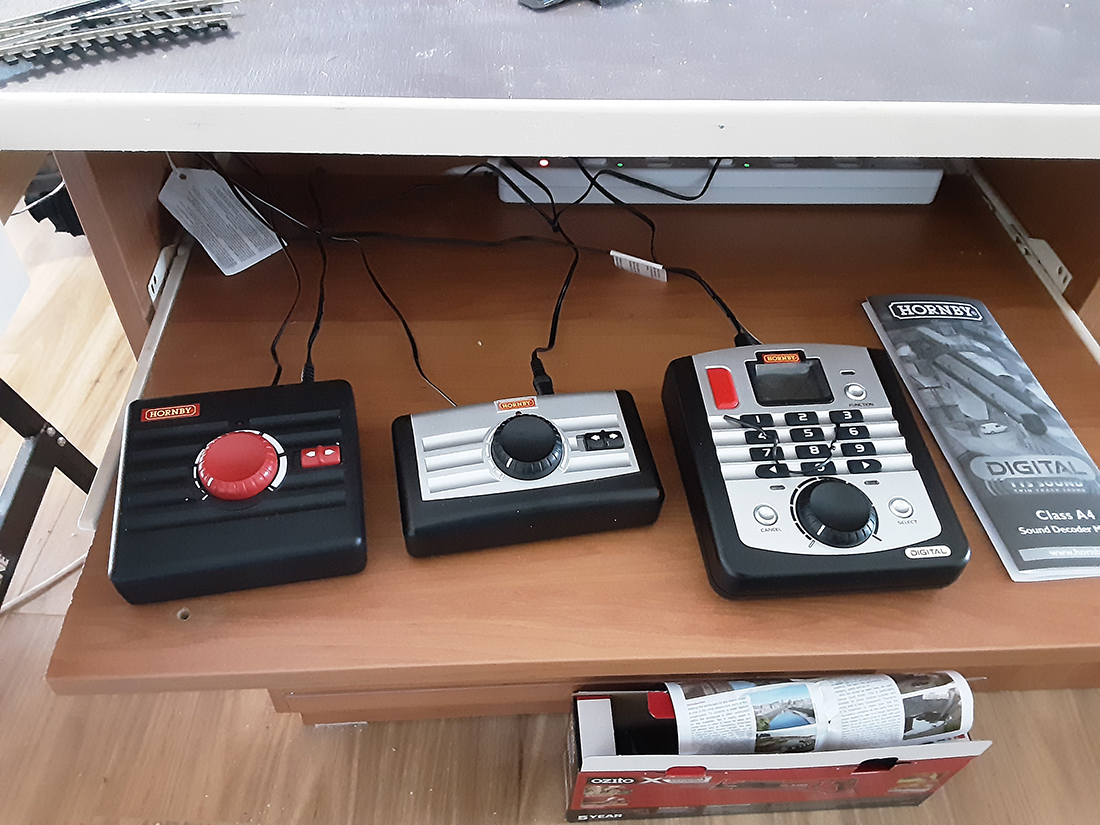
I am working on Era 3 UK and all my locos are Hornby OO. There are 2 tracks operating on DC around the outside and the inside line is DCC and splits into 2 after main station where one goes under the mountain (to be built) and the other around the front of the mountain.
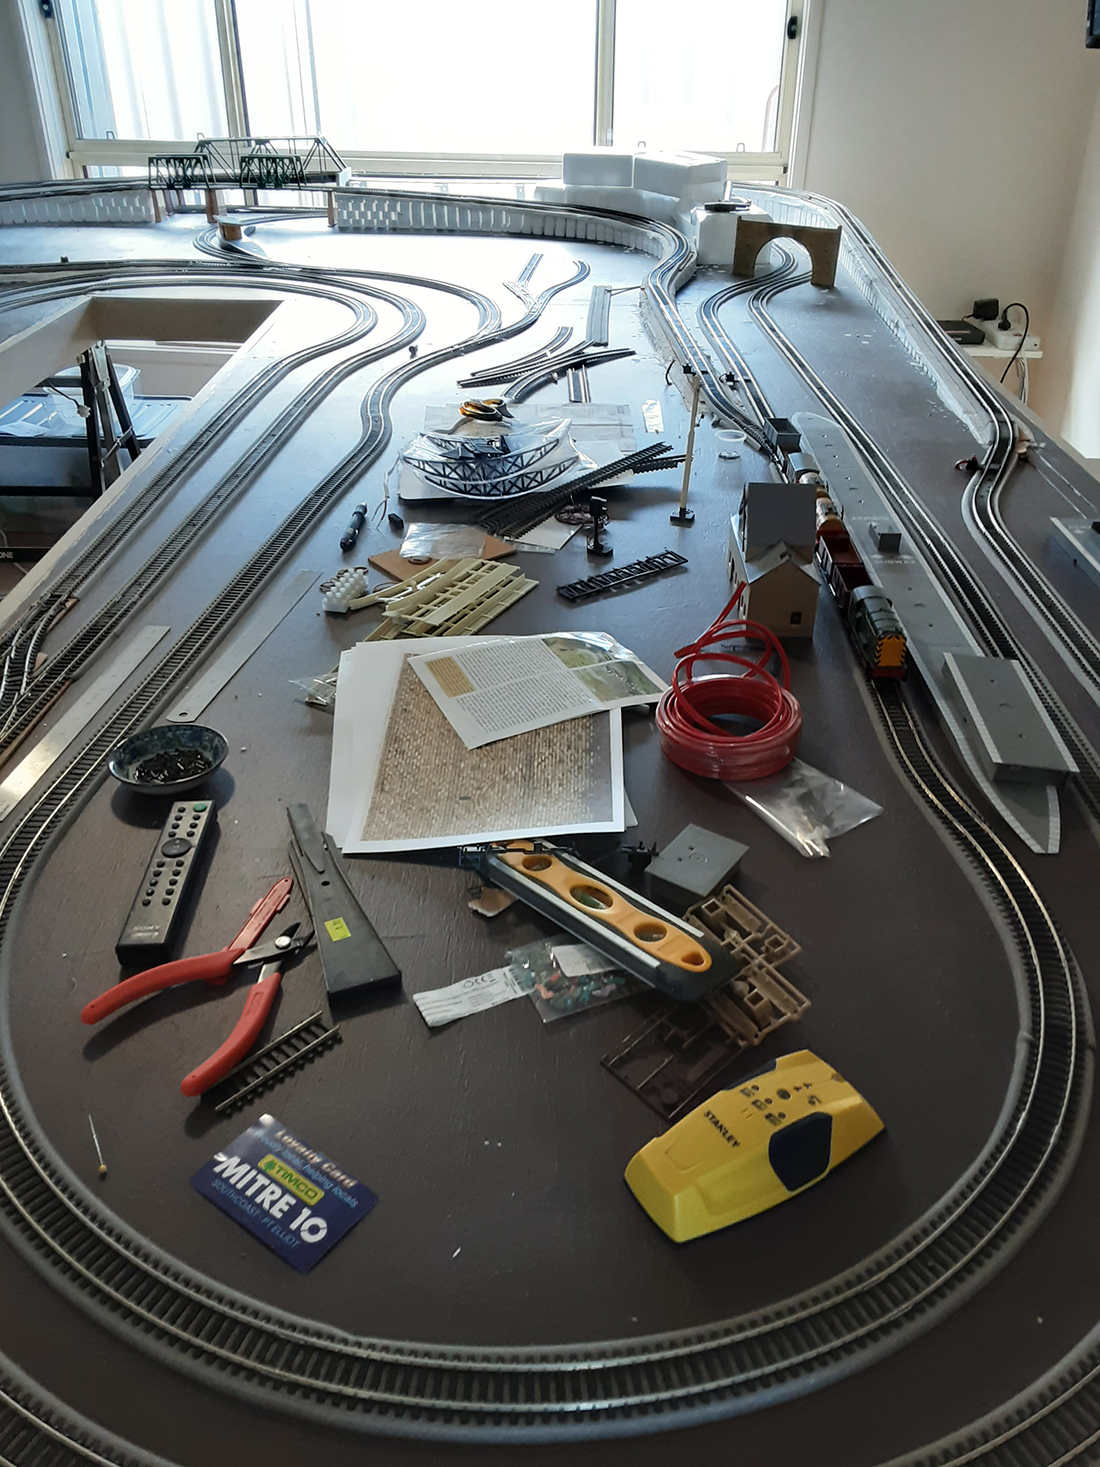
The mountains are under construction out in the shed, at the moment as are many of the buildings. I am finding it difficult sourcing many of the specialised buildings and structures in Australia as stocks run out and are not being replenished from overseas very quickly, due to the COVID-19 virus shutdowns.
I attach some photos -The first 3 are my original start of the layout, the next 2 was the new layout as it stood in April, the next 2 as it stands today and the last is my control desk (work in progress).
I will of course keep you informed as I progress.
Cheers,
Fred”
A big thanks to Fred for sharing his Flying Scotsman model train.
I like posting layouts that are just starting to take shape, because it shows in spades this hobby is all about making a start.
That’s all for today.
Please do keep ’em coming.
And don’t forget, the Beginner’s Guide is here if you want to take your first step towards your own layout.