“Hi Al, I’ve taken advantage of some extra time on my hands to finish some work on my layout.
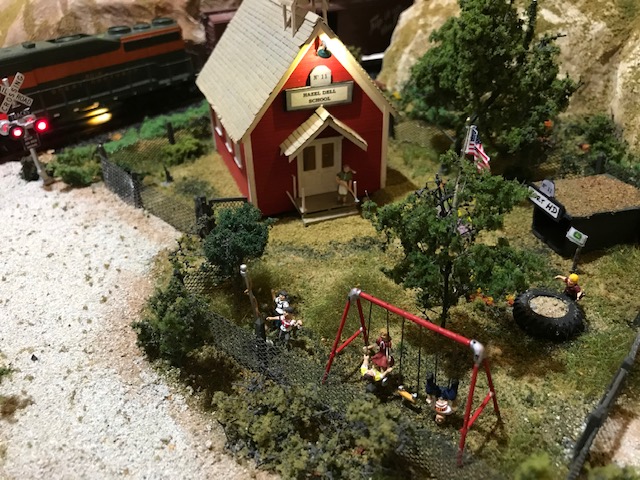
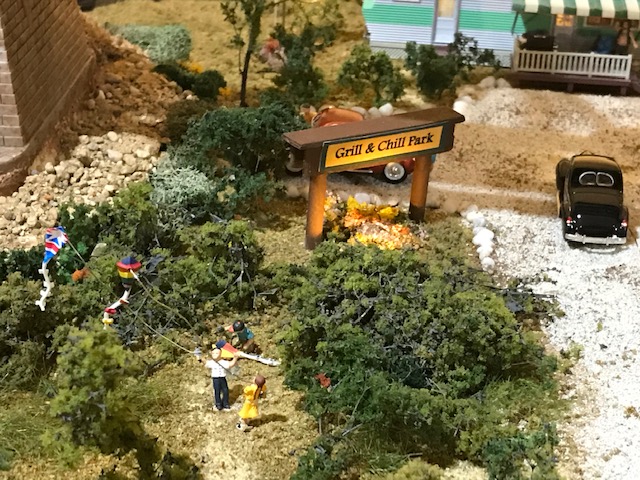
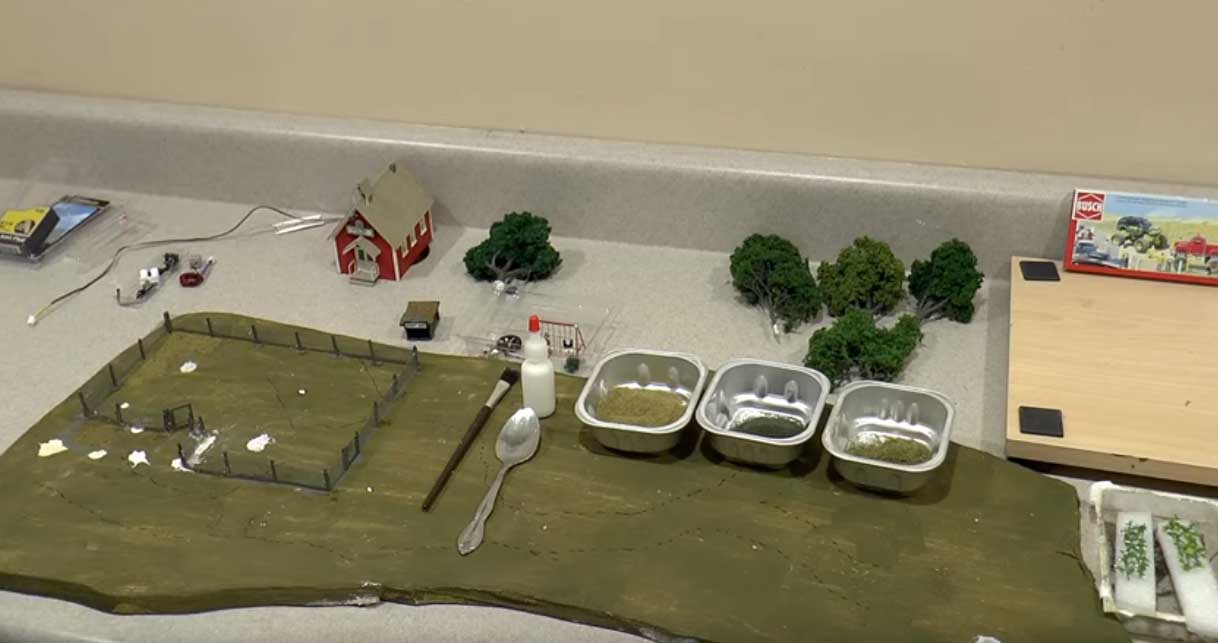
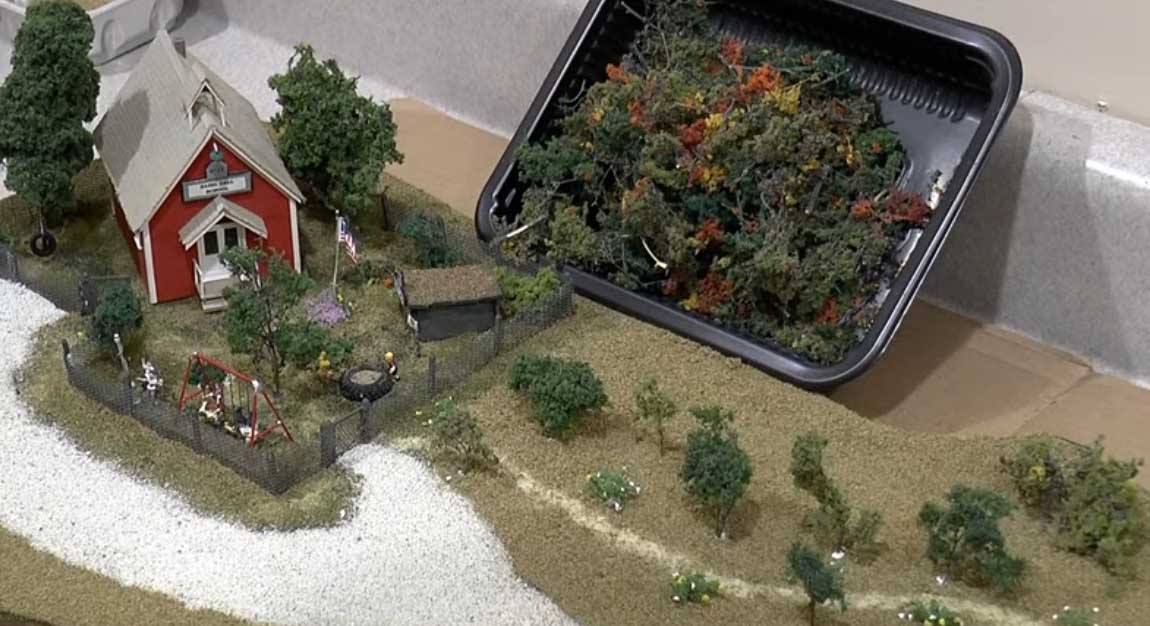
I completed (well, 90% completed) the final 2 scenes on my HO layout, Hazel Dell School and Grill & Chill Park.
Hazel Dell is a replica of the one-room country schoolhouse I attended in 1st, 2nd and 3rd grade.
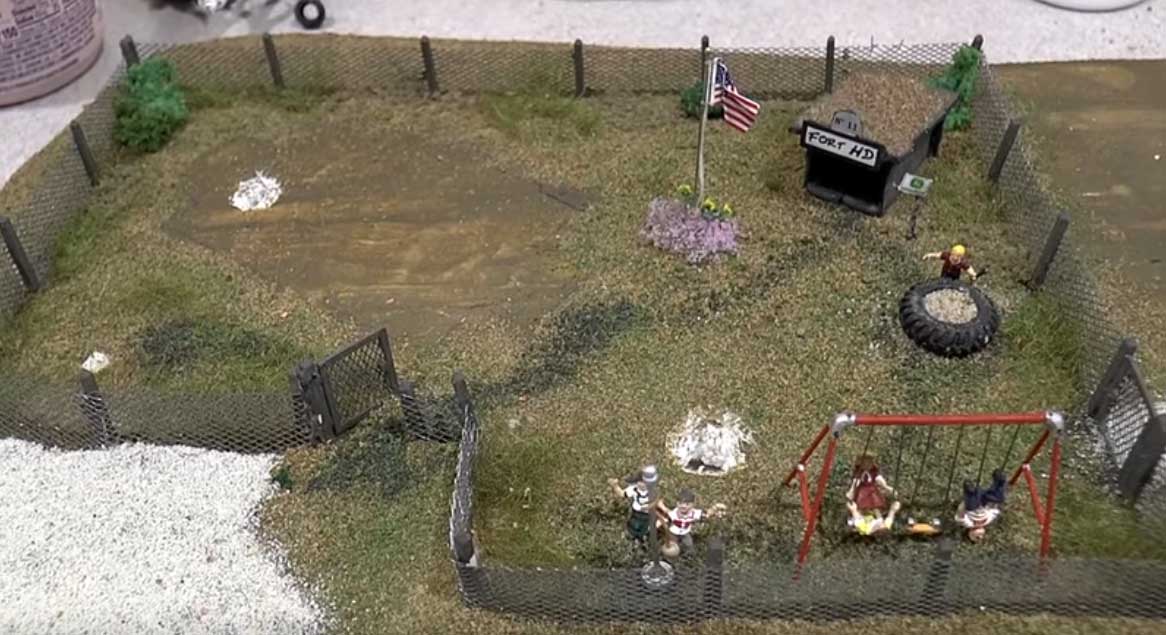
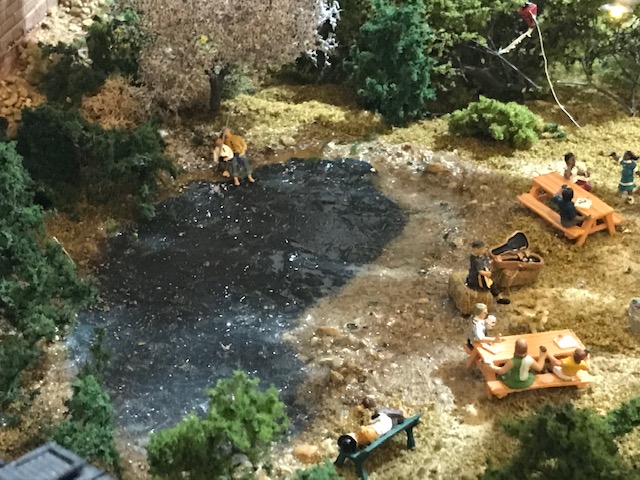
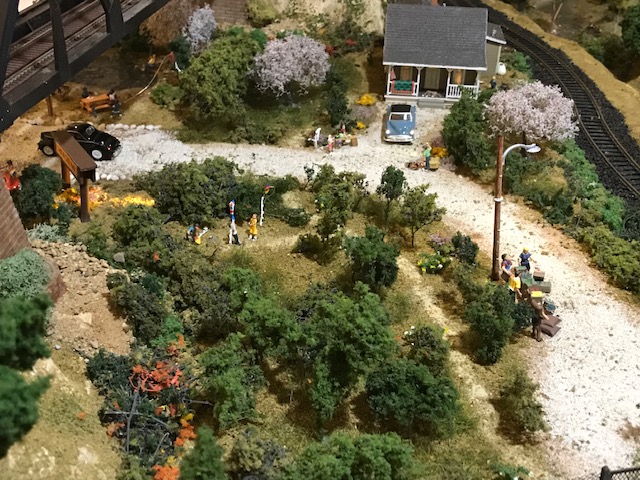
Grill & Chill Park is a replica of a park I frequented as a young man, where we would fish, fly kites and wash our cars.
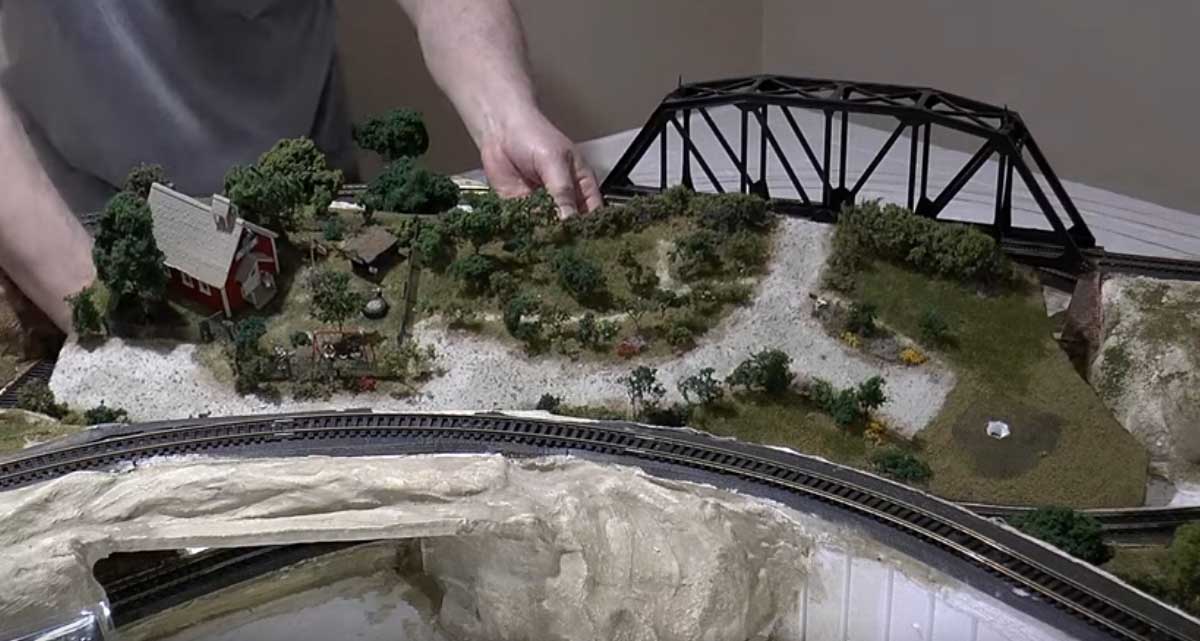
I’ve now created a total of 7 scenes on the layout. I will take a summer-time break from my model railroad work to enjoy the outdoors and do some “real” fishing.
This fall I’ll start up again by adding two additional train runs with more mountains and scenery.
I suspect this second phase of the project will keep me busy for another 2 years!
I posted an update last year and received some wonderful and very helpful advice from folks, so I wanted to take this opportunity to thank everyone for that.
And of course, my hat is always off to you Al, for maintaining this blog and helping us all share in the fun of the hobby.
I’m posting some pictures of the 2 scenes here, but I’ve also added a new video that documents how I created them.
Thanks again, and stay safe out there!
Ben From Chicago, Illinois”
A big thanks to Ben for sharing his HO scale school building.
Bob’s been in touch with his NYC O gauge buildings:
“Alastair,
Here is my first contribution.
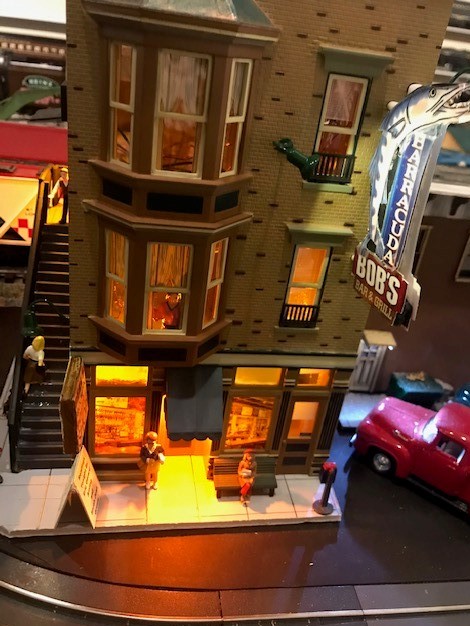
When we went to Savannah 2 years ago to visit my Father in Law; there was an advertisement in the hotel for an eatery “Barracuda Bobs”.
I took pictures of the advertisement and of course we had to go there to eat. It was right on the river. I picked up a shirt with the logo; but I was glad that I took the picture of the advertisement; because the sign was not on the building.
I decided that my town needed a restaurant more than a bootery, so off came the boot. I had trouble with the sign because to have it two sided the head would be 180 degrees out. Getting nowhere fast; I asked my son Eric about it. He said to send the file to him and he would take care of it. I got two pictures back a day later! The restaurant’s website has a picture of their bar which is beautiful. I copied it and printed it on “Modeler’s Inkjet Transparency” available from Evan Design.
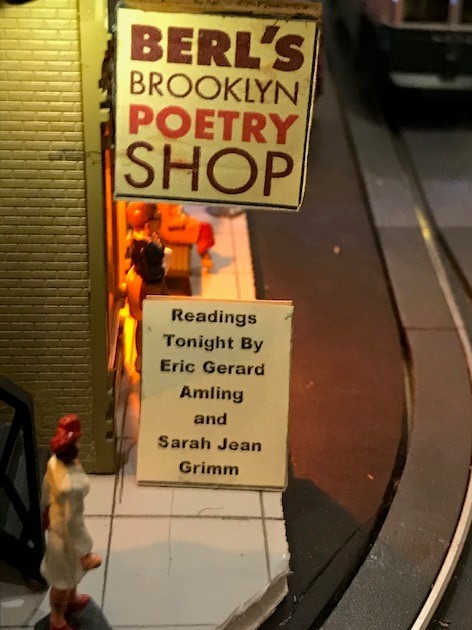
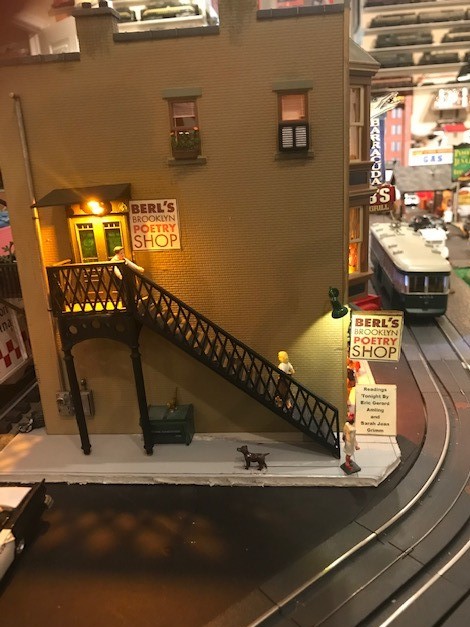
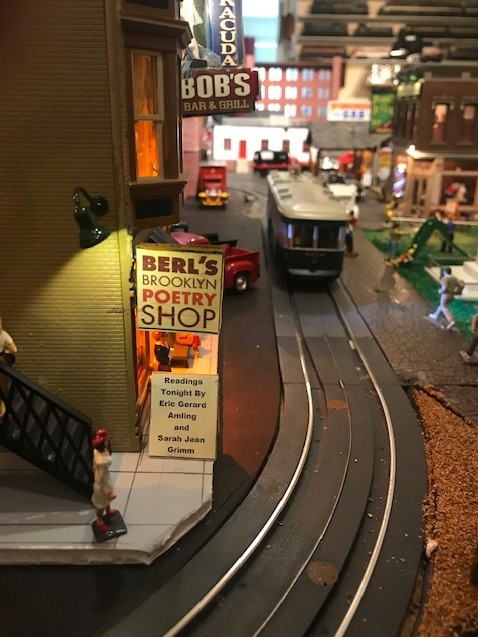
Around sometime in 2010 we met our son Eric at a bookstore on Front St in Brooklyn. It’s almost directly under the Manhattan bridge (DUMBO). It’s Berl’s Poetry Book Store. It’s the only book store in NY that is totally poetry books. I expressed the thought that I would put the store on my layout. Berl had some post cards with a great picture of the sign. We moved in 2014 and the store never happened. I just recently got the urge again, but was running out of real estate. I decided to renovate Bob’s and put the book store on the second floor.
Using a Dremel tool I cut into the building wall and install a double door that I had removed from another project. If you’re like me your trash bin is pretty sparse. Then I salvaged pieces from a torn down pedestrian bridge and cut down the width of the staircase. I cut back the landing and only used 2 posts. Then I attached railings on the stairs and platform. A discarded piece of the platform was a good size for an awning over the door. I had previously created signs using the picture on the postcard and printed them on card stock.
I brushed on yellow glue and attached one to the wall. I used two more to create a double sided sign. I used a piece of poster board in the middle and used some scrap dowel to plug it into the front wall. I added lighting over the doorways and interior as well as hooded lamps to illuminate the signs. The diodes that I used over the doors and interior were a little bright. I don’t recall if I picked up the suggestion here or on another forum to use Tamiya x-26 clear orange to tone down the brightness and add a warm glow.
I topped off the project by adding the sandwich sign advertising poetry readings by my Son and Daughter in Law. My Wife’s comment was that no one will hear them with all the noise in the bar downstairs.
Bob”
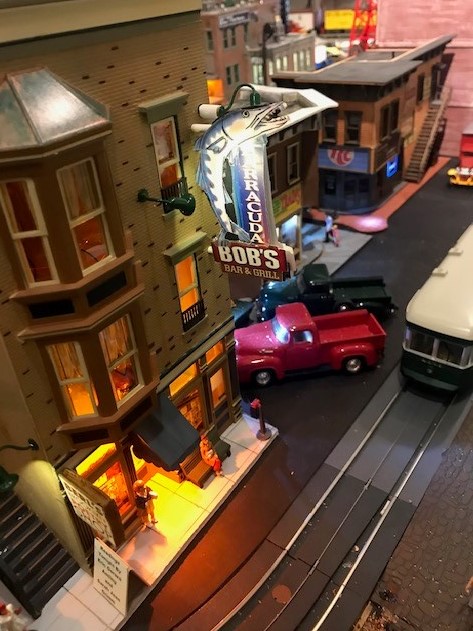
A big thanks to Bob – his NYC O gauge buildings look fab – the lights really do set them off too.
Jim’s sent me this upate on his new layout. I’m crossing my fingers that it is the first of many:
“Al
Thanks for the opportunity to share my layout. I did not expect such royal treatment. I am overwhelmed by the comments. So I will try and answer some questions.
I too am 80 years young.
The time it took to do the basic layout was about 2 years. The remaining 7 years were used to make the various scenes, buildings etc.
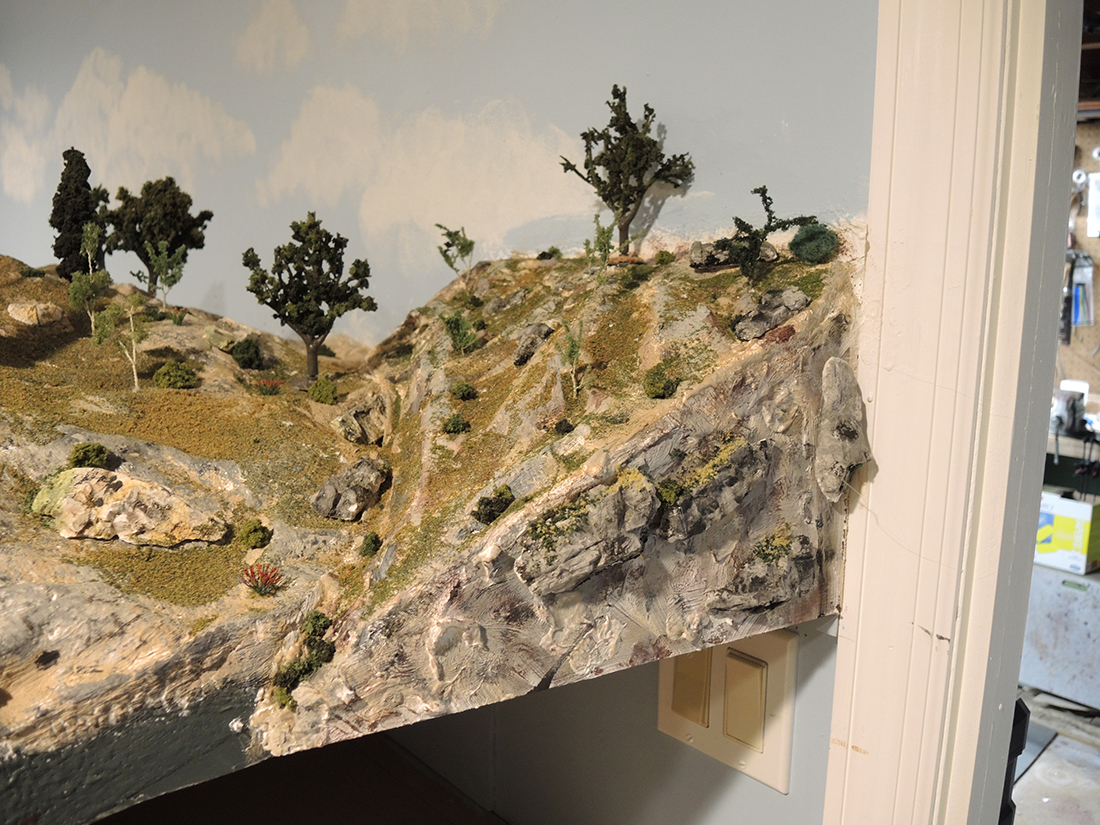
The sky (wall) was a blue grey, although it did not show up in the pictures, like an overcast day. I did not want the back ground and sky to detract but rather enhance the various scenes.
The rock work was made with a wall plastering material we have in Canada. It is called Durabond 90. The number stands for the length of time in minutes it takes to set up. It is a material use to patch malls. It is much softer than hydrocal.
The one drawback is, you have to put a primer on before painting, otherwise, it is very easy to carve, paint and work with.
The trestle was scratch built from a Hunterline kit plans.
Now, here is a modeling tip.
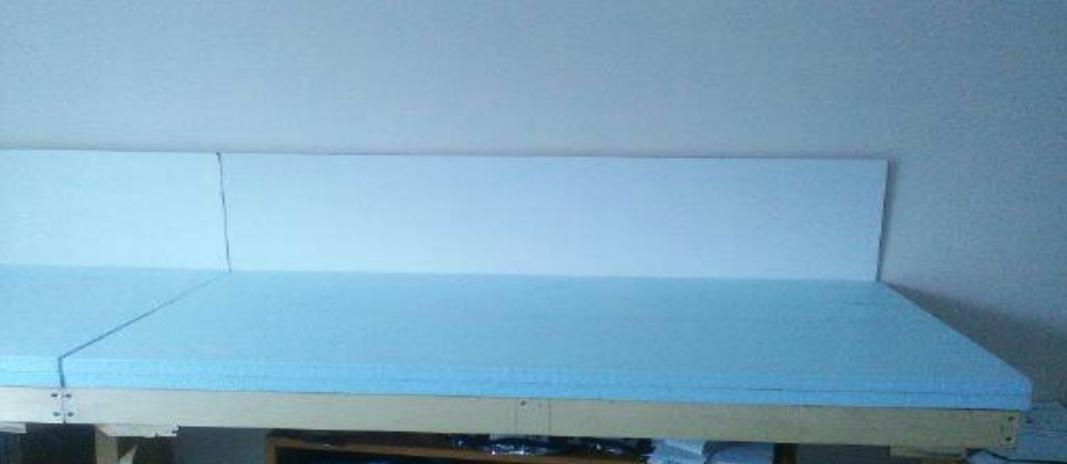
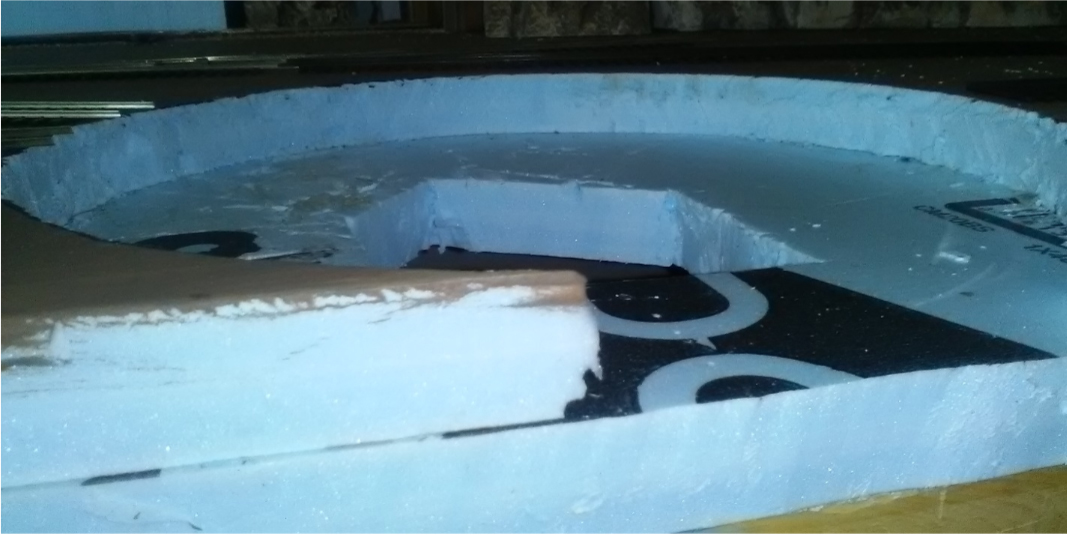
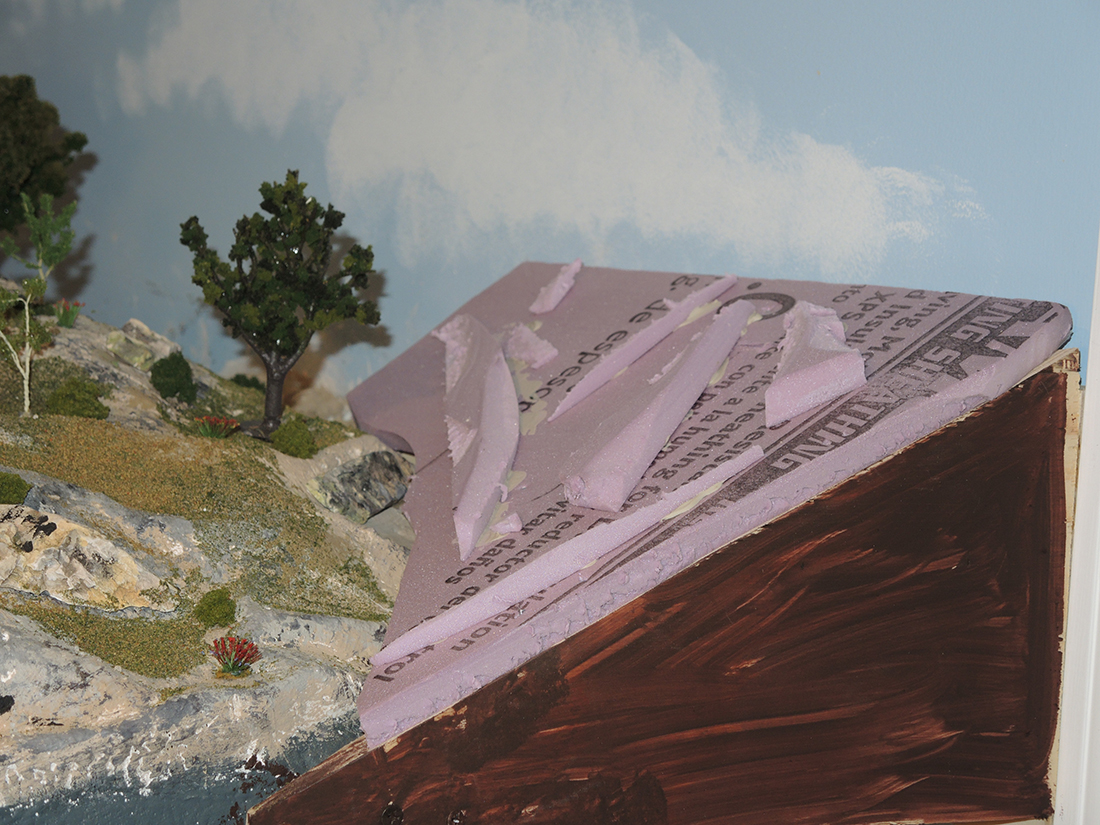
Instead of one sheet of 2” foam, I use two sheets of 1” foam, glued together with foam adhesive.
This allows me to go down in height and still have a flat base. You have to plan ahead a little as to where you want to cut out the first layer and not put too much adhesive between the two sheets of foam.
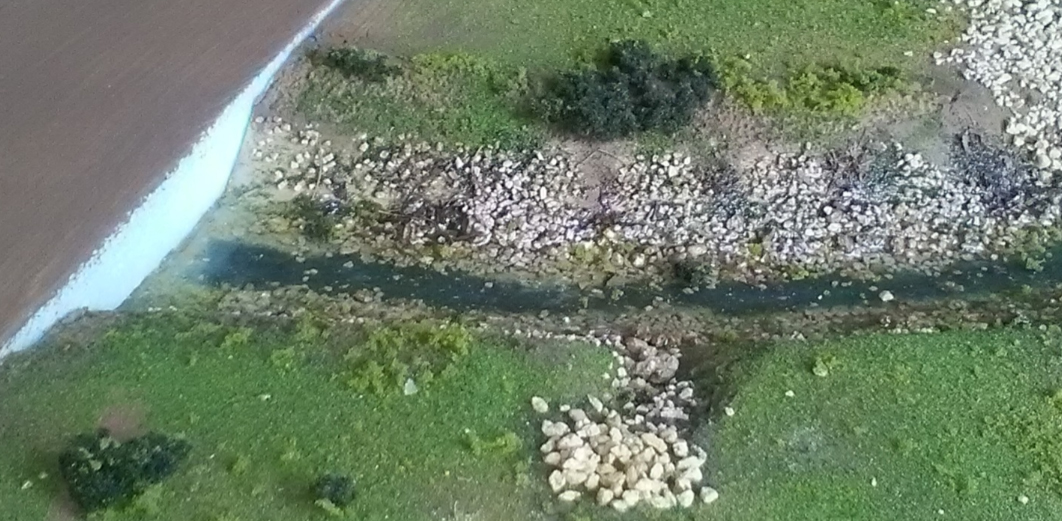
Here are a couple of examples of using two 1” sheets of foam with the cut outs. One you can see the cut out for the stream and the other the cut out for the turn table.
Al, thanks again for your site and hard work.
Jim”
A big thanks to Bob for sharing his NYC O gauge buildings, and to Jim too.
Love what Bob has done – I have no idea why, what really makes a layout for me is a theme, or a connection to a place.
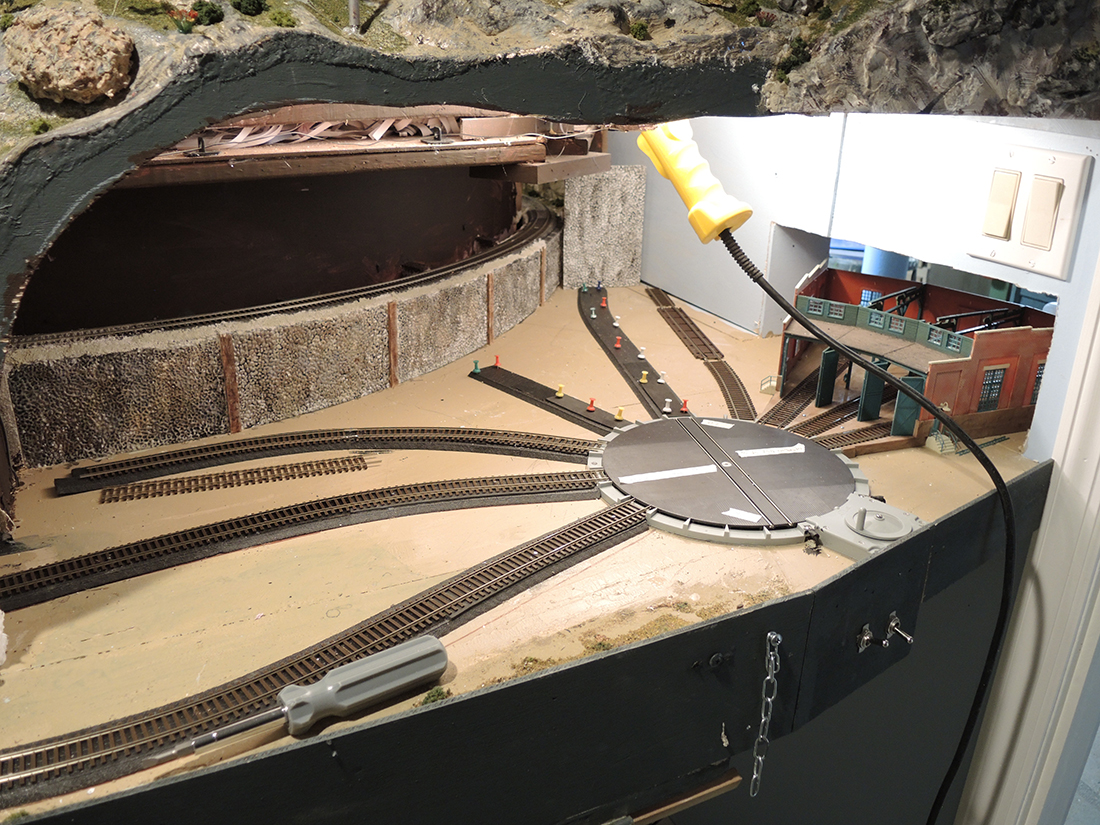
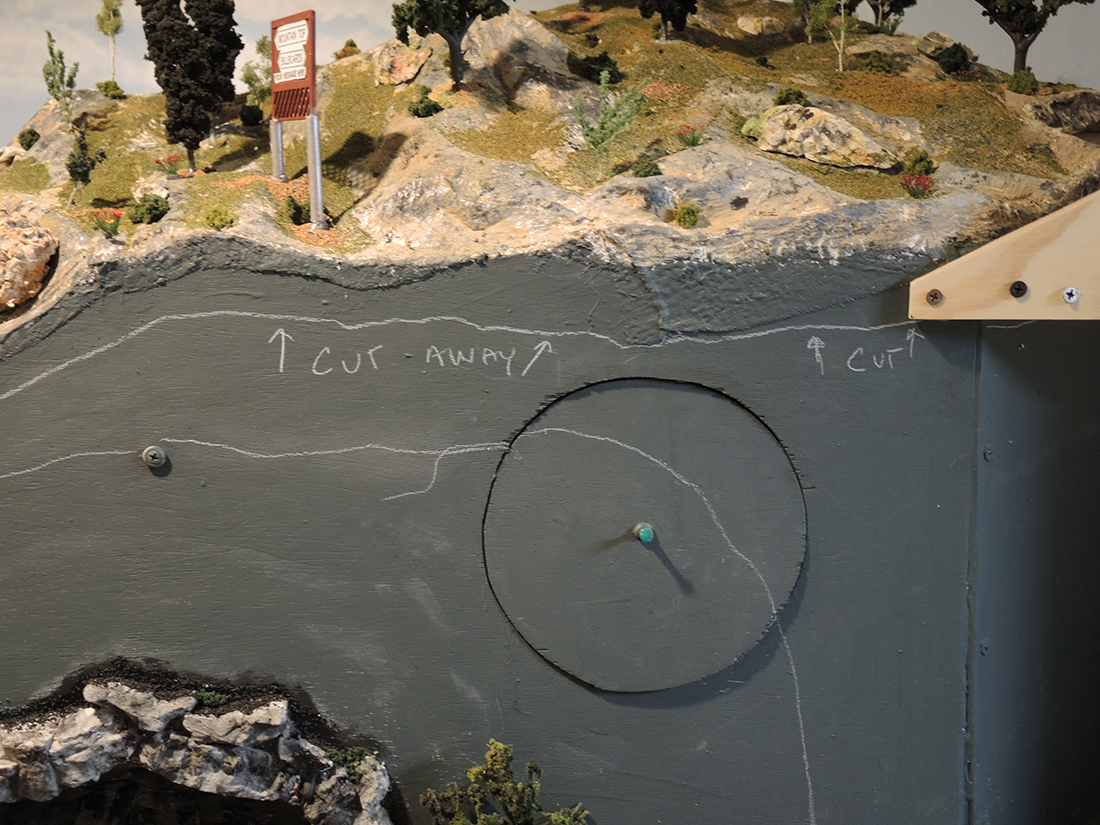
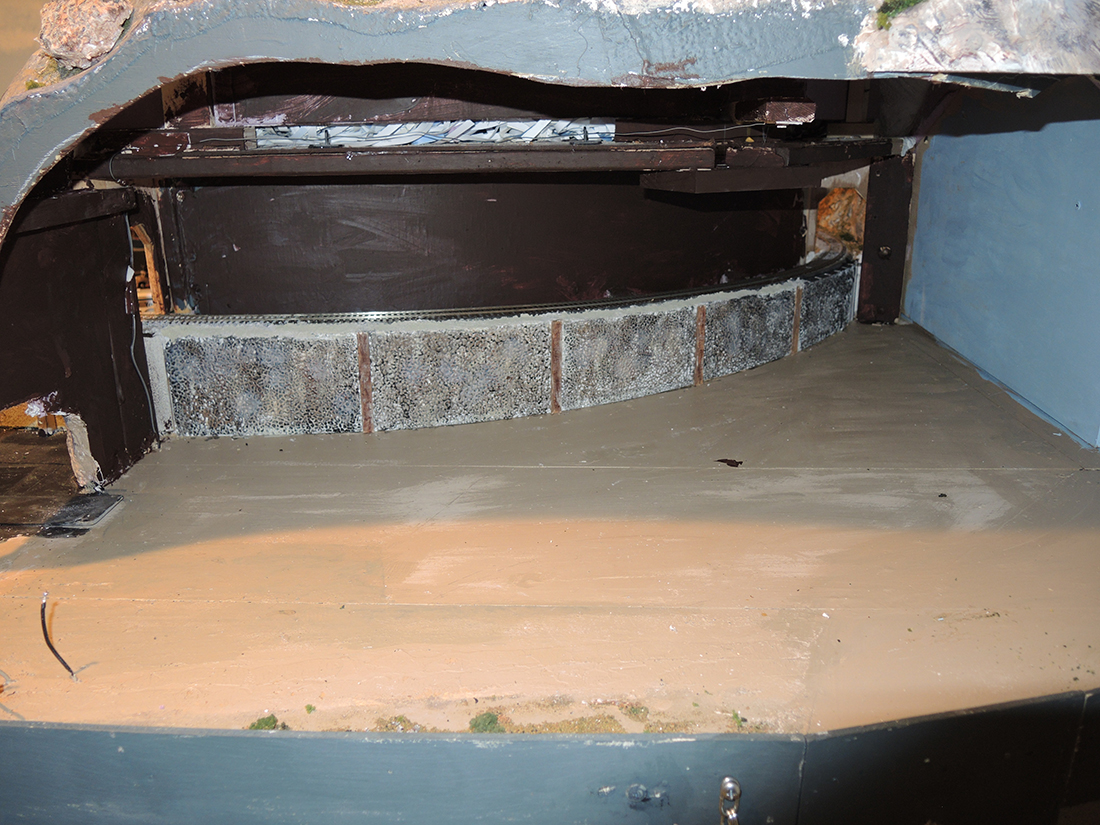
I thought I would send you photos of a recent project. I wanted to have a turntable on my layout which would be available near my shunting layout to turn the switcher engines.
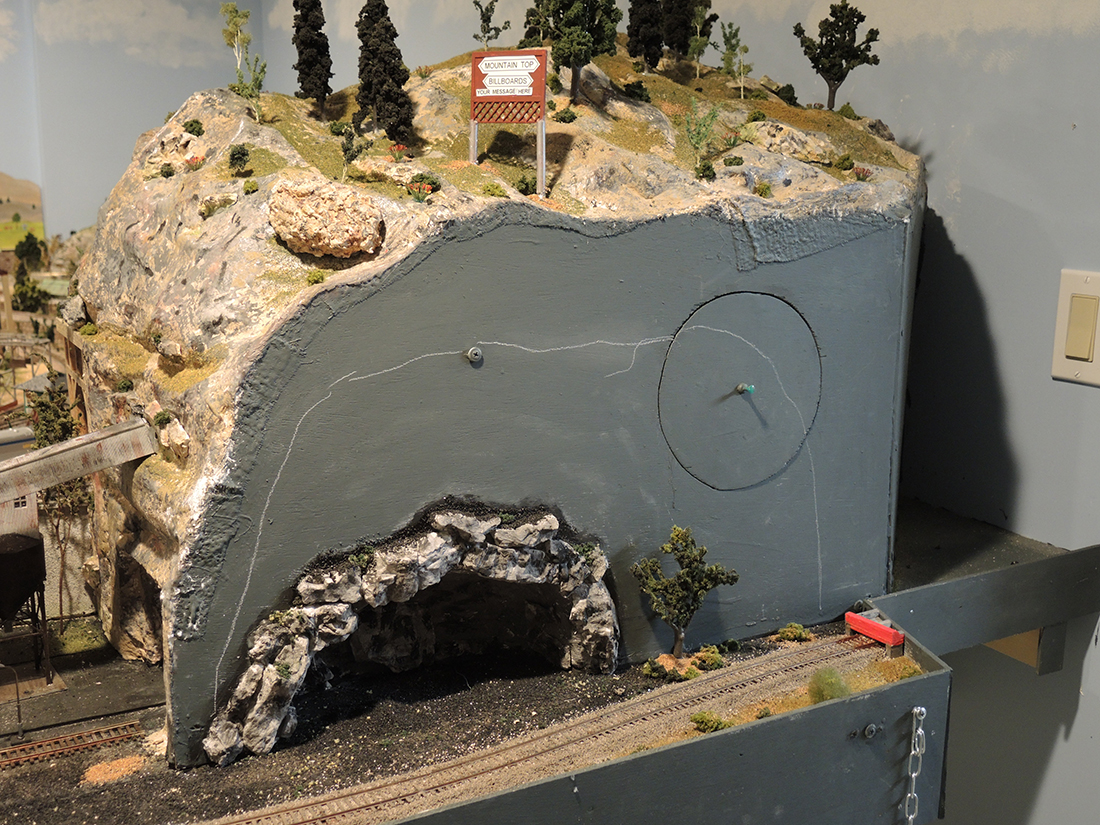
I also needed a work area for car and engine repairs and a place to store idle engines. Adjacent to the shunting layout was my mountain and it looked like prime real estate for the project.
In presentation of my still photos you will see how I recaptured this space.
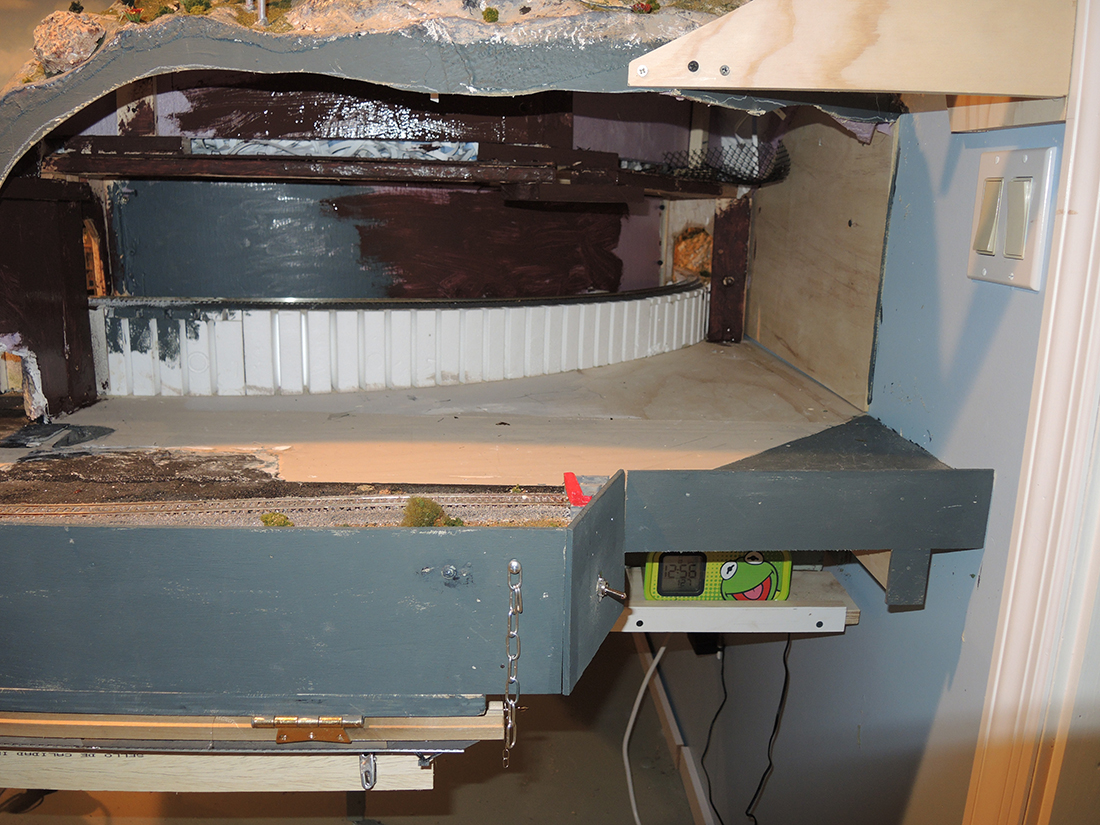
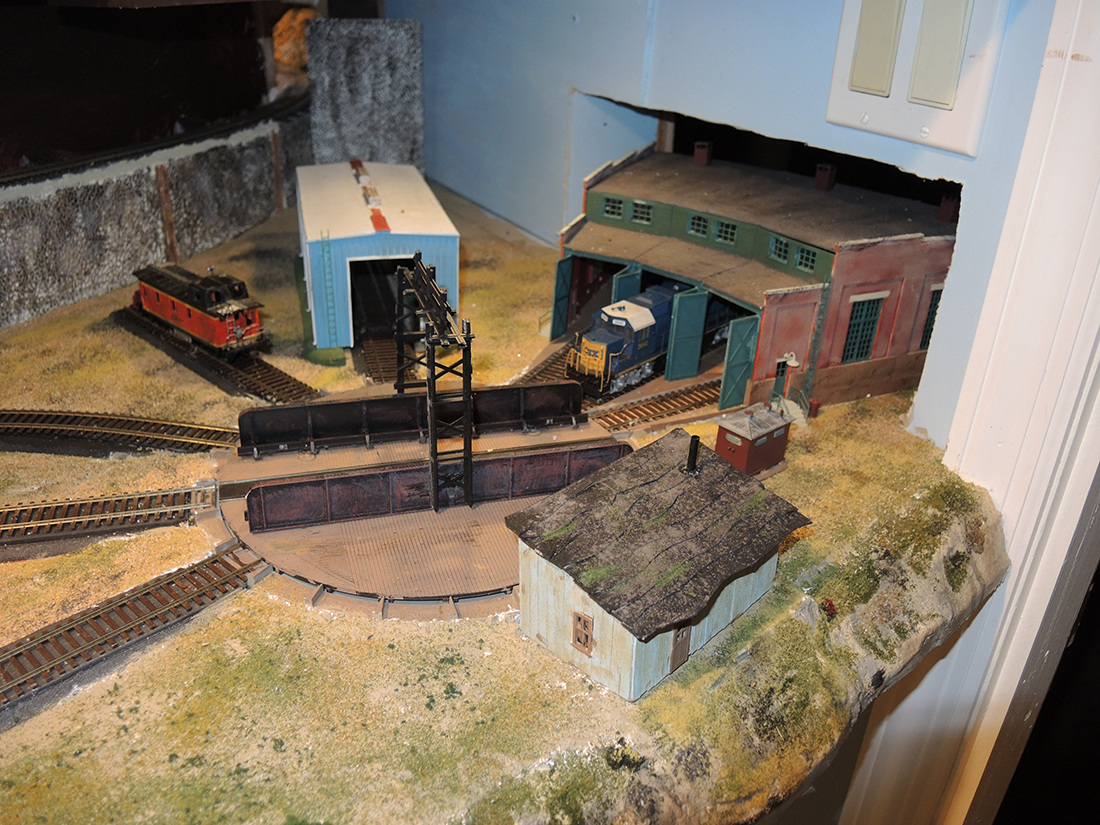
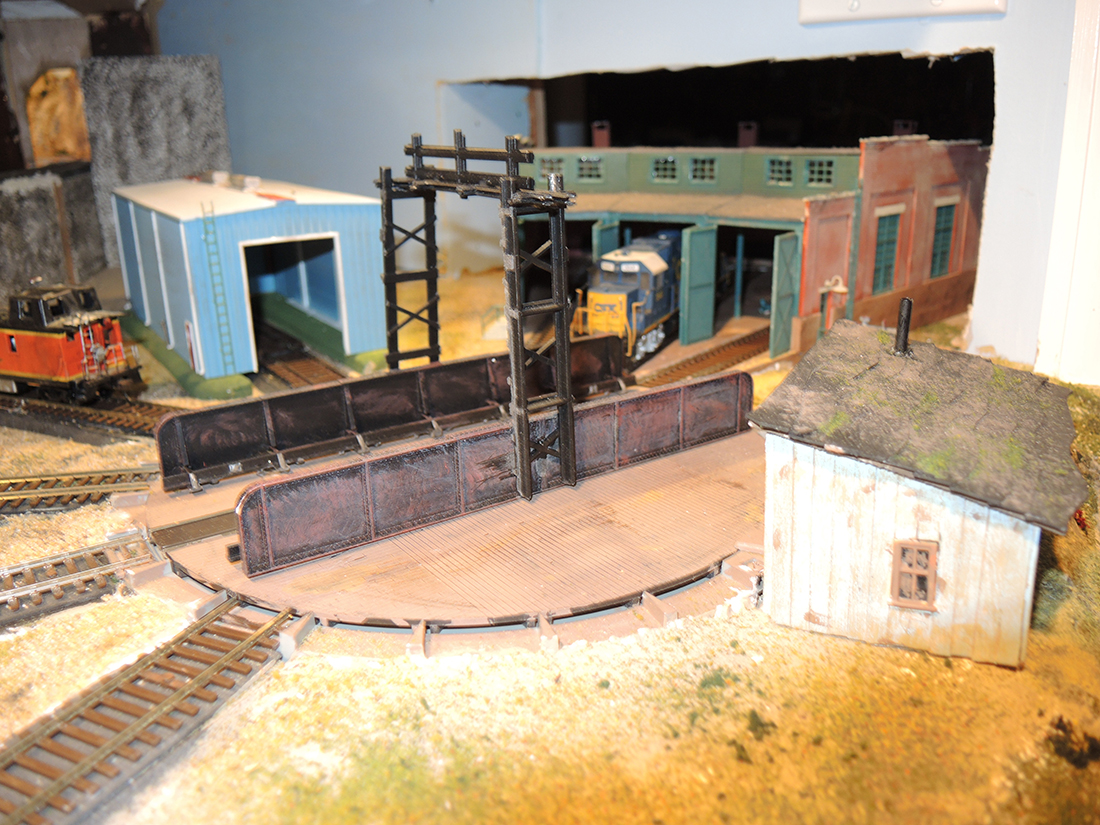
I installed the turntable after determining that the location of the roundhouse would dictate where is sat.
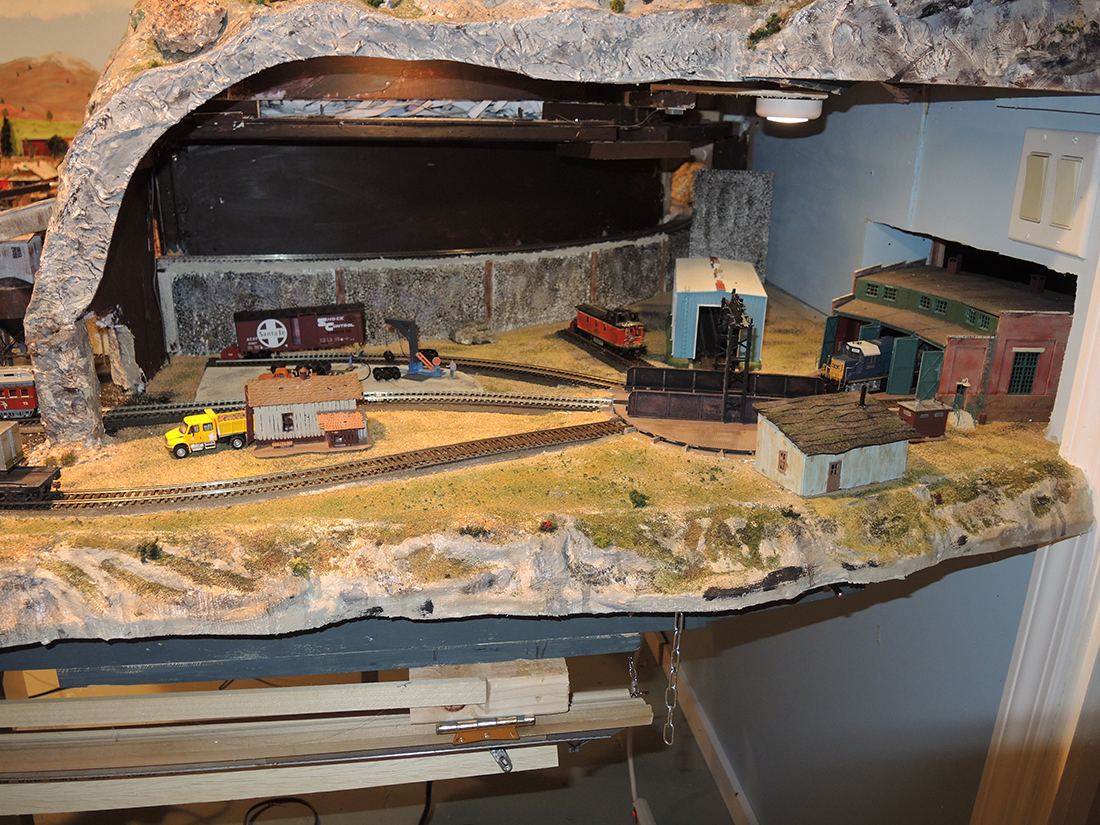
The problem was that there wasn’t enough room for the roundhouse until I decided to cut through the wall into my workshop.
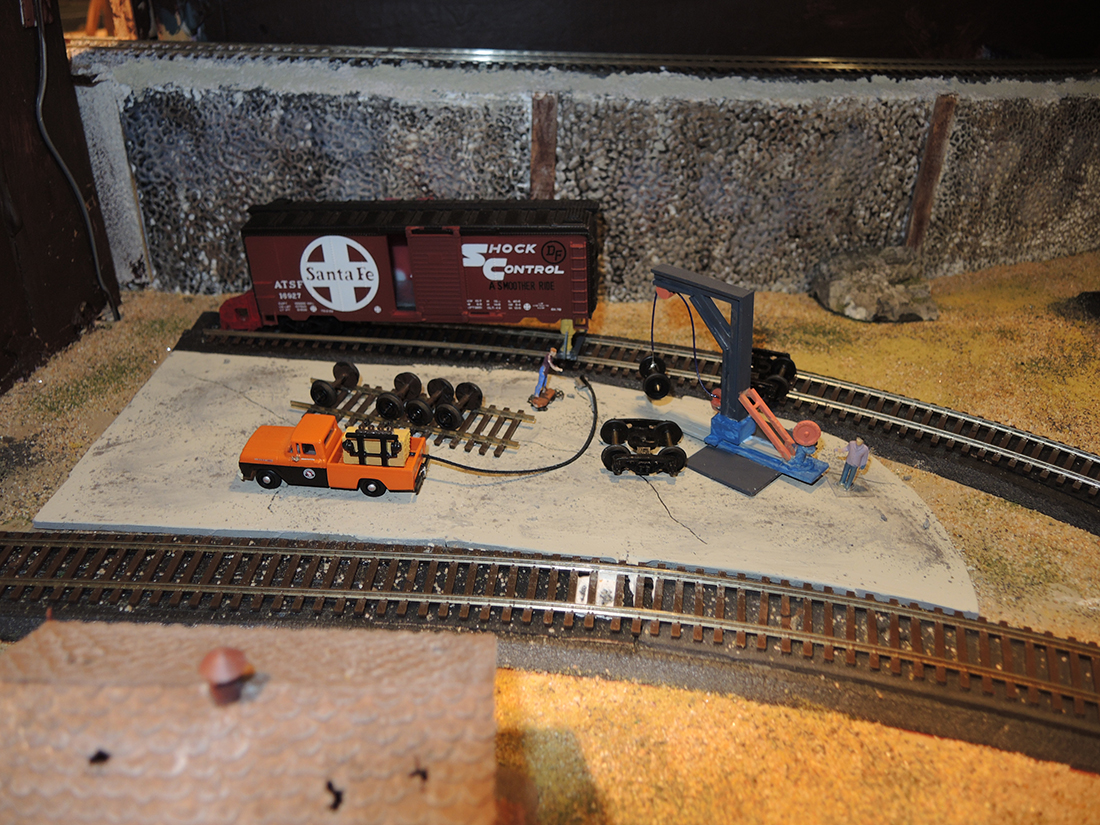
Once the RH was in place I was able to bring tracks into the turntable. I also needed a WIP (work in place) area for minor repairs.
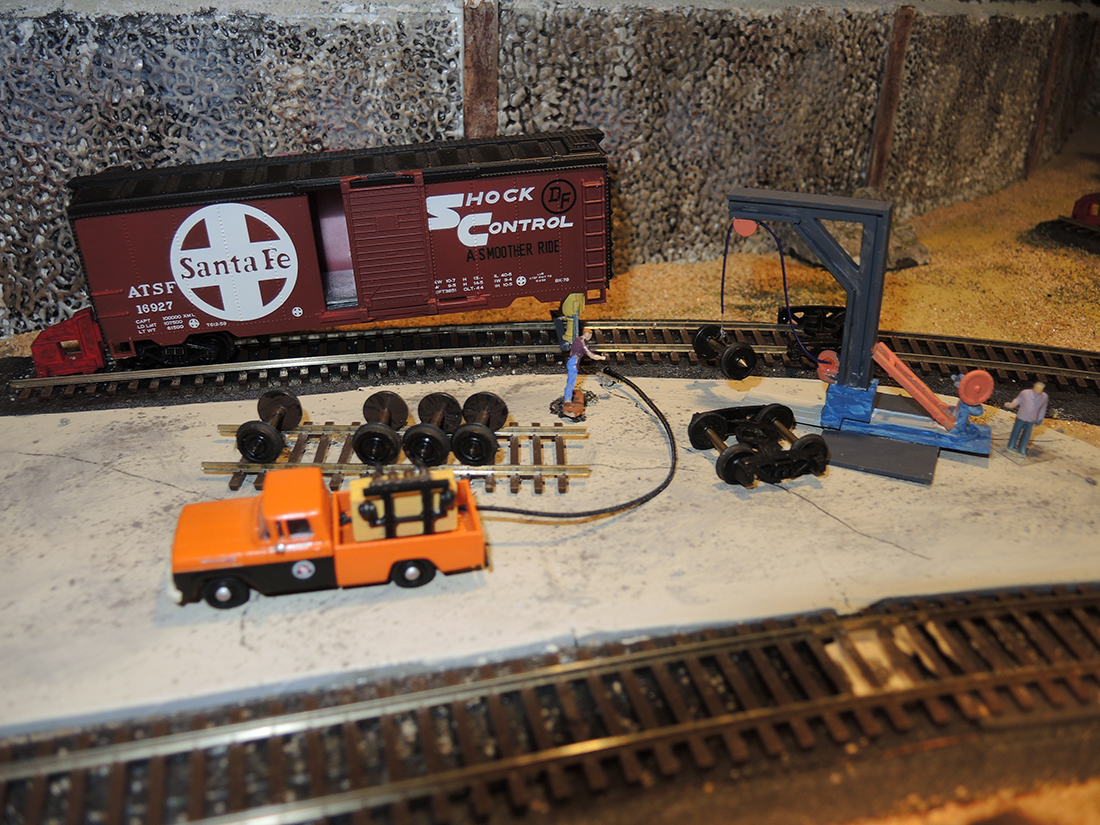
Looking to the left side you can see a boxcar up on jacks while the work crew replace some damaged wheels using the jib crane that I fabricated out of scraps.
Paul”
A huge thanks to Paul for sharing his HO scale turntable.
I think it’s a fab addition to his layout, and as we know, they are never finished…
I do like seeing how you solve the problems your layouts come up with. Just goes to show, where there’s a will there’s a way.