HO scale scratch building plans

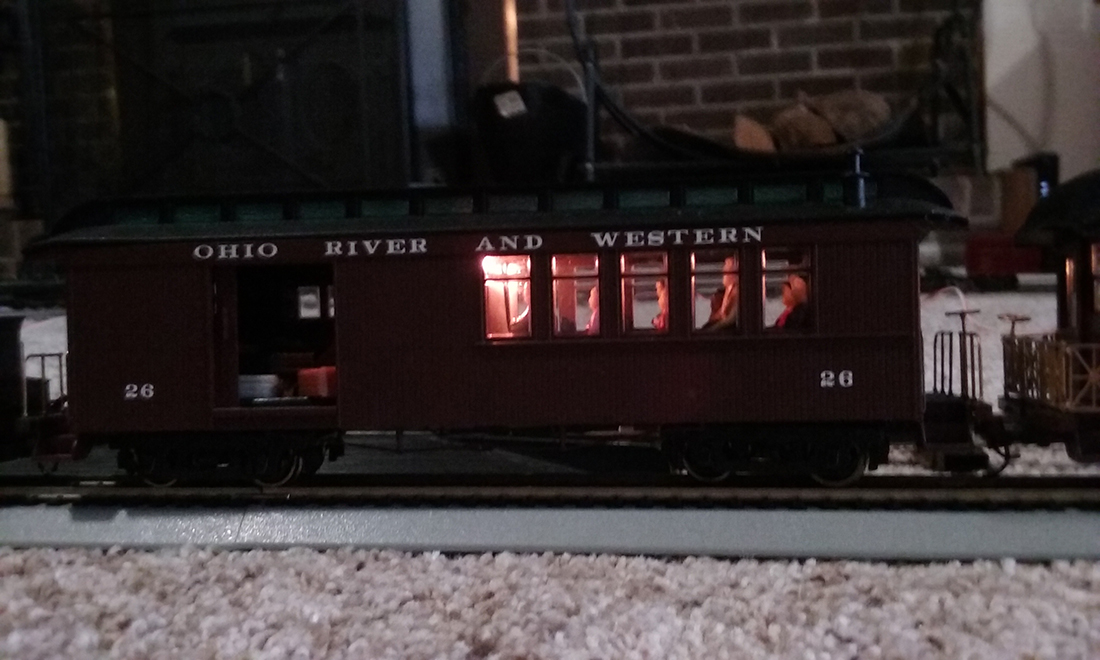
John’s been in touch with a collecion of his HO scale scratch building plans:

“Dear Mr. Lee…

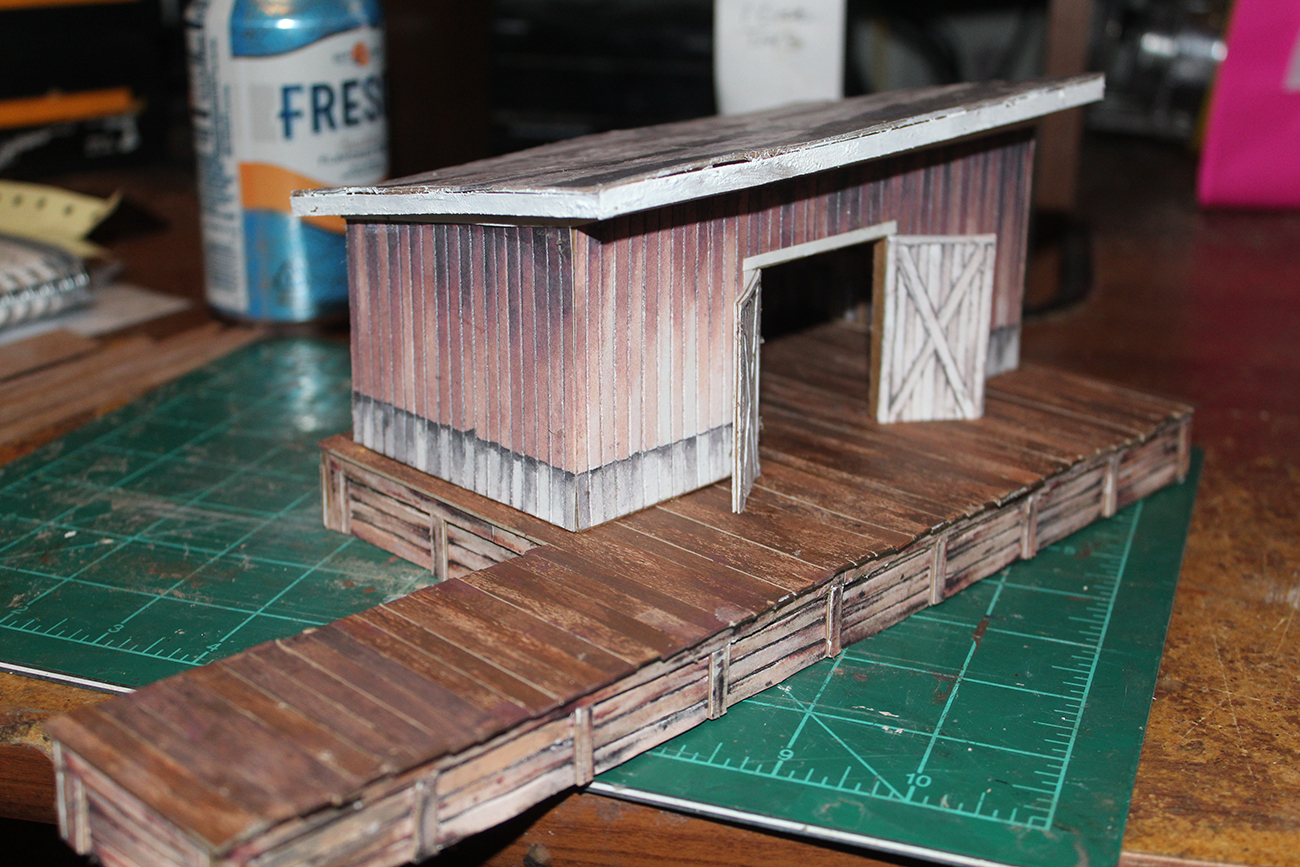
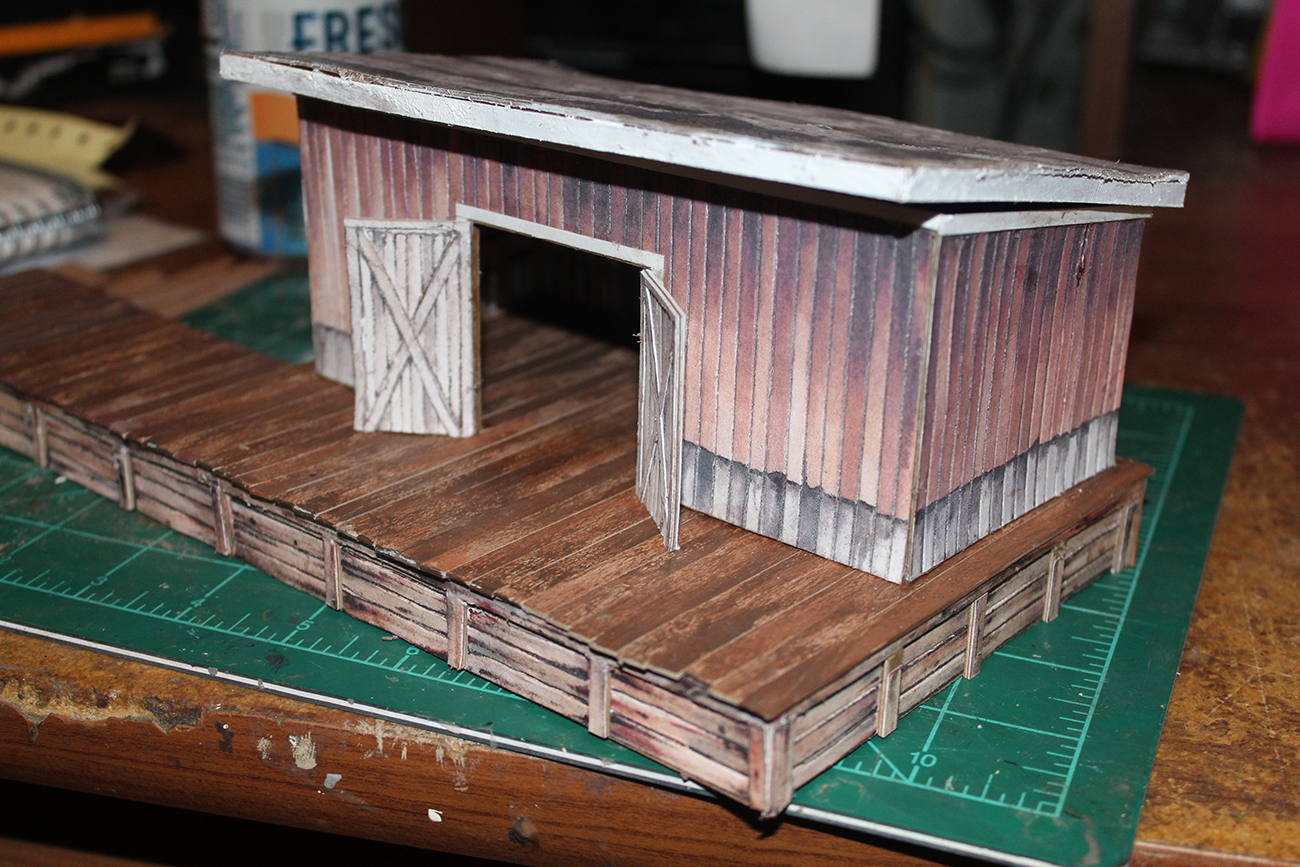
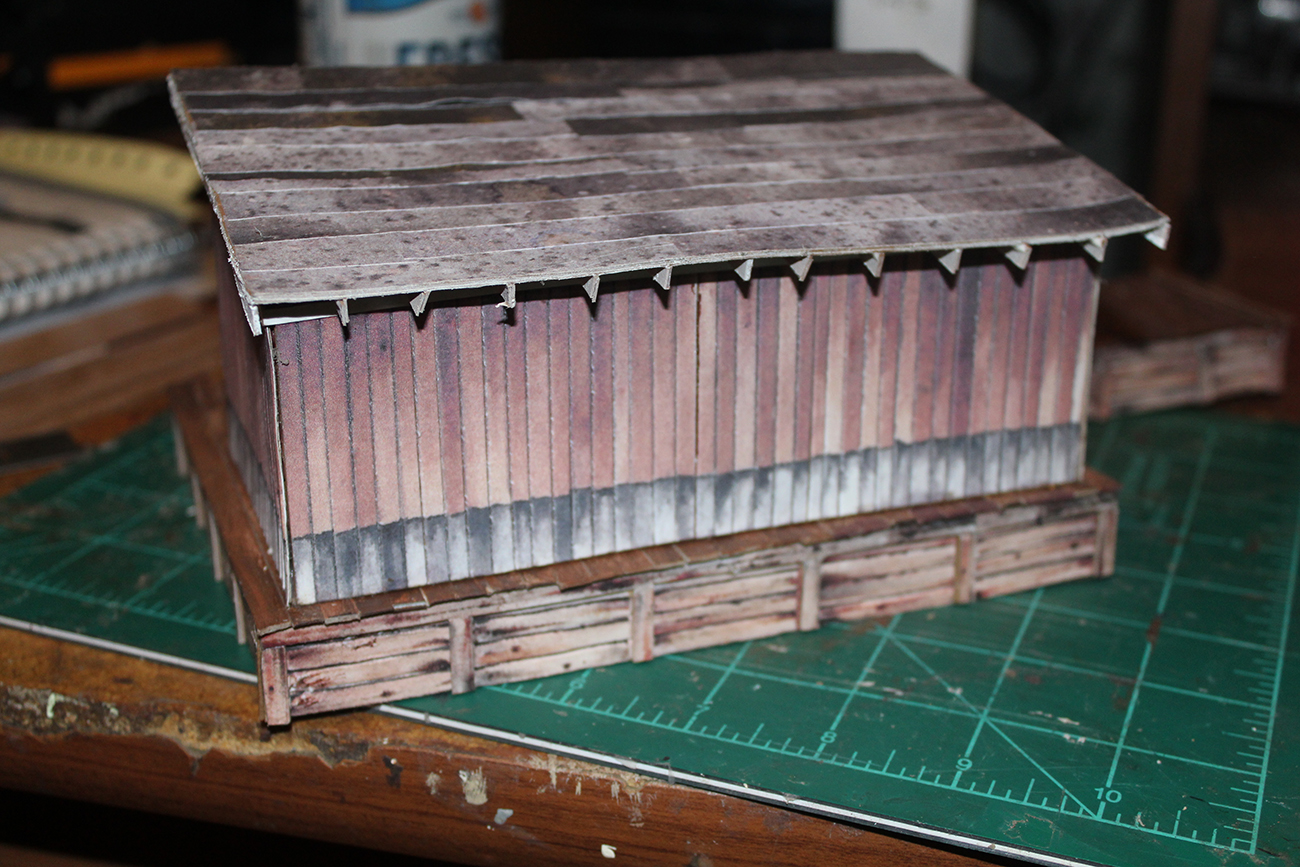
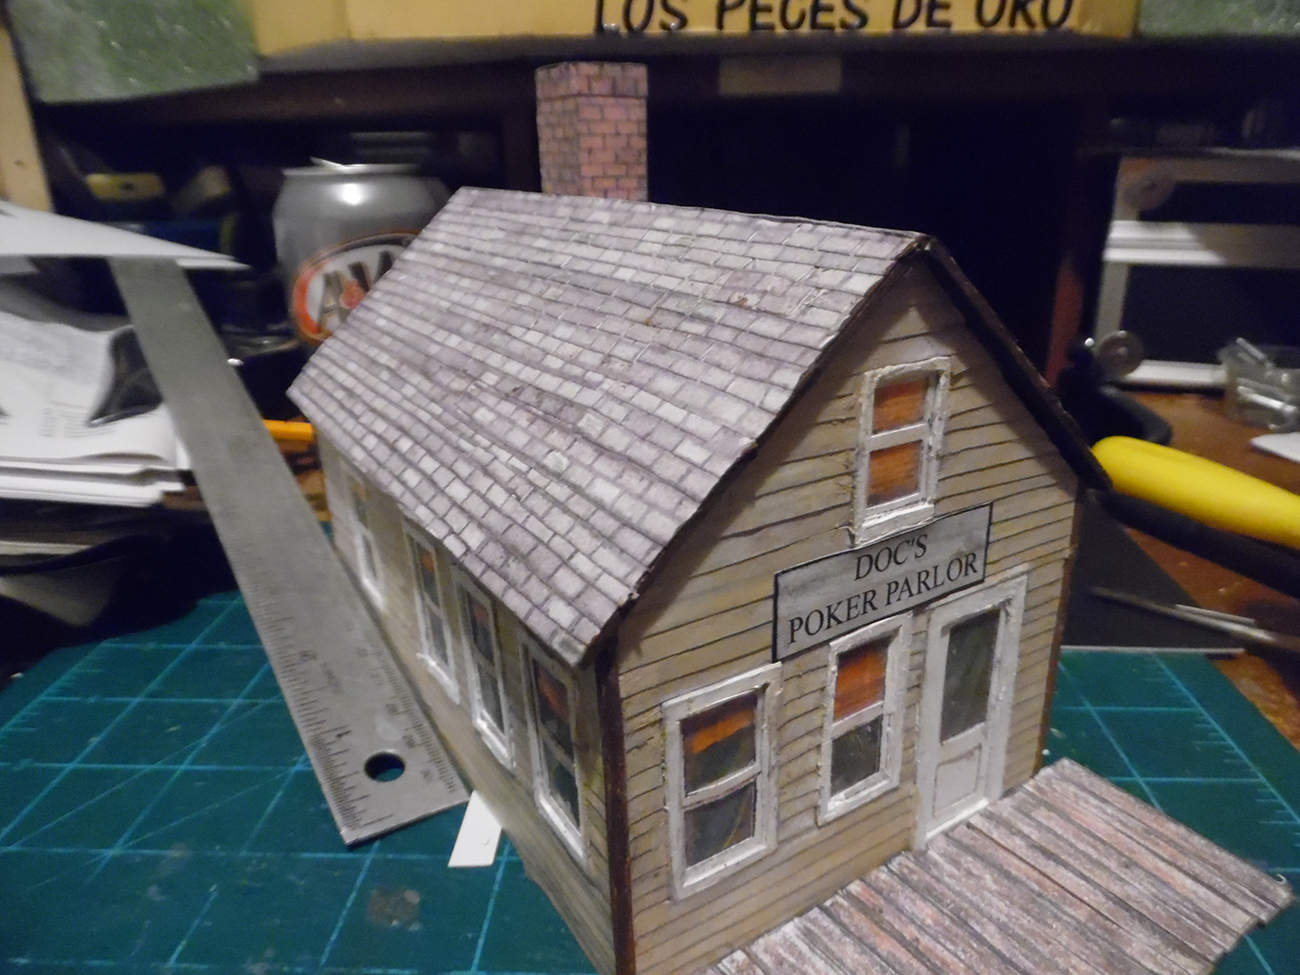
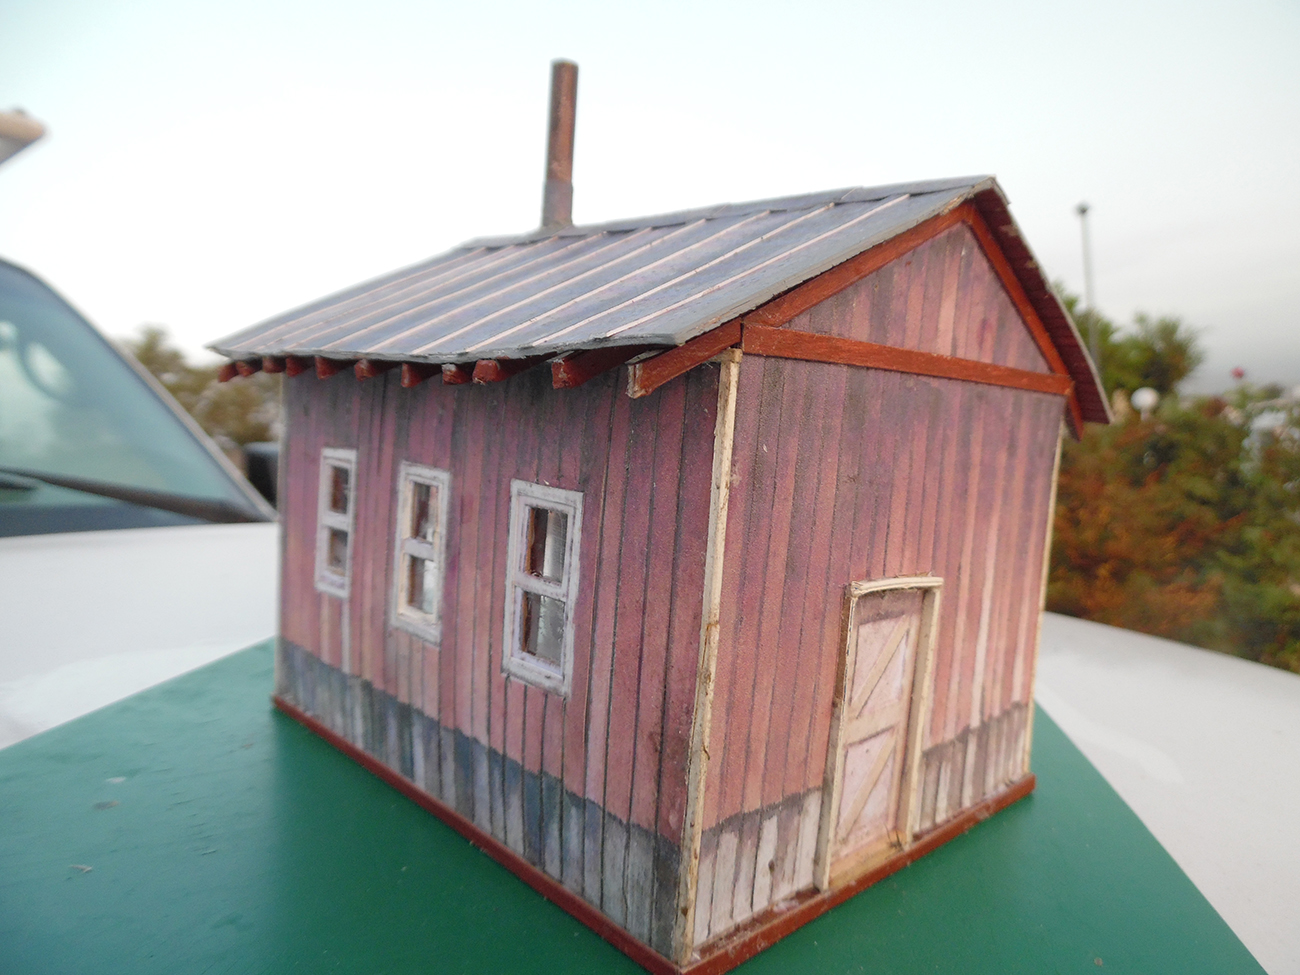
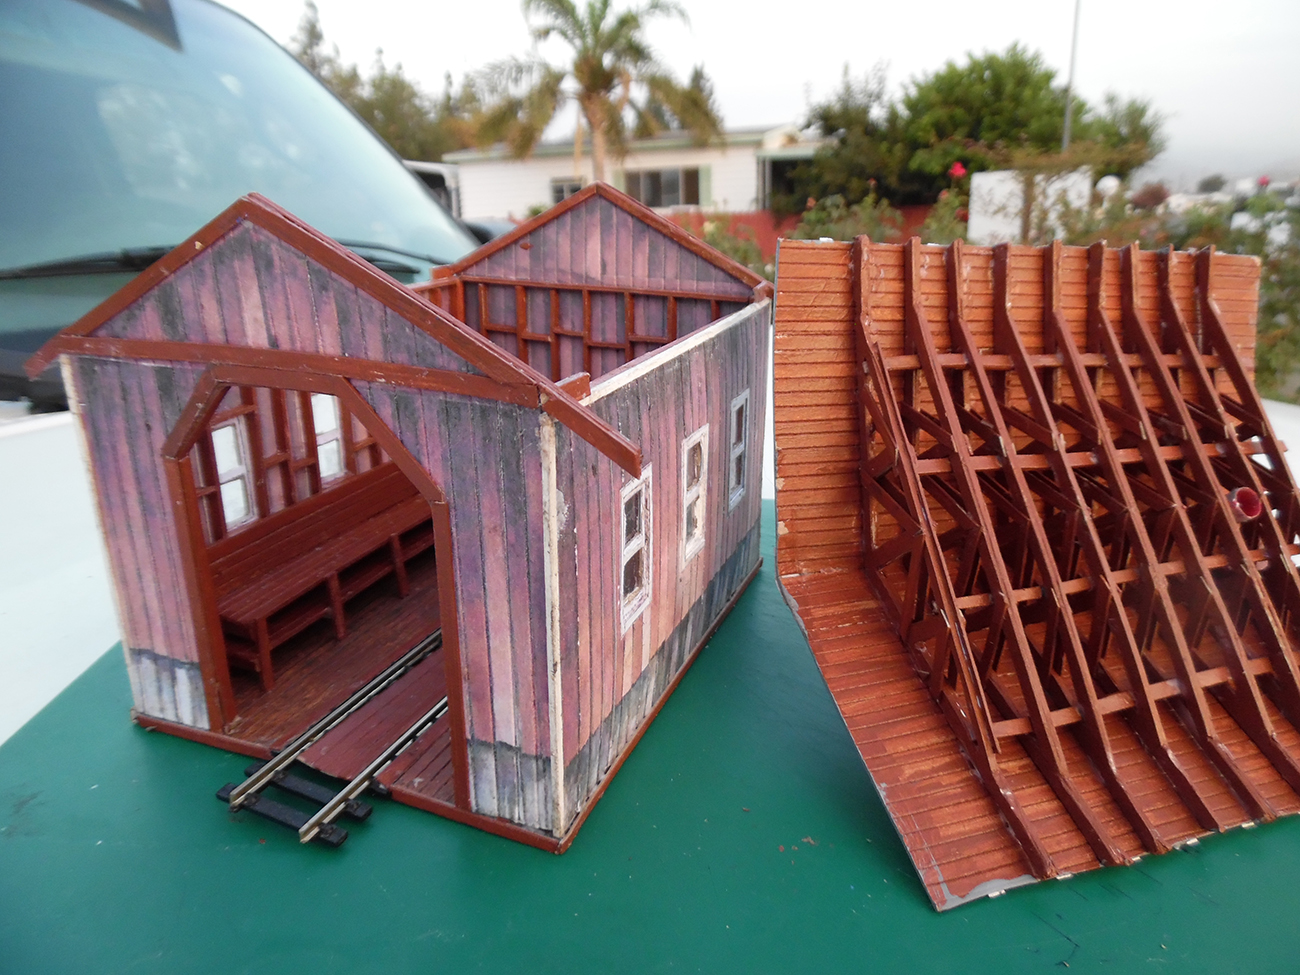
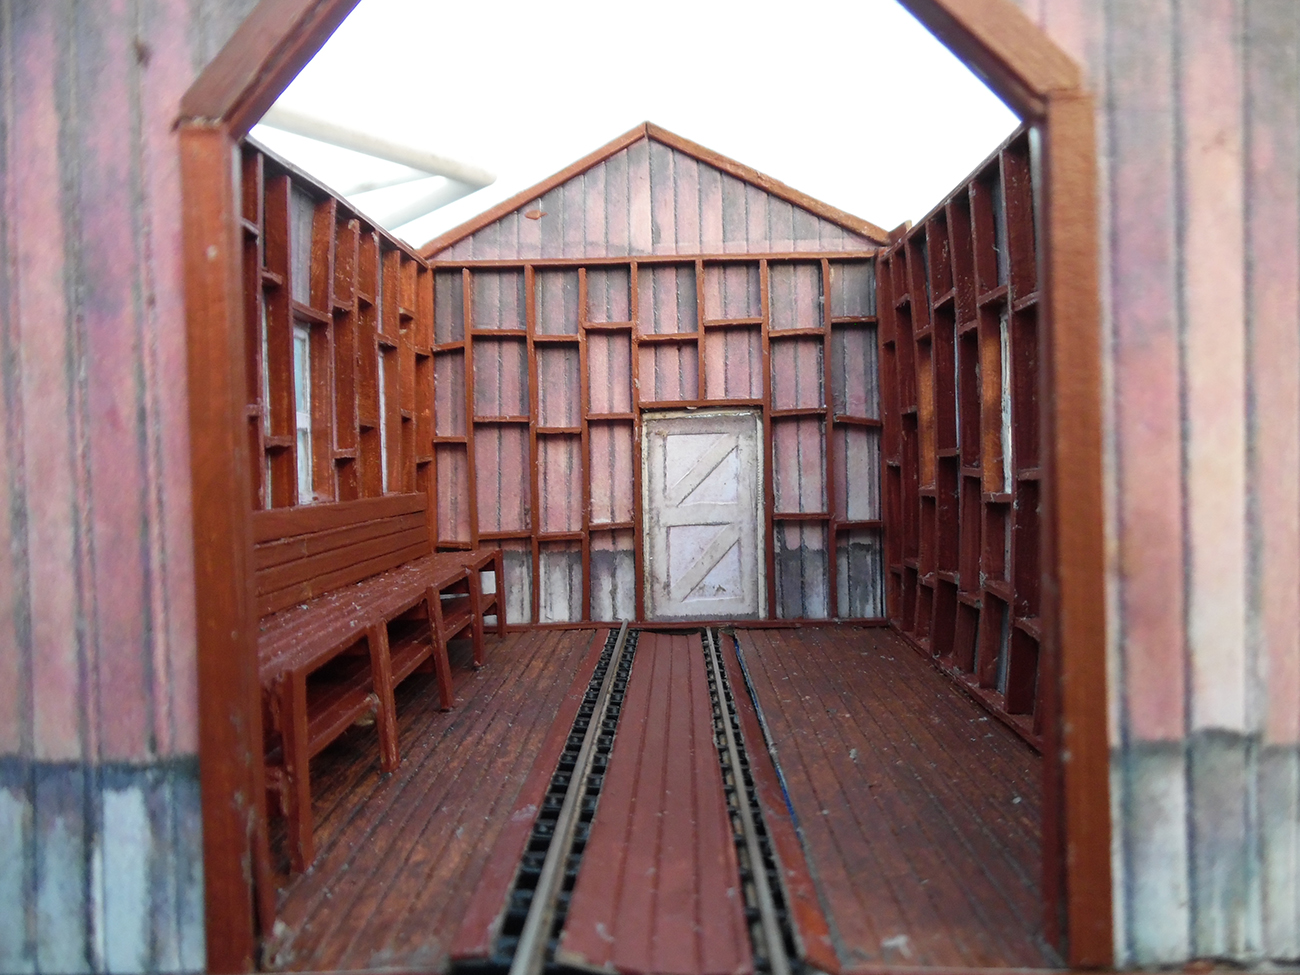
Here is my freight shed with its roof…

I am considering adding a ramp and a little office to it also..

More Kit-Scratching if you will…

freight shed scratch build

HO scale freight shed scratch build

scratch built freight shed

I promised a tutorial on my little shed build…

I build for American O scale most of the time now.

American O scale is 1/4 inch to the foot…

When using print out kits however, I print to what I call “Eye Scale”

“Eye Scale” is “What looks right to my eyes”.

The way I build my models began with a need for an engine shed…

The first version of that shed was “less than successful”

A better phrasing might be “A learning experience”.

One of John’s videos (not me) gave me some hints where I could improve.

Since then…. Every build has been an improvement on a previous one…

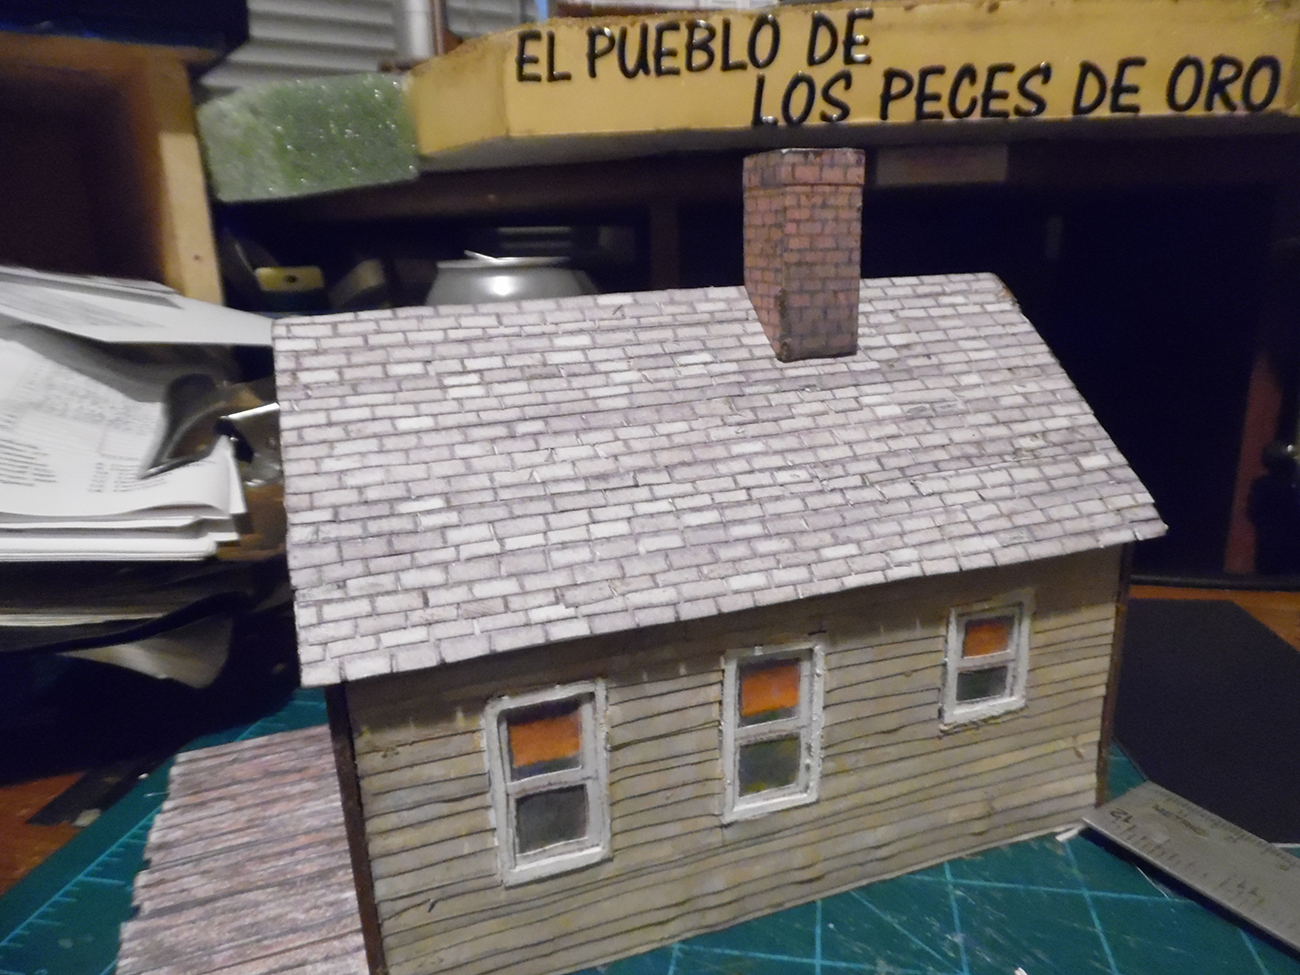
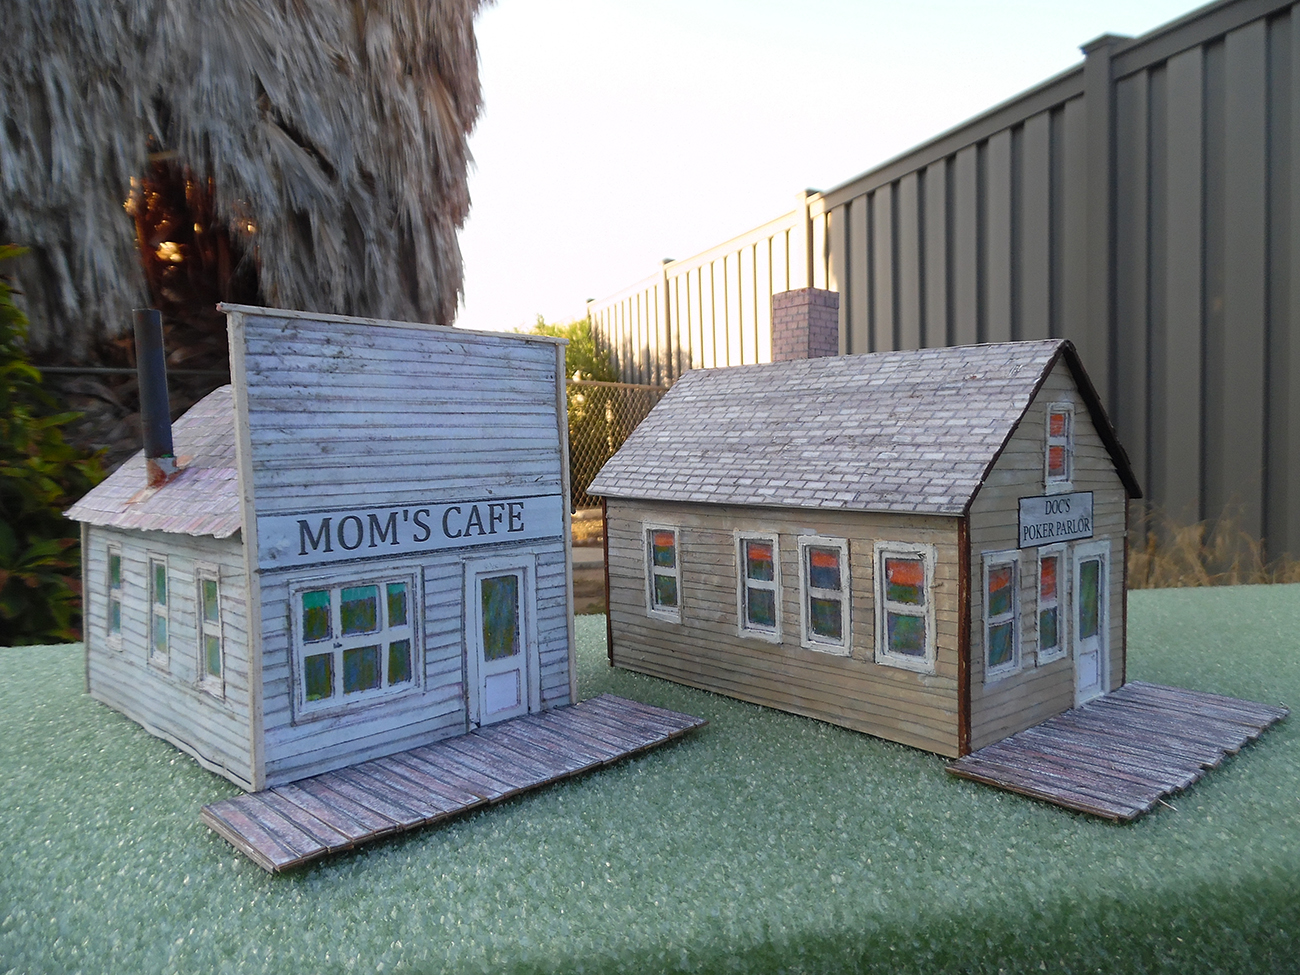
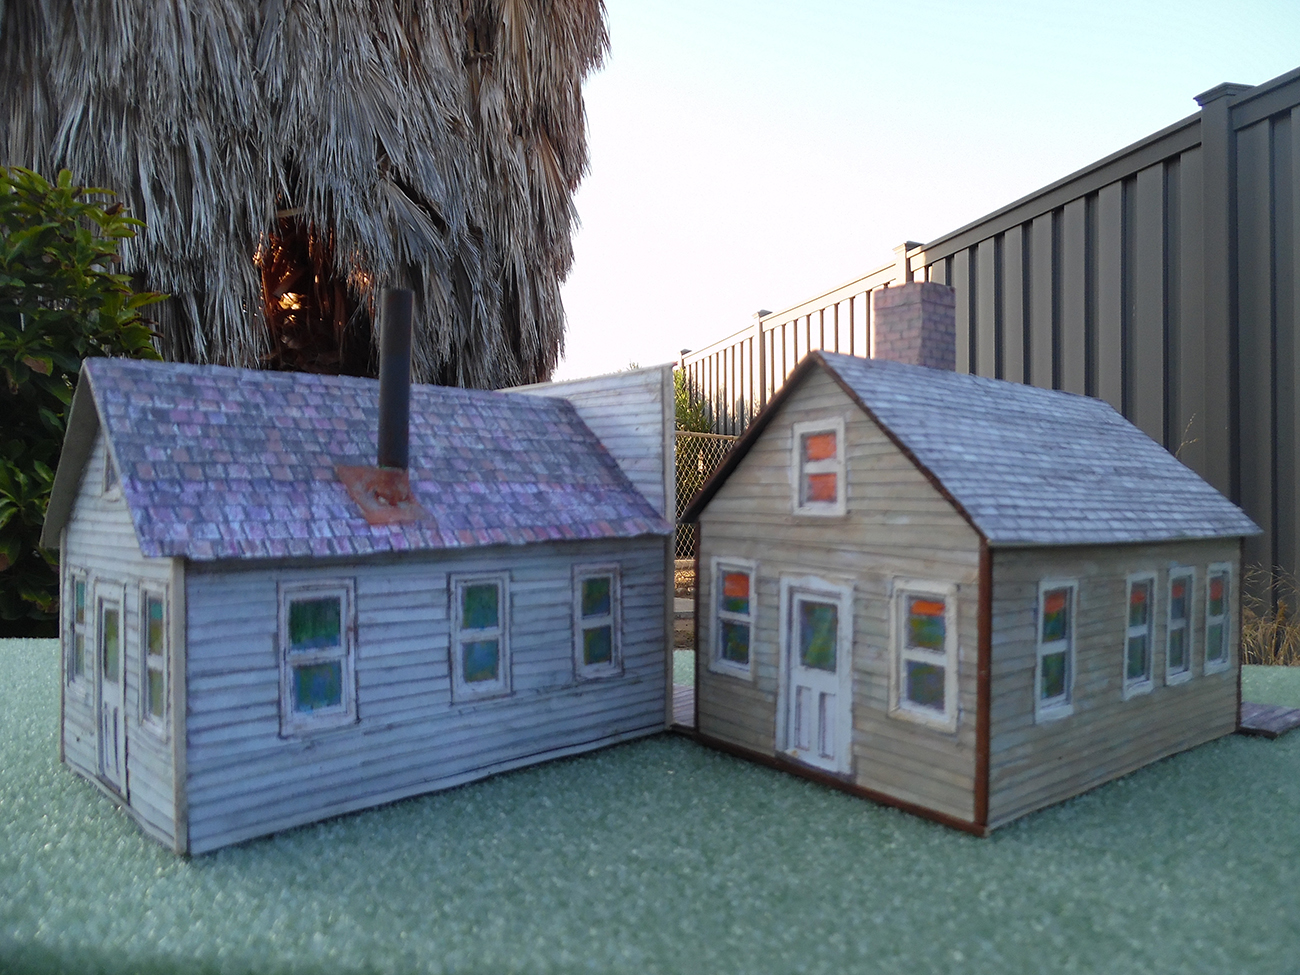
Here are some of my builds based on Al’s wonderful print outs.

HO scale scratch building plans cardstock

scratch build scenery

HO scale scratch building plans

HO scale scratch building plans

Here are my first two 1/4 inch O scale builds together…

Mind you I built these several years ago… Maybe 6 or 7…

HO scale scratch building plans cardstock buildings

HO scale scratch building plans


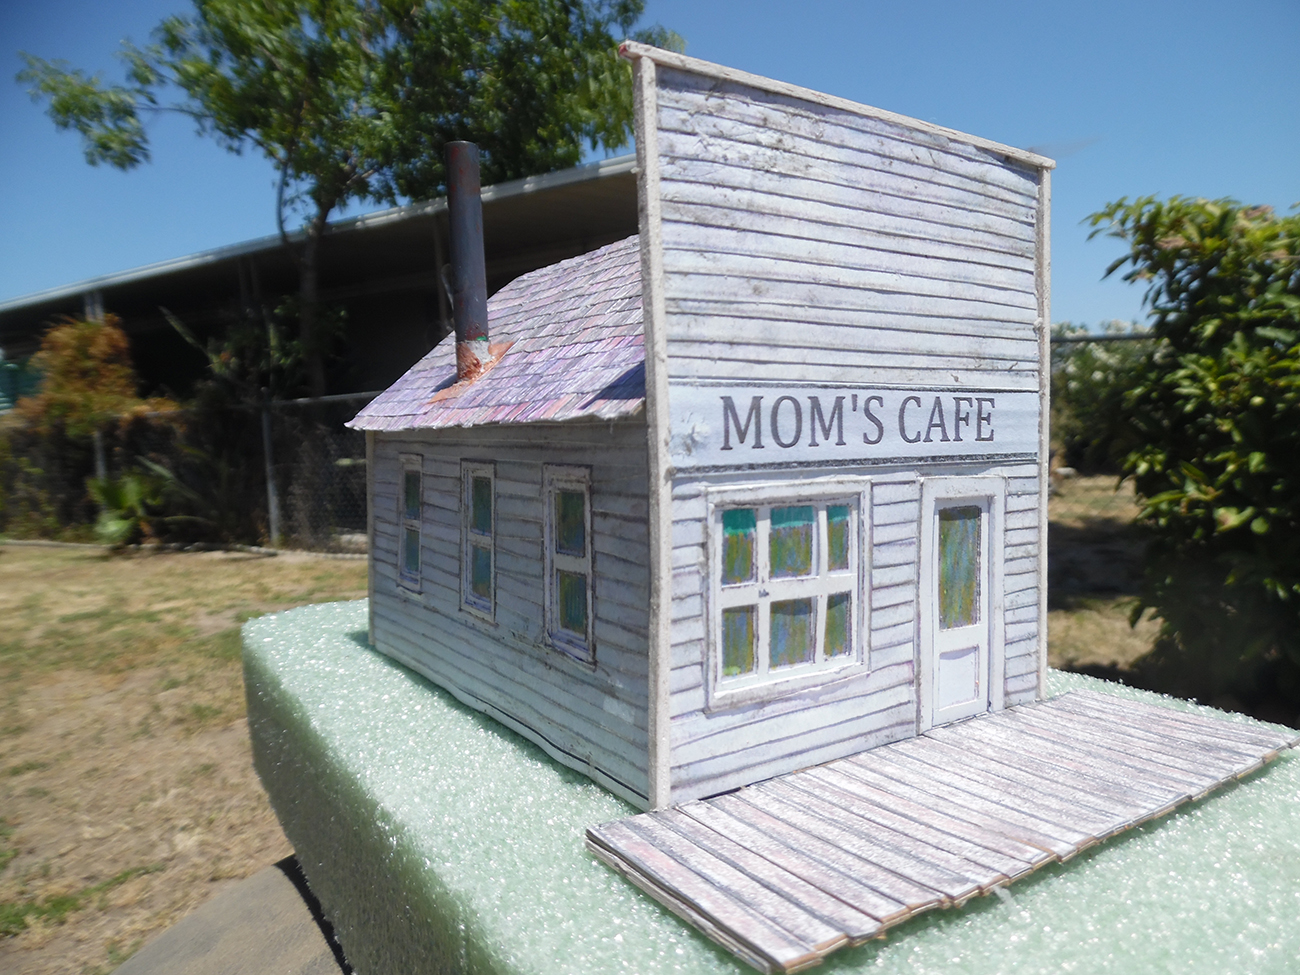
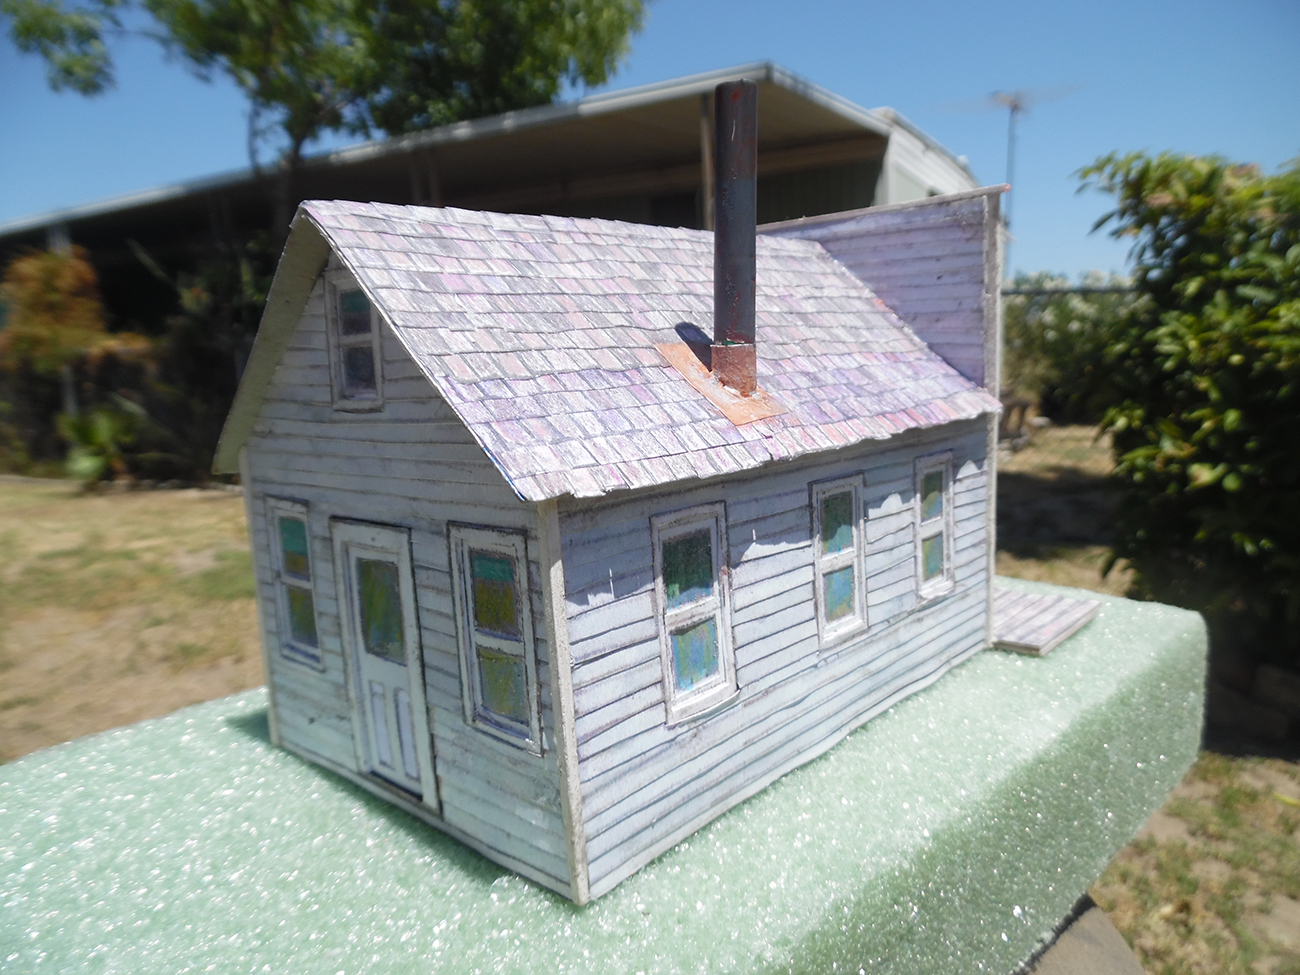
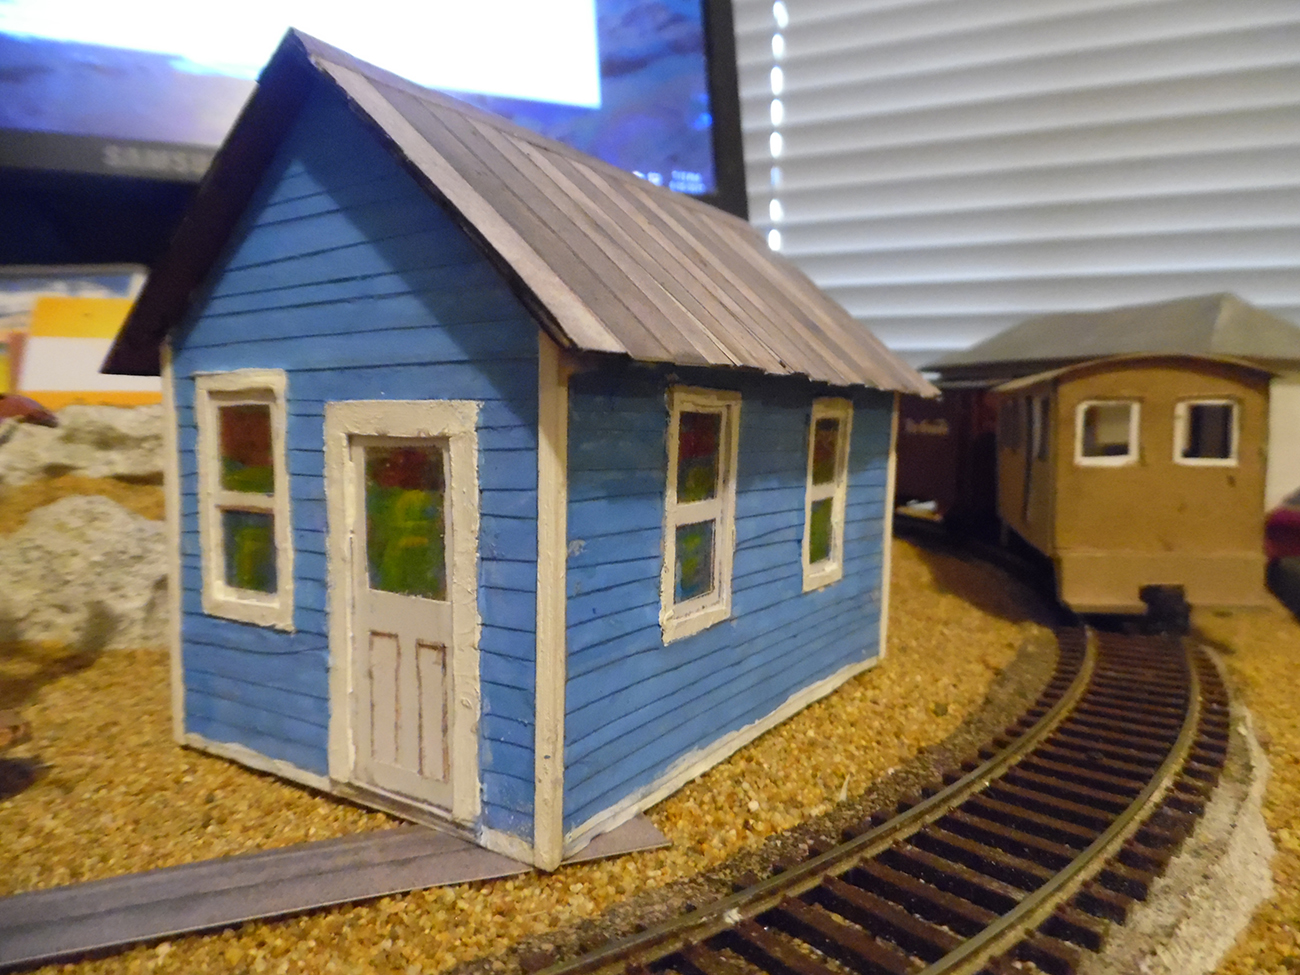
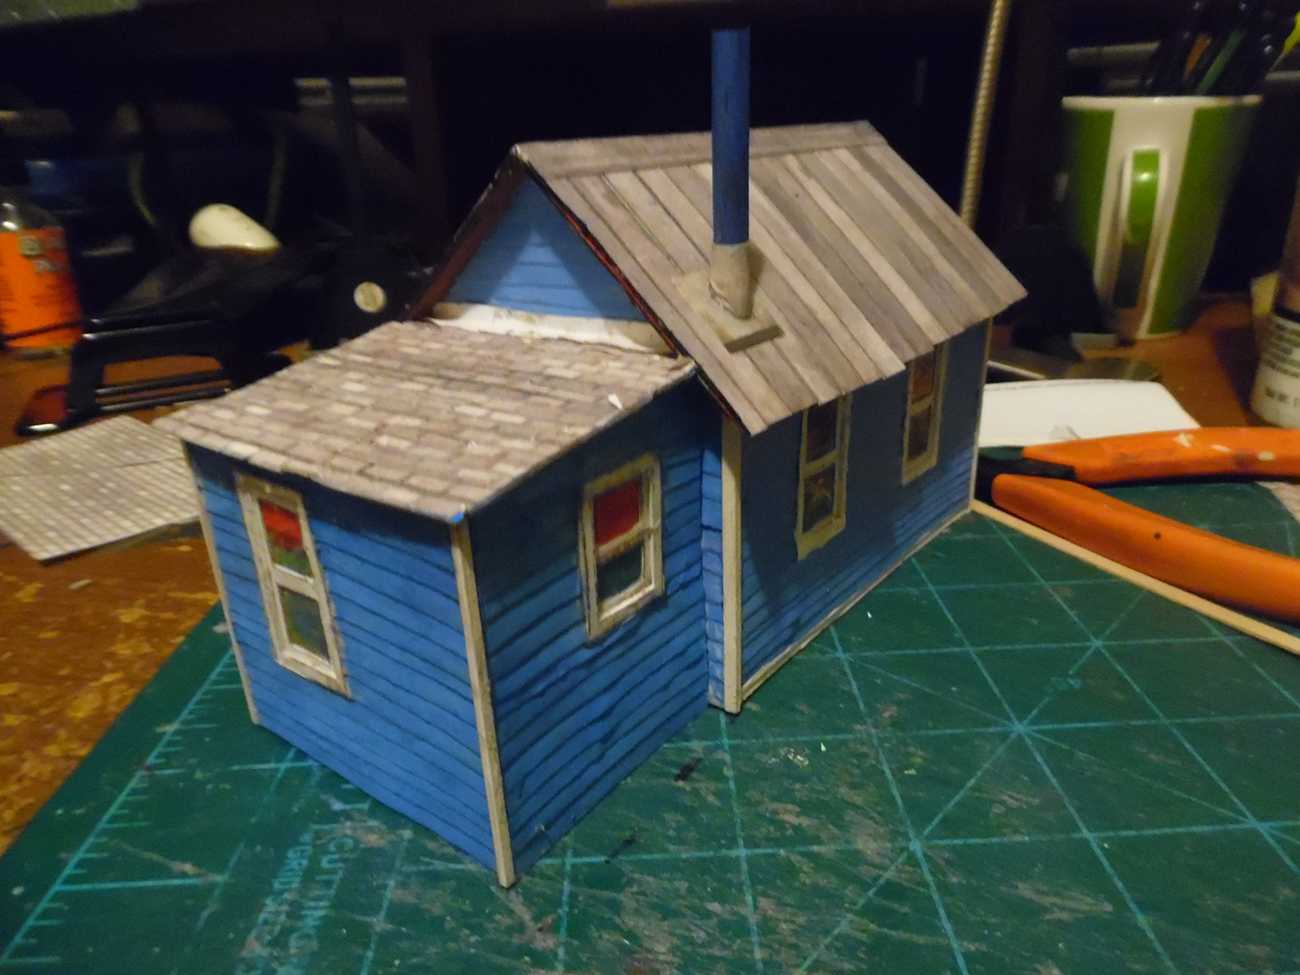
Using Al’s Blue house, I built a blue one of my own!

This is a small house of a style found throughout rural America

anytime from the late 1800’s to the 1950’s

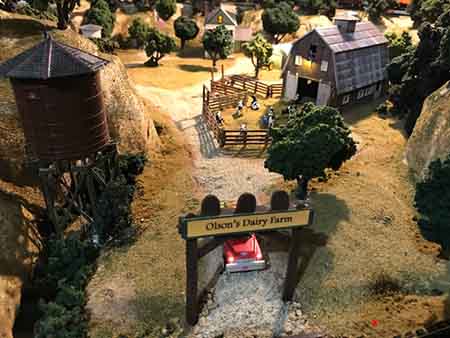
I used this and a little shed kit as part of a micro layout that I built

O scale narrow gauge in a space 8 inches wide and 29 inches long..

A book case layout!

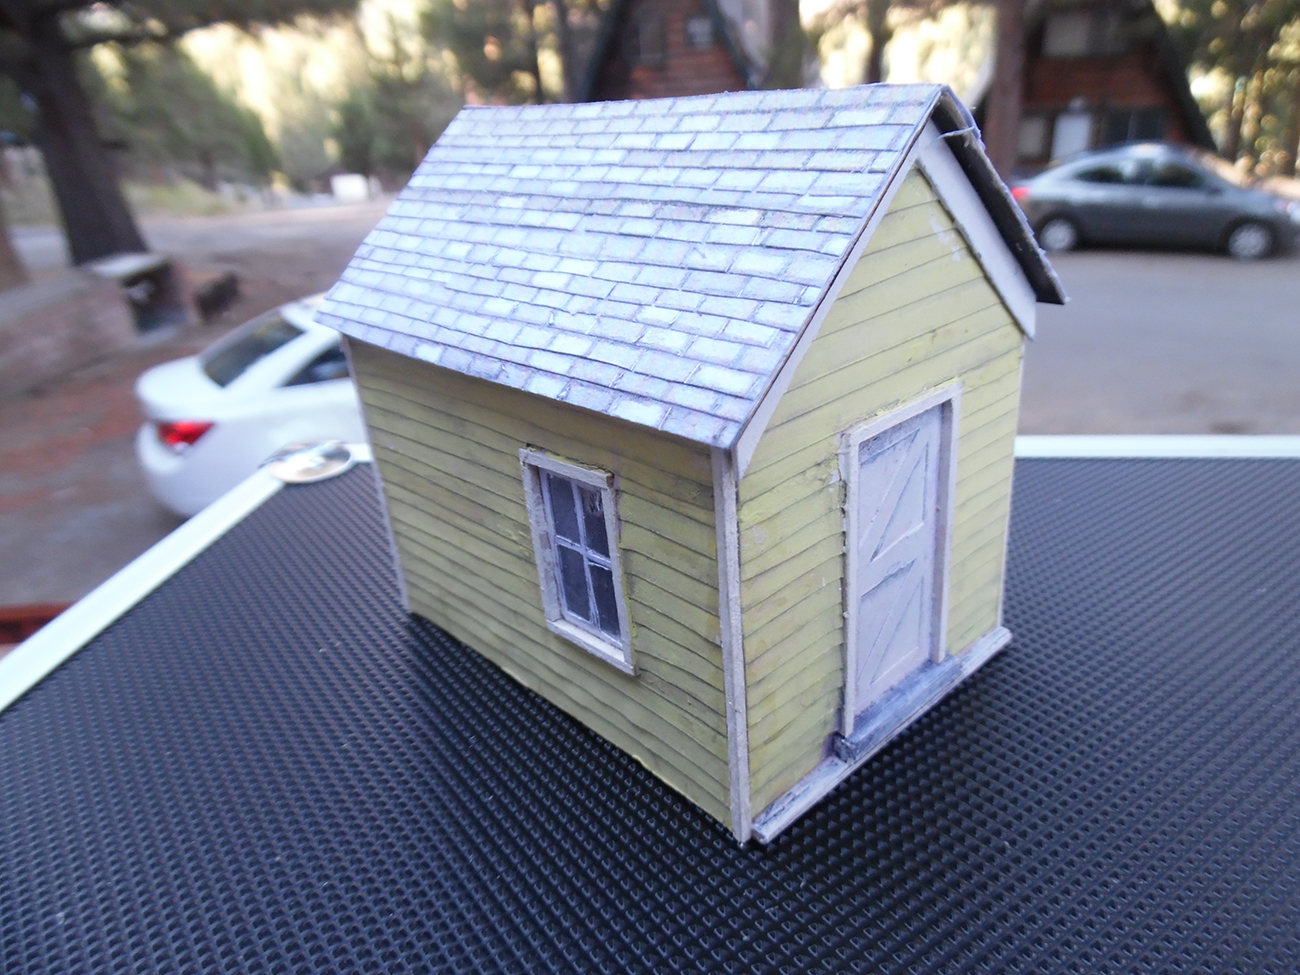
After the blue house, I built a little shed to show what could be done while

on holiday — With a very small box of tools and supplies…

printable building house

printable building house

printable building house

Almost there…

Last part of build up to the current project..

While my first build from Al Lee’s kits was an HO scale engine shed.

I wanted a shed for my Bachmann On30 Porter locomotives…

When Al came out with the covered bridge, I knew I had my engine house.

With winders from Al’s blue house (one of my favorite kits to work from)

And some other creative additions….

I had “The Porterhouse”…

HO scale scratch building plans

scratch built engine house

scratch built engine shed

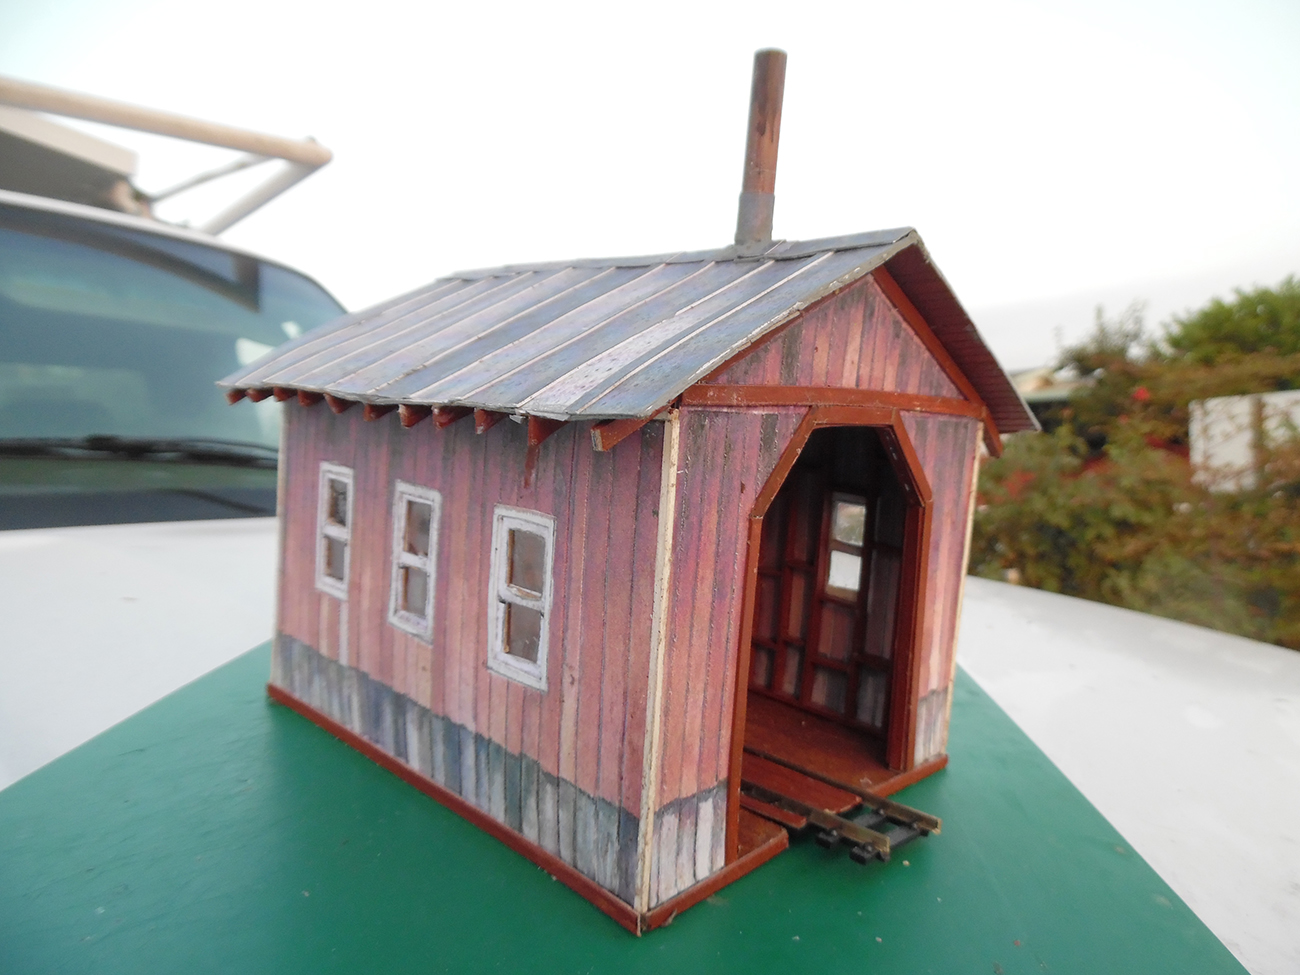
I shall send the freight shed how-to next.

John
California USA”

scratch built porter house

A big thanks to John for sharing his HO scale scratch building plans.

He’s also sent in a step by step for the freight house which I’ll put together this week.

You can see more of the cardstock printable buildings here.

That’s all for this time folks.

Please do keep ’em coming.

And if you want to take that first step on your model railway journey, the Beginner’s Guide is here.

Oh, and stay safe. Stay sane. Keep busy.

Best

Al

PS Latest ebay cheat sheet is here.


O scale passenger car interiors

Ivan has been in touch with some very good tip on O scale passenger car interiors.

“Al,

I was intrigued by the photos in the recent “Creating realistic interiors for your carriages” email article, I received recently.

I too have made additions to my passenger train. Several years ago I purchased a Bachmann Industries “Ohio River & Western Passenger Train Set” On30 Scale, to go around my Christmas Tree.

I also run an American Flyer #293 S scale train set, from my childhood, around the tree. The Bachmann engine was #12. I contacted the Ohio Railroad Historical Society and asked them what engines ran on the OR&W RW line. The last engine built to run on the line was a 2-6-0 Mogul.

Last year, I purchased a new engine, painted and unlettered, and added DCC sound to it. I attached new letters and the number 16 on my new engine. So, now I have the last engine which ran on the line from Bellaire, Ohio, which is close to Wheeling, WV to Zanesville/Cincinnati, Ohio.

Before Christmas, I noticed a roof on a passenger car was loose on one corner. I pulled up on it and it removed, exposing seats and pot belly stove in the back corner.

I ordered 50, O scale seated passengers and 50, ho scale passengers. When they arrived, I removed the tops on the 3 cars and glued the passengers, both adults and “children, ho” into the seats.

Various long tweezers are a must. Then I snapped the tops back on. The cars are lighted, so the passengers show up real well.

I also purchased O scale luggage to go in the baggage car. I am quite pleased with the results of my O scale passenger car interiors.

I have ordered Engineer and a Fireman to add to the engine.

I have moved the trains to our family room downstairs and yes I still play in the floor with my trains. I am 71.

Ivan”

O scale passenger car interiors

O scale passenger car interiors

O scale passenger car interiors

O scale passenger car interiors

O scale passenger car interiors

O scale passenger car interiors

O scale passenger car interiors

O scale passenger car interiors

O scale passenger car interiors

A big thanks to Ivan – it reminded me of Sam’s post: Model train interior.


“Al,

I am in the process of building my new around the wall layout.

I have taken down the old layout and have the benchwork for the new layout complete along with a basic 20 inch high background around the three walls. I am taking my time and trying to do everything right this time.

I have the track subbase established and while I was starting to lay the cork roadbed I came to the end of my station/yard area which is basically a 2x4ft piece of plywood then starts the cookie cutter subbase for the next section of tracks.

Although scenery is usually done last, I thought about what I was going to do about the abrupt change.

I came up with the idea of a storm drain area. So, I used some of the Masonite I have left from the background and created a basin.

I used a piece of PVC and a piece of 1x3in for the storm drain and surround.

I covered the basin with rock wall and pavement printouts. I built a curved bridge for the single track in front. The double main in the back will probably have the double main entering a tunnel at that point but that may change. Here are two pictures of the result.

model train storm drain

This next picture is taken at a lower angle.

model train storm drain

I think it turned out well. Now back to putting down more cork.

I have been taking pictures of my progress in building this new layout and will post more updates as I go along. I plan on creating complete documentation of the whole process.

Bob, Virginia”

And now on to Hall of fame member, Dangerous Dave:

“Hi Al..

Just a short video to show that we are still here and trying our best to keep going and entertain a few in these trying times.

I have been a bit busy lately as my wife injured her arm, so doing jobs I dont normal do (yes I know I should) but managed a few minutes up in the loft this afternoon, so just had to video a few trains running…

Hope you all have as best you can ..a Great Easter…

Regards

Dave”


Latest ebay cheat sheet is here

A big thanks to Bob, Dave and to Ivan for sharing his O scale passenger car interiors.

That’s all for today folks.

Please do keep ’em coming.

And don’t forget The Beginner’s Guide is here if today is the day you take your very first step on your very own layout.

Stay safe. Stay sane. Keep busy.

Best

Al

PS Latest ebay cheat sheet is here.


HO scale project – Paul’s

Paul’s been in touch with a very interesting HO scale project:

“Hi Al

I am sharing a new project I started.

The idea came from an article in a recent Model Railroader magazine.

In it the author mentions that many folks, including myself, install a fascia around the perimeter of their layouts which creates a barrier between the real world and the modeling world.

By removing this barrier and softening the edge the two worlds can come together.

I started making the change about 3 weeks ago and like the way it looks. It’s a simple HO scale project too.

In the photos I show how I did this and what the outcome looks like.

HO scale project side of layout

Some existing fascia on part of my layout which I plan to change.

HO scale project side of layout with no barriers

The new look with the softened edge and no barrier.

HO scale project making soft edge barrier for layout

The plywood structure attached just below where the top edge of the fascia was removed. I used 1/2″ plywood and some wedges I made and screwed to the layout to hold it on. On my first attempt I used metal brackets but since Covid-19 I wasn’t able to get anymore so I made wooden wedges which cost zero.

padding layout scenery with newspaper

Shows bunched up newspaper being stapled onto the plywood to provide shape for the plaster cloth to follow.

plaster for side of layout soft edge

Shows plaster cloth being applied.

filling plaster for soft edge on layout

Shows spackle being applied over the paster cloth to fill voids and add texture of soil and rocks.

soft edge to side of HO layout

Paint with tans and grays to simulate soil and rocks —I normally paint the convex areas to look like rocks and the concave areas to hold soil.

ground cover and bushed for model railroad

The finished result with ground cover applied and plants such as bushes and trees.

ground cover and bushes HO scale

Close up of the area —decorate to your taste.

I hope you enjoy it as much as I enjoyed doing it.

Paul”

A huge thanks to Paul for sharing his HO scale project – I think it looks fab.

I thought it would be fun to make a video of it:


Now on to Ben:

“For me, in addition to the planning and building of the layout, I enjoy creating different scenes that the trains run through. And although I’ve been into the hobby for 15 years, I still feel like a beginner. There is so much to learn and so much to share. Which brings me to the “Thank You” part of this note.

I want to thank you, Al, for publishing everyone’s comments, ideas, suggestions and questions. I have learned SO MUCH from these postings! I also really enjoy the videos that people share, so I thought I would share one of my own.

Ben from Chicago.”

You can see all of Ben’s HO scale model railroad here.

That’s all for today folks.

Please do keep ’em coming – and don’t forget the The Beginner’s Guide is here if you want to stop dreaming and start doing.

Best

Al

PS More HO scale train layouts here if that’s your thing.

woodworking for model trains