Sam’s been in touch with a wonderful ‘how to’ on model train interiors.
I thought it rather good – simple but effective:
“Thanks to many useful posts on your site I have been encouraged to experiment with many aspects of model railway systems.
Due to the expense and often the lack of realism with white plastic carriage interiors in Hornby stock I have been experimenting with low cost options. Hope you find it useful.
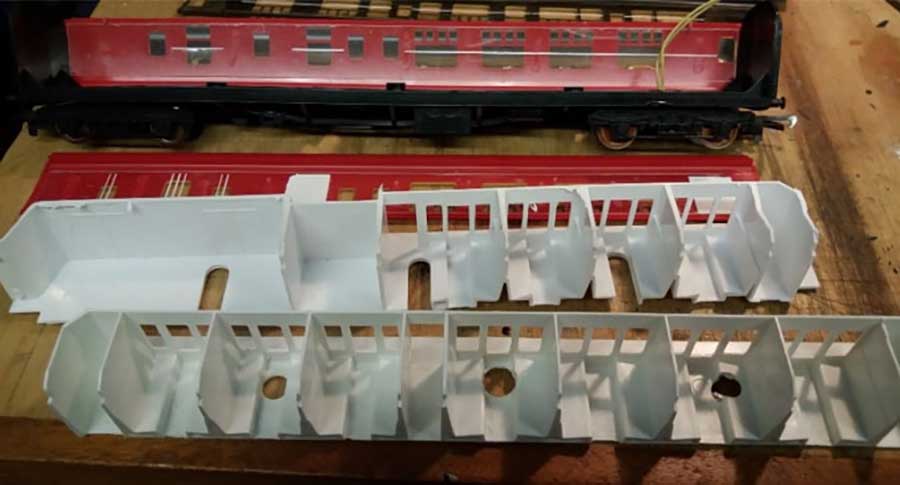
The type of Hornby carriages In my collection have two long screws holding the roof on. Once these are undone the roof can unclipped and the sides fall away. The interior can now be lifted out.
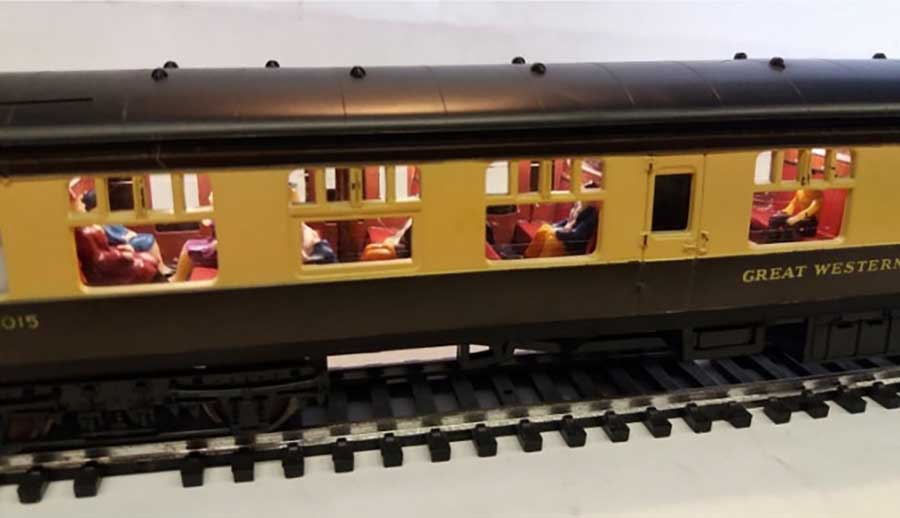
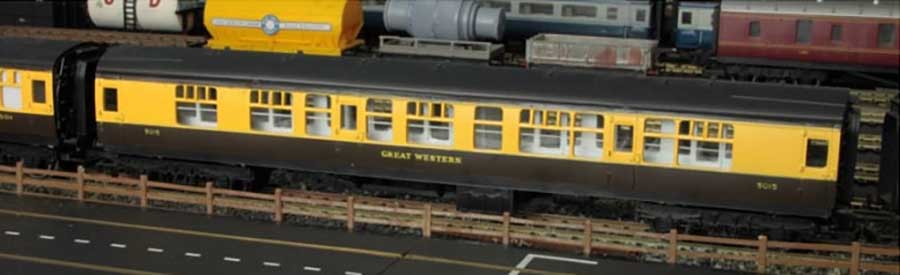
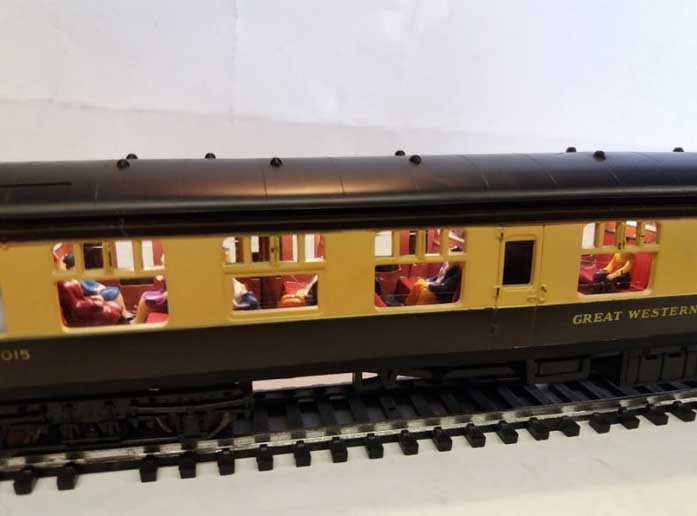
I’m working on several Mk1 coaches with different livery (Great Western, and BR blood and custard)
First stage is painting all the ‘wooden’ panelling with brown paint. (I have used wood effect self adhesive stickers in the past but I can hardly notice this and it’s really fiddly to apply, cutting around all the windows!)
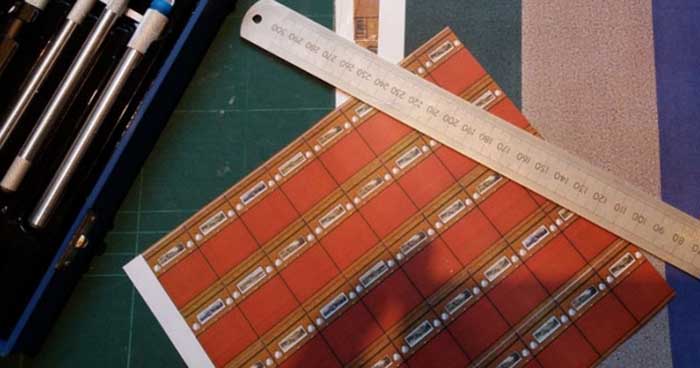
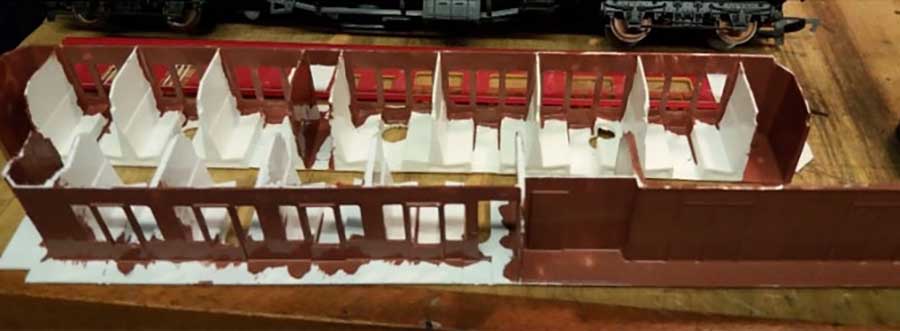
While the paint is drying I printed some self adhesive seating detail. I used online photos as a guide and then just experimented with a paint program – duplicating the seats over and over again to fill a sheet. The flooring was just a green carpet image from the web.

For added realism, and while the carriage was in bits, I removed the wheels and applied a rust effect with a pen that I bought to rust my tracks. Much easier than painting the wheels.
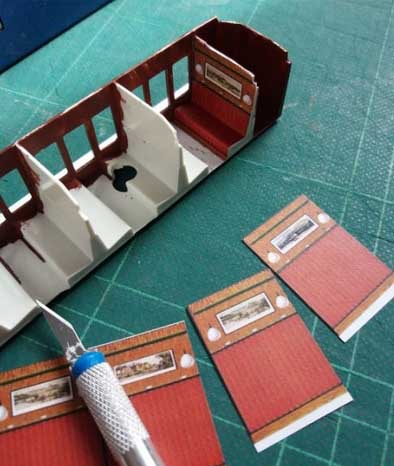
Stickers are now cut to size and carefully applied. I found it better to apply the seats and backs first before the carpets as the carpets cover up and hold the kick plates in place.
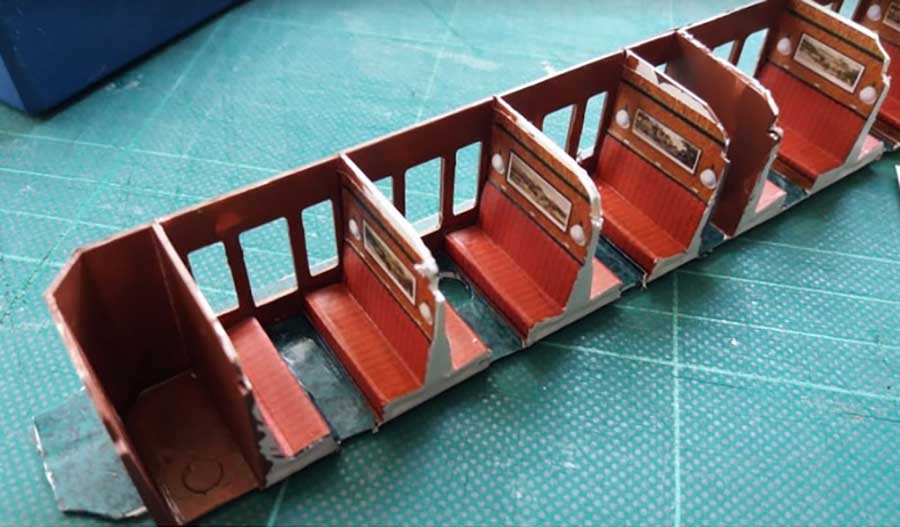
One interior now complete with carpets applied. Make sure you trim any excess off to ensure the sides and roof fit snuggly and cut away the holes for the two brass screws.
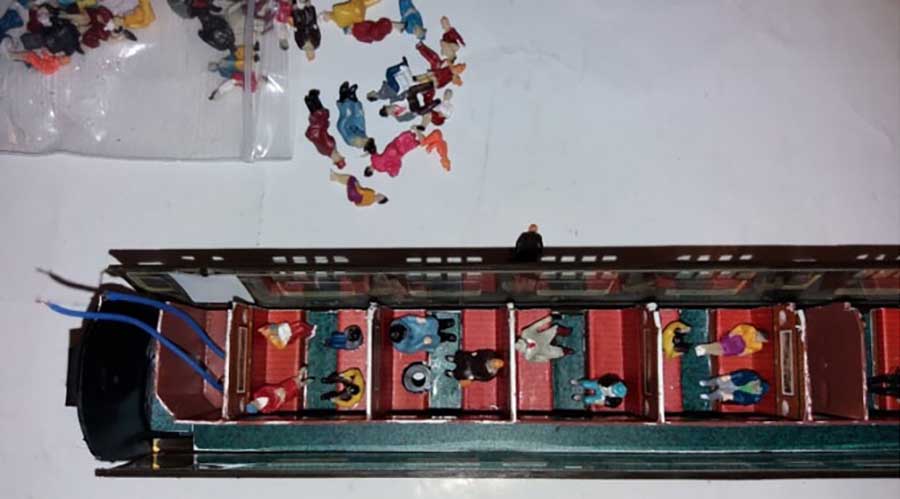
Next are the people. I bought a 100 painted seated people from a well known online auction site quite cheaply. These are glued in position to fill up the carriage. Notice the two wires – I have built my own carriage lighting system that picks up from the rails (instructions to follow!!)
When the glue has dried just carefully reassemble the carriage ensuring the sides and roof clip into place fully. NOTE – I have found that due to the added weight of the people, paint and stickers it’s better taking the weight out. I found that with several coaches (7 on my 125) it’s just too heavy.
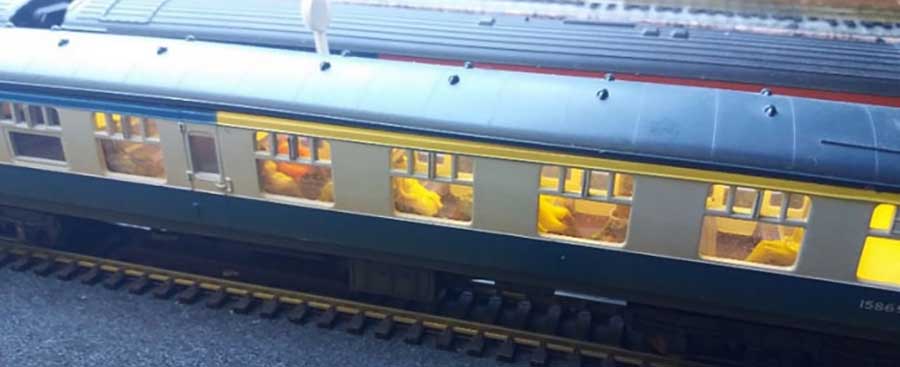
The BR Mk1 coach had a different colour scheme – blue stripy seats and blue floor.

The Mk III coaches seats were just painted blue with a grey painted floor.
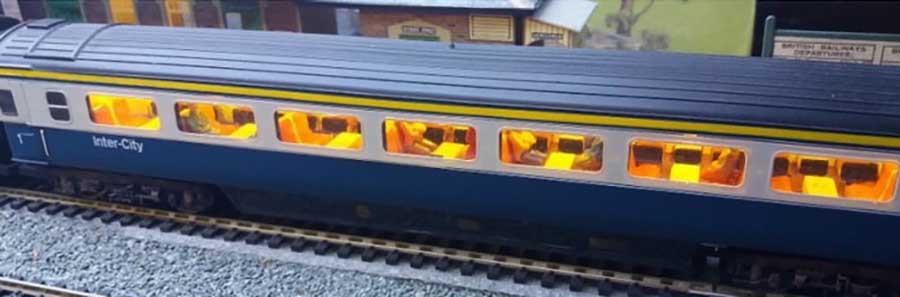
First class had orange painted seats with a brown floor. Fiddly to do but no stickers needed.
Sam”
A huge thank you to Sam for this wonderful ‘how to’. Hope you like it as much as me.
It reminded me of Ivan’s post: O scale passenger car interiors.
That’s all for this time – please do keep ’em coming.
And don’t forget there are a gazillion more like this in the Beginner’s Guide.
Best
Al
PS Latest ebay cheat sheet is here.


Looks like a great idea and very effective.
You could probably sell those stickers that fit over seats and up the partition
I remember on pre nationalisation stock a mirror in compartments and I paint seats and the walls different colours an add cooking foil rectangle to walls
These pics are great, but a possibly silly question, is anyone doing this in N gauge? I wouldn’t know where to start!
Very nice. I’ve added figures to the interiors of my KATO Amtrak Cars, tiny detail but makes a difference. What I really need to do is add lighting, doubt I ever will. N Scale is so tiny!
Sam
very neat & well done
Beautiful!
Fantastic modeling ! It looks great . I echo the N Scale comment made, that would be a challenge lol
Furnishing the inside of coaches is something I need to do. few of me coaches are done this way. It does look so much better when the lights are on and there are figures inside. I have seen the stickers before. Good idea painting the seats. Cheap and easy. Rob McCrain
Great work and thanks for the tips!
I have been building interiors for some of my HO coaches using my 3d printer. I believe that the interiors could be scaled down to fit N scale coaches.
This is the kind of detailing that makes an off the shelf item into a true model. I think a photo of a model RR should deceive the observer into thinking they are looking at the real thing. “Aging” would help many modelers, rust & dirt!
Great work
However I would love to know what scale you are working on
very nice furnishings.
Nicely done! I have to laugh at all the comments about N scale (1:160) being so “Tiny”. People do this in Z scale (1:220) although it can get expensive if you have a full load of passengers.
Outstanding Artistry… beautiful job, thanks for sharing….
For those of us in the “colonies”, what is sticker?
Terry/USA