That’s all for today folks. A big thanks to Paul for sharing his magnetic coupler.
It’s funny, couplers come up so often on the blog because a lot of the time they are the cause of derailments.
Some folk simply solve the problem by using a different brand, and there’s one that always comes up time and time again, as the one to go for, which is Kadee.
Please do leave a comment below if you’ve found the same.
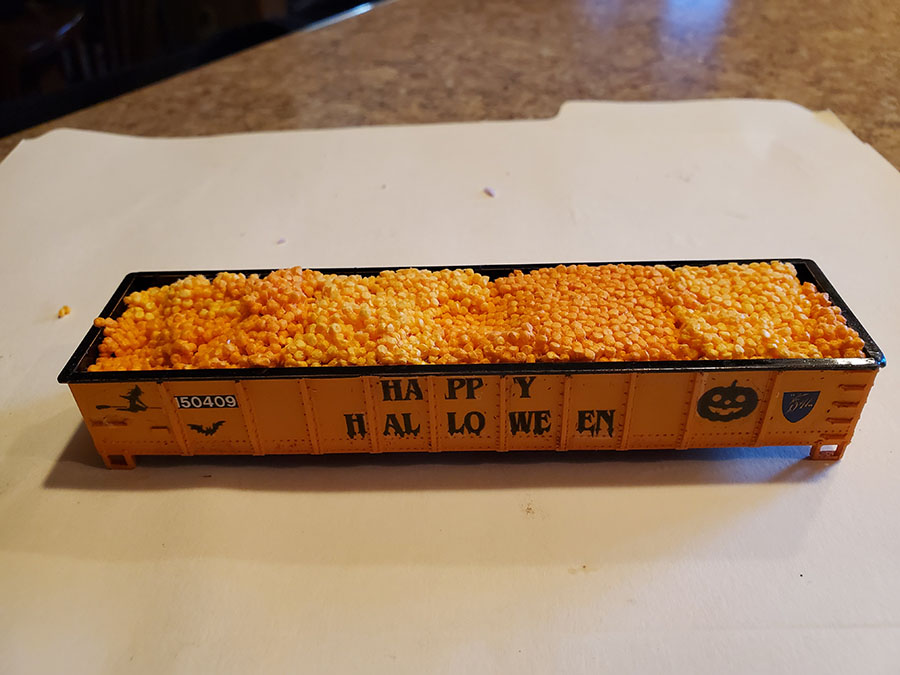
Dan’s had fun with his halloween model train project. He’s turned one of his freight cars in to a pumpkin shipper:
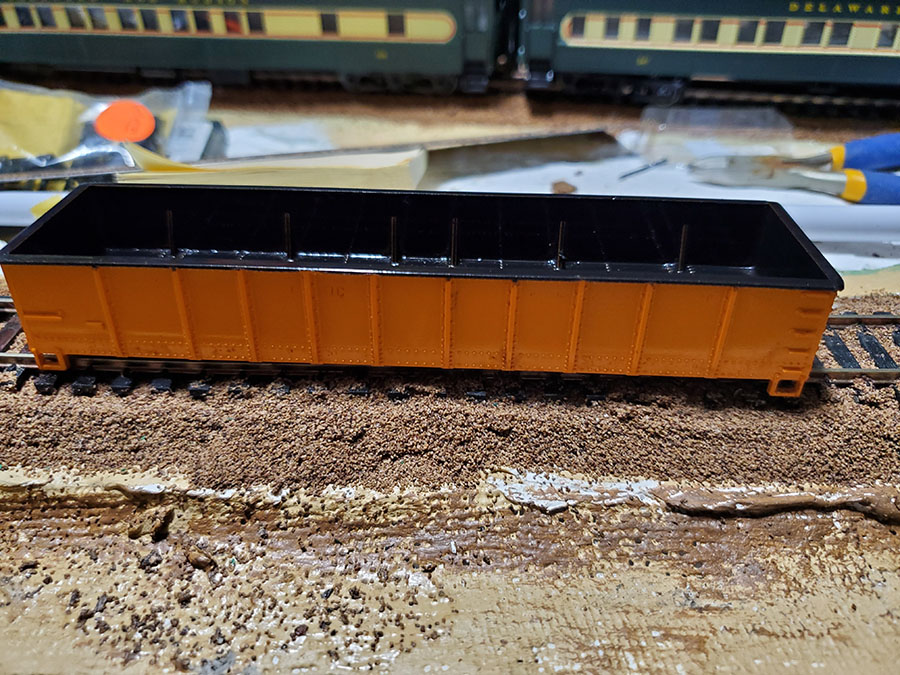
“It is pumpkin time and I came across a 1960’s Mantua gondola car that was Union Pacific orange and looked to be the perfect customer to turn into a pumpkin shipper. Some 91% alcohol and a Q-tip took care of the UP MOW markings.
The next step is to mask the sides with painters tape, being sure to burnish the outer posts so no paint seeps in. I primed the interior and upper sill then followed up with black gloss enamel. I wanted a color break between the car and the pumpkins.
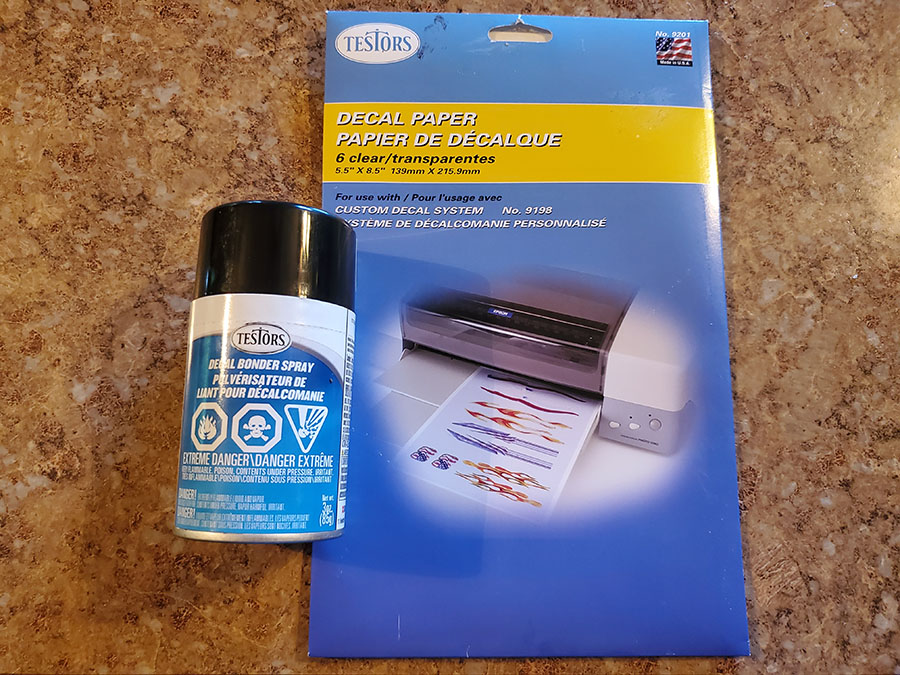
Now to the new stuff. At Hobby Lobby I purchased TesTors decal paper for inkjet printers. I used my 40% coupon for this. Once I got home and opened it up I realized I should have also bought the TesTors decal bonding spray. Don’t try this without the bonding spray. Fortunately, my wife had to make a trip, so I followed along to pick up the spray.
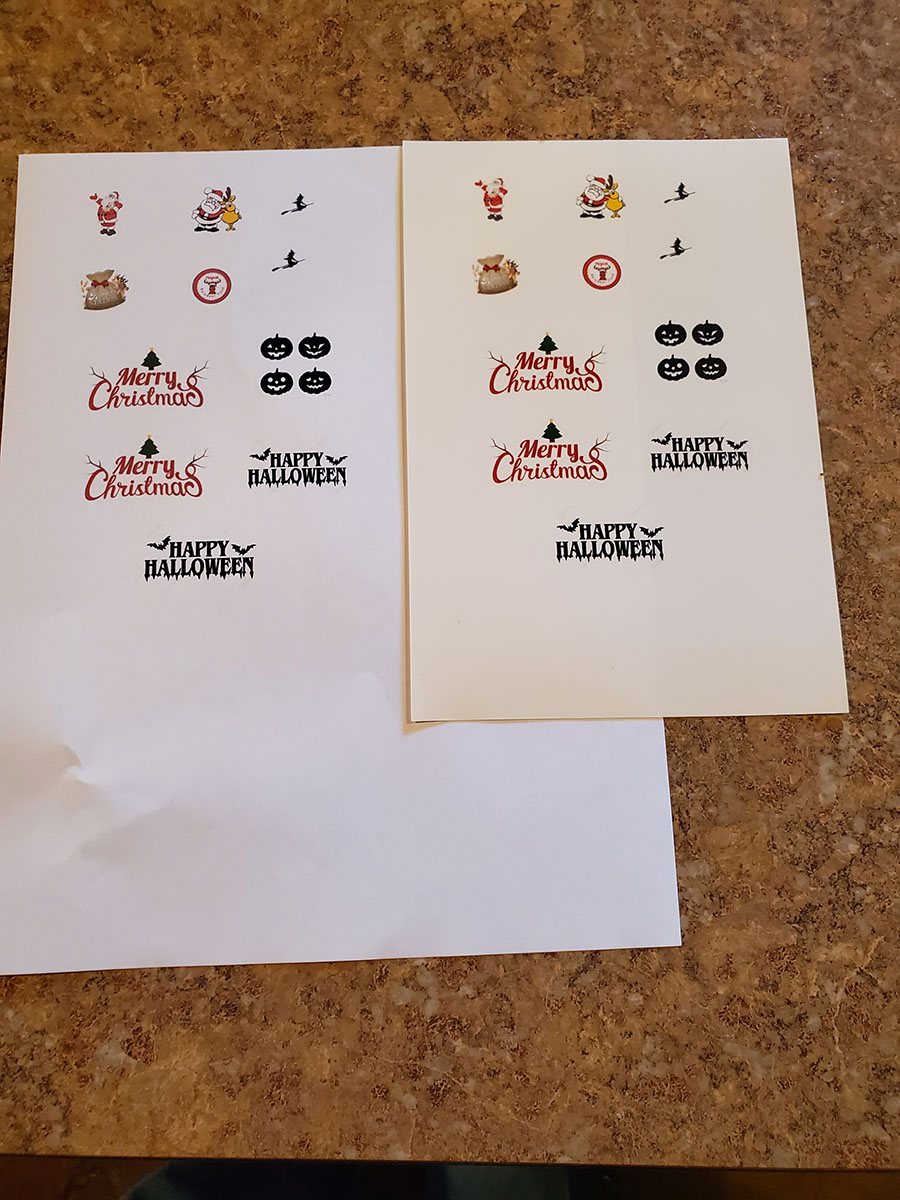
I pulled some likely clip art from the internet and played with the sizing in Word so they would fit on the car. You do some dry fitting, just printing on regular paper.
As with any decal project, it is a good idea to wash the car in warm soapy water and let it dry. Once dry I sprayed the sides with a glossy coat. These TesTor decals require that kind of finish, as do most decals. Then wash your hands and glove up. There was a question a week or so back about the need to use gloves. It is just that the same oils that leave fingerprints for the CSI folks can also spoil paint and decal jobs.
I printed my halloween model train decals, ganging them so they would fit on the smaller decal paper, and when dry, gave them 2-3 passes with the TesTors bonding spray. I let this dry overnight.
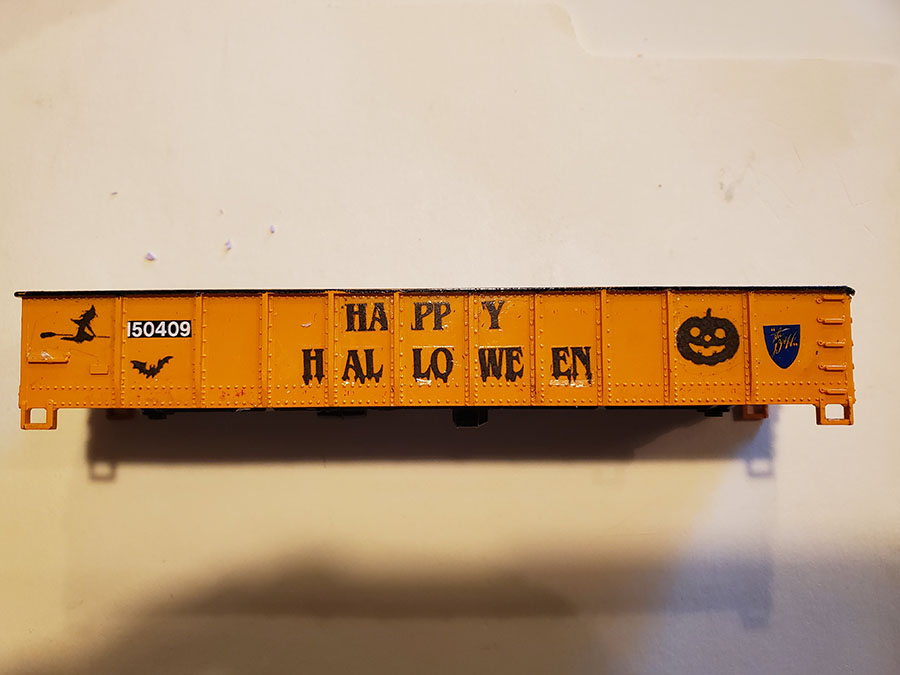
The next day I followed the instructions on the decal pac, cutting and soaking for 5-7 seconds in water [I use distilled] then placing it on a paper towel. I also dabbed a drop of water on top of the decal after placing it on the towel. 15-30 seconds later the decal would slide off the paper. Using tweezers and a very small straight cut brush I placed the decals where I wanted them. I put a dab of water on the spot before placement. I let it sit for a bit, then dabbed with a Q-tip very carefully to pick up excess moisture. Then on to the next decal. As the photos show, a smooth-sided car will make this process easier and faster. My next holiday car (Christmas) will have this advantage.
Now I needed some railroad markings, so I pulled out my D&H decals and dropped the seal and car reporting # on the car. These decals were followed up by a setting fluid as normal, but the printed decals only really needed a good gloss surface.
I was very happy with how they turned out, and actually, I found them sturdier than the decals you buy at the store. With this product, you can make any decals you want with your inkjet printer.
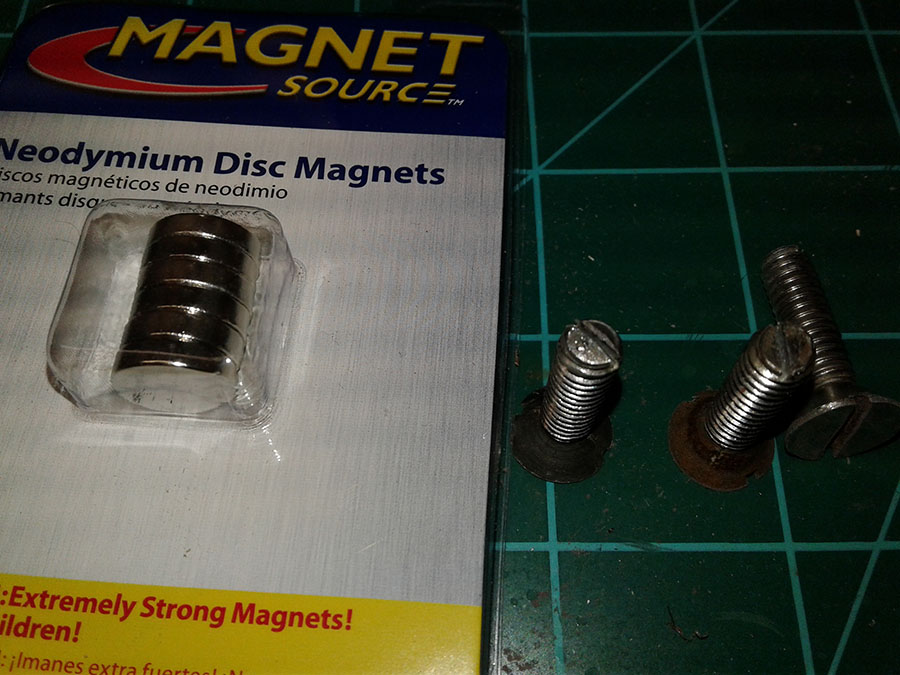
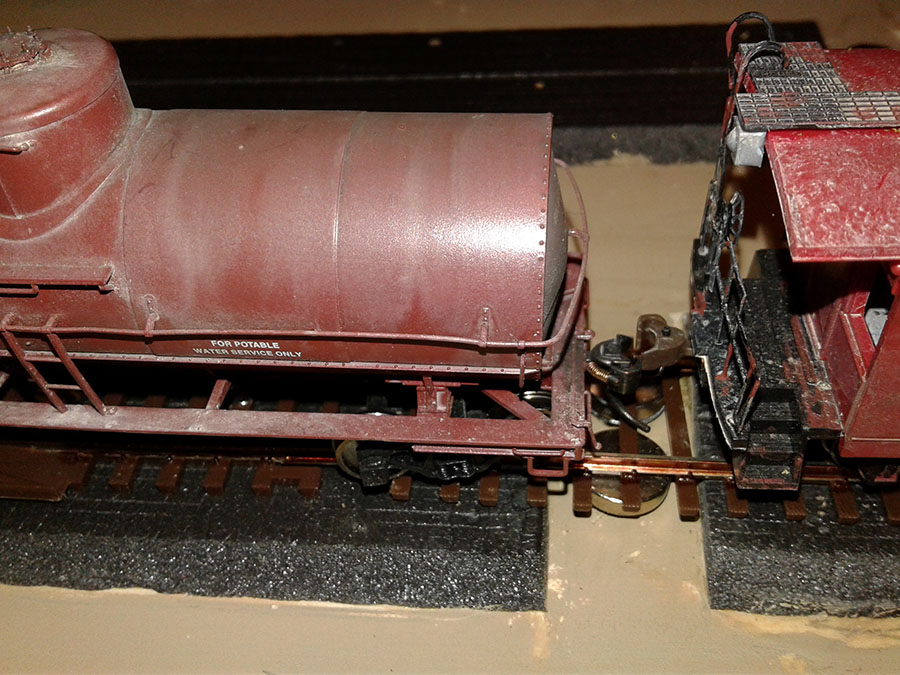
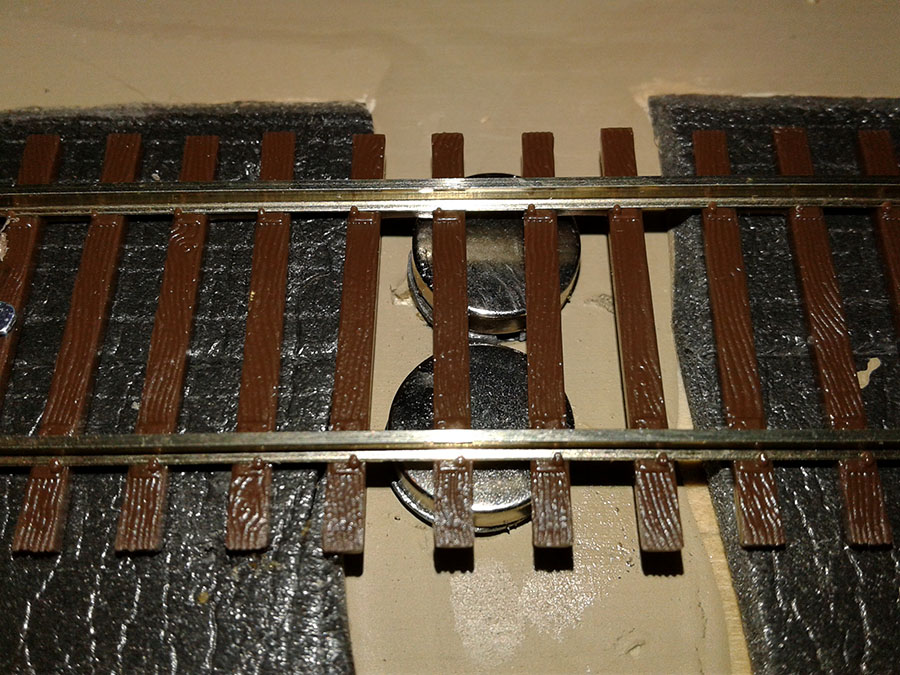
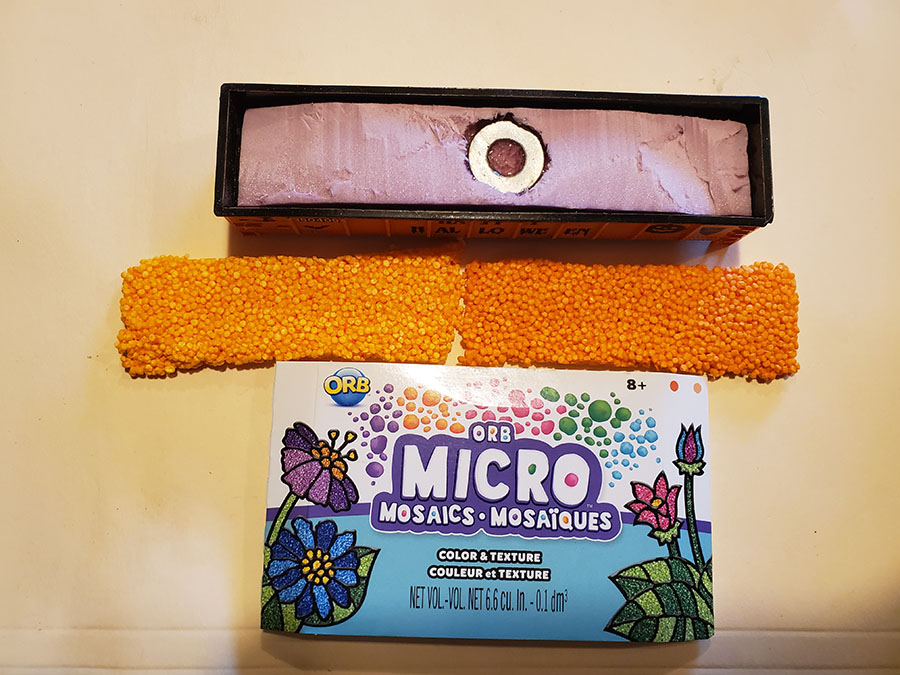
Now to the “pumpkins.” I found this ORB Micro Mosaics also at Hobby Lobby in a variety of colors. The black makes for good coal, and this material is malleable with a sticky back. One pack had two different orange colors and the scale seems to work for HO scale pumpkins. I dummied the gondola with foam, inserted a steel washer for a magnetic release if needed, then pulled apart the mosaics and placed them in the gondola, mixing up the colors.
The final step for my halloween model train, a dull coat application, trucks, couplers and on to the produce distributor.
I did not weather the car, as this car had just been repainted at the shops in Oneonta. That is my story, and I am sticking to it.
I hope this provides some useful info for you folks.
MN Dan”
And when it comes to Halloween, if you missed this, here’s Liz’s again:
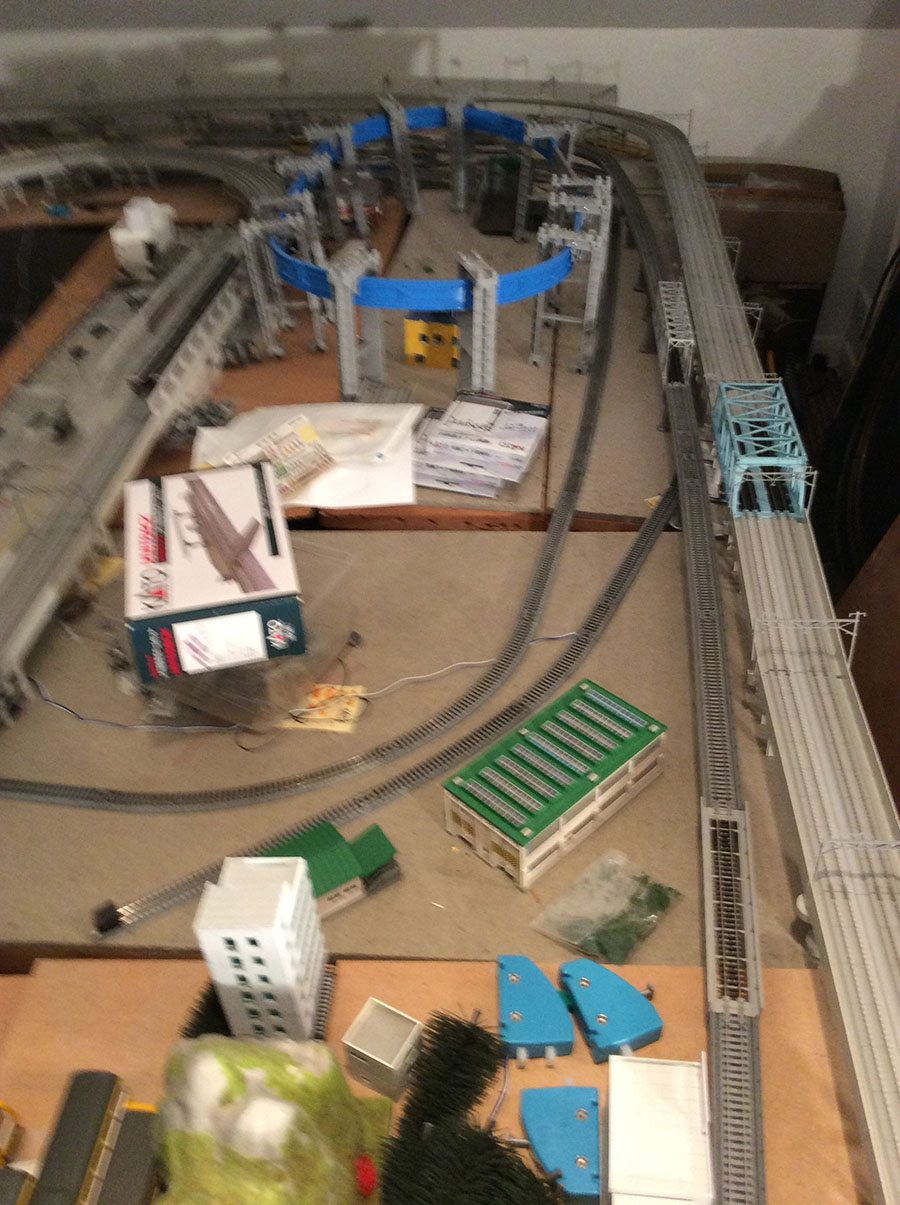
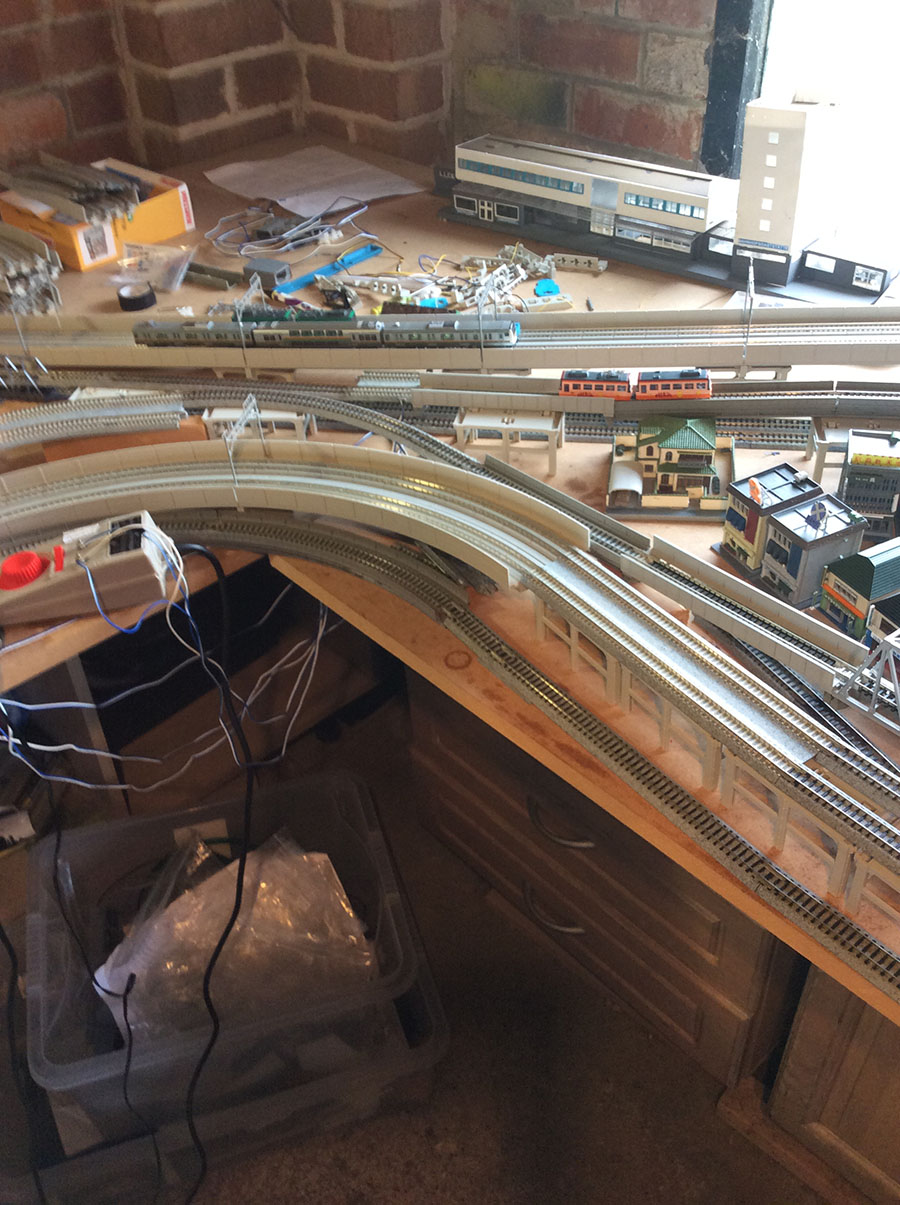
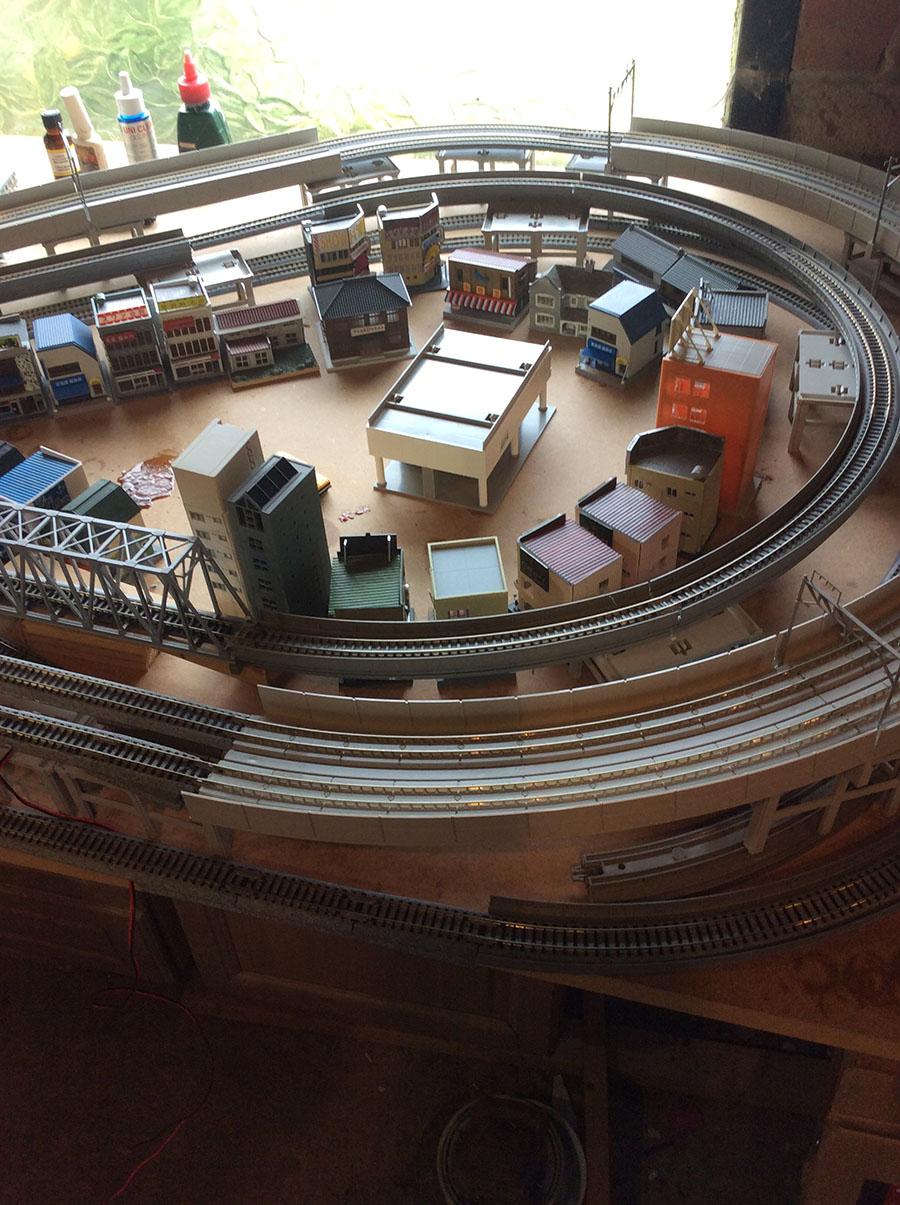
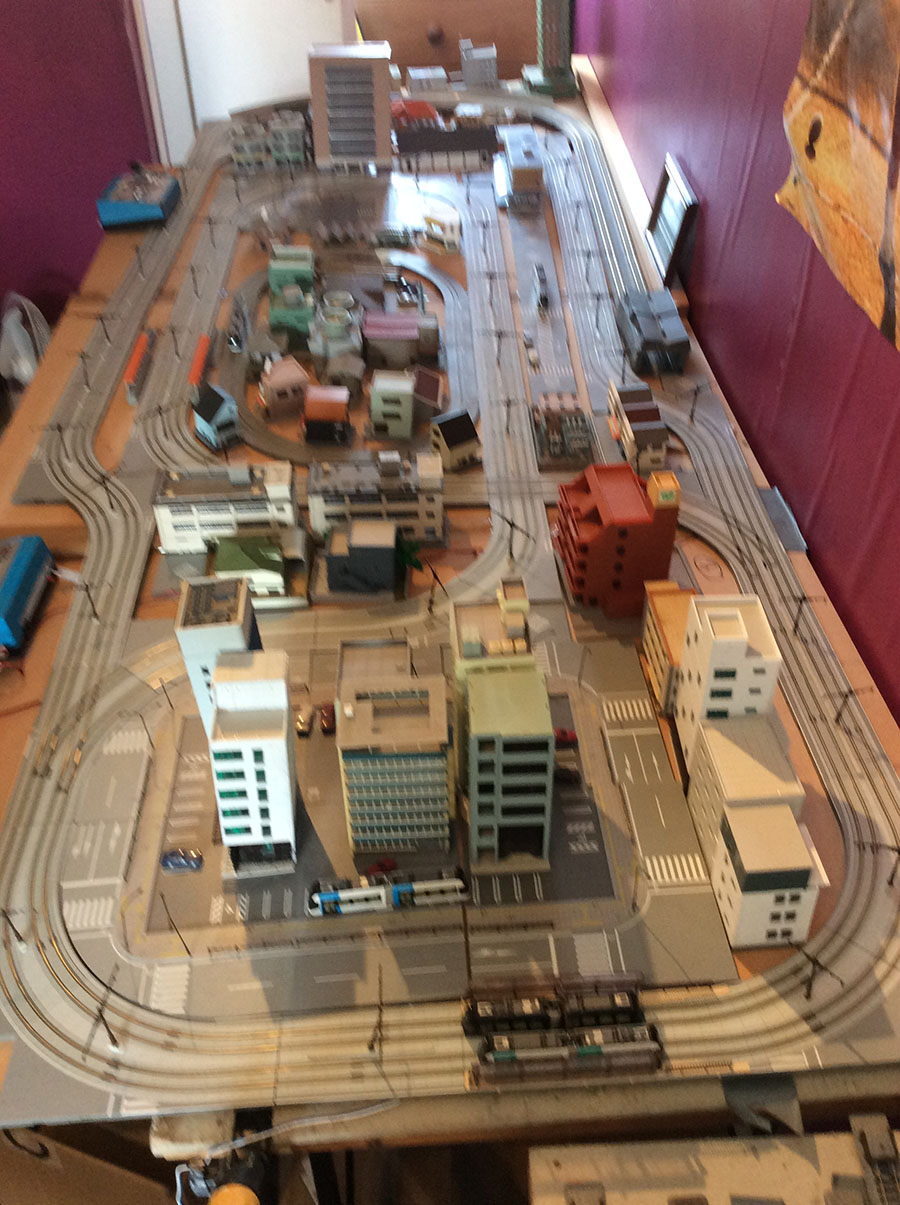
I live in the uk and have a Kato with tomix tomytec buildings in my loft and garage.
I am analogue with simple gaugemaster and Morley controllers – no scenery I just enjoy the hobby and like running the trains and trams. It’s not exhibition standard but i would say to everyone just enjoy yourself.
I throw a few Lego models into the mix and anything else I can find.
Alan”
A big thanks to Dan and Alan.
It just goes to show all it’s all about having fun. If you just want to run trains without putting down a stick of scenery, that’s fine. If you enjoy it – do it!
And I know there are just as many on the other side of the fence. For them it’s all about the scenery and they’ve never even plugged in the tracks.
Well, what ever works for you, that’s fine. I think that’s what makes this hobby – make it your own.
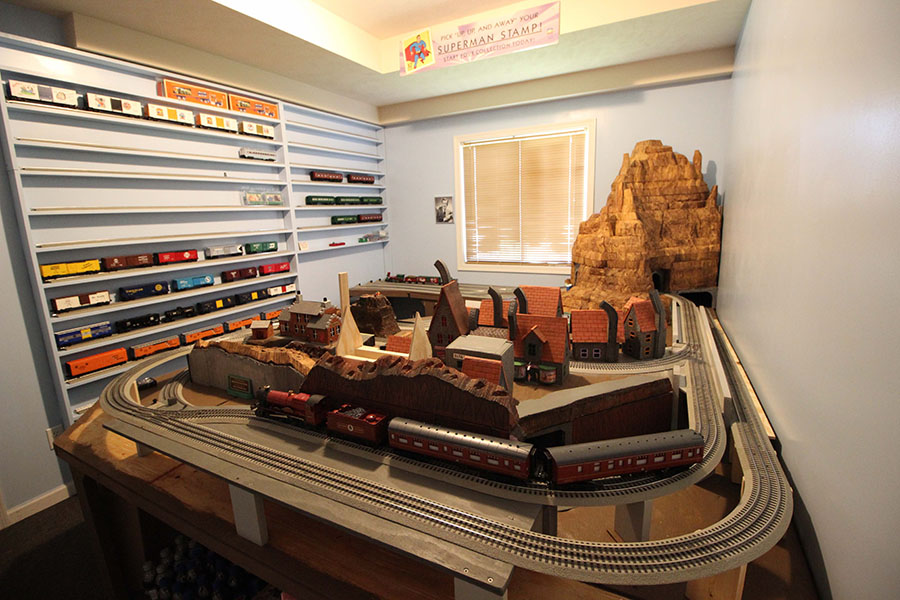
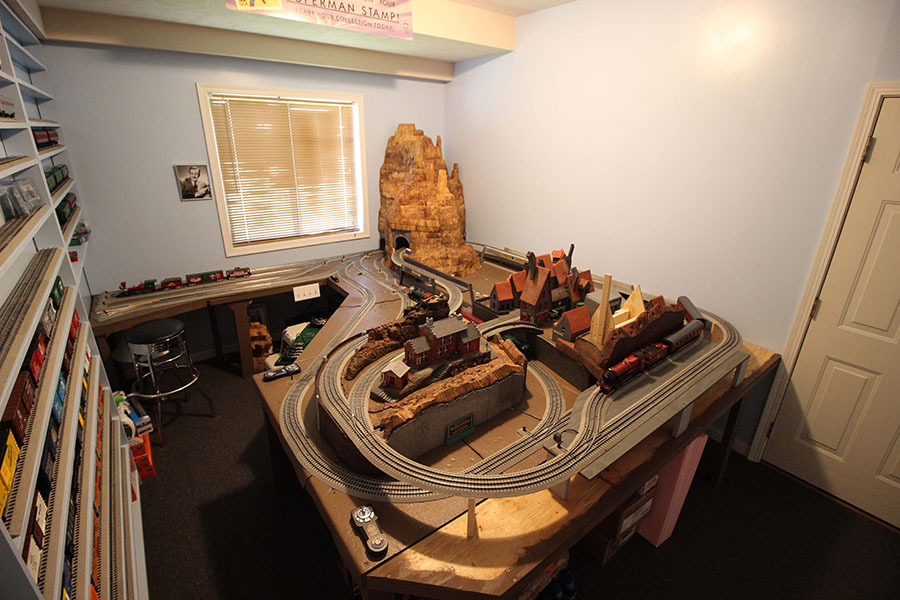
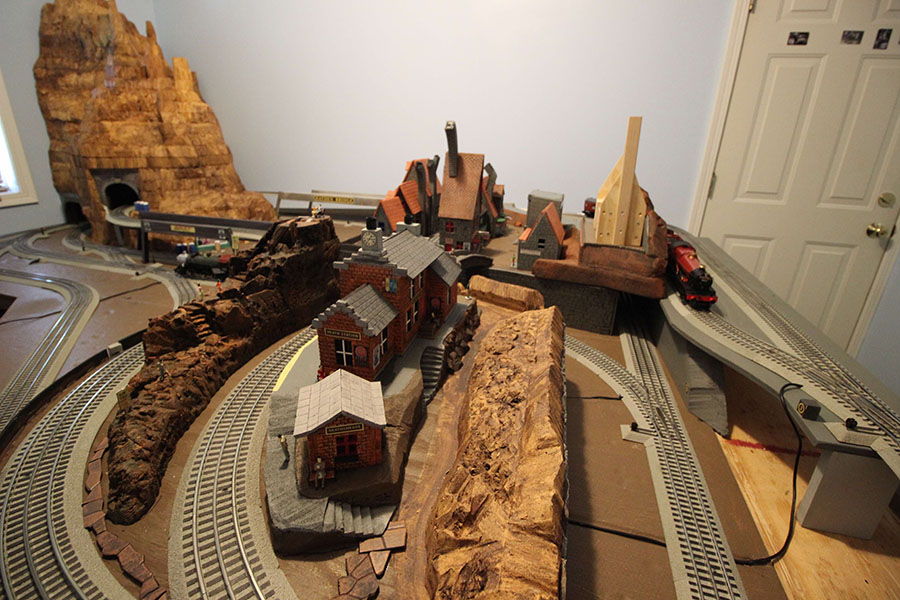
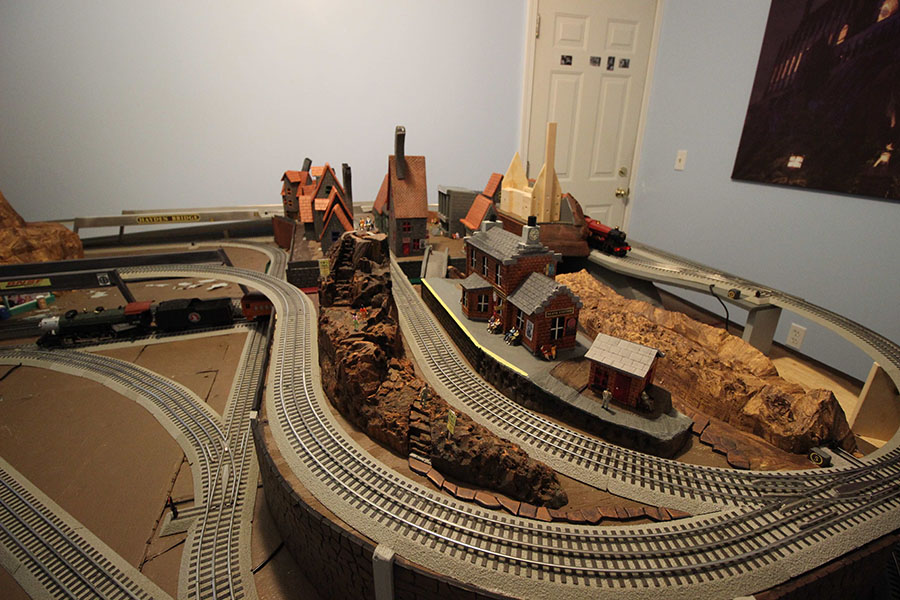
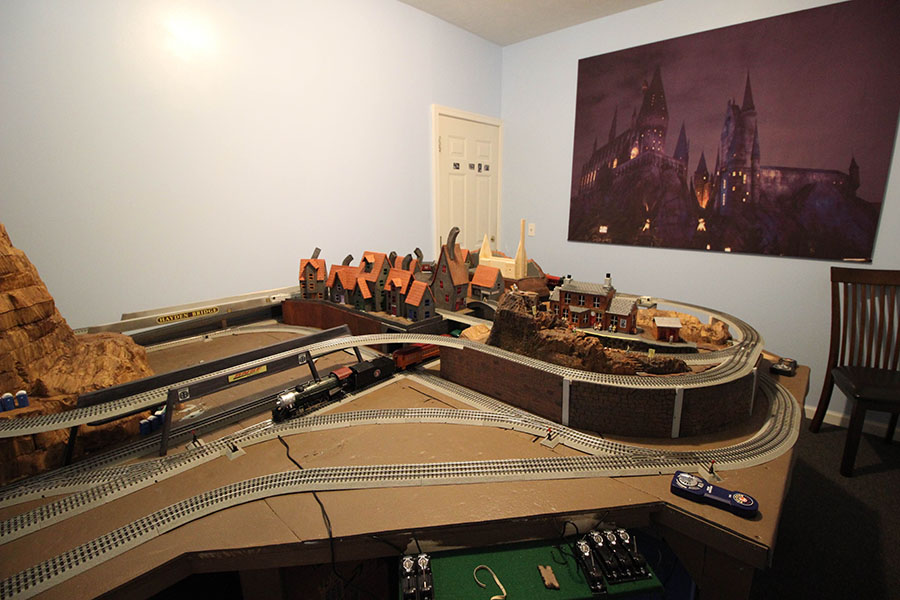
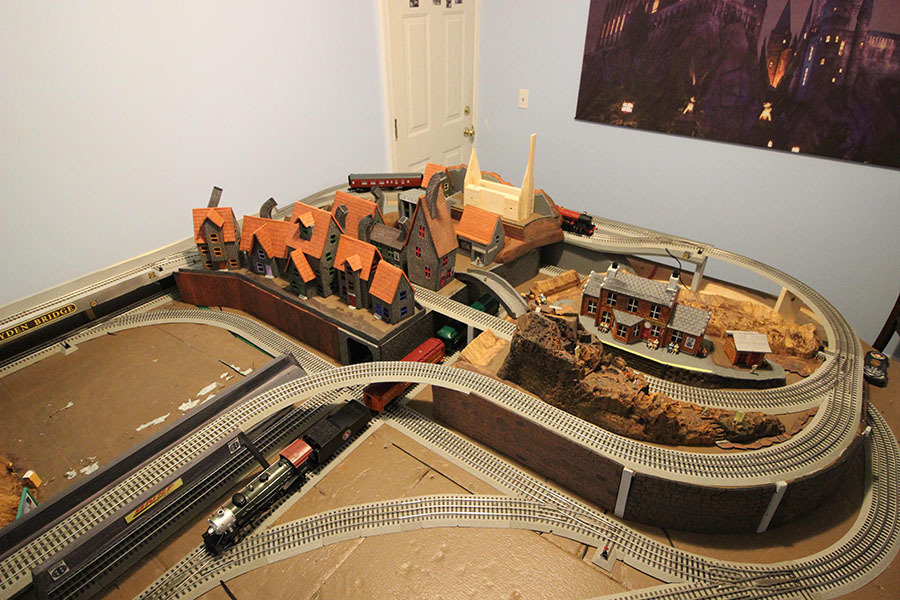
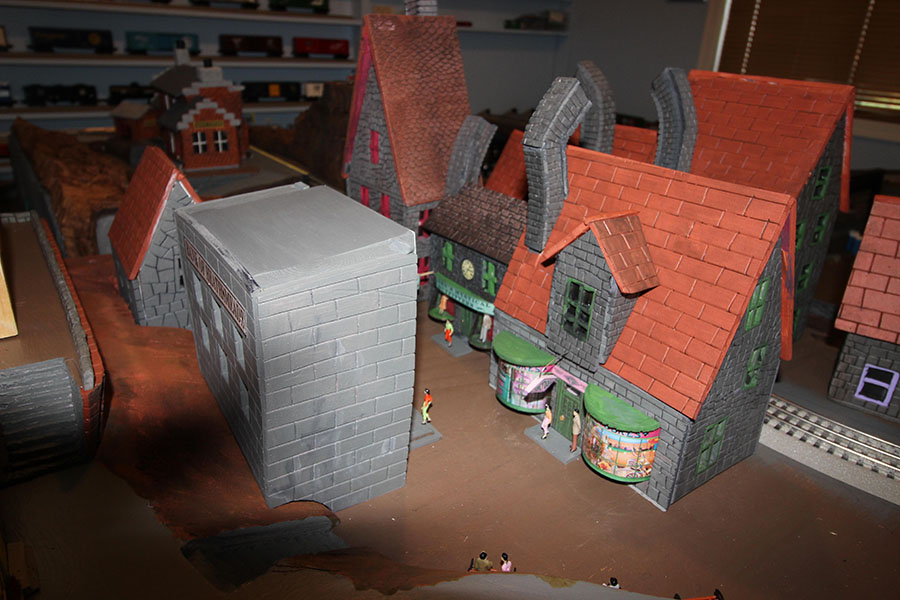
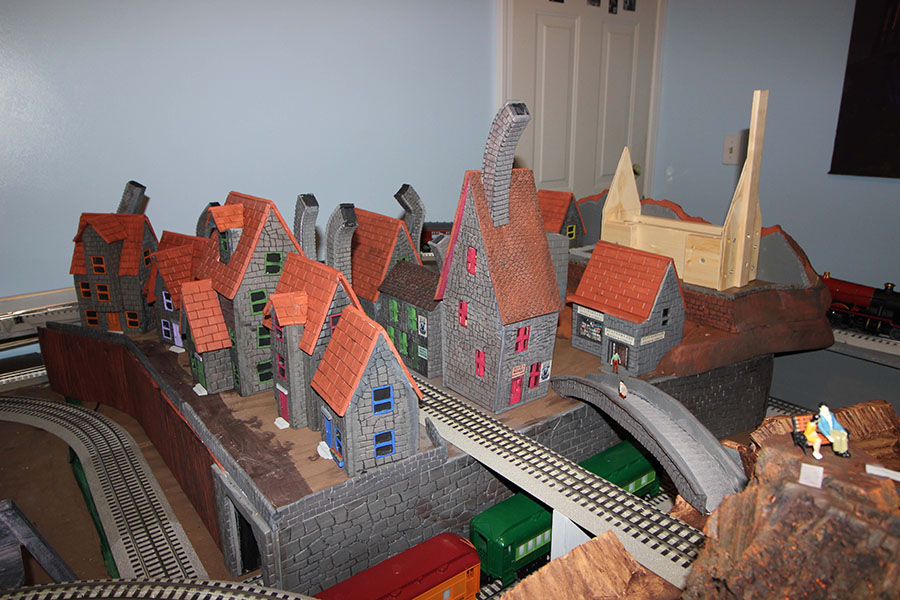
Mike’s been in touch with his Harry Potter model train layout.
It’s another fine example of your layout can be whatever you want it to be:
“Hello Al,
Been inspired by your emails to build a train layout inspired by my grandkids’ interest in Harry Potter.
We acquired the train while on vacation in Orlando, FL while visiting Universal Studios Harry Potter exhibit.
I’ve spent the last three months putting this together only to realize a 10 foot by 14 foot room is just too small.
Will be reassembling and expanding into a 17 foot by 17 foot space in the basement. Wish me luck.
Kind regards,
Mike Bifulco
Grand Rapids, Michigan, USA”
Now on to Rob.
“Hi Al,
My latest video seems to be generating considerable interest.
I thought your readers might enjoy a little frivolity on a model train layout, or what I consider good old fashioned fun.
I did a series on how I built the road these vehicles follow a few months back and if enough would be interested, I can send that link too.
But this one is about running my Faller vehicle and how I added headlights and tail lights to it. It was quite a trick. If I was an electronics whiz it would all be easier, but alas I am not. I am a mechanical guy.