John’s been in touch – he’s made an all American model bullet train:
“Hi Al
I have been receiving your model railroad information subscription for some time.
As you might know the U.S. has no high speed rail, that is until I made it. After repainting a Kato bullet train into Amtrak colors the rail road dream is on…
I am 63, retired and struggle with all this new technology but would love to show some modelers my layout ( as bad as it is) via pictures and a short video
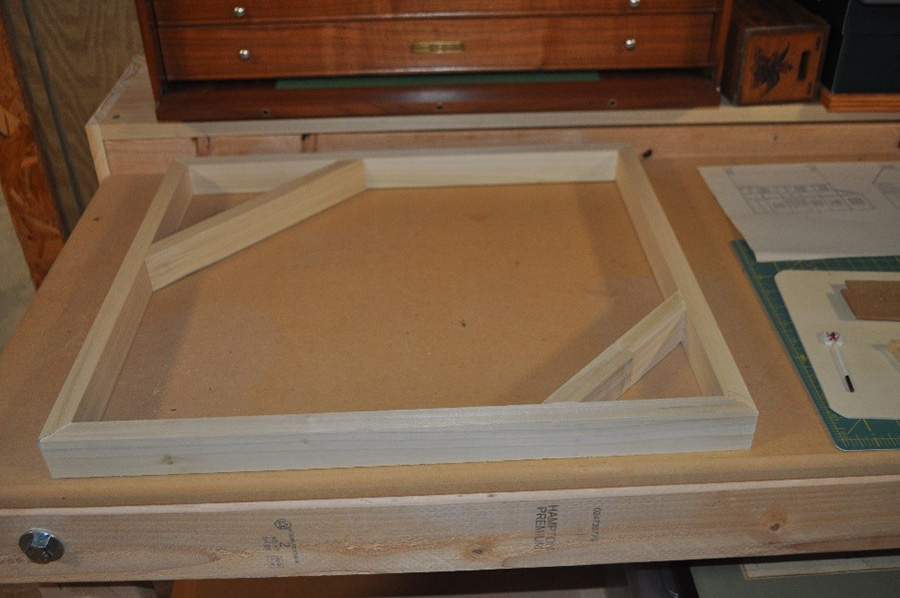
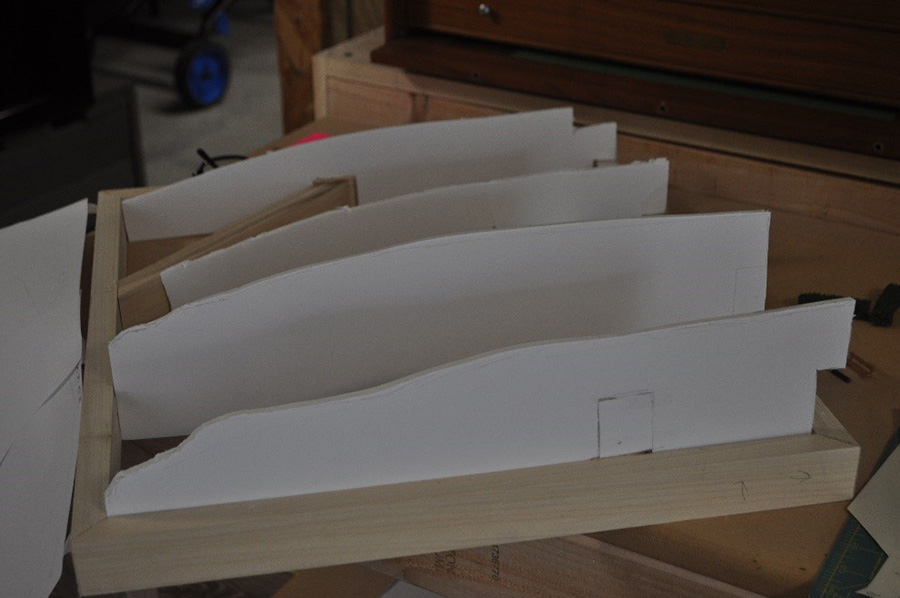
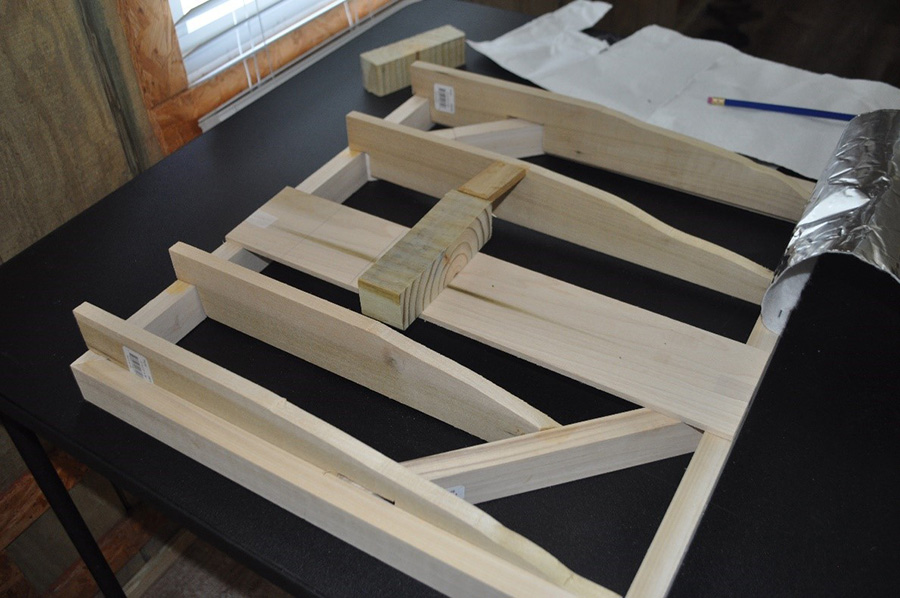
I have lots of obstacles to over come. My rail road hangs from the ceiling because of the space available in my tiny little apartment. I have no sense of spaceial design so layout is difficult for me as well, but I have the basic track design down and track tested and working.
You really do offer a great service to those of us who don’t have local clubs and friends to talk to about our hobby.
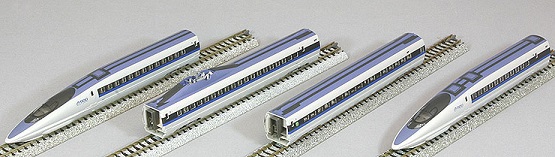
Before…
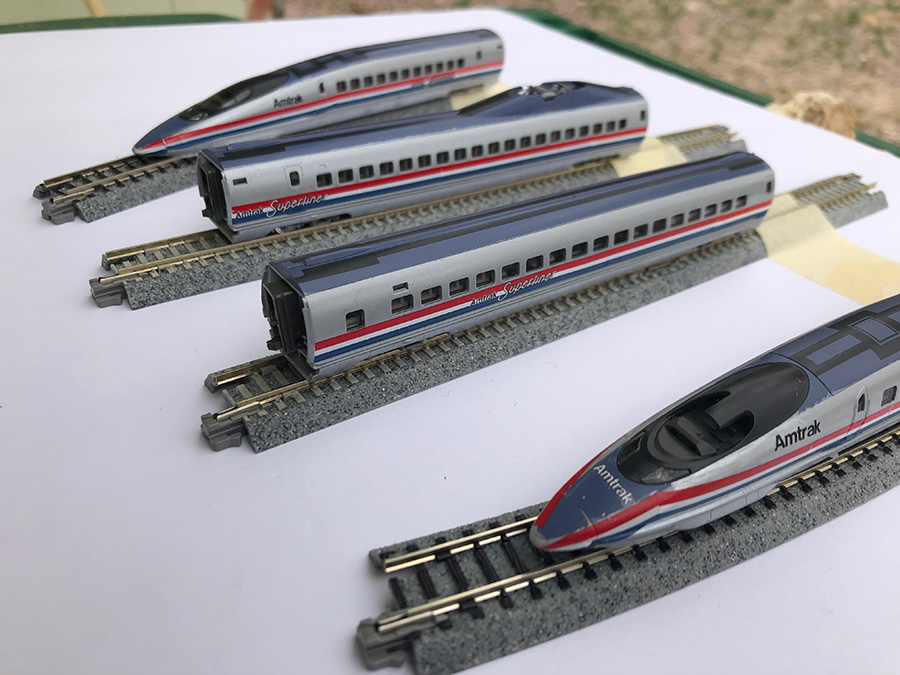
After…
Thank you for pulling us together.
John”
John’s model bullet train really did put a smile on my face, I loved it.
Now on to Dave:
And now on to Dave:
“Hi Al… well I know posted too many lately, but well it was raining this afternoon, so what can one do?
No gardening, and so back up in to the loft and run a few trains, used the Mobius a bit, and spotted a lot of work that needs doing on the layout, which you do not see with the normal camera… they do have three uses..
Regards
Dave
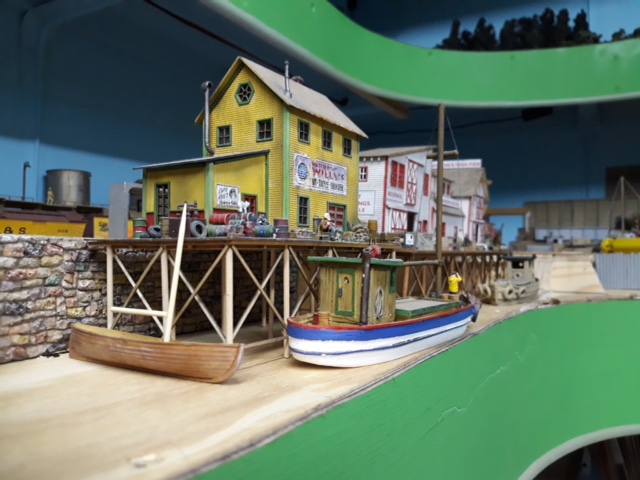
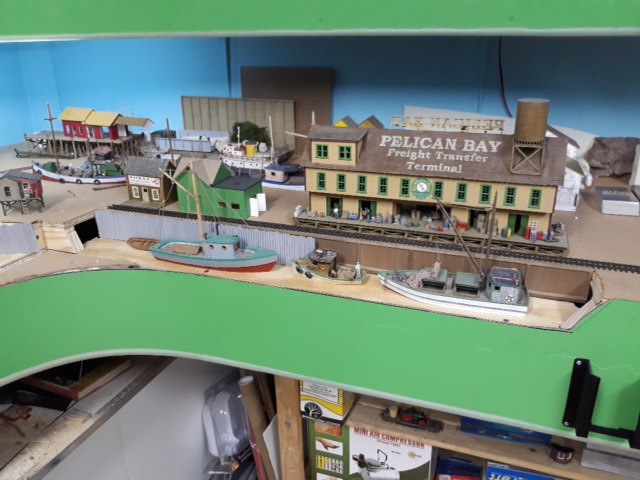
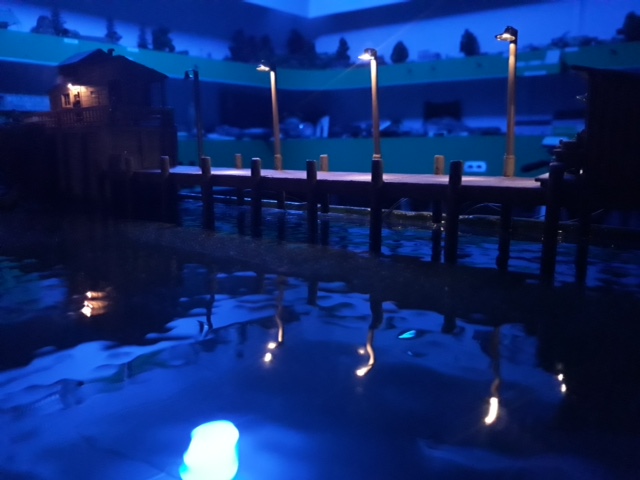
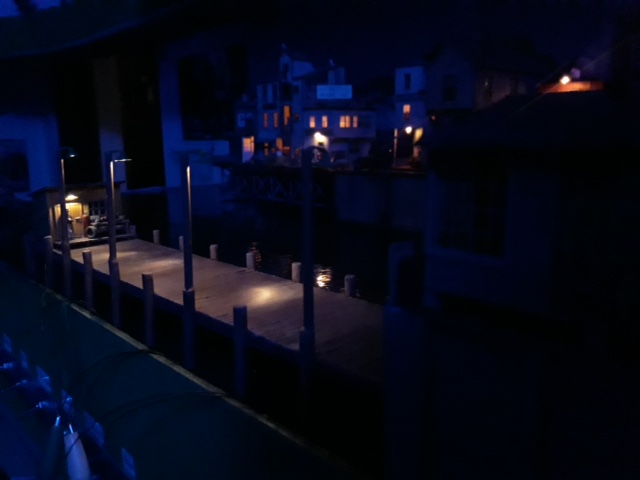
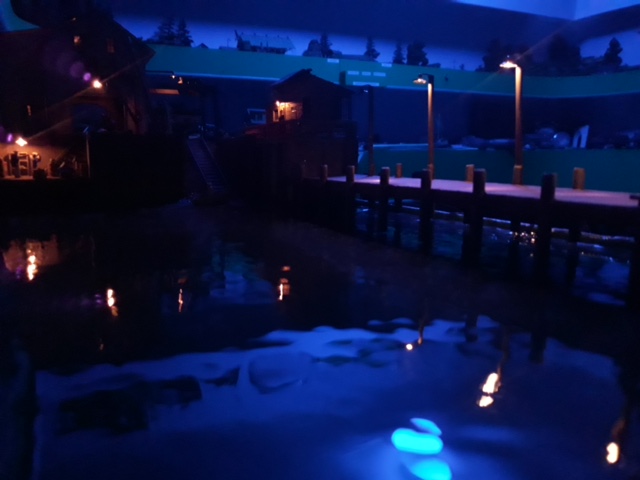
“Hi Al
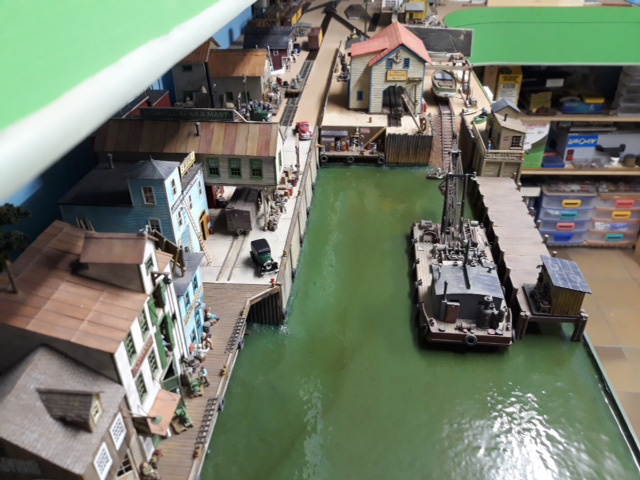
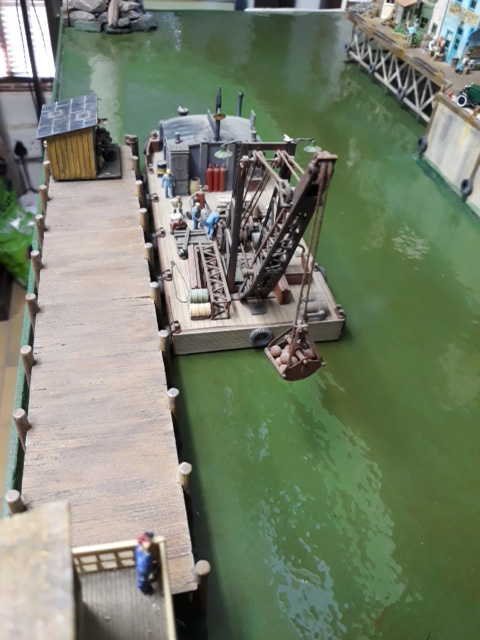
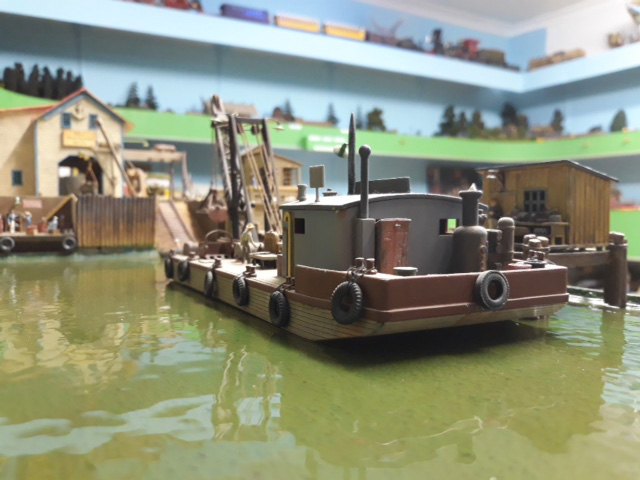
Someone asked if the water on my harbor was superimposed.
Definitely not (I would not know how to do it anyway)
Here are a few photos of the water in the harbor.
Many thanks
Brian – the HOn3 guy – Knysna RSA”
Latest ebay cheat sheet is here.
“Hi Al,
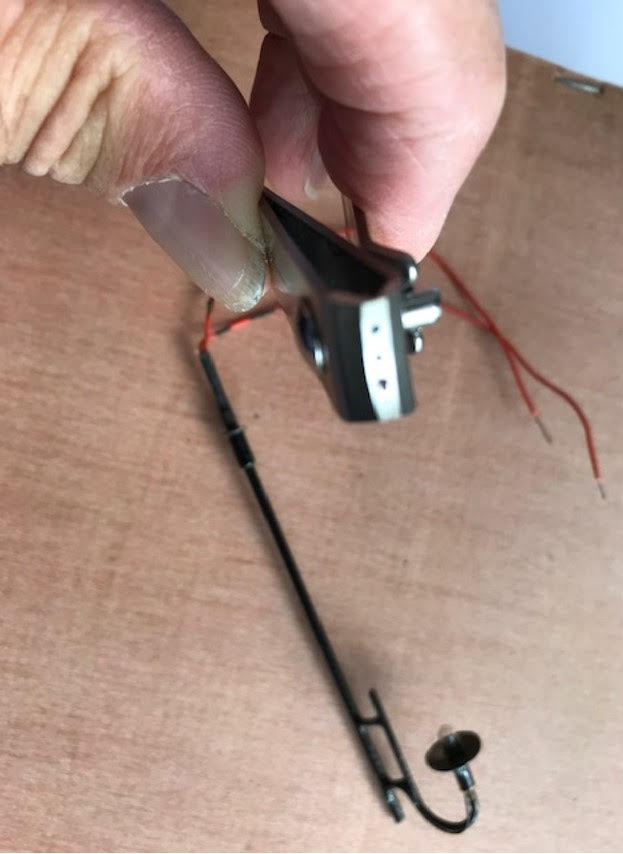
Spent many frustrating hours trying to carefully strip the ends of the very thin wires on LEDs and Grain of Wheat Bulbs. I even resorted to not stripping them but just soldering them hoping the heat would burn off the plastic. Not ideal but it mostly worked. Today I have found a solution !!!!
I got an old pair of nail clippers, the cheap nasty sort from Christmas crackers, and squeezed them on 3 different gauges of spring steel wire. This created notches in the clippers which are just perfect for stripping theses fine wires. Hope this might help any one else struggling with the same problem.
Best regards,
John”
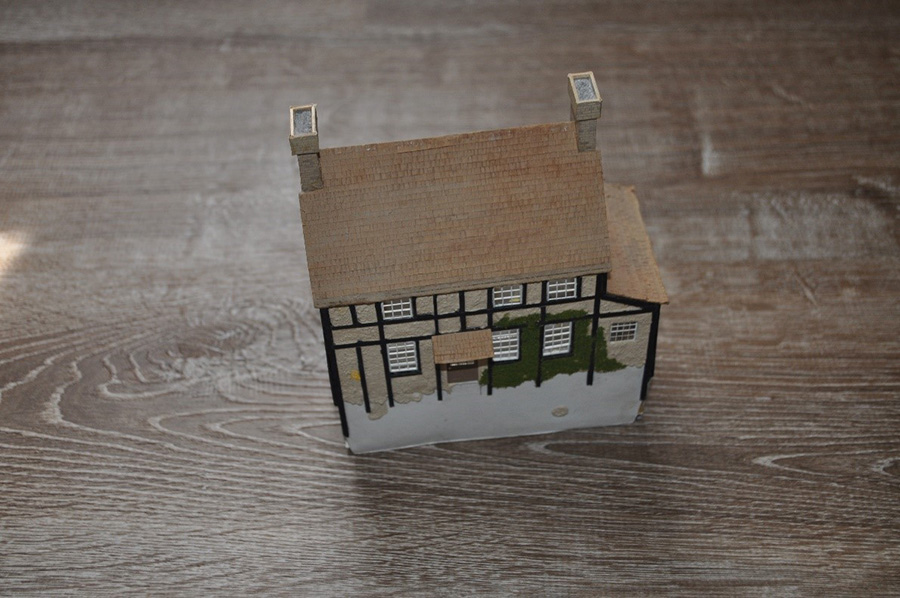
“Hi Al
I just want to share this with you, as some of our other readers might have had similar problems with signalling.
On my layout there is a passenger station with two platforms, that needs to be signalled for operating sessions as the engineers needs to obey the signals.
I encountered a bit of a brain teaser when it came to the simple arrangement of 3 signals at each leg of a turnout or switch.
On the opposite side of my layout, the arrangement is quite easy, as there is a single platform, so a simple double pole switch does the trick. Throw it to the left and it turn the east side home
signal green and the west side home signal red, and vice versa when thrown to the right.
At the next station which is more complex, I wanted to use a similar switch arrangement, which also helps with interlocking, that we do not get to opposing green signals.
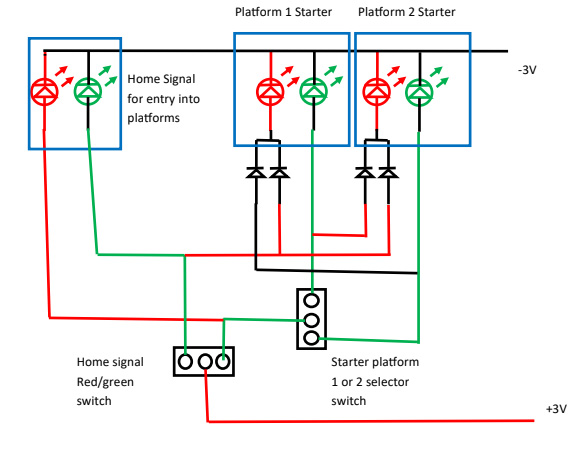
I then realized when the Home signal controlling entry into the station, on either platform 1 or 2 is green, I need both the starter signals on platforms 1 and 2 to be red at the same time. To keep cost down, I opted to use only one single pole switch double throw switch to select between platform 1 and 2 to turn the starter signal green.
Another single pole double throw switch controls the home signal. If I simply wire the signals from the switches, I end up getting a green and red signal at whatever platform I select the starter to be green at, as there is a feedback from the home signal switch to both red starter signals.
Then it dawned on me, why not use the diode matrix system I am using for my turnout control for the signals too? I quickly drew a table with the 6 signal lights, and the switch positions, and saw that I would need 4 diodes to control the signals. I then wired the diodes into the signal wiring, and hey presto, all is working well.
(I still have to install the signals on the layout, but now the wiring is sorted.
I include a PDF with the wiring diagram. Hope this can be of help to someone.
Regards
Henry in Pietermaritzburg, Kwa-Zulu Natal, South Africa”
What a clever lot you all are. Some great tips today – a big thanks to John for sharing his model bullet train, and to Dave, Brian and Henry.
That’s all for today folks.
Please do keep ’em coming.
And if today is the day you get started on your layout, the Beginner’s Guide is here.
Best
Al
PS Latest ebay cheat sheet is here.
PPS More HO scale train layouts here if that’s your thing.