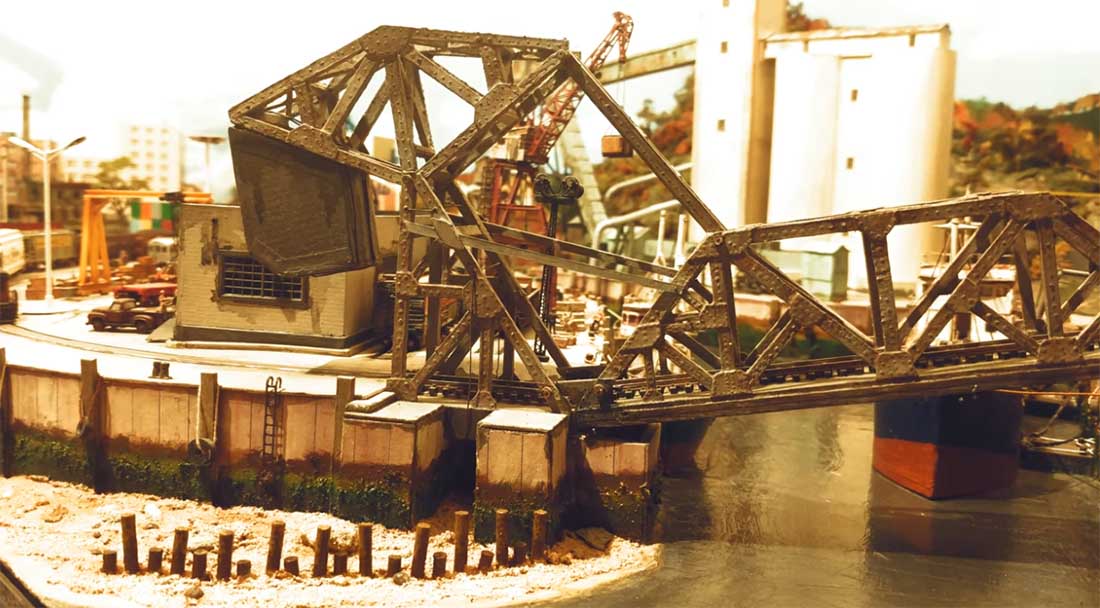
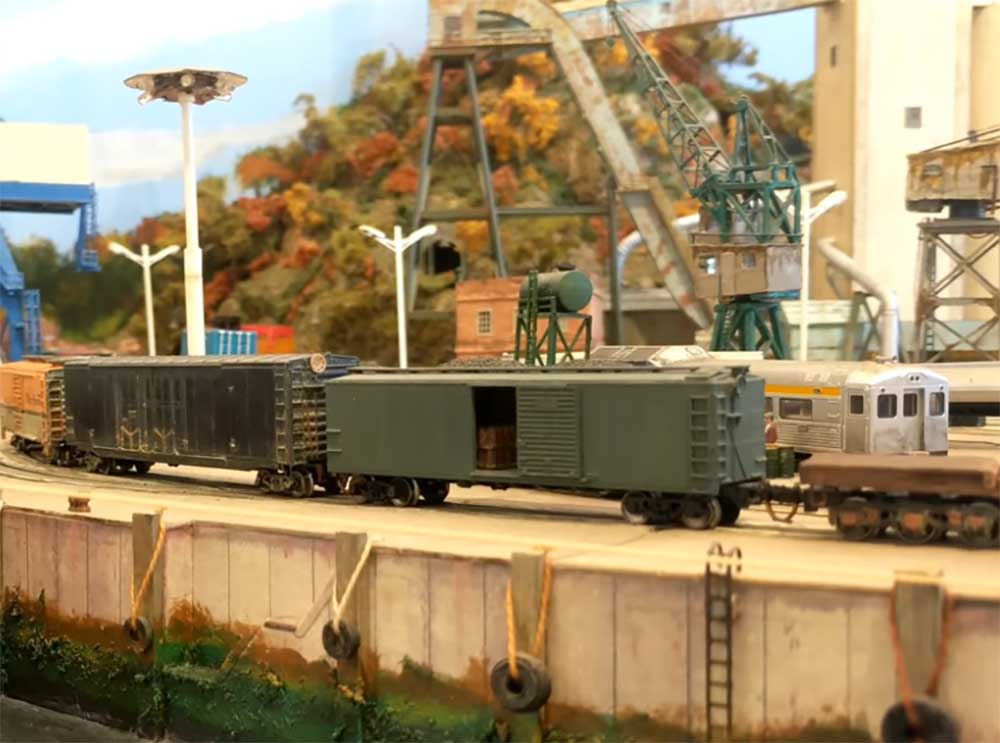
Kaustav’s been back in touch with his N scale small switching layout.
Have a look at the vid to see how he operates his train in his working port – nothing happens too fast, and for good reason too.
(His last post is here if you want to catch up).
“Hi Al,
I just want to thank all the viewers and subscribers for the overwhelming response on the last post about Wrightsville Port.
As much as people liked the photos, I think the next obvious question is how well does it run?
I started Wrightsville Port as a 2 year project; 9 years on and it’s still not done yet!
The layout definitely has become a part of my life, so much so that it has been with me through 6 relocations across 2 cities over a 1000 miles apart.
I also started the hobby with a very limited income; earning in Indian Rupee and spending in US Dollar. One way, that forced me to be creative and bring out the best of my model making abilities, but on the other hand, technologically I had to stay simple; therefore, no DCC, block detection or even a fancy DC controller with momentum.
And to make things even more complicated, 80% of my track is modeled to be embedded in concrete including several turnouts – in N scale!
So how well does a layout that had its track laid 9 years ago, modeled to be embedded in concrete, relocated 6 times across 2 cities whilst running on conventional DC with two very basic controllers operate?
Take a look!
Kaustav”
(And if you like this layout, you’ll probably like Rob’s model ship that he’s added to his stunning layout.)
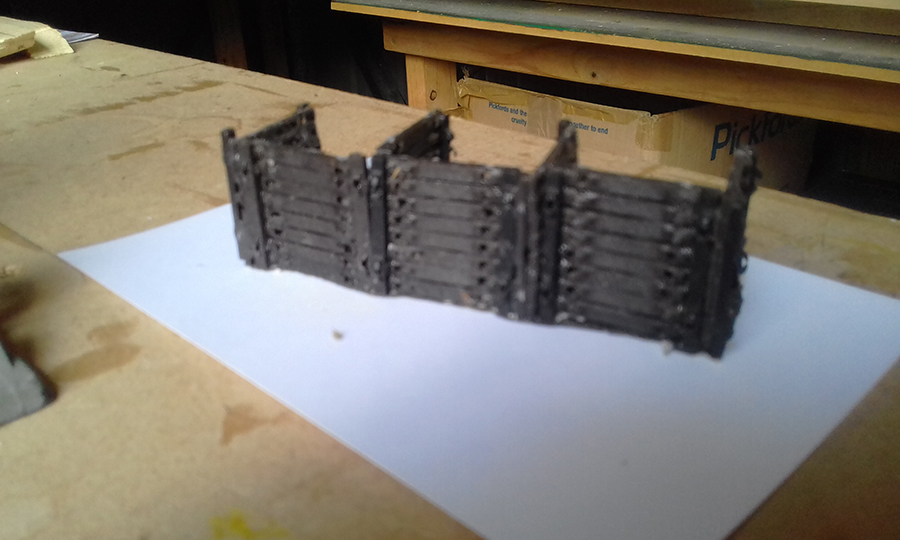
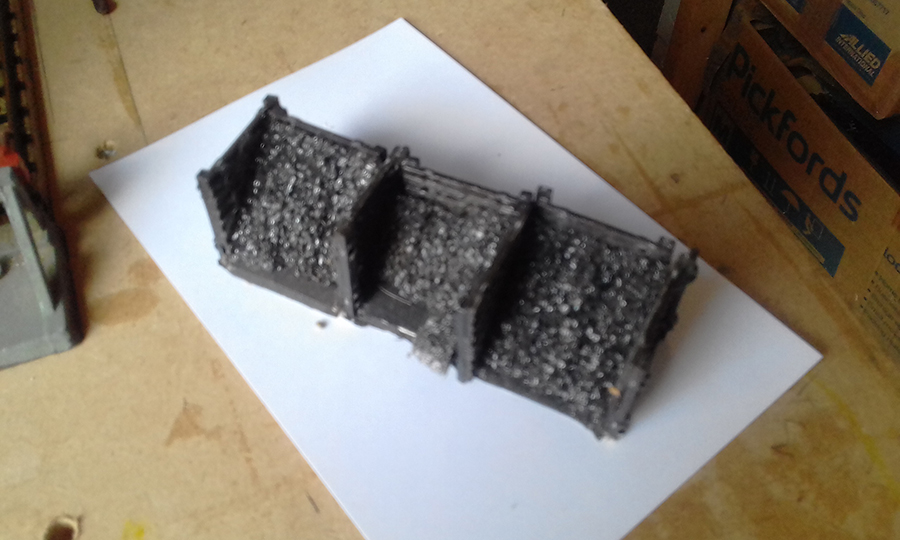
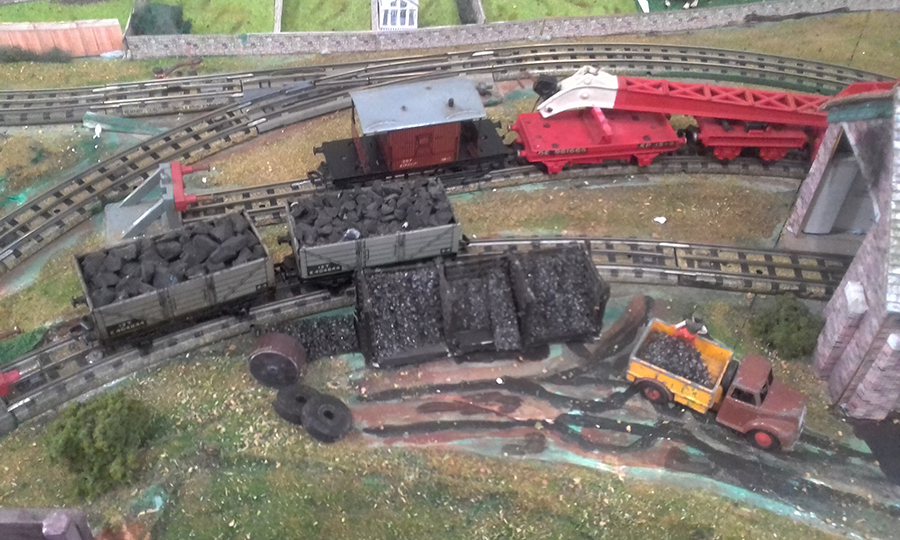
“Hi Al,
Thank you to all your readers and to you for sharing good ideas.
I saw your recent post from Roberto with recycled tracks rails as a cargo for his wagons. Attached are some photos of my use for the spare sleepers. I made coal bunkers with the redundant sleepers and coal from the foam that protected my last computer. Coal in the trucks is random lumps off the sole of old flip-flops (thongs in Australia)
Best wishes to you and all your readers
Andrew”
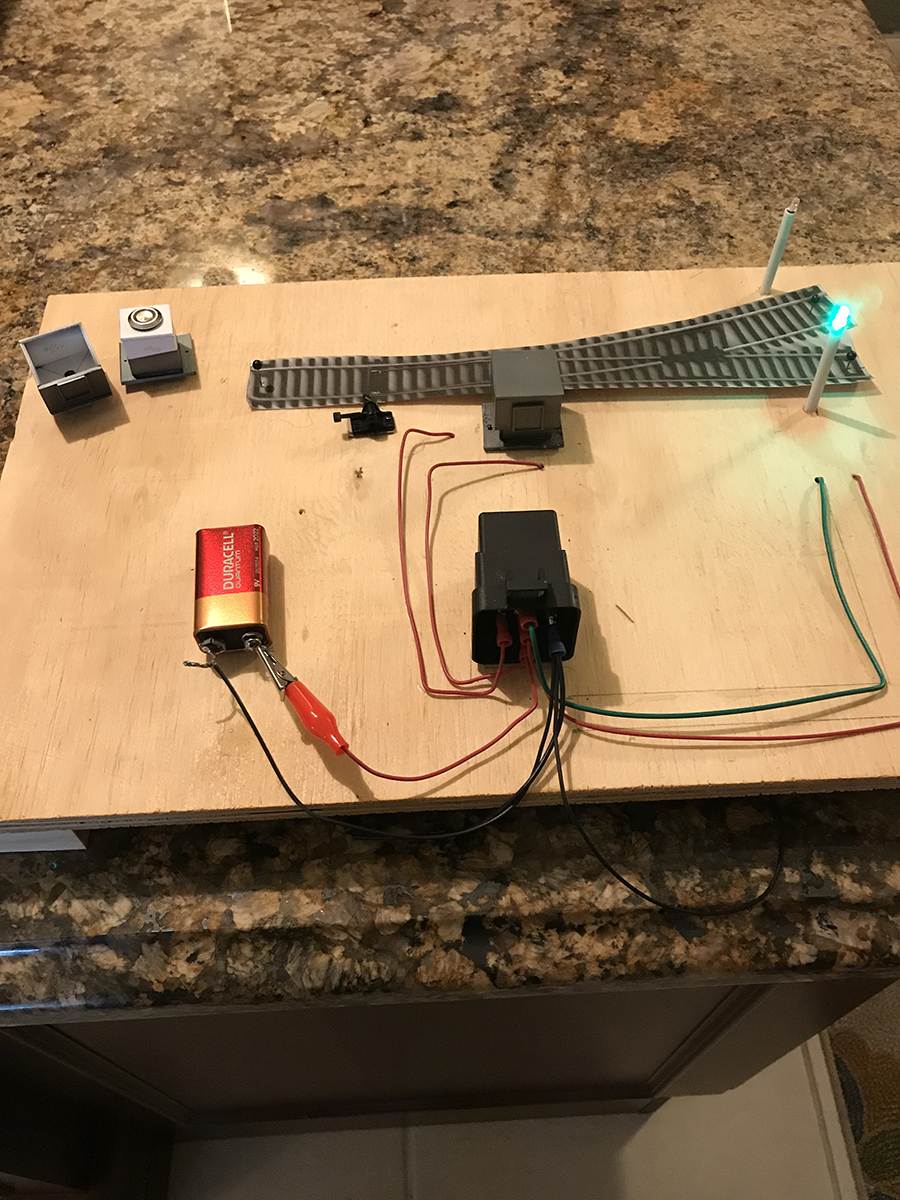
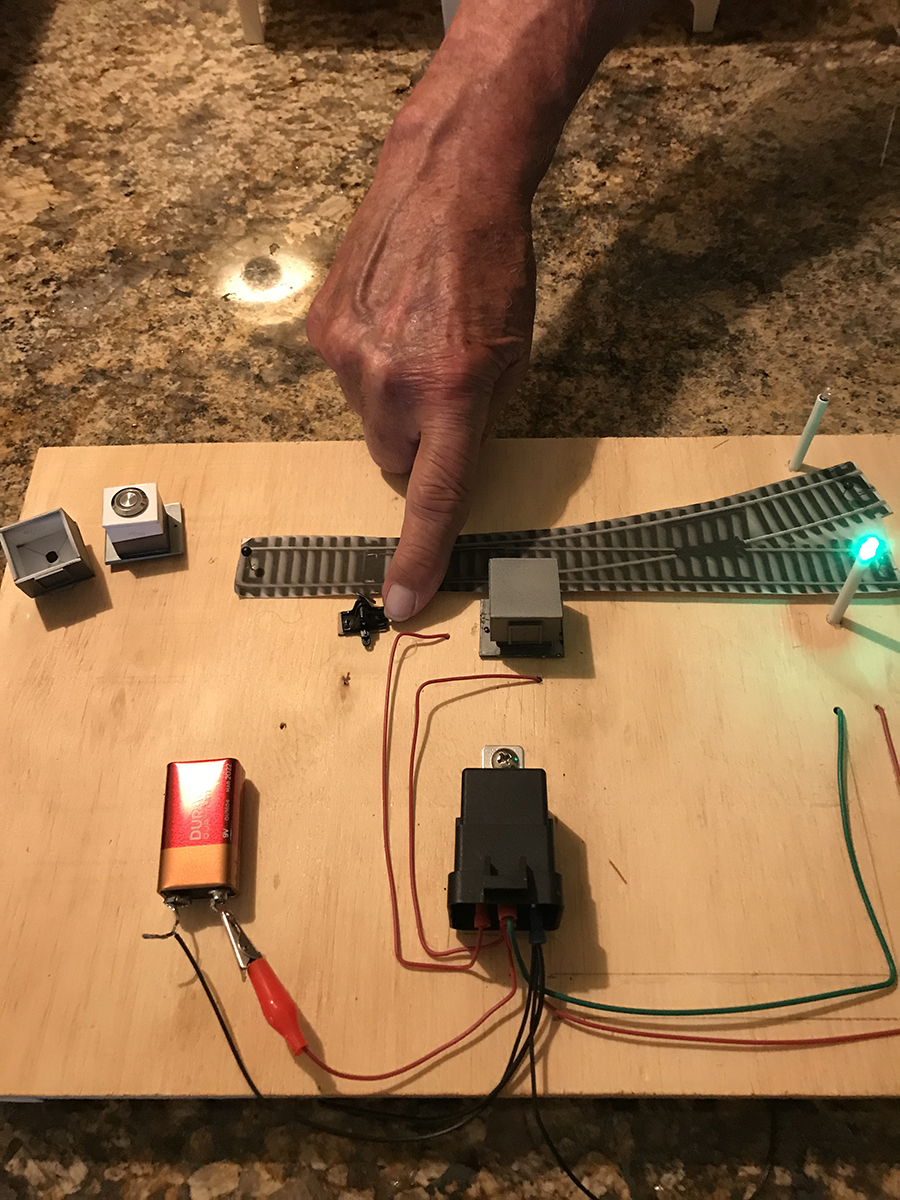
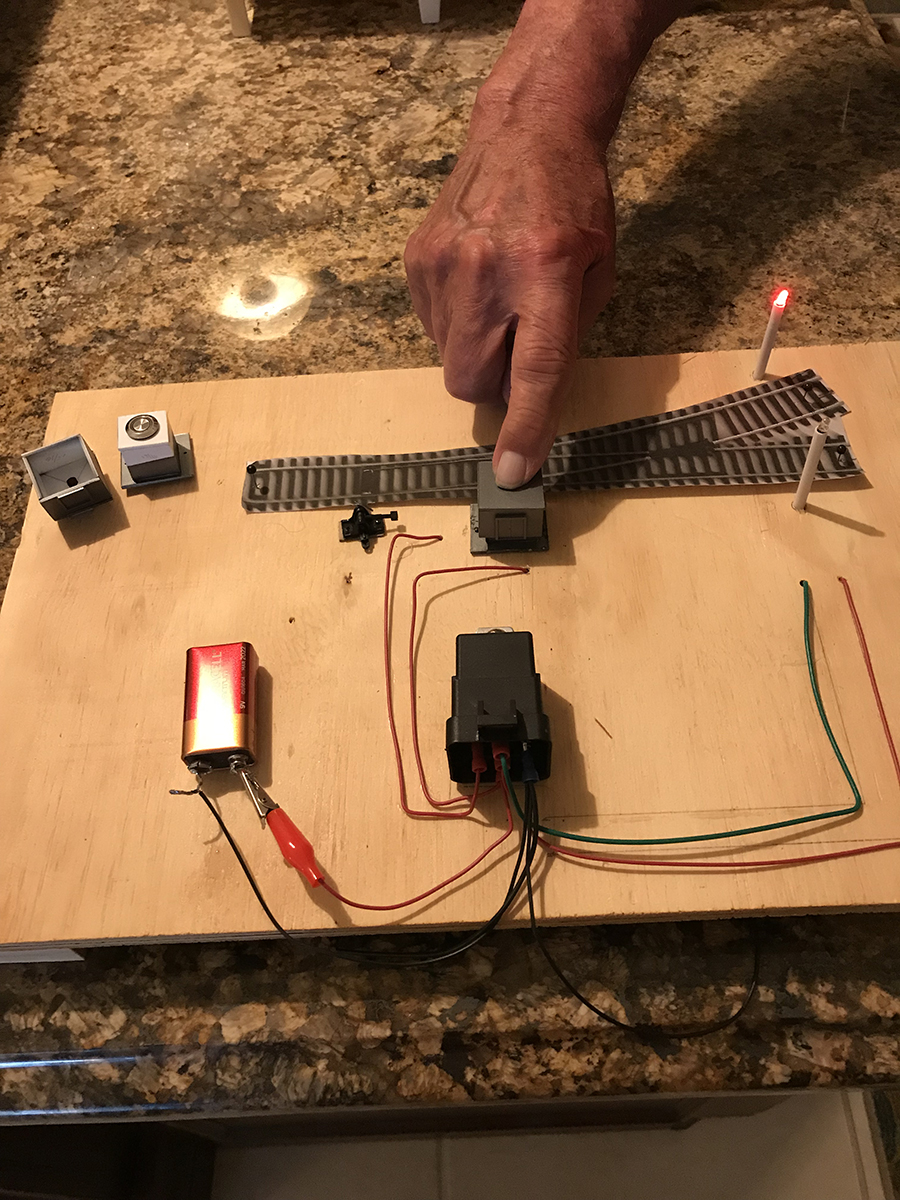
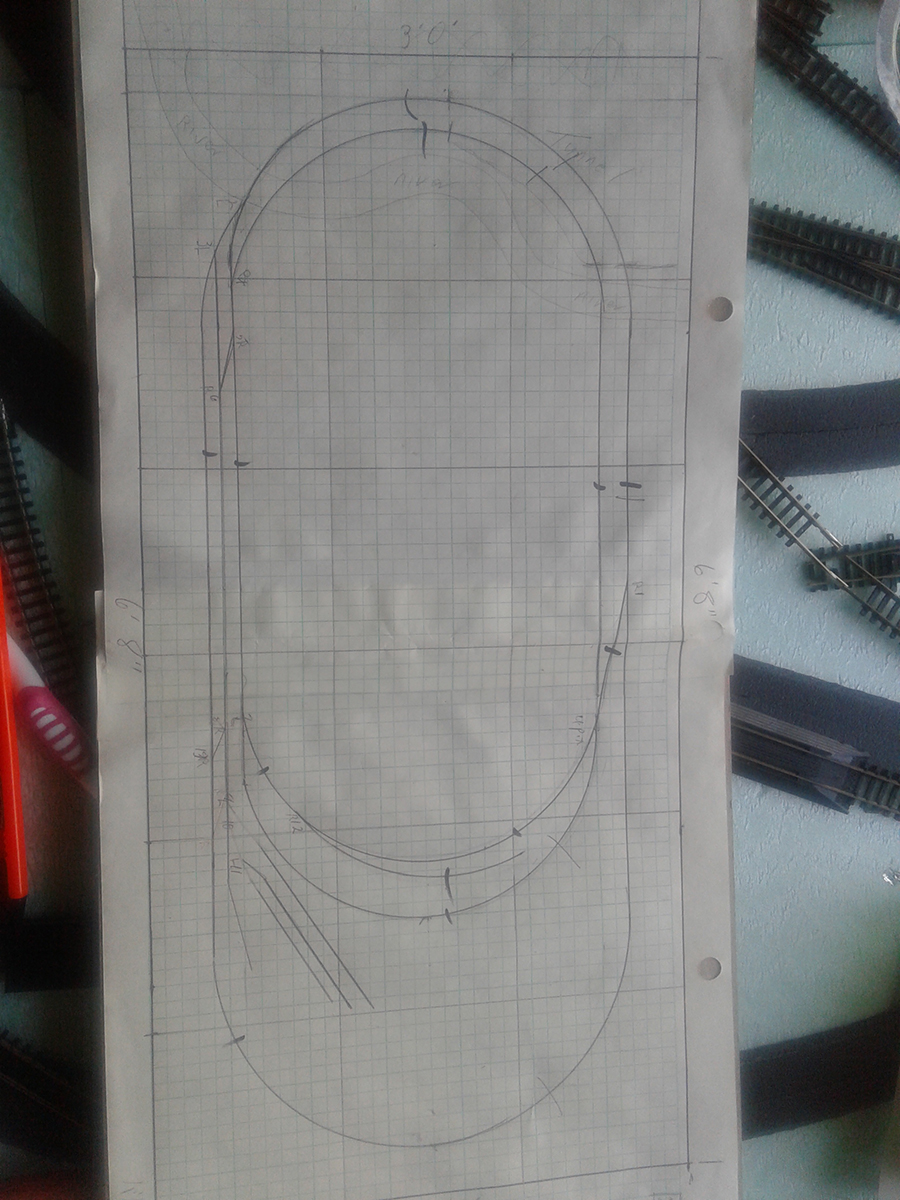
“Hi need some help with wiring the attached plan.
It’s been about 25 years since I last modeled. I dug this plan up from my old files, but can’t find wiring.
Can you or one of your subscribers help? All turnouts are manual, and at this time only power to the tracks.
Thank you for your ongoing efforts to further our love for this wonderful medium.
Many thanks.
Bob”
Who can help Bob? And a big thanks to Kaustav and Andrew.
It’s wonderful to see more of Kaustav’s N scale small switching layout, and Andrew’s coal bunker shows how effective a little imagination can be.
That’s all for today, folks.
Please do keep ’em coming, and if today is the day you start your layout, the Beginner’s Guide is here.
Best
Al
PS More HO scale train layouts here if that’s your thing.
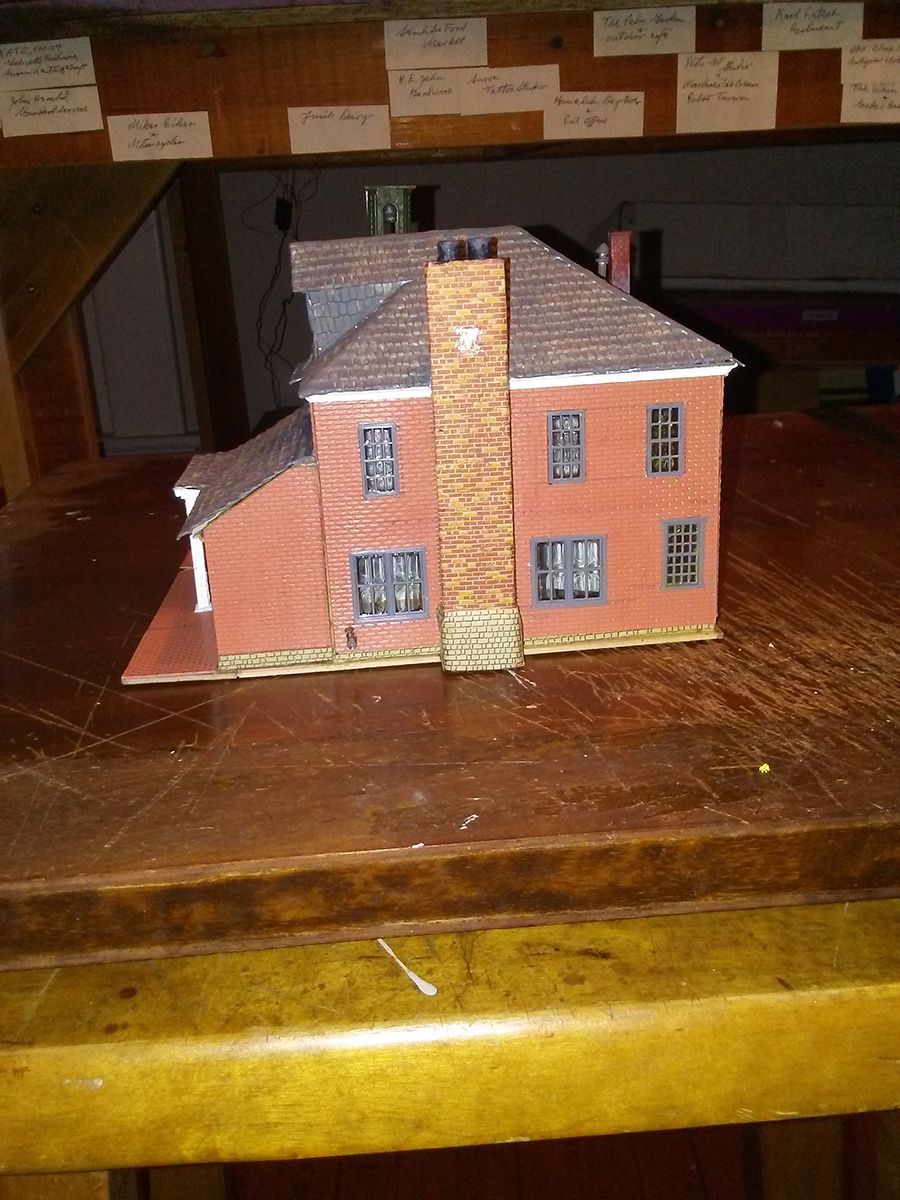
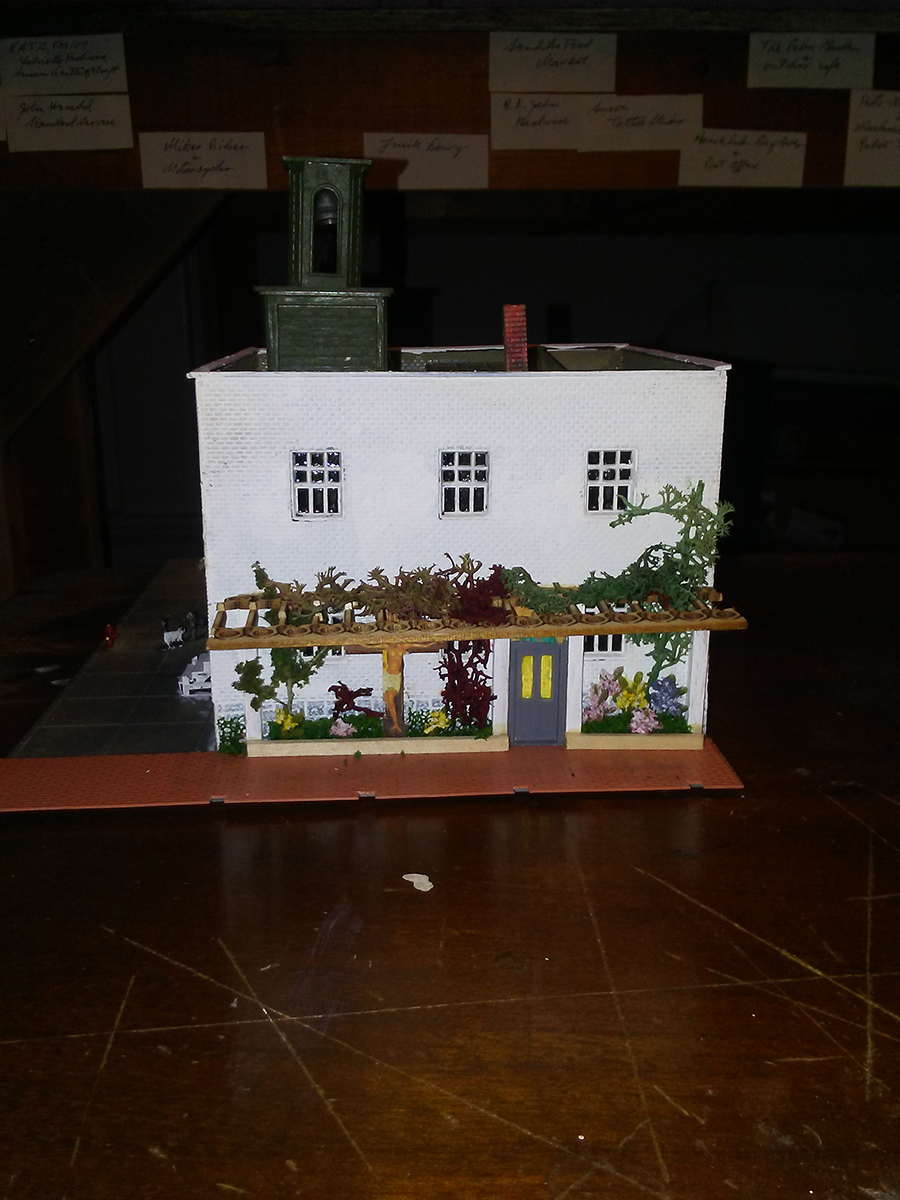
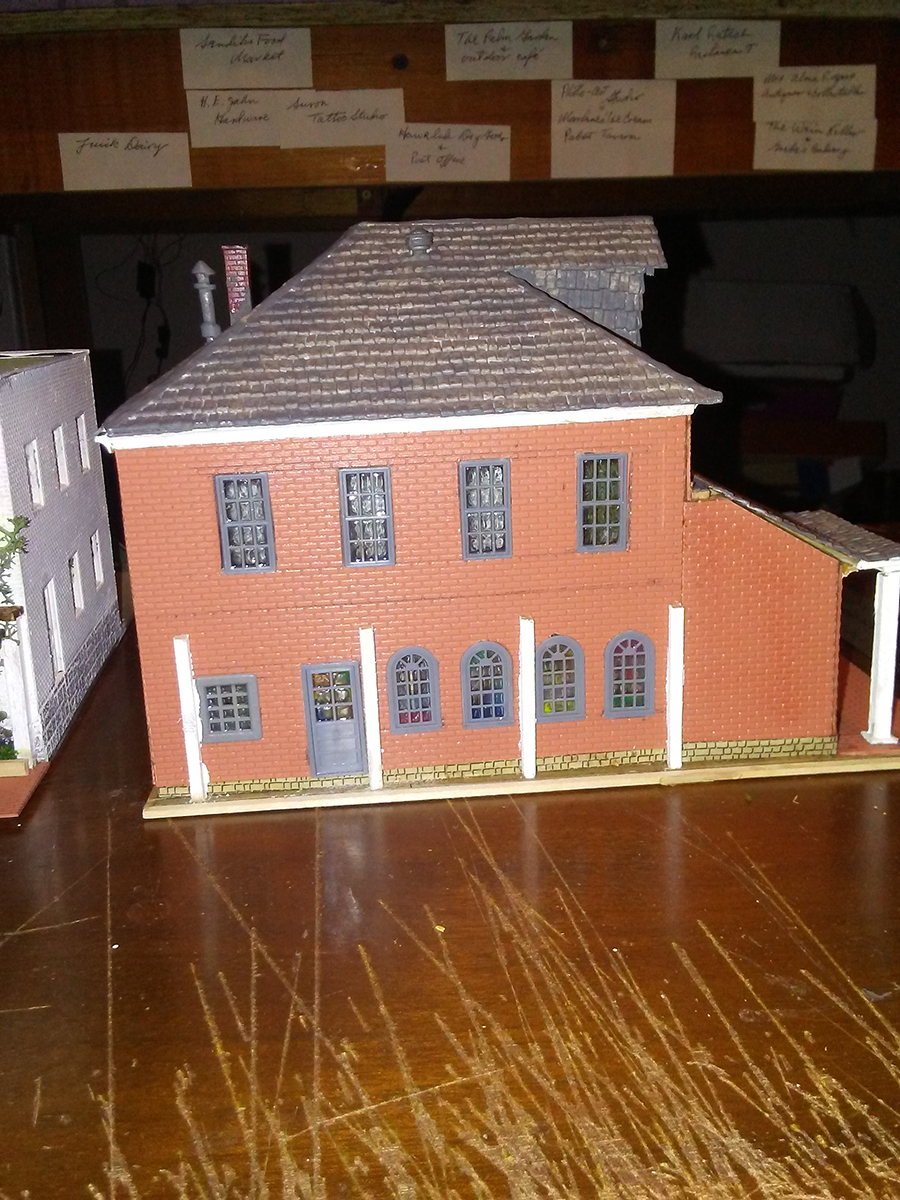
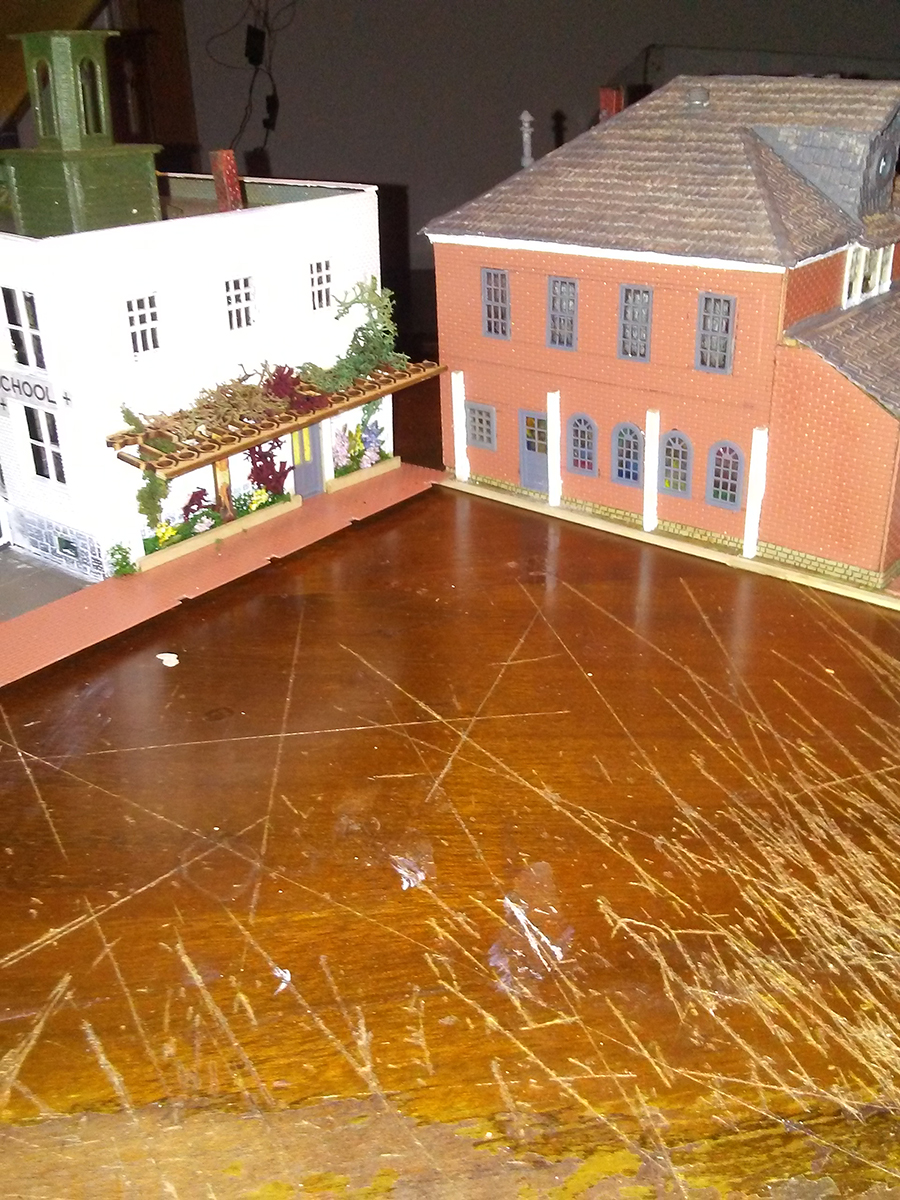
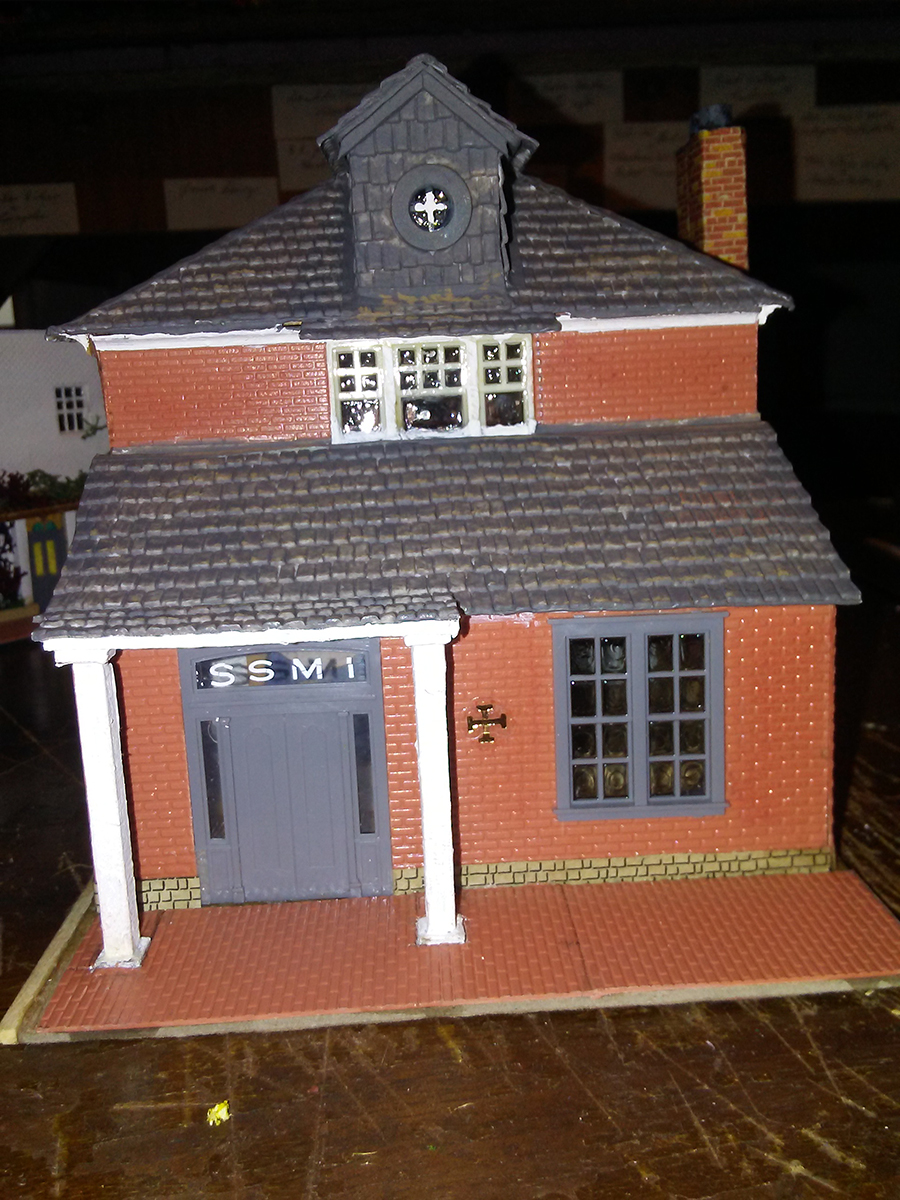
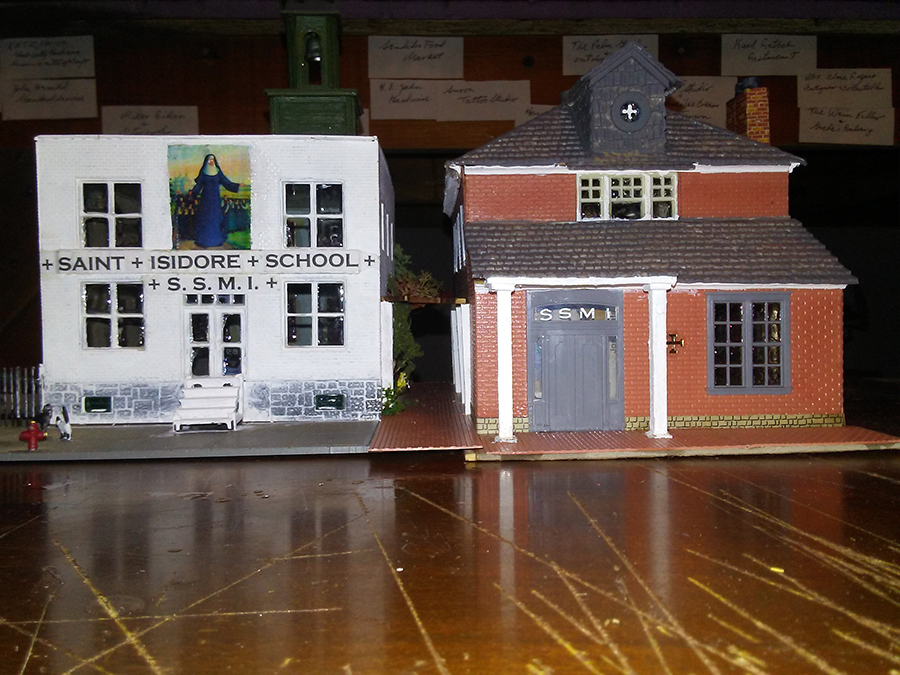
Need buildings for your layout? Have a look at the Silly Discount bundle.