John’s been back in touch. He’s shared his ON30 shelf layout which you can see below.
But he’s also shared something that had me smiling from ear to ear.
As well as his shelf layout, he also sent in a youtube of his backyard railroad.
It really does capture the joy of trains whatever scale they are.
Have a watch and see if you agree:
“Hi Al,
Here is a short video of my backyard railroad.
Best,
John”
Now here’s his ON30 shelf layout:
“At this point in my life, I have been in model railroading over five decades.
Through those years I have repeatedly heard three complaints repeated nearly endlessly; these three complaints continually spring up like daisies after a spring rain.
The first of the complaints is “I do not have room for a layout.”
The second is that “Model railroading has gotten too expensive.”
The third is that “I do not have time.”
There is a skin of truth to each of these… But it is only a skin; these excuses are veils that hides the truth of the greatest hobby that anyone can ever be involved in. It can be fun to be a spectator in any game, being a player is generally even more fun.
We first begin to play we are all amateurs, we play because we love the game. In model railroading, the game is the hobby itself. Al repeatedly says that “It is all about GETTING STARTED” and his Beginner’s Guide is one of the greatest values in this wonderful hobby.
Before one begins, one must challenge the excuses. No one has space to build the layout of their dreams. On the other hand: Everyone does have room for a layout.
50 years, they longest time that I have been without some form of layout has been two weeks. Space? I have lived in rented rooms, small apartments, and I currently live in a small mobile home.
Oh yes, at one point I spent about a month living in the camper of my Toyota pick up truck… One of the old small ones. It is all about desire and creativity. As to cost and time, creativity is again the answer. Since I got married almost 40 years ago, my answer has been to build very small layouts.
I live in America where things are generally done in grand scale. Across the “pond” in Britain, the scale is a bit different (and more to my taste in many ways). There the hobby flourishes, in America many fear for the future of the hobby.
In my opinion, one reason may be the exposure through exhibitions which are common in the UK but very rare in the United States. A layout built for exhibition must be portable — Often this means “small”. The layouts that I build are often called “Dioramas” here in the United States but make no mistake, they are operating layouts and they are a lot of fun to build and to operate.
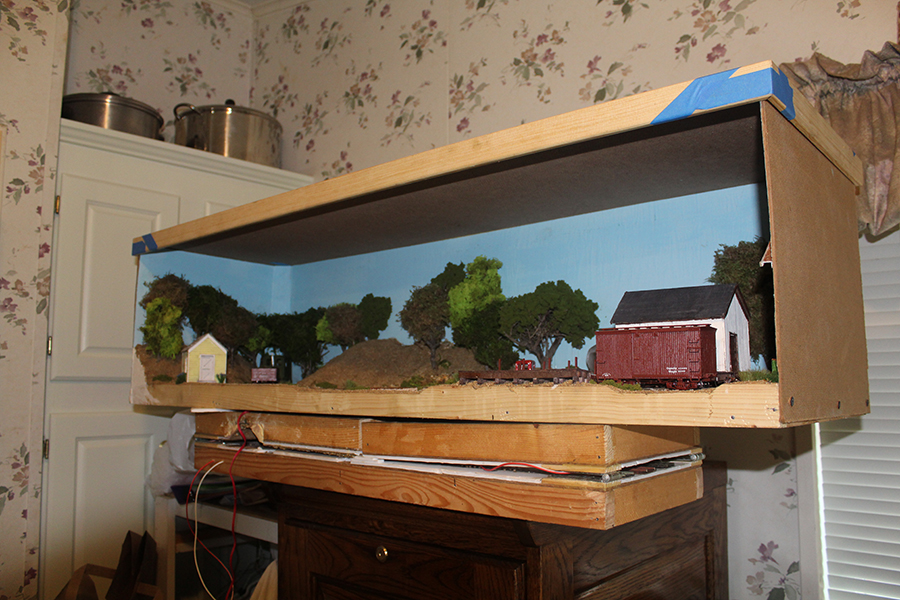
Most of my layouts fall into the “micro” category in that they occupy a space less than four square feet. My most recent build occupies a space that is about 14 inches wide and 44 inches long. The track plan is sometimes called a “Tuning Fork” — It consists of a single point (switch), two spurs, and a headshunt (switching lead). I built this one for 1/4 inch scale narrow gauge (On30) but it can be done in any scale or gauge. This layout design is a great way for anyone who has never built any kind of layout to GET STARTED.
About my latest layout… About four months ago I was deep in the doldrums. Life events were more than overwhelming and the projects that I was working on at the time were not proving to be sufficiently inspirational. What changed everything was a “dare” made by a friend of mine, David Pye.
At the time, he was encouraging some fellow modelers to get out of their proverbial armchair and build a small operating layout. He was specific, one switch… One spur with two spots to park cars, one with three, and the lead that would hold a locomotive and three cars.
Dave’s Dare was just the goad I needed to get me out of my modeling funk (and life funk as well). The competitive spirit kicked in and the result is Pye’s Point… This layout has been just a little over two months in the building… No time? Two months. No space? The layout is 14 inches wide (actually a little less) and less than four feet long. It is a little larger than a bedroom dresser and I can use the top as a shelf. No money? I have less than $100 American invested if you do not count the trains — Less than $200 American if you do.
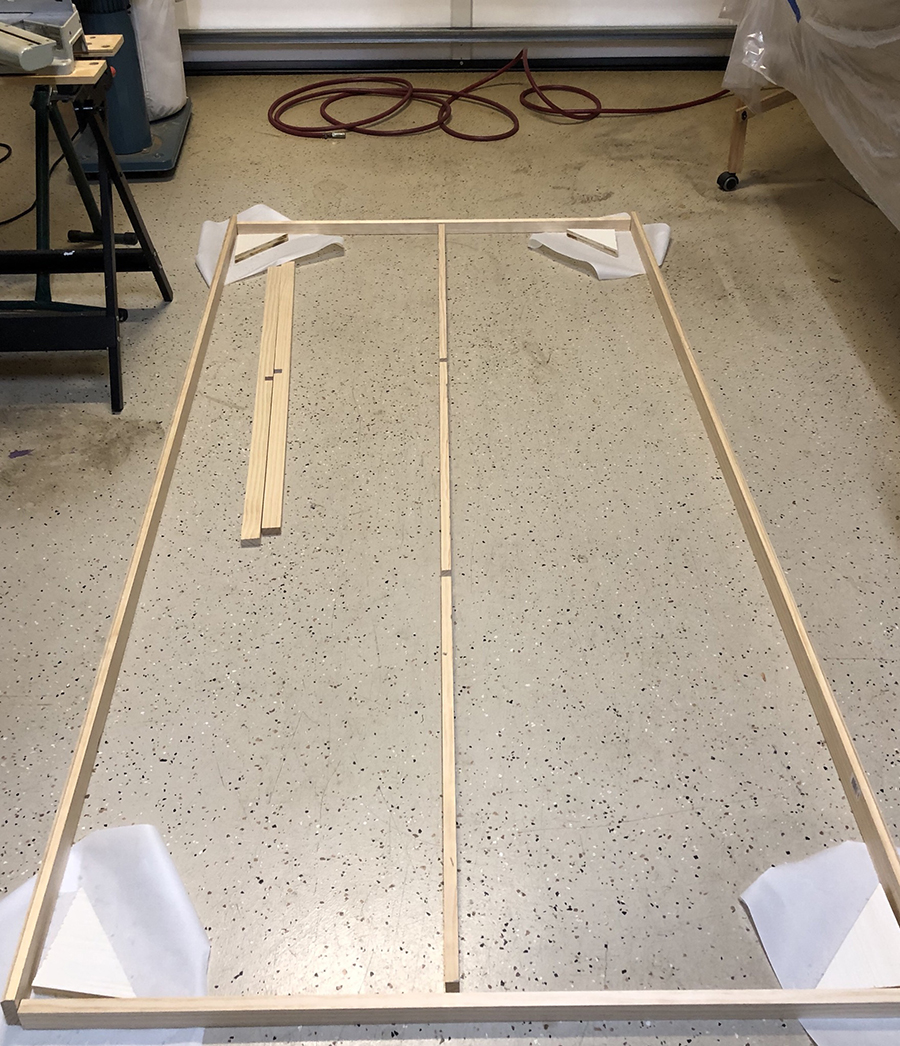
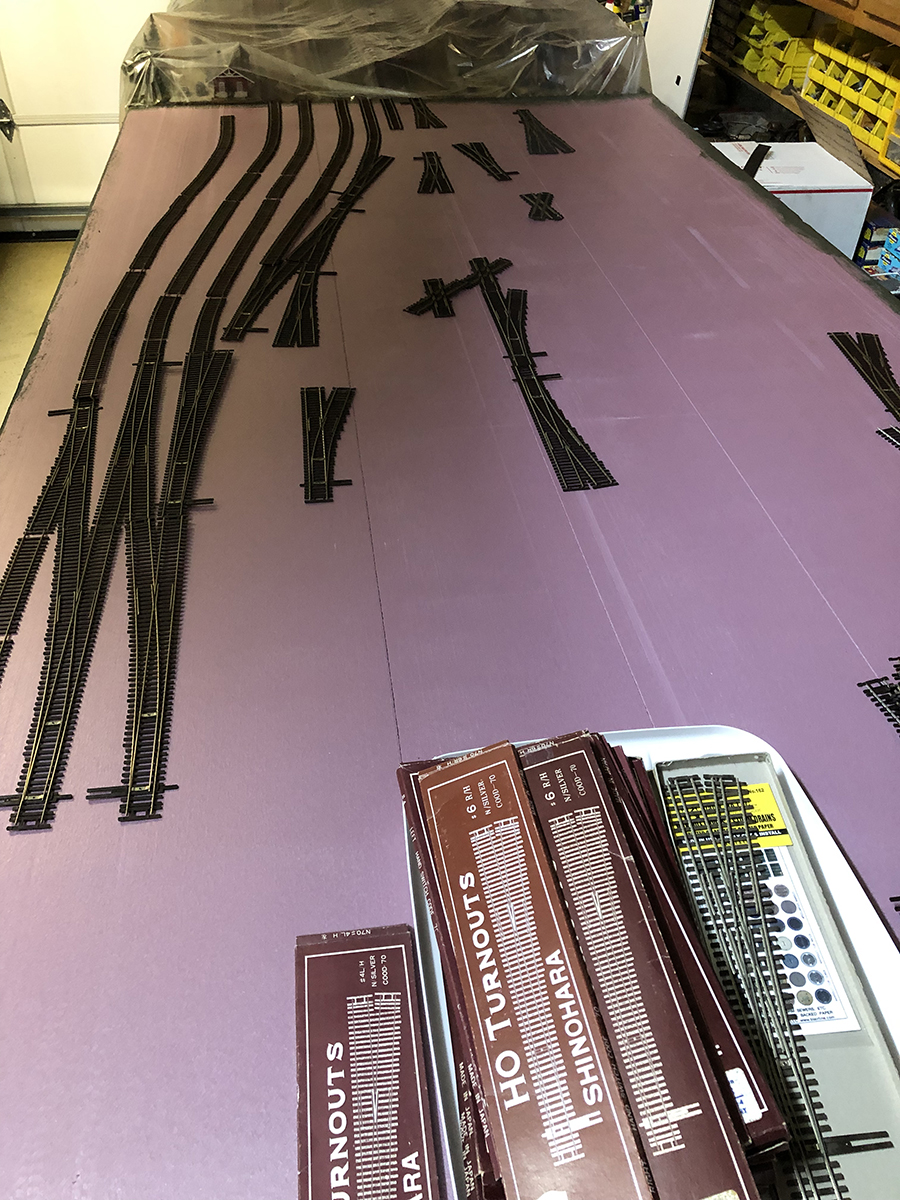
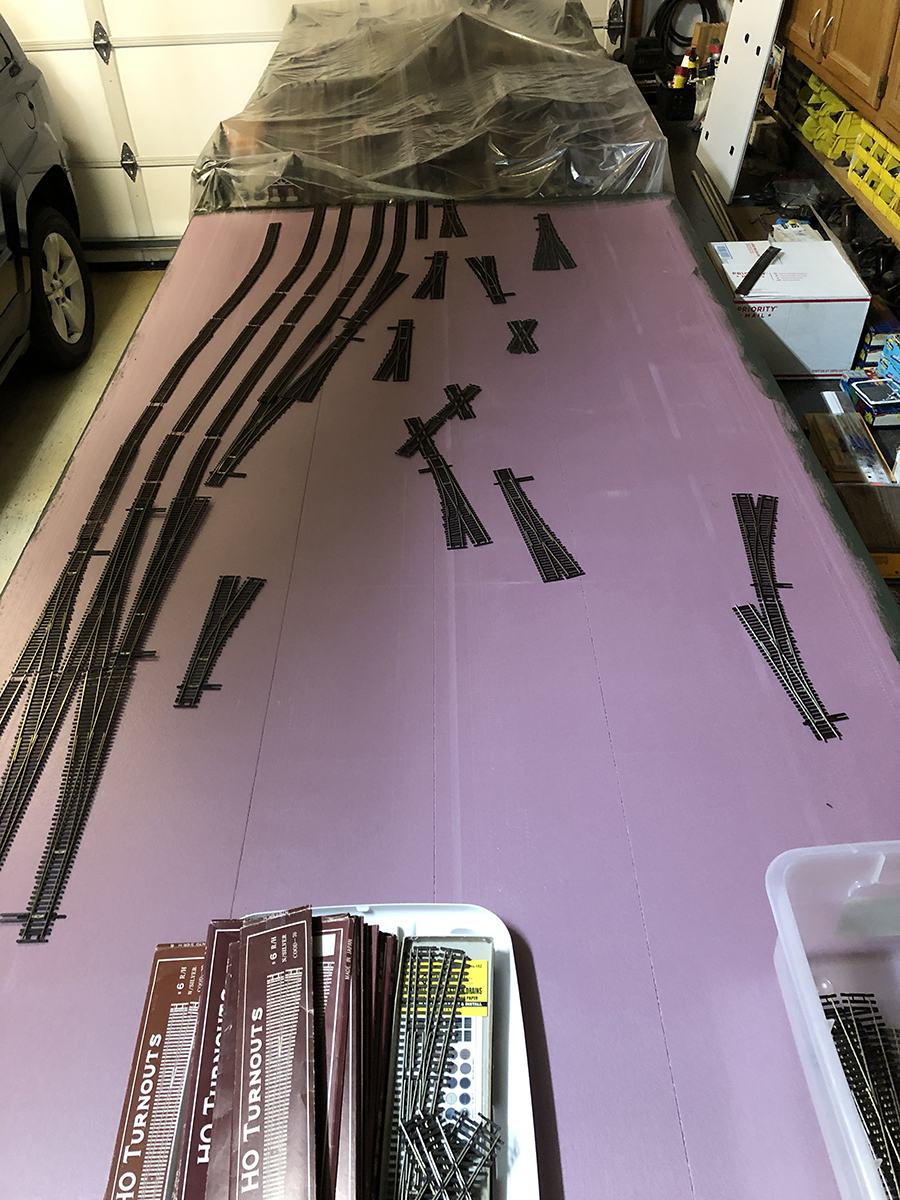
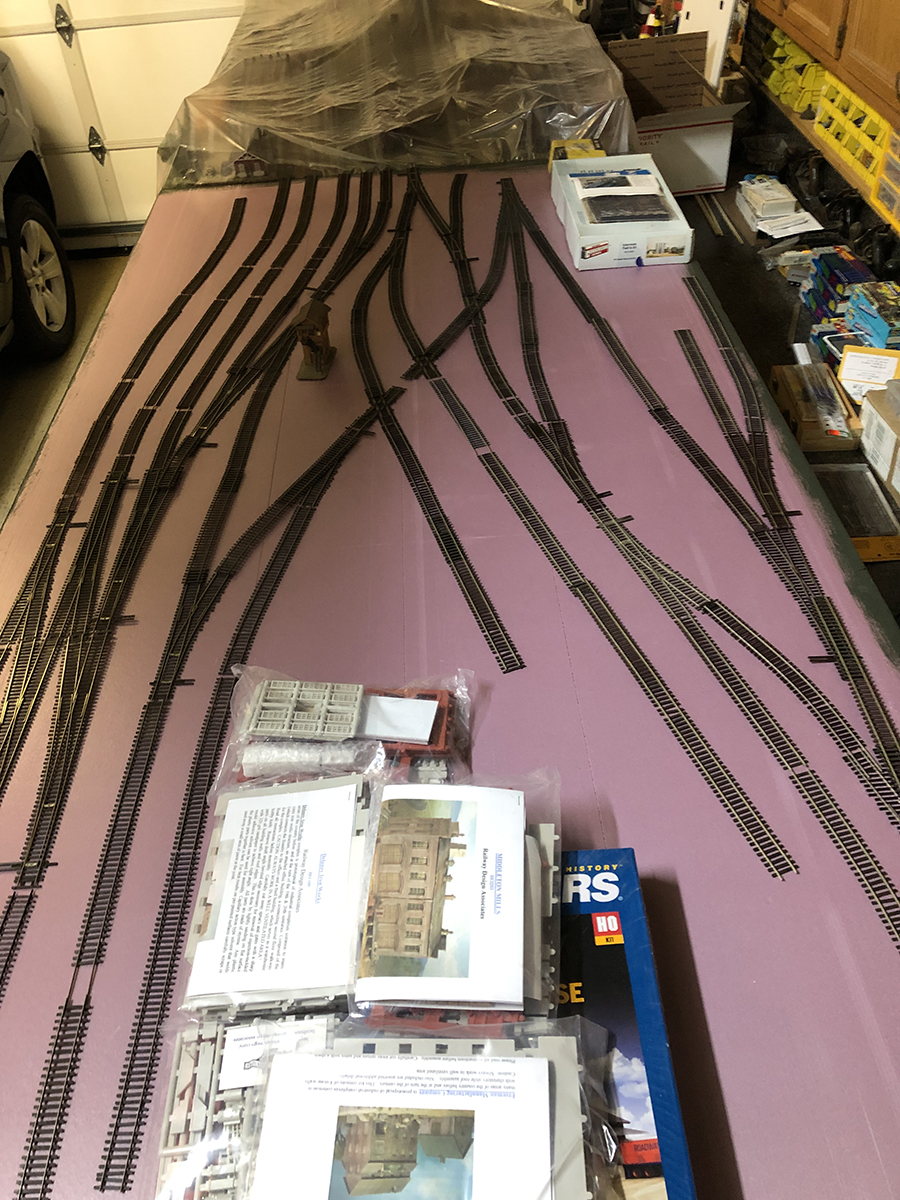
Let me now present the very beginnings of Pye’s Point.
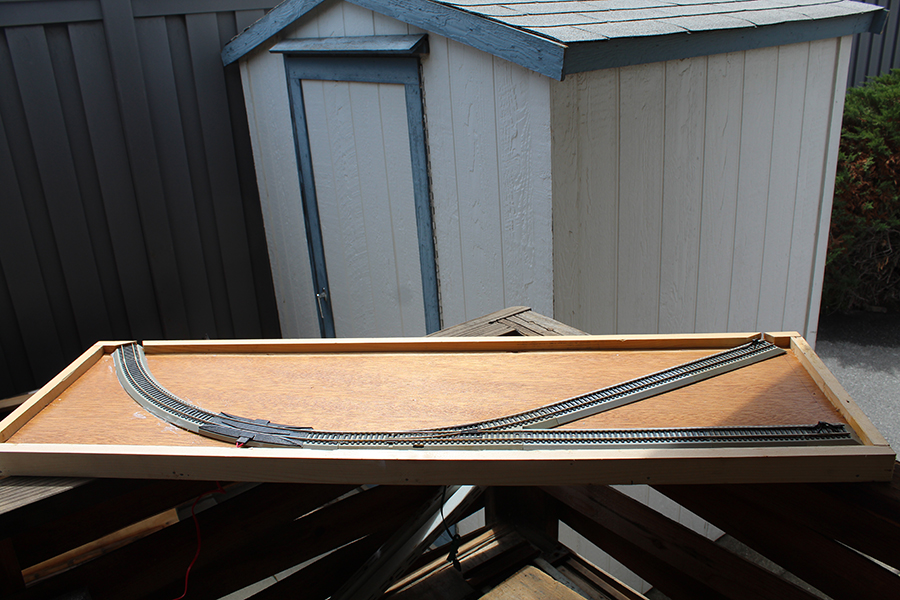
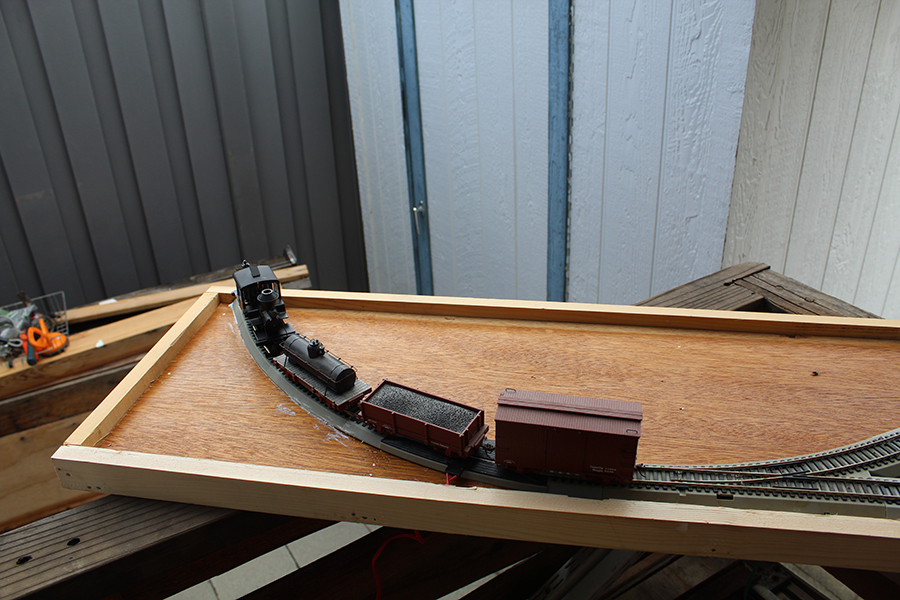
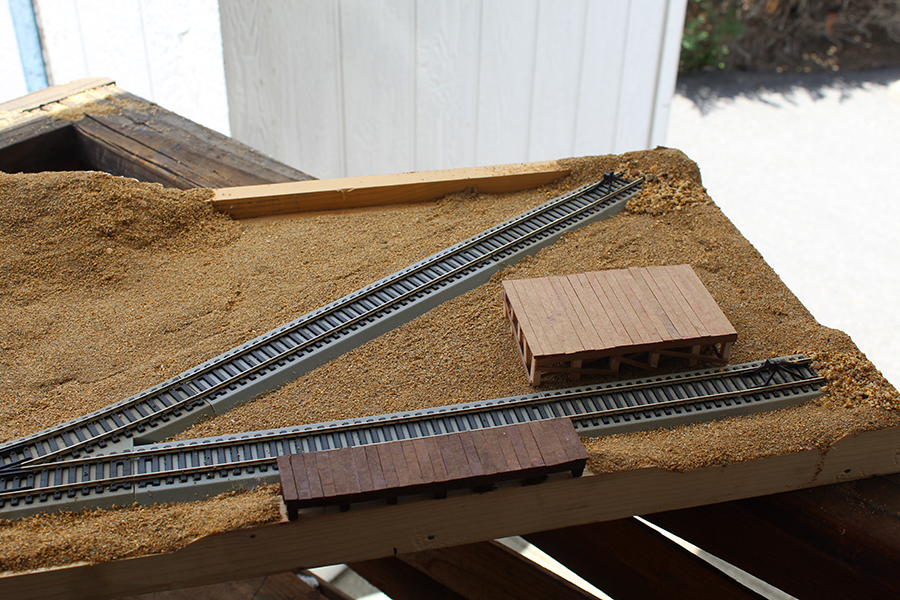
The layout is a simple one and very uninteresting at first glance.
It is in fact a very simple shunting layout — But it is a start and this is all about GETTING STARTED.
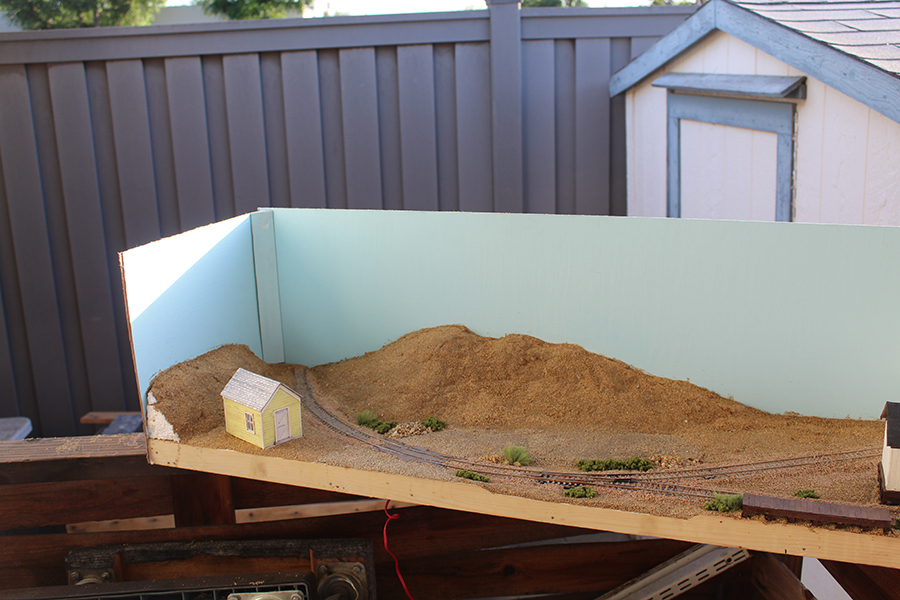
A little scenery begins to make a big change.
Note: at this point I had just a little over one hour into this project.
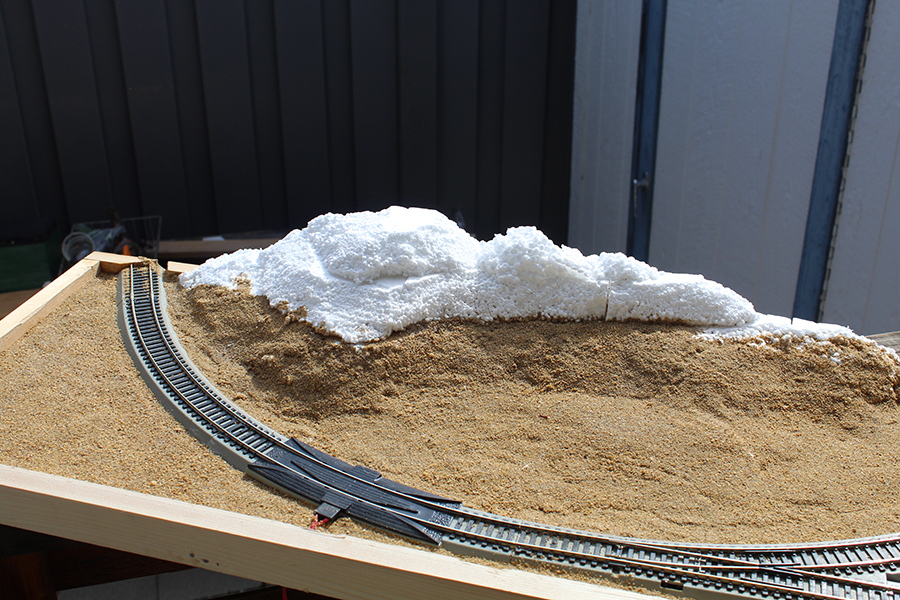
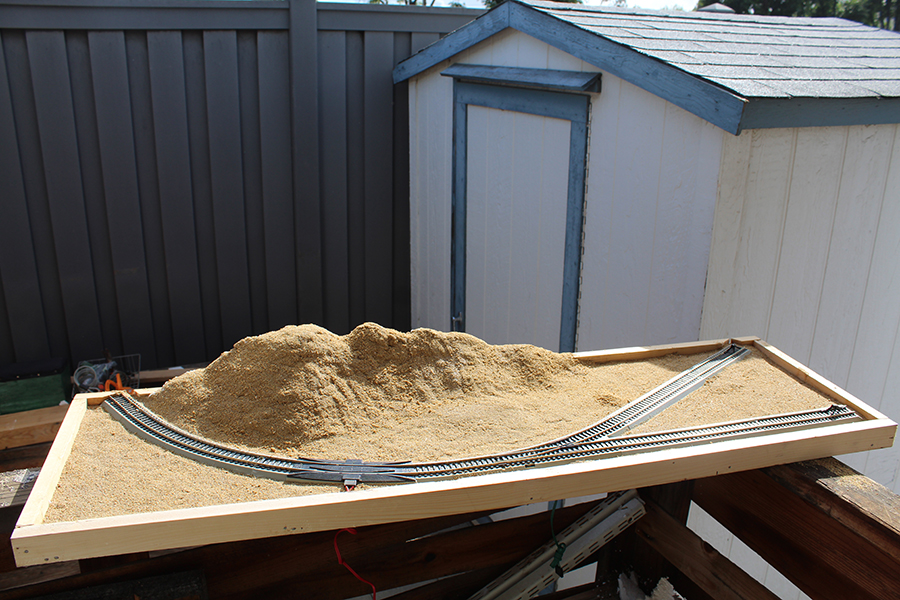
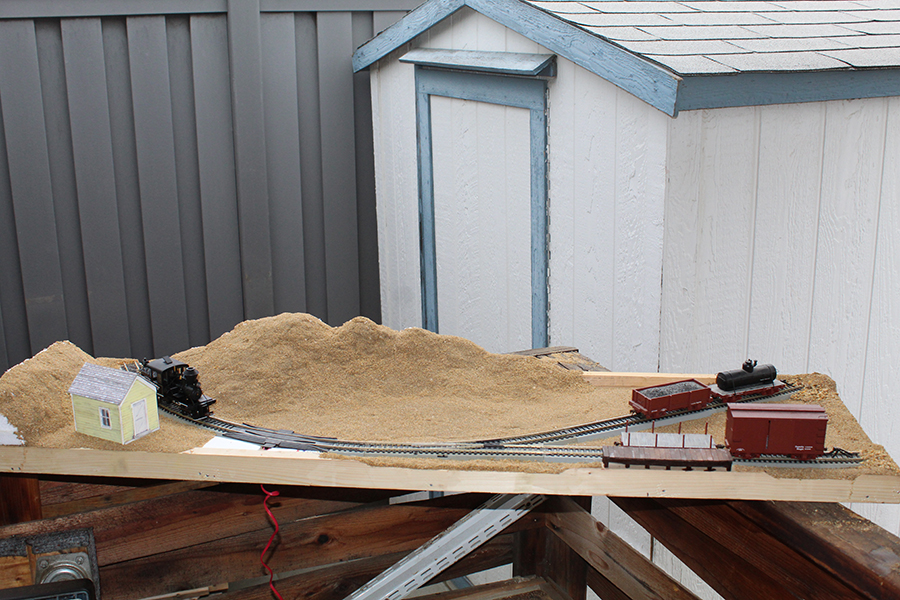
A simple hill is one thing that helps bring this very small layout to life…
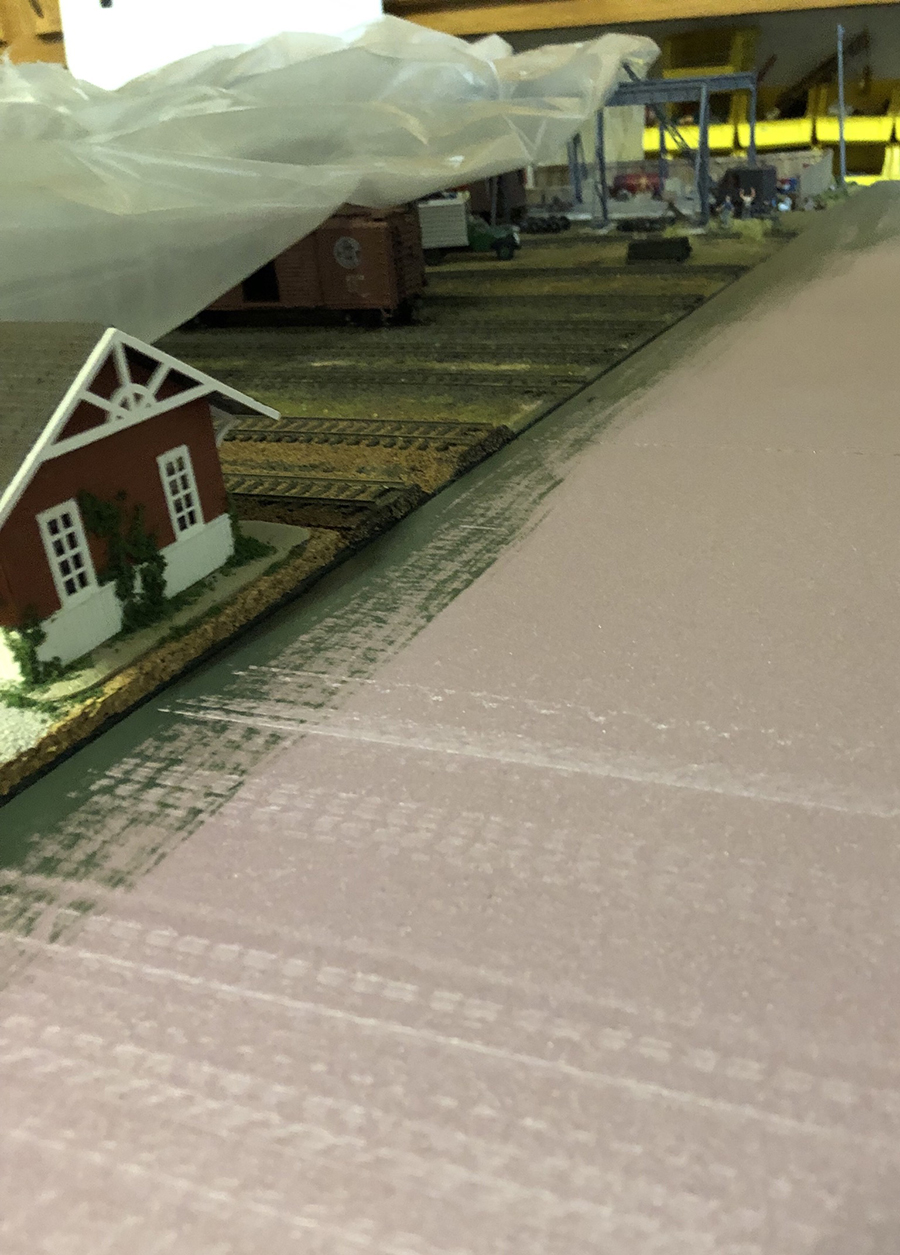
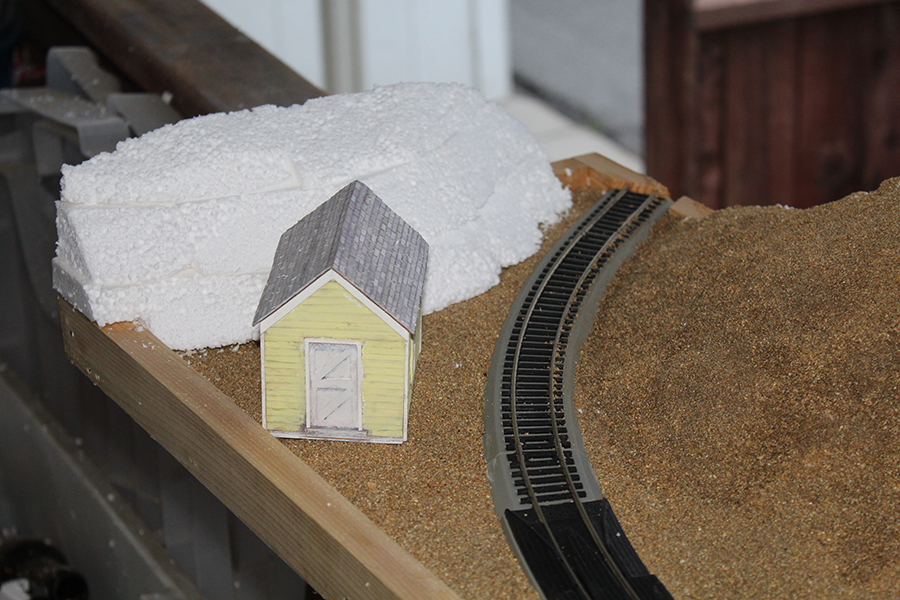
Adding a structure and ballast begins to make it even more of a layout.
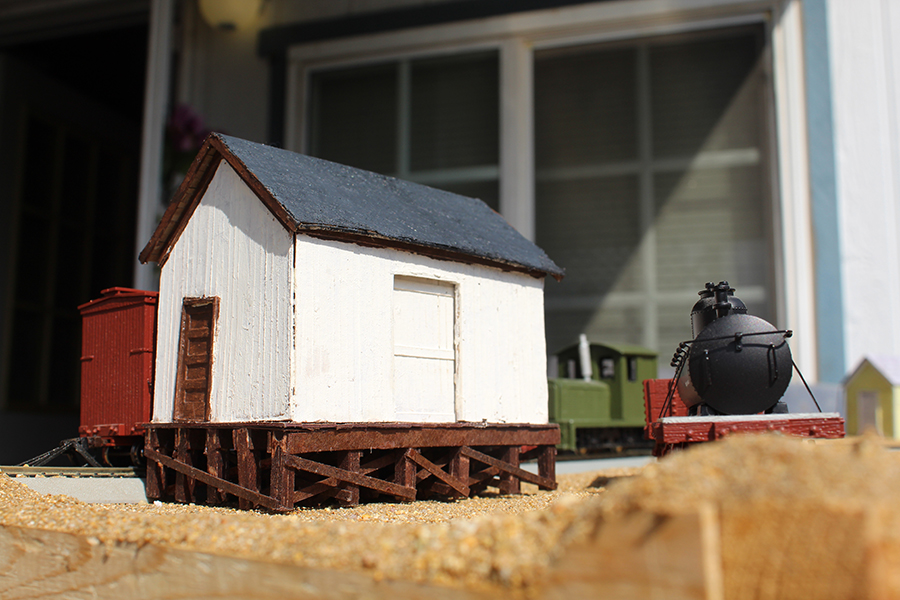
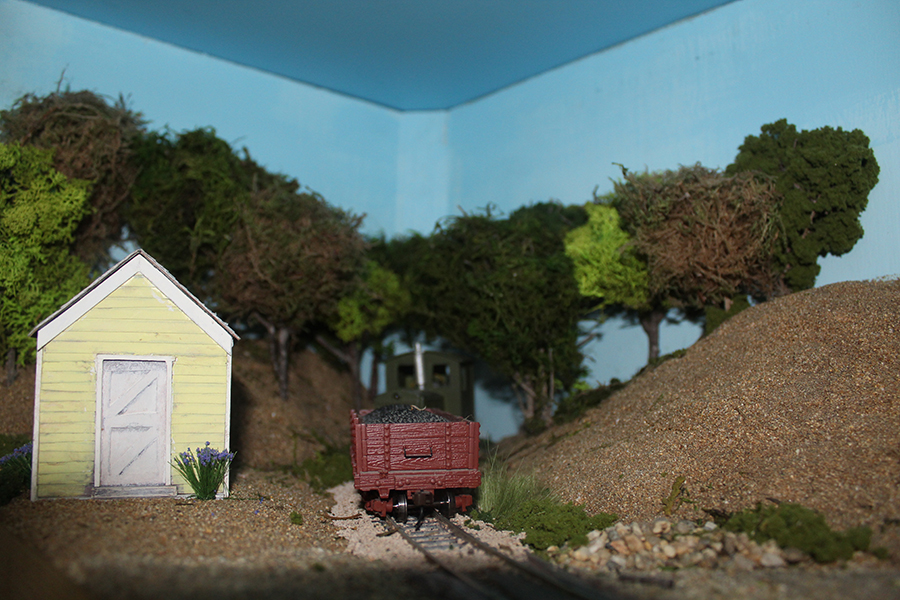
This simple shed is one found on your site… With some kind of water tank.
I built this model while on a weekend vacation and I believe you have featured it before. That was a lesson in having a modeling tool box to take with one when traveling…
This was the beginning of hiding the “End Of The World” on the headshunt.
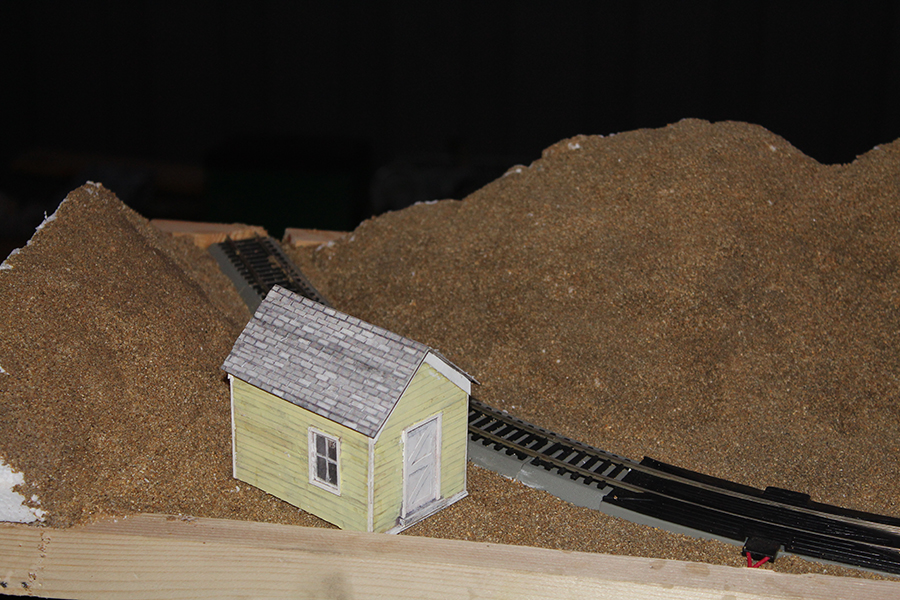
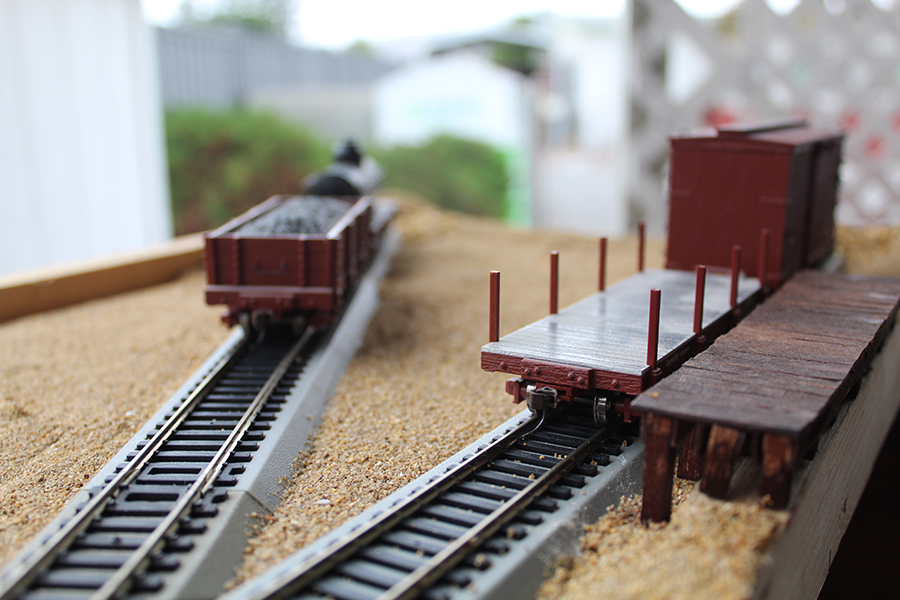
After beginning to hide the headshunt, it was time to begin working on the “business end”.
My first projects here were to build a loading platform and a small freight shed.
Note: What made this card projects possible were the skills I learned from watching John’s videos and building the kits.
For the reader — I want to encourage building Al’s kits… The help support the site and they help build your modeling skills. One likes to encourage the things that bring them joy and I cannot express in words the joy I have gotten from the information on Al’s site, watching John’s videos, and building Al’s kits.
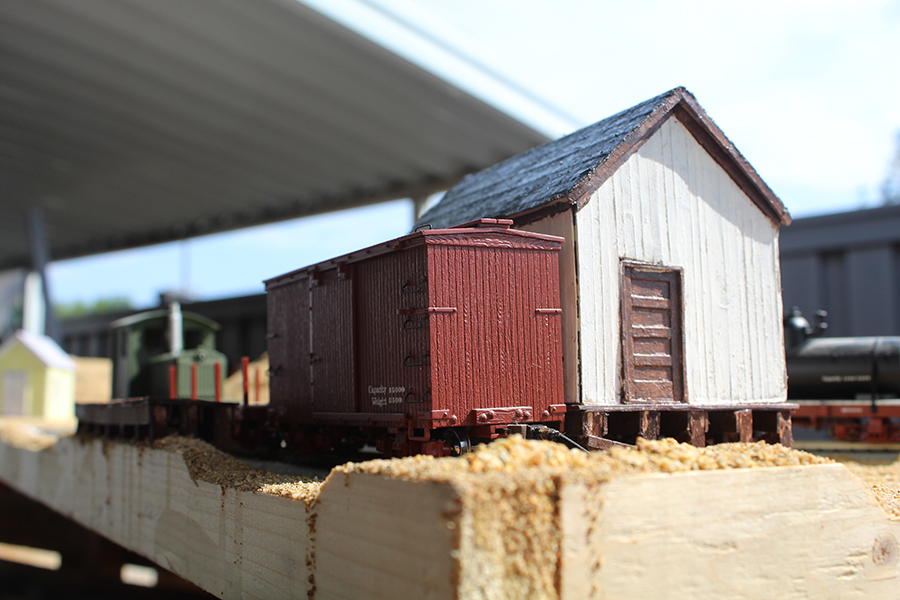
This is the freight station that I built…
It is about 3 inches by 5 inches and 100% from card… Recycled soda can boxes. The roofing was cut from a dryer sheet and painted in place.

After working on the freight station, I decided that a backdrop/backscene was needed.
This was not part of the original planning for this project. With the original “dare” the expectation was that it would be a simple project. As I was looking at the structures and features that I wanted to add however, it became clear to me that the overall scene needed to be “framed”.
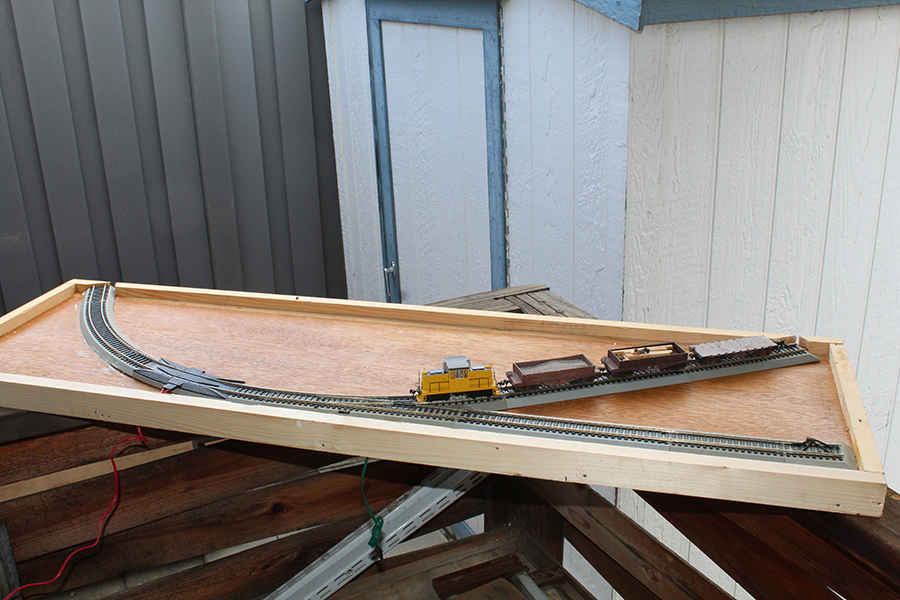
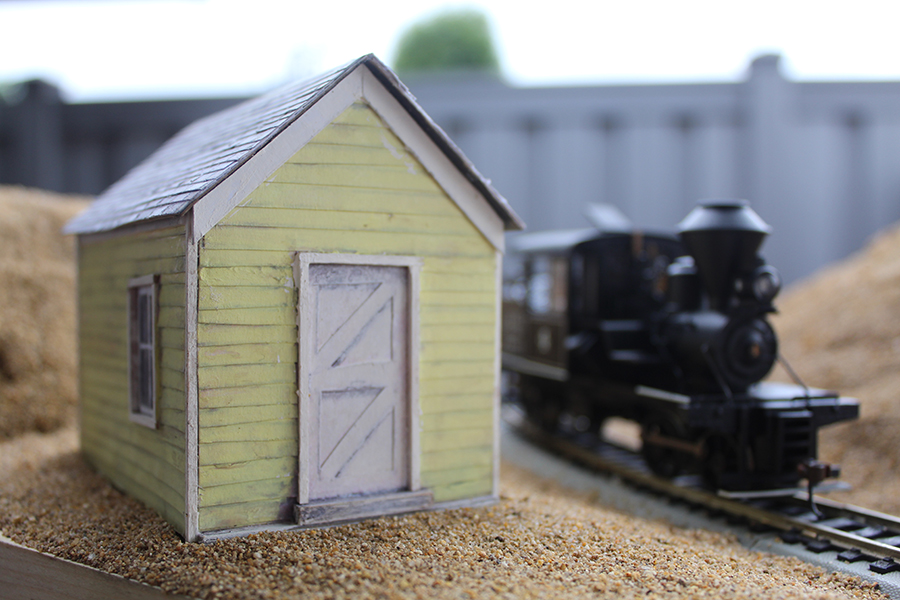
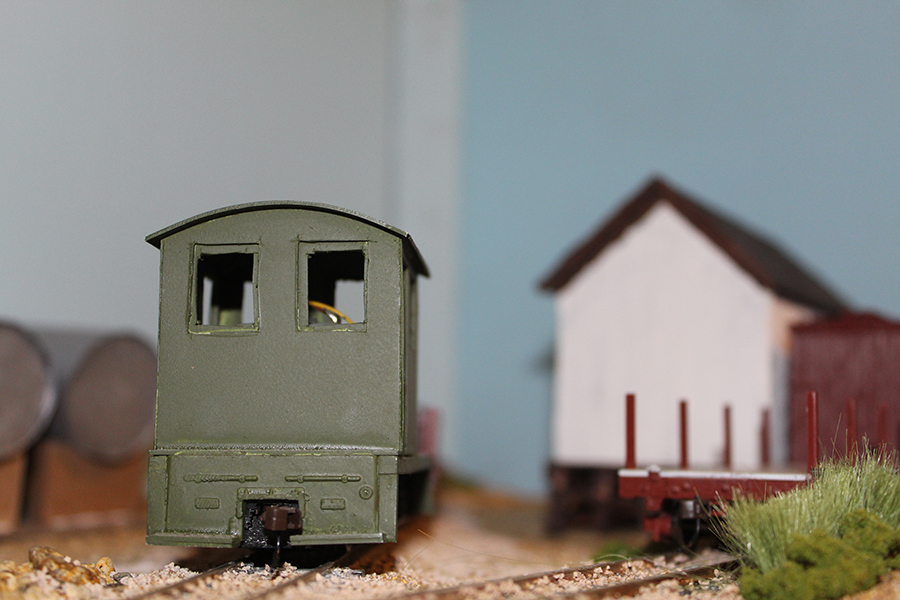
The little locomotive in this picture was a Model Power diesel that I got for $20.. Some plastic card gave it a new cab and took it from HO scale to 1/4 inch O scale. — Modeling does not have to be expensive even in the “King of Scales”.
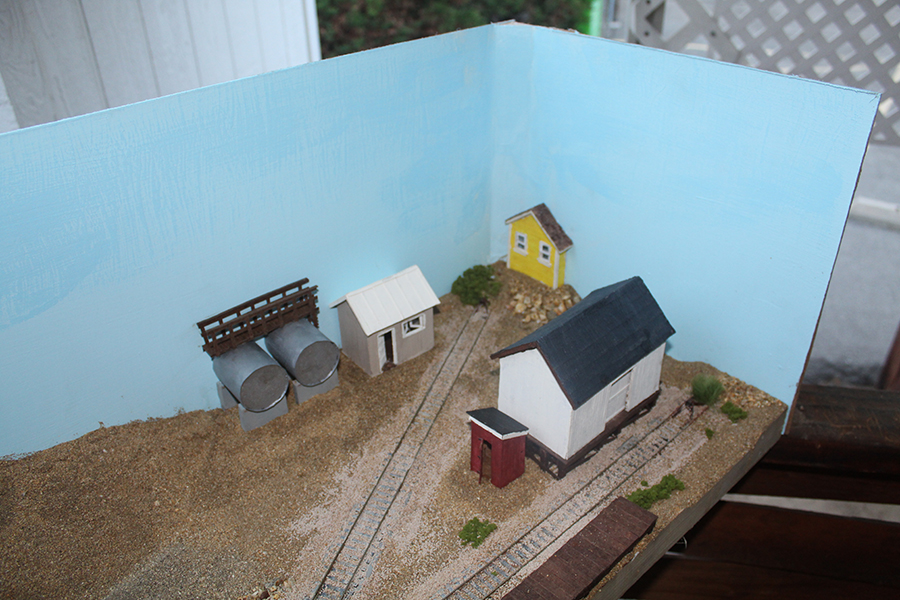
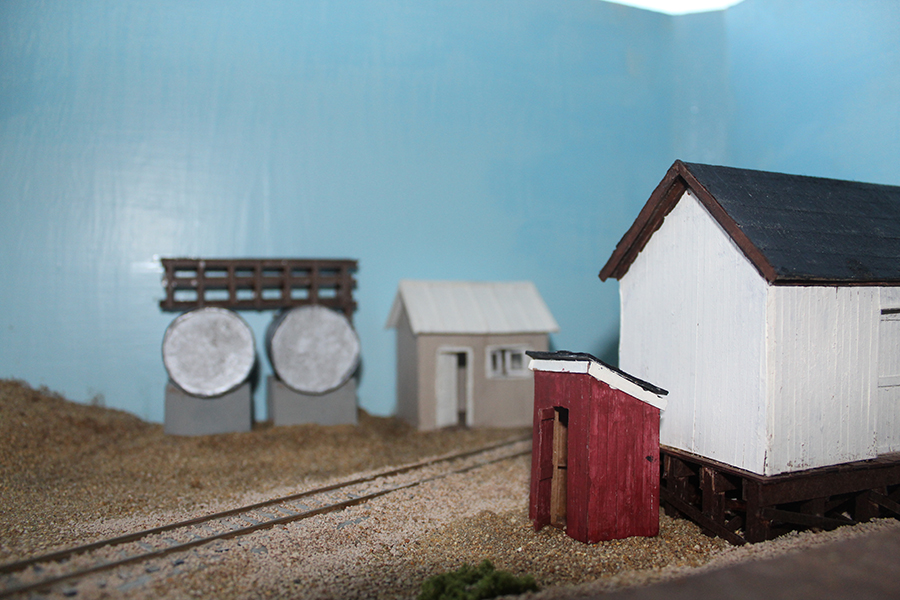
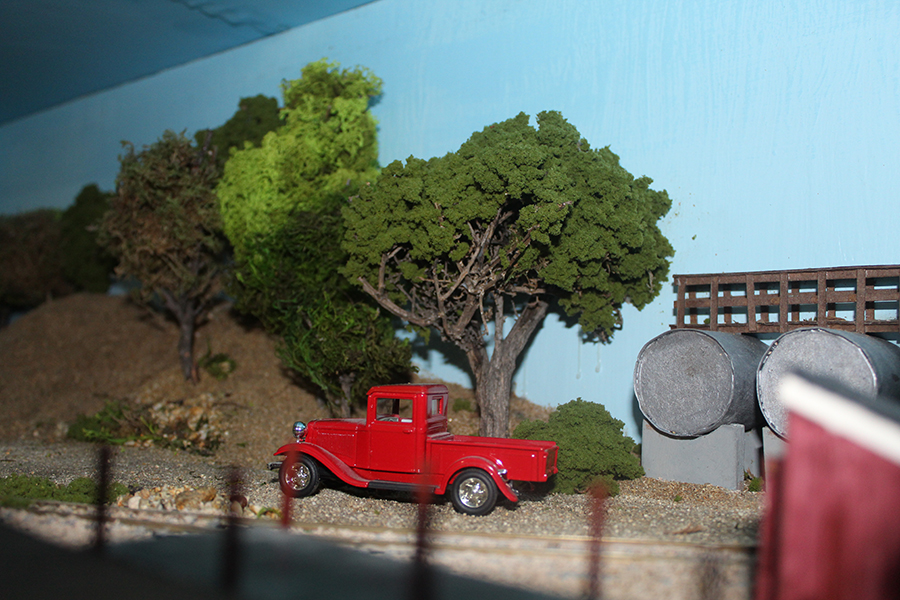
With the backscene/backdrop installed, I could now begin on the second business to complete the operations side of the layout. This is Lou’s fuels. It is a small oil distributor. The oil storage tanks were made from a common toilet paper roll tube. The balance of the buildings are again card recycled from soda can boxes.
Note: The office for the fuel distributor, the little yellow house flat in the background, the railings on the fuel tanks, and the little outdoor loo were all built in one week while I was “on holiday” at my mother’s house in New Mexico, USA. They were built as “stress relievers” as the trip was not much of a “holiday” with my mother passing exactly 10 days after I arrived. This was not totally unexpected and had been one reason for the depressive funk that I was in before I started this layout project. The grand old lady missed her 100th birthday by exactly two months and one week.
If anyone is looking for a really good reason to “Get Started”, the stress relief is available in making models is far healthier and effective than any other palliative.

Up to this point the layout has been a desert scene.
Trees will help… Mine were built mostly from weeds and moss… The weeds I found and the moss I purchased from a local craft store. A couple do use Woodland Scenics foam and one was modified from a Woodland Scenics HO scale tree that I had left over from an old layout.
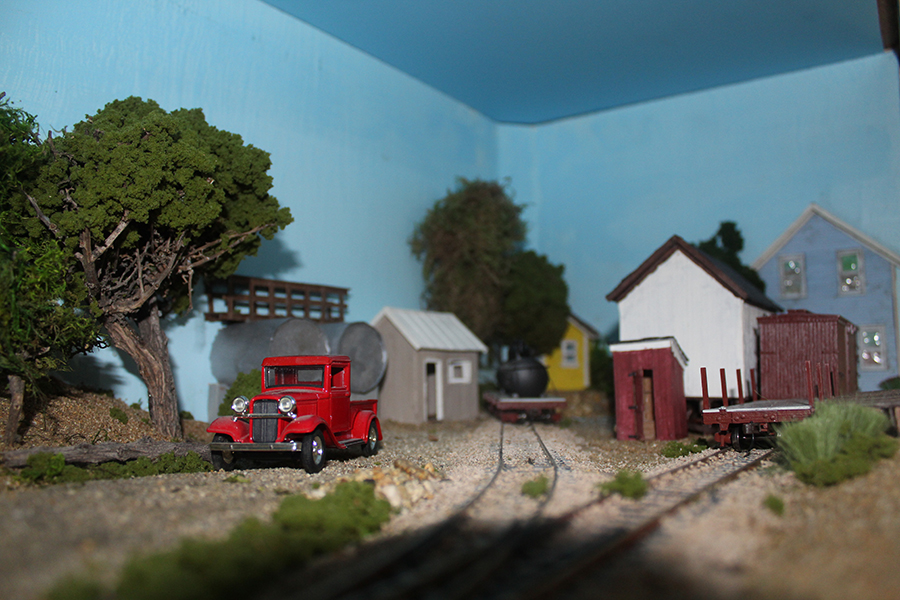
With trees added, a few more finishing touches became appropriate.
Like the story with the backscene/backdrop, these were not part of the original vision.
What drove these little touches was the “incomplete look”.
One of these touches was another flat building… It is another of Alastair’s houses… One that I have used as a start for several of my models. The other touch was the layout cover that will actually hold some lighting. This was not part of the plan but for the space starved modeler it really makes the layout more of an art piece that can have a home anywhere in the house. The top is great for a bookshelf or “collectables” shelf.
I have removed the blue tape in this picture but have not yet painted the wood…
At this point the layout is 99.5% complete… I may add people and will add paint to finish.
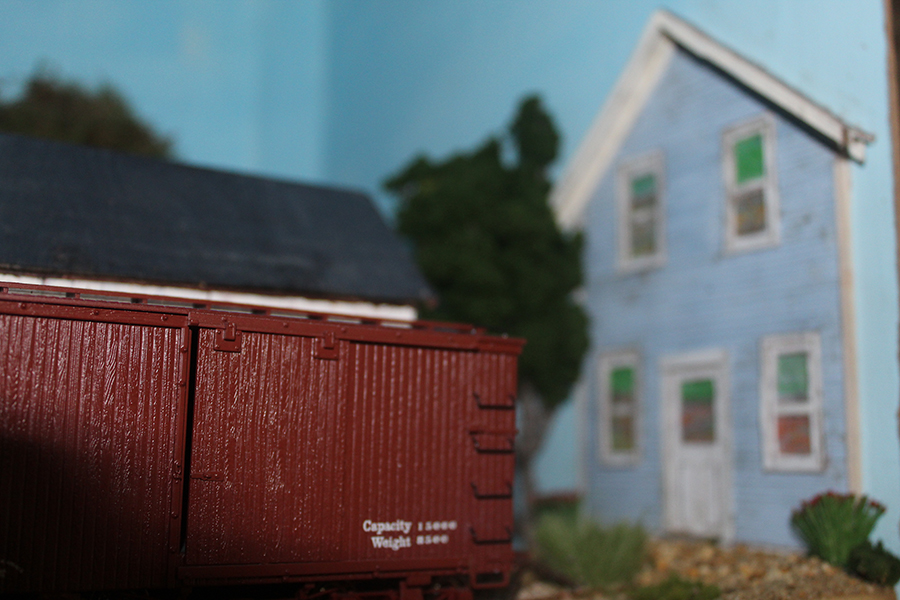
I do wish I had made my backscene taller as it would have made the photography easier. What I installed is only about 12 inches tall. 18 inches of backdrop would have really helped when it comes to taking pictures and hiding the “real world”.. A lesson for my next project.
Sincerely,
John from California, USA”
A huge thanks to John.
I do love the way he outlines the three mains reasons why people don’t make a start. It just goes to show, there really is no reason why you can’t start and have fun.
That’s all for today, folks, please do keep ’em coming.
And don’t forget the Beginner’s Guide is here if you want to make that start.
Best
Al
PS Latest ebay cheat sheet is here.