Michael’s been in touch with a wiring question – HO scale wiring terminal block.
As usual the comments at the bottom of the page all seem to have identified the issue. Have a look and you’ll see what I mean.
What a clever lot you lot are.
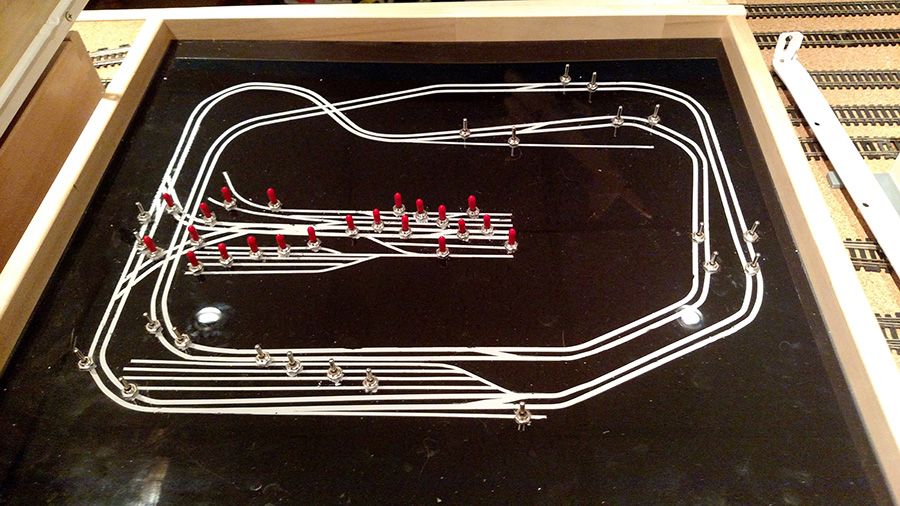
“I’m looking for someone to diagram a wiring problem that is beyond my ability.
My railroad has 4 cabs ( power supply ) 2 for the main lines and 2 for the yard.
Cab A and B are main lines. C and D yard.
I want to be able to use can A to bring a train into the yard without stopping at the meeting point. Then switch to cab C or D once in the yard.
Can you help?
Michael”
Please do leave a comment below if you can help.
And now on to Dave.
I know I post a lot of Dave’s stuff, but the problem is, I watch it, enjoy it, and then I think “I should post this.”
So here you go, another one from Dave:
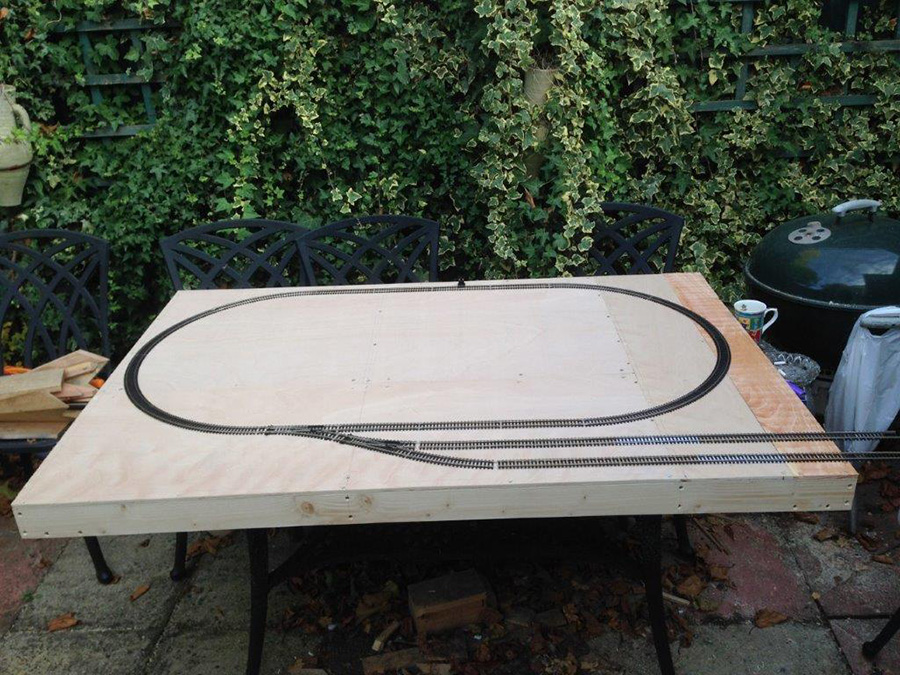
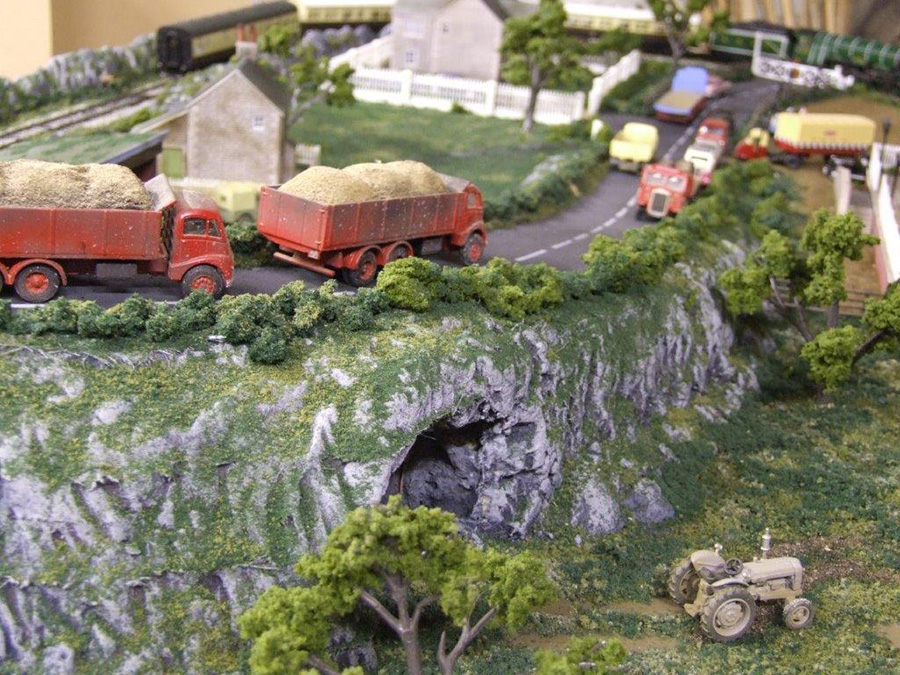
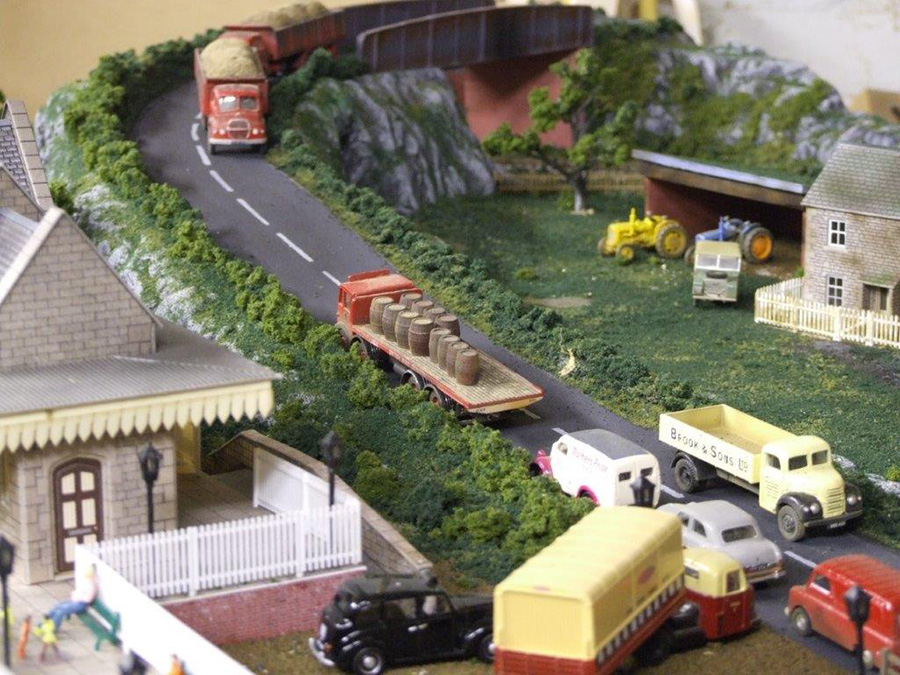
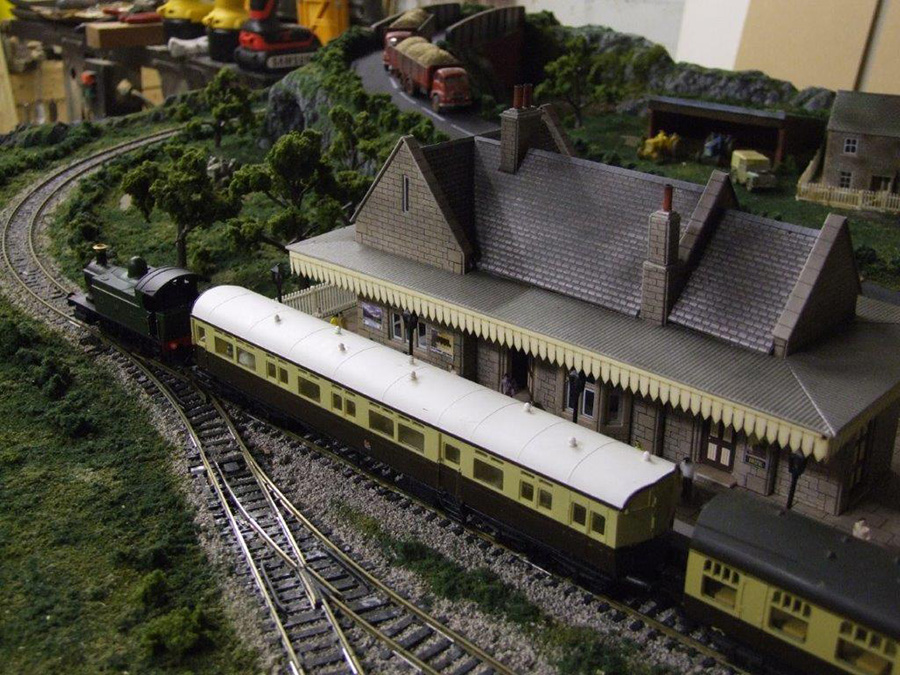
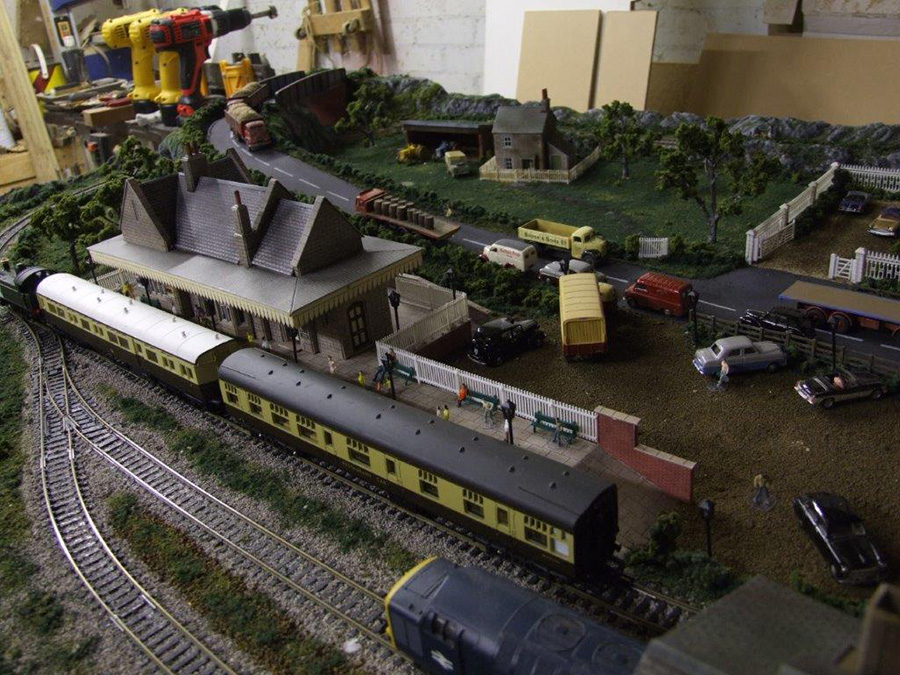
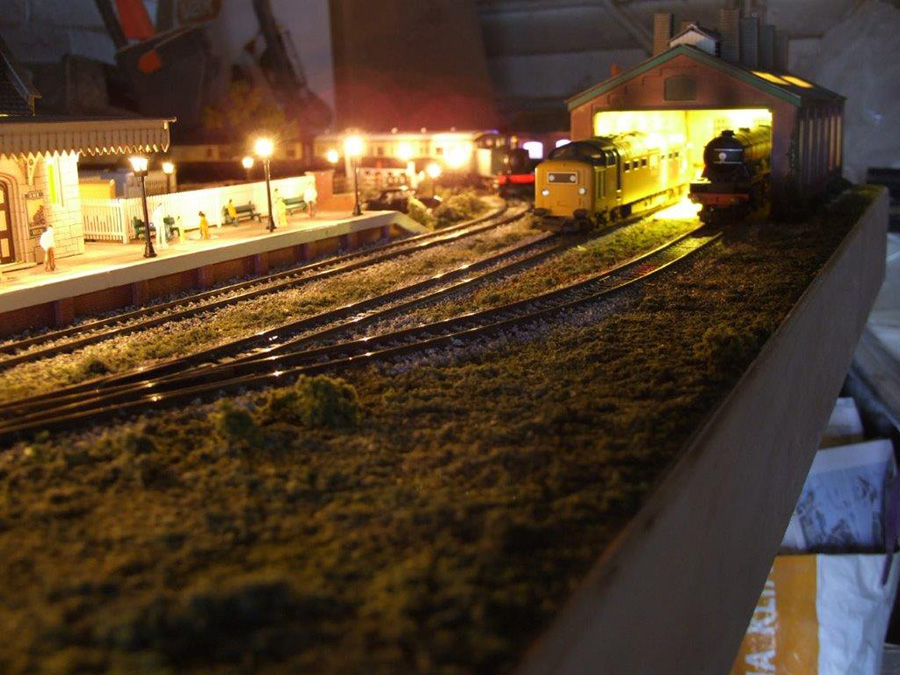
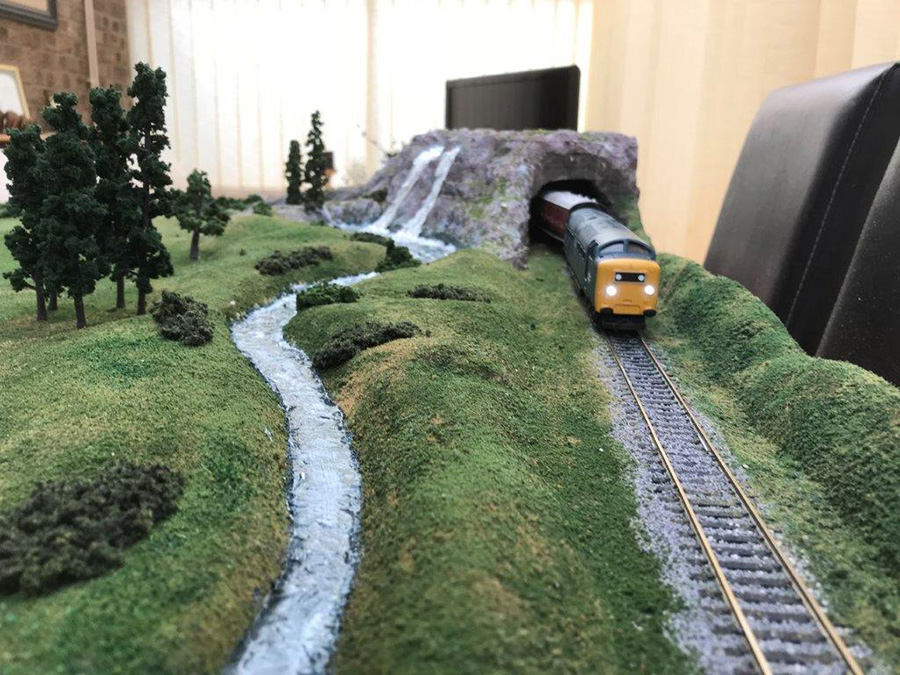
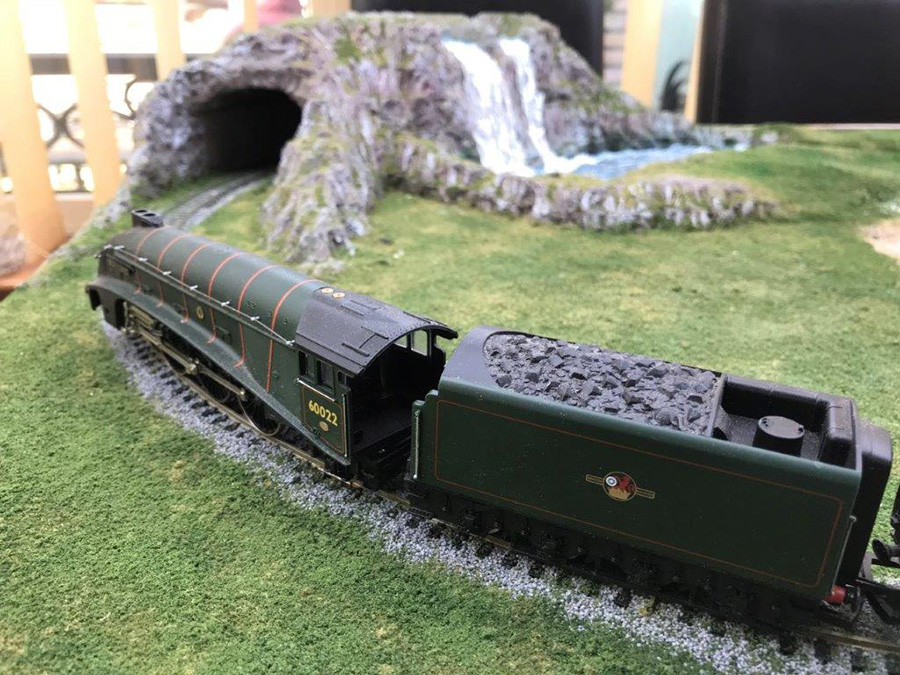
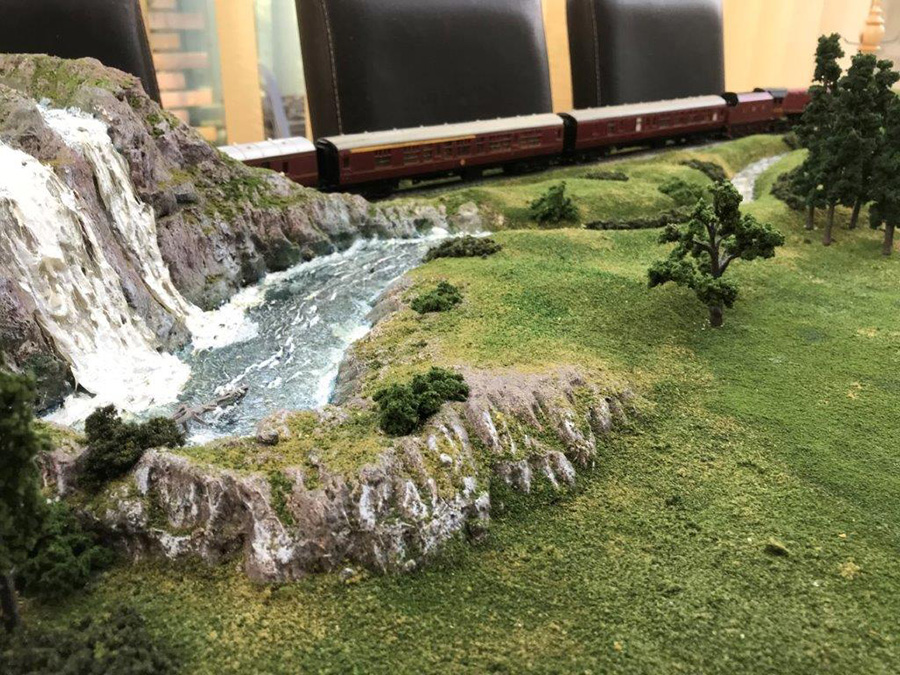
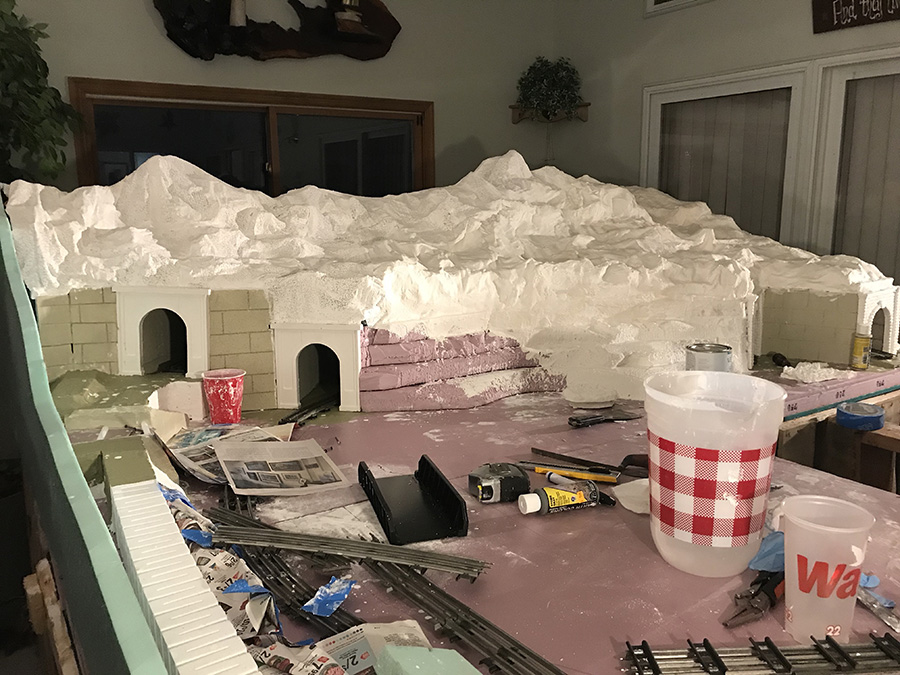
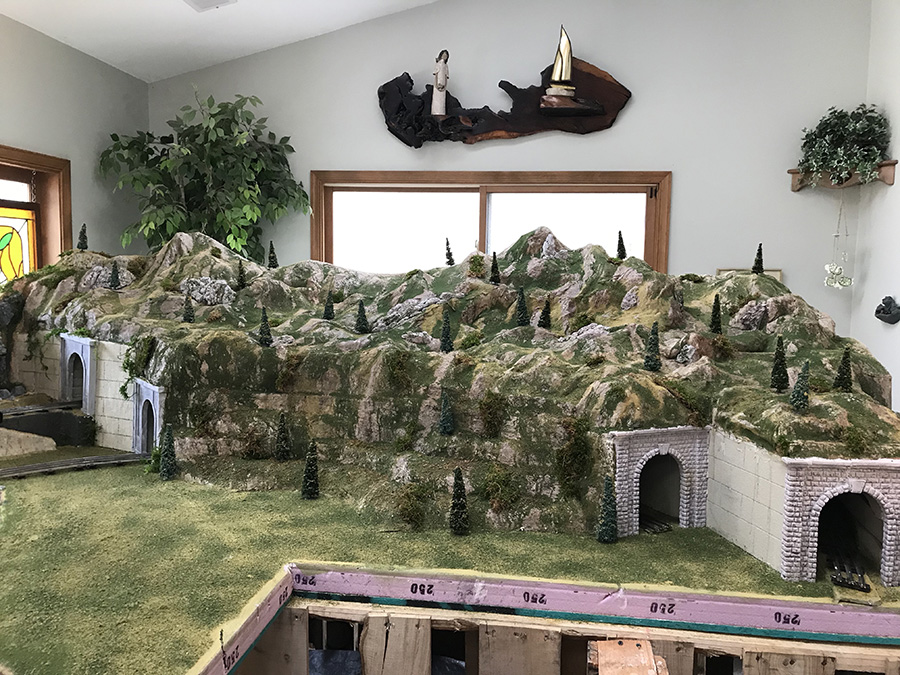
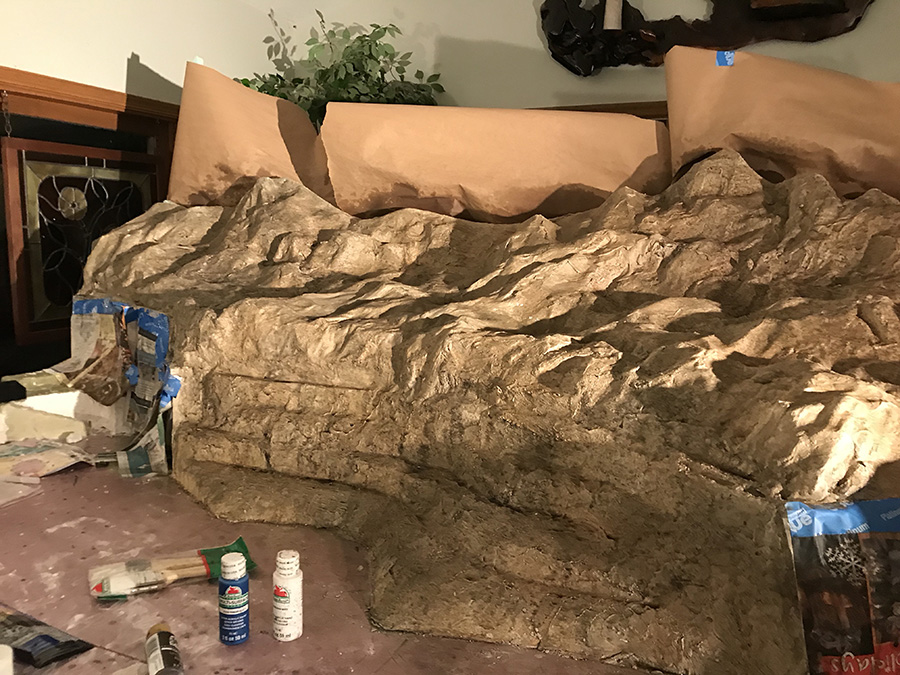
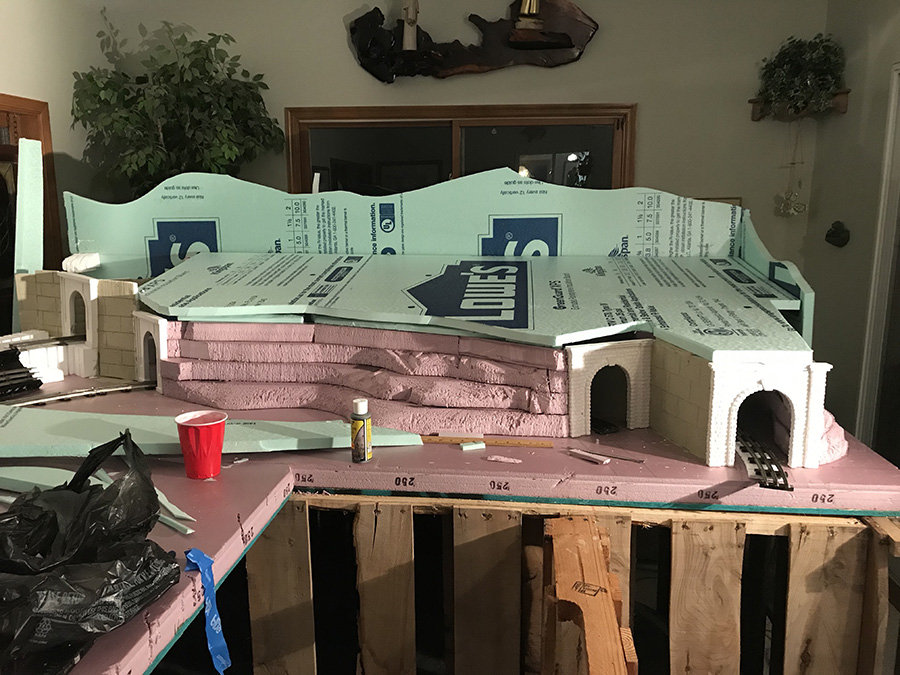
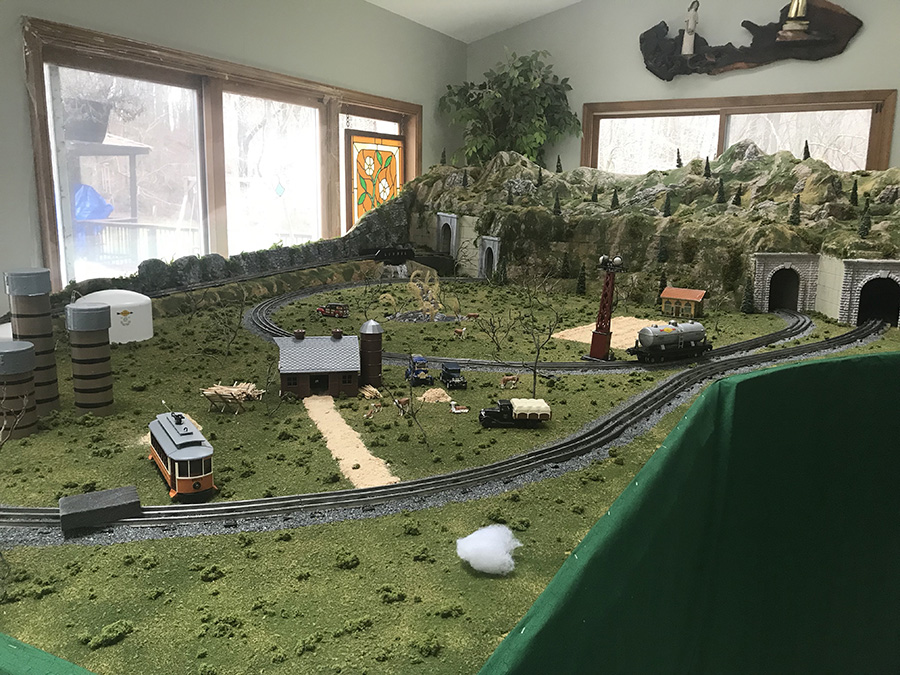
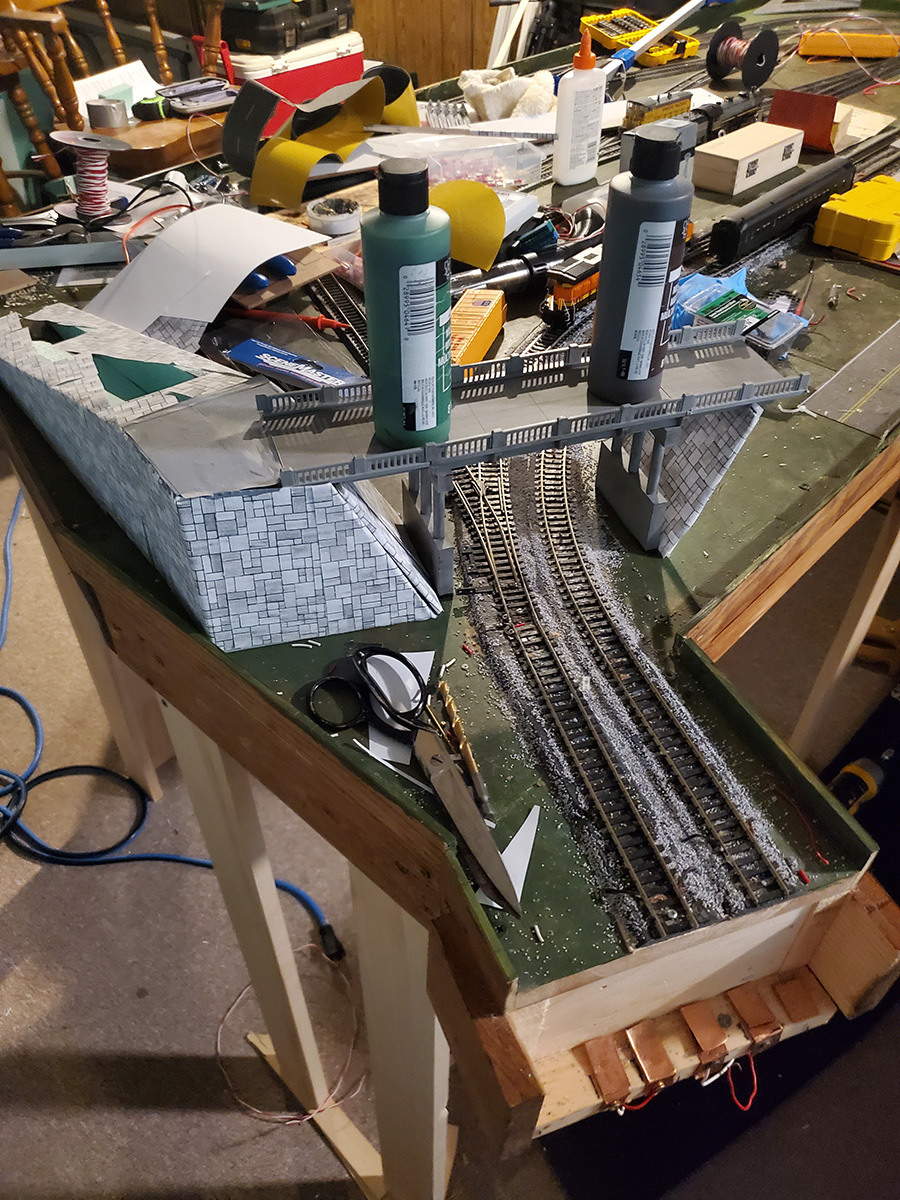
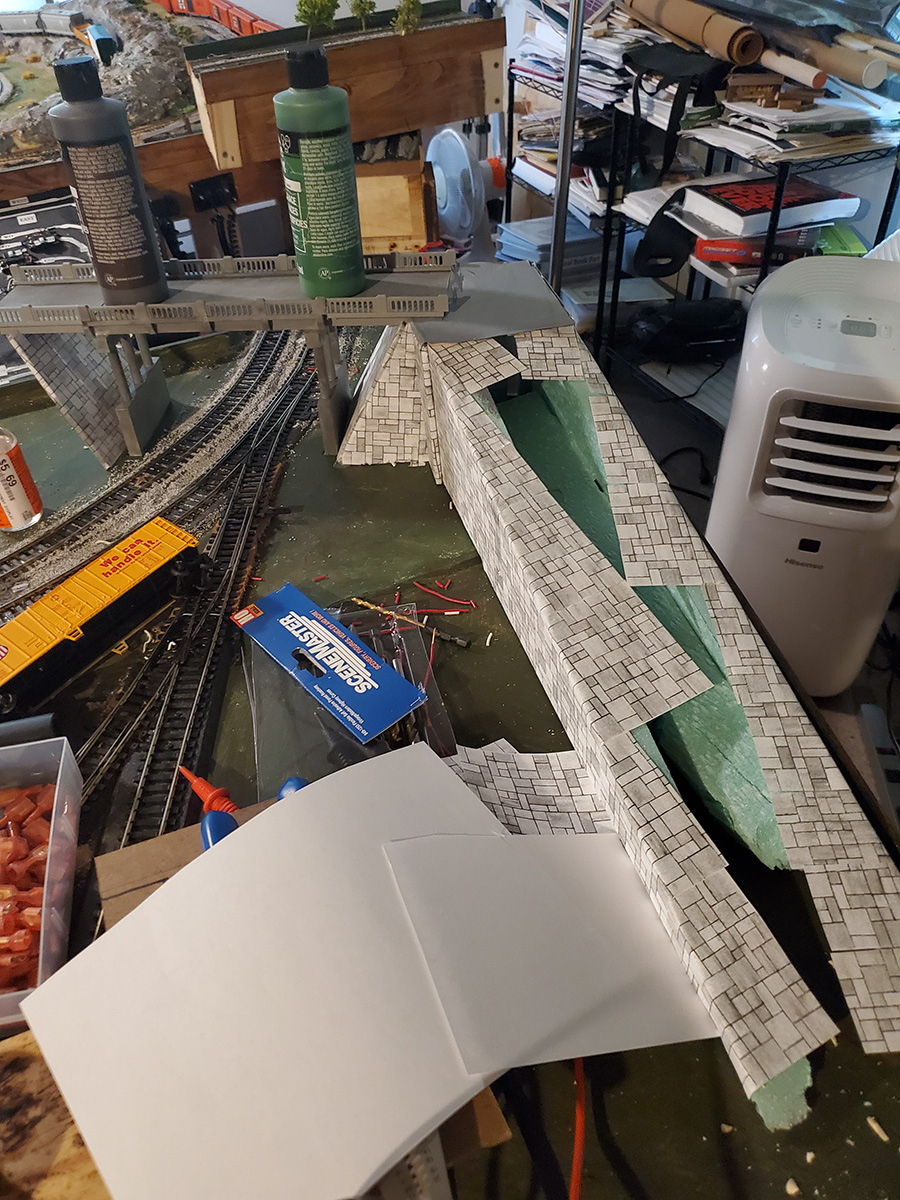
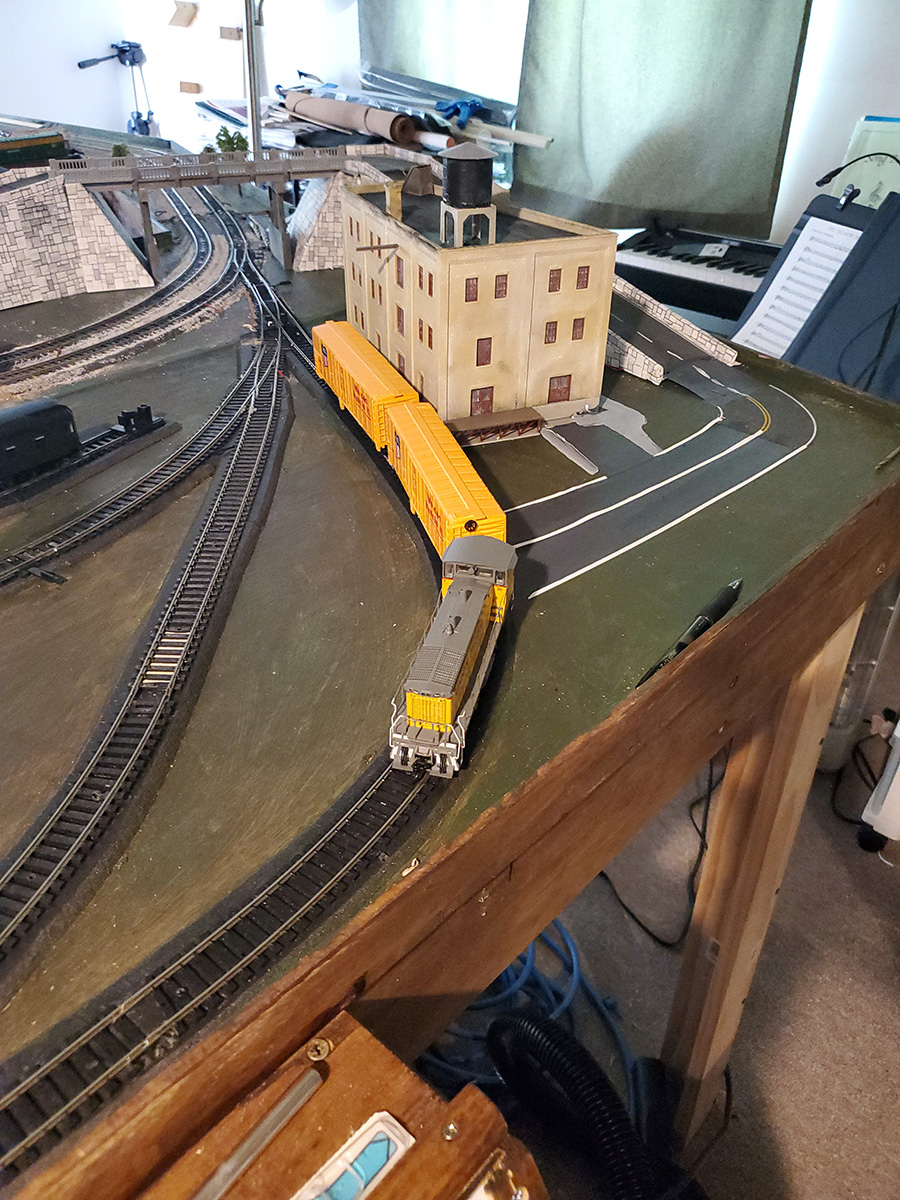
“Hi Al, well with a couple of days of the weather cooling down, I went back up in to the loft and decided to make a few changes …yes changes from Dave ??
LOL ..it’s what we do though ..all for the better though, new platform, giving me more space to add an extra siding, and some bridge changes, giving it a better look than before…
seems to have worked… added a little running session as well.
Regards
Dave”
Latest ebay cheat sheet is here.
A huge thanks to Dave – and who can help Michael? Please scroll down and leave a comment below if you can.
And don’t forget today is the last day to grab this very silly deal on the print out scenery.
Course, I’m biased, but they are great fun – and a good way to make a start too.
Please leave a comment for Mike below if you can help on his HO scale wiring terminal block problem.
That’s all for today folks.
Please do keep ’em coming.
Best
Al