Making a shipping container for your model railroad

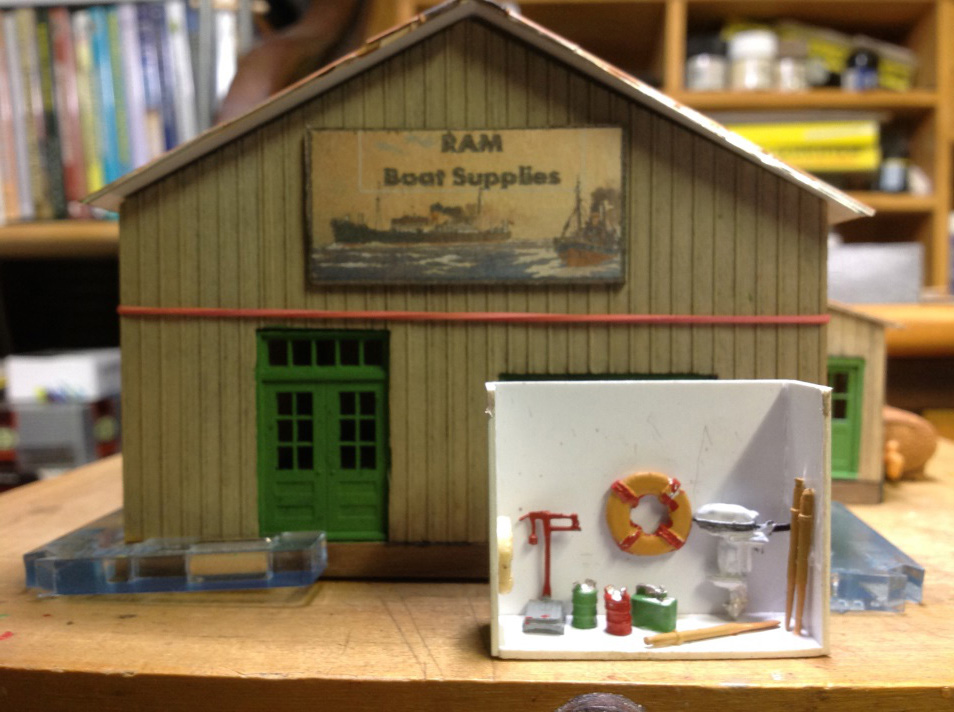
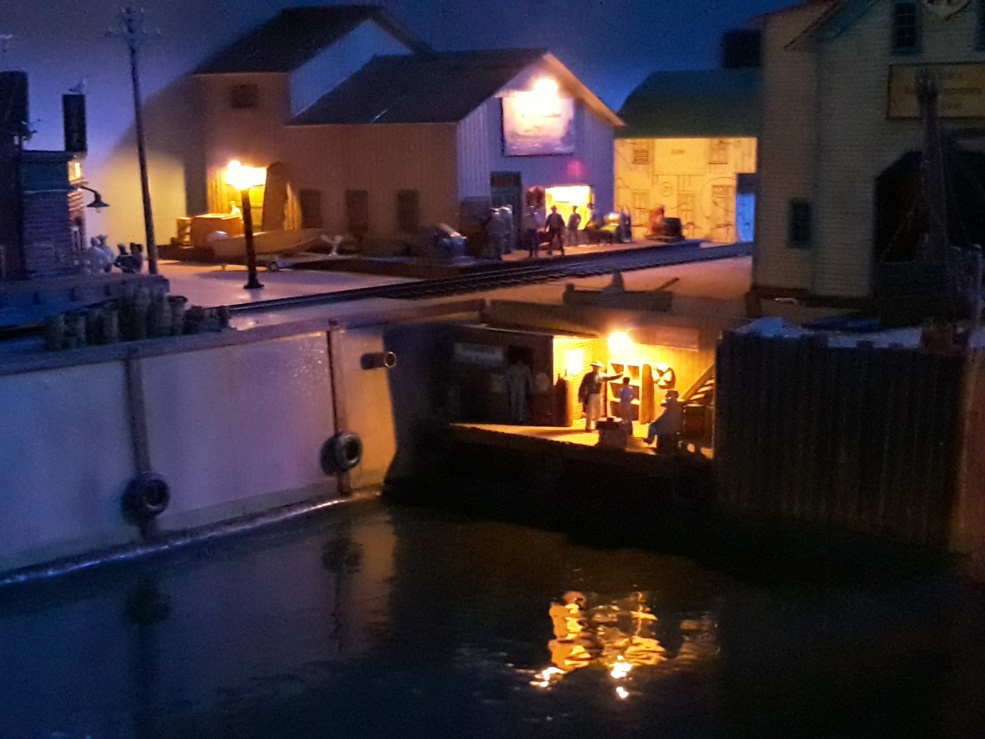
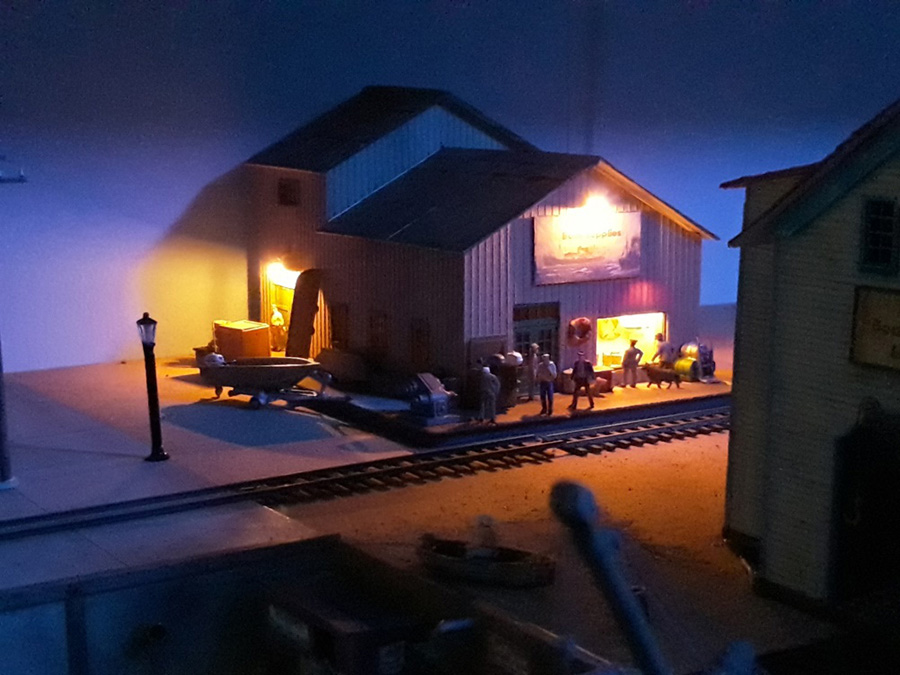
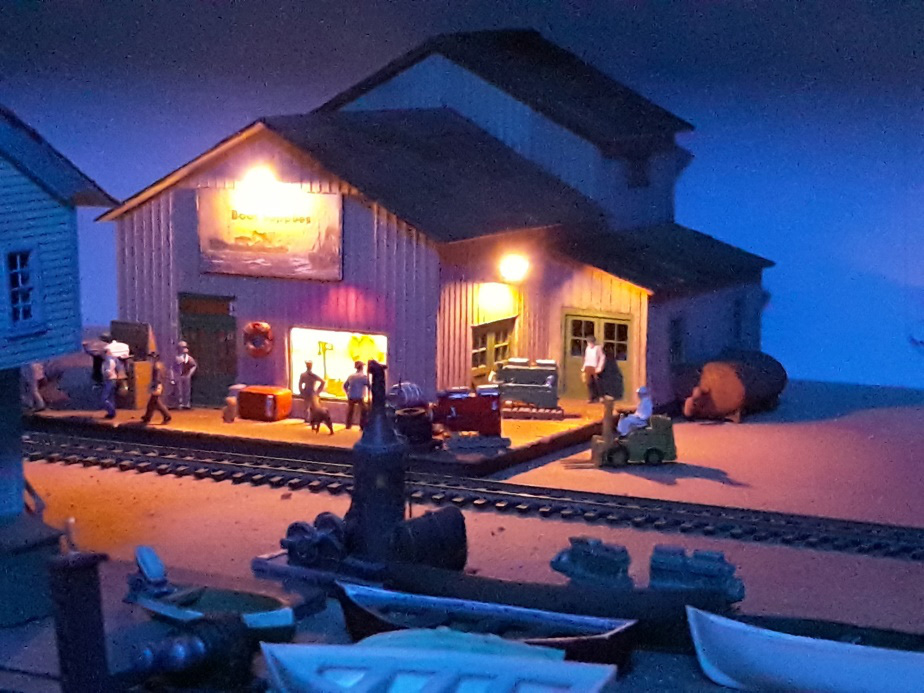
If you’ve ever fancied adding some shipping containers to your layout, Mike shows how easy it is with the latest print-out scenery:

“Making the shipping containers took me a few trial runs – but once I had the process right, I was surprised at how quick it was.

The first one I made was too detailed and took forever (the white one).

The second one was really quick – no detail – but didn’t look great. I binned it (no pic of this one).

The third one was a compromise and looked good (the blue one).

The fourth one took around 20 minutes and I was really pleased with it.

So, here’s what I did.

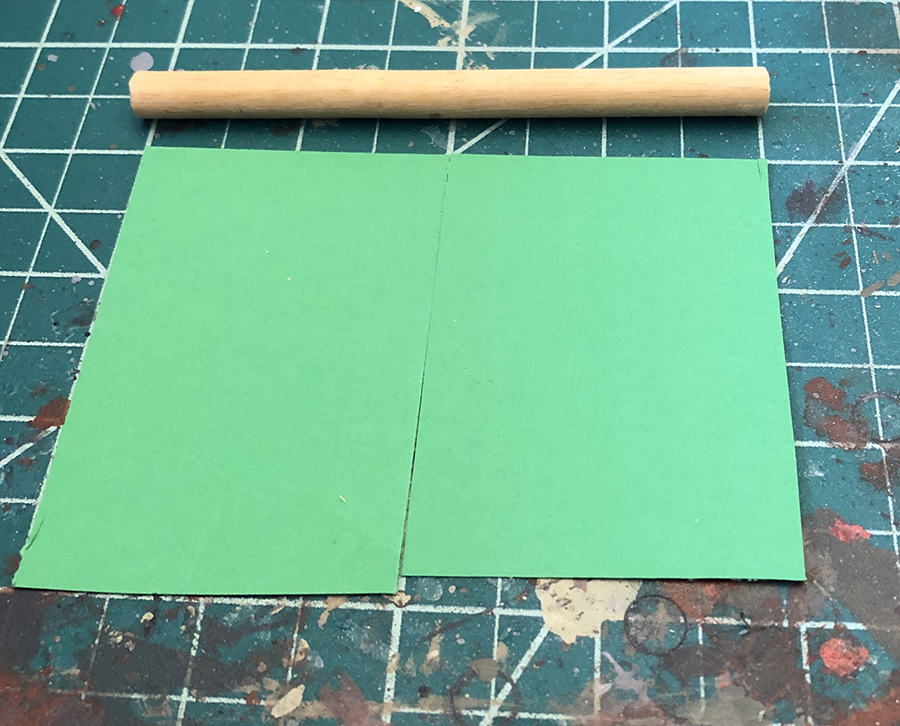
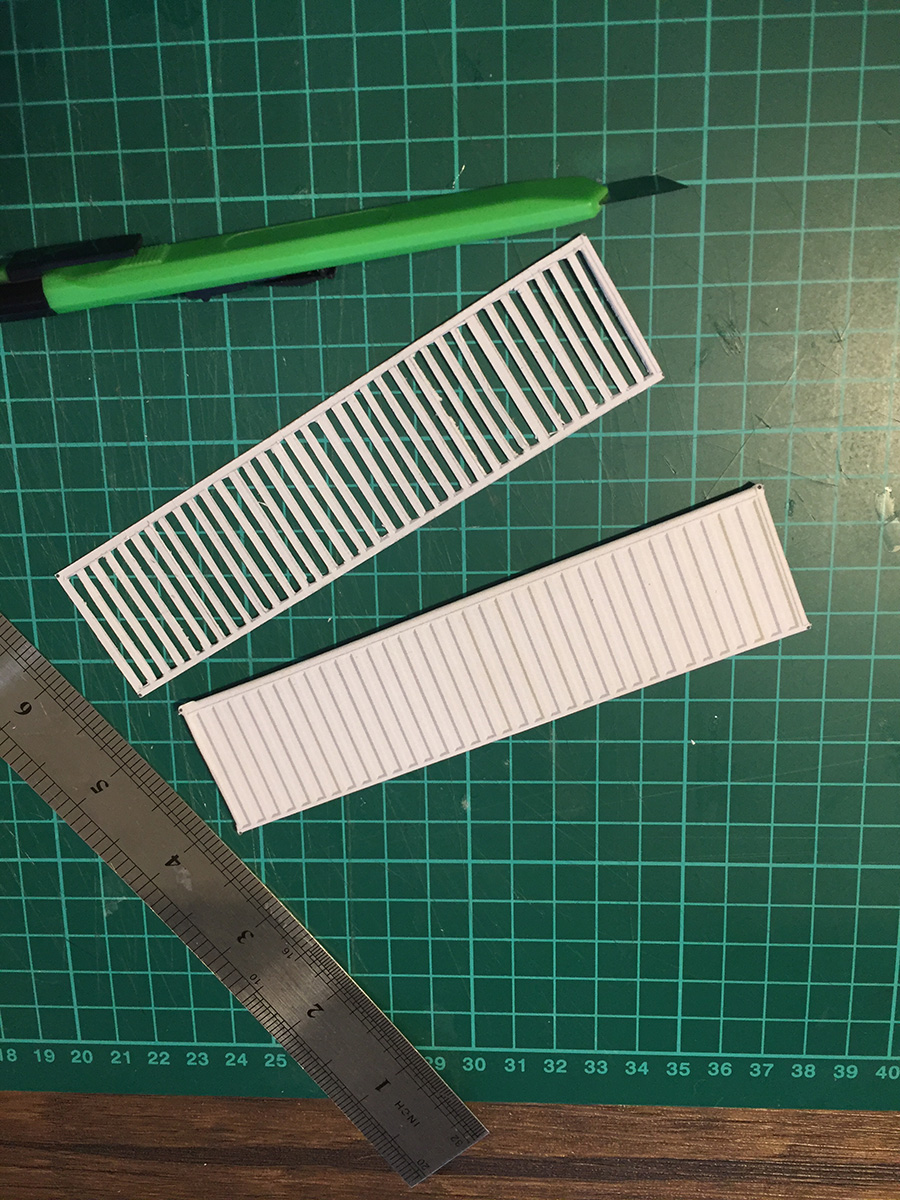
First, print out the container, stick to card and cut out (it’s HO scale).

shipping container print

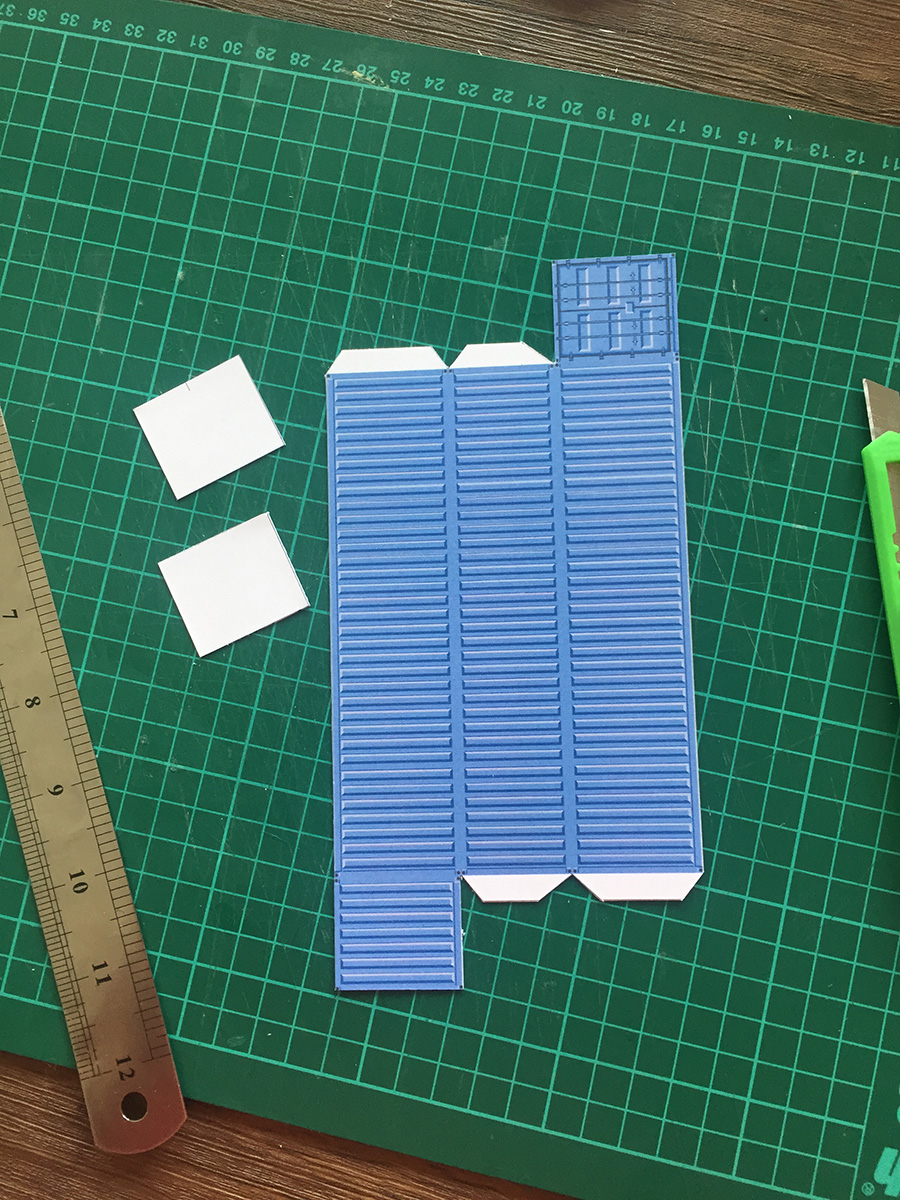
Then, turn it round and score (cut lightly with a scalpel) where you need to fold. Doing this gives you a crisp, sharp fold.

Then, make the folds. I used the ruler to help keep the folds straight.

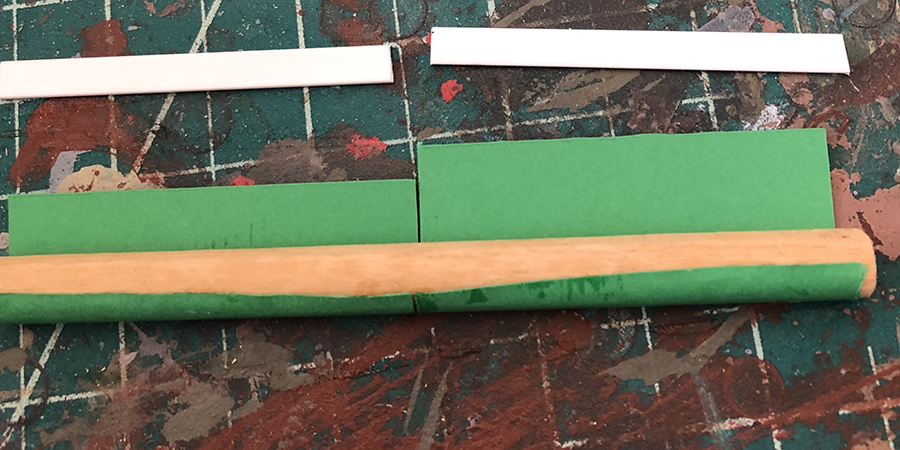
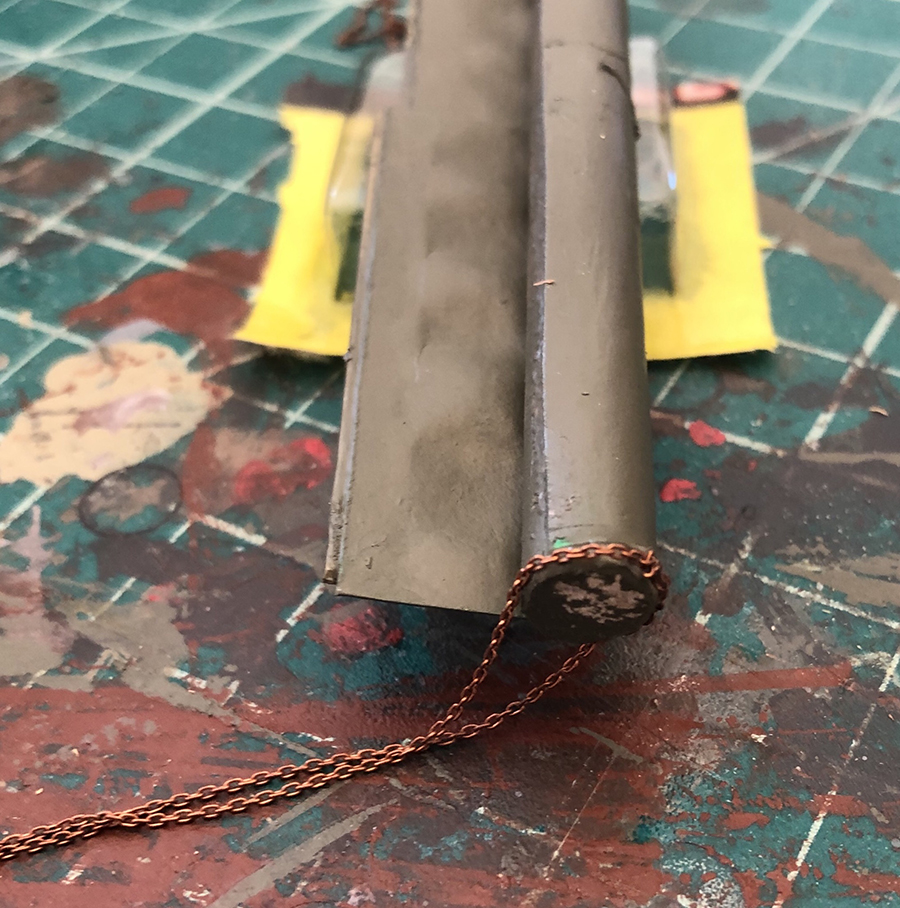
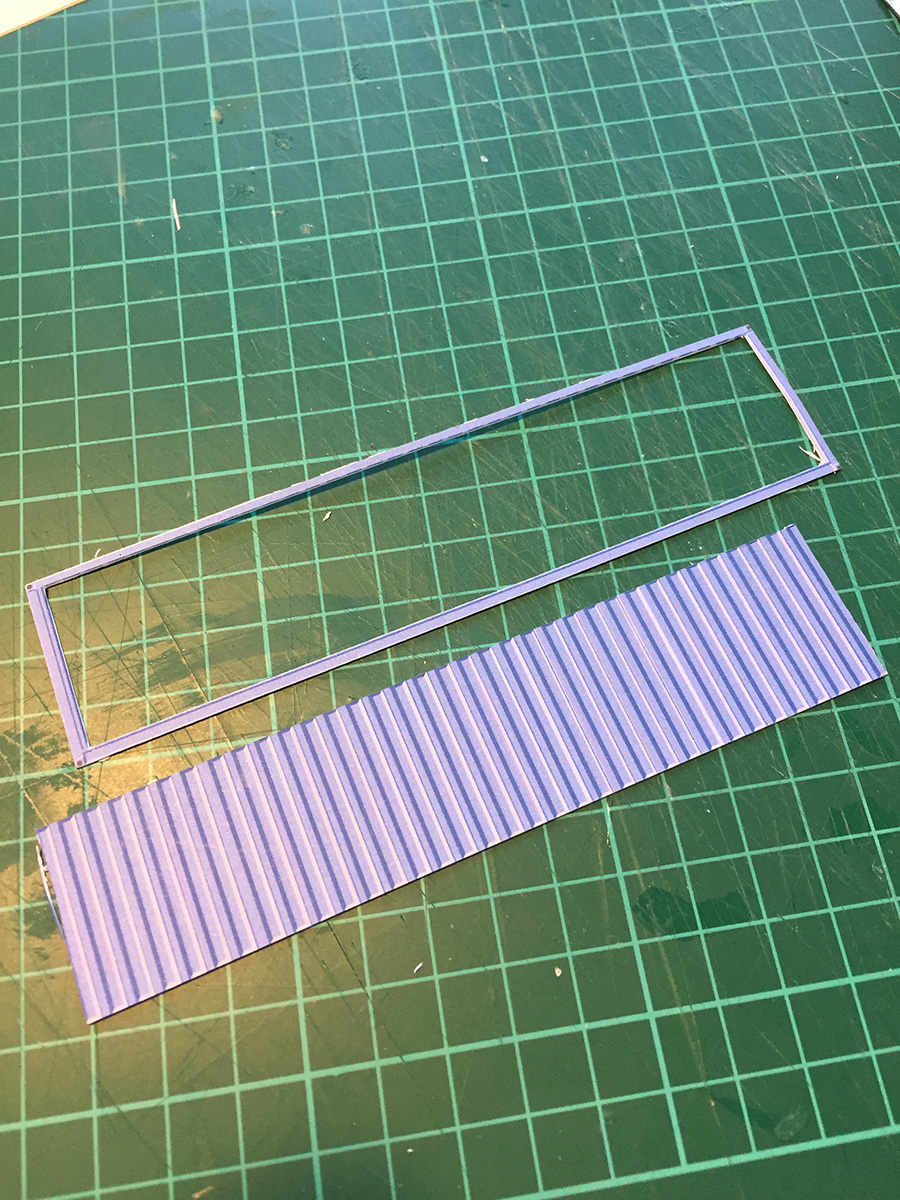
Now an important point. On the print, there are two rectangles. These are struts. Just cut them out and glue them to the inside of the container.

If you don’t do this, the structures bend, giving a very unrealistic appearance. It makes them almost look like they are inflatable models. Not good.

I just glue, hold them in place for a minute, then leave them for a mo.

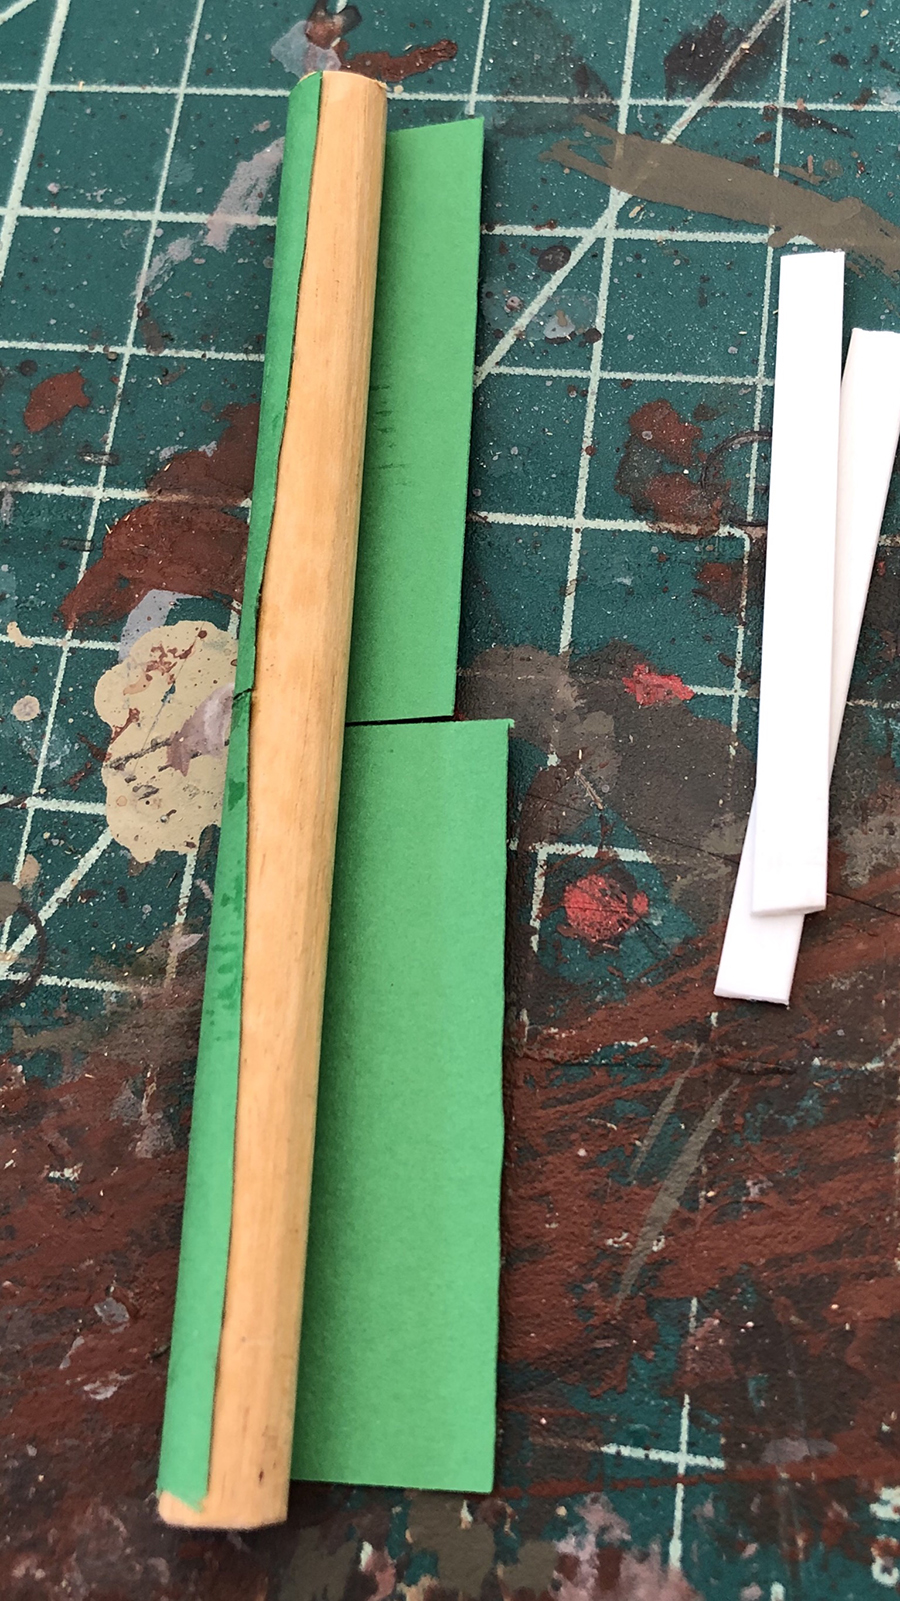
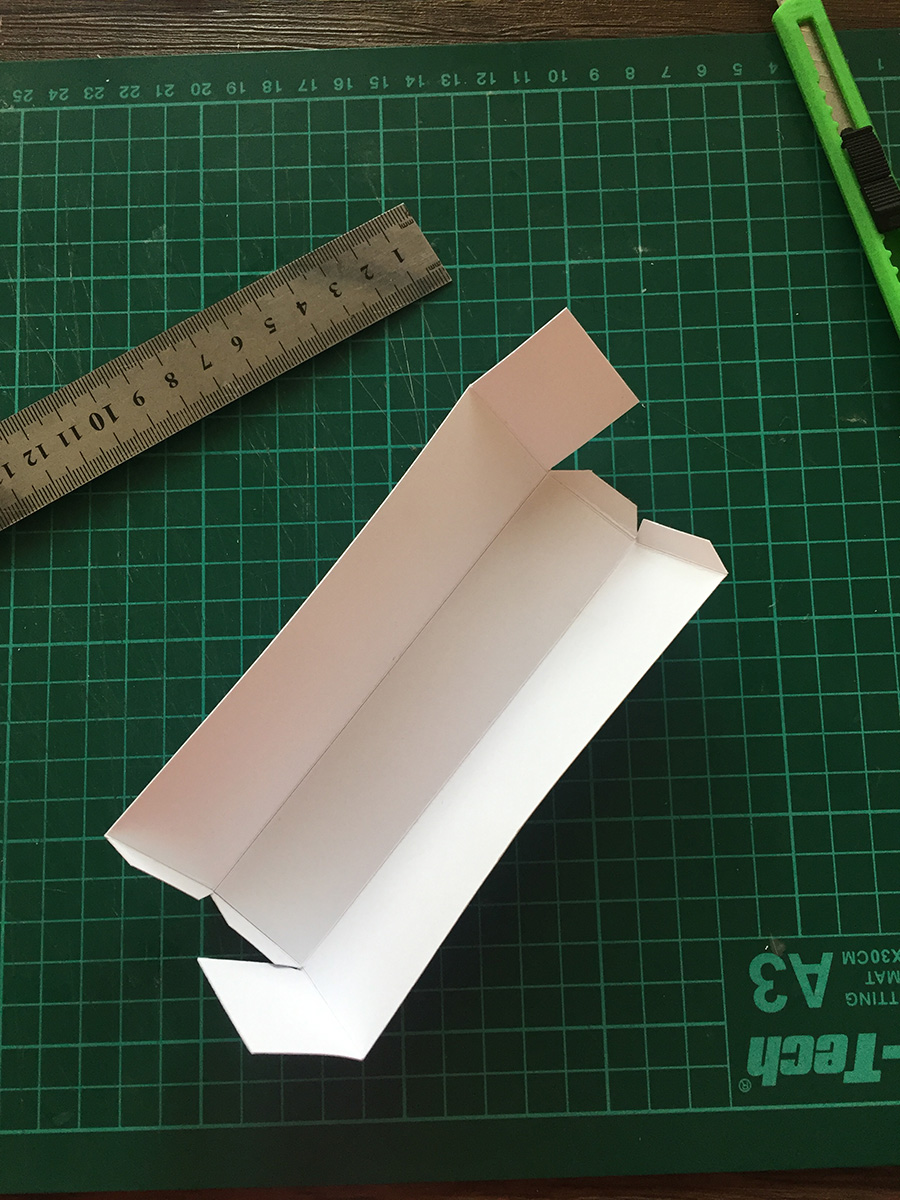
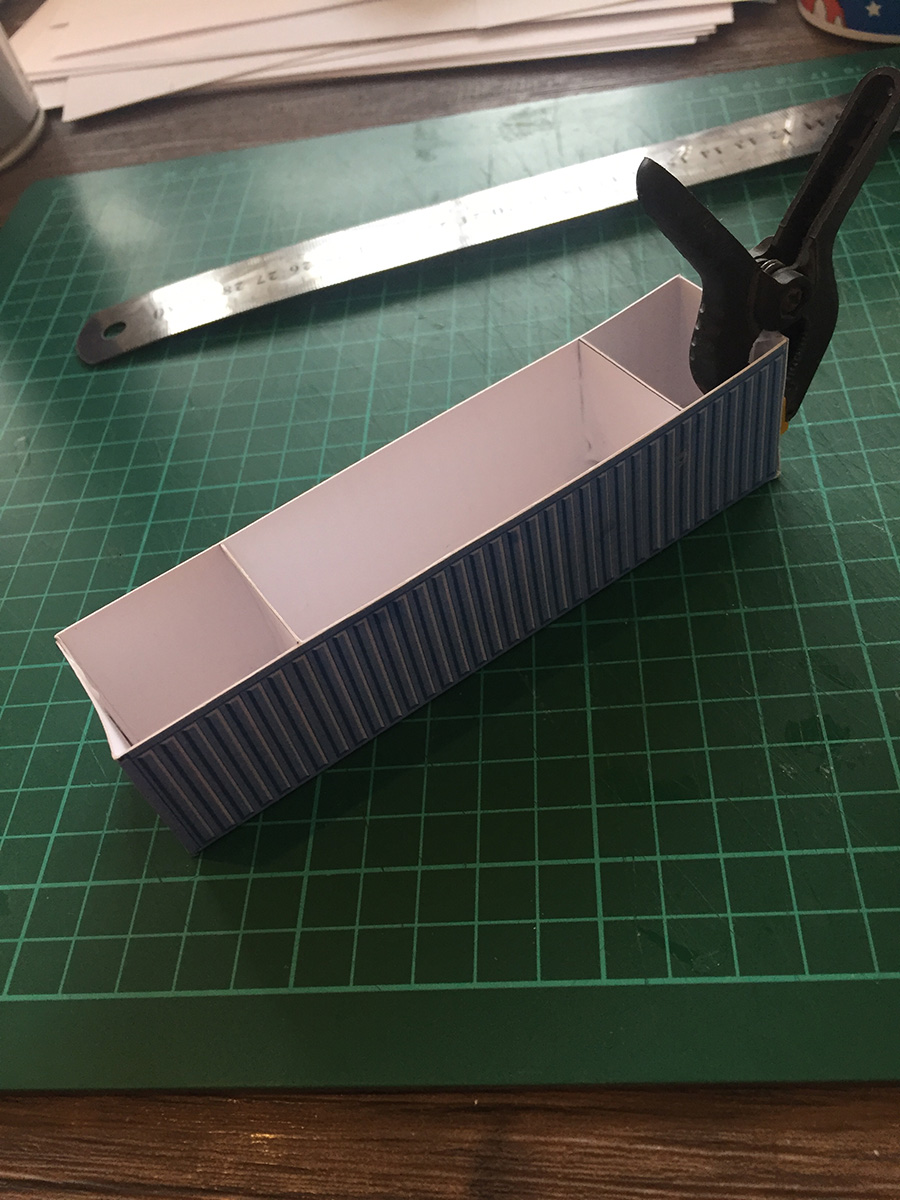
Next, glue the ends to the flaps. Make sure it’s 100% square with the container then use a clip or clothes peg.

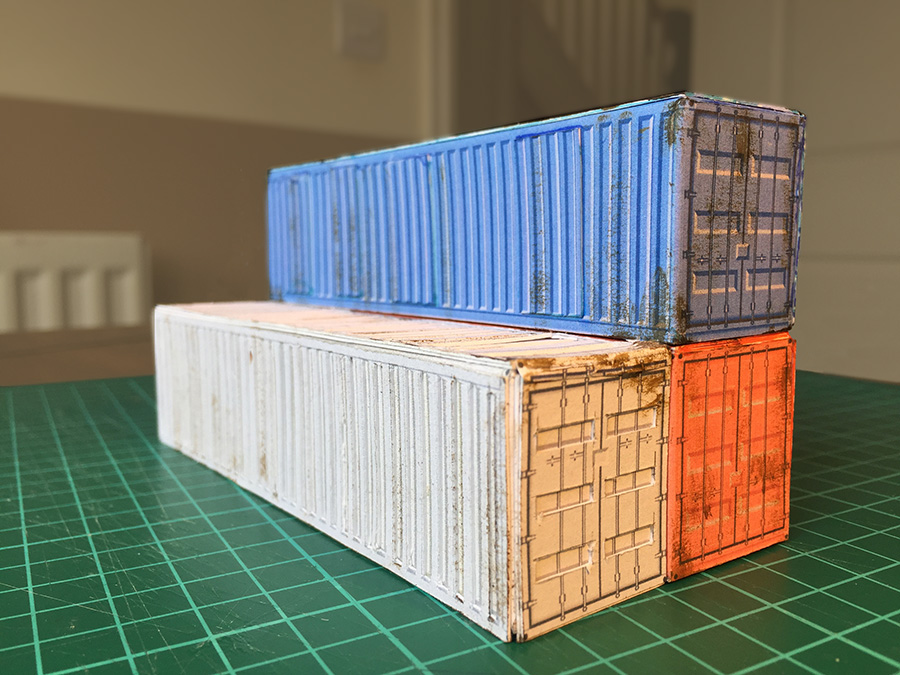
Once this is dry, it will give you a passable container. But it won’t look quite right. That’s because each side is completely flat. There is no ‘relief’ as John calls it.

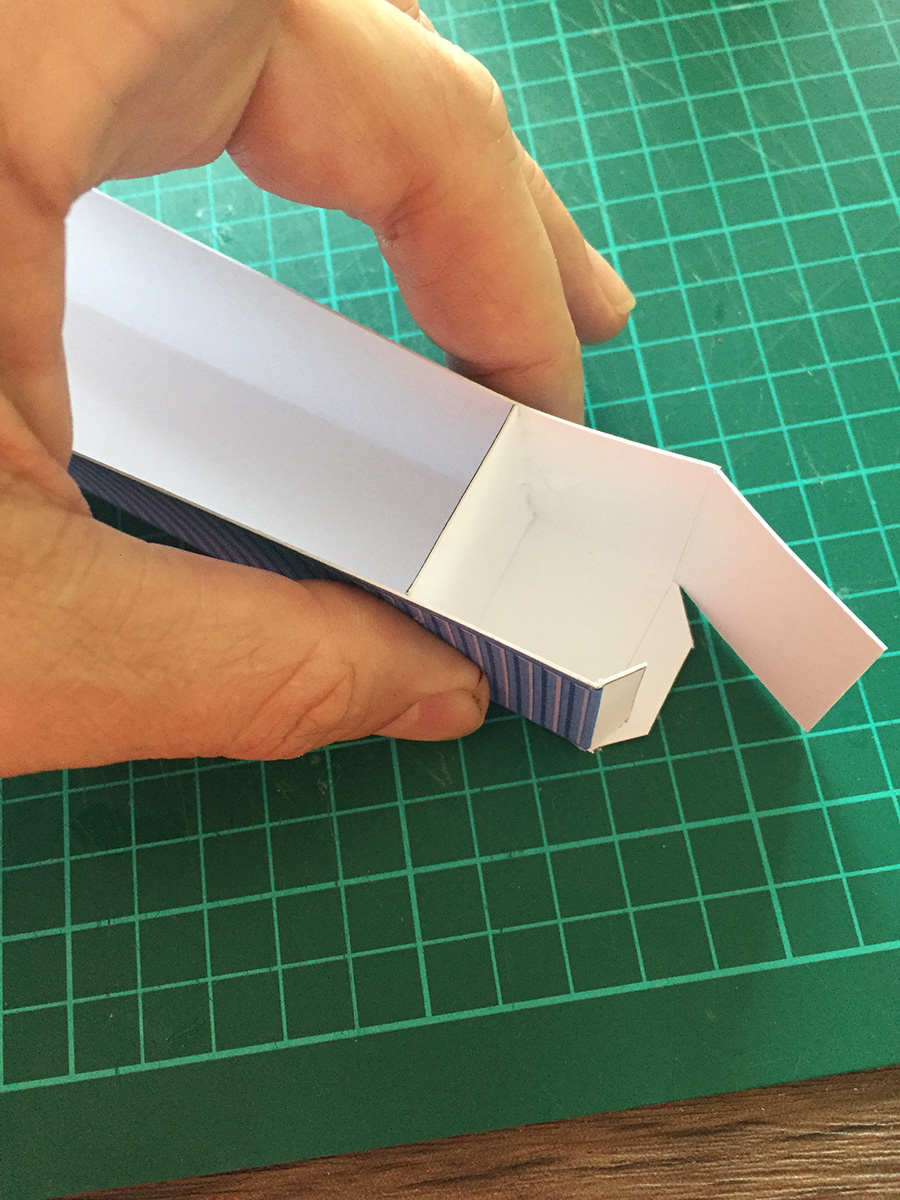
It’s easy to fix this. Print some copies out.

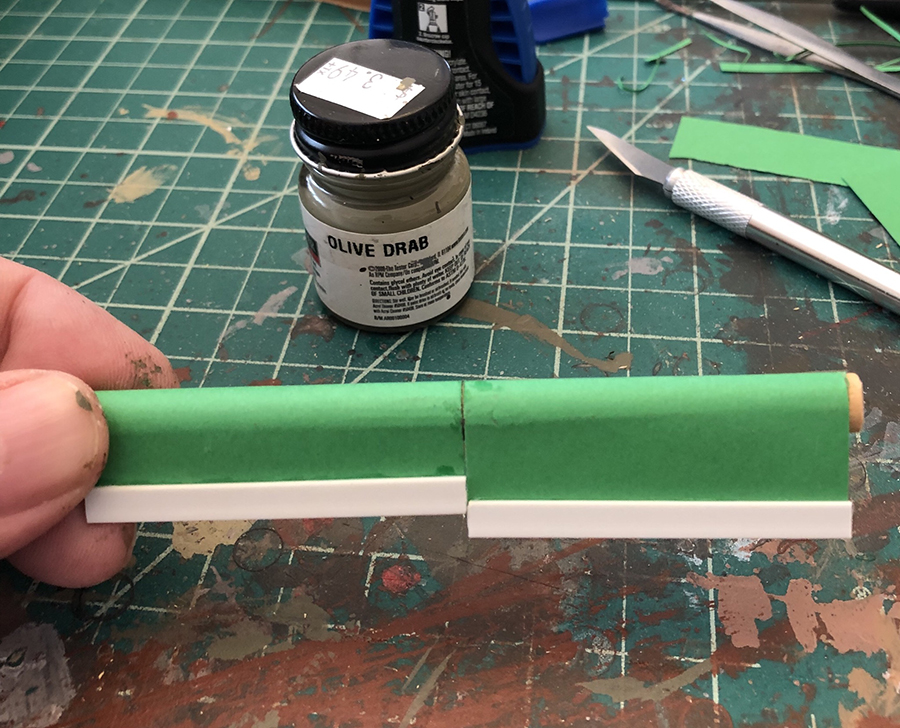
Here, I’ve cut out an edge that I stuck to one of the sides.

Don’t throw the middle bit away. Just chop it up every 3 or 4 struts.

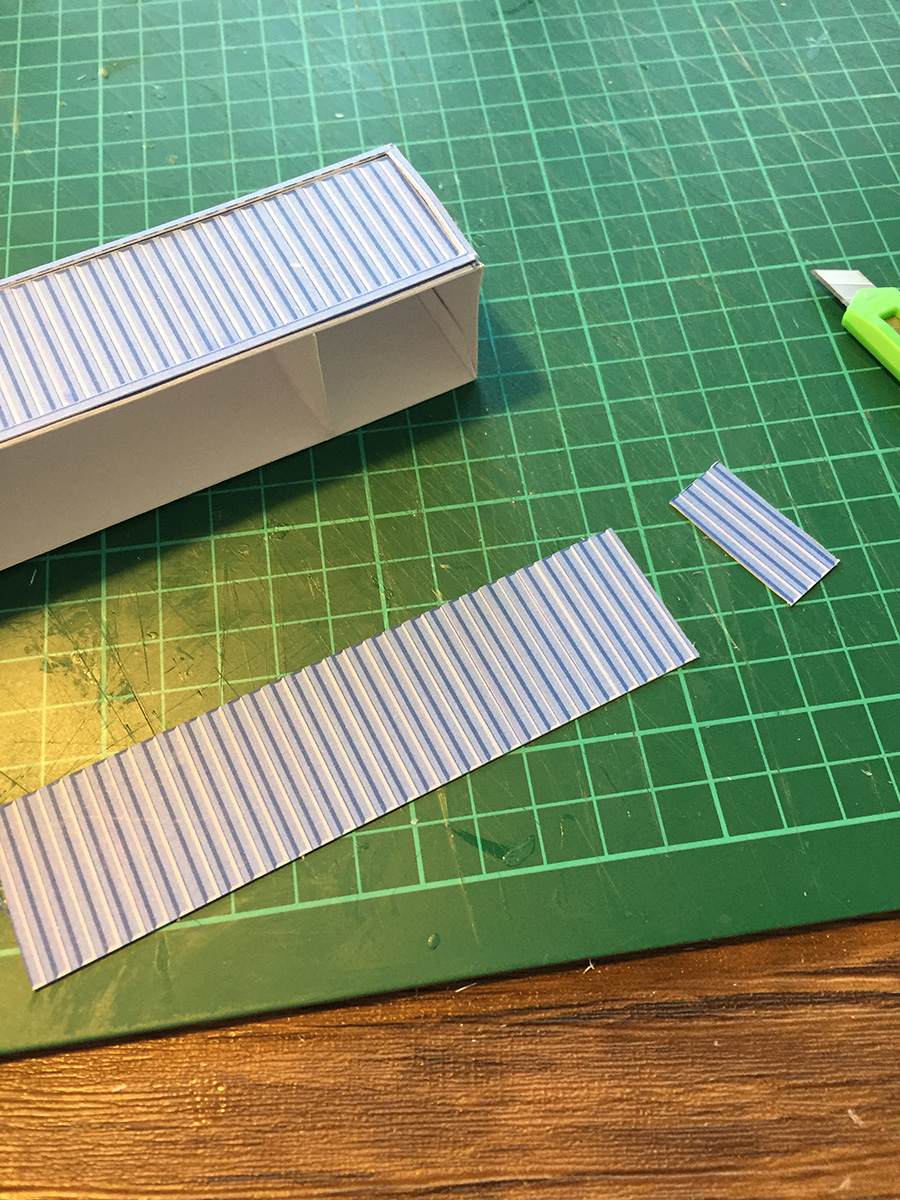
Now stick these struts back on to the container. I’ve left one protruding so you can see exactly what I mean. Doing this, with the frame, adds just enough to make the container a lot more realistic.

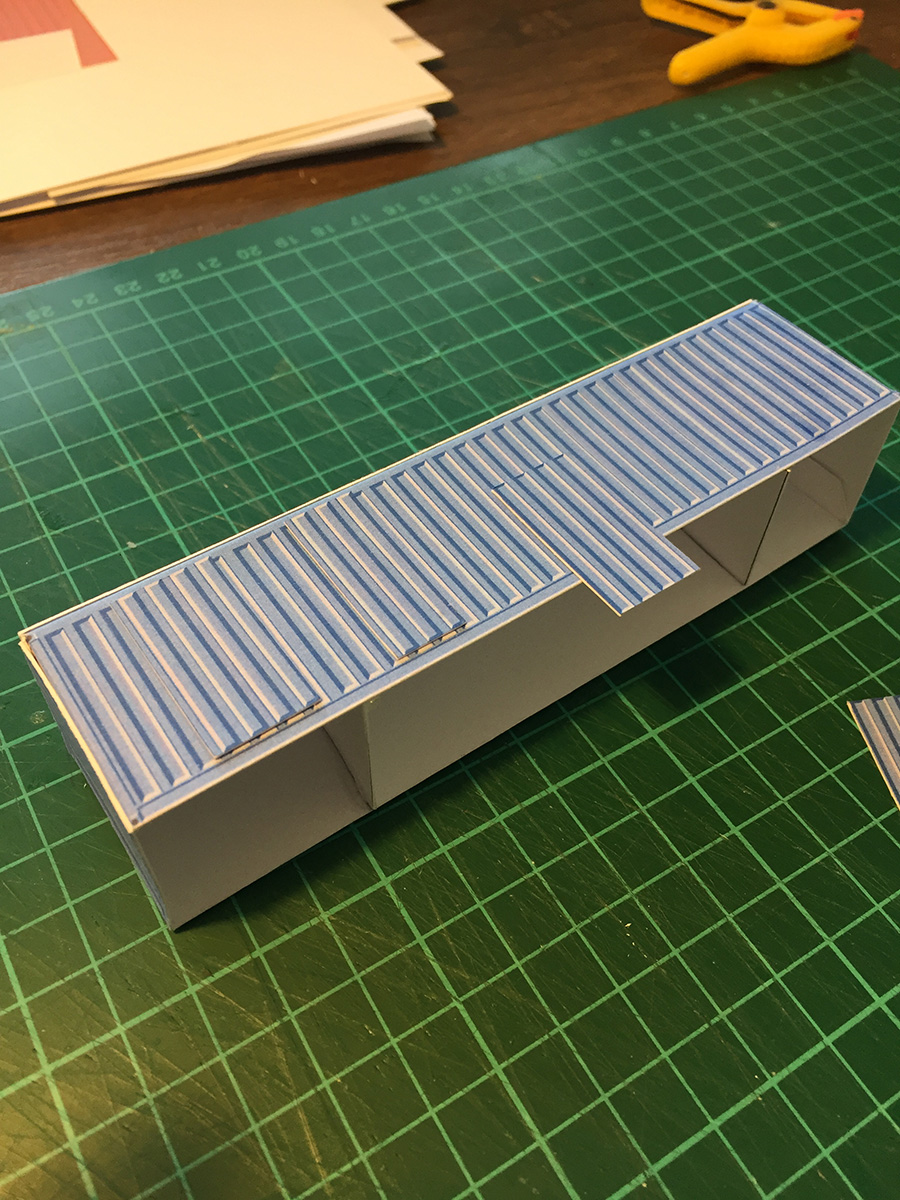
For the white one, I thought I’d do every strut. Looks fab, but… my eyes were going squiffy by the end of it, and it also took forever.

Now the fun bit, the weathering. I just use cheap waterpaints. Don’t add any water, just dunk the brush in the paint, scrape it nearly dry, and then dab on the container.

Make sure you use lots of different shades, and always mix.

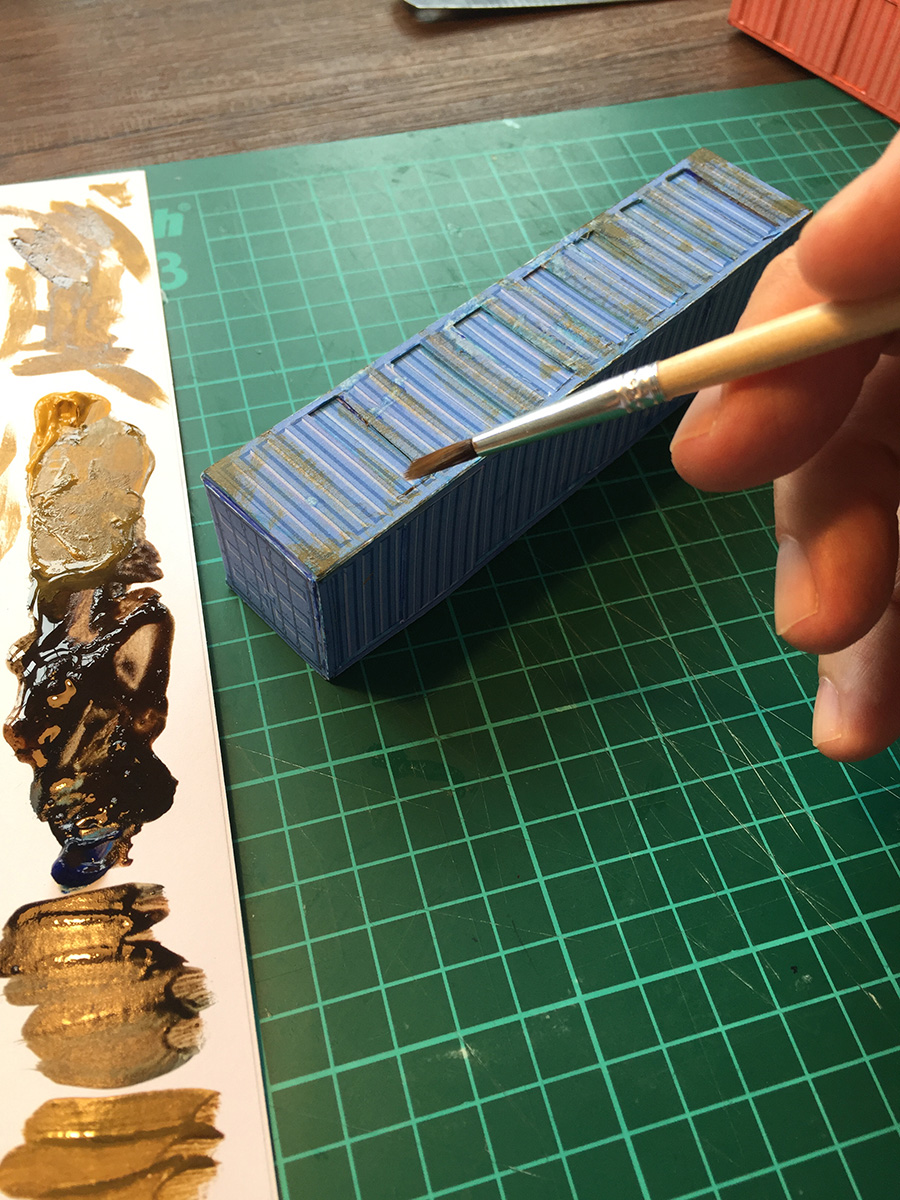
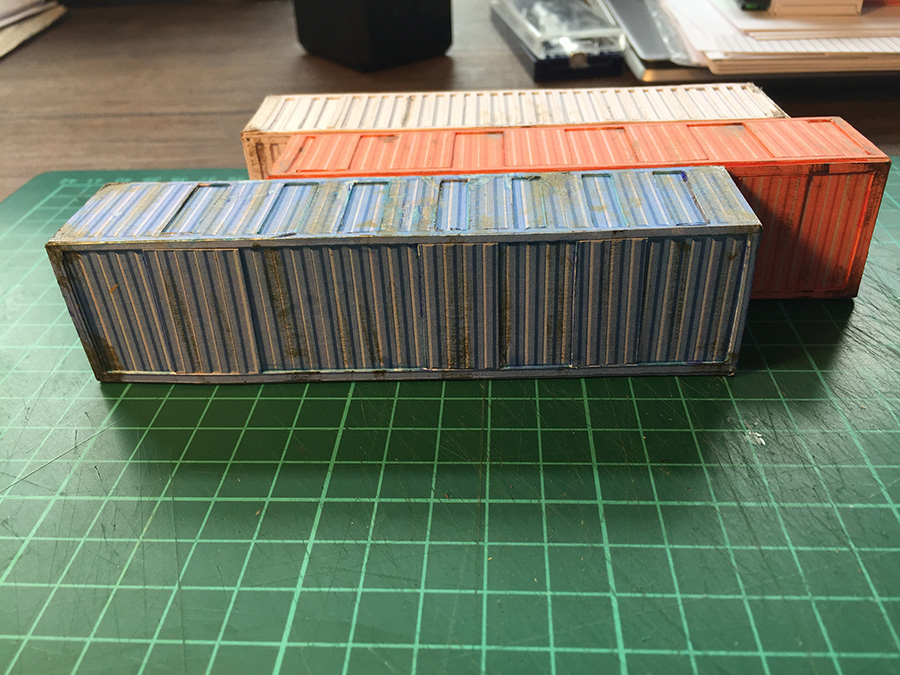
I was pleased with the way they turned out. I could have gone to town with the weathering – but that’s the fun of them, it’s entirely up to you.

Mike”

And now on to Hall of Fame member, Dangerous Dave:

“Hi Al, just loaded this video showing my PD! Deltic running round the layout, and then follow up with it using the Mobius Camera… poor weather so what better than an escape up in to the Train Room.

Dave”


A big thanks to Dave, and talking of Hall of Fame members, I have an announcement:

Would you please welcome our newest member to the Hall of Fame…. Bill!

Bill’s done quite a few posts over the months. He’s done a wonderful job of documenting everything, right from the very start of his layout. It almost feels like I’ve been watching over his shoulder.

Anyhow, I went through all his posts the other month and I think it’s very fitting he’s in the Hall of Fame.

Please do leave a comment below if you’ve enjoyed his stuff as much as I have.

But the good news doesn’t stop there. It’s time for a silly sale.

I don’t run sales very often, but when I do, I want them to be the real thing.

So how about this – The Beginner’s Guide for just $9 and lots of free print out scenery? And yes, that includes the shipping containers. And the barns. And the tunnel. And the exclusive videos.

Like I said, it’s a very silly sale (but not for long).

And if you are unsure, here’s what our latest Hall of Fame member has to say on the Beginner’s Guide:

“I bought the ebook last fall actually and have it saved in my phone. Whenever I travel I spend some of my flight time enjoying flipping thru the pages.

I got the ebook just as I started to pull my track plan together and really enjoyed using the book as a refresher since I’d been out of the hobby as an actual participant since the mid 90’s. I found the book to be very well written and while geared for those just coming into the hobby it can teach old dogs new tricks.

There is a tremendous amount of detailed information and great tips in the book that modelers of every skill level will find useful. It’s a must have in my opinion. It has something for everyone that will make modeling more enjoyable and pull armchair modelers off seats and into a space where our hobby comes alive.

All the Best

Bill in Virginia”

So there you go folks.

A silly deal. I know some of you buy the guide just for the freebies, and that’s just fine too.

That’s all this time folks.

Please keep ’em coming – and please don’t miss this silly deal.

Best

Al

PS All the print out scenery is HO scale. For N scale, just reduce by 50% when you print it out.

PPS And tomorrow, there’s another new Hall of Fame member! Can you guess who?

HO scale harbor small warehouse

Brian’s back in touch – this time with his stunning HO scale harbor small warehouse.

“When the Builders in Scale kit was released many years ago, I purchased it with the intent to add a harbour to my layout someday.

The kit unfortunately was “lost” in one of our moves to other cities but before it was “lost” I was able to make photocopies of the plans which I kept in a mailing tube. These are the ones that I use to make the buildings for my current project.

HO harbor building plans

These three buildings (card stock mock-ups) are what I am going to use in the harbour area. First one is a shortened version for the Ship Chandler building, second one will be a sail maker and the third will be a small restaurant.

card mock ups of building

I used the photocopies as templates to make sure that the size and shapes are correct before transferring to the wood.

card mock ups of building

card mock ups of building

From the above, they were transferred to Board and Batten siding. I only used the wood on three sides of the building and because the back of it is up against the backdrop (wall) I used card stock for this back wall of the building. It cannot be seen from any angle on the layout.

This is where my magnetic corner right clamps came in handy to hold the building square along the bottom edge of it and an elastic band held the top in place.

magnetic clamps for scratch building

I added a wood foundation to the bottom to bring the building up to the right height for the loading dock surrounding it on three sides.

magnetic clamps for scratch building

The windows and doors (from my bits box – left overs from previous kits) were cut out and inserted in the appropriate places. The roofs were cut from cardstock and will be covered with different materials.


HO scale harbor small warehouse:

HO scale harbor small warehouse

HO scale harbor small warehouse

A window box was made from card stock to fit inside the front of the building to display the products sold in these premises. The name of the owner is derived from my wife’s initials.

HO scale harbor small warehouse

It was then glued in position behind the window frame of the building with clear acetate between the frame and the display box.

HO scale harbor small warehouse

The upper roof was covered with IBR sheets from Builders in Scale cut to 8ft X 4ft scale and stuck down with double sided tape. The double sided tape works exceptionally well for sticking down metal to card stock material.

HO scale harbor small warehouse

The two lower roofs were covered with Campbell Scale corrugated iron sheets also cut to scale 8ft X 4ft size. These were also stuck down onto the double sided tape on the cardstock.

All the roofs were painted with an acrylic rust colour and once dry, were coated with a rust coloured powder. This powder is self-adhesive and will not rub off with handling.

Next I added the three loading docks around the three sides of the building, stressed them and then weathered them before adding the details.

Again I added detail from my bits box to make the building look busy. Figures and dogs were added to give the human element, two old guys taking their dogs for a walk decided to do a bit of window shopping.

HO scale harbor small warehouse

Here the workers are knocking off and heading to the bar next door at Red Hook Wharf for a pint or two with their mates.

HO scale harbor small warehouse

The poor guy at the door has to get all the stock inside the building before he can knock off and join his mates for a pint.

The Ship Chandler is all lit up for the night. I had put lights on the outside of the building for a change as there is no detail inside other than a light above the inside of the display window. The building is set back on the layout therefor the interior cannot be easily seen.

Woody’s boat rental is still open as old man Woody is waiting for the last rental to return, hopefully with a large catch of fish.

harbor kit bash

A close up view of the Ship Chandler building from the harbour masters office across the harbour.

harbor kit bash

Another view on the other side taken from the boat repair yard looking at the workers knocking off.

harbor HO scale

That’s all for now. The builders will be back on site tomorrow to make a start on the sail maker building.

harbor view

When I refer to my “bits box”, I actually have two. One is all the leftover bits and pieces from kits that I have built in the past which I have either been kit bashed, modified or made smaller or larger and the left over pieces put in it.

The other is where I keep all my casting collection and when I feel like doing a small project, I look for a few castings to paint and weather to be ready for a future project.

Brian the HOn3 guy – Knysna RSA”

A huge thanks to Brian for sharing his HO scale harbor small warehouse – it’s wonderful to see how he creates his scenery. You can seem more or Brian’s stuff in the Hall of Fame.

That’s all for today folks, please do keep ’em coming.

And don’t forget the Beginner’s Guide is here, you’d like to make that start on your very own layout.

Best

Al

PS Seen the latest ebay cheat sheet yet?

PPS More HO scale train layouts here if that’s your thing.


Bill makes doors for his engine shed

“Hi Al

Thought I’d submit something a little different this time. I’ve been working on my maintenance shops this weekend and finally tried an idea I had for non operating roll down doors.

The buildings look nice but came with no doors. I’m sure in any climate there would be something in the real world. I hit upon have a split canvas door.

Basically two large independent roll down canvas doors that are on a manual chain drive. Mine are non operational but look good. I wanted to share how to make them if anyone else has an application for them.

I started with a 3/8 dowel and cut to fit snug in my space.

I then took a piece of firm green construction paper not the cheap stuff – and cut it just a hair smaller than the dowel then I cut that in half. Next I laid the paper out so at the middle they barely touched and I left about a 1/16 gap on each end.

Next I put super glue on the paper at one end and rolled the dowel onto the glued paper. I held it there until the glue grabbed (I used a gel super glue but any should work) . Then I slowly rolled the dowel so as to cover about 1/3 of the dowel with the paper. I held things in place until well bonded.

Next I cut small plastic strips to add the bottom of the hanging door. These can be any size that is pleasing to the eye. I put glue on the plastic and pressed the canvas door onto it. Once all is dry I painted the everything a drab olive with acrylic paint.

Next I cut Scale chain to a length to make a loop so as a scale man would find it hanging to about the waist. I cut two so each side had its own chain. These I super glued on the ends of dowel. Once this was dry I fitted into place then super glued it in place. I did a light chalk weathering to finish it up.

The building has been weathered and I’ve darkened the concrete pad the building is on and now my light maintenance shop looks like it’s been there for a long time.

engine shed doors

engine shed doors

Cheers to all!

Bill in Virginia”

If you missed Bill’s last post, it’s here.

Now on to Hall of Fame member, Brian:

“Hi Al

Just one photo of my harbor this time.

It was taken on a full moon night with no boats in the harbor which was great for showing the water reflections of the lighted main buildings.

I am in the process of writing an article for you on the building of a scratchbuilt ship chandler building from start to finish. It will be placed behind the boat repair shop next to the harbor.

This one is fully detailed and lighted outside for a change as it is set back (on the right hand side of the photo below next to the pub) from the front of the layout so that interior detail would be hidden.

I will send it to you as soon as I have the narrative connected to the photos of it.

All the best.

Brian”

Click on Brian’s pictur to enlarge it by the way. It’s a fantastic pic and I can’t wait to see Brian’s ‘how-to’ on his chandler building. If it’s anything like his other ones, we are in for a treat.

That’s all for today folks. Please do keep ’em coming.

And don’t forget theBeginner’s Guide is here if today’s the day you stop dreaming and start doing.

Best

Al

PS Seen the latest ebay cheat sheet yet?