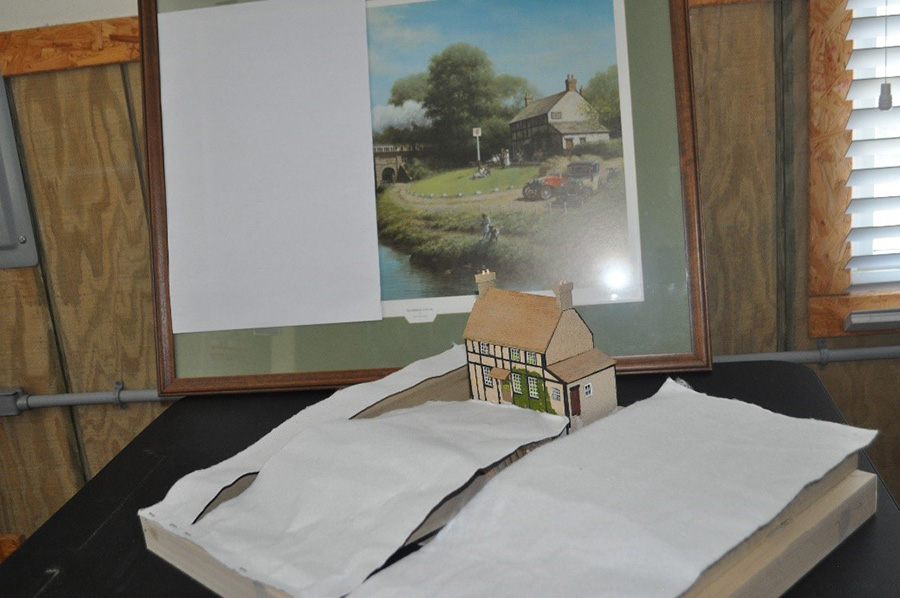
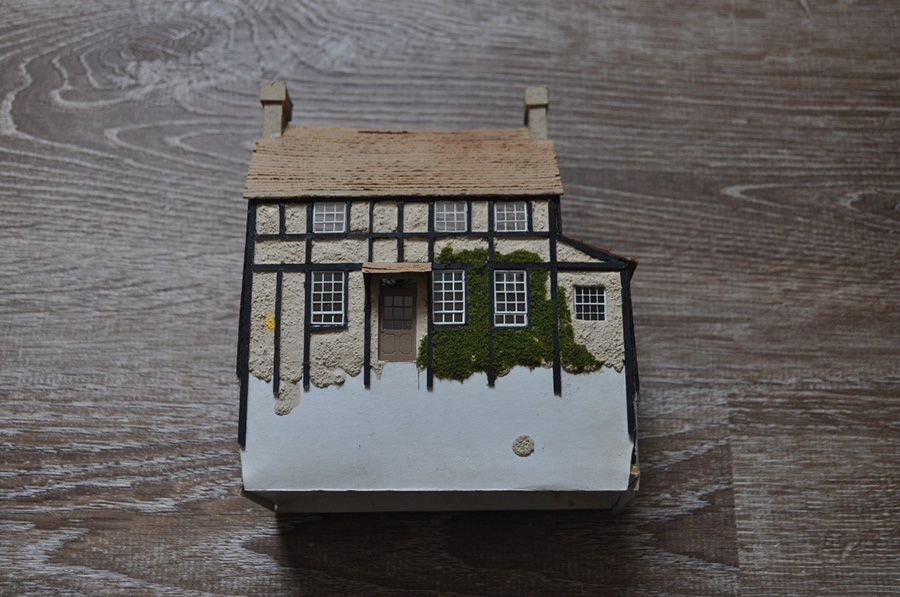
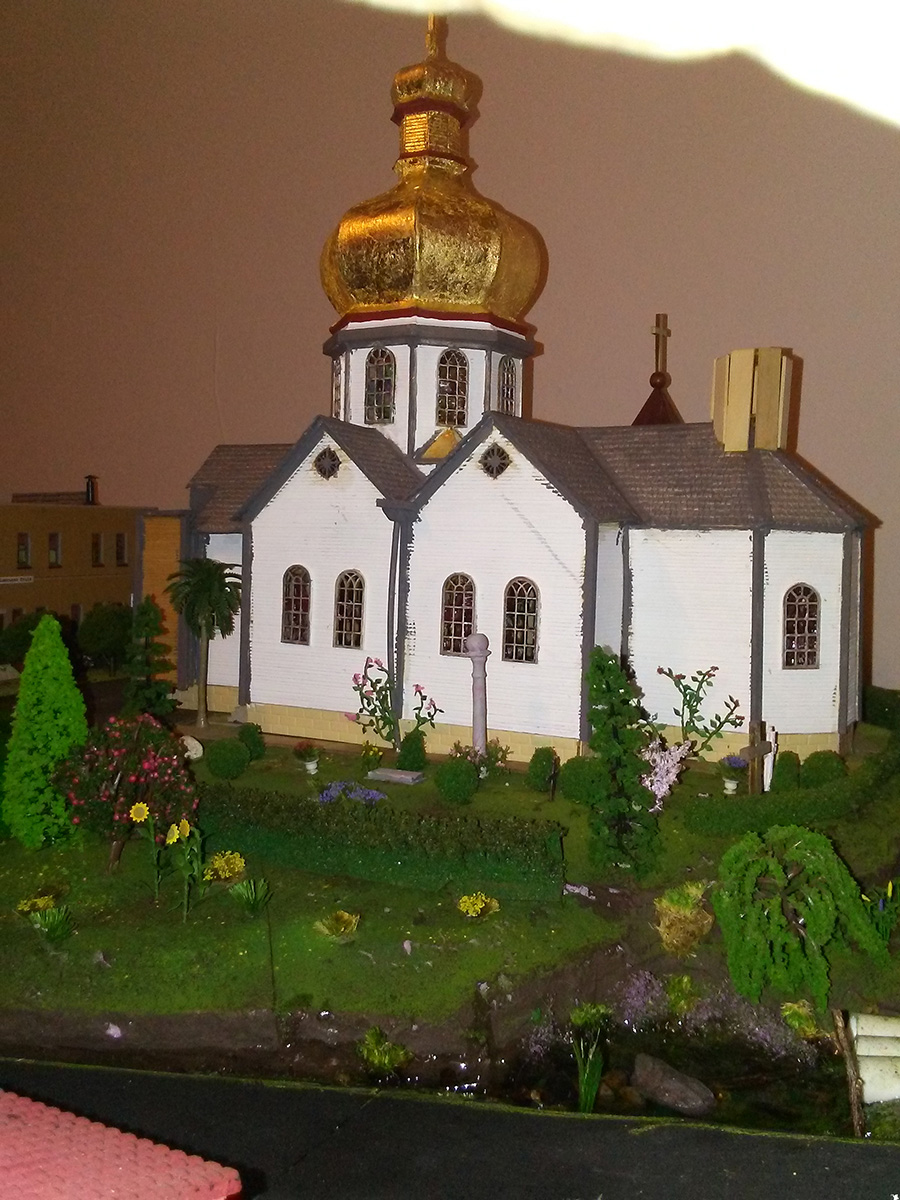
Domonic’s been in touch with his HO scale church – have a look at stain glass windows he made, and that dome too, all from a single vintage pic.
“The old photos are of the original church of Saints Peter & Paul in Mundare, Alberta. This was my parish for a couple years back in 1955.6.&7
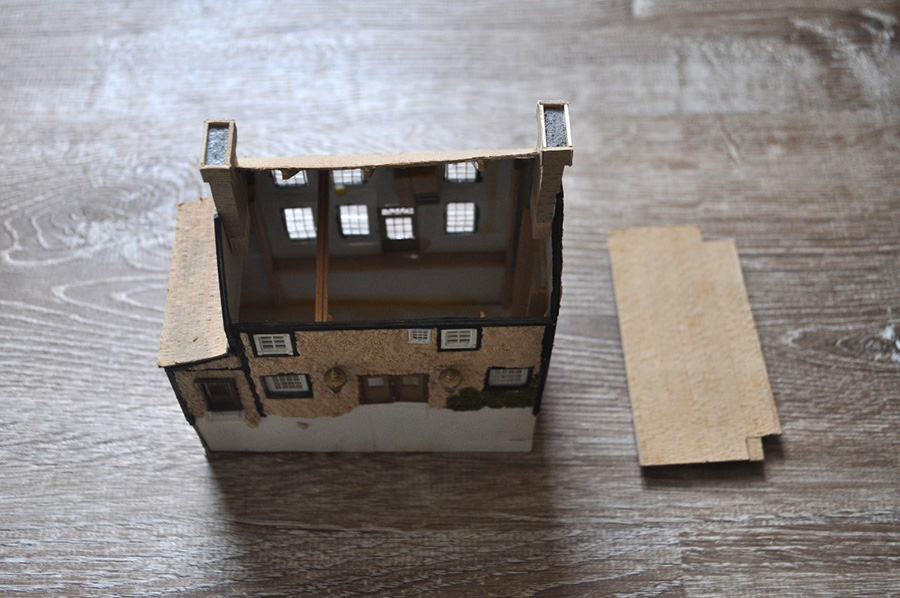
I made the model from these photos as the old church building is long gone.
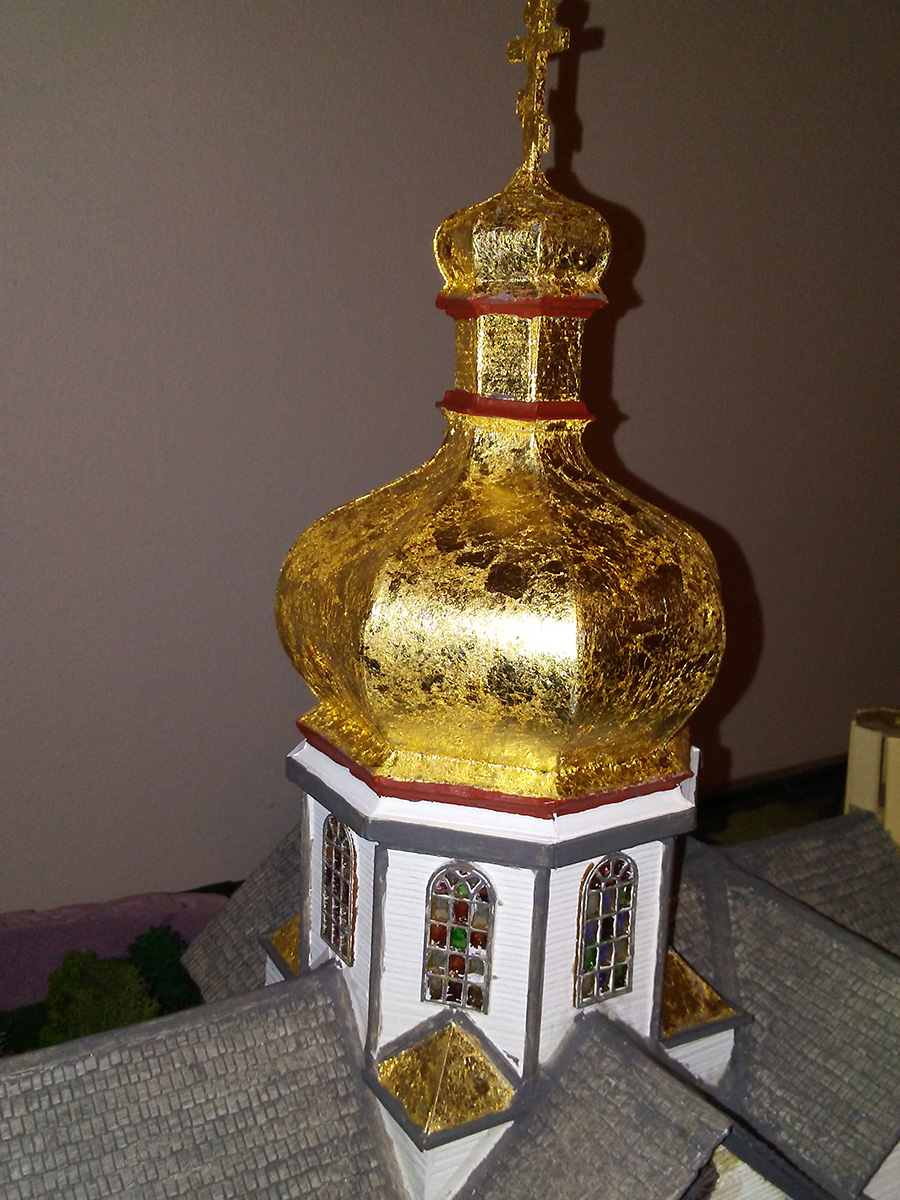
The dome is covered in gold leaf flakes. And if You’ll notice I owe the model the three smaller domes. They are more difficult to make! They, too will be gilded.

Many, many more refinements to be done as time, money and interest demands!
Eventually there will be lighting in all the buildings by zoned LED areas.
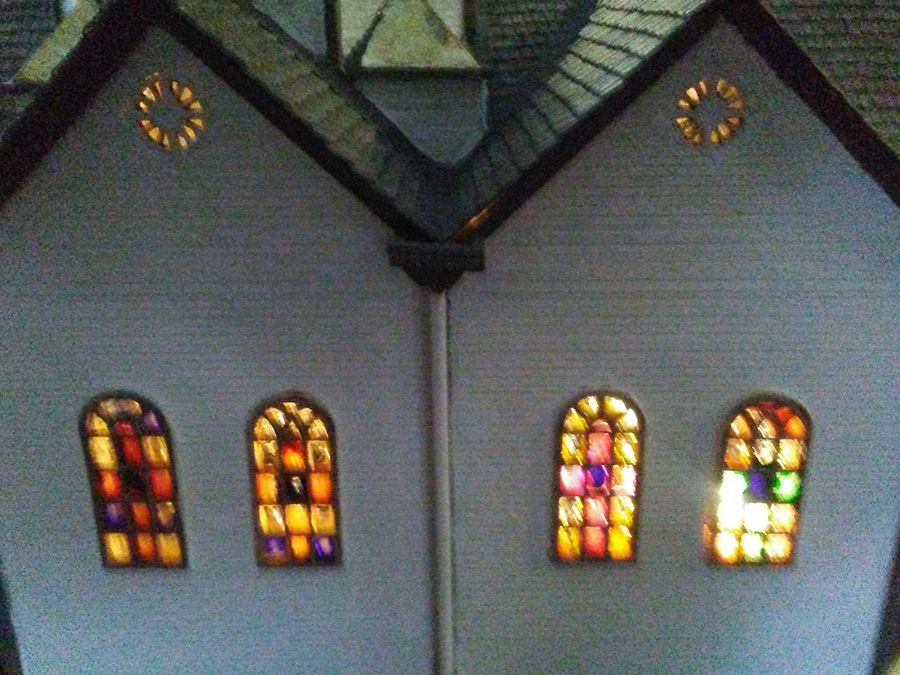
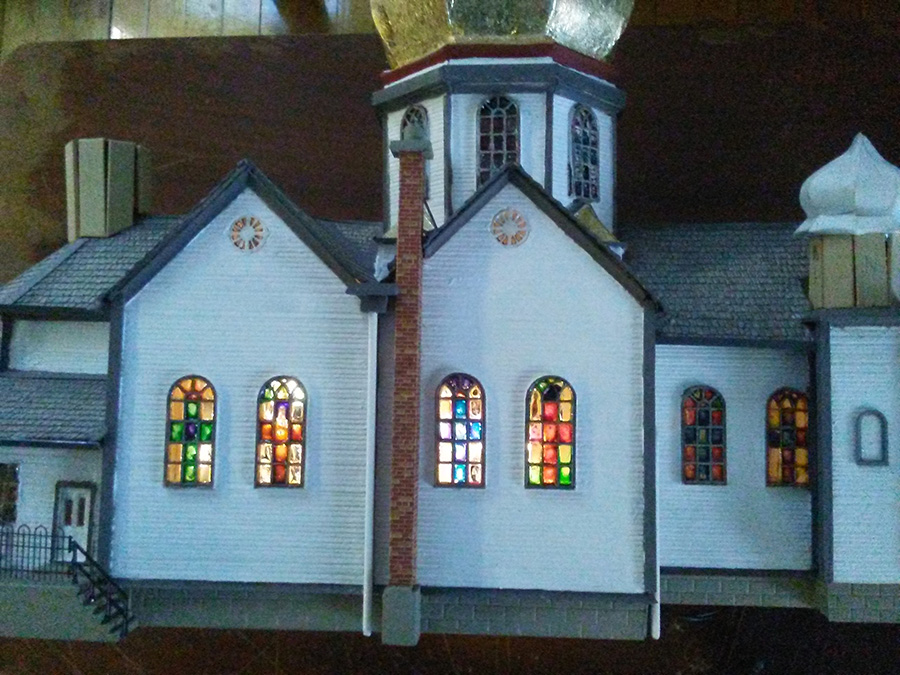
This church, being the largest feature on the layout, has coloured glass windows throughout. (Not picture windows depicting saints, etc.)
I make the windows by using high gloss acrylic varnish and a broad brush to draw the liquid across the mullions or window frames. It is a long and tedious operation. It’s almost like blowing bubbles! Sometimes it forms a sheet, sometimes it will break. Then I must repeat the process. To get colours I use a thin water-colour wash and let it spread on the “glass” I can repeat this as often as needed to get the right tone.
This whole process has been quite successful, and I have made dozens of windows in this manner.
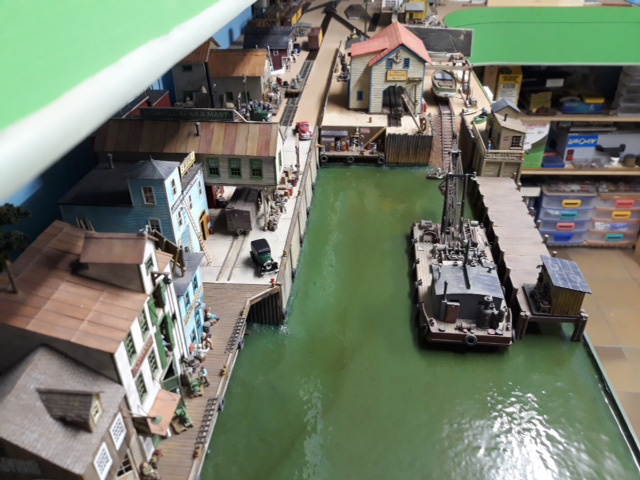
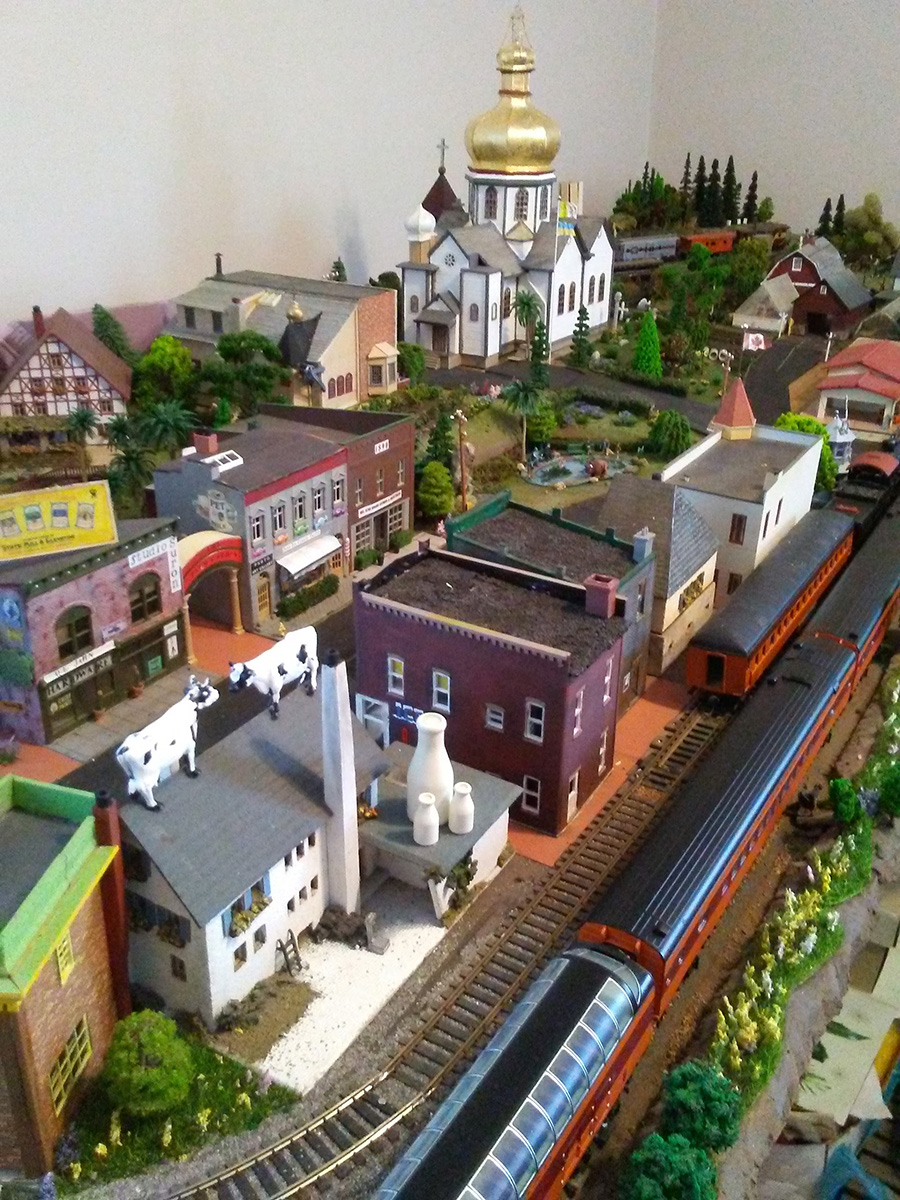
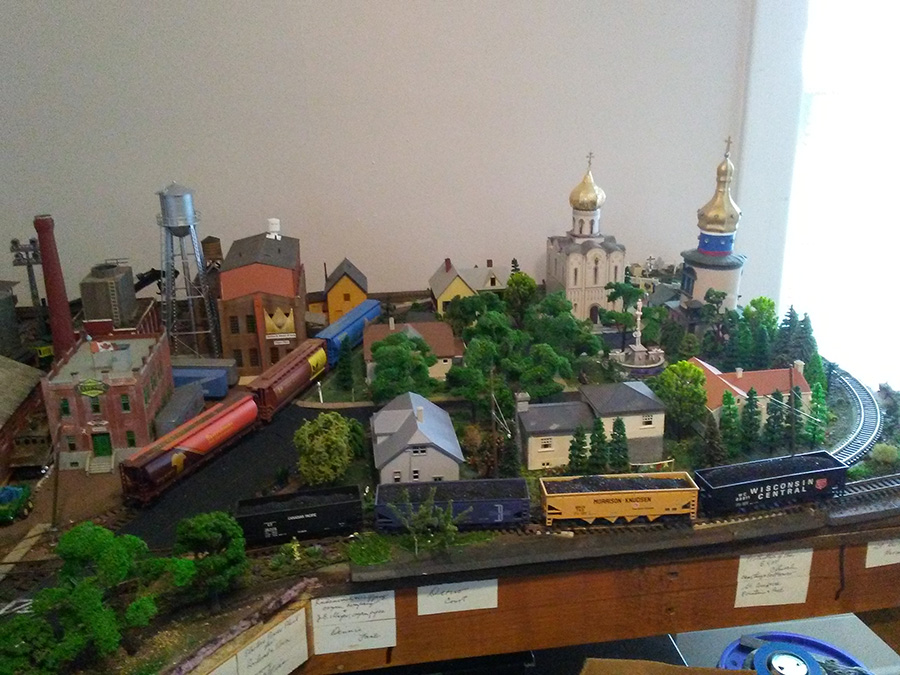
This is the main section of the layout and town of Dorothy. The town gets it’s name from the ghost town of Dorothy, Alberta, whose old grain elevator is still standing, and I made a copy of it from photos. It stands with my larger elevators.
The Ukrainian Church is at the top centre of the photo.
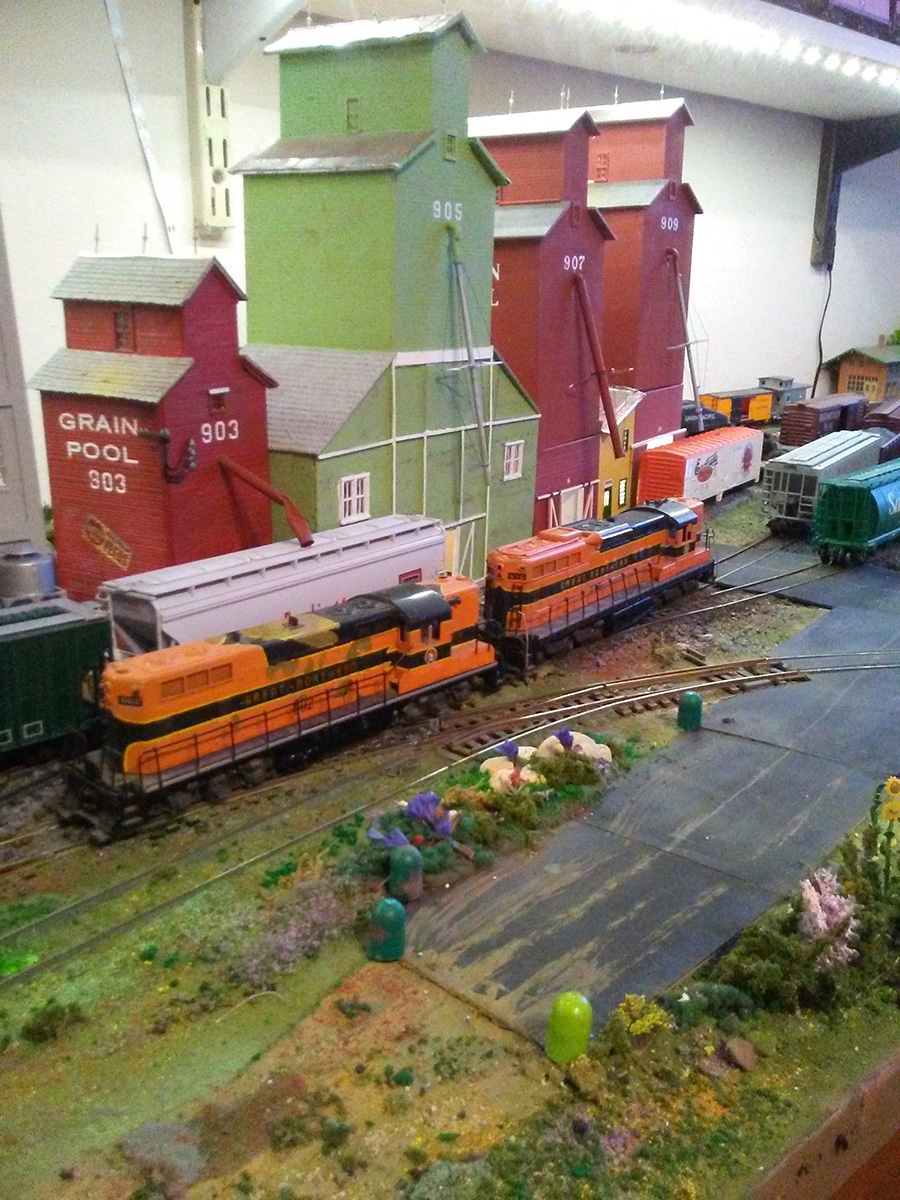
This shows my “Dorothy” grain elevator #903. I chose that number as it is the radar outfit I was in while in the USAF. The other elevators are numbered 905, 907, and 909.
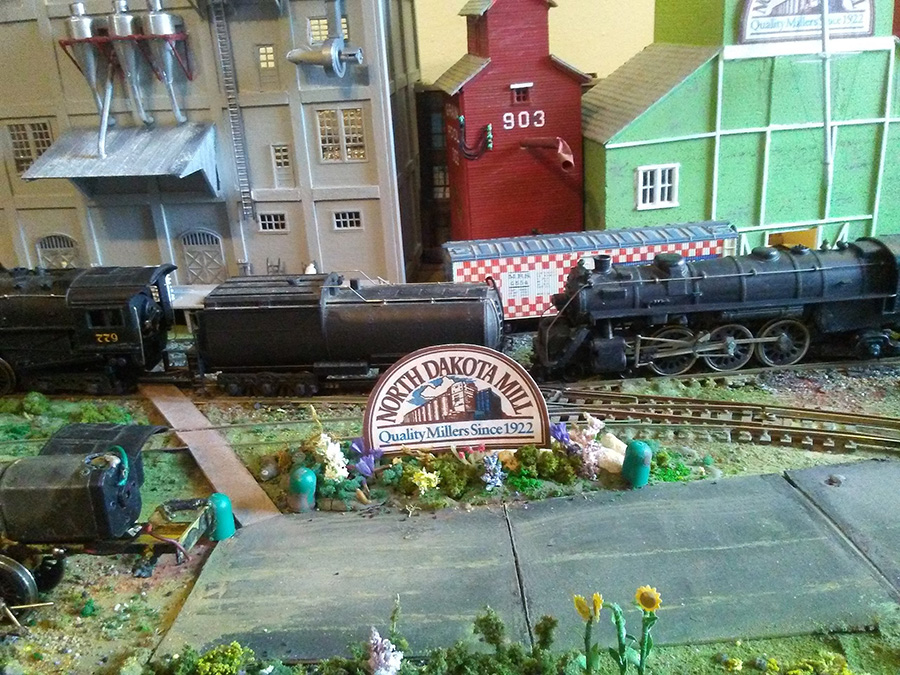
The shows shows my “elevator row”. 903 is dwarfed by the others, but that is how small the prototype is.
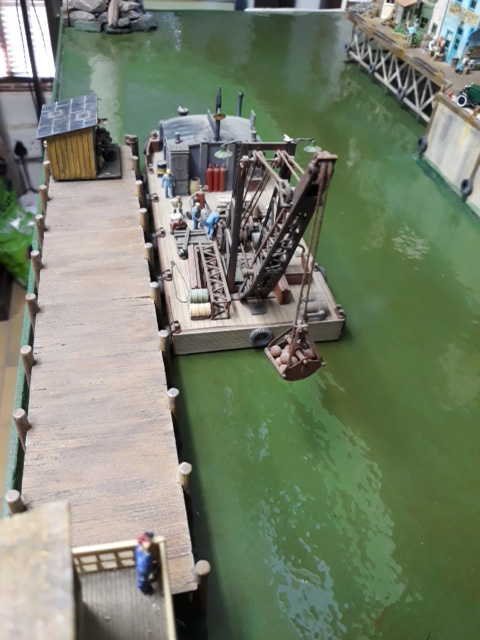
This is my first annex which is accessible by a removable one track trestle. The annex is my “Cudahy” area containing Red Star Yeast and Milwaukee Vinegar Company, The Campbell Bell Foundry, and my favourite, the Romanowski Coal Company.
This picture is the other end of the “L” shaped main layout. It has a six house residential area, Saint Ambrose Park and fountain, and the Russian Church and bell tower.
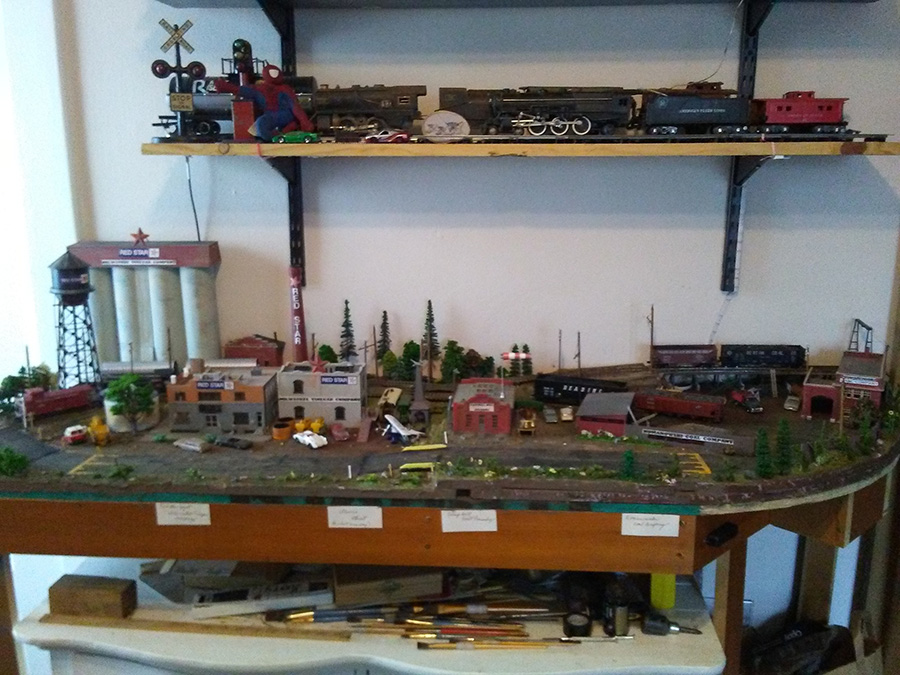
There are several shelves above two sides of the layout. One set has all HO gauge equipment and the other has my American Flyer, Lionel and Marx collections.
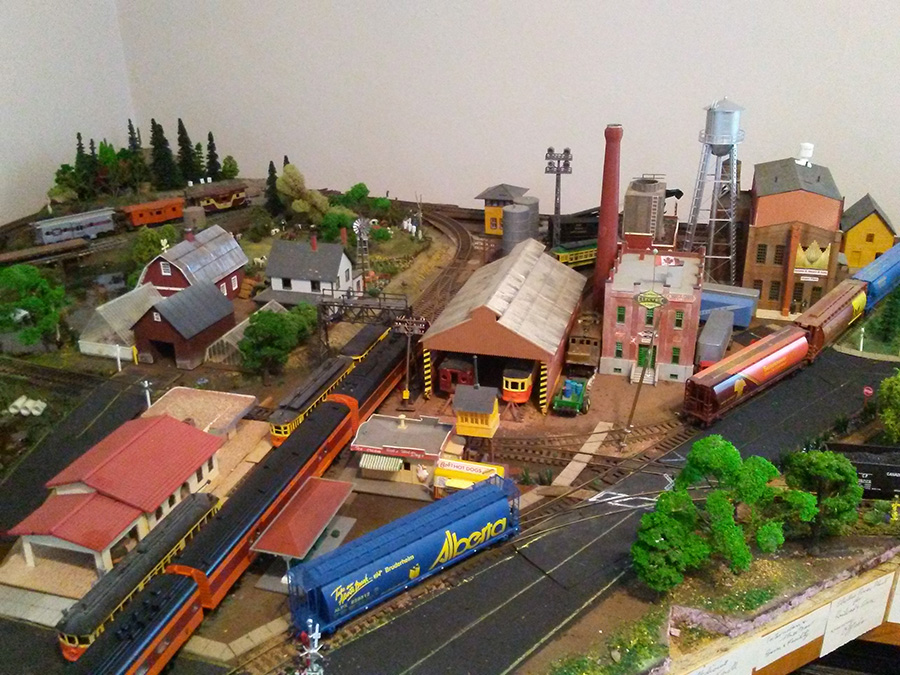
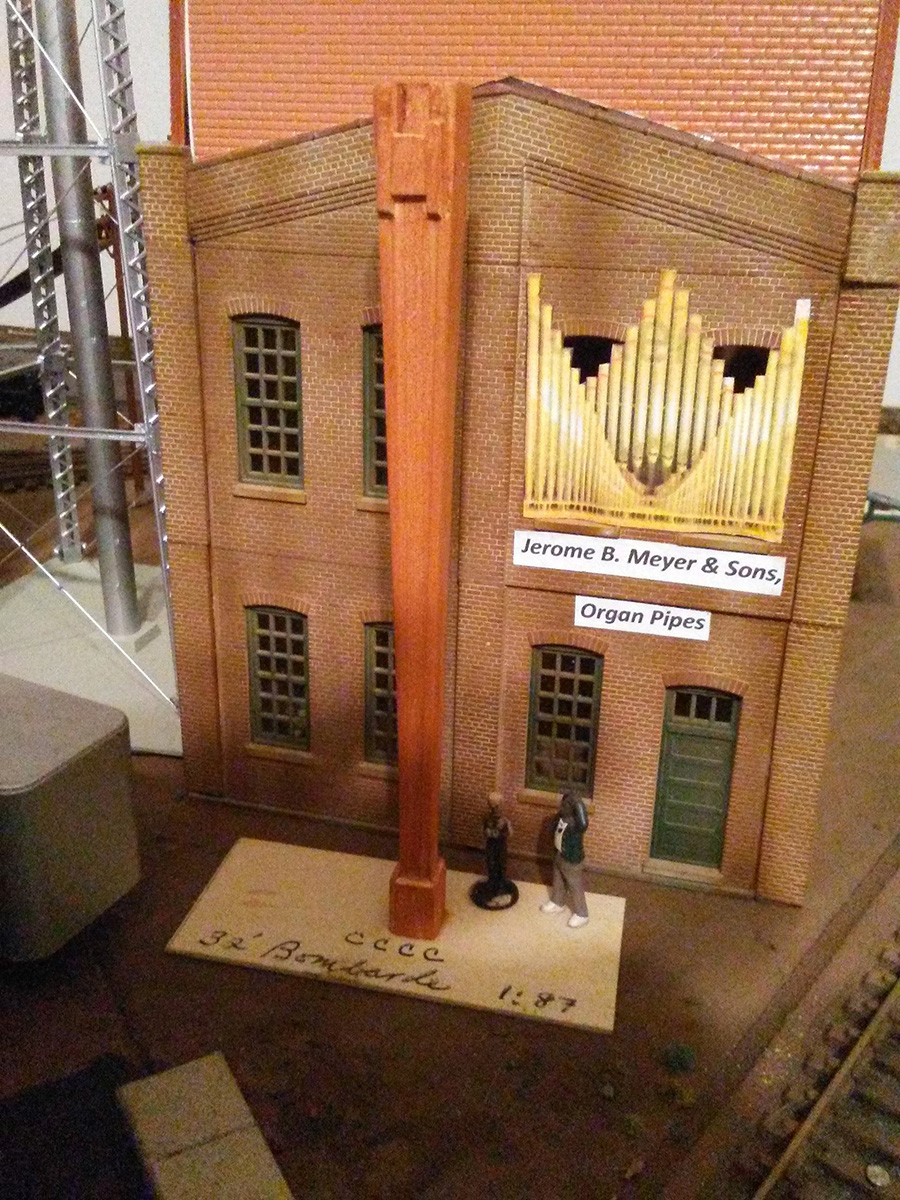
A little over lapping here. This is the central area of the main. Visible is the J.B.Meyer Organ Pipe factory, which is a hundred year old operation here in Milwaukee. The streetcar and passenger station is an old Tru-Scale mission-style kit.
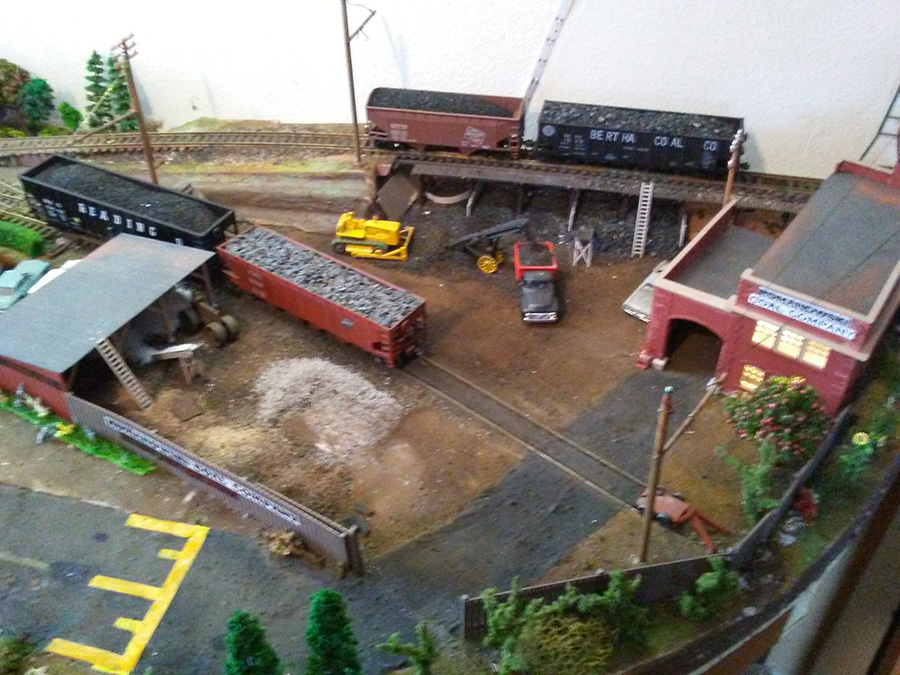
This is a closer look at the Romanowski Coal Company. They were down the street from where I lived back during the Second World War.
I can provide more details if You want and more close-up pix of things of particular interest.
Close up of scale model of full length wooden 32 foot Bombarde pipe.
Dominic, Milwaukee.”
A huge thank you to Dominic for sharing his HO scale church.
(It reminded me of Tony’s: Church kit build.
What I love about Dominic’s layout is his theme – your layout can be whatever you want it to be. And I’ll bet he’s had a great time putting it together too, which really is what it’s all about.
That’s all this time folks.
Please do keep ’em coming.
And don’t forget the Beginner’s Guide is here if you’re looking for inspiration to make that first step.
Best
Al
PS Latest ebay cheat sheet is here.
PPS More HO scale train layouts here if that’s your thing.