“Hi Al,
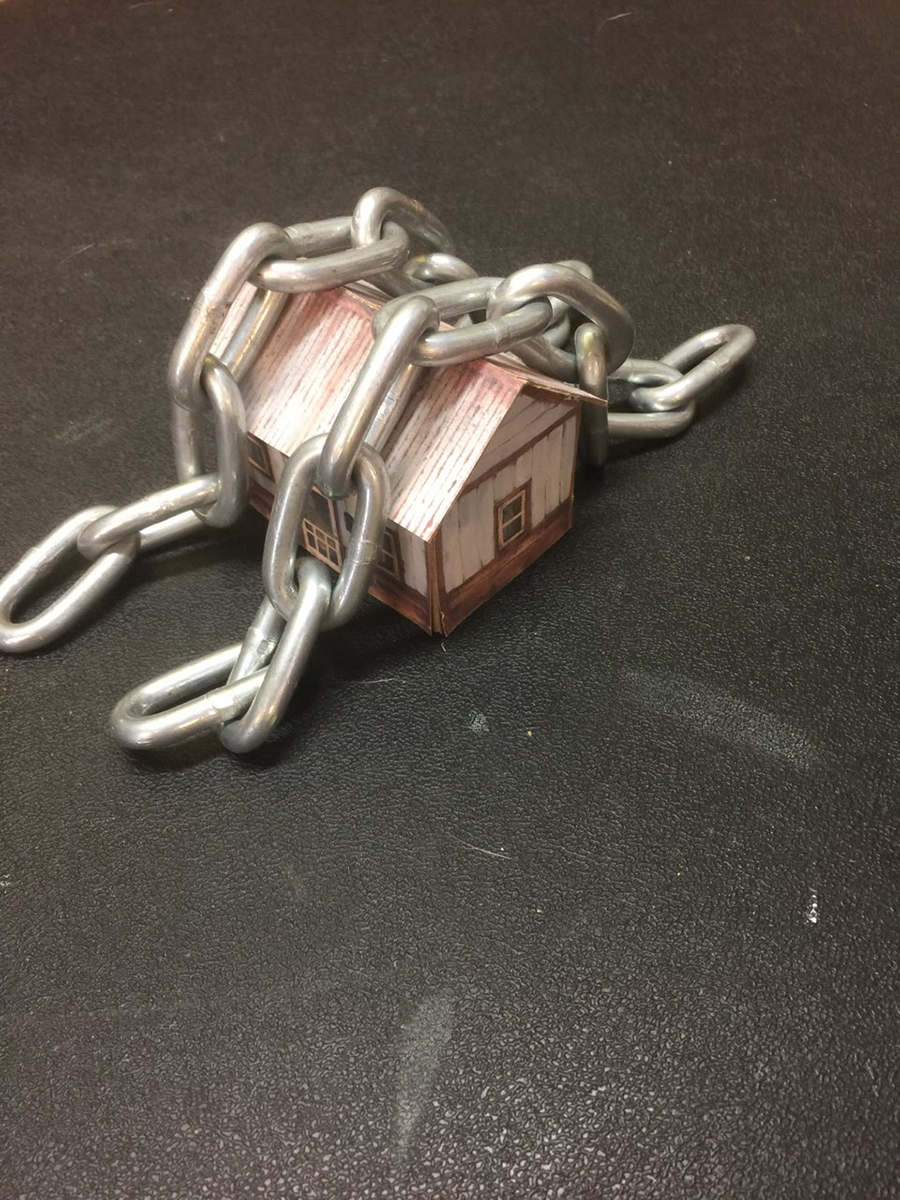
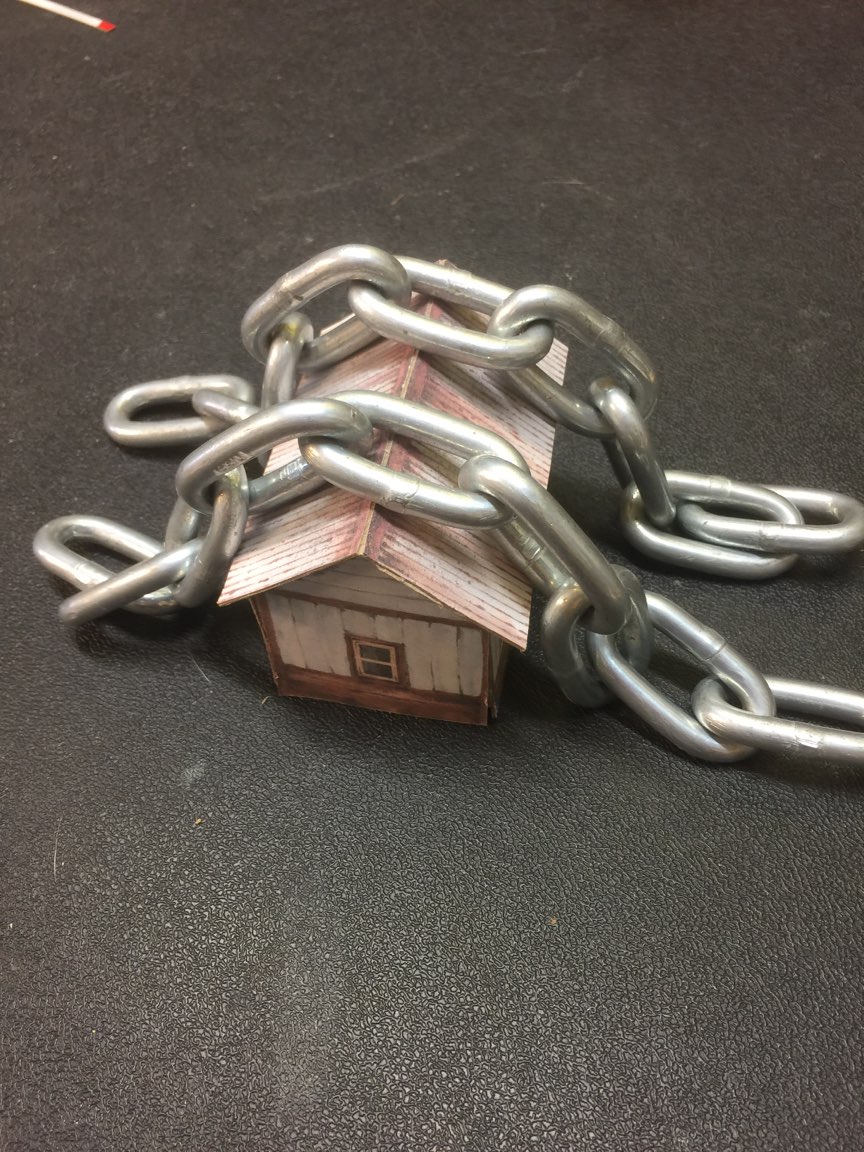
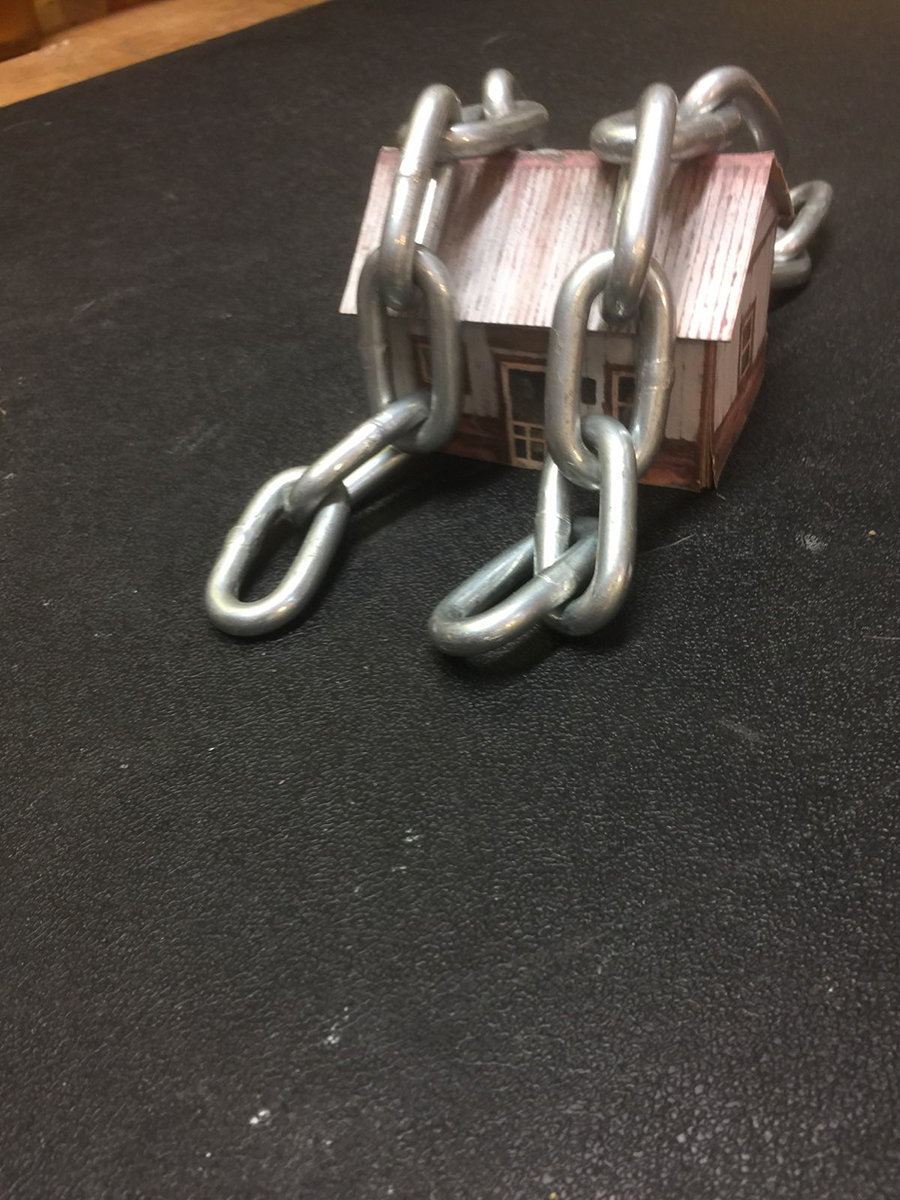
Here is an idea I came up with for attaching the roof(s) on paper buildings. Some of the first ones I built I laid a pair of opened pliers or wire cutters on the roof to hold it in place while the glue dried. As you have probably experienced, every once in a while one little section did not glue well.
In the attached pictures you will see that I now use chains to hold the roof down. The size of the chain that I used in the pics is a bit “over kill” for they are quite large. Any chain should work as long it is not too light. I just happened to have two pieces. A long chain could be laid over the roof and then part of it laid back over the roof in the opposite direction. If you try this you will see that the entire roof is resting on the top of walls or the tabs on the wall tops. Since chains are “flexible”, they will hold the roof down regardless of the pitch of the roof.
Just though I would pass this on for whatever it is worth.
Don
Waxahachie, Texas”
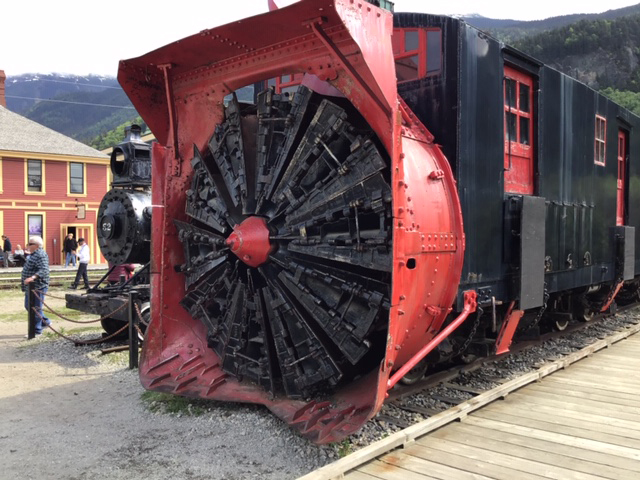
A huge thanks to Fred – I think the shed he has made is in the Big Kahuna.
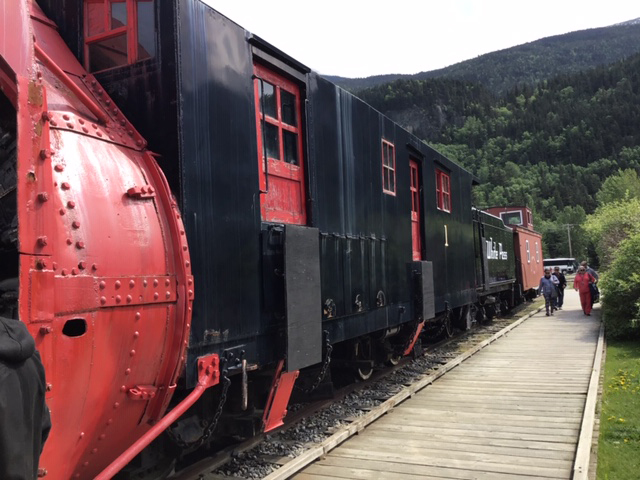
“Further to your sleeping giants, I saw this snow engine in Skagway, Alaska
Fred”
Fred’s pics got me thinking. I wondered if there were any g scale trains, battling with real snow, on youtube. Didn’t take long to find:
Latest ebay cheat sheet is here.
“Hello Alastair,
I have posted on this group before giving a one and two year update on my layout.
Well, here is another update, but 6 months into the year.
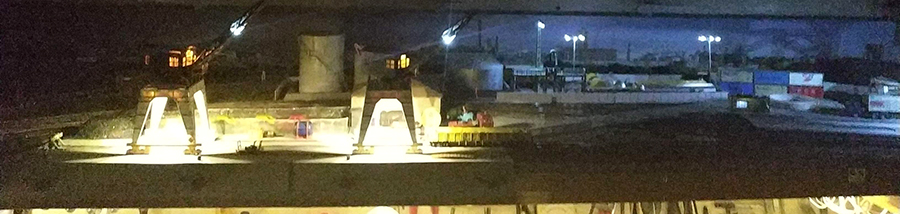
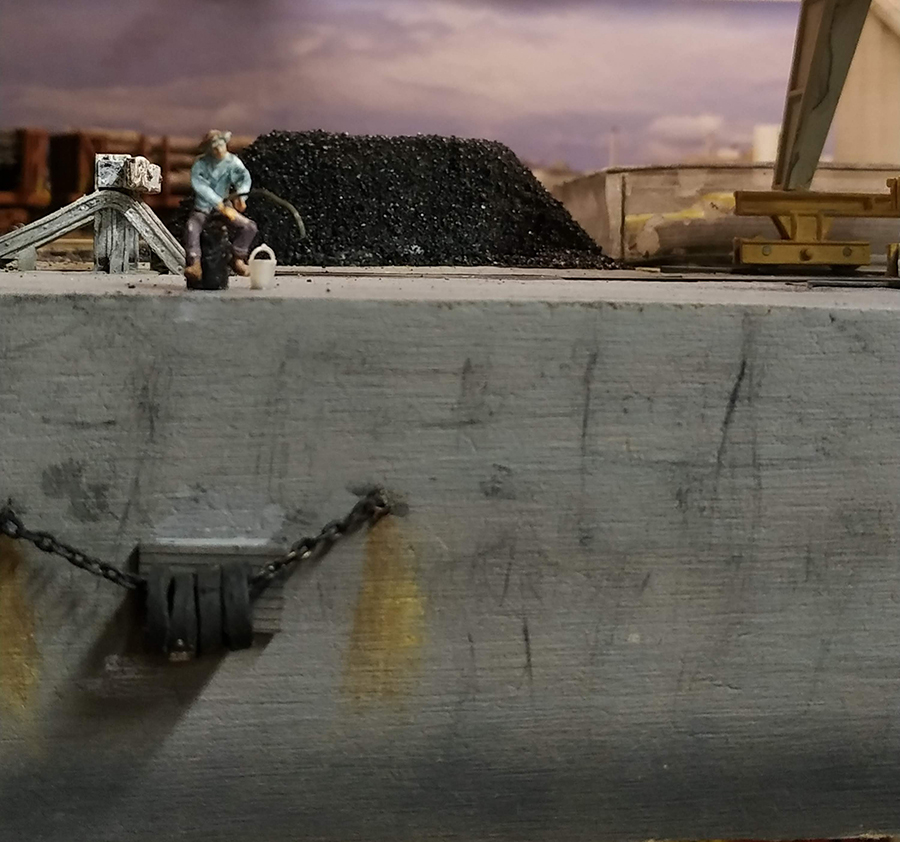
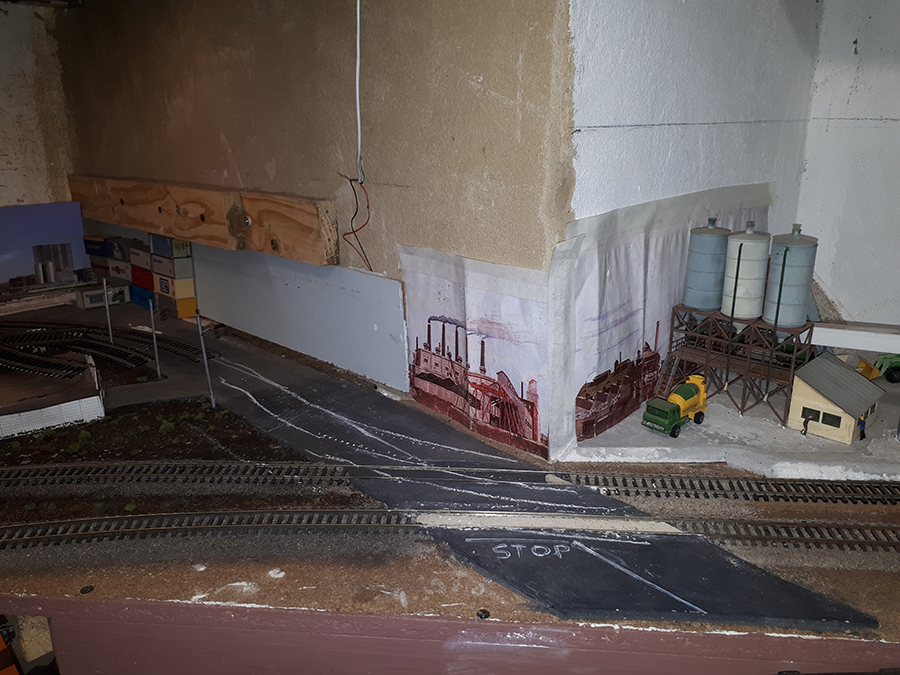
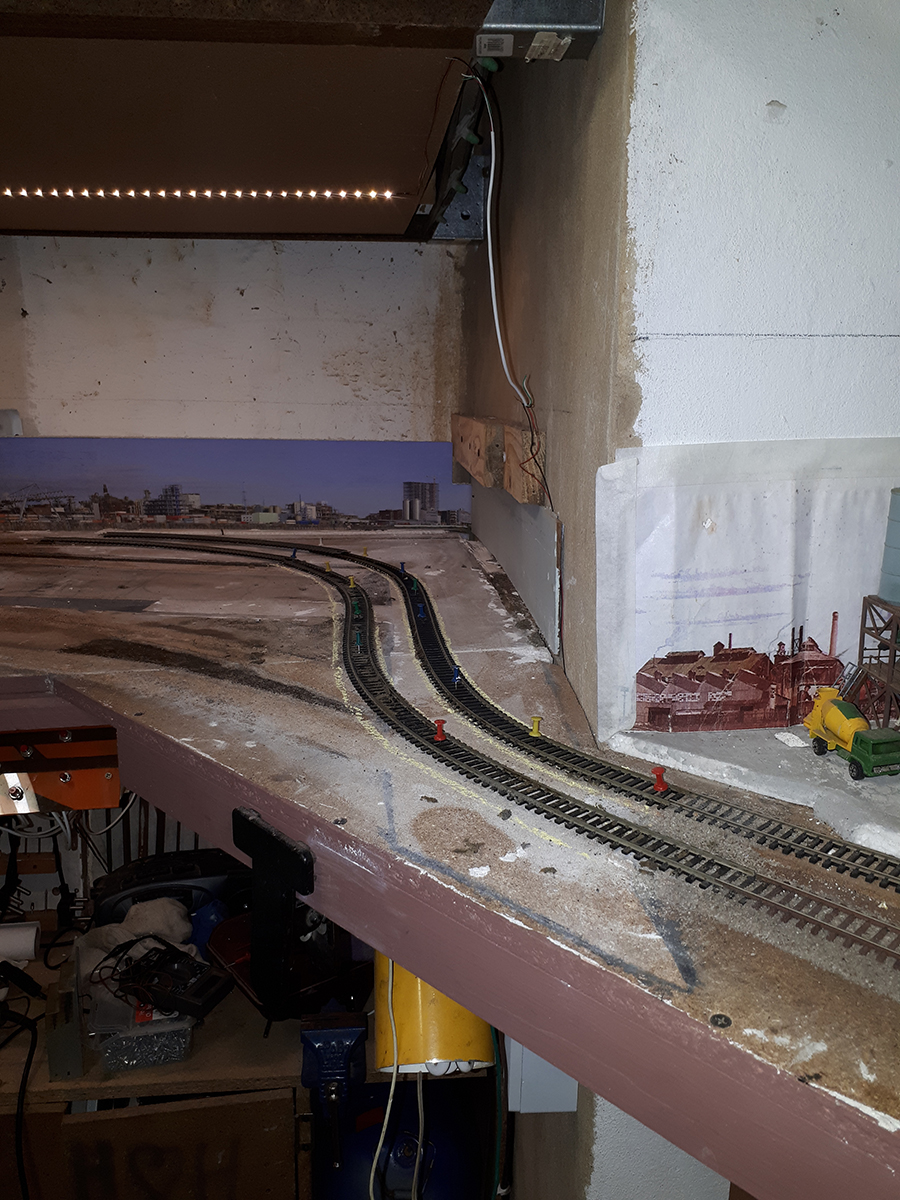
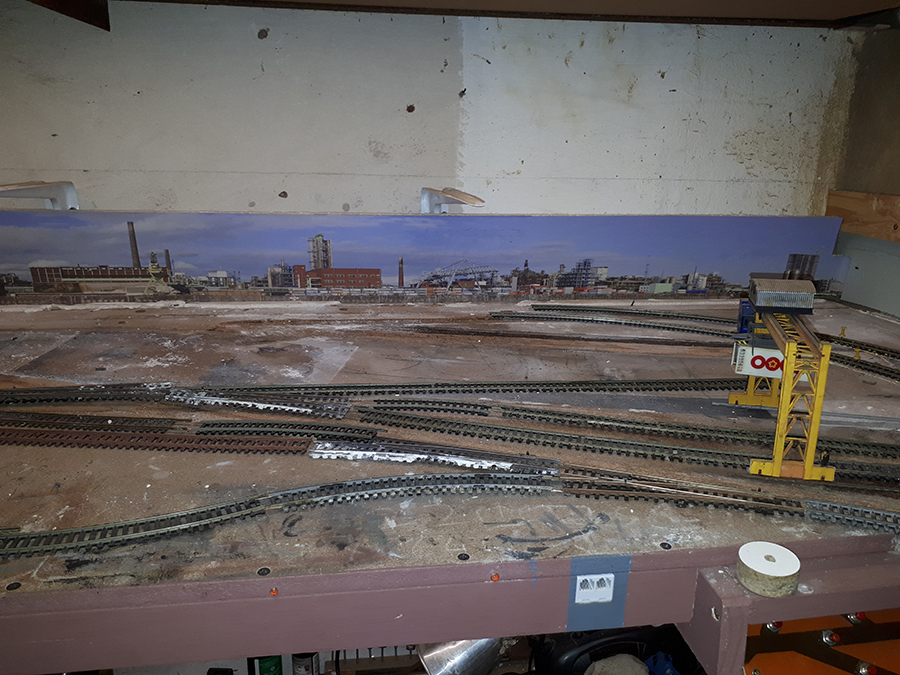
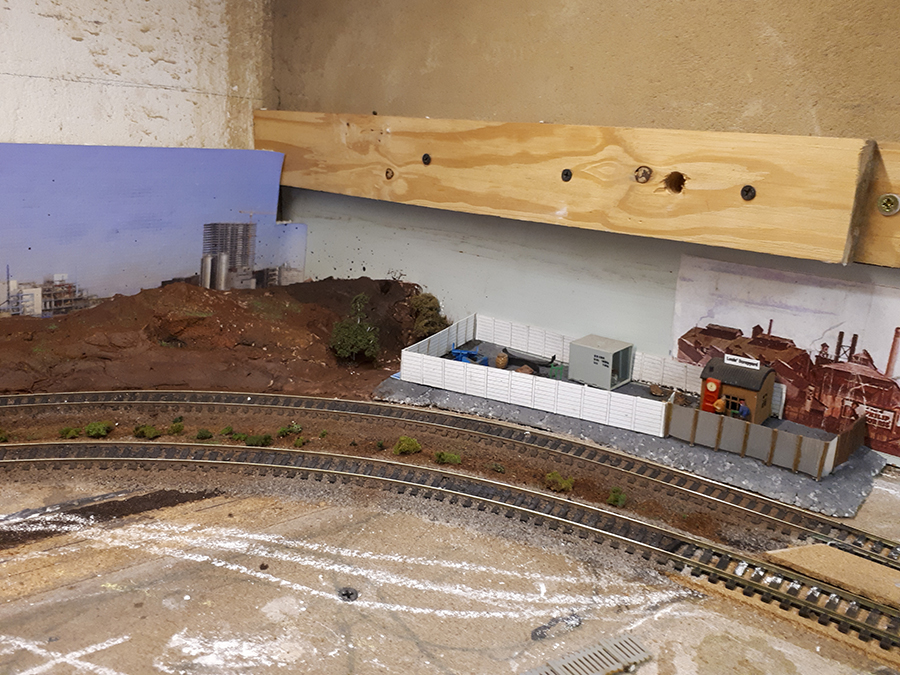
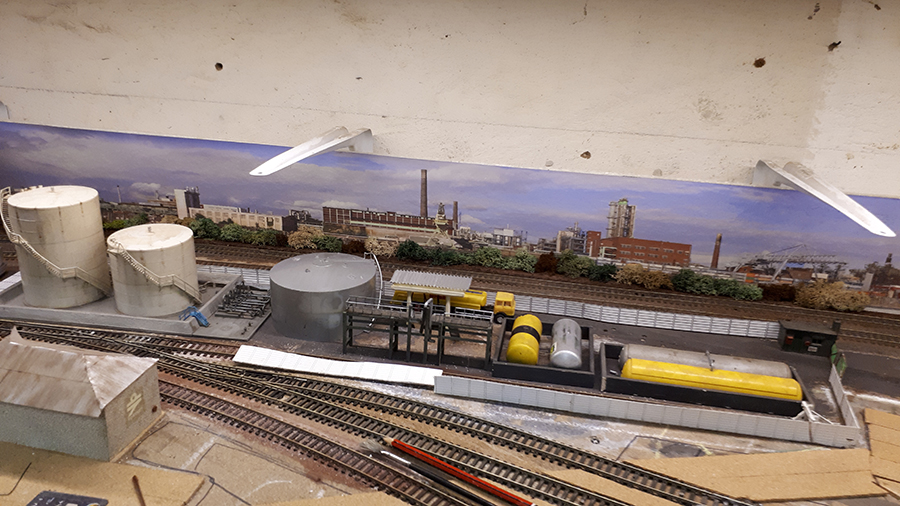
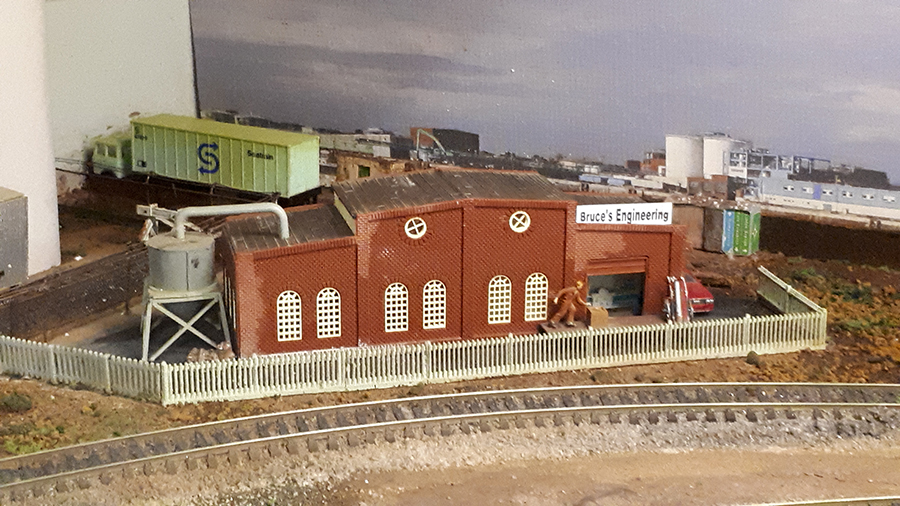
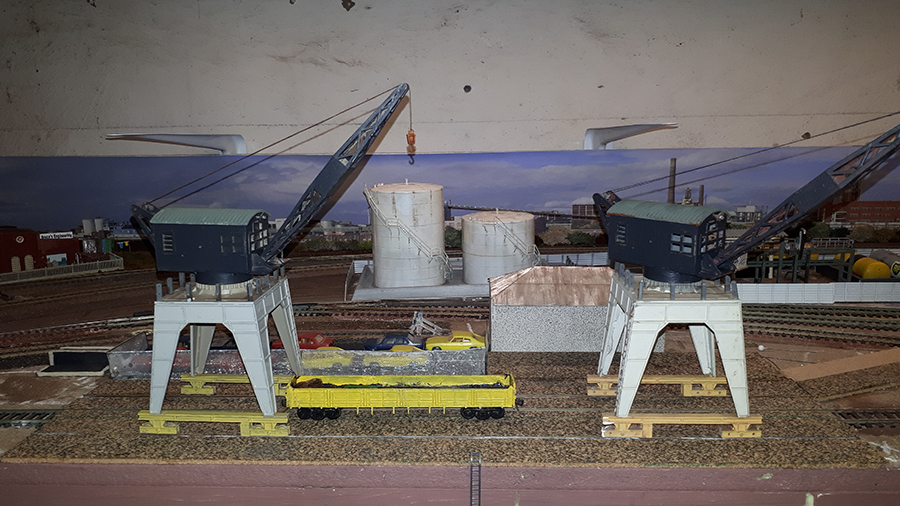
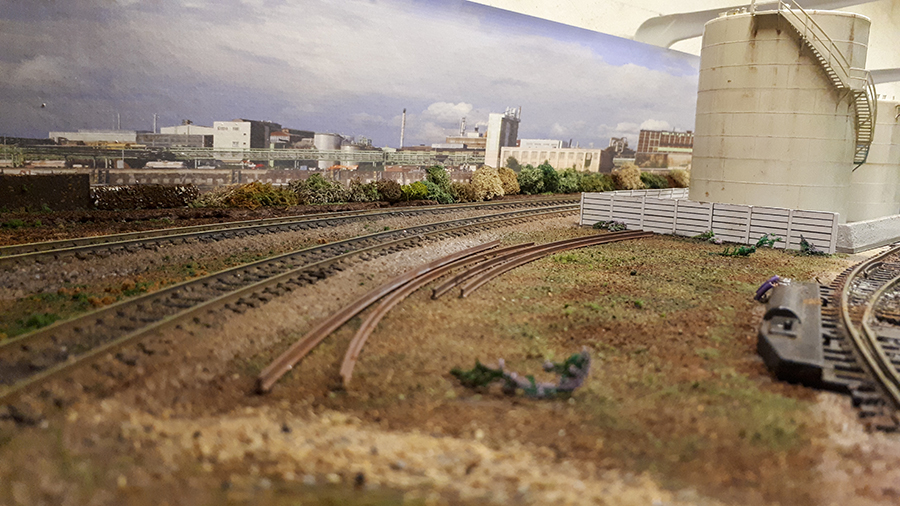
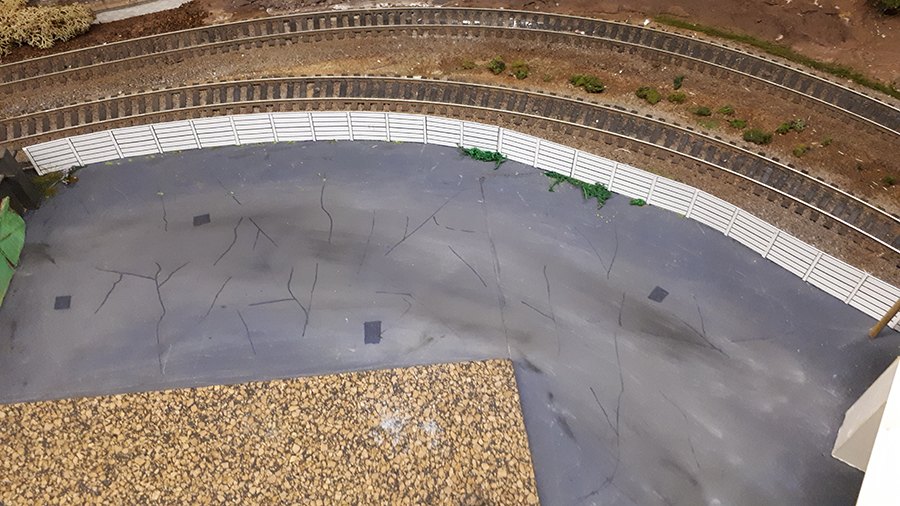
The reason for this update is that after my first operating session, I found that the harbor is out of reach for the operator. I thus redesigned the whole area, with the harbor within reach.
Here are a few photos of the newly built harbor section.
Greetings from Henry van Wyk in Sunny South Africa”
(Henry’s first post is at the bottom of this one.)
That’s all this time folks.
A big thanks to Henry, Fred and Don.
Please do keep ’em coming – and don’t forget the Beginner’s Guide is here if you wan to start on your layout.
Best
Al