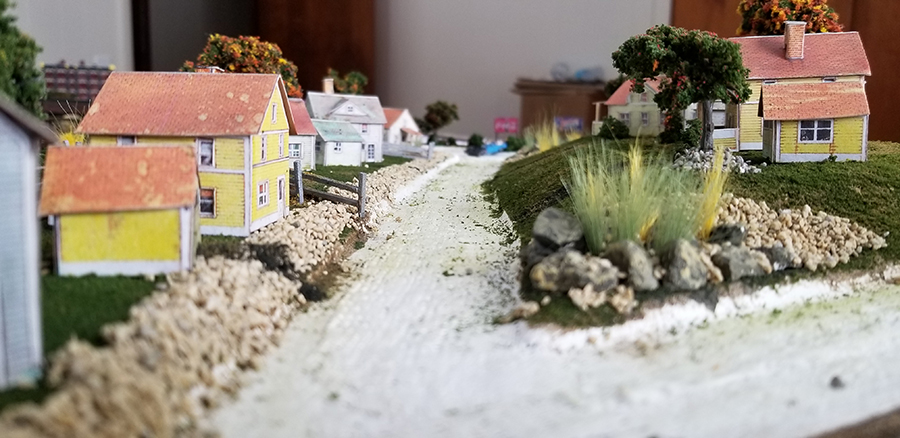
N scale city buildings

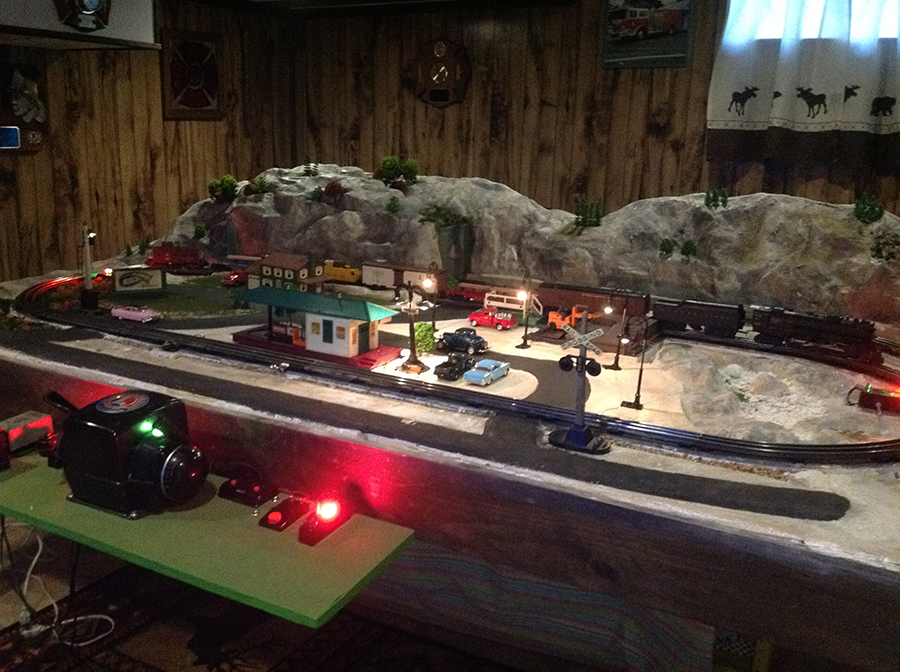
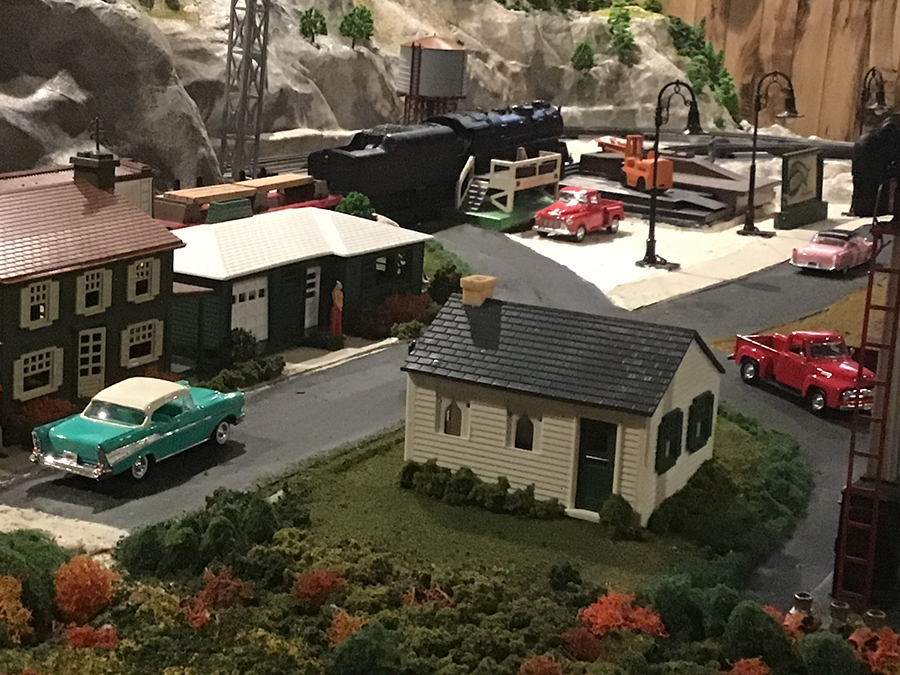
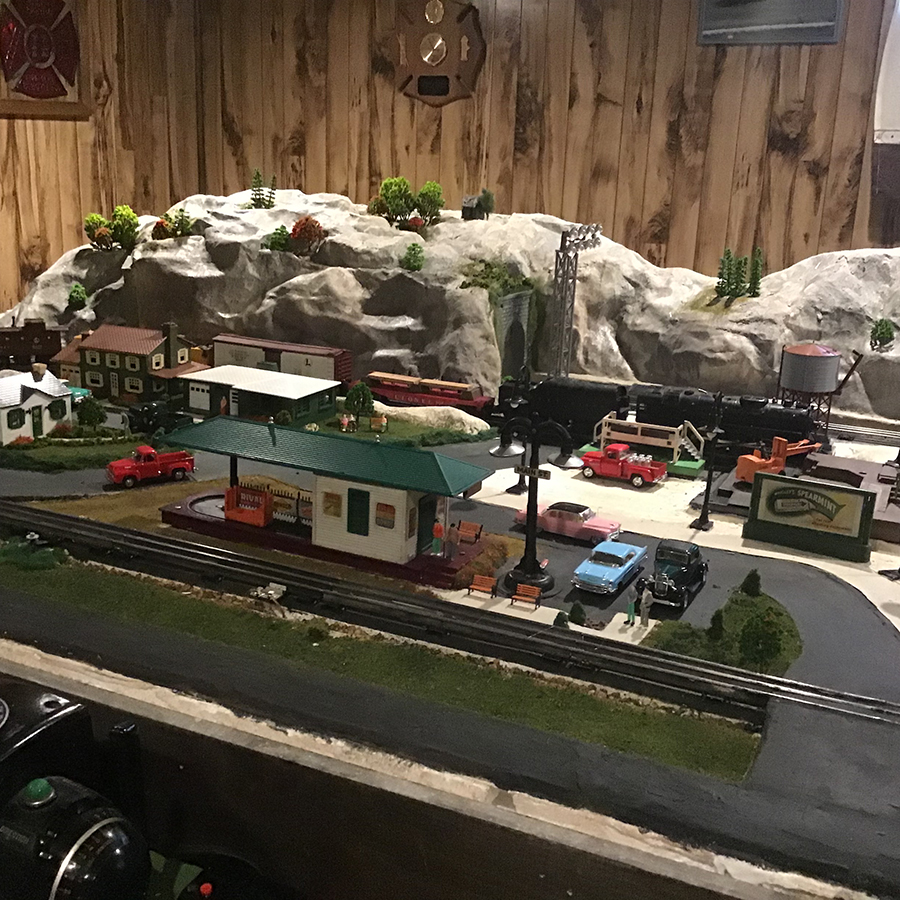
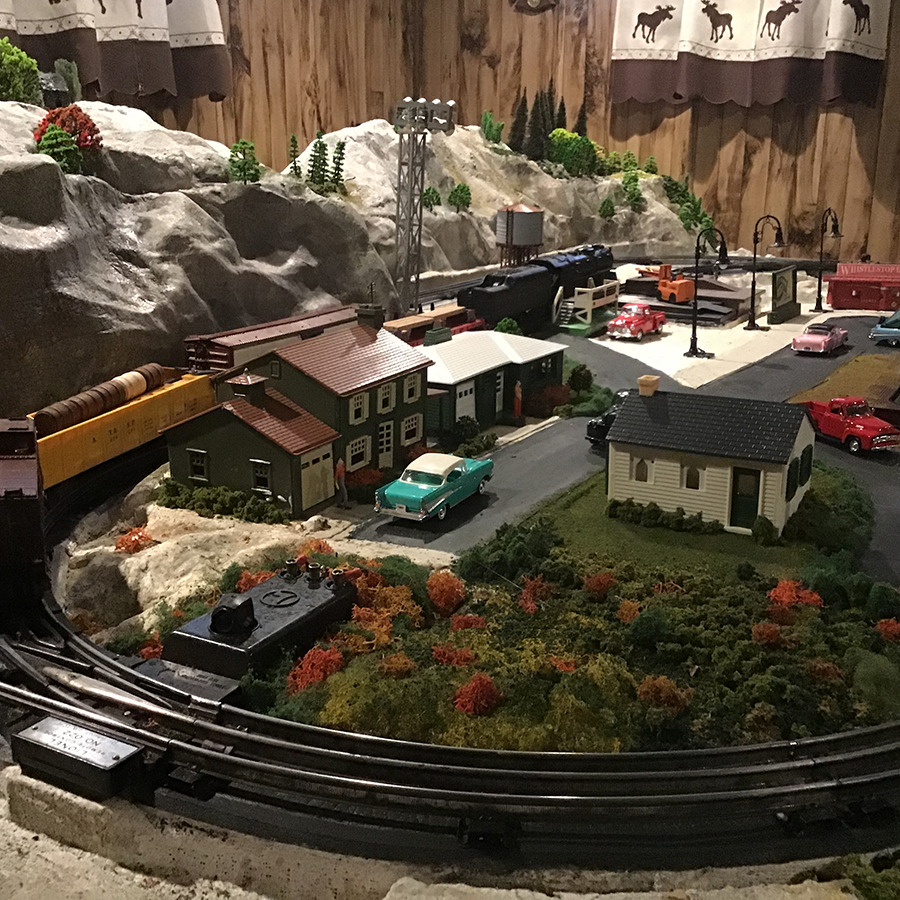
Fred has been in touch again with his N scale city buildings.

I think you’ll probably remember his layout – it’s stunning.

And Fred, as you’ll see, also enjoys his night scenes, as the pictures show.

But do you know what, before you carry on reading, why not grab a coffee and have a look at the video on his last post.

It really gets across just how busy Fred has been.

“Hi Al,

I put modeling aside from last April ‘til this December to take up the violin again with a professional teacher and try to finish up a book I’m writing. (Too many projects in my retirement!)

But I’m back in the game again, and have been recently working on the N Scale city of Port Charles, complete with its theater street, neon lights, and a rather seedy strip joint.

Thought I’d share some photogs with you in case you needed more grist for the mill.

In the distance you can see my oil refinery, which is about 25% done. I’m illuminating with “Pica” LEDs, which are very fussy, very expensive, and very time consuming. Every single light you see is rheostat adjustable!

All the best,

Fred”

(All images are clickable)

n scale city buildings

N scale rail yard

n scale city buildings

N scale rail yard


n scale city buildings

n scale city buildings

n scale city buildings

N scale wide shot

N scale port and refinery

N scale panoramic shot

n scale city buildings

n scale city buildings

Stunning, stunning stuff. Can’t thank Fred enough for sharing his N scale city buildings.

What I adore about his layout is that it looks stunning in the day light, and then at night, it looks just as amazing.

Fred enjoys the scenery part of the hobby, as many of you do (me included).

I know some of you just like running trains, and then there are those that love running trains, and getting the scenery ‘just right’.

And that’s the wonderful thing about this hobby – it’s entirely up to you.

What’s more, you choose at what pace to go at too. Take Fred, for example, he’s writing a book and busy playing the violin too. He works on his layout when he wants too. I know many of you do little on your layouts in the summer, and pick it up again in the winter.

It’s not unusual for a layout to take years – and even then, they are never truely finished, there’s always a corner you want to change or bit you want to improve.

Again, take Fred for example, as well as working on his layout when you wants too, he also works on the bit he wants to. As you’ll see from his pics, the lighting on his N scale city buildings is amazing, and that’s because he wasn’t in a hurry, he just wanted to get it right. That’s why there are hundreds and hundreds of fibre optic lights in his layout.

The same goes for his oil refinery. The lighting and the weathering on it is spot on. Fred’s gone at his own pace, on each bit of his layout when he felt like it.

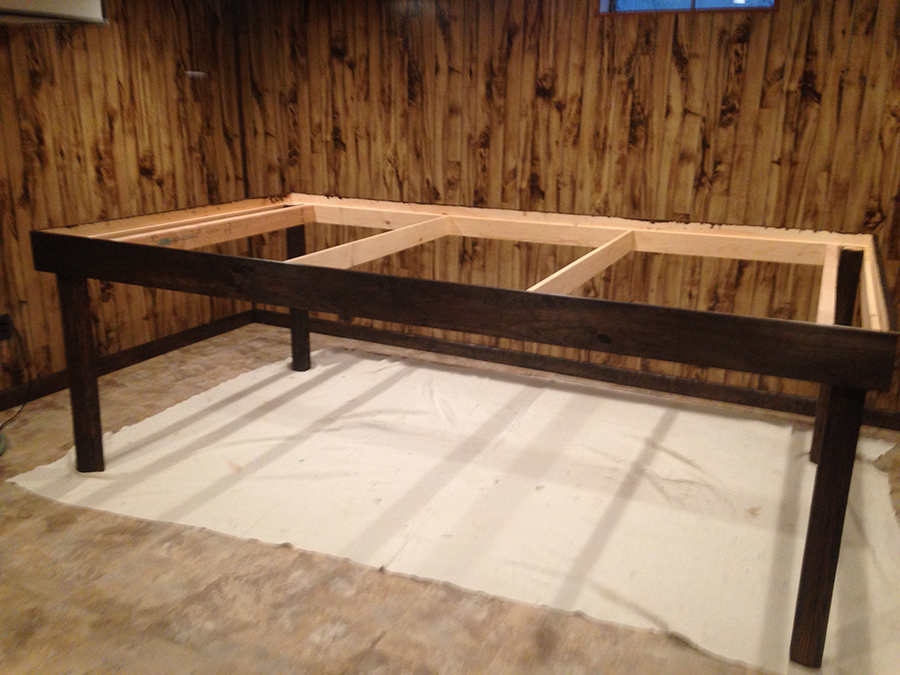
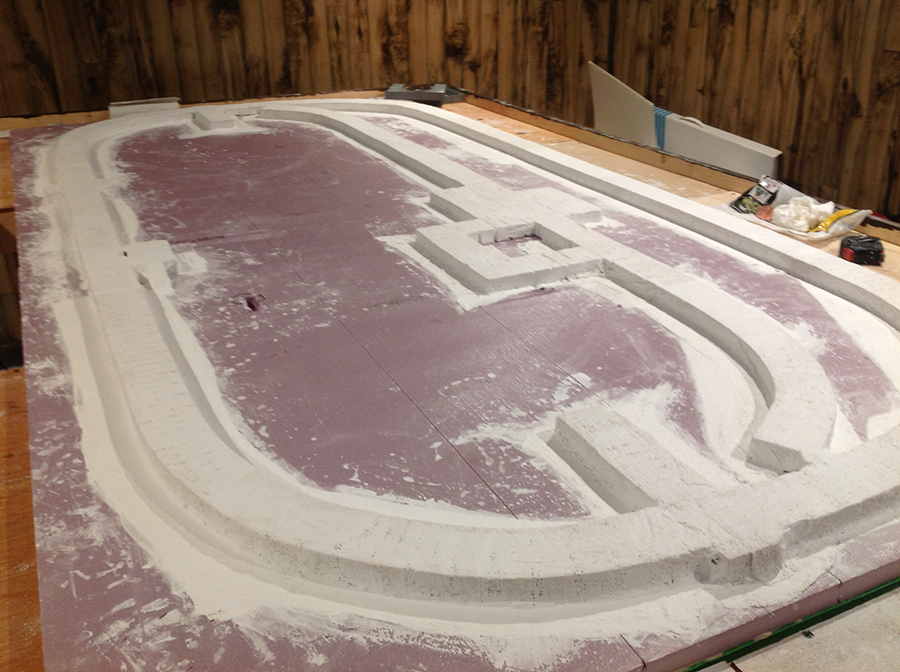
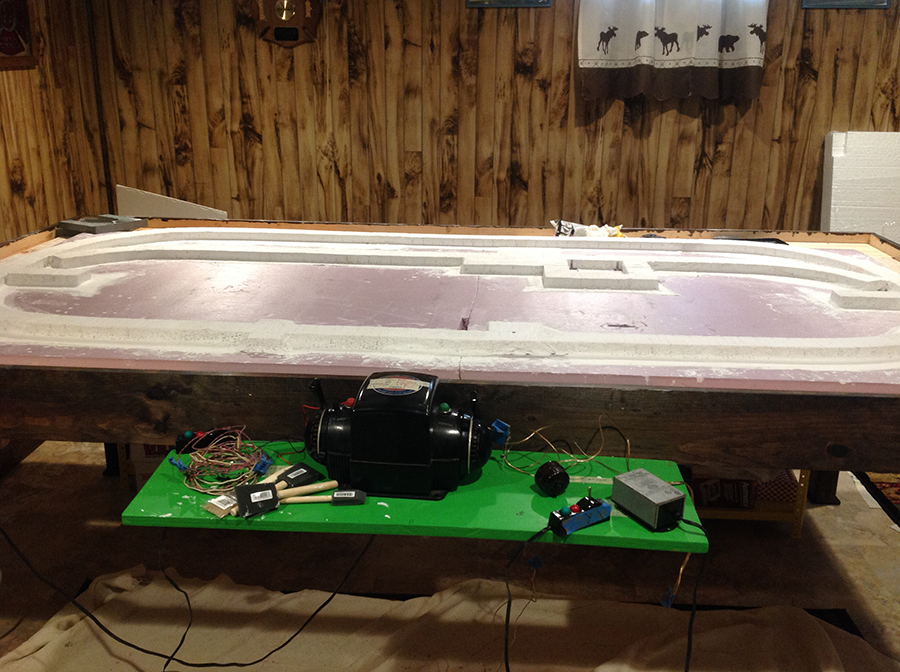
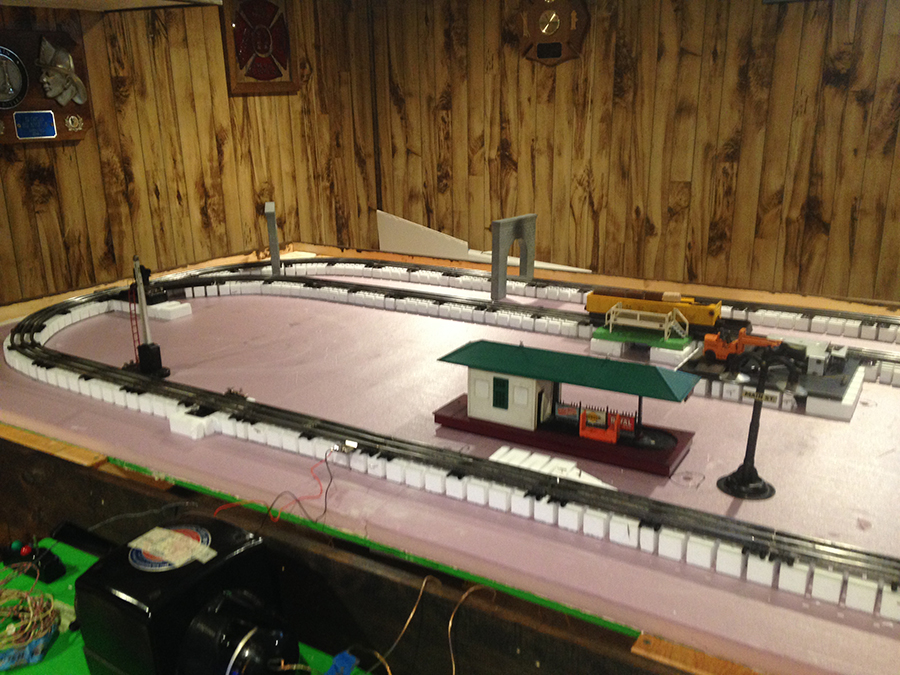
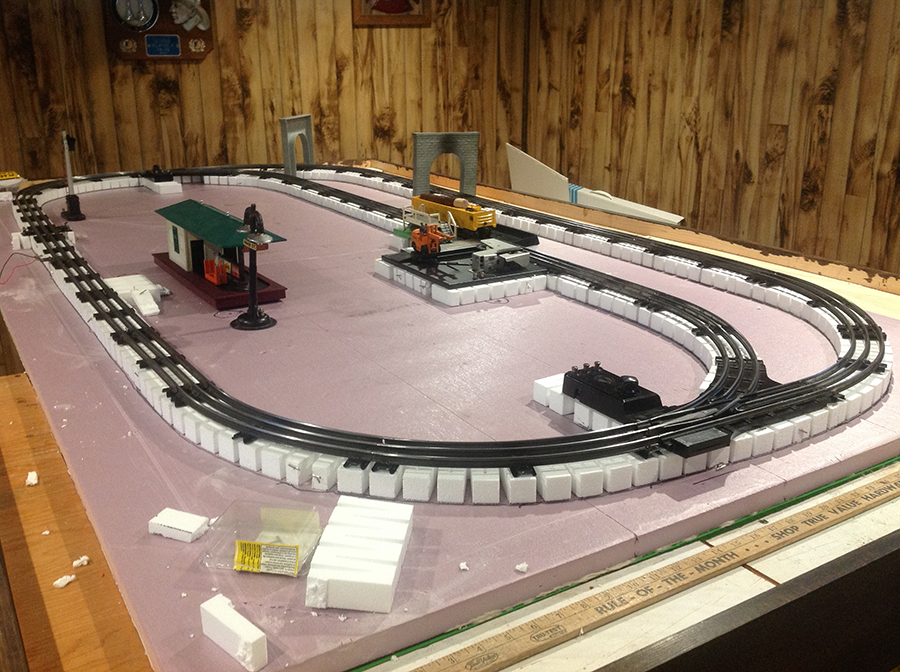
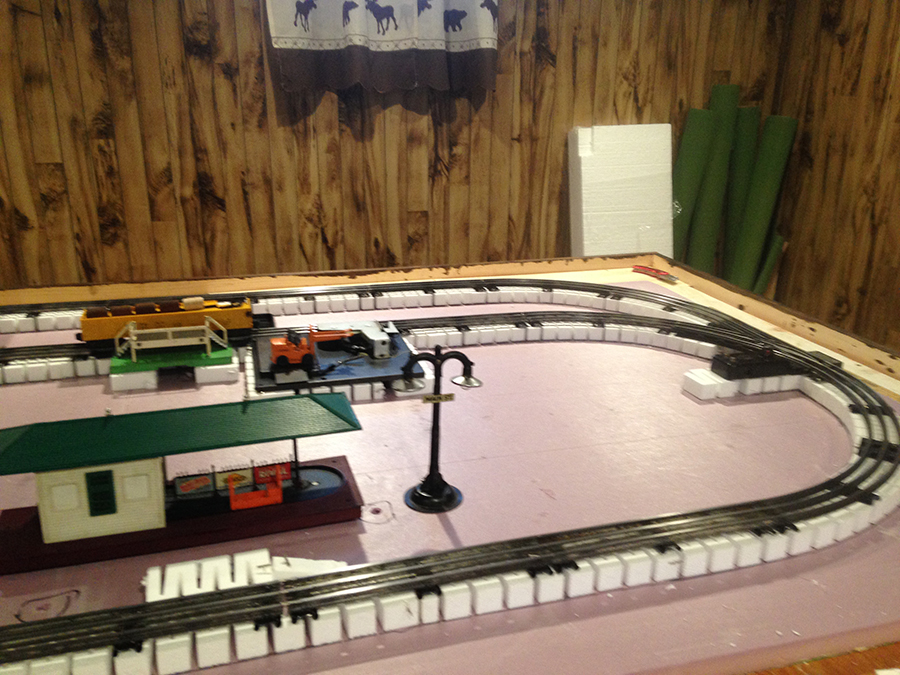
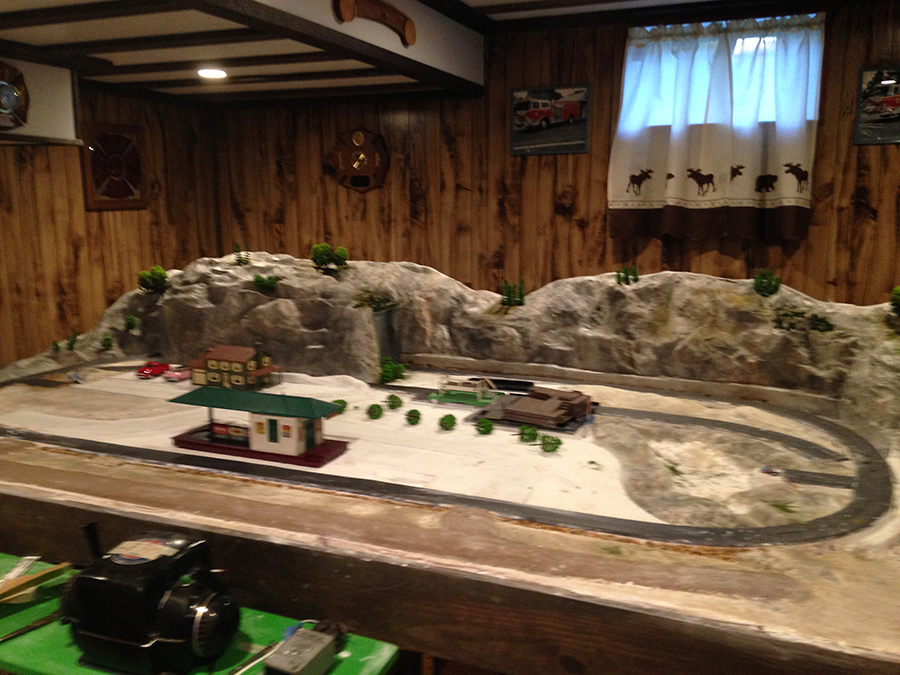
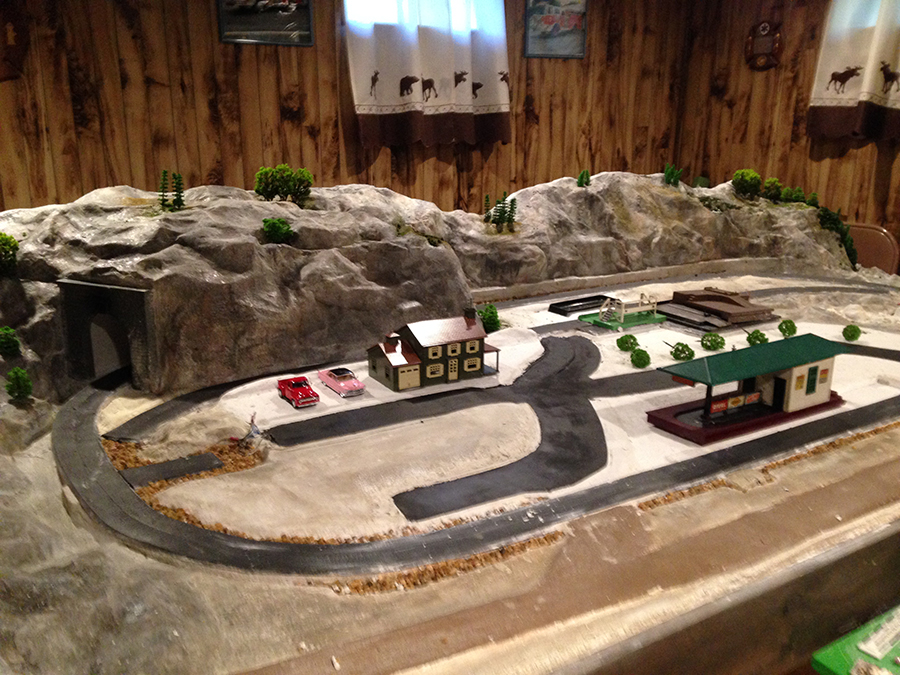
But here’s the part I always think about. At some point, Fred has a bare table. There was nothing on it but perhaps some scattered track, a few tools and some bits of foam.

It just goes to show it’s all about making that start. You can go at whatever pace feels good for you, but without that start nothing happens.

Remember, it’s the start that stops most people.

That’s all for today folks.

Please do keep ’em coming.

And if today is the day you get started on your layout, the Beginner’s Guide is here.

Best

Al

PS Latest ebay cheat sheet is here.

PPS More N scale layouts here if that’s your thing.


HO scale wooden trestle bridge

Jim’s been in touch with his stunning HO scale wooden trestle bridge.

( last post is here.)

“Hi Al.

Jim from Cape Breton, Canada again.

Here’s Part #3 of my model train layout. Using a Canon PowerShot SD960 IS Digital Elph camera in video mode, I originally recorded,about 4 years ago, a DVD of approximately 1 hour in length for my 2 grand sons (one then 8 & the other then 12) who live in Ontario, a province in Canada, which is about 1700 km from where I live.

I have since divided the video into 10 parts to keep them “short & sweet.” In your last posting of Part #2 of my layout, there were 2 questions regarding the layout & I will answer them here.

Question #1: Do I have a copy of the track plan? Answer: Yes,there is a track plan picture at the end of this posting. The red numbers are turnouts & the red letters are magnetic uncouplers.

Question #2: Is the curved wooden trestle made from a kit? Answer: No, I made it by first cutting, with a band saw, short pine boards into ¼” x ¼” strips to use for the supports & cross members of various lengths which numbered over 500 individual pieces that were then painted flat brown.

I assembled the trestle upside down on my work table, which enabled me to sit down during assembly & it took approximately 3 weeks of evenings, because of the tedious job of gluing, clamping & drying all these pieces together.

The final assembly was surprisingly strong & was then placed in the finished & waiting quarry & gorge (just like in the real world) in front of the also finished waterfall.

The actual dimensions are 28” long by 9” high & the HO scale measurements are: 204’ (63m) long, 63’ (19m) high, 12’ (4m) wide at the top, 29’ (9m) wide at the bottom. This is by far the largest scratch-built object (other than the mountains) on the layout.

I invite any questions regarding the layout & would like to thank both you, Al, for your postings which I always find very interesting & informative & to all your viewers for their support & interest.

Keep up the great work all you model railroaders!

Jim.”

HO track plan

HO scale wooden trestle bridge

HO scale wooden trestle bridge

HO scale train layout

HO scale wooden trestle bridge:


Now on to another Jim.

It’s always a pleasure when I see his name in my inbox (his last post is here).

“Hello Alastair and all fellow model railroaders.

Jim from Buffalo NY again, with an update on the Starrpoint Railroad!

The Mountain is now almost complete. It contains 500 rock castings, and approx 200 trees. I used a combination of Sedam plants and scale pine trees as well. It took some time to get the Sedam trees completed. Here are some pictures of the mountain and scenic area.

On the west end of the mountain there is a scenic area that is almost complete.

A change in plans was made. The saw mill and outbuildings were removed and the cement factory placed instead. The area is still under construction

There will also be a freight building in the same area as shown. This is also still under construction.

Roads are being added for realism. I am using a combination of Joint Compound and Smooth-it.

I am using thin corrugated cardboard for this purpose. It is the right thickness for what I need. I cut the pieces with the help of curved track to simulate the curves in the road. I cut the cardboard to ½ wide pieces for this. I also keep a squirt bottle of water handy to help with the spreading of the material. I nail the cardboard in place and spread the mixture between the pieces.

For the road pieces between the rails, I tried the compound mixture but found while cutting the material away for flange clearance, the material broke up. So to eliminate the problem I now am using a piece of styrene cut to fit between the rails. I place track nails on the four corners of the styrene to make sure there is clearance for the wheel flanges. Once all the roads are completed a coat of Pavement paint will be applied, along with lane lines.

As you see in the following picture, I apply the road surface in stages. The centre part of the picture below shows the cardboard removed leaving an area to be filled. The cardboard on the right side is there to be filled in for the transition from the crossing to the road area for the rest of the town

I will be sending a progress update on the roads, cement factory, and town. I will also share one of my other adventures in Model Railroading, Electronics.

Until then
Jim Volmer Sr
Starrpoint RR”

A huge thanks to Jim. His layout is really coming along now – I can’t wait to see the next update.

A big thanks too for the other Jim for sharing his HO scale wooden trestle bridge.

That’s all for today folks.

Please do keep ’em coming.

And if today is the day you get started on your layout, the Beginner’s Guide is here.

Best

Al

PS More HO scale train layouts here if that’s your thing.



Need buildings for your layout? Have a look at the Silly Discount bundle.

OO gauge layout

John’s post on his OO gauge layout really has struck a chord with a lot of you – have a look at the comments below!

“Dear Al

It seems that many write interesting stories about their layout, so here goes. Hope others find it interesting.

I started model railways when I was at school in South Africa and managed to buy a Lionel set from a classmate (much to his dad’s annoyance I found out later!). Half my room was taken up by my layout. University and work followed with little happening to the railway.

In 1973, shortly after my wife and I were married, we had walked along the Thames and gone into a Café for refreshments, when a little boy and his parents came in and he was carrying a Hornby catalogue. My casual comment about how I’d love to start a railway again resulted in my opening my Christmas presents (our first Christmas together) and finding Oliver Cromwell, five “blood and custard” coaches, a few wagons, H & M controller and some track. How exciting! That was 45 years ago and it started many happy years of us modelling together. I do the main construction work while my wife paints the people, plants trees, etc.

As we moved house from time to time, various layouts were started (is one ever finished?). Children arrived and space was needed. About fifteen years passed with everything stored away neatly. About six years ago, the boxes were opened and it was like Christmas all over again as I discovered things that I had forgotten that I had.

Our children are married, we now live in a lovely house with a large garden, in the New Forest. I started out enthusiastically building a garden railway but this came to a sad end during the notorious storm of a few years ago. I also realised that English weather was not the best for 00 scale outdoor railways, although I did run trains in the snow! I lifted the terminus that was housed in a wooden cabin, moved it into the garage and started all over again!

My 3.6 x 2.25 metre (approx 11’9″ x 7’4″) OO gauge layout is now in a garage, attached to a hoist and is raised to allow the car to escape the winter frosts. About three years ago, my son gave me a Dynamis which opened up the whole digital world to me. Sadly the Dynamis decided that it would no longer programme locos and the cost for Bachmann to look at it before any work is done, meant that I needed to look elsewhere.

My final choice was NCE Power Cab and, so far, all the reviews have proved absolutely correct. It is a joy to use, although I think that a major improvement would be a dial to access locos, instead of scrolling. If anyone says that old locos can’t be changed to digital then don’t believe them. One of my finest runners is my original Hornby Oliver Cromwell, bought in 1973 for that first Christmas. You can see it in action hauling a rake of maroon coaches on the video.

There is still a lot to do – more carriage lighting circuits to wire up, ballasting of track, building and installing signals, etc. I am 78 and, apart from still working, am also an organist, so time is limited. But it does provide hours of fun, when I can get to it, as it gradually takes shape. It is not based on anything in particular and a purist would frown at it. However, I enjoy it and just focus on what I like, while trying to capture the character and mood of English villages and countryside.

Great fun!

Diagram of track plan – not to scale. Cabin Manor is on the level above the four, parallel tracks (up and down main, up and down loop)

Best Wishes

John”

model railway track plan

OO gauge layout

OO gauge layout

OO gauge layout


model railway

OO gauge layout

OO gauge layout


Latest ebay cheat sheet here.

A big thank you to John for sharing his OO gauge layout – what a wonderful narrative. It just goes to show this hobby really is a life long affair.

That’s all for today folks.

Please do keep ’em coming.

And if today is the day you get started on your layout, the Beginner’s Guide is here.

Best

Al

PS Latest ebay cheat sheet is here.

PPS More HO scale train layouts here if that’s your thing.