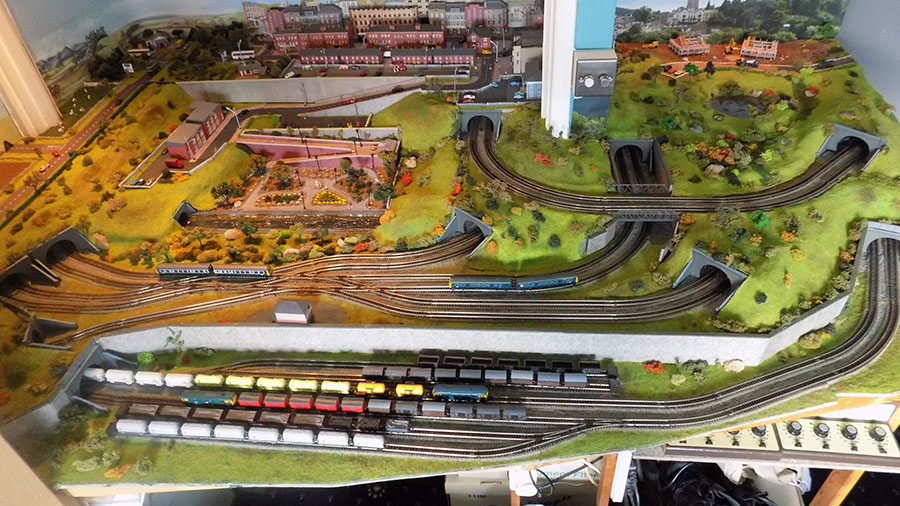
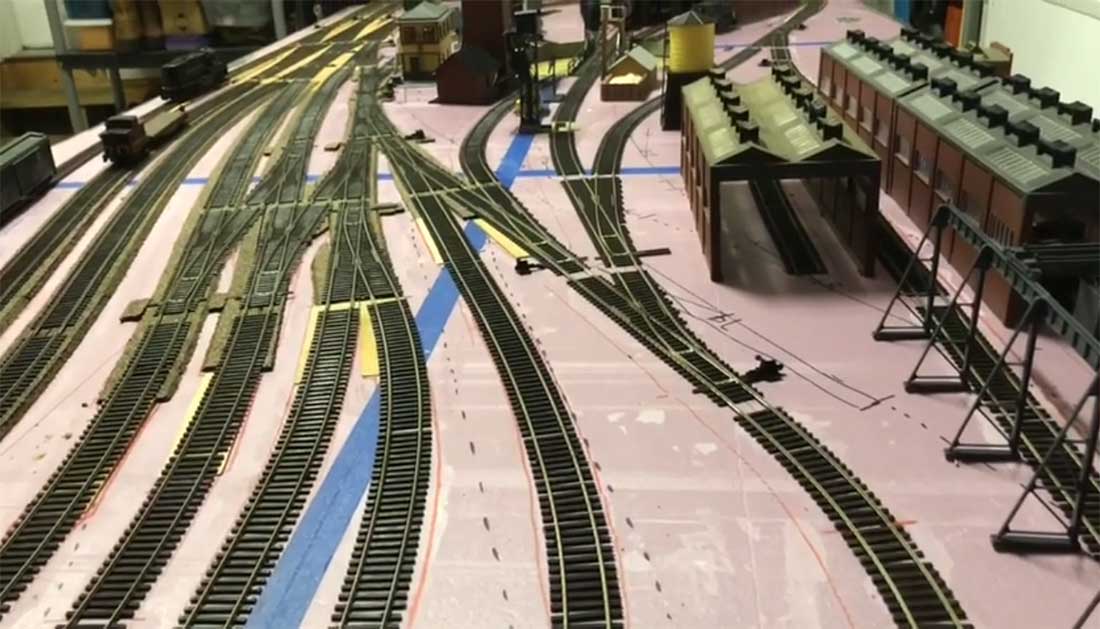
N scale track plans 2×6

Gibb’s been in touch with his N scale track plans 2×6:

“Hi Al,

I really enjoy your site and look forward to every days post.

I recall you enjoy seeing some start to finish (never finished) layouts so I’d like to share mine.

As a youngster, I had my Lionel train set and as a teen I did some HO on a 4×8 sheet of plywood but it didn’t amount to much.

So many years ago, because of space and time limitations, I decided to construct a N scale 2×4 railroad.

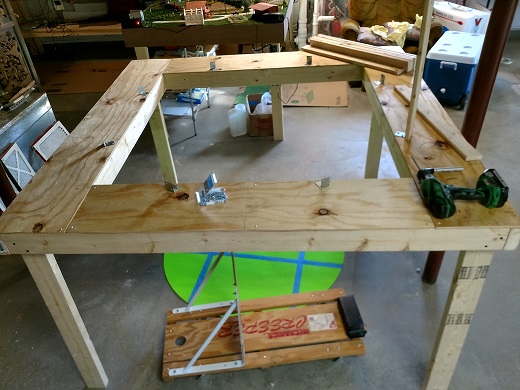
I used a 2×6 sheet of 1/4” plywood attached to a frame of 1×3 boards.

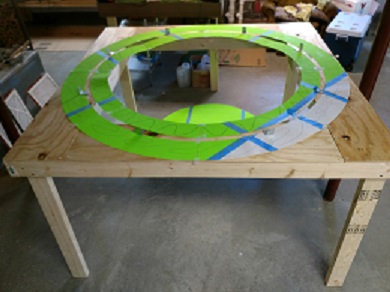
The track plan was laid out on the plywood and where grade changes and elevated track was planned, the plywood was cut with a sabre saw.

Not all of the cuts can be seen in the photo below but some do appear as darker lines.

n scale track plans 2x6 base board

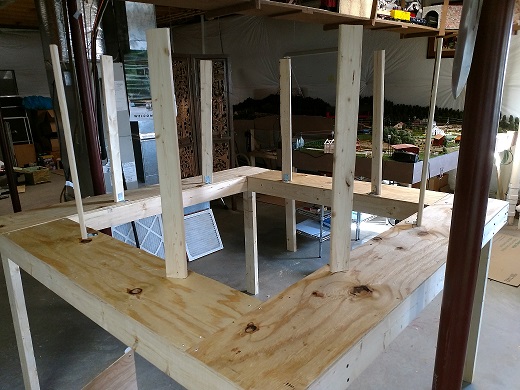
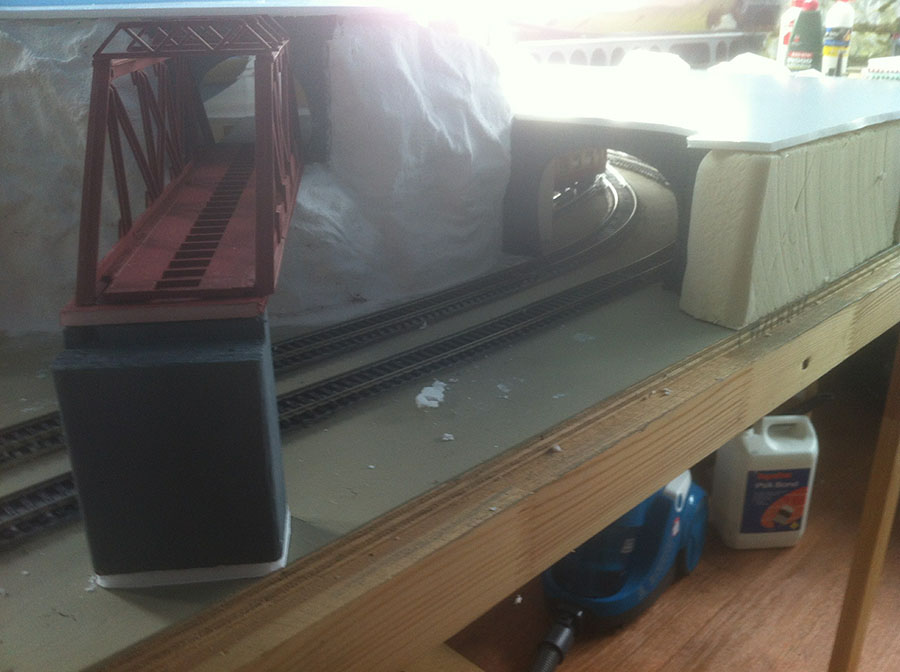
The next photo shows how the cut areas have been raised and supported to form various grades and elevated track areas.

Cork roadbed has also been installed.

N scale track plans 2x6 baseboard with incline

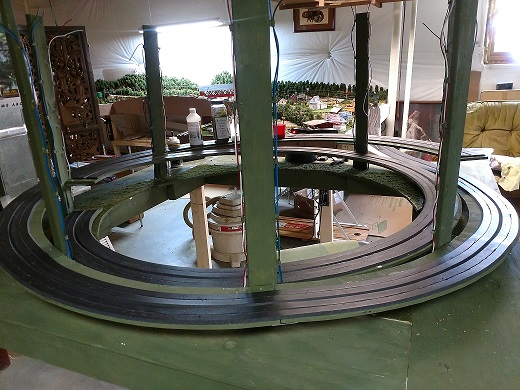
Now Atlas flex track has been installed and ballasted as well as a store bought viaduct and tunnel portals.

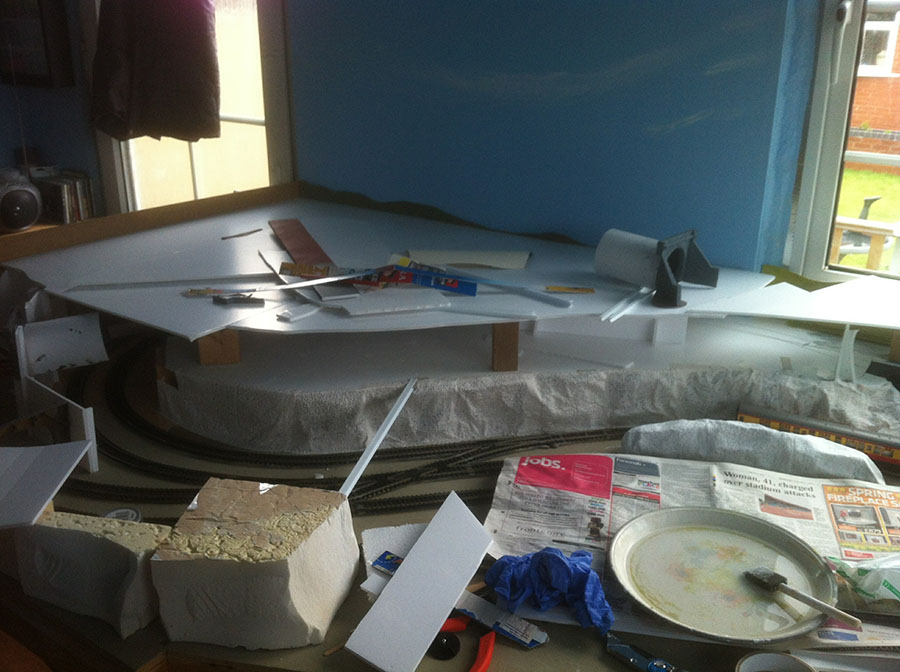
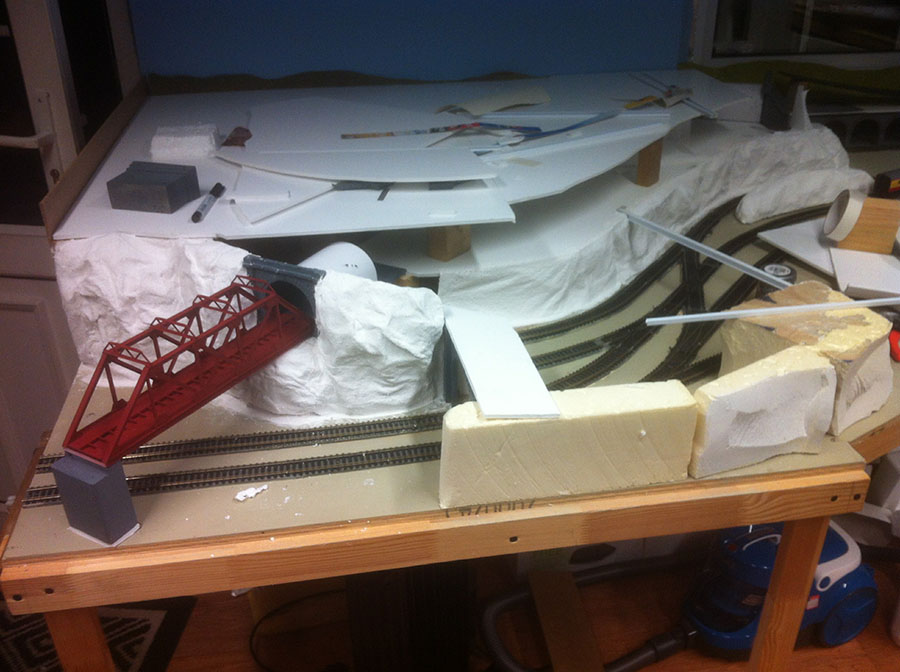
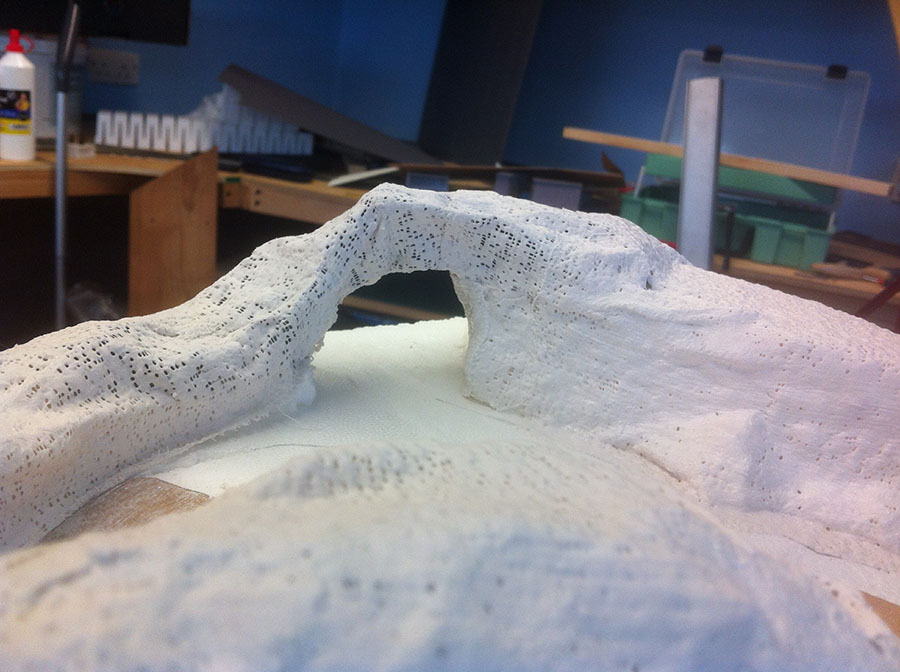
Mountain construction is underway using a corrugated cardboard web hot glued together being covered with plaster cloth. Old school but I had fun.

n scale track plans 2x6 with mountains

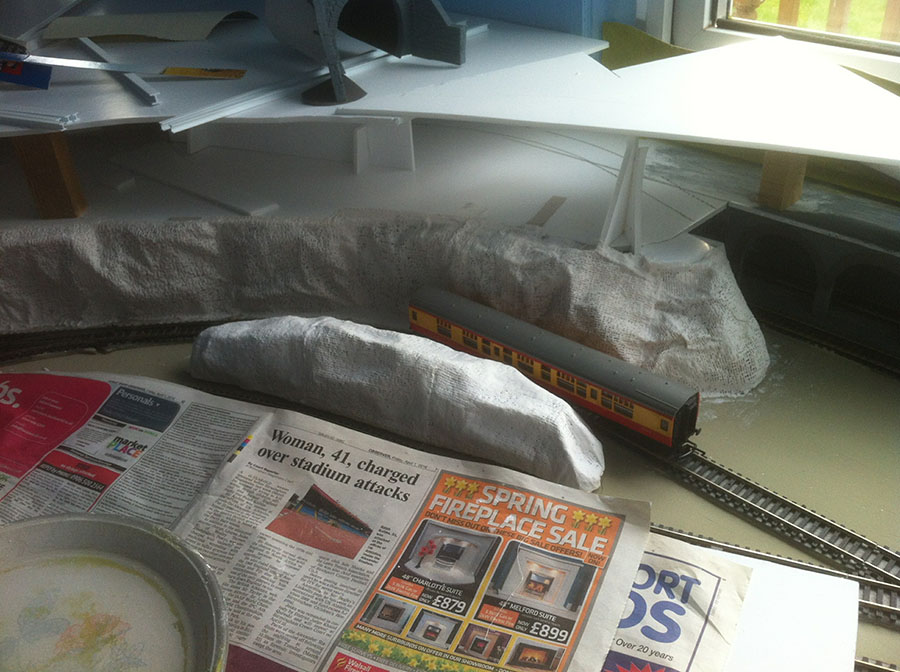
The mountain and raised areas are done and background paint applied to “soil” areas.

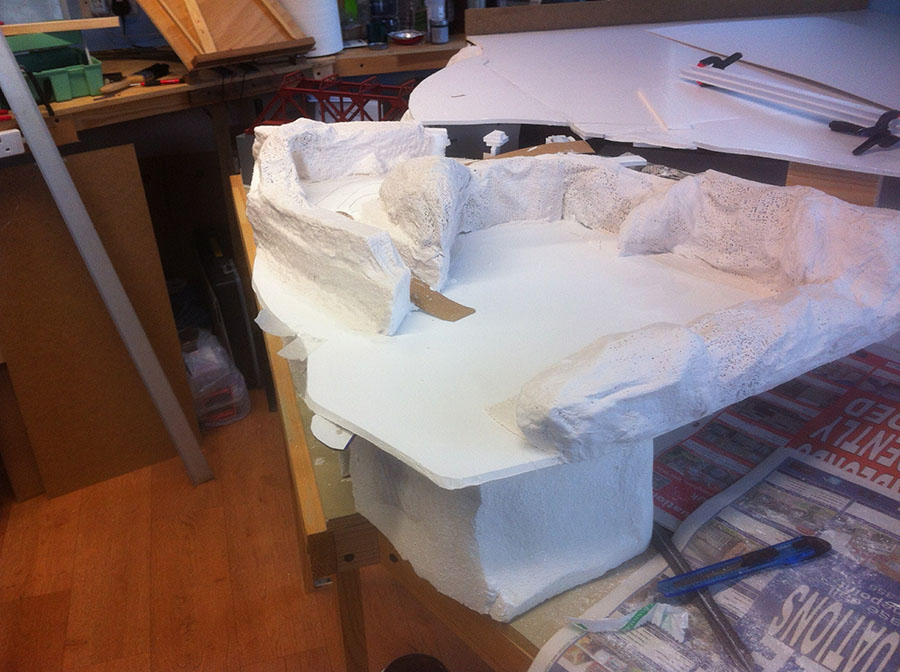
The rock texture was created by pouring a very thin layer of plaster onto crumpled aluminum foil and placing a piece of plaster cloth in the wet plaster for reinforcement.

When cured this was removed from the foil and pressed against the mountain. It was thin enough to crack and conform to the mountain profile and hot glued in place.

After placement, the cracks which are not very big, were filled with spackling compound.

model railroad N gauge mountains


N scale track plans 2×6:

The rock faces have been colored with washes of gray, yellow and brown. I made a novice mistake and didn’t prime the mountain face before coloring. The alkalinity of the plaster changed the color of the washes.

model train mountains N scale track plans 2x6

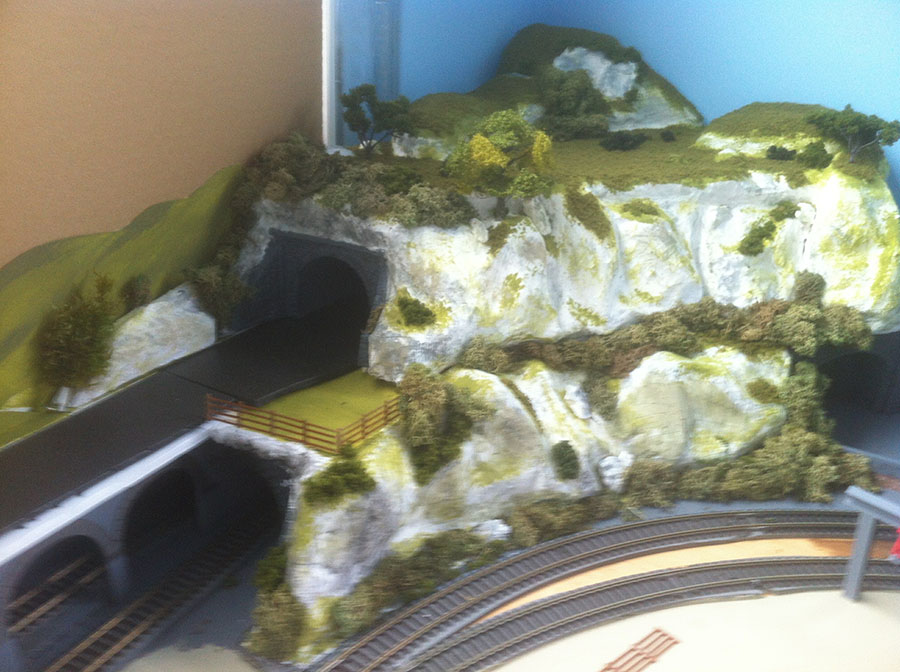
The tunnel portals after coloring.

model train tunnel

The landscaping getting under way.

model railroad N gauge figure 8 with inlcine

As of now. Still lots of scenery work to do.

n scale track plans 2x6 with inlcine

Hope you find this of interest.

Gib
Lebanon, Ohio, USA”


A fantastic layout from Gib to add to the collection of N scale track plans 2×6 – and I loved his narrative, you really can tell he had bags of fun with his layout.

And he’s right, I do love seeing them come together from nothing more than a bare base board. It just goes to show, it’s all about making a start – and if you want to make that start, grab the Beginner’s Guide right now and make it happen.

That’s all for today folks.

Please do keep ’em coming.

Best

Al

PS More N scale layouts here if that’s your thing.
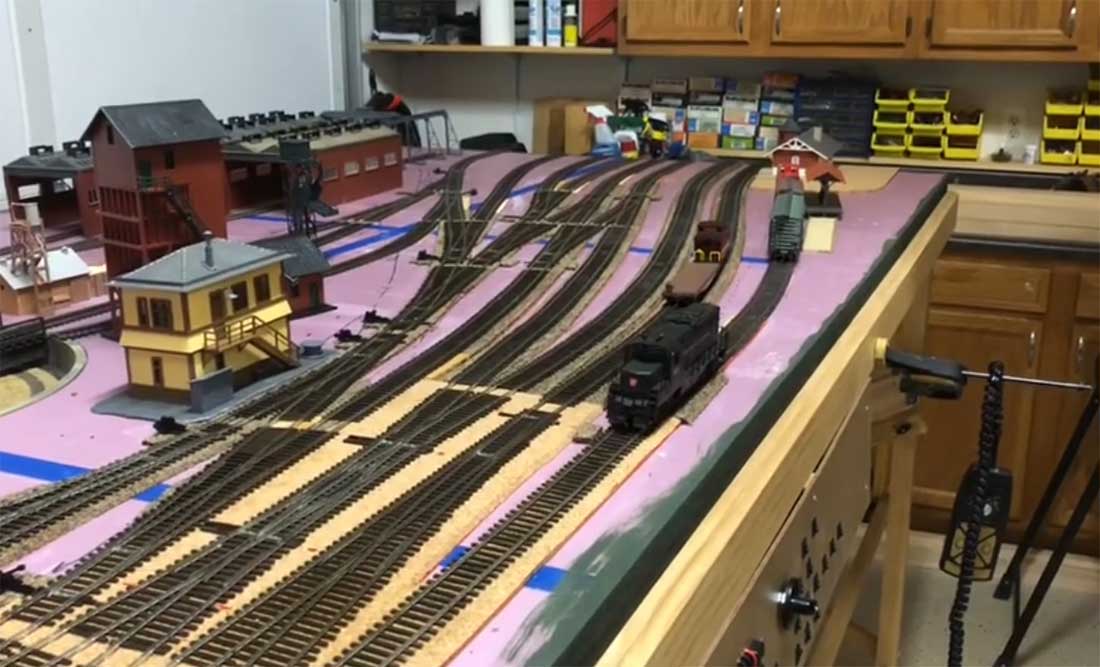


model railroad printable building

Download this building here.

N gauge model railway layouts

Barry’s been in touch. He’s added to the collection of N gauge model railway layouts on the blog:

“Hi Al,

Thought you might be interested in my modelling skills, I started on my latest layout after my Daughter left us to go and live in Australia.

I already had layout 6’x2’ in a small room upstairs so I moved into her room which was some 18’ longer and decided to add to it.

So I bought two 6’x3’ boards and started to build.

The layout of old was called Meadow Falls and is a small end of line station and surrounding countryside.

I decide to join it to the larger layout I was building so that it would run to a small station at the other end of the layout with a small station and turntable, as they were both N gauge model railway layouts.

N gauge model railway layouts

N gauge model railway layouts

N gauge model railway layouts

Then I when on to my main board which I am still working on but have at present got Carpal Tunnel Syndrome in my Right hand so it is making the job very difficult

N gauge model railway layouts

N gauge model railway layouts

N gauge model railway layouts

N gauge model railway layouts


N gauge model railway layouts:

N gauge model railway layouts

The Mill is based on the one in Battlesbridge, Essex but the remainder of the layout is form my imagination and with the help of input from my Daughters, hence the riding stables.

I still have a lot of work to do as the far end at the left has scenery and a stone etc to build. But until I have had and operation on my wrist it will all have to wait a while.

I run mainly Graham Farish and Dapol on a DCC unit by GaugeMaster on the extension , but Meadow Falls is DC. The track and points are all Kato on my N gauge model railway layouts.

Hope you have enjoyed my pics if the want to see more please contact me.

Keep up the good work it really helps us to get so enthusiasm to continue with our work.

Yours Sincerely

Barry”

And now on to Hall of Fame member, Brian (his last post is here). He’s sent in another fine update:

“Hi Al.

I have been working on the layout, specifically the harbor area on the lower level. Fine eyesight not need for this yet.

model rairoad wharf

The above photo is an approximate layout of the harbor area before deciding where and what depth to cut.

model railroad boat yard

Here above, placing the objects (in this case, a car ferry) to see if there is enough space for all the harbor related buildings/boats and the like.

After cutting the base of the harbor to the correct level, placing the models that I want in the area, discovered that there will not be enough space for the car ferry nor the loading ramp and the rest of its needed bits and pieces as well a storage track for the idler cars needed for loading the ferry. That means that the whole car ferry system will have to find a place elsewhere on the layout (if at all).

model railroaf wharf

As seen above, a workers barge fits better in the scene as there is a lot more detail to be seen on and around it.

The cardboard mock up building (still needs to be scratch built) top right was removed and my scratch built (incomplete) boat repair shop put in its place.

Looks much better in that area and has a lot more forefront detail in and around it.

Next was how and where to place the harbor masters office (currently next to the ramp).Too close to the ramp as well as not enough clearance around the surrounding buildings.

I built up a wooden extension from the original ground level and now the harbor master has an excellent view of the harbor. I will add safety railings around his office at the final stage of construction.

This is as far as I have got as of today.

I will follow up with photos as I progress.

All the best

Brian”

A huge thank you to Barry for adding to the N gauge model railway layouts, to and Brian.

It’s so wonderful to see how different each and every layout is – no two layouts are the same.

And when it comes to harbours or harbors (depending on where you are in the world), who can forget Fred’s stunning layout.

That’s all for today folks.

Please do keep ’em coming.

And if today is the day you get started on your layout, the Beginner’s Guide is here.

Best

Al

PS Latest ebay cheat sheet is here.

PPS More N scale layouts here if that’s your thing.


Model train incline

Lawrence has been in touch because of his model train incline.

Like many of us, he found out the hard way what is acceptable when it comes to running trains up an incline.

“Hi Al

The following pictures are all referenced to the first picture that displays the layout that I have.

When I initially built the layout, I did not know what I was doing when it came to inclines. Since then I found the formula for determining the percent of grade.

I was having trouble with trains going uphill and using the formula I found out that I made grades from 3.5% to 5.5%. The optimum is 2%. My model train incline was too steep.

Example A1 to A2 was 5.5%, to make it 2% I had to change the rise from A1 to A3 (on the diagram). The A1-A2 track goes from the top to under the covered bridge. The B1-B2 track, at 3.9% goes from the covered bridge.

Another angle of the two mentioned tracks before reconstruction. I wanted to pull the track without having to redo all the scenery. Lifting the covered bridge off the layout and starting to remove the track to the base foam layer at the lower end (A2 area).

Cutting out the track at the upper end, cutting down to the base foam but keeping the scenery intact as much as possible on either side. Another shot of the A1 section of the track area cut out. the smaller bridge also had to be temp taken out.

The upper end of the A1 section with the store bought 2% grade foam in place. The middle section of the 2% foam in place. this is where I found out at the level of the track under the covered bridge would be 2 inches higher than before. This is a problem as before the change there was only one quarter of an inch clearance for the train to travel under the bridge. Laying the 2% foam around to the now A3 location after puling all the track to this point. The D section of track was handled in the same way. BUT – –

Forcing the B1 section to now be raised from 3 inches to 5 inches the B3 section goes around to the new B3 area. BUT – – The C1-C2 section over lapped the B3 section. PLUS, at the B3-C3 area two roads cross the bridge.

To solve the problem a Trestle bridge had to be built from B1 all the way around to C1. Here the bridge goes over the road (under construction) to the Antique shop.

The B section of the Trestle, in the foreground, and the C section to the rear. N gauge train tunnels built for the HO gauge layout for auto traffic.The train is on the mostly finished A section of track.

The trestle has a walkway for the engineers and a banister for safety. Another pic of the A1 section of trestle track finished. About where the A2 area was a new raised train waiting station for passengers.Another angle of the passenger station. Also, the water barrel in place for the steam engine usage. The passenger station and news stand.

The two roads going under the trestle bridge with the N gauge tunnels. The trestle had to be raised not the 1-inch minimum need for the 2% grade in both directions but another inch to allow for the auto tunnels. Laying the track around the C section. The actual last to be worked on at this time.

And last off is a pic of the overall area for the trestle bridge – it shows the my model train incline – from the upper right, around the town, to the middle back. The banister still not finished in the C section. That is physically 20 feet of layout trestle track.

Lawrence”

model train incline track plan

model train incline trestle bridge

model train bridge

landscaping incline


Model train incline:

incline to trestle bridge

model train incline landscaping

polystyrene for incline

polystyrene for incline

polystyrene for incline curve

trestle bridge model train incline

model train

model train incline trestle bridge

model railroad trestle track

model railroad passenger bridge

model railroad platform

model train platform elevated track

model train tunnel under elevated track

model railroad laying track

model railroad incline side view

A huge thanks to Lawrence for putting this together. Just goes to show a model train incline is no different to any other part of scenery – one small change to your track means lots of other changes need to happen too…

That’s all for today folks – but please don’t forget the Beginner’s Guide if you want to get going on your own layout and side step the mistakes we all make.

Keep ’em coming.

Best

Al

PS Latest ebay cheat sheet here.

PPS And if you fancy reading even more on inclines, this post will help.

PPPS Here’s another great incline ‘how to’ as well.