Louis has been in touch again. This time he shares making pine trees for a model railroad:
“Hi Al
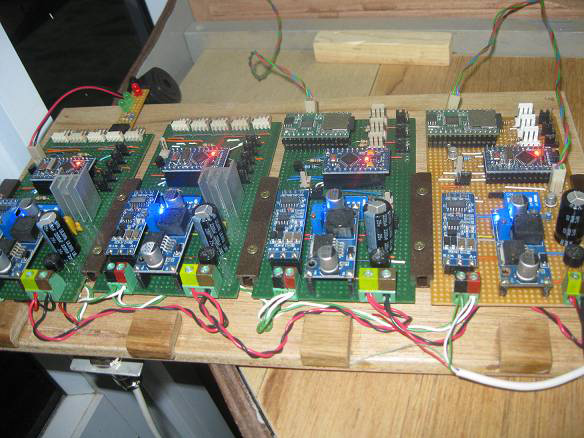
After the 1950’s computer controlled post I saw that some modellers wanted to see my pine tree how to.
To make the tree I do the following steps.
1. I got scrap lengths of 4 mm electrical wire (AWG 6) from the local electrical contractor.
2. Strip the plastic off and separate the strands, There is 7 strands in the wire.
3. Clamp each strand in a vice and then spin it with a drill to straiten them.
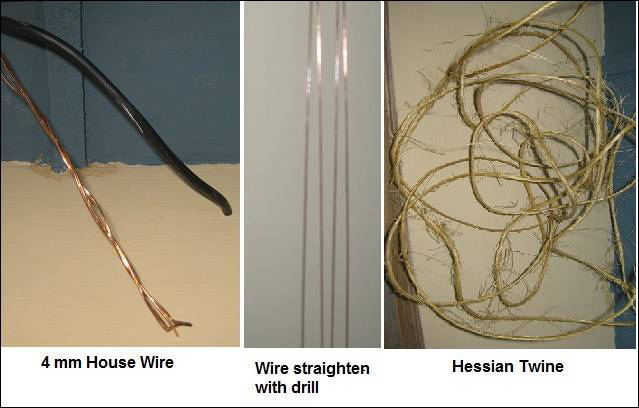
4. Use about 300 mm (12”) of wire or longer and fold it double with a loop at the closed end.
5. Unravel small lengths of hessian twine that will form the branches.
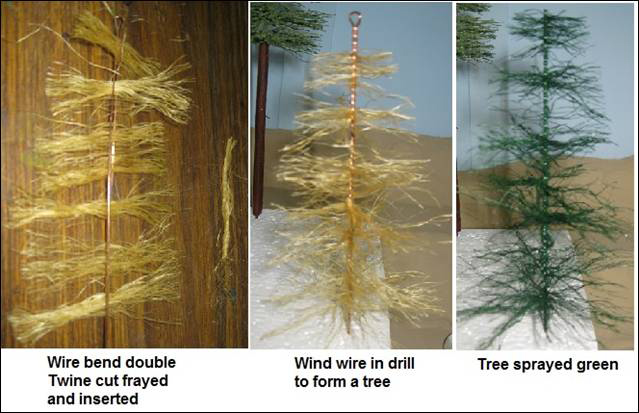
6. Insert the twine between the wires for the full length of the wires.
7. Insert the two open ends into a drill (I use my cordless drill) and hook the loop into a secured hook.
8. Wind the two wires together with the drill to form the tree. This method is well documented on the internet.
9. Snip off the top and use scissors to form the tree. Once done spray it green.
10. From the local woodwork or DIY shop get a bag of sawdust.
11. Sift the sawdust using a fine (flower) sift to remove any large pieces to get fine sawdust.
12. Mix some green fabric dye in water into a glass bowl.
13. Cover the bowl with a piece of cloth and then press it into the dye.
14. Add some sifted sawdust into the dye in the cloth. The cloth is used to get the coloured sawdust out. You only do it once without a piece of cloth then never again.
15. Put it out in the sun to dry. Different colours of sawdust can be used as ground cover.
16. Once dry put it into a shaker to sprinkle it on trees etc.
17. Spray the formed tree with spray adhesive and then sprinkle the coloured sawdust over it.
18. Make sure that you sprinkle over an open container to catch the excess sawdust.
19. Once done I lightly re spray the tree with adhesive to lock the sawdust into place.
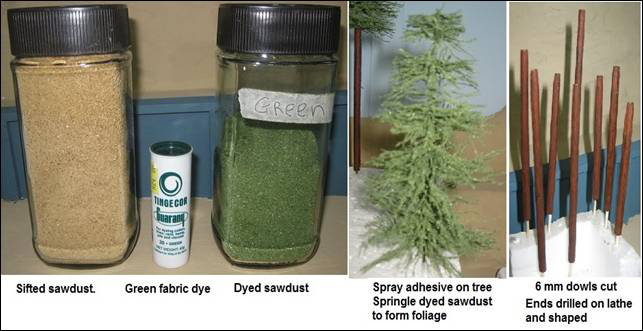
Making pine trees for a model railroad:
20. To make the tree trunks I use a 6mm (1/4”) dowel cut into short lengths.
21. Drill small holes into both ends of the dowel. I use my woodwork lathe for this.
22. Shape the one end into a taper using a file and the lathe.
23. Use a rasp file or wire brush to scour the trunk length wise.
24. As a base, paint the trunk using Burnt Umber acrylic paint.
25. Use white PVA glue to glue a small nail into the bottom of the trunk. Helps with installation.
26. Trim the bottom wire of the tree to length and then glue it into the top of the trunk.
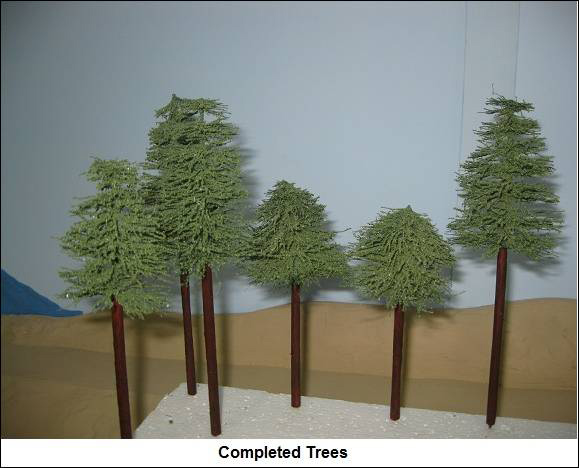
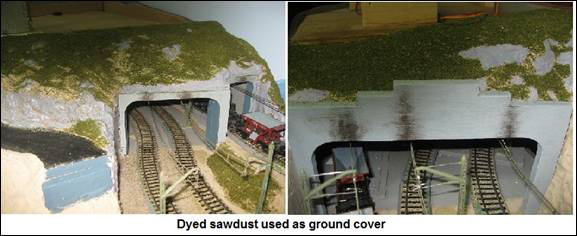
Regards,
Louis.”
A big thanks to Louis – it reminded me of Boyd’s excellent tree post:
“Just a reminder that it’s not too hard to come up with makeable things to save money on a RR platform.
On S.S. It would be hard to come up with the $$ to purchase what is needed. So I have been making most all of the scenery.
To go along with old time theme’s, I have made houses, and shops out of painted boxes. Log cabins out of dowels. And green painted wide popsicle sticks glued to cardboard for a roof. I live in the South, so I picked a bag full of Spanish moss, boiled it for 20 min’s. to kill germs and bugs. Expecting to chop it up in a food processor today for ground cover.
Made 2 wooden tunnel entrances and of course the mountain is still in progress. Also, I have made a RR bridge, and expect to make a covered bridge out of painted black popsicle sticks. With the sticks glued in x forms, I glued 2 cat food cans together, wound green wire around twice and tightened to look like cables, all to be a water tower. Black paint plus other colors does wonders to change the appearance of many items.
Also I was looking at bushes in the area, (Don’t know what kind?) but they look like pine, or spruce. On the tips of each branch they came to a point and looked just like small pine trees. I broke off a good number that will never be noticed. Already a darker green, I painted them a green I wanted, then sprayed with clear laquer to preserve. Hopefully they will not turn brown and fall off. These became a lot of free pine trees.
Most things you would want on a platform can be made with a little ingenuity. And popsicle sticks!
William”
“Dear Al,
I would like to add a small suggestion for scenery ‘stuff.’
I recently was in a situation where I needed to sharpen a bunch of pencils (~50). As I was about to empty the shavings, I stopped and looked and thought that the shavings would be excellent material for a layout. It’s dried, natural, and has that random curliness that can bring some realism to an area.
I know many people don’t use regular wood pencils anymore, but if you know a teacher or other organization that does, you could ask for them to save the shavings for you over a period of time. Voila, free material!
You could use as-is without painting or add paint or mix it in with other material as you see fit.
Also, shavings of the graphite part of the pencil would be great coal dust or weathering powder.
Enjoy!
Love all the good info shared on this site. Thank you to you and your contributors!
Susan”
“Hi Al,
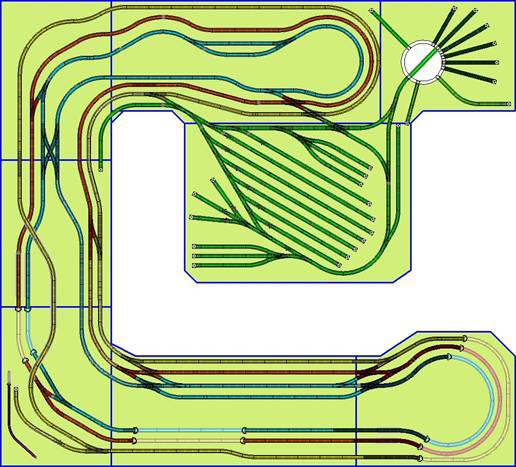
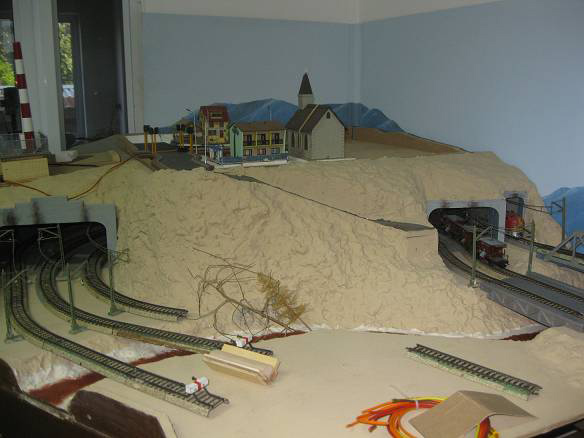
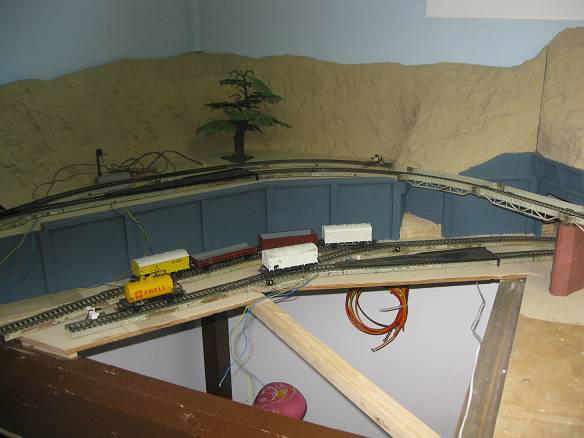
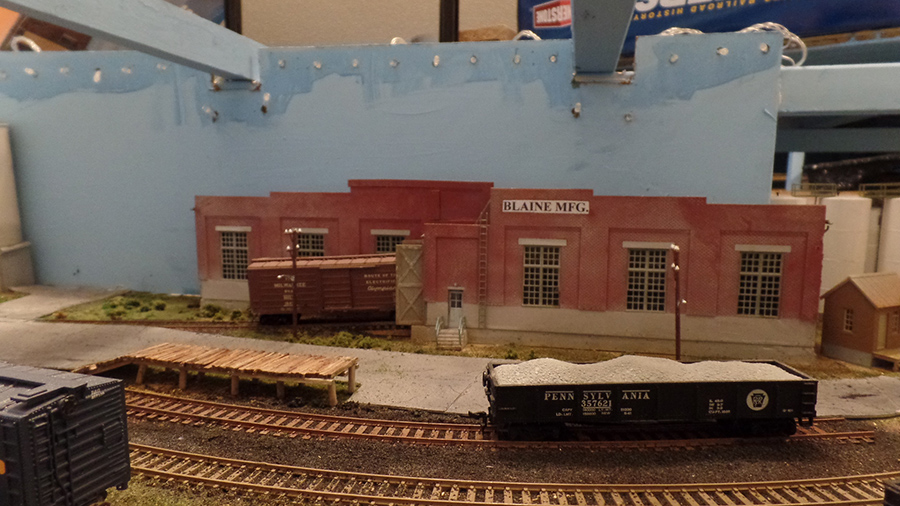
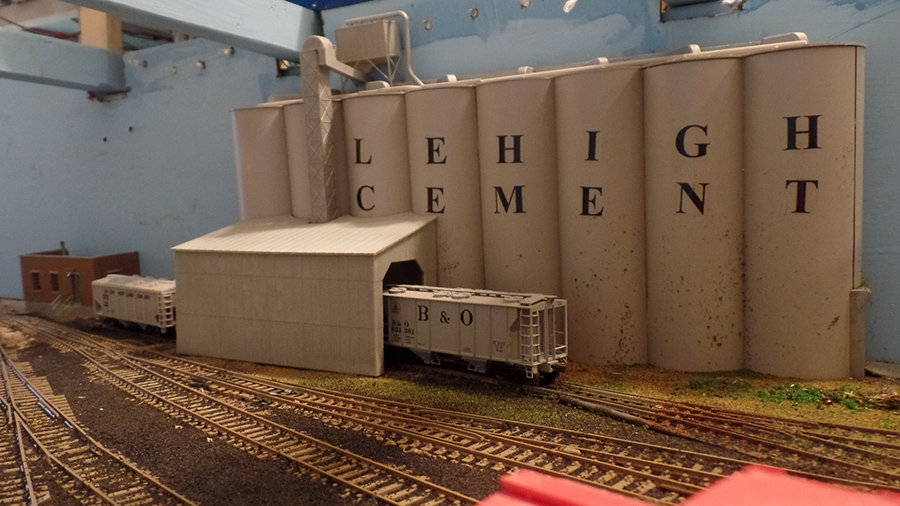
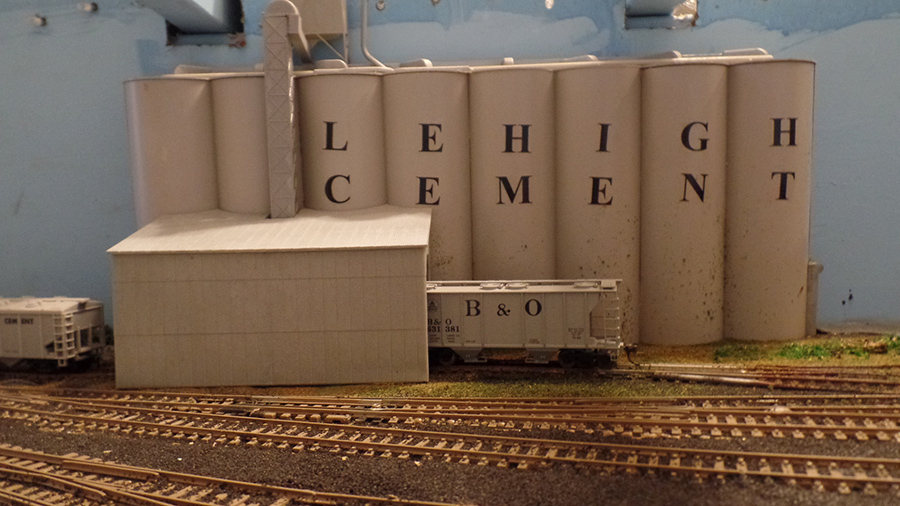
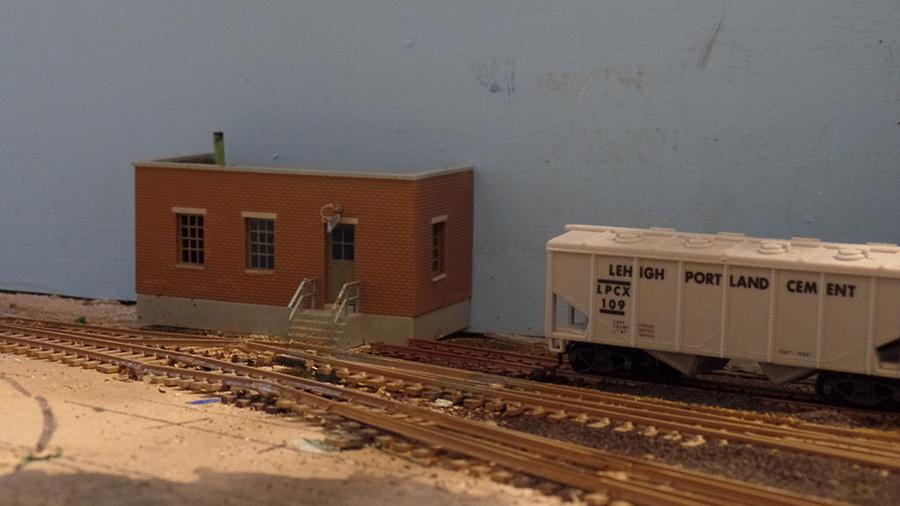
a quick update on my new layout, after been on holiday for 2 weeks afraid not a great deal done, but least getting one side of the layout looking more like a railway again
Regards
Dave”
Latest ebay cheat sheet is here.
A huge thanks to everyone. Great to see Dave’s layout coming along – again!
Also thanks to Louis for sharing his way on making pine trees for a model railroad.
That’s all for today folks.
Please do keep ’em coming.
And if today is the day you get started on your layout, the Beginner’s Guide is here.
Best
Al
PS Latest ebay cheat sheet is here.
PPS More HO scale train layouts here if that’s your thing.