Model railroad start – Pat’s

Pat’s made a model railroad start :

“Alistair,

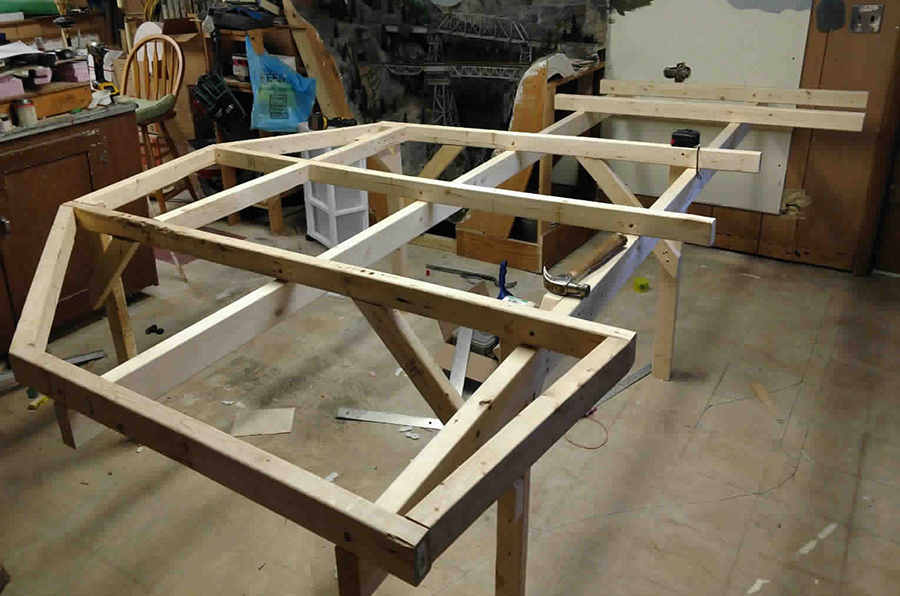
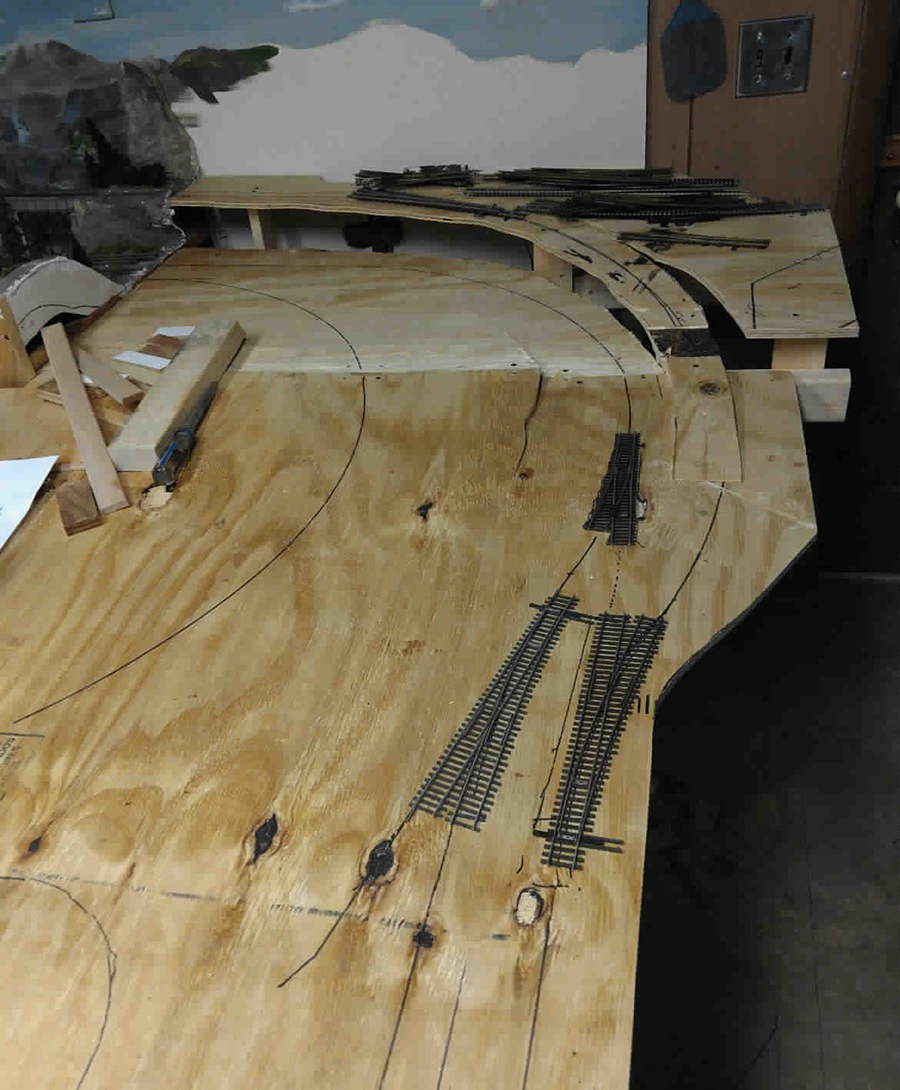
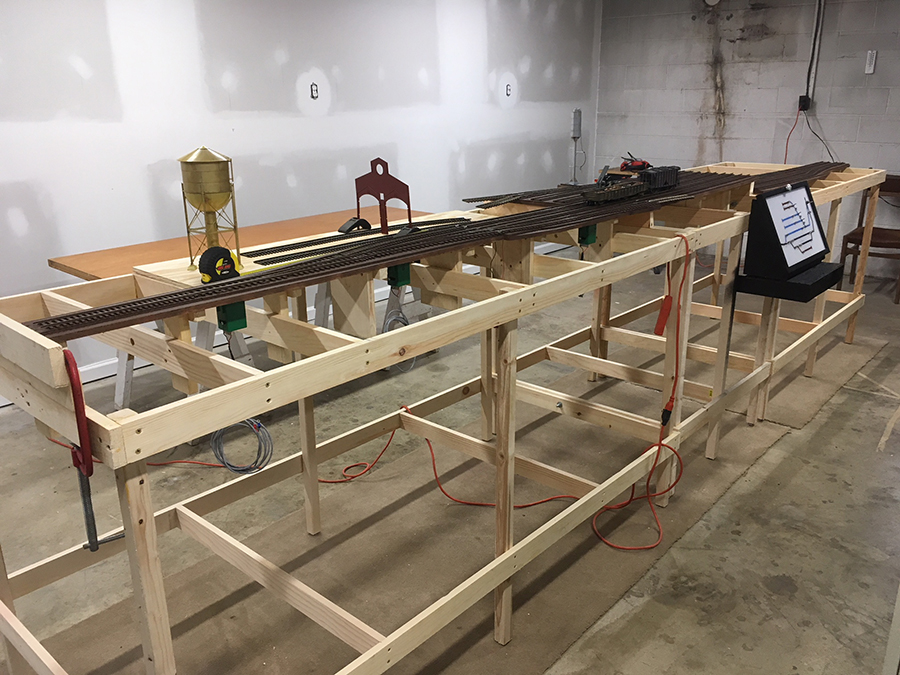
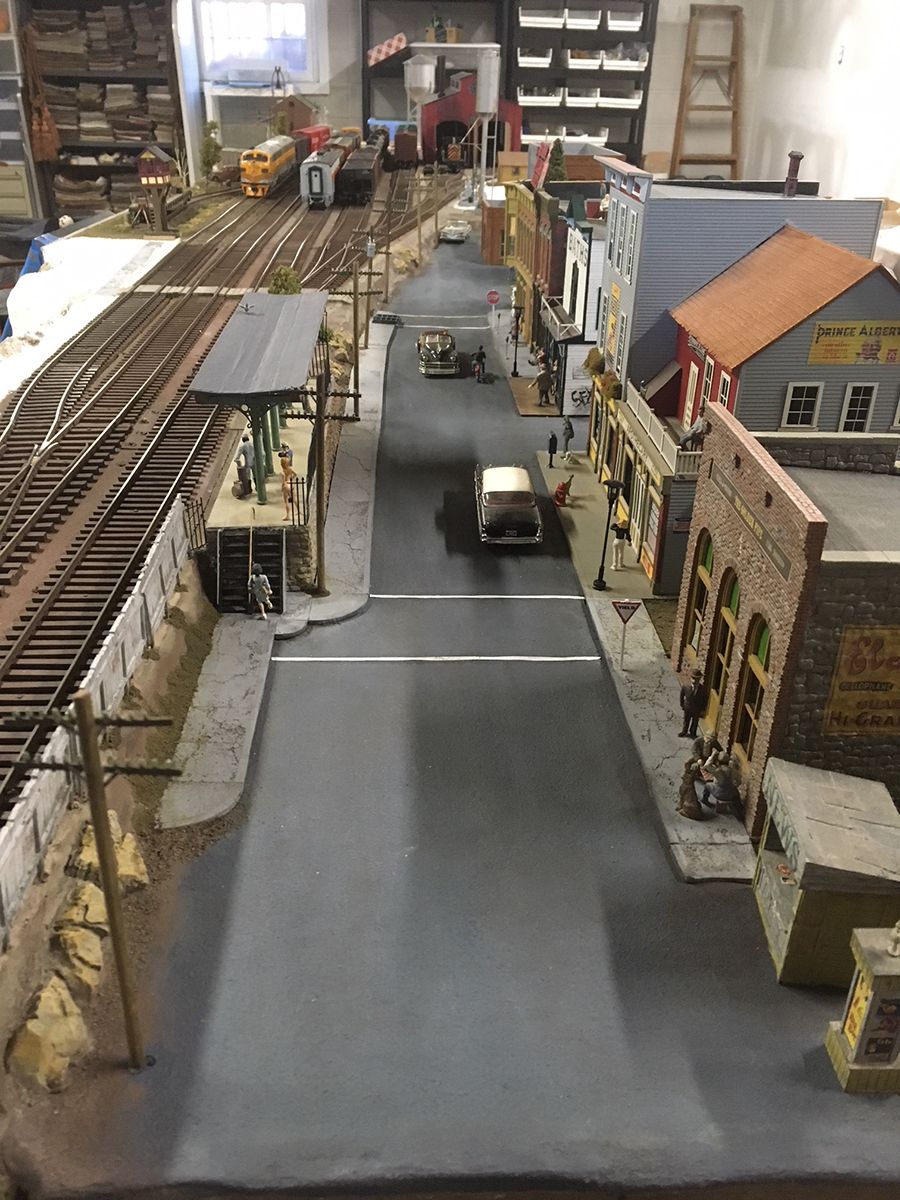
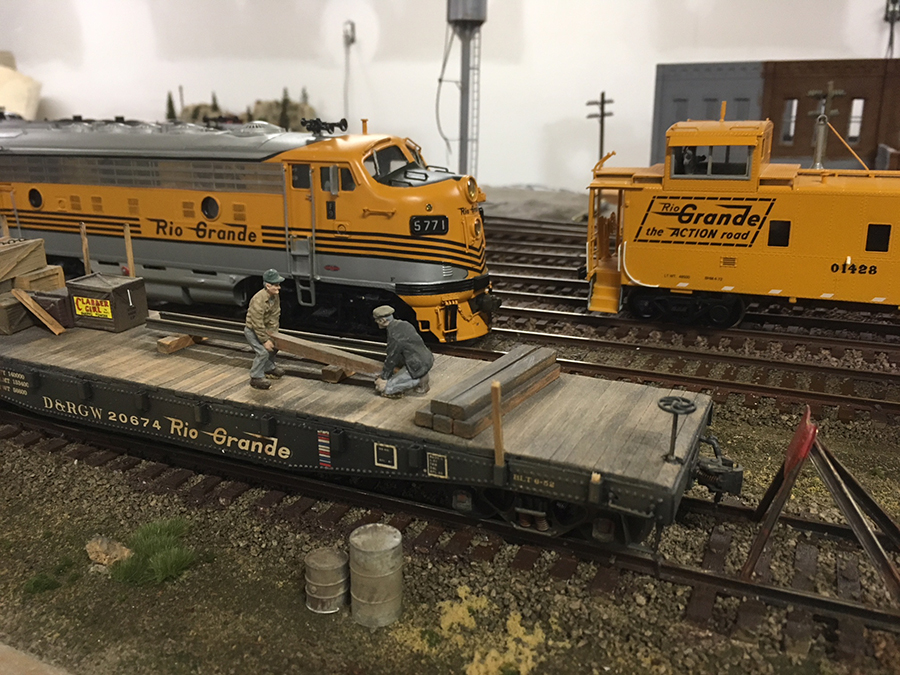
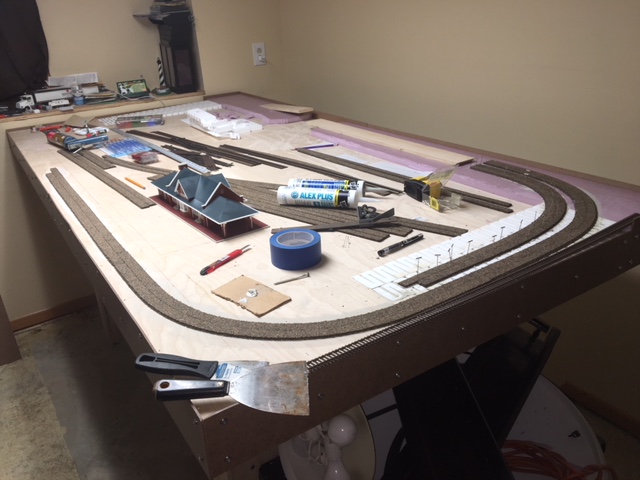
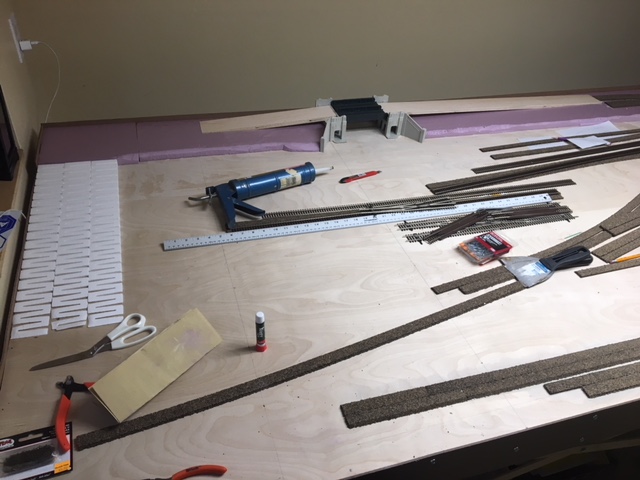
Here are some pictures of my first try at a layout.

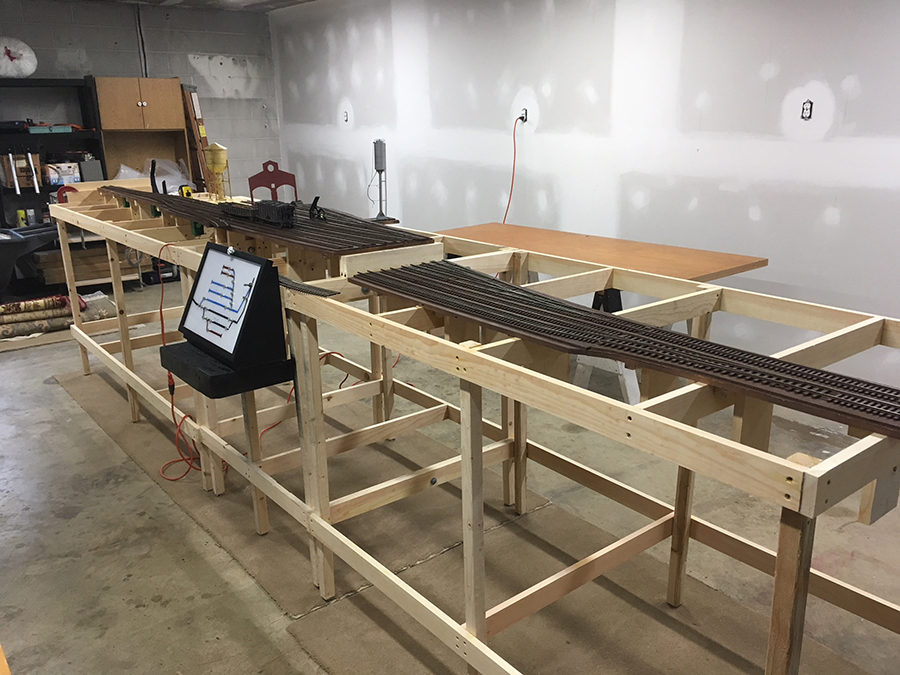
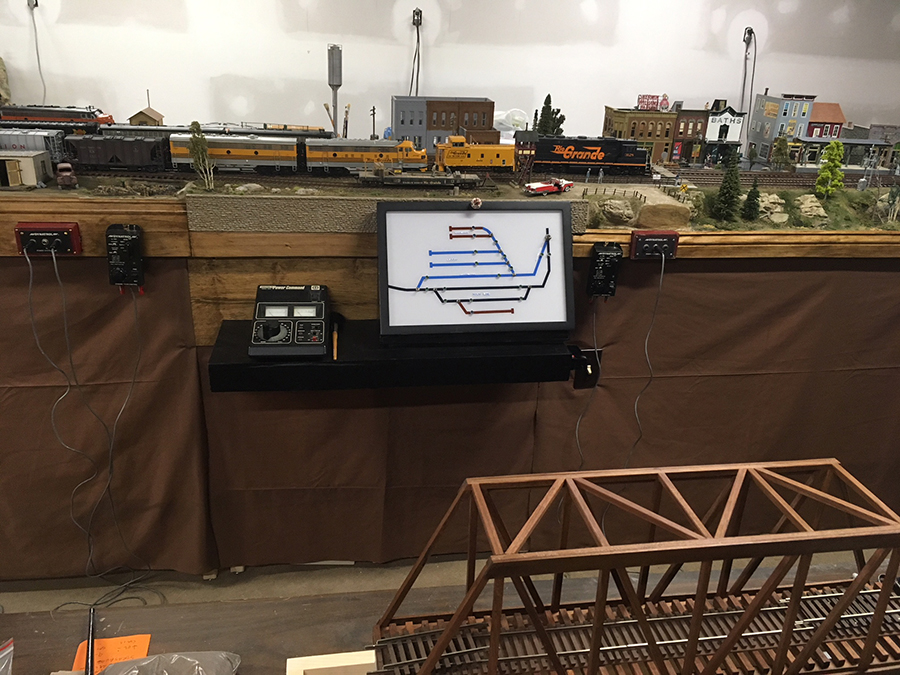
It is HO scale and I built the 4’x8’ train table myself from a Michael Gross narrated video available on YouTube. (If anyone recognizes the table and wants to build one as well, please read all the comments under the YouTube post before getting the components and starting. There are several mistakes that they made.)

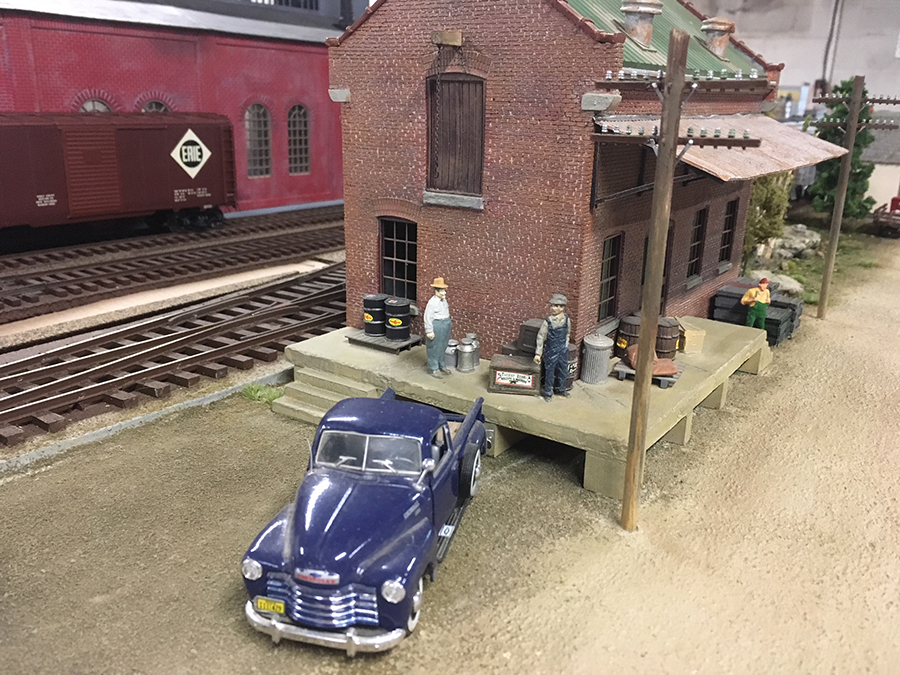
I just got into model railroading this year. Our family has a history of working on the Lackawanna RR in our area.

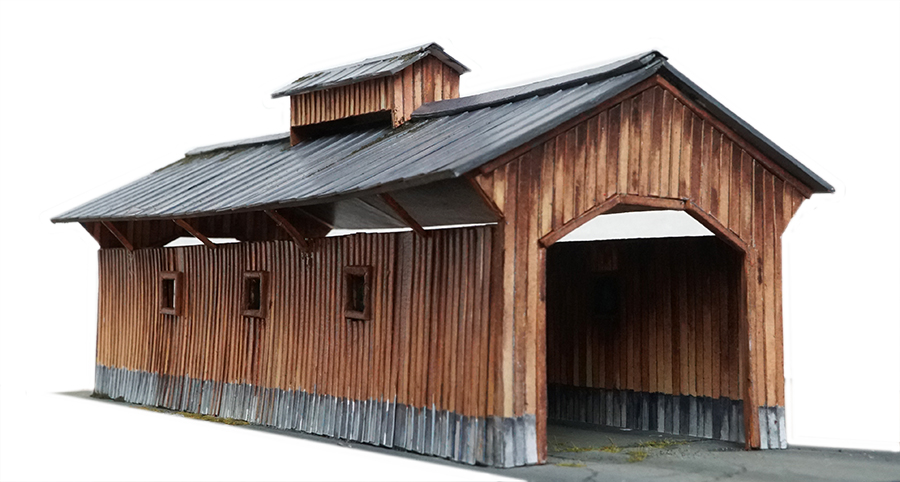
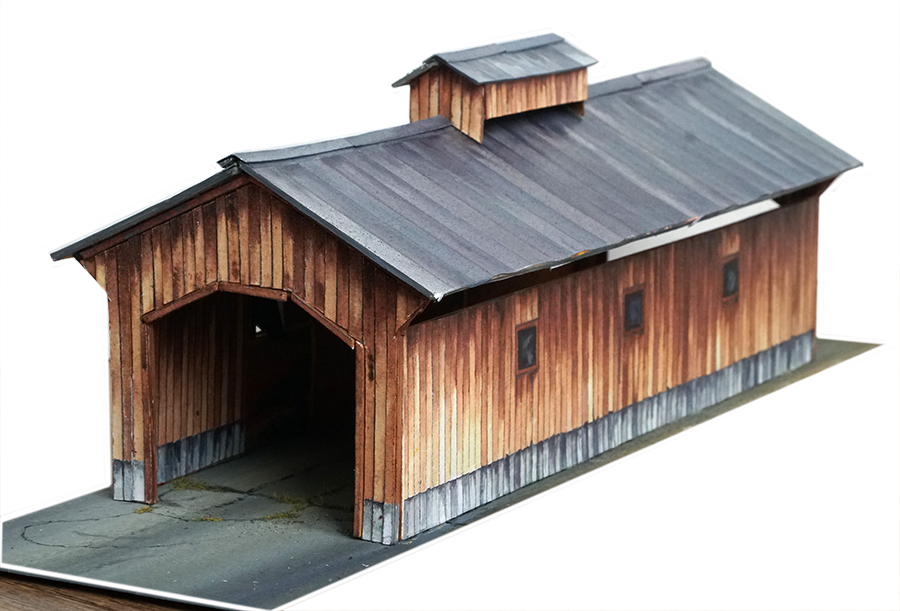
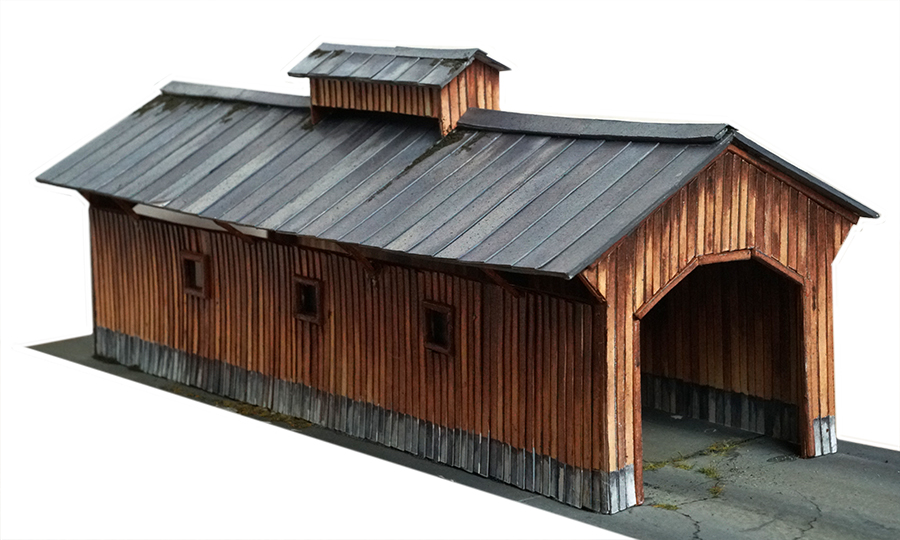
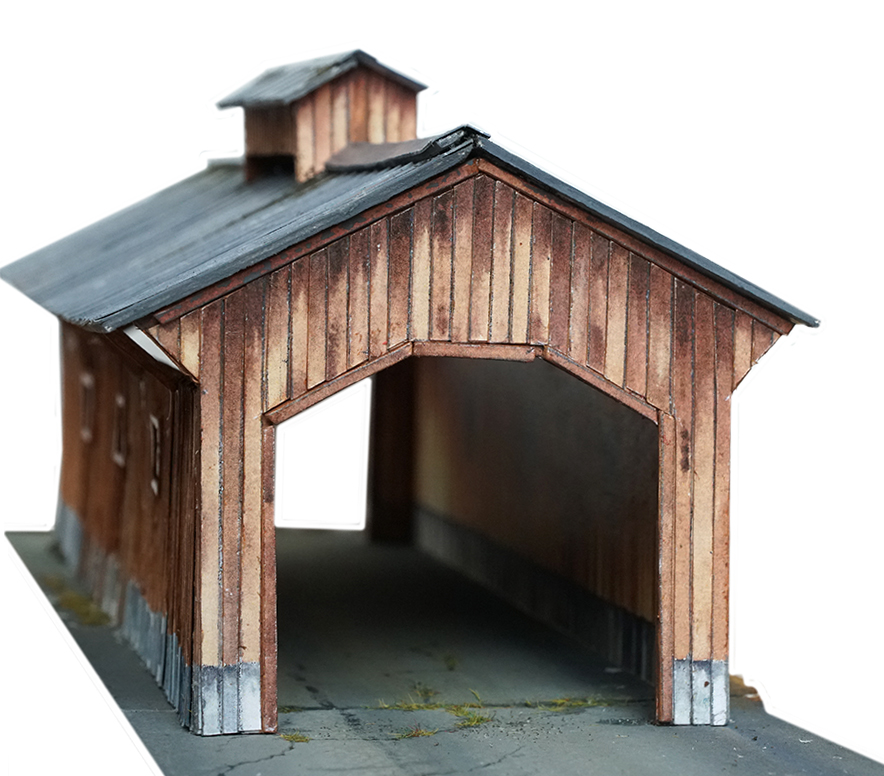
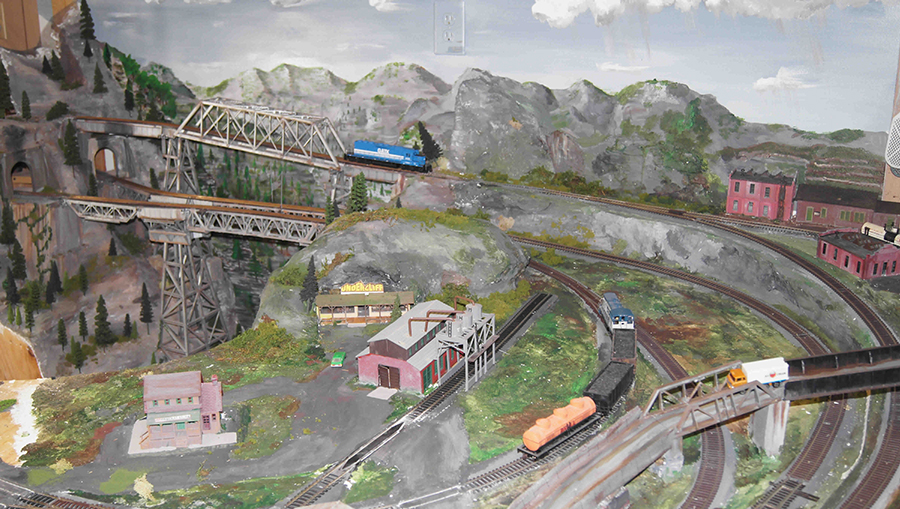
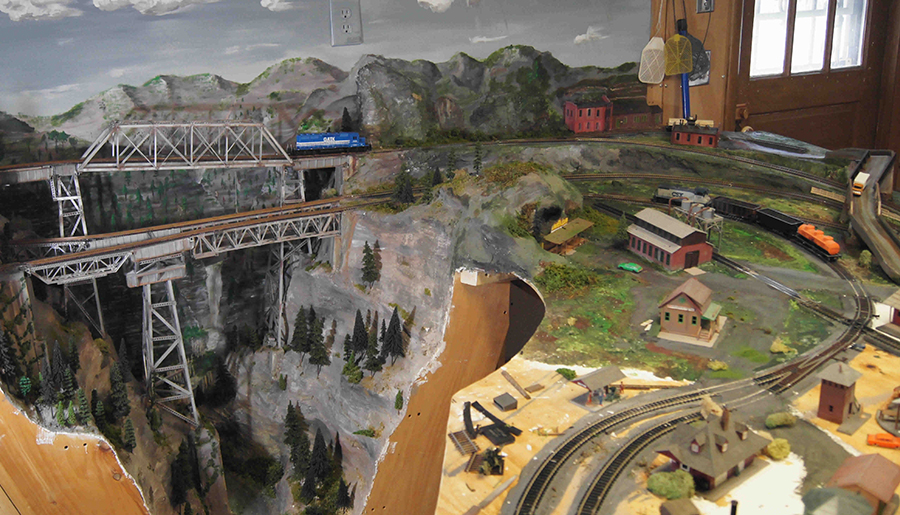
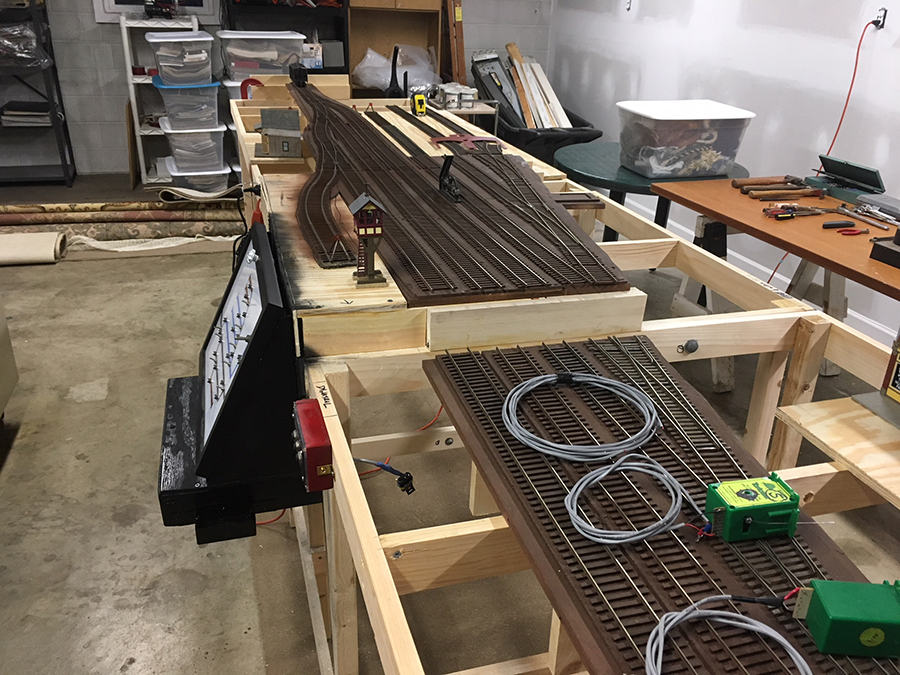
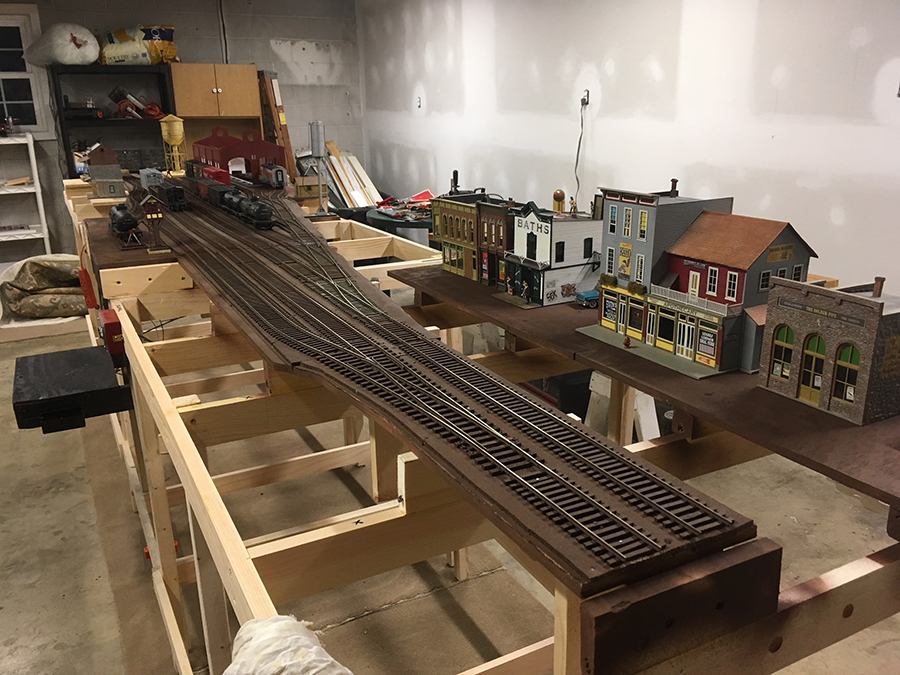
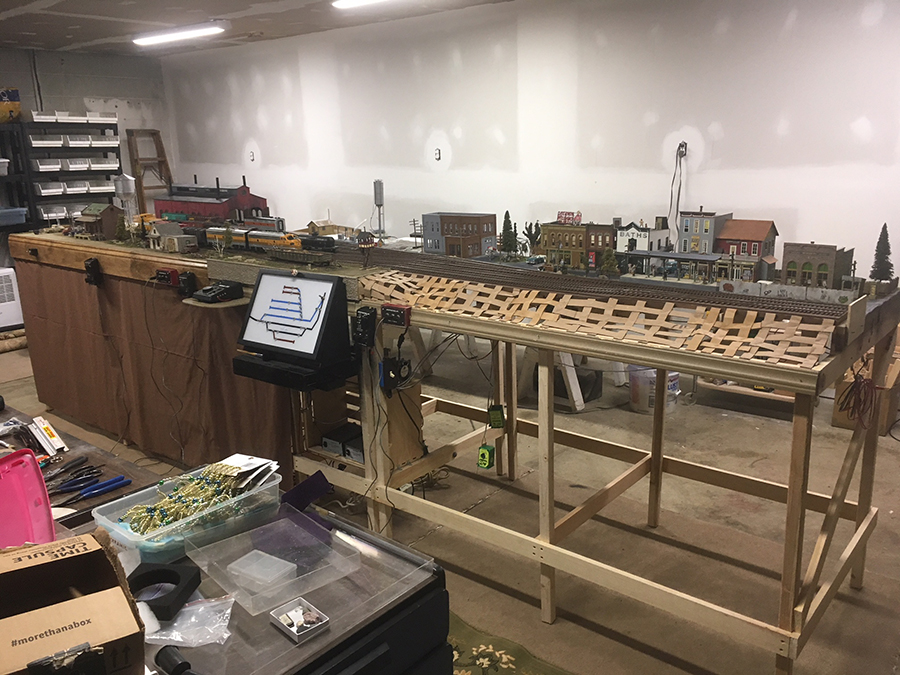
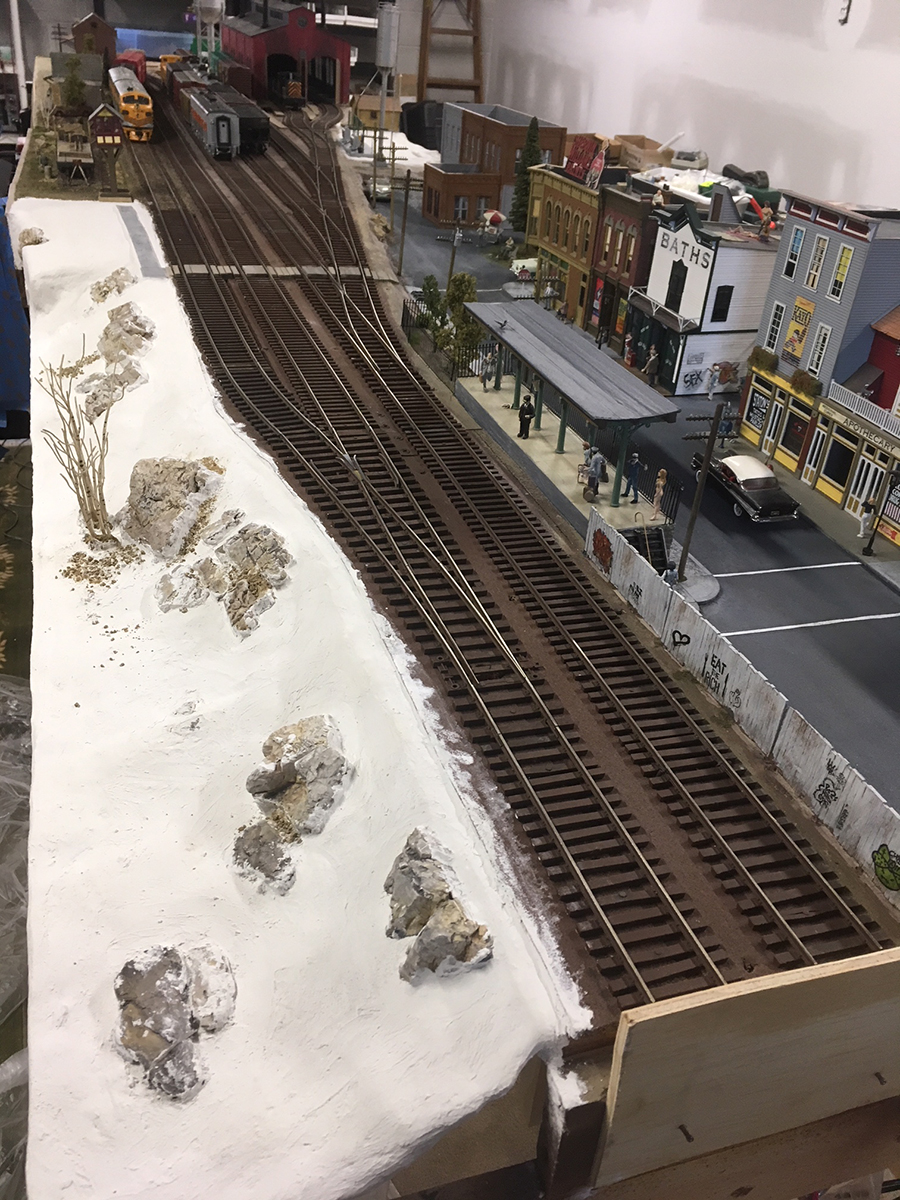
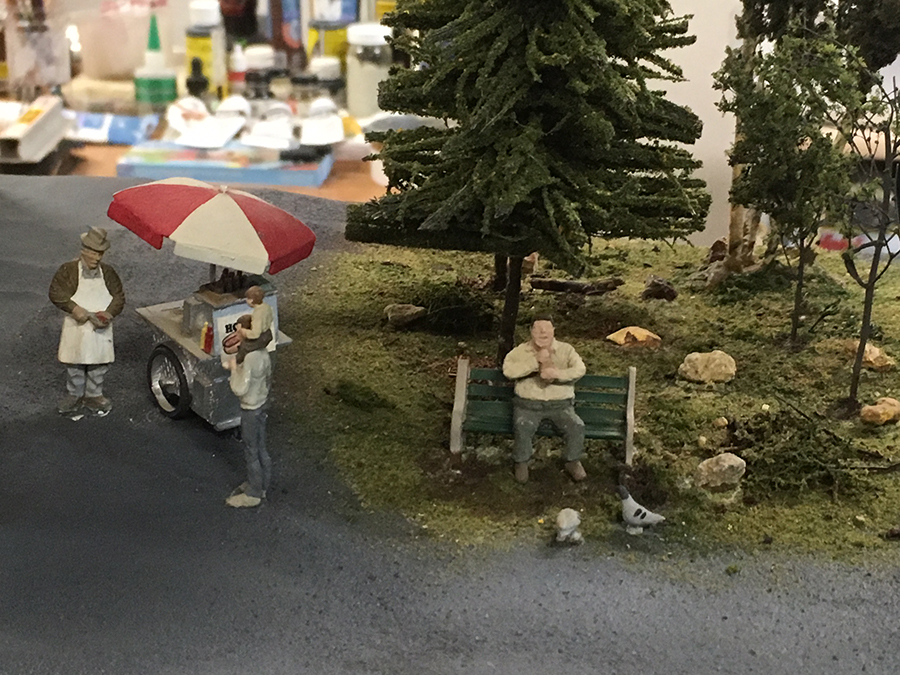
When completed, this layout will hopefully recreate an area that I patrolled on foot when I first became a police officer.

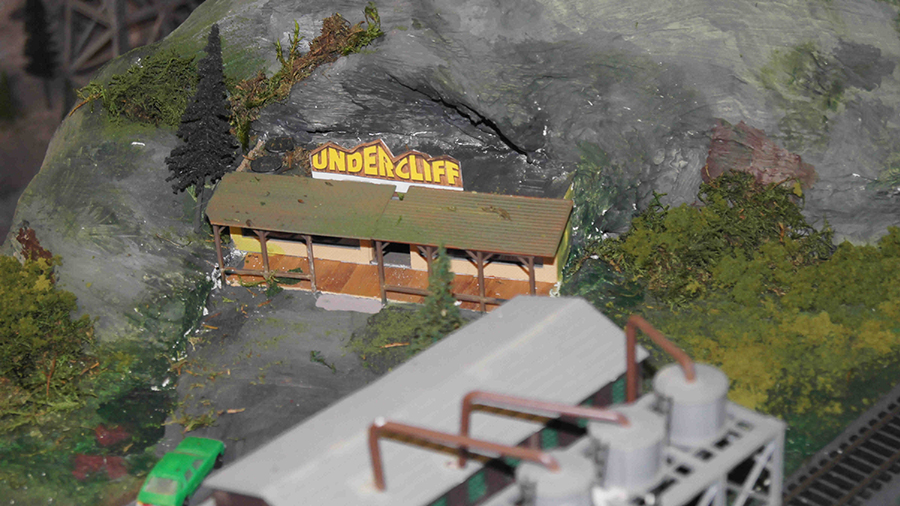
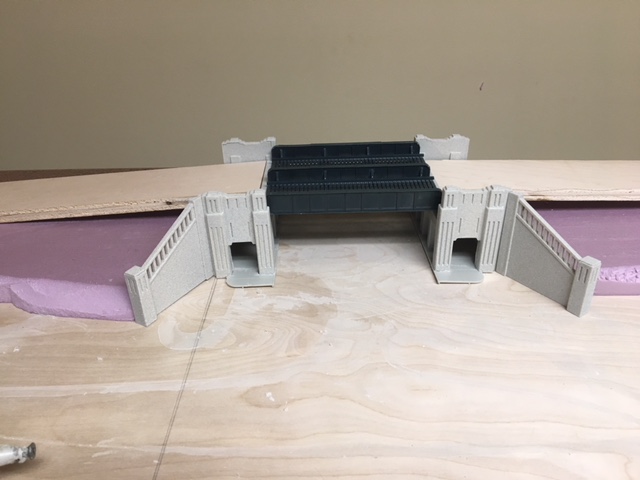
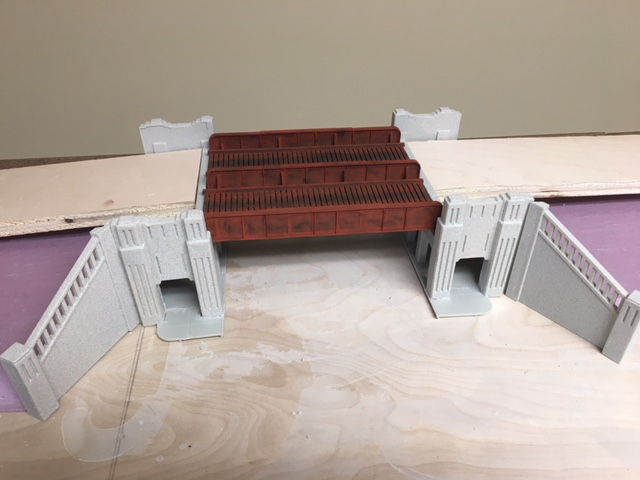
For the finished bridge, I used Stoney Mountain Weathering Kit to achieve the look.

I will send more pictures as it progresses. Keep your fingers crossed that I can do it.

Thanks,

Pat, NY USA”

HO model railroad start benchwork

HO model railroad start track plan

model railroad start HO bridge

model railroad start HO bridge no weathering

weathering HO model railtroad bridge


Pat’s made a model railroad start – and that’s what it’s all about.

Remember, it’s the start that stops most people…

Now on to Eric:

“Hi Al.

I thought of a catchy title for the start of my new N gauge project, so I’ve called this.

The Making of Smeedle 123 … sounds almost familiar doesn’t it?

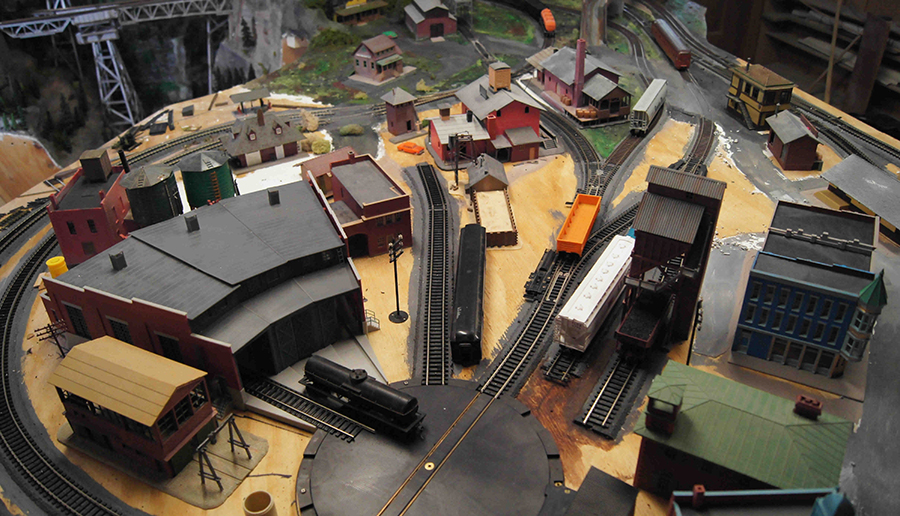
This is Part One, a brief snapshot of the track configurations as I perfected my plan and the start of the town layout of Smeedle so far. This is just a twin track on the level for a change for me, I can’t remember any other layout where I haven’t had multiple levels or at least two.

You can see the station went from a three platform to a basic two platforms to allow me to add the goods and engine shed areas. The station building is kit bashed, two small stations merged into one. You can see the start to finish of the station area as it progressed, just more people and fencing to add there.

Most of the layout will be in the open with only the rear section hidden, I have goods yard and engine shed linked by a third controller DC of course, even though I have only concentrated on the seen areas up to date there is the engine shed area and a whole townscape to start on next. I still have managed to have 26 lights already wired and working.

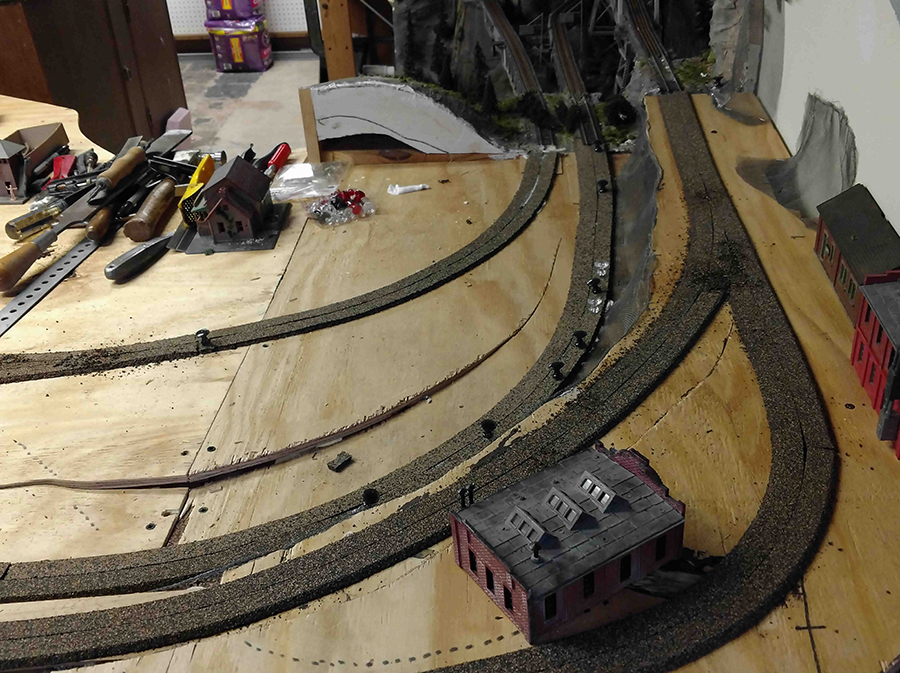
You will see a hint or two on the pictures of how to. One, to raise platforms when you use underlay, Two, I use cling film for protecting the rails when adding grass etc. The third is the most simple. I use ballasted underlay so just spoon in the loose ballast between the two tracks without using glues to stick it all down, this means if you alter things you can reuse the ballast filling and no gluey mess to clean up. I do this mainly due to using Sundeala board, compressed newspaper, as it is best not to wet it too much. The track is pinned not glued.

Around the goods shed I have blended winter, spring, summer, and darker summer grasses as well as earth mix and rocky sand sprayed over with hair spray to hold it down.

I will try keep you updated as I progress as I think I am going to enjoy taking it a little more leisurely, hopefully providing greater detailing if my hands and eyes can cope.

For the ones that want perfection, well this is out of my head, based on any small Yorkshire town. The board at best 7’6” by 5’.6” with a wall and hatch. I don’t do weathering, I don’t do plans as they say on Facebook I invoke rule 1. (Do things as you like them, not what others think you should do).

The control is all by DC as I prefer it after watching all the problems others have with DCC and decoders. I have upgraded my Gaugemaster controls to 2 * Q, 4 track controllers, 4 will be for the lighting for adjustments so they can be dimmed or brightened as required.

Keep up the good work Al.

Happy Modelling

Eric (Leeds) UK”


Latest ebay cheat sheet is here.

A huge thanks to Pat and Eric for sharing their model railroad start.

You all know I’m a fan of seeing the updates, but I also like seeing folk making a start – because without that, nothing happens…

That’s all this time folks. Please do keep ’em coming.

And if you want to make a start on your layout, the Beginner’s Guide is here.

Best

Al


HO scale paper bridges

John has very kindly made a short vid on the HO scale paper bridges.

(They are part of the printable buildings range.)


Here’s some pics of HO scale paper bridges:

HO scale paper bridges

HO scale paper bridges

HO scale paper bridges

HO scale paper bridges

It’s now in the store for $9.97 – so if you like the look of it, grab it now.

For HO scale, you don’t need to do anything, just print it out.

For N scale, reduce the print size by 54%.

For O scale, increase the print by 143%.

I have say, I can’t wait to see one of these bridges on a layout. They are a lot of fun to make too.

Now on to another John, who is doing a grea job of keeping us posted on his layout:

(his last post is here).

“Hi Al,

Well after a few months I’ve been back at work on the Appalachian railroad.

The benchwork for the second module is done and in, and attached to the bridge module, all the tracks laid so far are in and tested, and the buildings are just roughly placed.

By the way, the Under-Cliff restaurant is a real place near Joplin MO, really fun, actually in a cliff, and nice people. I found it doing inspection work for a railroad out there, anyway, I’ve started on the scenery, working from the bridge module counter-clockwise toward the end of the module.

This is going to take some time, lots of buildings to place and get scenery around. Can hardly wait to have a loop done so I can actually run trains more then up to the tunnel openings and back.

Probably not until November of this year though!

Man, it doesn’t take long to fill up a space when you start nailing down the track! I may thin out the buildings some, depends on if I can get reasonable roads, power lines, and details to them all.

The tracks on the original plan have grown some, because I wanted more and different switching problems to figure out IE. placing cars at the various businesses. The basic wiring is going in, I’ll be using a straight DCC system, and the one I’ve selected is Rail-Pro, so the actual track wiring is straight forward.

The power-pack in a few of the photos is just for testing the track and elimination places where those pesky de-rails happen. My tried and true test is to back a train of 10 or more cars all over the railroad. Seems like any problem areas will show up faster when backing the cars than when pulling them through.

I’ve decided to build my own switch machines, and will have an article on those for you in a few weeks. I’ve not found any switch machines that have spare poles for lighting signals, which I intend on having on the railroad’s main line.

Thanks for your web site, I always get new ideas and inspiration from modelers all over the world who send things to you!

Regards,

John”

benchwork

model railroad benchwork

model railroad rocks

model railroad rocks

model train scenery

model train scenery

model railroad

model railroad roadbed

A huge big thanks to both of the Johns.

I can’t wait to see the HO scale paper bridges on one of your layouts.

That’s all for today folks.

Please do keep ’em coming.

And if today is the day you get started on your layout, the Beginner’s Guide is here.

Best

Al

PS Latest ebay cheat sheet is here.

PPS More HO scale train layouts here if that’s your thing.


O scale layout – Peter’s

Peter’s been in touch with his stunning O scale layout:

“Hi, I’m sending progress on my 2 rail O scale layout.

These 1st pics show the start of bench work and plan start. 2 by 2″ legs and 1 by 3” cross.

O scale benchwork

O scale 2 rail bench

O scale bench

I have a few technics for scenery, and many textures and colors go into it, especially rocks.

O scael scenery

O scale layout scenery

O scale

All engines are brass and airbrushed and decaled by me. I favor RG, WP and SP. Mainly western U.S. roads back in the 50’s and 60’s


O scale layout:

O scale loco

O scale engine

O scale layout loco

Just more shots of various spots on the layout. Eventually there will be two half circles on each end to travel under the narrow gauge Rio Grande Southern layout against the back wall which will be mostly mountains, trestles, and lot’s of scenery for steam engines to run on as indicated from the earlier module pics and descriptions I sent a while back.. There will also be a bridge on the front standard gauge on one end as a swing out gate to have access to an aisle between both gauges. Back wall will be painted sky color with occasional white fiber fill as 3D clouds.

More shots of little vignettes.

Couple more little vignettes, plenty more to do on this 15′ standard gauge section. i.e. completing tortoise wiring to switches, building and street lamps and of course more scenery. I’ve counted over 50 visible people so far.

O scale layout

O scale buildings

O scale 2 rail

O scale layout engine house

Peter”

A huge thanks to Peter – what an O scale layout!

Goes without saying, can’t wait to see the next update on this one. Stunning stuff.

That’s all for today folks.

Please do keep ’em coming.

And if today is the day you get started on your layout, the Beginner’s Guide is here.

Best

Al

PS More HO scale train layouts here if that’s your thing.


Need buildings for your layout? Have a look at the Silly Discount bundle.