S gauge model trains – Perry’s

Perry’s been in touch with his S gauge model trains:

“Hi Al,

My name is Perry I live in Metairie (a suburb of New Orleans, Louisiana). I belong to an S gauge club. The Crescent City S Gauge (CCSG) for short. We took our portable layout to a show recently at which I took pictures.

S gauge

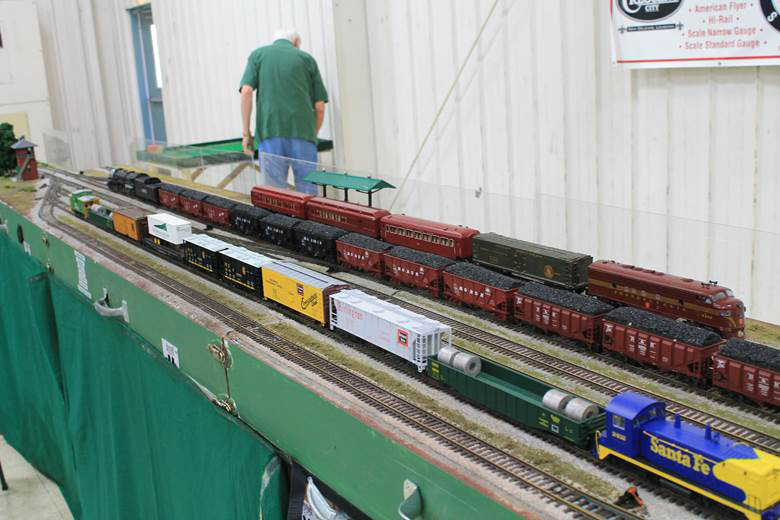
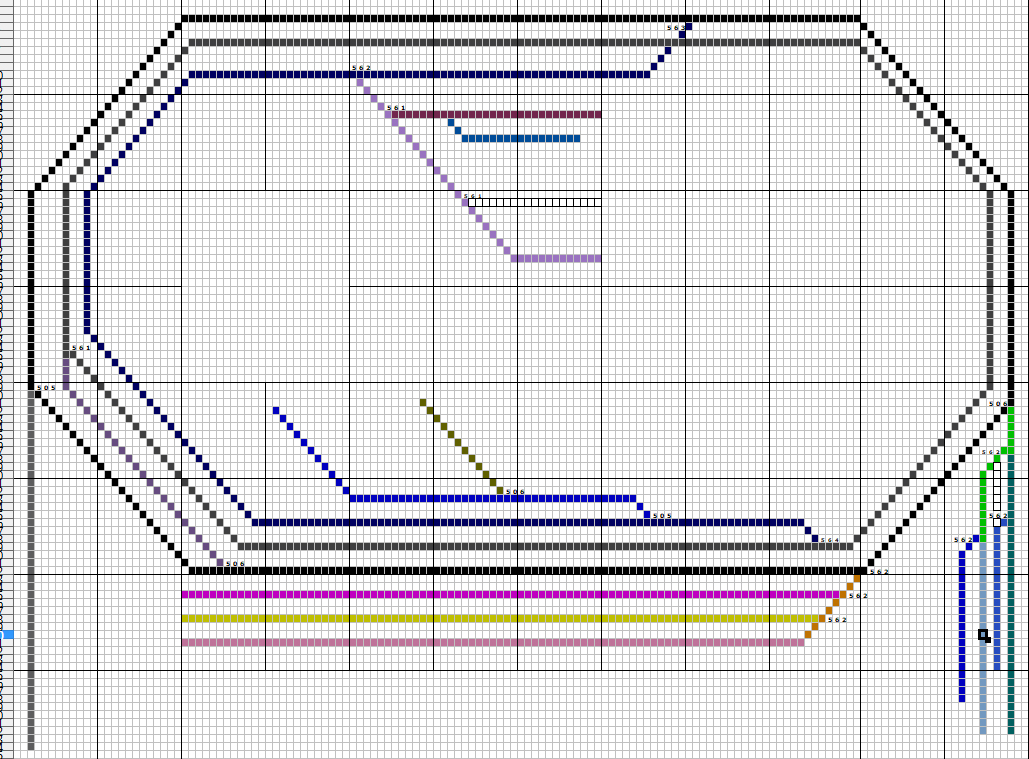
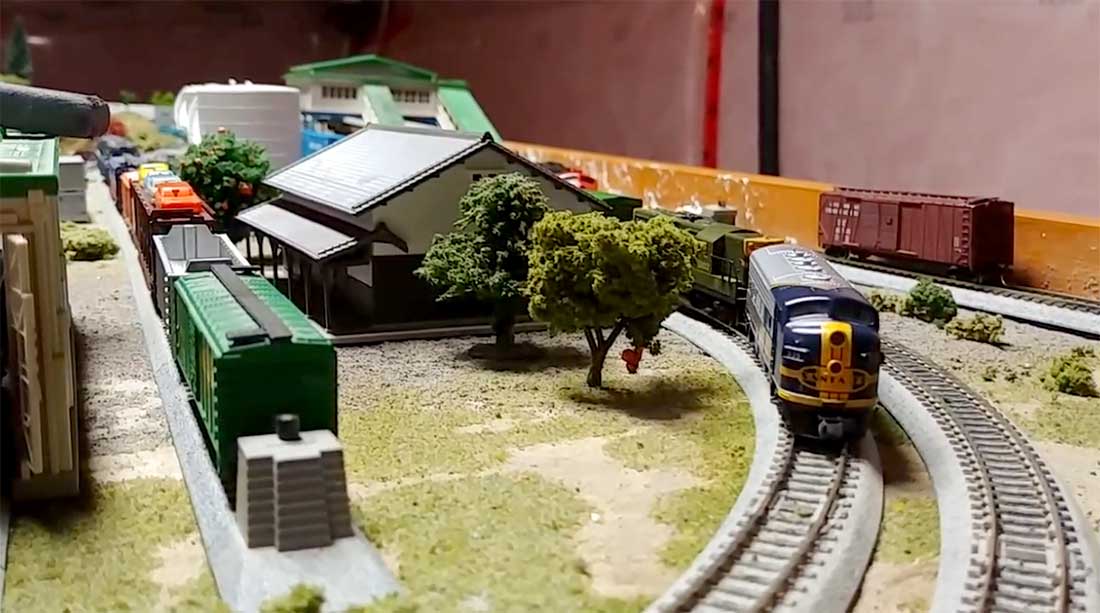
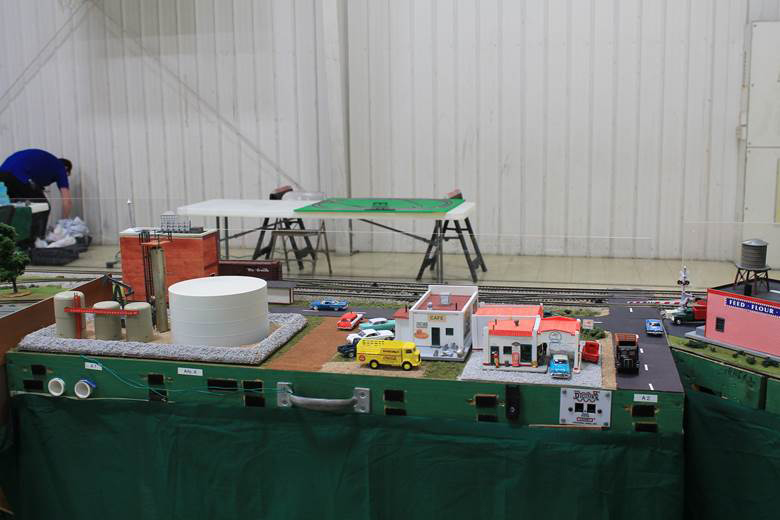
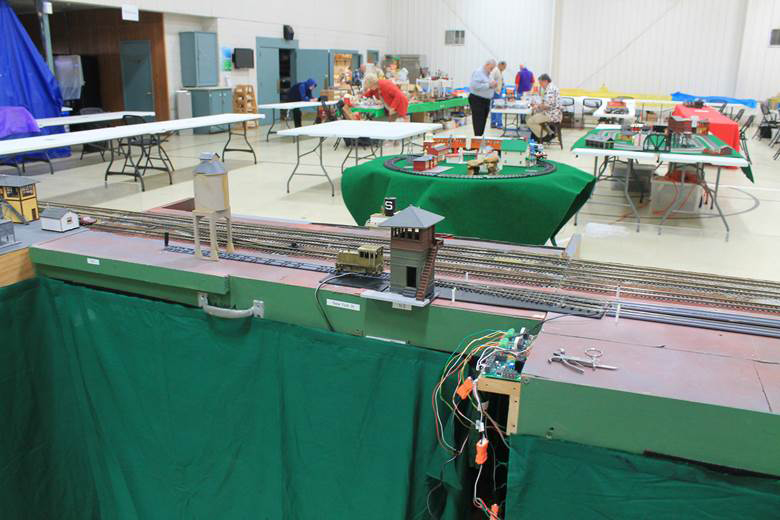
The first picture is of our yard. The coal drag is mine.

s gauge seed factory

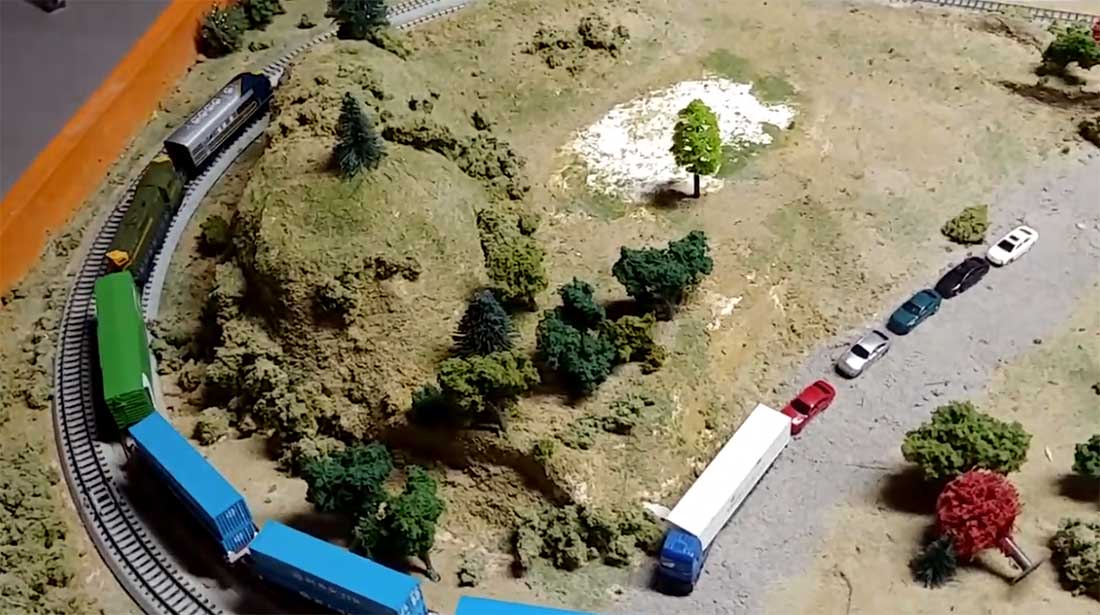
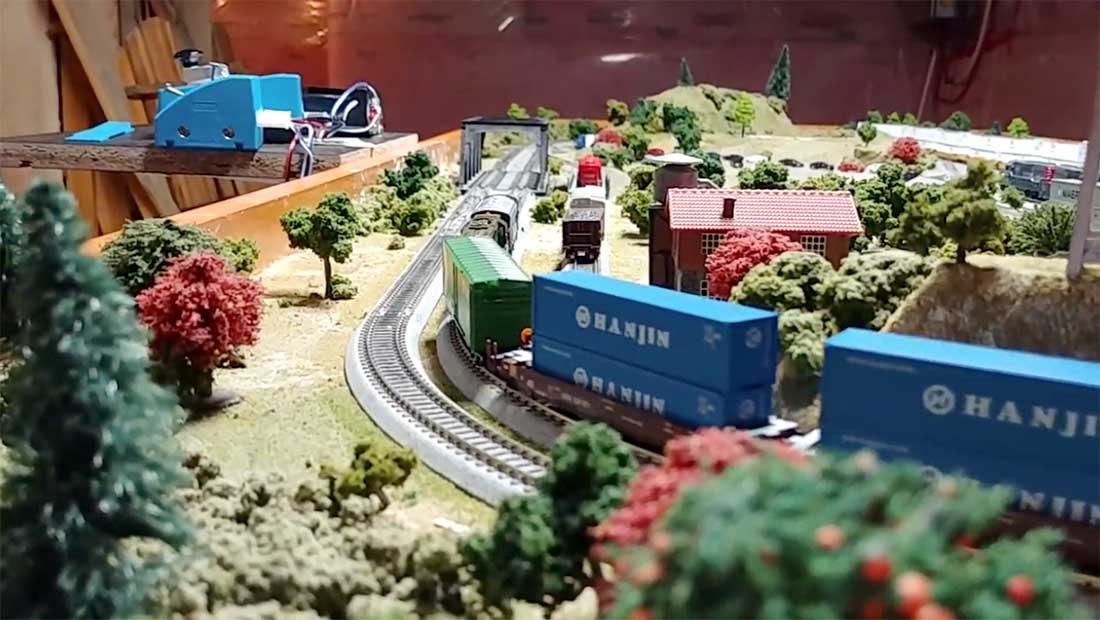
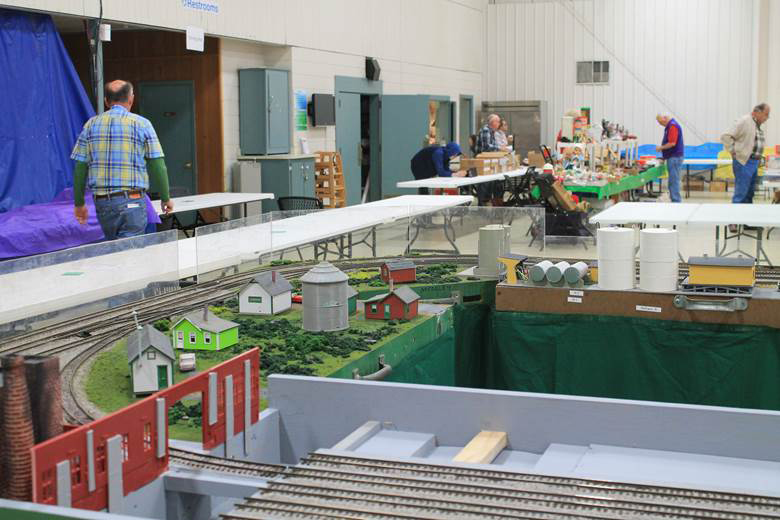
The next picture is of Art’s module and the corner next to it. The corners and the yard belong to the club. The next module is an oil rig and a gas station

s gauge oil rig and gas station

s gauge turntable

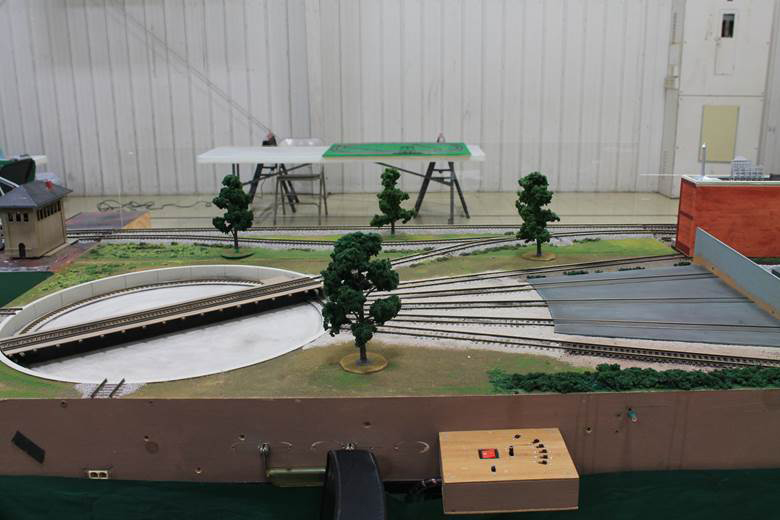
This is Norman’s turn table module.

S gauge bridge module

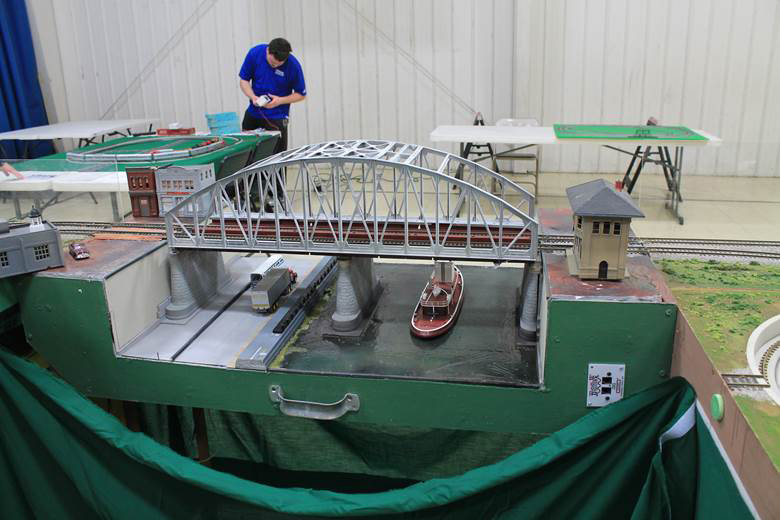
Larry’s bridge module.

S gauge model trains industrial scene

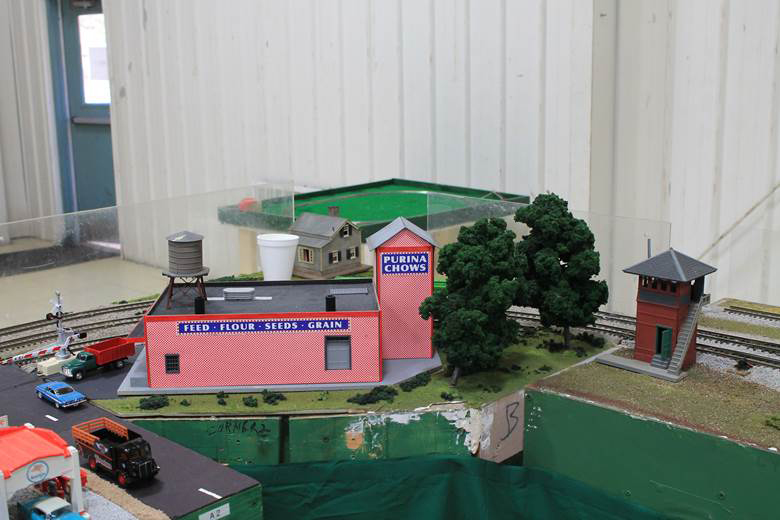
This corner is made by Larry.

S gauge model trains steel mill

S gauge model trains

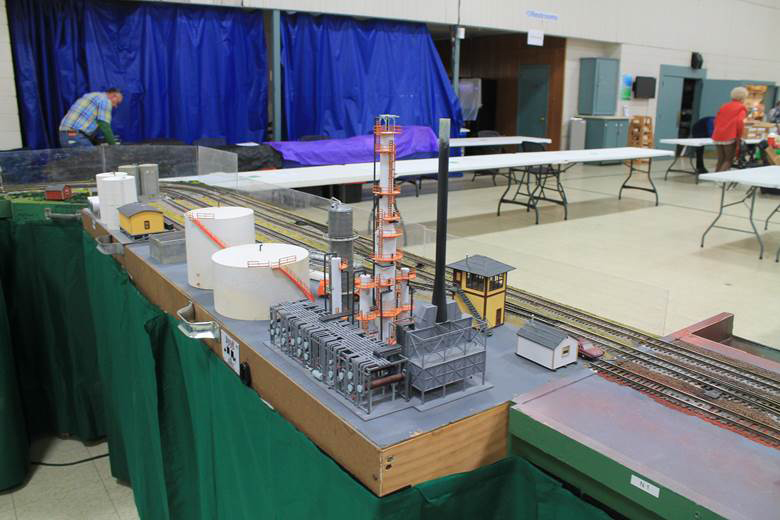
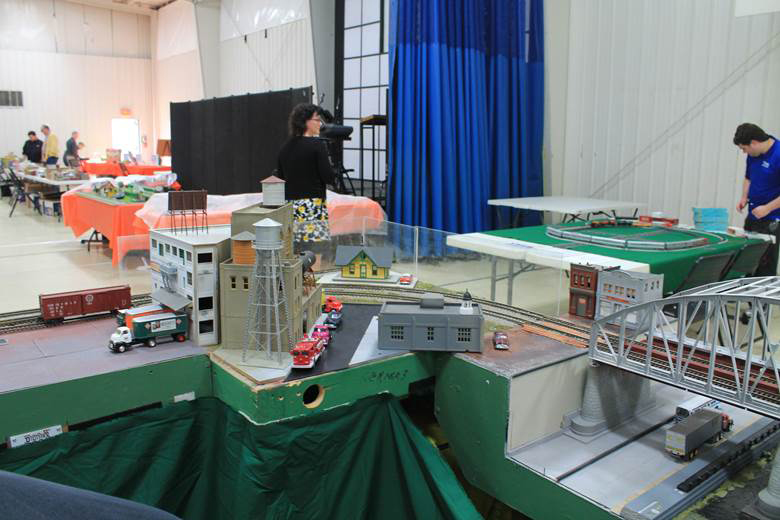
This is Jay’s refinery module.

s gauge transfer table

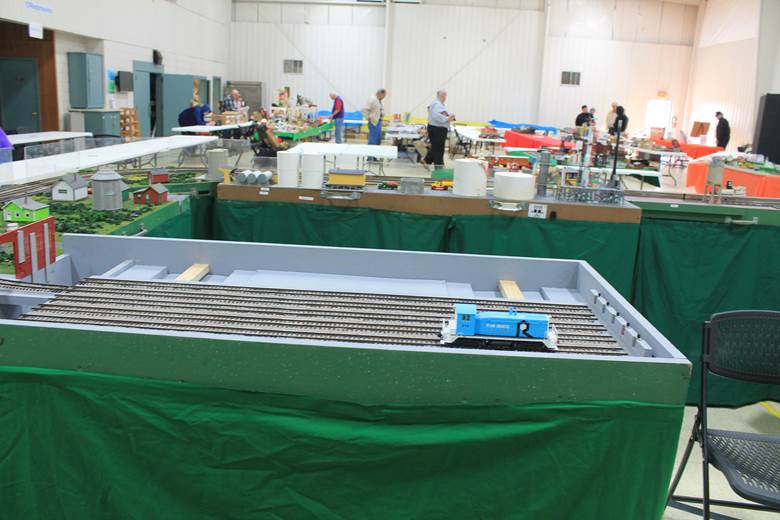
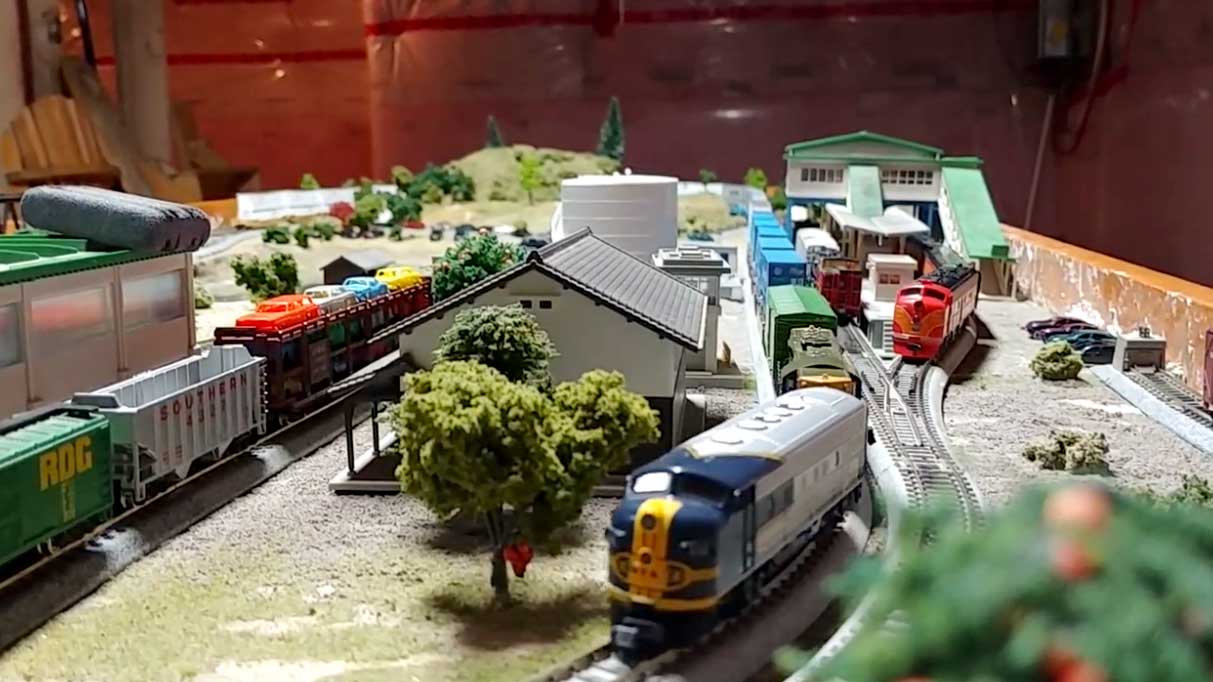
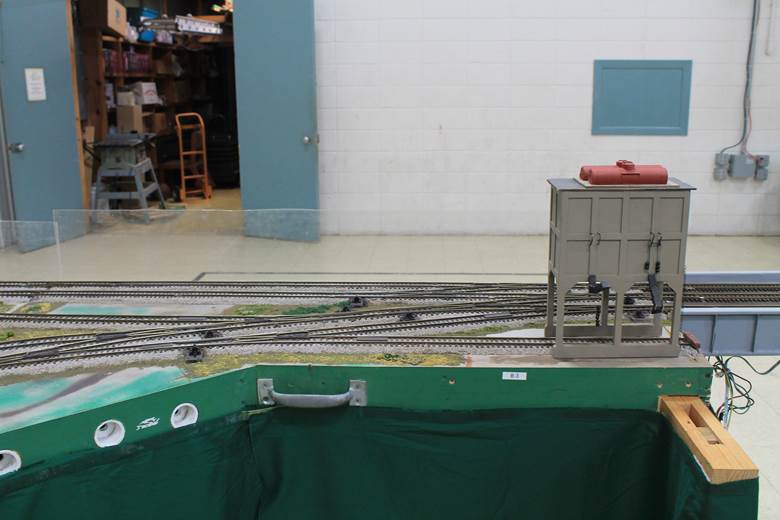
This is Art’s transfer table where we make up and break up trains or store car we are not running. The blue engine is mine.

S gauge model trains

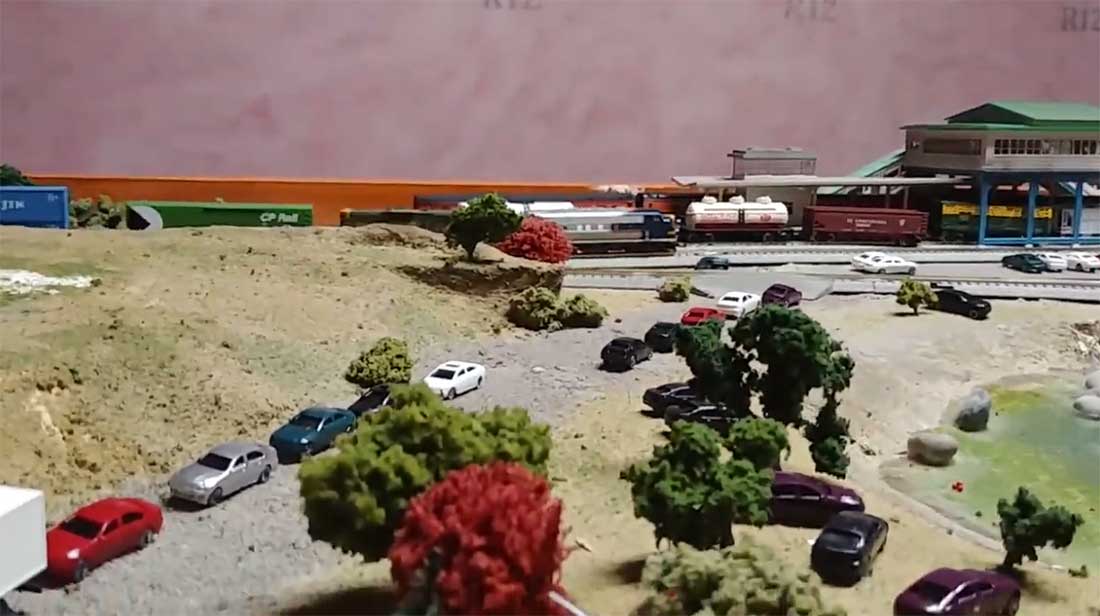
The mules in the distance are club modules with Jay’s buildings on it.

S gauge bridge

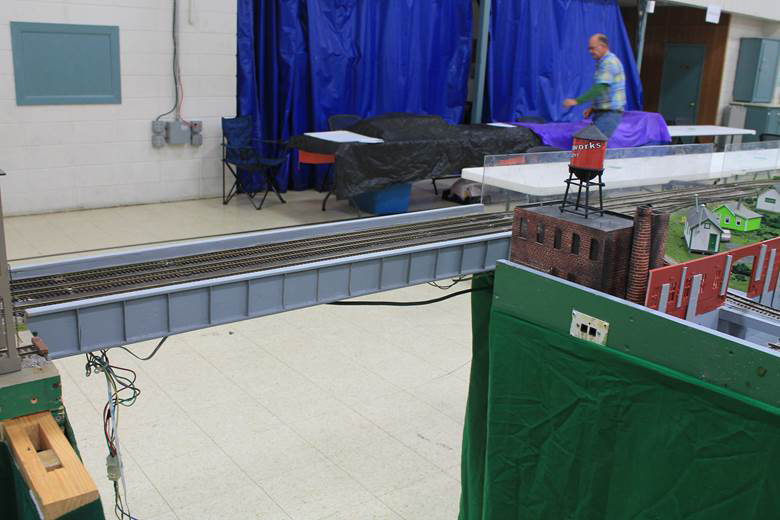
This is my duck under bridge.


S Gauge switch tracks

These are some switch tracks that are next to the yard.

S gauge station

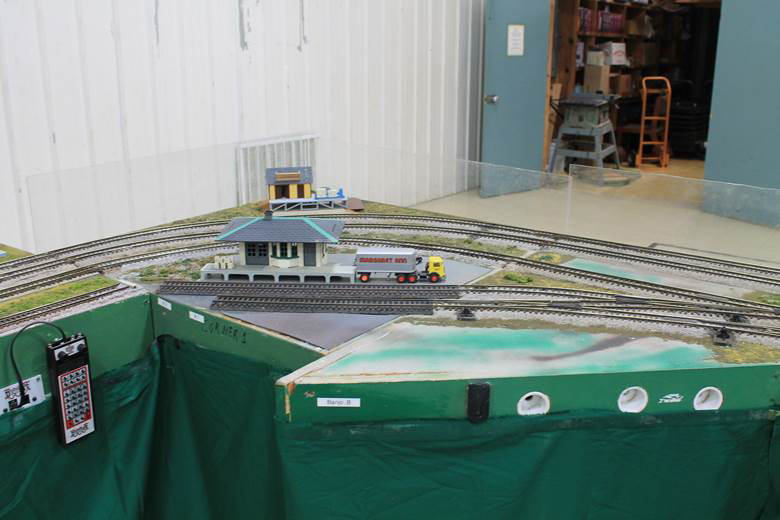
This is the 4th corner with Larry’s station on it.

S gauge model trains main yard

Perry”

A bif thanks to Perry for sharin his S gauge model trains.

And now on to a subject I’m always banging on about – making a start.

And it just goes to show, lack of space should never stop you:

“Hi Al,

I’m sure you’ll be forgiven for a bit of housekeeping. I can only begin to imagine how many emails you receive, and with video clips attached they probably take up a huge amount of storage.

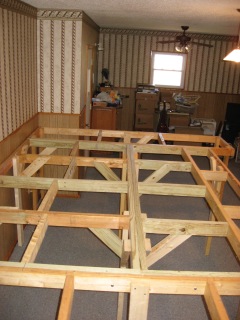
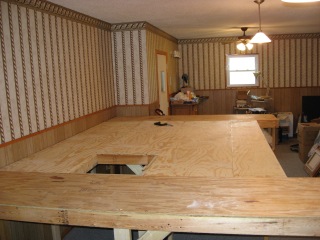
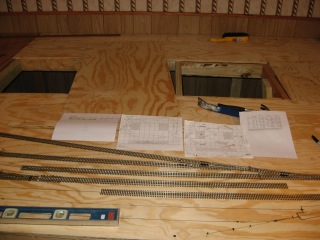
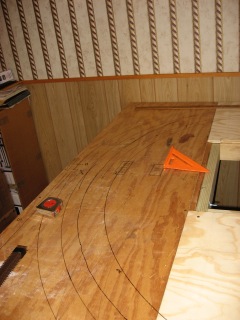
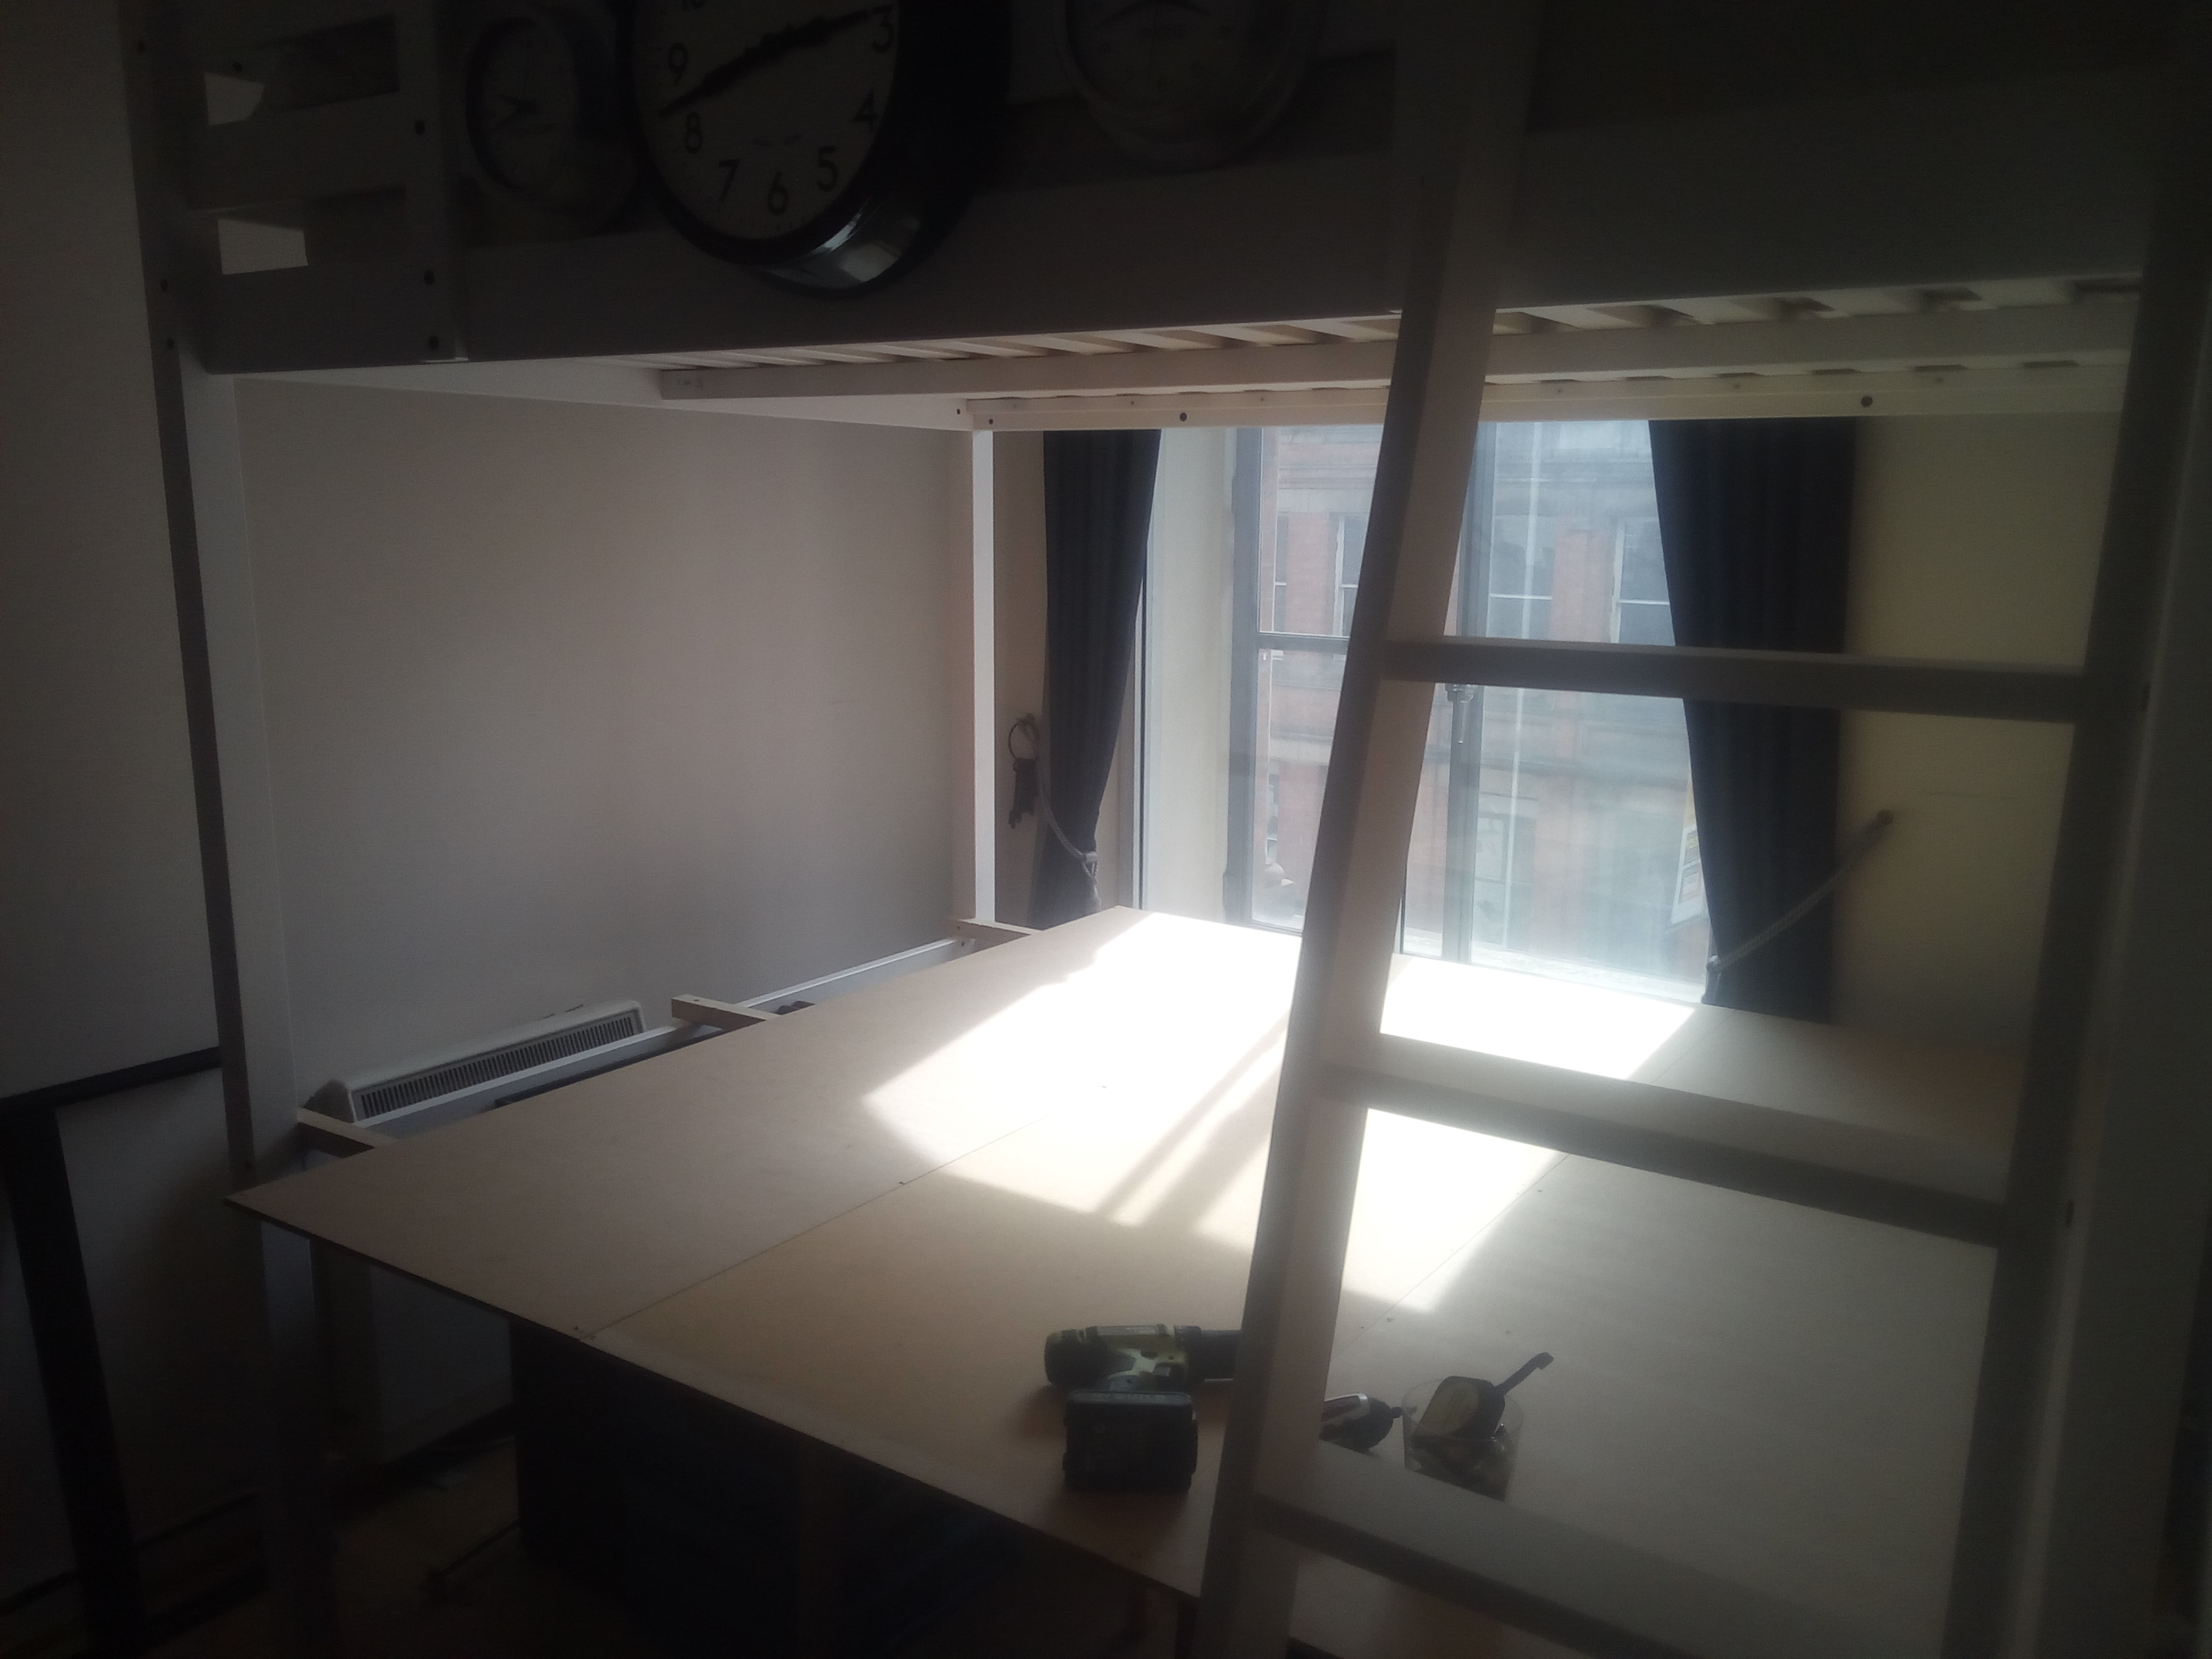
Anyhow, a few weeks back you kindly published my idea of using a “Loft Bed” (aka bunk bed without a lower deck) to house the layout. I’ve taken the plunge and it’s now assembled, and I’ve started preliminary construction of the baseboard. When it comes to carpentry I’m not Thomas Chippendale – and no David Bailey when it comes to photography – but I think you’ll get the idea. A very welcome side effect is the huge area underneath where I can store things.

The next step is to cut the boards so they fit round the uprights, and then I can slot the final one in to make a 6’ x 8’ area on which to build things in N Scale using Tomix. They’re relatively unknown here in the UK (Kato has much better availability), but years ago on a trip to Hong Kong I caught the train bug and bought a Tomix starter set. By the end of the trip I almost had to jettison half of my clothes to be able to shut the case again. In the end common sense prevailed and I bought another one, but I’ve been hooked on Tomix ever since.

Best regards,

Paul”

N scale train under bed

N scale train bed

A big thanks to Perry for sharing his S gauge model trains and to Paul too.

That’s all for today folks.

Please do keep ’em coming.

And if today is the day you get started on your layout, the Beginner’s Guide is here.

Best

Al

PS Latest ebay cheat sheet is here.

PPS More HO scale train layouts here if that’s your thing.


Model train layout benchwork

Joe has been in touch with his model train layout benchwork – it’s topic I’m fond of because it’s all about making a start:

“Thanks, Al!

I when I was in high school, (Los Angeles, CA USA) back in the 1950s, I built an “L” shaped Lionel “O” gauge layout that was 10’ long on one leg and 12’ on the other on which I could run 2 trains simultaneously. Those trains and days are long gone!

In the late 60s, I built a “folded doggone” “N” scale layout that was 5′ X 2 ½’. “N” scale was relatively new and it was a lot of work to keep everything running and I soon lost interest.

In the late 80s I began collecting HO equipment. I had determined to model the 1940s to 50s steam era. By then, we were living in San Diego, CA.

A friend gave me his “Chessie System” 4-6-2 Mantua loco and tender and I bought about 2 dozen freight cars (Athearn & Roundhouse) and a set of 3 Roundhouse 50’ “Harriman” coaches. All in kit form.

Before building them, I sprayed the chassis and undercarriages with a light, ‘splotchy’ coat of light-rust colored primer. I grouped them by size & style on a large scrap of cardboard and did them all at once.

Next, I decided to do a slight bit of weathering because I didn’t like the idea of running a plastic train. I simply took a small piece of 400 grit ‘wet and dry’ sandpaper (I used it dry) and lightly stroked down over the lettering, etc. leaving the ‘dust’ on the model. Then I sprayed lightly with dull coat to “fix” the weathering.

Since I had no place to actually build the layout at the time, I worked on the cars, loco and some buildings at my leisure.

Since I was not modeling the C&O, I stripped the paint from the Pacific loco and tender and repainted them flat loco black.

In 2001, we moved to a house in Missouri that had a huge room that I could dedicate to a layout so I began a track plan. It is 12’ x 8’ and built as four modules. I designed it that way so it could be moved. Finally, retiring in 2009, I began to build the layout.

We moved in 2017 to Battlefield, MO and I was glad I had constructed a “modular” layout. Currently it is sitting in my huge 25’ x 25’ heated, air conditioned well insulated shop building. ½ the shop is for the layout and relaxing and the other ½ is my wood/cabinet/woodworking shop. I have completed the backdrop and some of the background scenery. I will be starting the landscaping within the month.

I’ve run out of time right now but will continue next week. You’ll probably want to wait until you have another 3 or 4 sets of pictures before you publish them.

Here are some pics from early construction:

This is roughly the track plan.

track plan

Framework completed, all four modules bolted together.

Model train layout benchwork

There is a 2’ x 8’ module on each end, a 4’ x 8’ “sandwiched” between them at the back (Left) and a 3’ x 8’ “sandwiched” in front (right).

train bench 2x8

½” plywood applied

Model train layout benchwork access hole

“Roughing-out” the track plan.

Model train layout benchwork

“East end” curves marked. The largest radius is 34”, the smallest is 30”.

Model train layout benchwork

Joe”

I do love seeing the layouts created from the very start. When you look at a bench with that plywood, it’s hard to imagine the finished thing. But with a little patience…

Now on to Dave. I don’t know how he finds the time:

“Hi Alistair

Just loaded this latest video on the new design on my model railway, a few tips on this one as well, especial like the uncoupler with the light attached, could not resist a quick shot of my Koi Carp at the end, as so many of the model Railway people Keep Koi Carp and keep asking when am I going to take my covers off my pond

Regards

Dave”


Latest ebay cheat sheet is here.

I know it’s off topic but Dave’s pond looks just as good as his layout stuff.

A big thanks to Joe for sharing his model train layout benchwork. I’m really looking forward to seeing that one progress.

PS Latest ebay cheat sheet is here.

PPS More HO scale train layouts here if that’s your thing.


Kato N scale layouts

Kato N scale layouts. That’s it. That’s all I got on this one. Well, it had to happen soon or later.

Apologies to who ever sent this in.

Because I get a gazillion emails a day, I thought I’d do some ‘house keeping’.

But I was far too enthusiastic and I’ve managed to bin a load of mails that I shouldn’t have.

So whoever sent this in, please do get back in touch with your narrative…

I think it’s a wonderful video, just loved watching all that freight.

And to make up for my error, here are some more Kato layouts:

Kato track plans.

Mike’s layout is one that sticks out too:

Kato N scale.

And if it’s just N scale, here are a few:

N scale layout.

kato n scale layouts

kato model railroad

kato n scale layouts

kato model train

kato n scale layouts


Latest ebay cheat sheet is here.

That’s all for today folks – short and sweet while I sort my inbox out.

Please do get in touch if this addition to the Kato N scale layouts is yours.

That’s all for today folks.

Please do keep ’em coming.

And if today is the day you get started on your layout, the Beginner’s Guide is here.

Best

Al

PS Latest ebay cheat sheet is here.