Fred’s been back in touch with his stunning N scale, this time he talks us through his forced perspective model train backdrop:
“Hi Al –
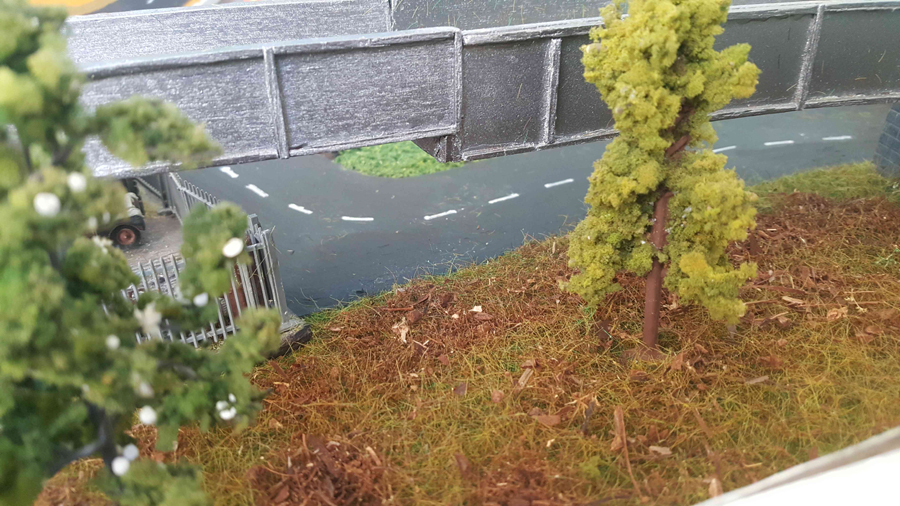
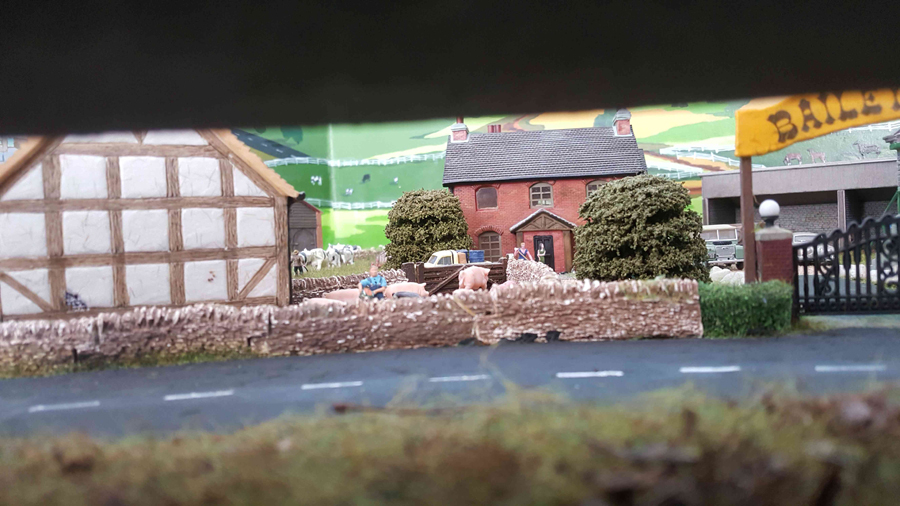
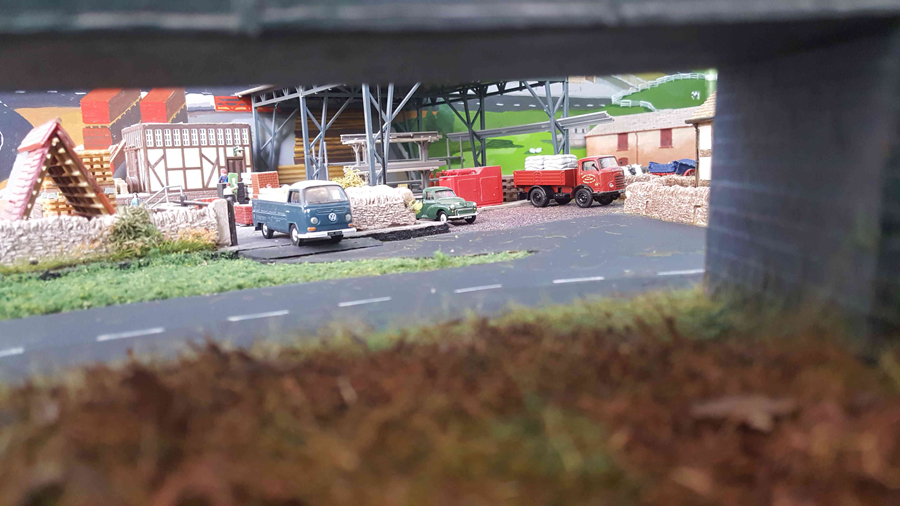
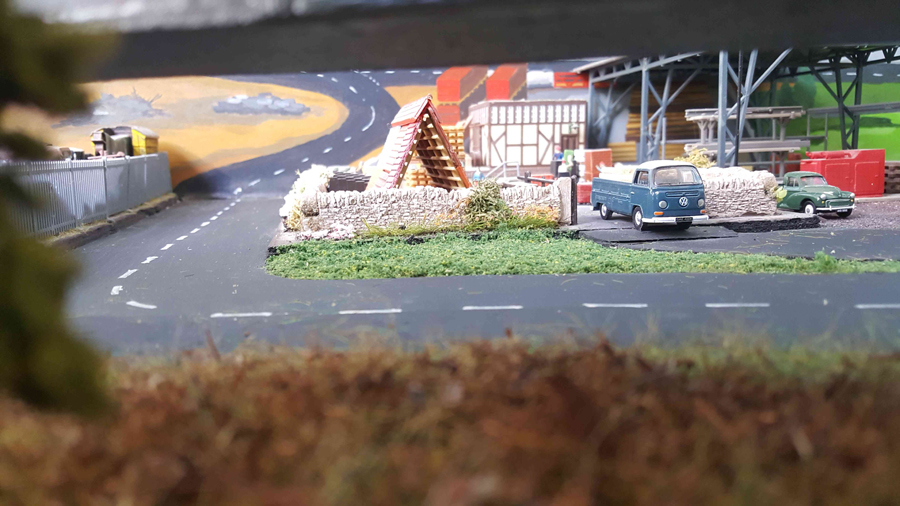
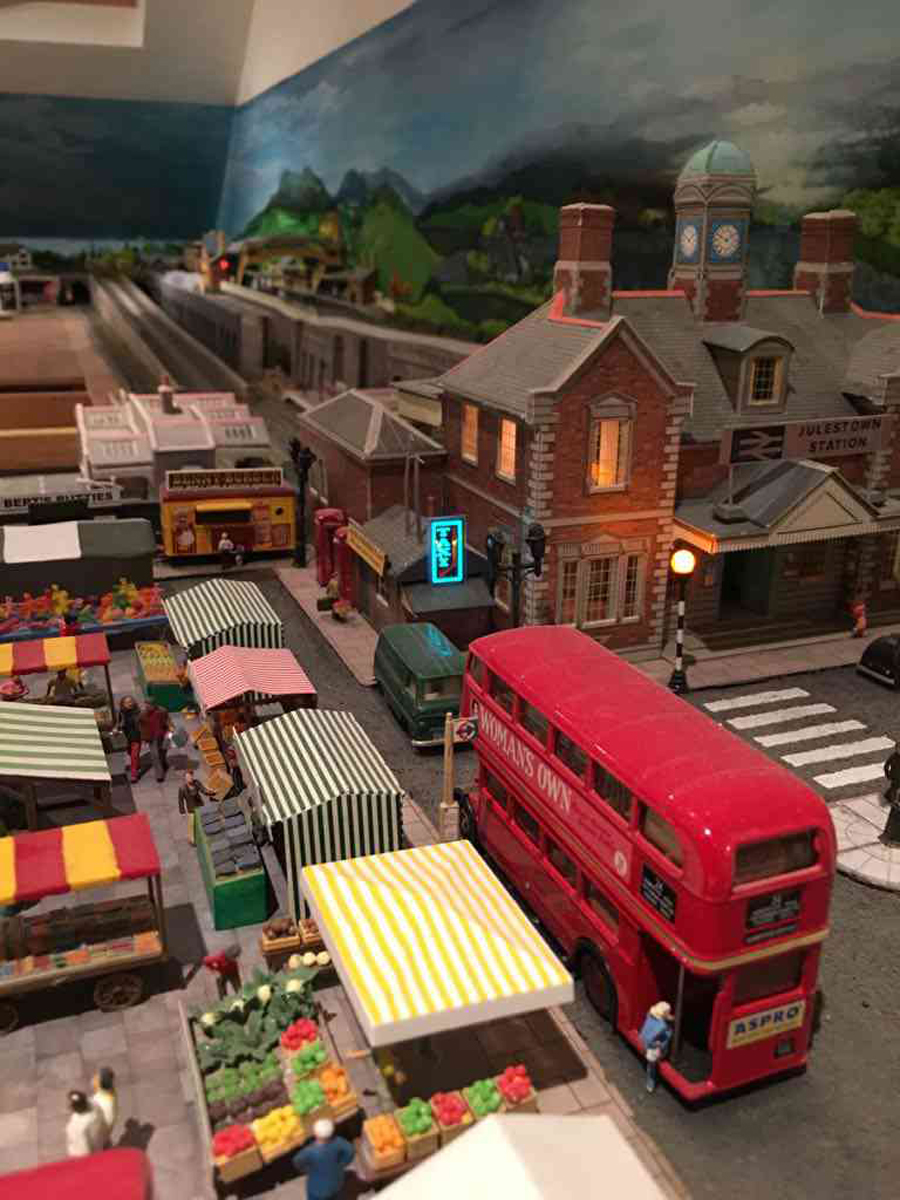
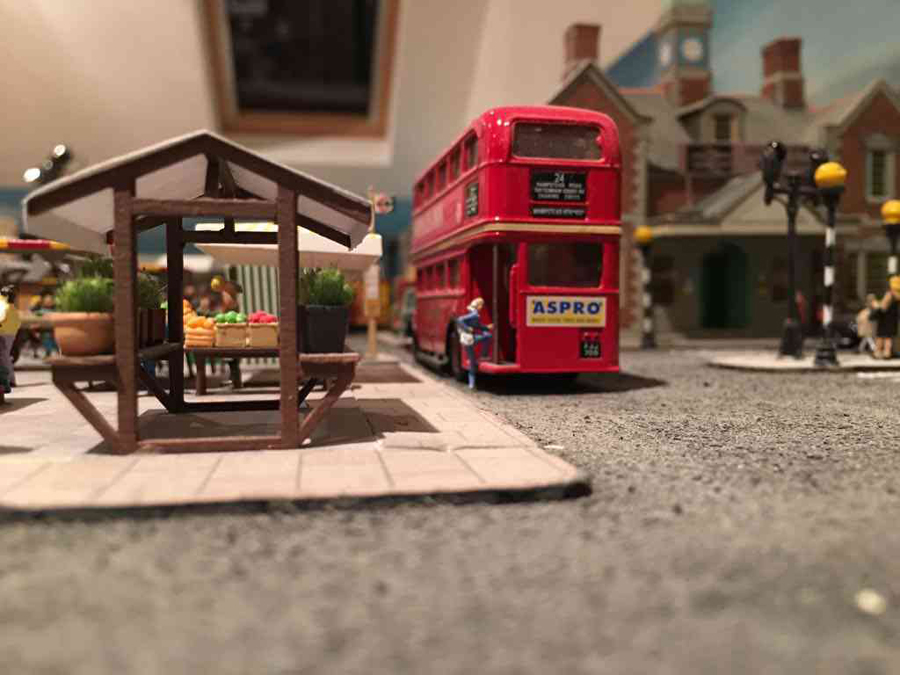
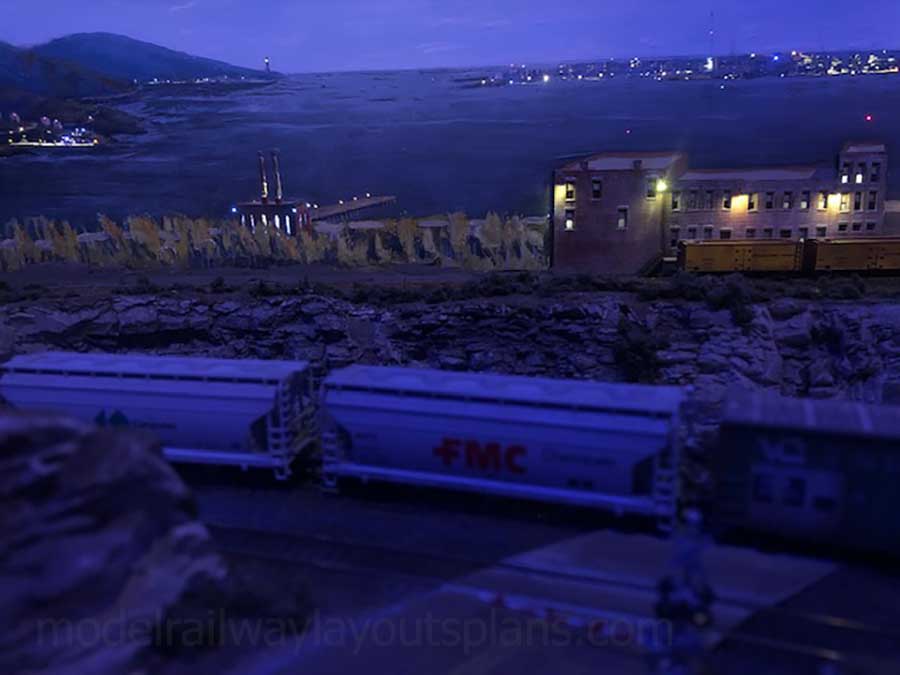
With this revision I had to use a kind of “relief” modeling technique in the middle ground to blend backdrop with the model.
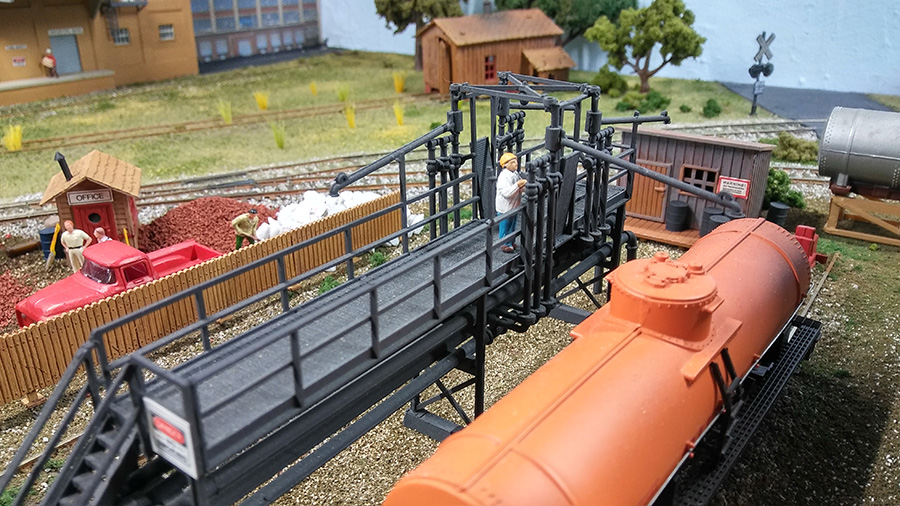
Look in particular at tank farm: one three quarter relief tank, two one third relief, res are painted on landscape.
Buildings and freight dock are same – used front elevation from kits, but roofs are painted onto backdrop. Perspective layout was hair raising – broke all conventional rules regarding vanishing points, picture planes, scale dimunition, etc., but seems to work from most viewing points.
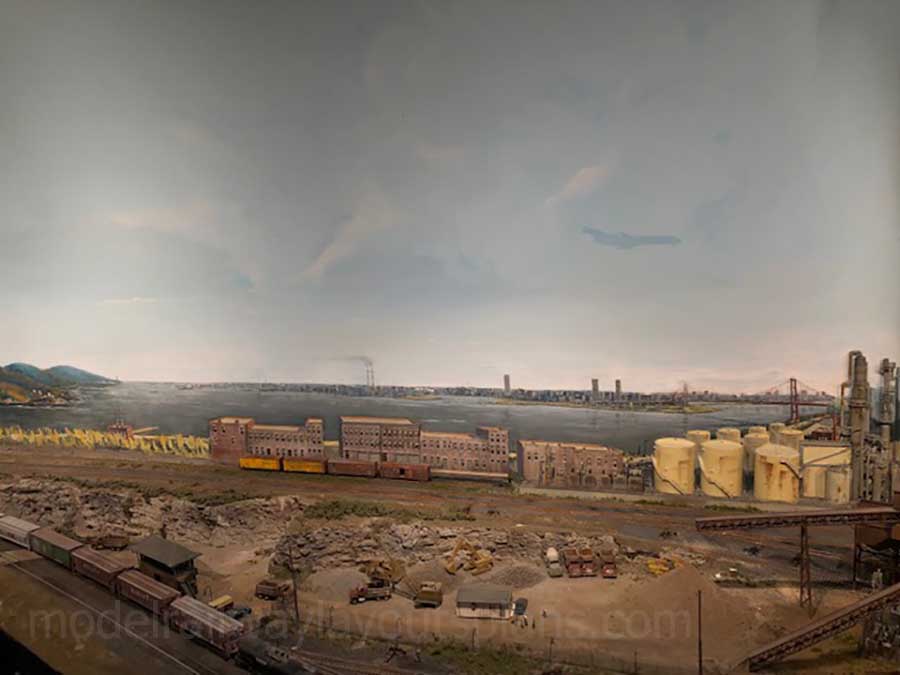
Most dioramas seek to limit the viewers’ point of view. But as a model layout with “walk by” access, the designer has to “frame” as many points of view as he can to minimize the number of places where the perspective is out of wack, and maximize the number of places where he can employ “distorted” perspective to great effect.
The 1/160 actual N scale often has to go out the window. What do I mean by that? Well one example would be my main street in the city, which is probably 2 1/2” wide at its mouth (near the viewer) and closer to 1 1/2” where it merges with the backdrop.
Street lights are about 4” apart at the start, but 1/2” closer together with each subsequent bay towards the backdrop, until by the time they get there, they might be only 1 1/2” apart, and of course they have to be smaller, which is why I made all my own lights.
If the main street were out in the open, it would appear to zig 30 degrees upon hitting the backdrop. Careful high rise placement in the foreground of the model preserves the apparent straightness of the main street.
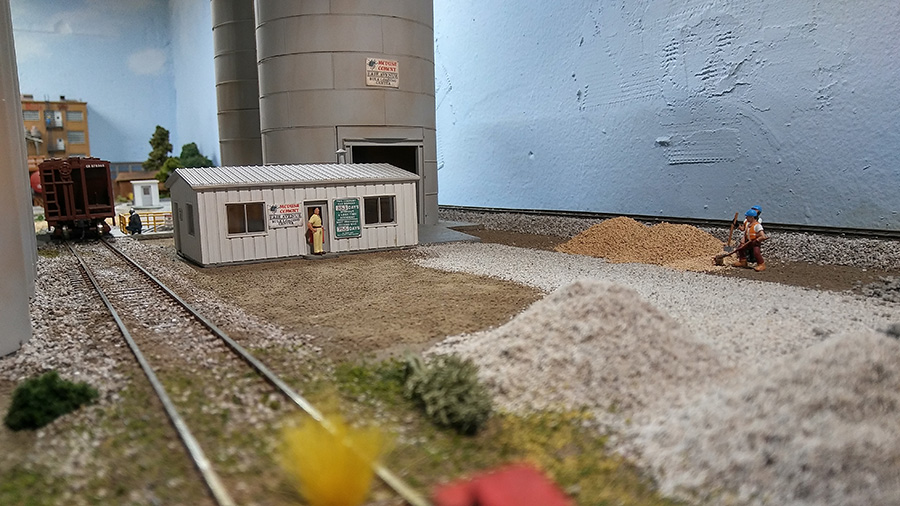
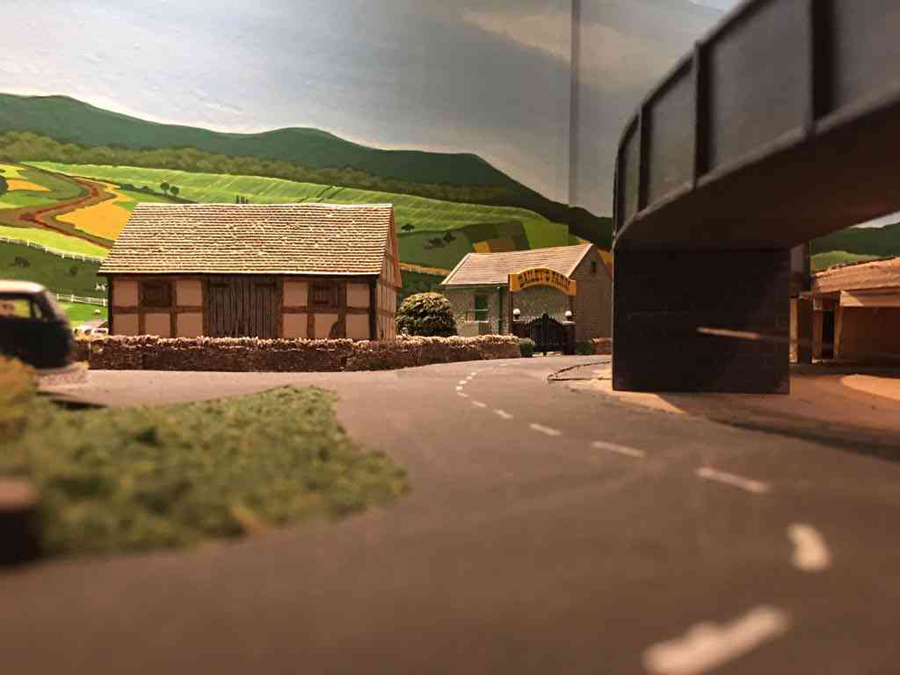
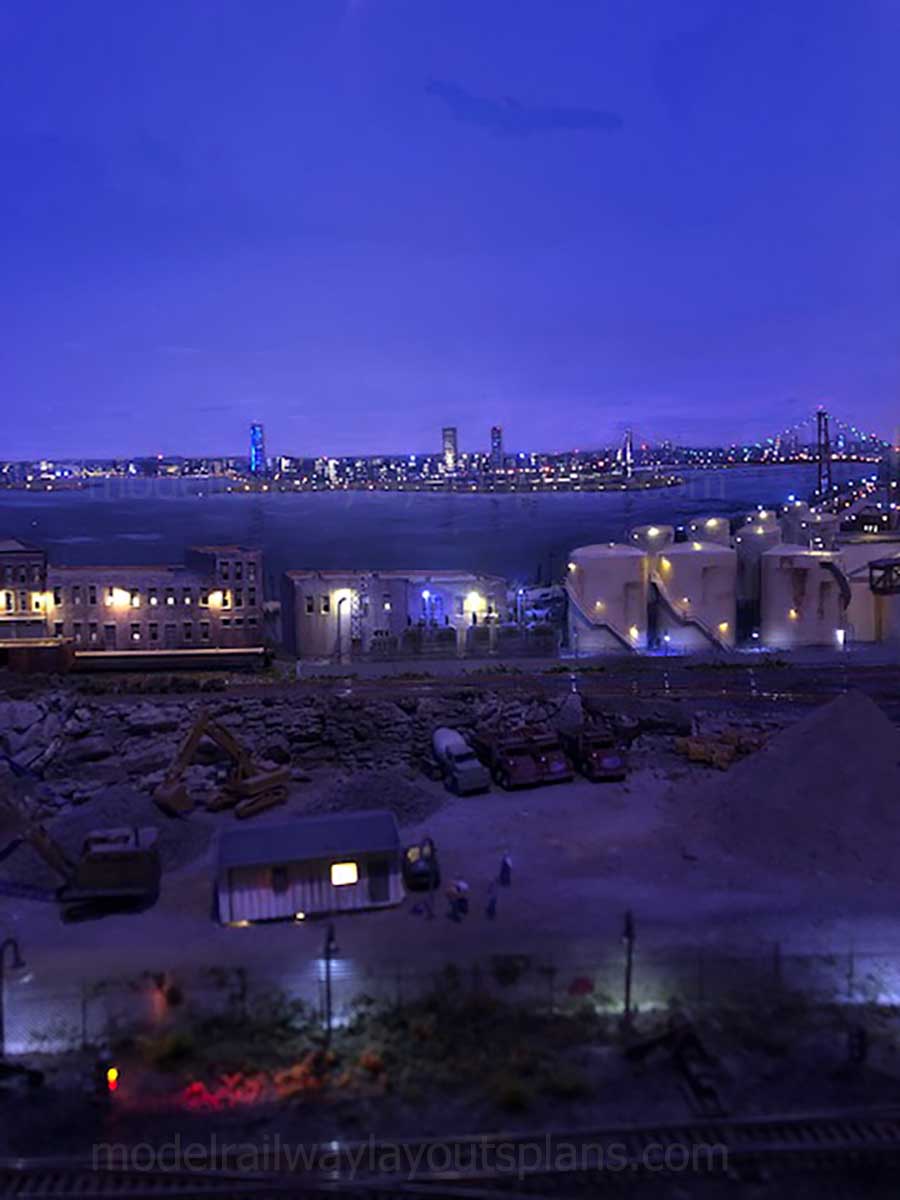
The problems of horizon placement abound. The horizon on this “transition backdrop” between city and country ends of layout is higher than the distant horizon beyond the harbor. But here the viewer can stand close enough to touch it.
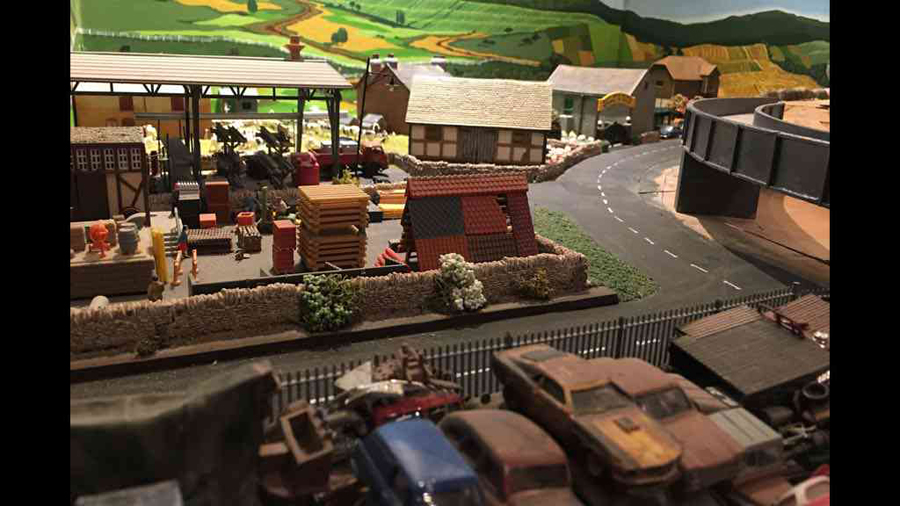
The harbor exists in a pocket of my house that was our original coal bunker during the 19th century, and as such is about 8 feet in from the face of the layout!
The only reason I built the rock crusher/ cement plant, with its smokestack was to place it at the end of the oil refinery and help visually “bifurcate” the two major sections of the layout.
I saw a lot of requests for a better look – plan, video of entire layout so that the guys could better understand it.
Took this “at dusk,” so they could see a bit more. Hope it helps.
Fred.”
You can see Fred’s last post here:
Now on to Andy:
“I enjoy your posts very much.
Many good ideas. Here’s one I’m trying.
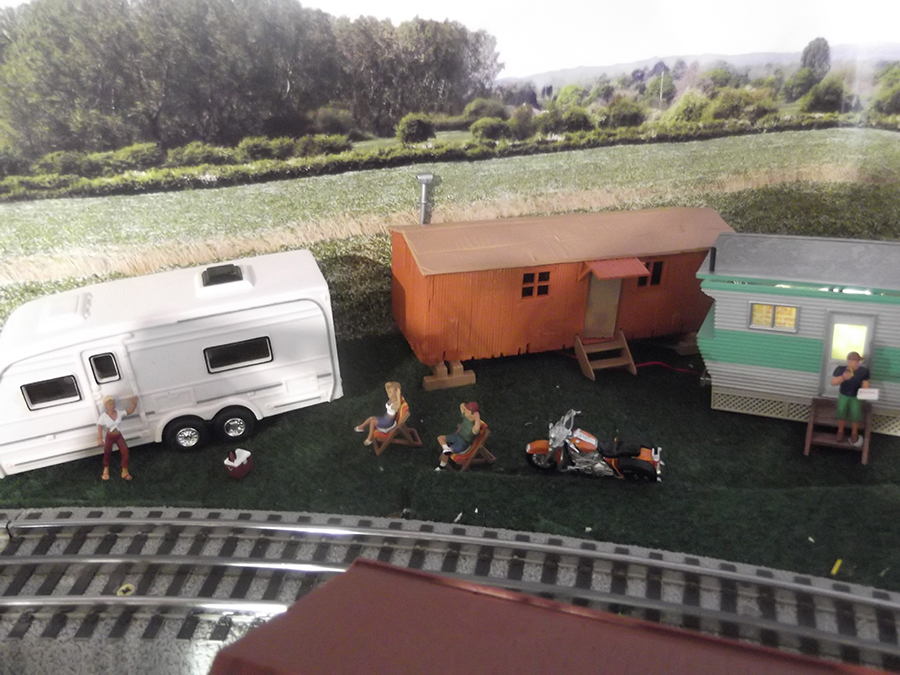
I have a small bedroom for my new layout.
I am combining HO and N to try and and get some degree of depth.
The steamer in the front is HO and the coal train is N.
Some will say ‘not prototipical’, but I’m having a ball.
Andy.”
Andy is getting a lot of bang for his buck using ‘forced perspective’ – it works so well, making a small layout seem instantly larger.
Now on to John:
“Greetings from Los Angeles Al!
The commercial plants and trees can prove to be costly if you need several…
I made these planters on ether side of the door by wrapping pipe cleaners around a sharpened pencil and then pressing them into the desired shape. Then I paint then with inexpensive acrylic green and glue them into the planters .
The planters are BEADS from the craft store..then I glue them to my structures ,or where needed om my layout You can make dozens of these for next to nothing…
John”
Now for the latest installment from Hall of Fame member, Rob, because everybody wants their cars and trucks to move on their roads too.
(His last post is here if you missed it).
“Hi Al,
Since the first Faller video, the road has progressed to grooving for the guide wire and then to plastering and painting the road surface.
For those perhaps interested in trying a Faller Road, they may find it interesting to see what my experience is. In the end, I got a fairly smooth and satisfactory road.
Now, I just need a few more vehicles to add some more chaos to the layout.
Rob”
Latest ebay cheat sheet is here.
A huge thanks to Rob!
And – fingers crossed – Andy will send us more pics of his project, it’s a fine looking bridge. I do like seeing the ‘forced perspective’ model train pics, and you get to play with two scales too.
That’s all for today folks.
Please do keep ’em coming.
And if you are sat there thinking you’d like to have a go at your own layout, the Beginner’s Guide is here.
Best
Al
PS Latest ebay cheat sheet is here.
PPS More HO scale train layouts here if that’s your thing.