Marklin layout – Glyn’s

Glyn’s been back in touch with his Marklin layout:

“Hello Al

Seasons greetings to you and many thanks for all you do to enhance our hobby.

As you may recall, I retired to Santa Fe full time 2 years ago after 40 years of surgical practice and commenced re-doing my Marklin layout that I had previously built in Peoria IL.

The layout is built in a 23’x13′ former wine cellar with an asymmetric U-shaped design.

The left hand limb is 16′ long due to the presence of a stairwell from the patio and features the Swiss German component.

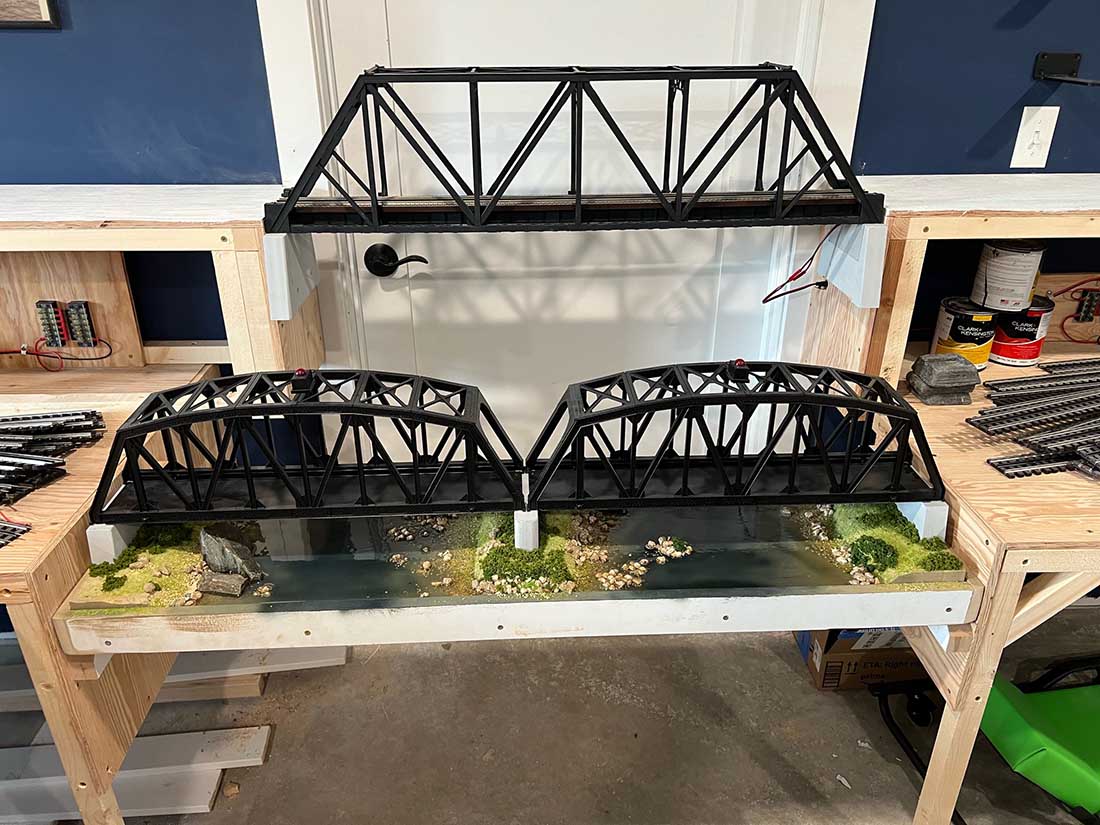
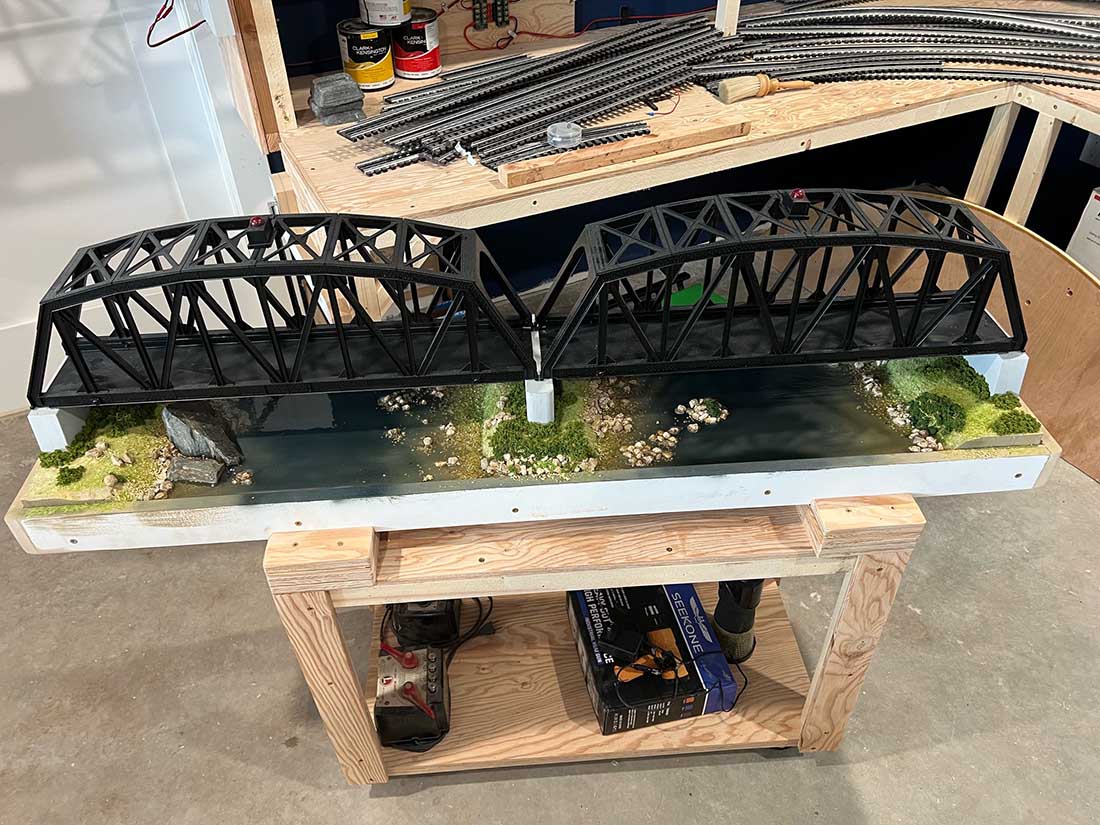
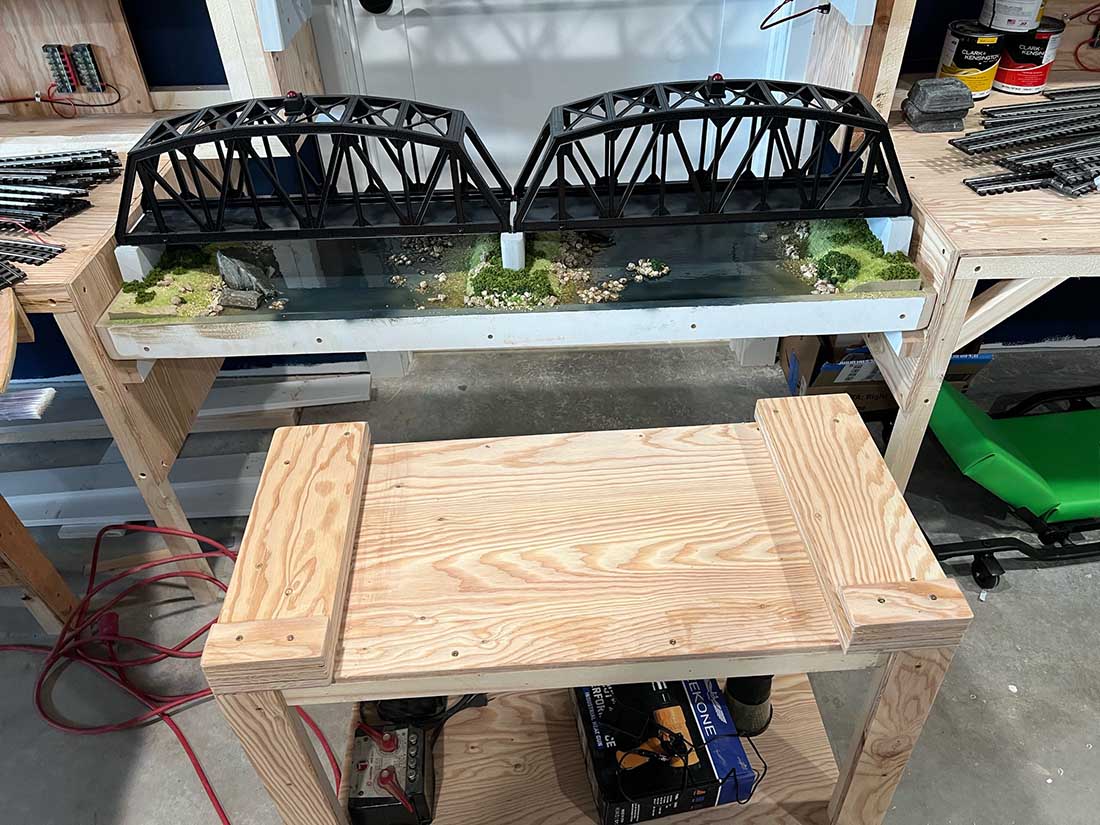
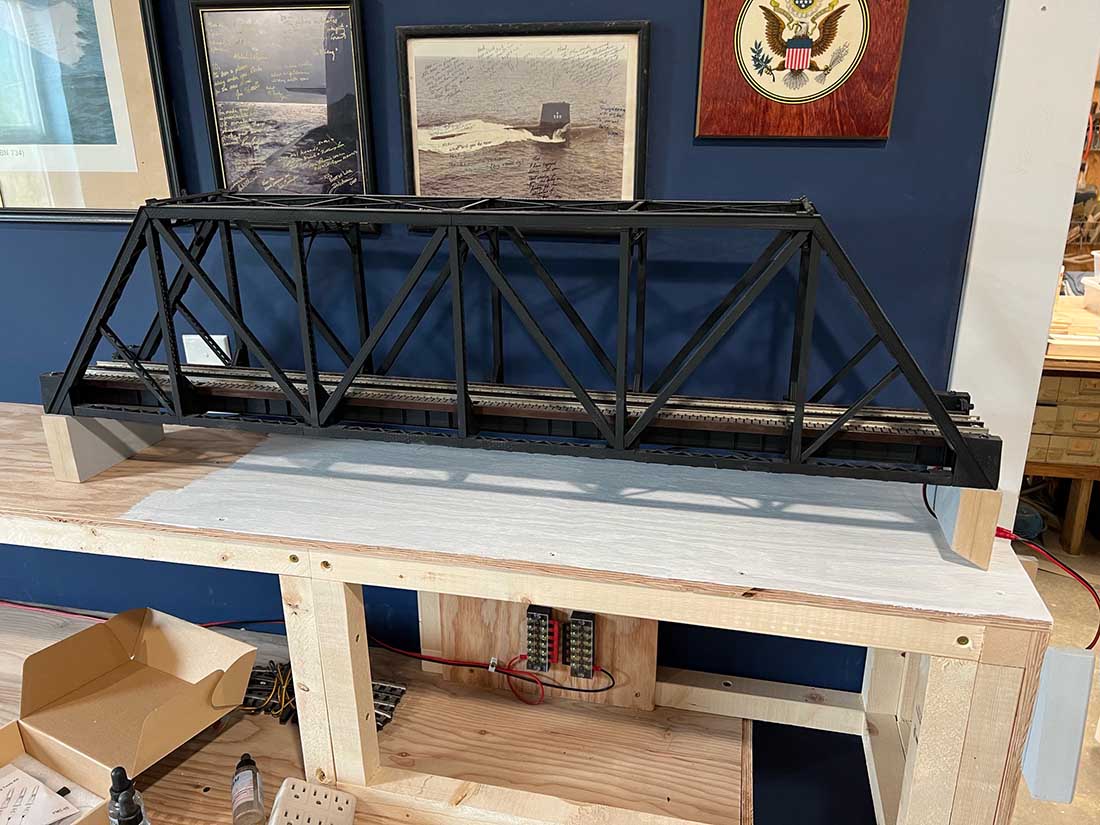
Across the transverse limb at the far end of the room are upper and lower double mainline tracks over 2 sets of bridges spanning a deep river gorge.

These move into 2 sets of tunnels entering a large mountain which I have just built this past week.

The upper tracks pass through a small rural station before heading 23′ downhill toward a large loop circling what will be a 1920’s era American New England town.

I know this will drive the rivet counters crazy but I have about 6 US steam and diesel locomotives with rolling stock and a significant investment in Fine Scale Miniatures building kits which I need to build and display. The only way to achieve this with the space available was to combine the 2 different country systems into a large folded wishbone as I have done.

I know that the prototypical modelers will probably have a meltdown at such heresy but who cares – it’s my railroad and it’s all about having fun, not so?

From there the tracks pass into a concealed 6 lane staging yard before exiting through the lower tunnel to cross back over the lower bridges before passing underneath the main Swiss German town.

Completing a hidden loop beneath the town, the track passes up a long parade incline, circling behind the roundhouse complex to return to the mainline station (see layout overview).

I’m including images of the coaling station, diesel fuel depot, the bridges over the gorge and the multi-level tunnels.

A DB V200 diesel is shown at the head of a cargo consist and a KayBSt S2/6 passenger express is awaiting clearance to leave the station with the town and castle visible in the background.

Once I’ve figured out how to compress all my video footage adequately for email I’ll send these along so you can see the Marklin layout trains running with a CS2 digital control.

Best regards and Happy New Year to you all.

Glyn”

Castle & upper town Marklin layout

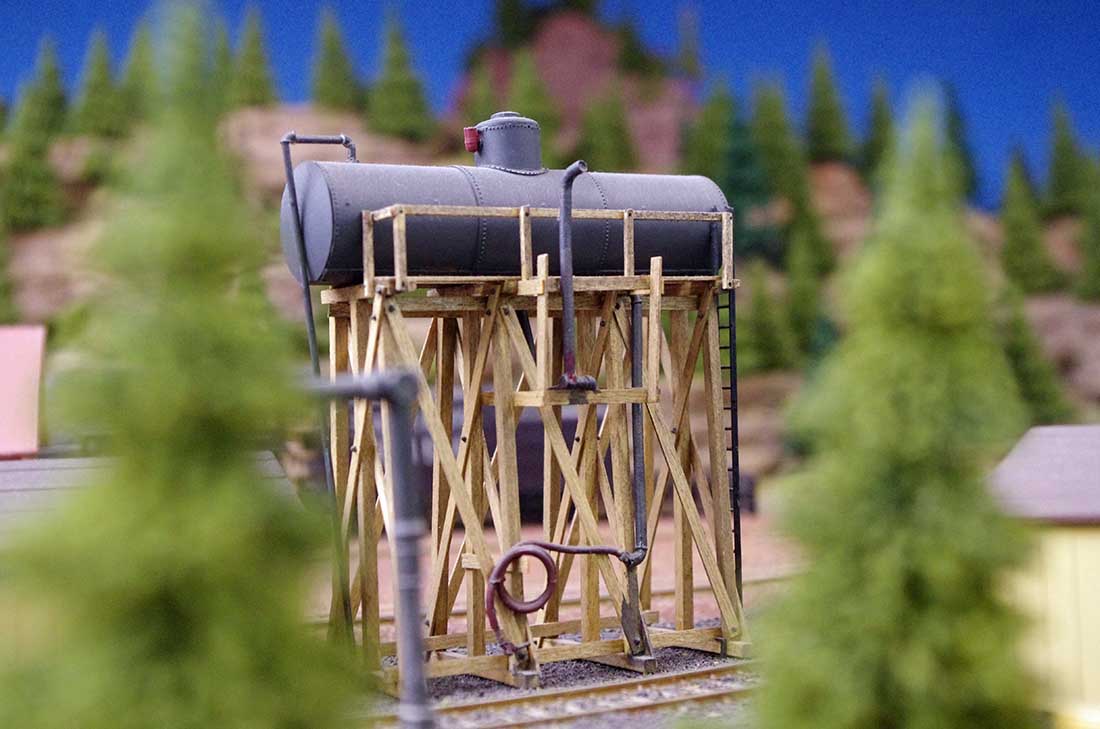
Coaling station Marklin layout


Marklin layout:

Diesel depot Marklin layout

Mainline bridges

Marklin Layout overview

Mountain tunnels

S2_6 express marklin layout

A huge big thank you to Gyn for sharing his Marklin layout update – stunning stuff!

There are lots more of pics of his layout in his first post: Marklin HO layout.

Here’s a pic taken from the first Marklin layout post too:

model train stone bridge

And it reminded me of this post too:

Marklin HO 3 rail.

That’s all for today folks.

Please do keep ’em coming.

And if today is the day you get started on your layout, the Beginner’s Guide is here.

Best

Al

PS Latest ebay cheat sheet is here.

PPS More HO scale train layouts here if that’s your thing.


model train answers

N scale model trains layouts

Rich has been in touch with his N scale model trains layouts – well, there’s quite a few more too as you’ll read:

“It has been approximately 15 months since I have sent in anything of my layouts.

I was not able to do very much for about a year. Finally had major back and neck surgery which has a 6 to 18 month recovery, but I am way ahead of schedule and am able to walk and stand and do stuff again. I am limited in some ways so it was time to rethink what I am doing with the train layouts as they are now.

I will be 83 soon, it seemed to me it’s time to re-arrange and downsize a bit.

So, I tore out the 20 year old G scale basement layout, and also dismantled the huge N scale California Zephyr layout.

All G scale equipment was moved up to the garage, and all N scale, TT scale, HO scale, and Lionel 3-rail equipment went down to the basement.

I cannot carry more than 25 pounds at a time, so for two months I dismantled and moved equipment. I had enough lumber piled up to build a small house, wow!!! I hate to waste stuff and try to repurpose as much as possible.
So now, in the garage will be a G scale point to point layout 3′ wide and around 3 walls totaling a length of 60 feet. This opened up a lot of room in the garage, both cars fit in and I still can work on the layout with plenty room.

Downstairs in the room that is 22′ by 17′ I have the smaller gauge layouts.

The N scale layout is 3′ by 12′, the little 32″ by 50” TT layout slides under the N scale layout.

The TT layout sits on it’s own table so I can slide it out to work on it, then slide it back under the N scale layout.

Next I built a 4′ by 8′ table with storage underneath and on wheels to put the Lionel 3-rail Polar Express and Hogwort Express trains on and allow me to run some other nice 3-rail locos I have.
Lastly, a former G scale shelf will now be for an HO switching layout which will be about 2′ wide by 16′ long.

So far this past couple weeks, I laid out the 3-rail Lionel track. And I have developed a new N scale layout plan. The track is laid out.

My inspiration came from a fellow that has built a wonderful 3′ by 7′ layout and has several you tube videos on his CCMR. Chicago Crossing Model Railroad.

I borrowed a lot of his layout and like the fact it involves Chicago as this allows me to use the equipment I already have.

Trying hard to be organized, each layout has storage underneath to store it’s train equipment,

So a fresh start all around, and lots to do.

n scale model trains layouts

N scale

n scale model trains layouts

N scale

n scale model trains layouts and TT scale

N and TT scale layouts


Lionel layout

Lionel

lionel layout

Lionel

Lionel 3 rail

Lionel 3 rail

space for HO layout

Space for HO layout

G scale space!

TT scale model train

TT scale

TT scale storage shelf

TT scale storage shelf

TT under the N scale layout

TT under the N scalelayout.

Thanks for all you do for us Al.

Happy New Year.

Richard Chapple Sr (Dick)(little r) from Hardin Montana USA”

A big thanks to Hall of Fame Rich for sharing his N scale model trains layouts, and the others.

There are lots of posts on the site of folk downsizing for one reason or another. What I love about it, is they all adapt so they can carry on playing with trains – no matter what life throws at them.

Rich’s N scale also reminded me of Dean’s N scale, which is also at the planning stage: N scale model railroad.

That’s all for today folks.

Please do keep ’em coming.

And if today is the day you get started on your layout, the Beginner’s Guide is here.

Best

Al

PS Latest ebay cheat sheet is here.

PPS More N scale layouts here if that’s your thing.


model train answers

Multi level train layout

Dan’s been in touch again with a multi level train layout that he helped bring to life:

“I had a request to do the scenery for a layout that was basically finished except, no scenery.

It was a multi level layout. Two levels that needed scenery and a lower level that was storage and run through.

Multi level train layout

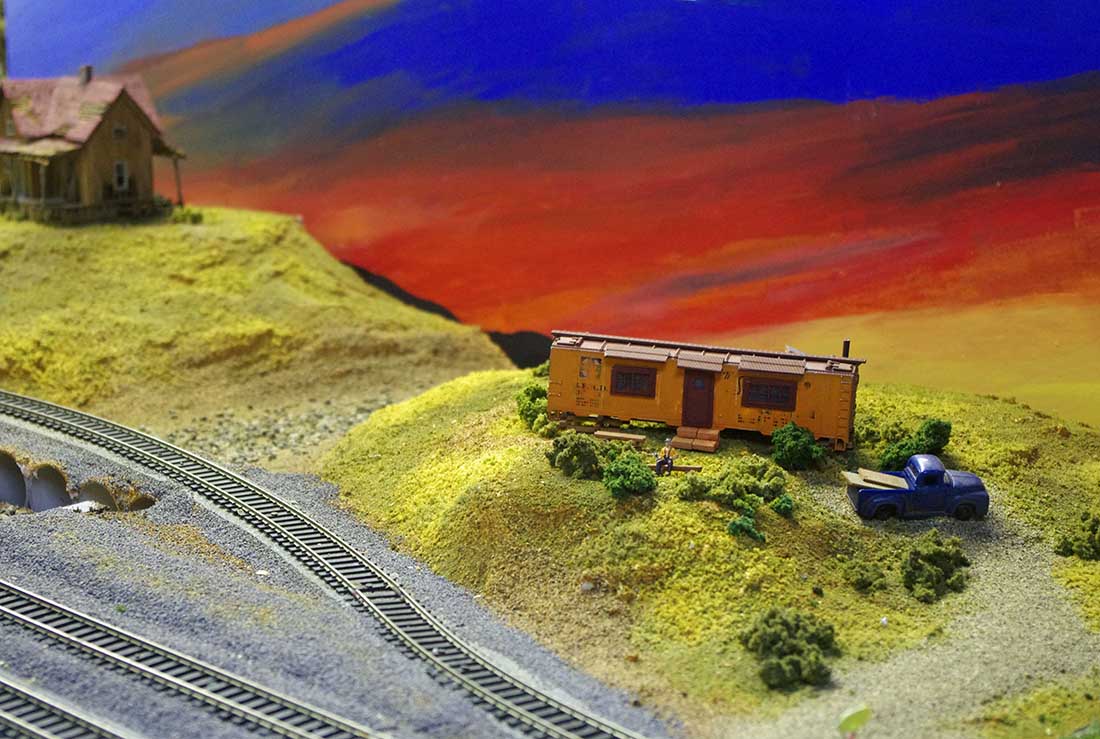
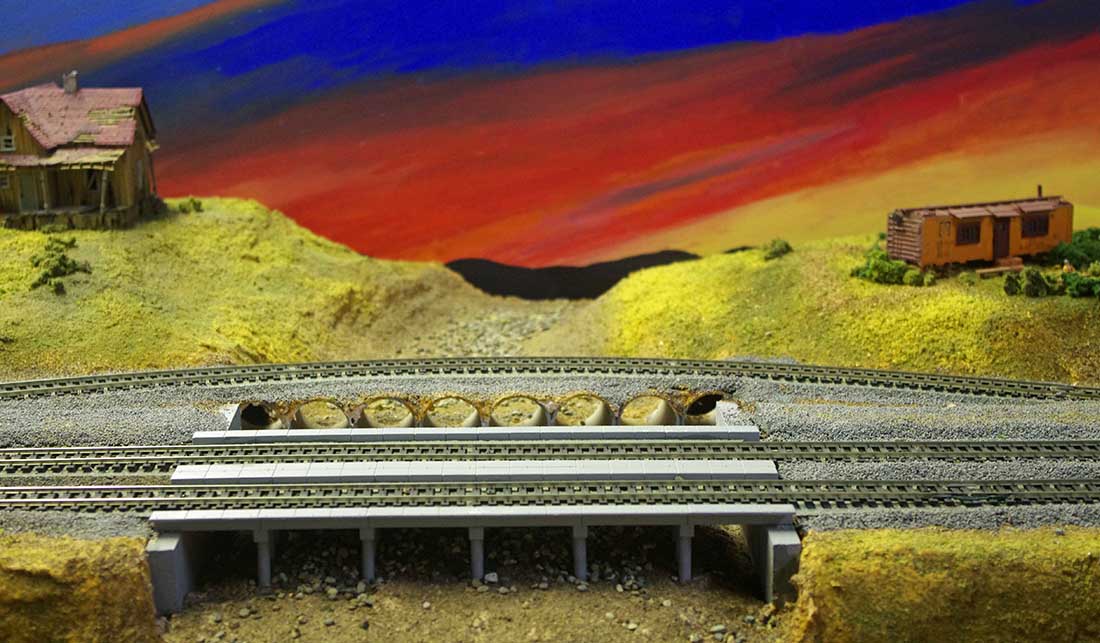
The railroad was the fictional “Hoosier Hills” RR. It represented southern Indiana. There are many limestone outcrops, valleys, and rivers in the area. He wanted some of those points to be represented in the layout.

As you will see, there were obstacles to overcome. I will also show a failure at one point in the process.

You don’t see failures shown very often. The room was above the garage and part of the house. There was a straight wall and then a small alcove. He had a tight reverse curve on the upper level there.

He thought about a power plant just below on the lower level. That was why the tight curve was there.

The first thing I did was take a saber saw and remove the curve. You will see the outcome as I go along.

The power plant also disappeared. (At least he hadn’t built it yet.) I used my basic ceiling tile rocks, sculpta mold, plaster cloth, and Envirotex water for the project. Sedum, or often called Everlasting, is the tree material.

The layout features a helix. Common these days. However, I believe they can be a scenic feature. This will be a future post. Worth waiting for I think.

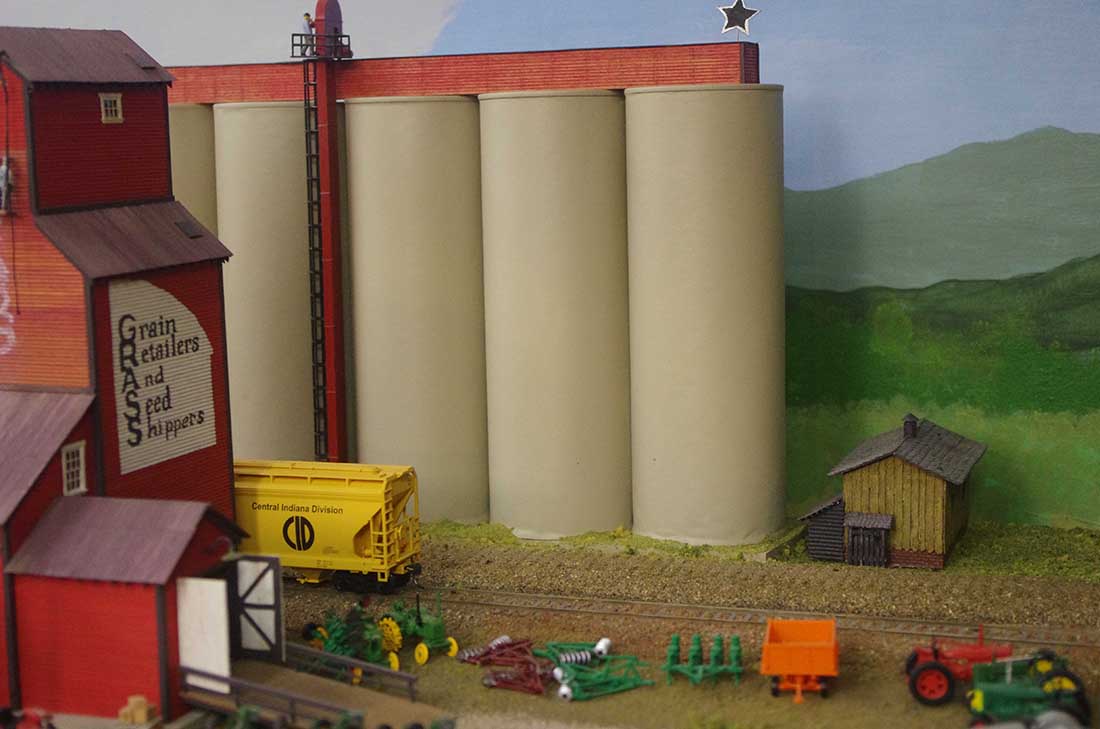
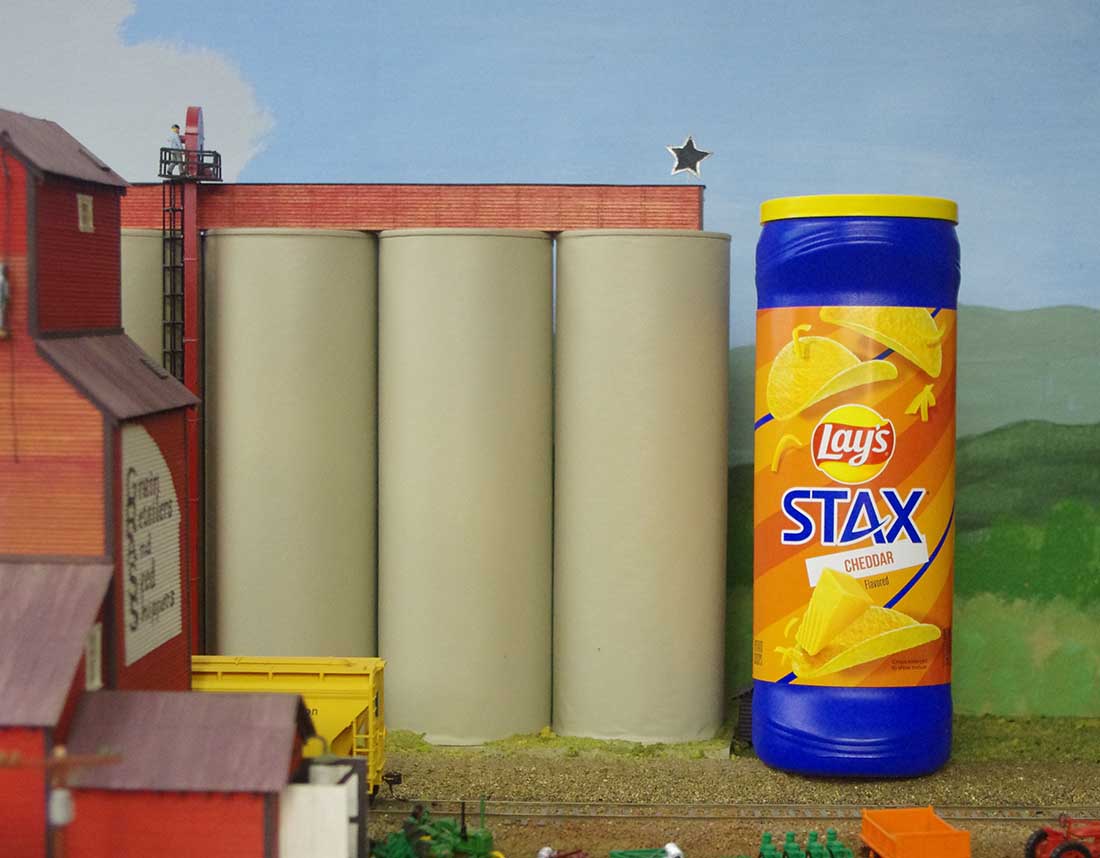
This is the corner with the reverse curve in place. He wanted a power plant where the Boom Box, radio, and tapes are. On the top to the right is a large grain elevator (not shown) on the next level down the track to the right is a switching yard to make up trains and brake them down. On the lowest level behind the chair is the return loop from staging.

model train benchwork

This shows the straightened reverse curve.

model railroad benchwork

This show the beginning of the Gorge. Sorry for the focus.

model railroad benchwork

Looking back toward part of the layout. The helix is in the distance.

model train track

Looking the other way with the straightened stack. The ceiling has a severe slope as you can see.

model railroad benchwork

Next, I painted the background trees and “hills” for the gorge.

Multi level train layout

Pretty far into the building of the Gorge. Just basic ceiling tile pieces in a “natural” look.

model railroad ravine


Multi level train layout:

The river goes toward the backdrop and then bends right behind the Gorge rocks. This gives depth and solves where to put the end of the river. The “Failure” I mentioned is in the upper left of the photo.

Multi level train layout

This is black pillow foam filling. I use spray glue and a mix of ground foam to make ground cover. This looked promising….until photo 11. I just did not like it. Some other place might be OK. Just not here.

model railroad landscaping

Multi level train layout

I settled on plaster cloth and sculpta mold. Then covered with ground foam. The lighting is this room was sometimes impossible. He had a small window that let in bright sun light and mixed with the florescent lights made the color off.

Multi level train layout

The river plaster is in place and the edges sealed. I run some plaster up along the tile about 1/4-1/2 inch to seal any small openings. The Envirotex will find ANY small opening.

Multi level train layout


Multi level train layout:

The Gorge! I used the basic scenery techniques. For the “moss” I spread some 50/50 white glue and “wet” water (a drop or two of liquid dish soap) on the faces of the rocks. Then with a stiff sheet of paper, with the colors I want, of fine ground foam and gently puff the foam over the rocks. BEFORE DOING THE WATER. I go back later with small pieces of the clump foliage for added effect in places.

Multi level train layout

The trees are Sedum or Everlasting. The tops of the plants dry during the winter. (These make small florets that look pinkish during the winter. When dry they sort of look like broccoli. We use spray glue and sprinkle on ground foam of the color of choice.Then I pull appart the clumps for individual trees.

model train scenery

The owner of the layout and his wife loved to fish. She is in the boat and he is fly fishing and the sting is a strand of her hair.

model train river

Just a scene of the Gorge.

Multi level train layout

More of the Gorge the train leaving the Gorge.

model railroad diesel locomotive

Overall view.

Multi level train layout

Bridge crossing.

 multi level train layout bridge

I hope you liked the building of the Gorge.

SantaFeDan*”

A huge big thank you to Dan (again!) for sharing his multi level train layout.

It reminded me of Luis’s post:

2 level model train layout.

You can see more of Dan in the Hall of fame: Santa Fe Dan.

That’s all for today folks.

Please do keep ’em coming.

And if today is the day poke boredom in the eye, the Beginner’s Guide is here.

Best

Al

PS Latest ebay cheat sheet is here.

PPS More HO scale train layouts here if that’s your thing.