Sam’s been in touch with his HO scale steam crawler crane:
“Hi Al,
It’s great seeing what other modelling enthusiasts are up to some of the amazing work really inspires me to do more stuff on my own layout.
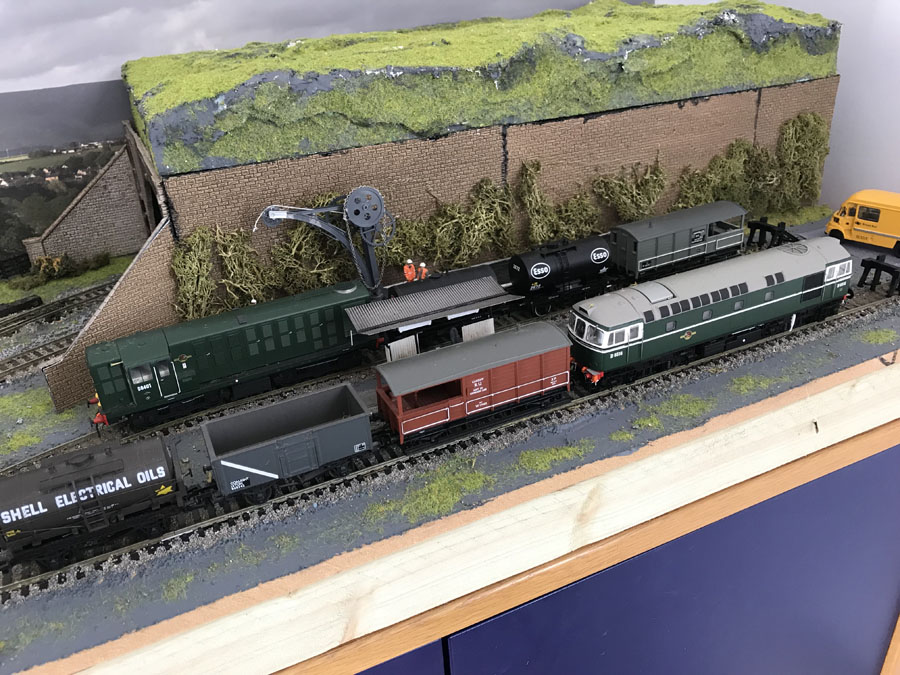
Anyhow, I’ve been working on an industrial section of my layout (unfinished) and I’ve been experimenting making some steam cranes from various Bachmann and Hornby loco’s many of which have some damage so ripe for modifying.
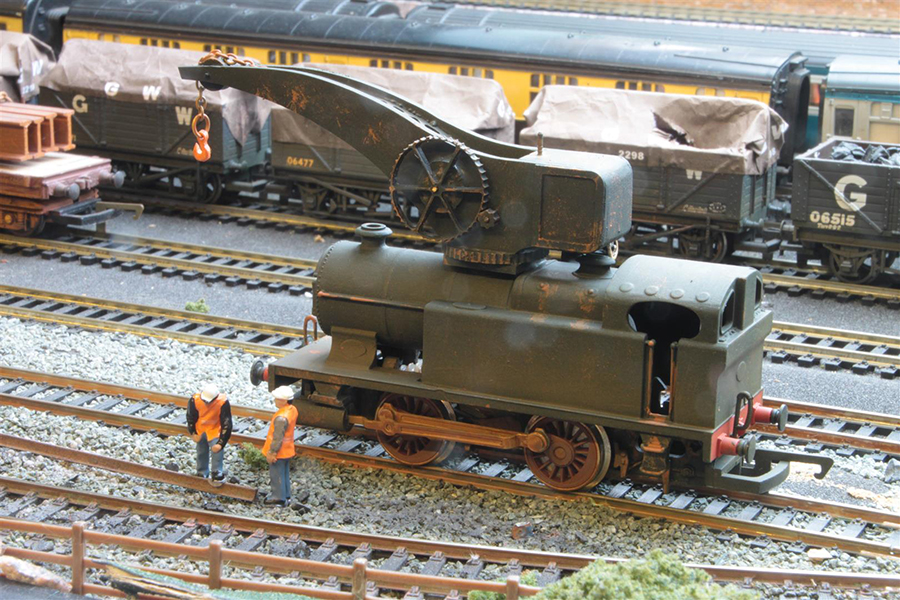
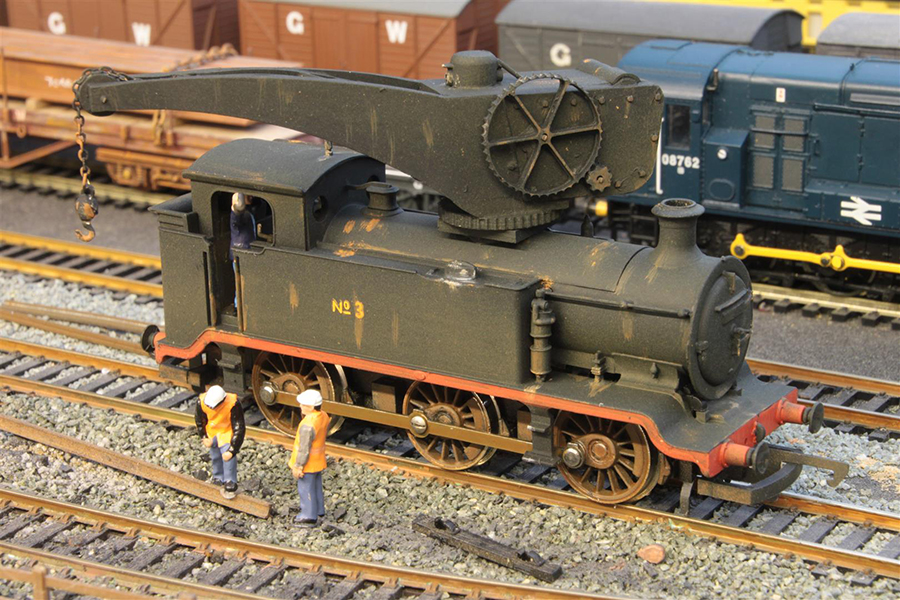
The J72 is a The Bachmann and I was trying to replicate a J92 LNER crane from the late 1800’s as the J92 isn’t a model readily available.
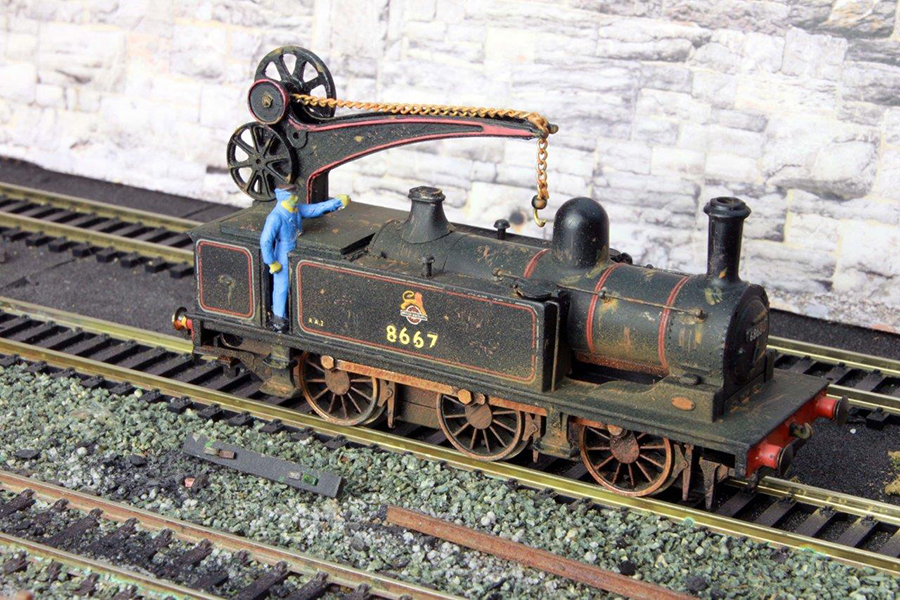
The 0-4-0 tank engines are made from Hornby tank engines (Smokey Joe type) and represent many little steam cranes found on regional railways in the early 1900’s.
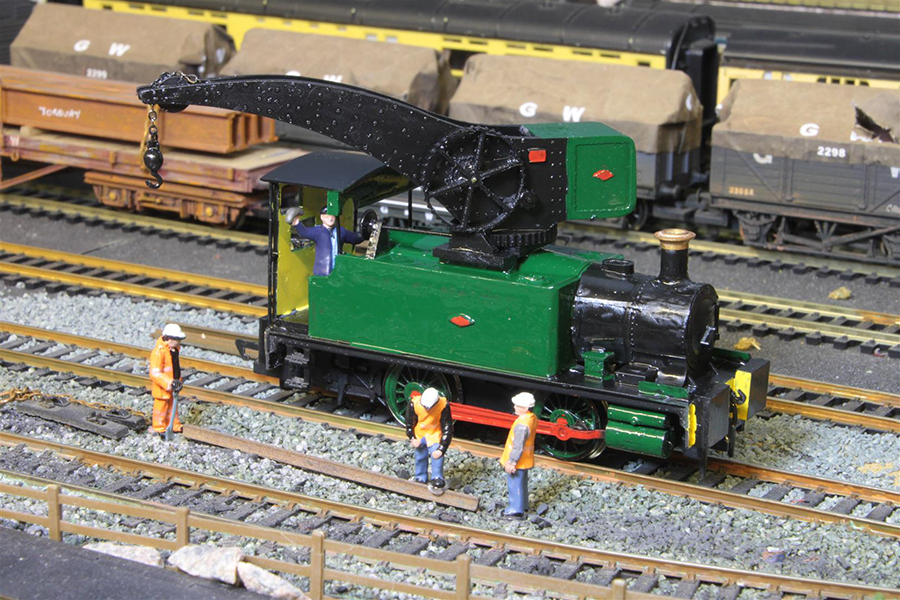
The green one is of course Dubsey, now preserved on the Foxfield Railway and is based on a Hornby 0-4-0 tank engine with the cab and other detail cut away and new parts added.
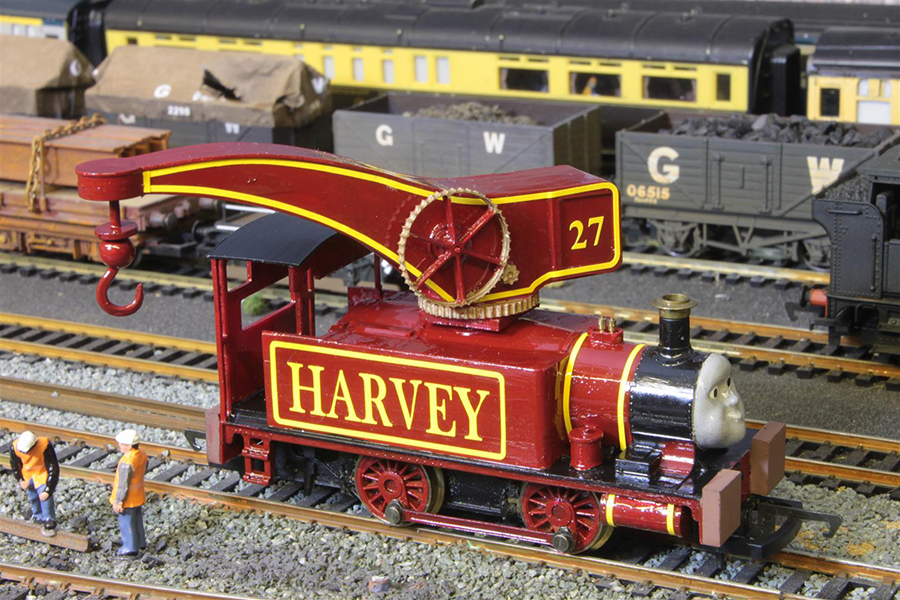
I then had a go at making Harvey from Thomas the Tank Engine Series as this is also based on Dubsey but in crimson and with slightly different detail.
The final one is based around a Hornby E2 LBSC loco actually inspired by an Austrailian Z class
The later ones have jibs that can rotate freely, all loco’s run and I’m now working on a version with an operating hook and chain…..
Any way, I hope you like these.
Sam”


And some more ‘ai’ fun with Sam’s cranes:
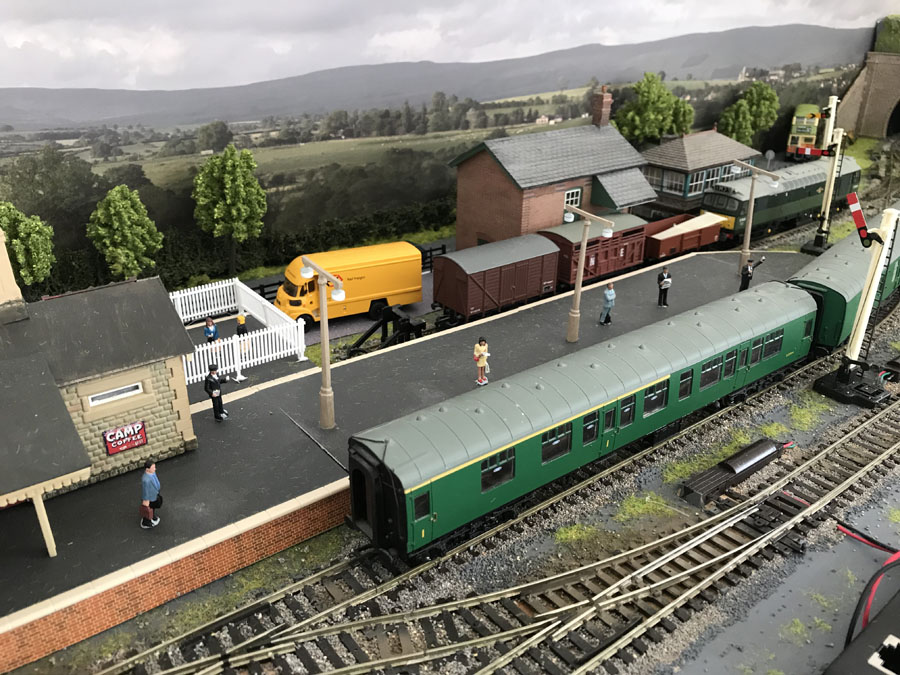
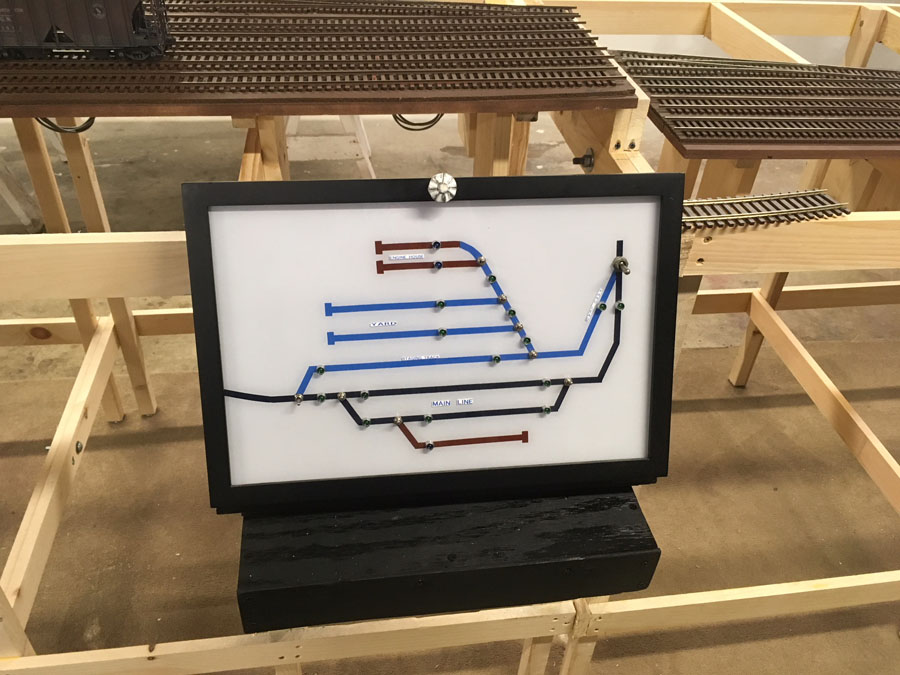
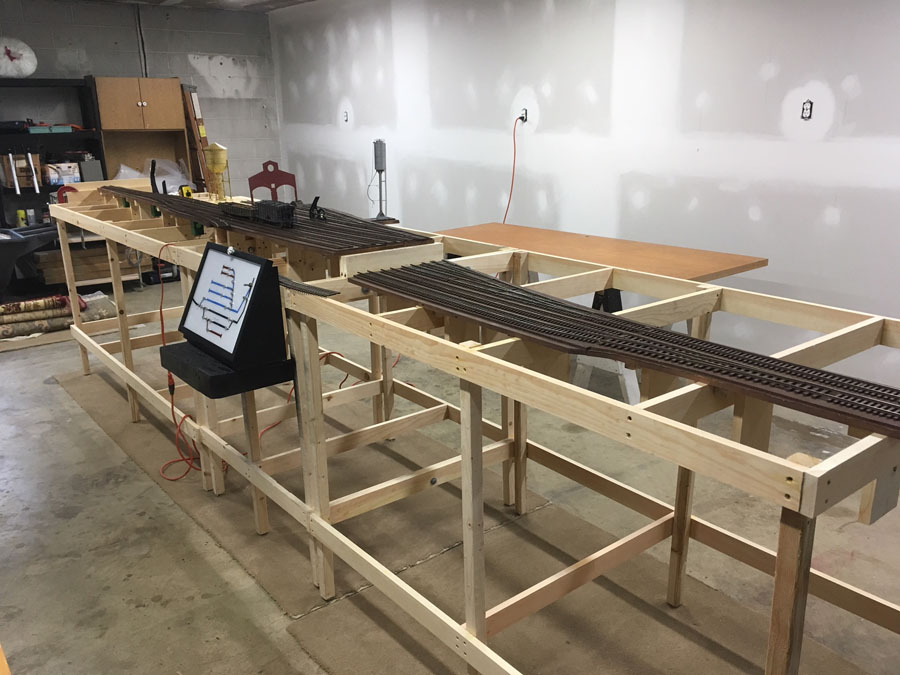
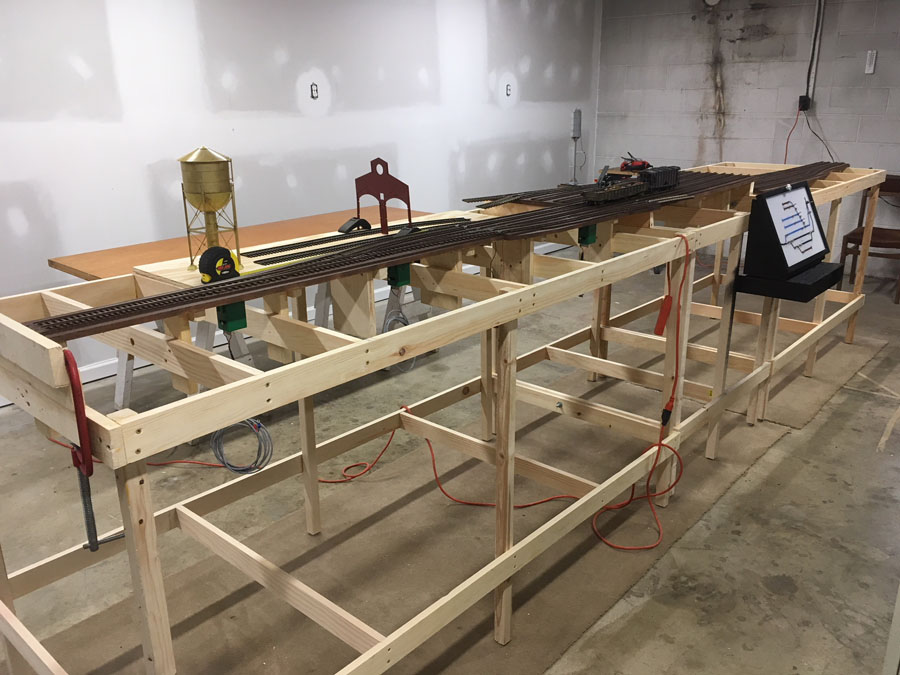
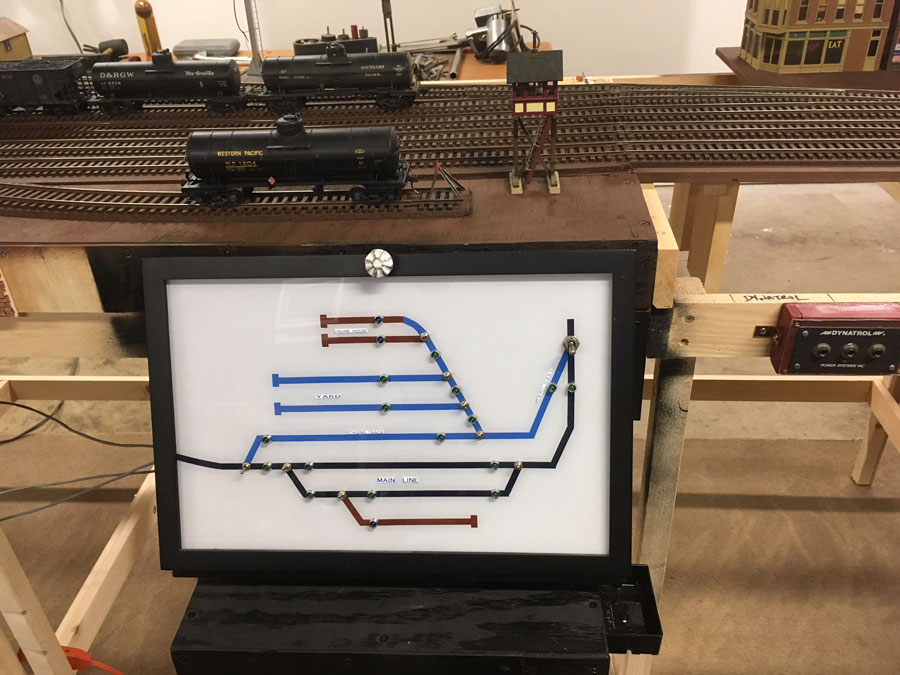
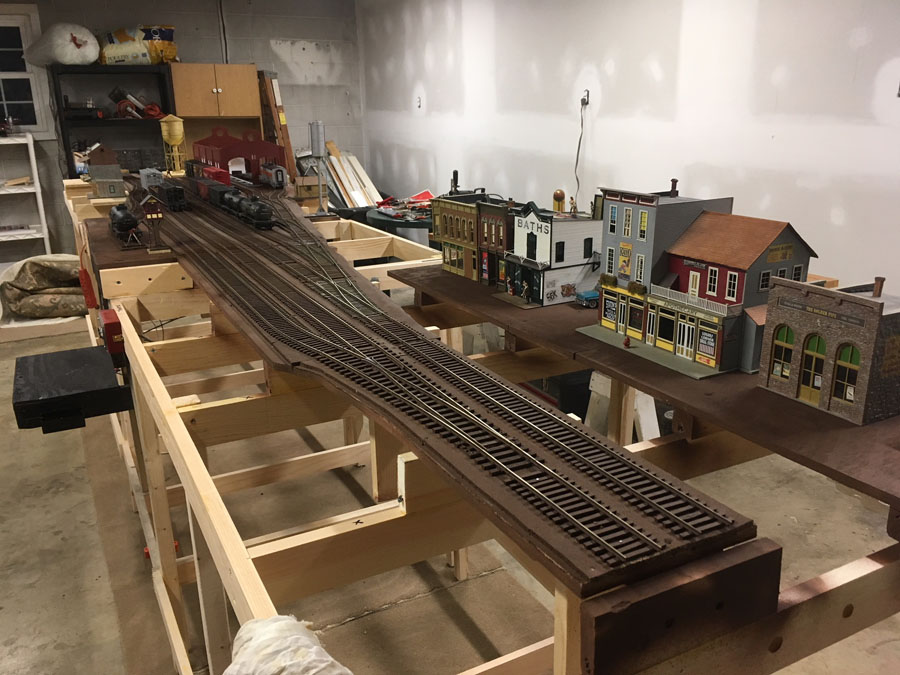
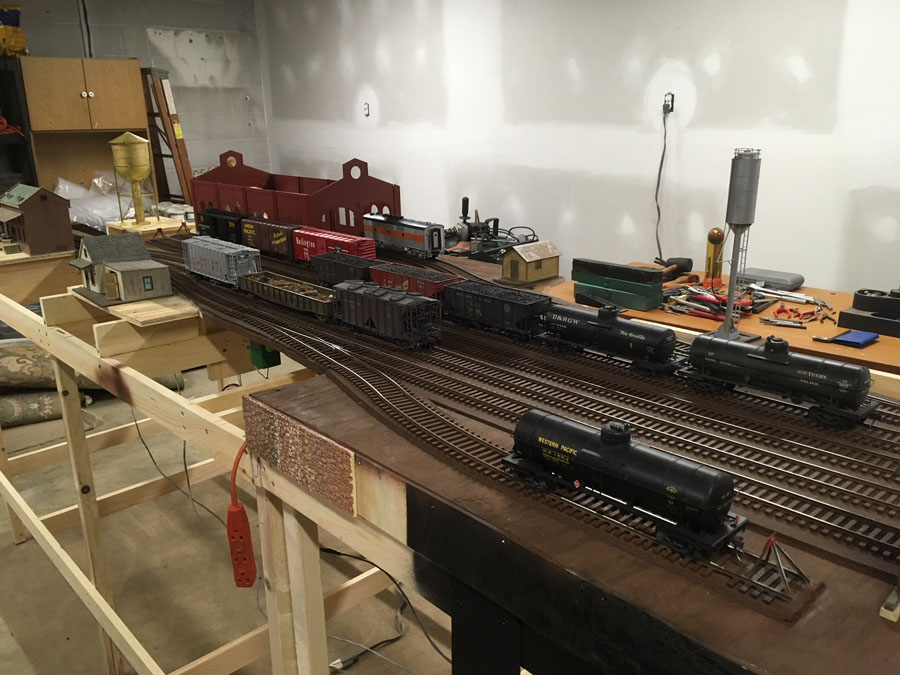
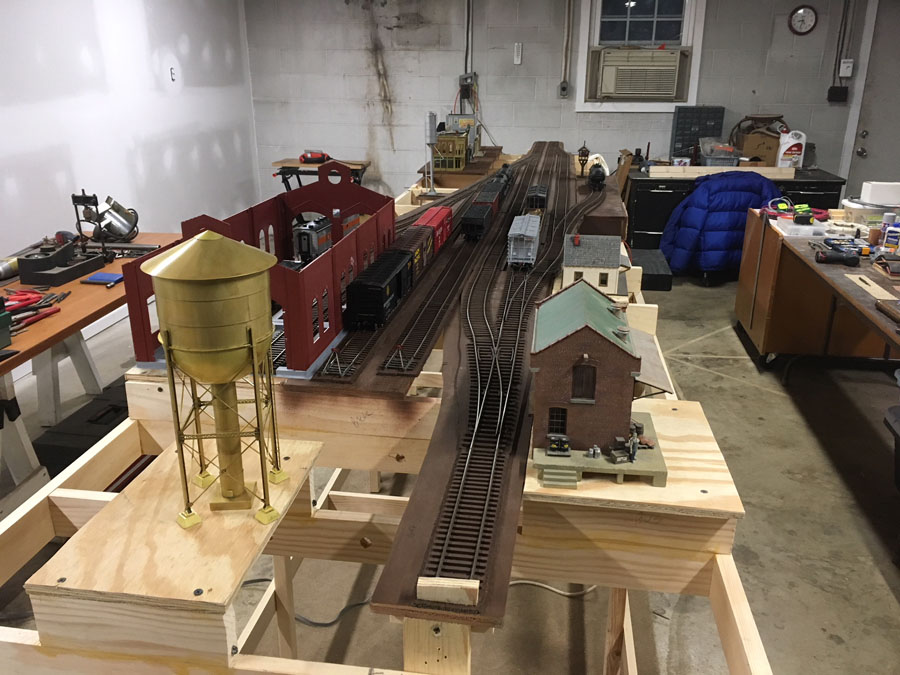
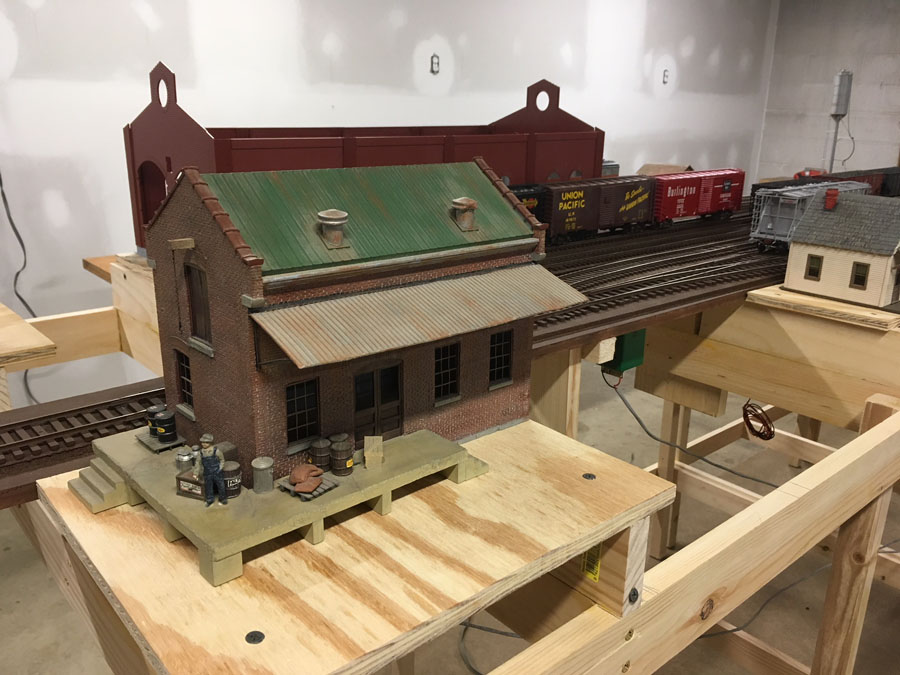
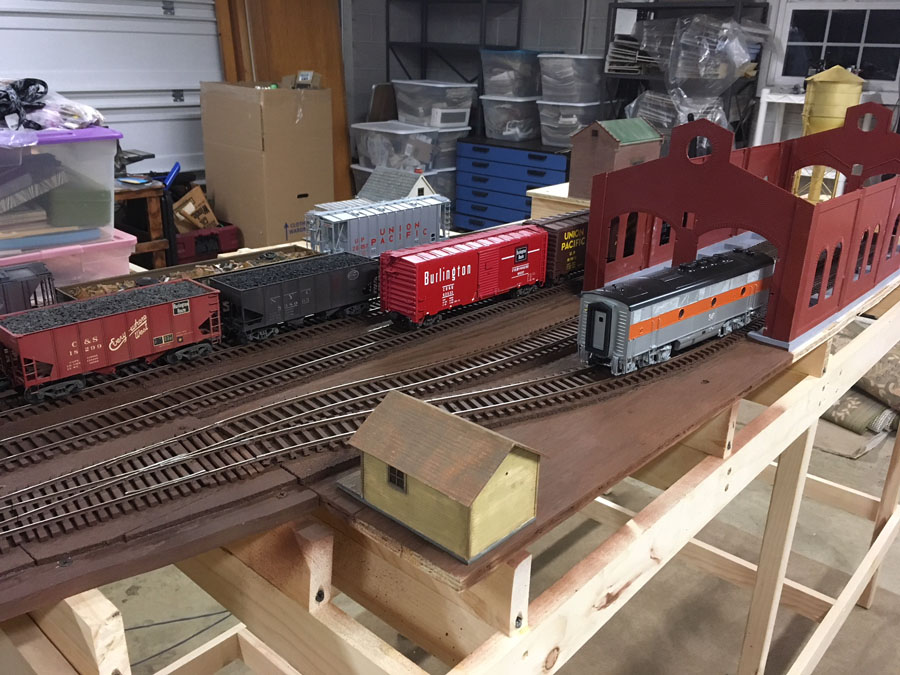
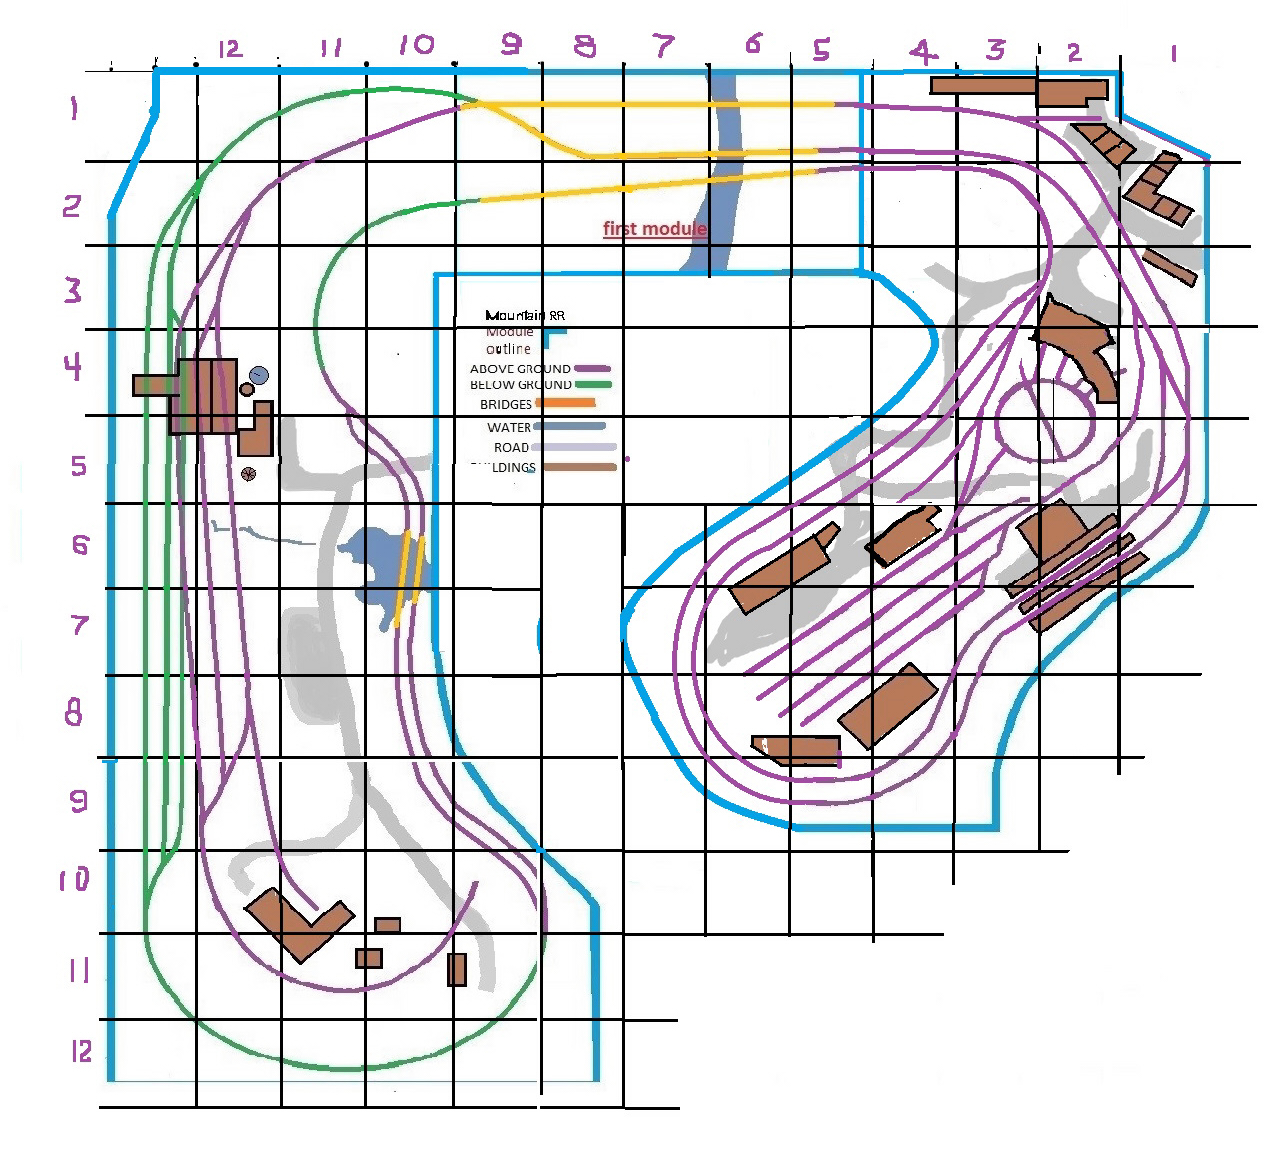
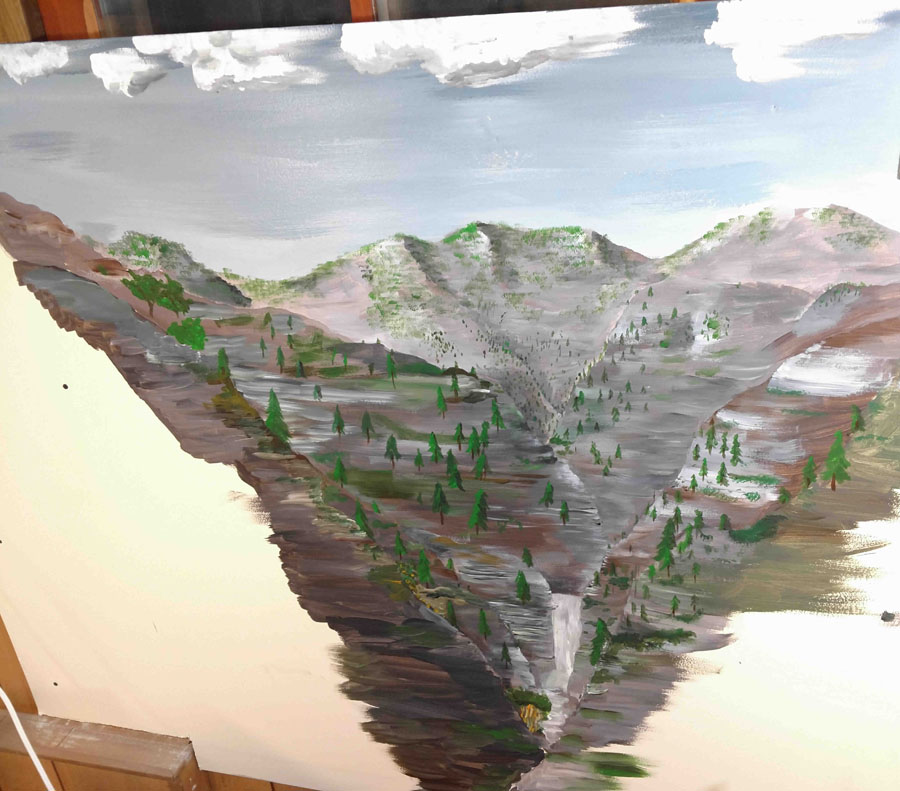
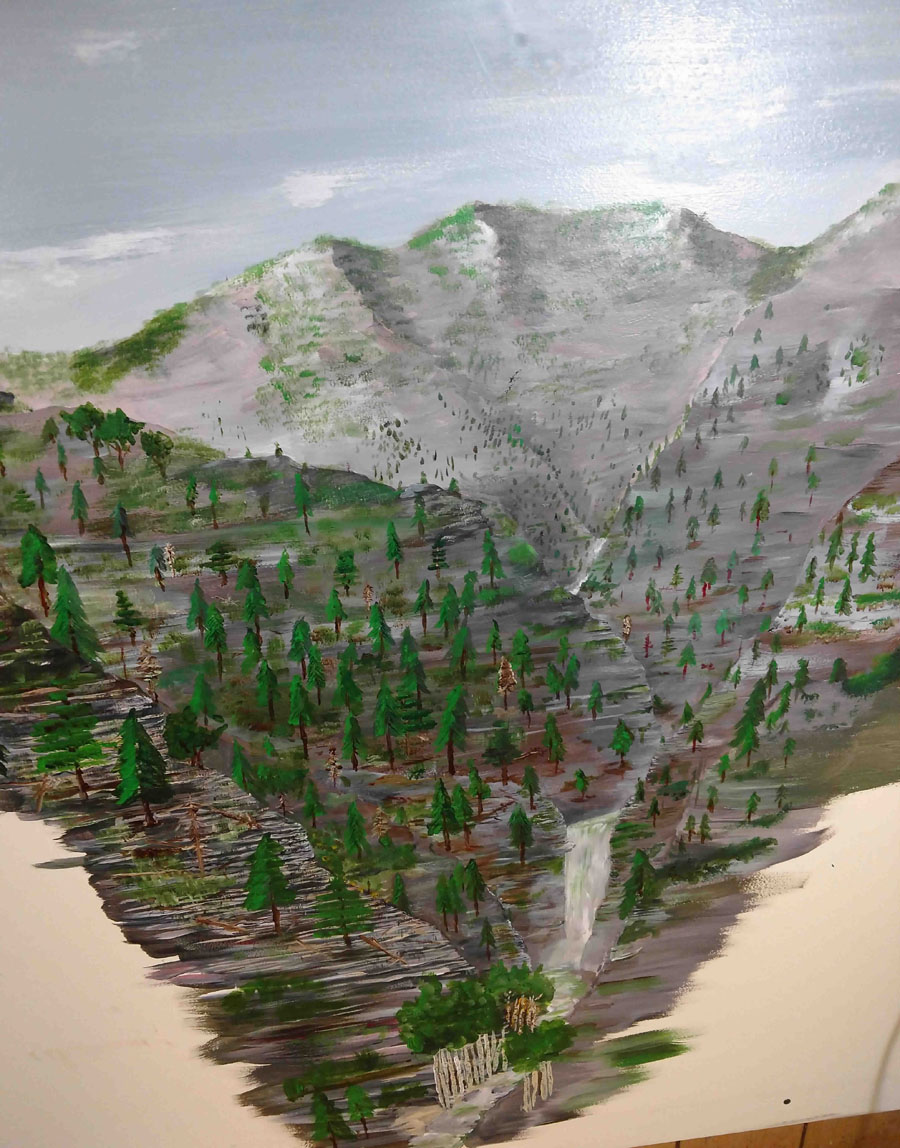
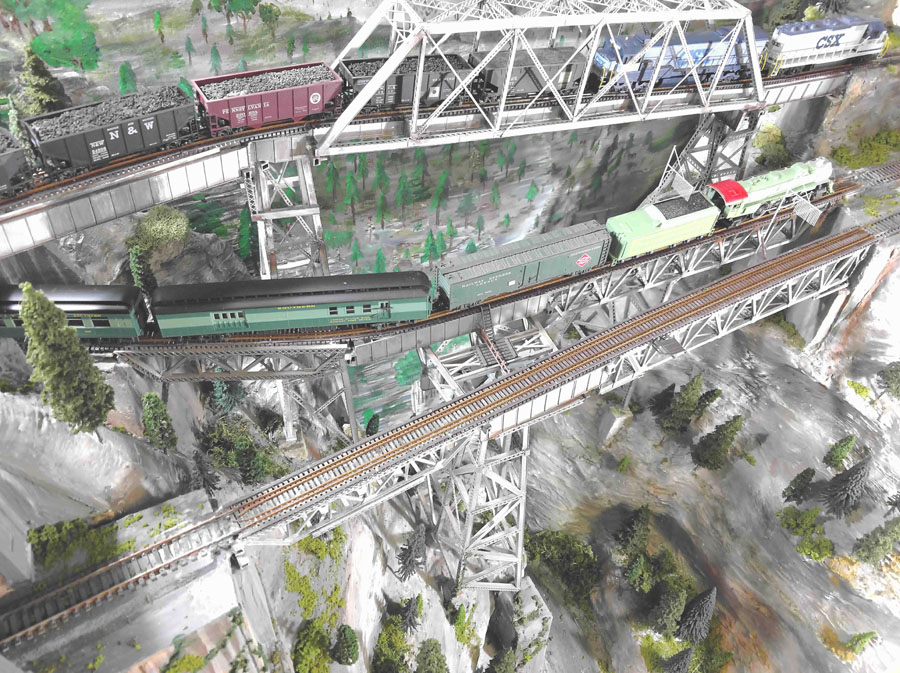
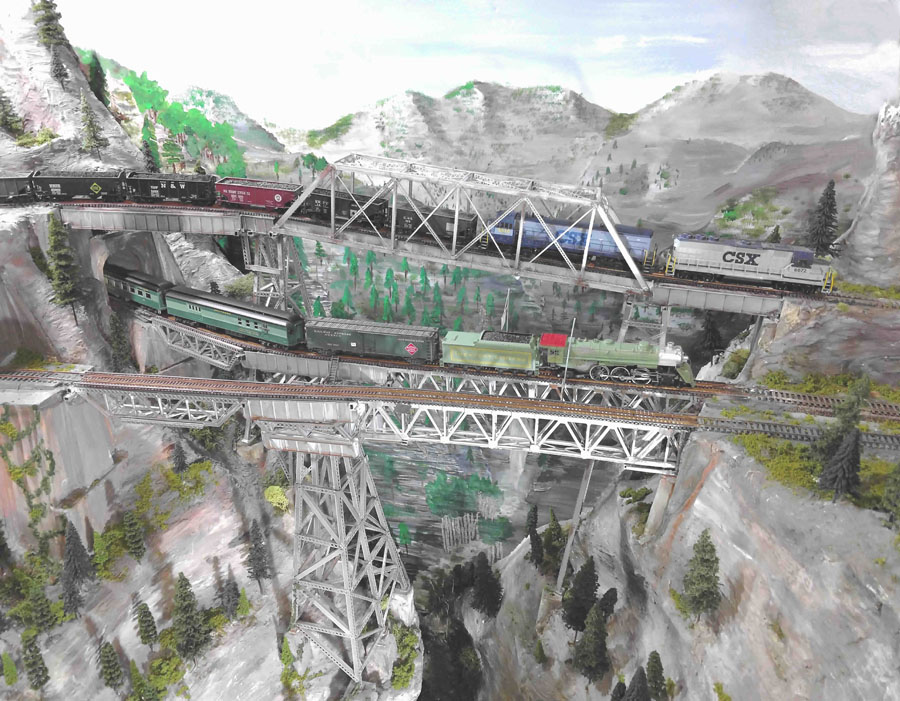
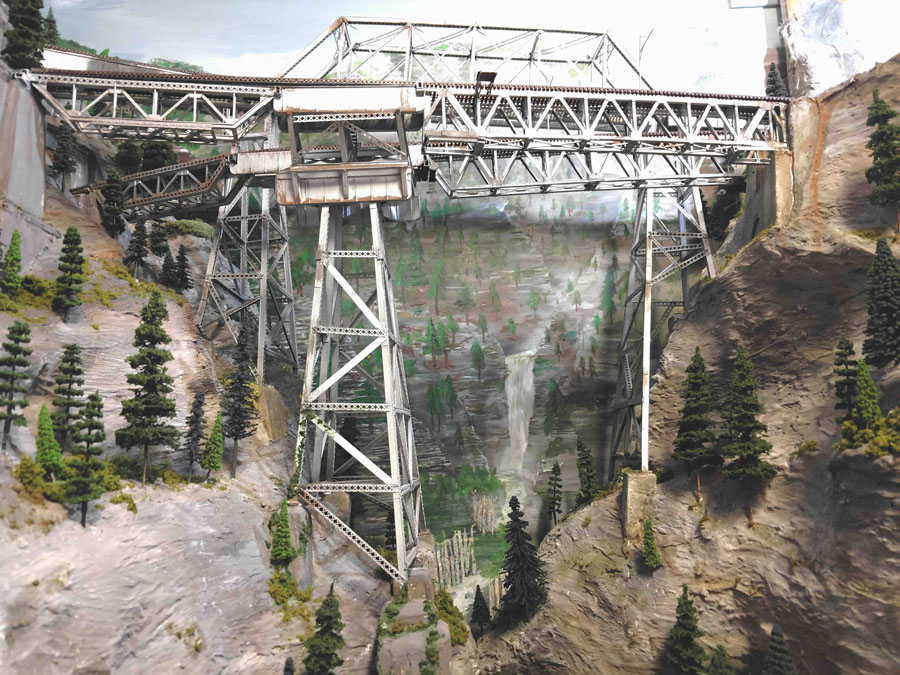
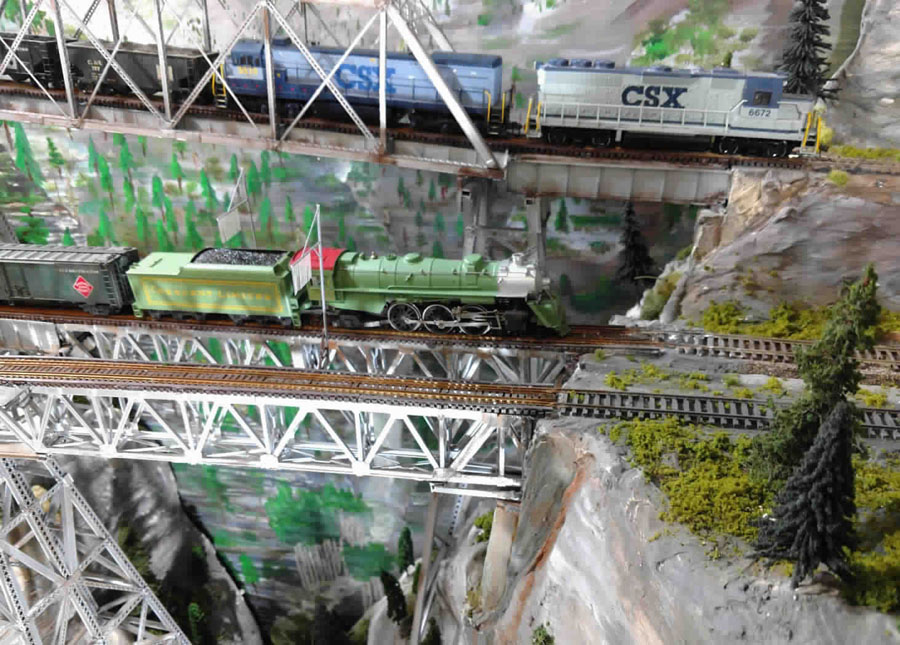
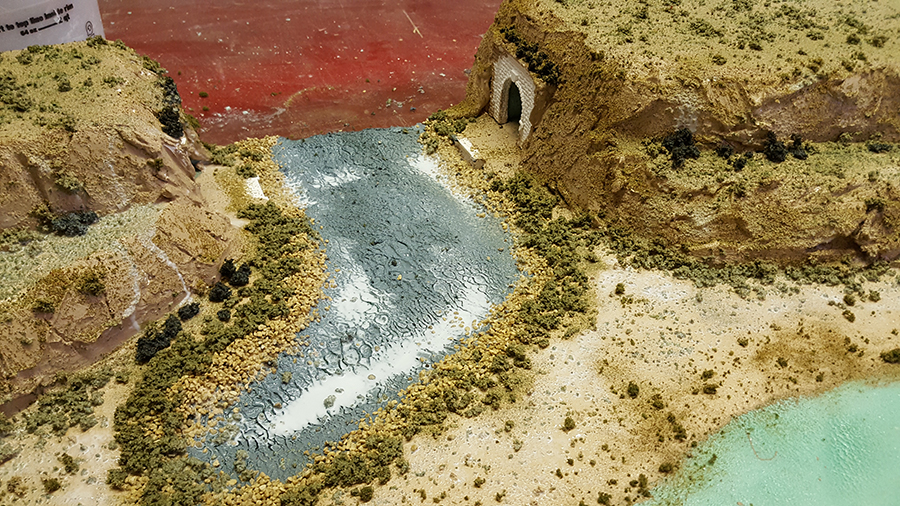
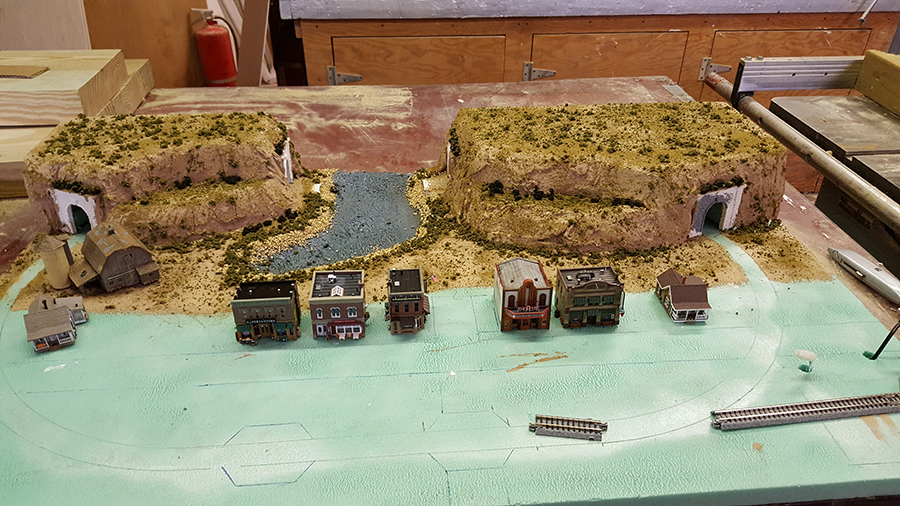
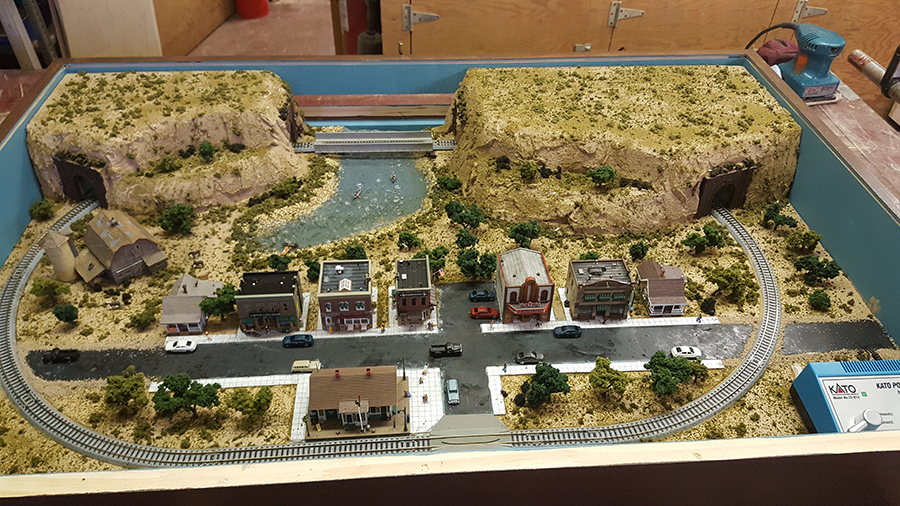
“After 40 years of being out of the hobby, I decided to build my grandson a set. It had to fit under his bed, hence the flattop mountains.
It definitely got me back into the hobby I’ve always loved so much. The case has a piece of clear plastic that slides over the top to keep out dust and a door that flips down in the back in case of derailments in the mountains.
Thanks for all the blogs and ideas!
John”
That’s all for today, folks. A big thanks to John and to Sam for sharing his HO scale steam crawler crane.
And if you think everyone else is having all the fun, the Beginner’s Guide is here.
Please do keep ’em coming.
Best
Al
PS More HO scale train layouts here if that’s your thing.
Need buildings for your layout? Have a look at the Silly Discount bundle.